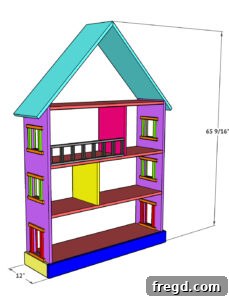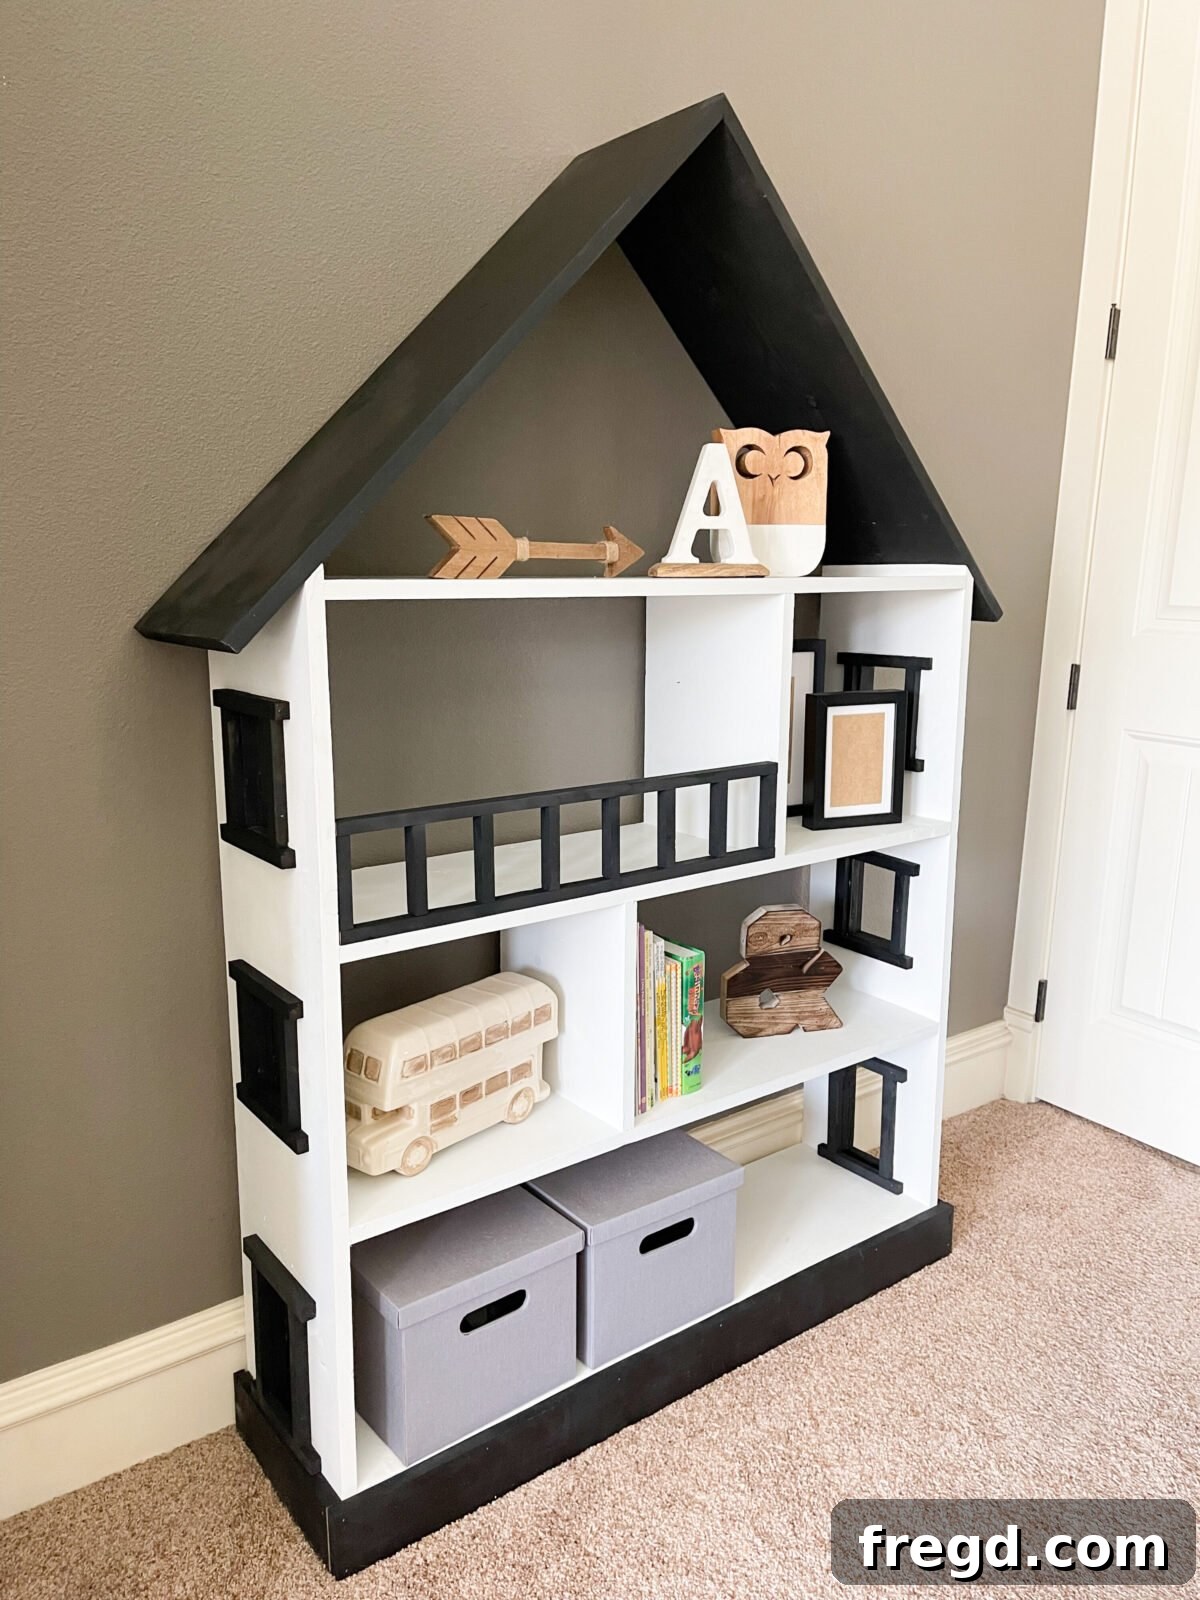
Build Your Dream DIY Dollhouse Bookcase: Free Plans & Video Guide
Unlock the magic of woodworking and create a truly special piece for your child or a loved one! This detailed guide will show you exactly how to build a charming DIY Dollhouse Bookcase using just a few essential tools and five standard boards. We’ve included free plans and a helpful how-to video to ensure your building journey is as smooth and enjoyable as possible.
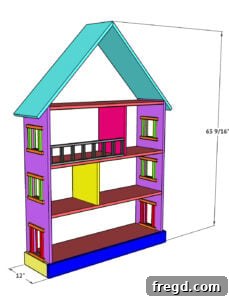
This project began with a wonderful request: a friend needed a unique bookcase that looked like a dollhouse for a new baby’s nursery. The vision was clear – a functional bookshelf for all those beloved storybooks, yet something durable and engaging that the child could grow and play with for years to come. While I hadn’t tackled a dollhouse before, my experience with bookcases gave me the confidence to take on this exciting challenge. The result? A stunning 5-foot dollhouse bookcase, crafted efficiently from just five 1×12 boards, proving that incredible creations don’t require an overwhelming amount of material or expertise.
Ready to see it in action? Watch the comprehensive how-to video below for a visual walkthrough of every step in this rewarding build!
Watch the detailed DIY Dollhouse Bookcase tutorial video here:
For a quick preview, check out the video thumbnail:

Video Title: DIY Dollhouse Bookcase
Video Description: Learn how to build this DIY Dollhouse Bookcase with just a few tools and five boards. Free plans and how-to video included!
Isn’t it absolutely delightful? This project is not just about building furniture; it’s about crafting a space for imagination and a beautiful focal point for any child’s room.
For your convenience, you can easily access the free printable plans to get started right away. Click here to jump directly to the detailed free printable plans.
Table of Contents
Why a Dollhouse Bookcase? More Than Just Storage
A dollhouse bookcase isn’t just another piece of furniture; it’s an investment in a child’s imagination and a stylish, practical addition to any nursery or playroom. This unique design blends the functionality of a traditional bookshelf with the playful charm of a dollhouse, offering benefits far beyond simple storage.
Sparking Imagination and Play
The intricate design, complete with windows, doors, and multiple levels, transforms a simple bookcase into a canvas for imaginative play. Children can arrange their toys, small dolls, and figurines within the ‘rooms’ of the dollhouse, fostering creativity, storytelling, and independent play. It encourages them to engage with their belongings in a new, exciting way, turning tidying up into part of the fun.
Practical Storage and Organization
Beyond play, this bookcase offers ample space for organizing books, toys, and other treasures. The varied shelf heights and internal dividers create distinct compartments, making it easy to categorize items and keep the room tidy. For a nursery, it provides accessible storage for board books, blankets, and small baby essentials, growing with the child as their needs change.
A Heirloom Piece and Personalized Decor
Hand-built with love, this dollhouse bookcase can become a cherished heirloom, passed down through generations. Its sturdy construction and timeless design ensure it remains a beloved feature in a child’s room for many years. Furthermore, the ability to customize finishes – from vibrant colors to classic wood stains – means it can perfectly complement any existing decor, adding a personalized touch that store-bought furniture often lacks.
Designing Your Dollhouse Bookcase: Simple & Functional
When approaching this project, the goal was to create something impressive yet achievable for a DIY enthusiast. The key was a streamlined design using minimal materials and common tools. By focusing on five 1×12 boards, we ensure not only cost-effectiveness but also a manageable build that doesn’t require complex joinery or specialized equipment.
The beauty of this design lies in its simplicity and adaptability. While the plans provide a fantastic starting point, feel free to personalize your dollhouse bookcase. You can experiment with different paint colors, add decorative elements like miniature window boxes, or even incorporate small battery-operated lights for an extra touch of magic. The robust pine or common boards provide a solid foundation for endless creative possibilities.
Materials You’ll Need
Gathering your materials before you begin will ensure a smooth and efficient building process. Here’s a comprehensive list of what you’ll need to bring this dollhouse bookcase to life:
Essential Supplies:
- 5 – 1x12x8 Pine or Common Boards: These form the main structure of your bookcase. Opt for good quality, straight boards to ensure a clean build.
- 1 1/4″ Pocket Hole Screws: Crucial for strong, concealed joints that securely fasten the shelves to the side panels.
- 1 1/4″ Brad Nails: Ideal for attaching internal dividers and base trim, providing a clean finish.
- 1″ Pin Nails: Perfect for delicate trim work, such as window and door frames, as they leave minimal holes.
- 1 1/4″ Wood Screws: Used for assembling the roof pieces, ensuring a robust and lasting connection.
- Wood Glue: Essential for every joint, wood glue significantly strengthens the overall structure, making it more durable.
- Wood Filler: For seamlessly filling all nail and screw holes, creating a smooth, professional finish ready for paint or stain.
- Sandpaper (various grits, 80-220): For preparing the wood surface and smoothing filled holes.
- Paint or Stain: Your choice of finish to customize the look of your dollhouse bookcase.
Recommended Tools:
Having the right tools makes all the difference in a woodworking project. Here are the tools you’ll need to build your dollhouse bookcase effectively:
- Drill: Indispensable for pre-drilling holes and driving screws.
- Miter Saw: For making precise crosscuts and angled cuts, especially for the roof and side pieces.
- Kreg Jig: This tool is key for creating strong, hidden pocket-hole joints, essential for the main assembly.
- Brad Nailer: Speeds up the process of attaching dividers and trim with brad nails, providing a quick and secure hold.
- Pin Nailer (optional): For fine trim work, pin nails are almost invisible and minimize the need for extensive filling.
- Jig Saw: Essential for cutting out the charming windows and doors in the side panels.
- Table Saw (optional): Useful for ripping boards to width if necessary, though this project is designed to minimize such cuts.
- Tape Measure, Pencil, Safety Glasses: Standard but critical for any woodworking project.
Step-by-Step Guide: How to Build Your DIY Dollhouse Bookcase
Let’s dive into the building process! Follow these detailed steps to construct your beautiful dollhouse bookcase. Remember to always prioritize safety by wearing appropriate protective gear and using tools correctly.
Step 1: Prepare Your Wood – Cutting & Pocket Holes
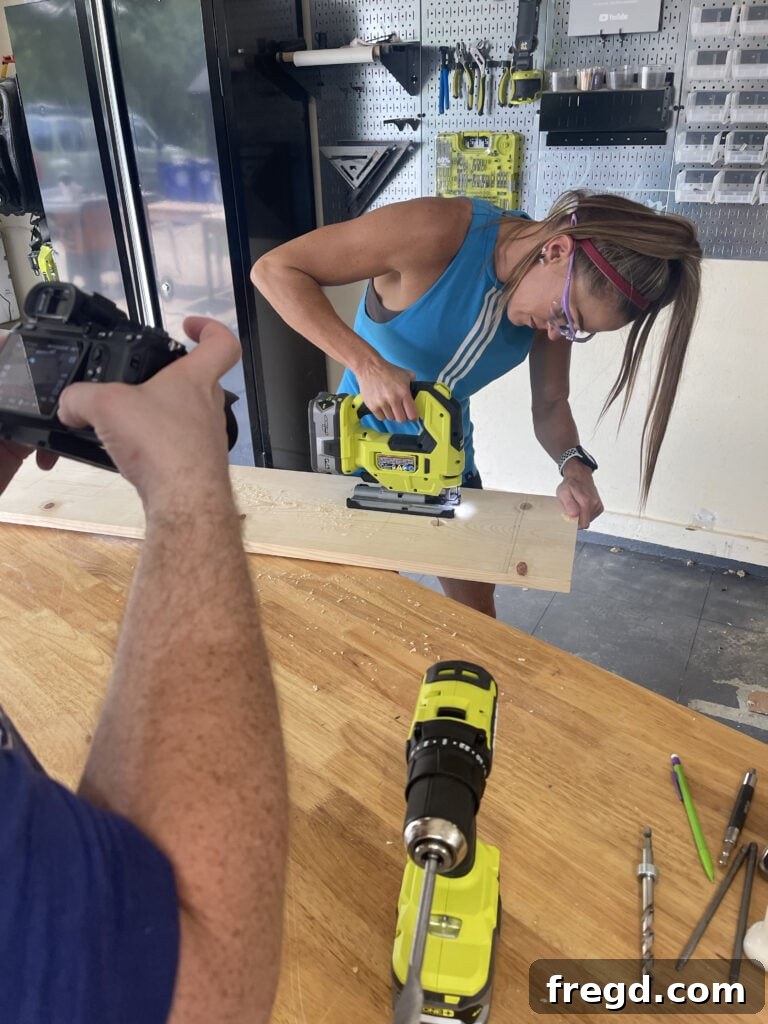
Begin by carefully cutting your side and shelf pieces to the exact dimensions specified in the free plans. Pay close attention to the miter angles required at the top of the side pieces; these will form the peak of your dollhouse roof. Once the main side pieces are cut, use your jigsaw to meticulously cut out the window and door openings. Take your time with these cuts to ensure clean, smooth edges that will look great once framed.
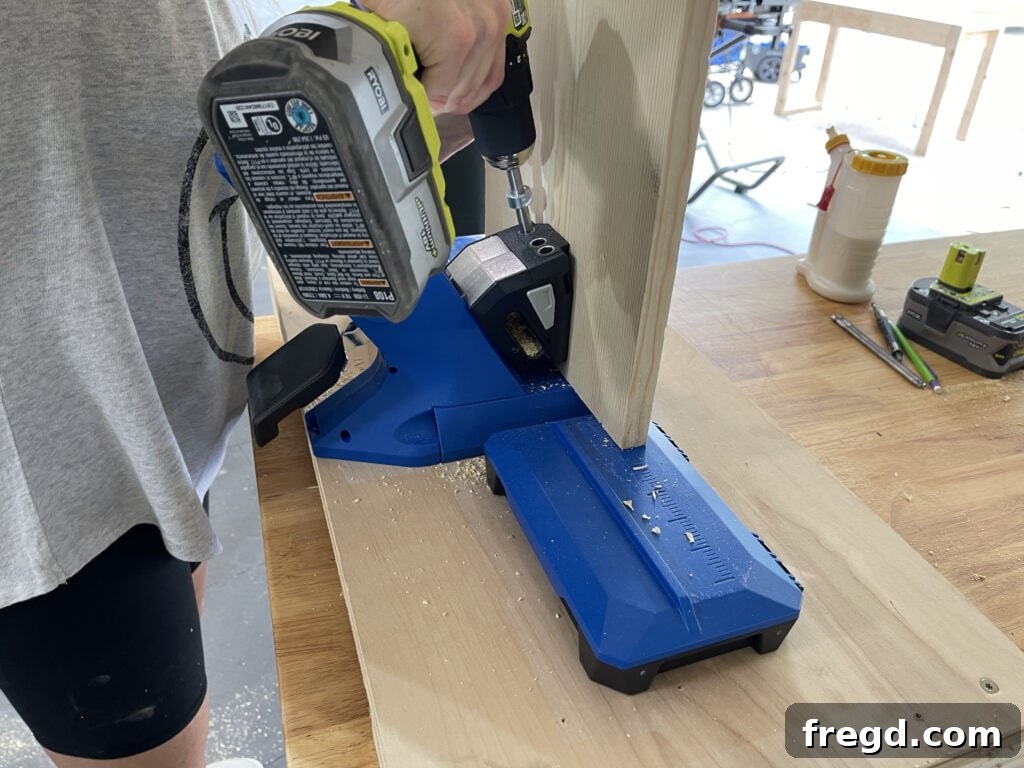
Next, it’s time to create the pocket holes. Using your Kreg Jig, drill 3/4″ pocket holes into the ends of all your shelf boards. It’s crucial to ensure these pocket holes are positioned on what will be the inside faces of the boards. This way, they will be hidden from view once assembled, contributing to a clean, professional finish. Pocket holes provide incredibly strong joints, which is ideal for a piece of furniture that will see active use.
- You can find our favorite Kreg Jig model, the 720Pro here for efficient and precise joinery.
Step 2: Assembling the Main Structure
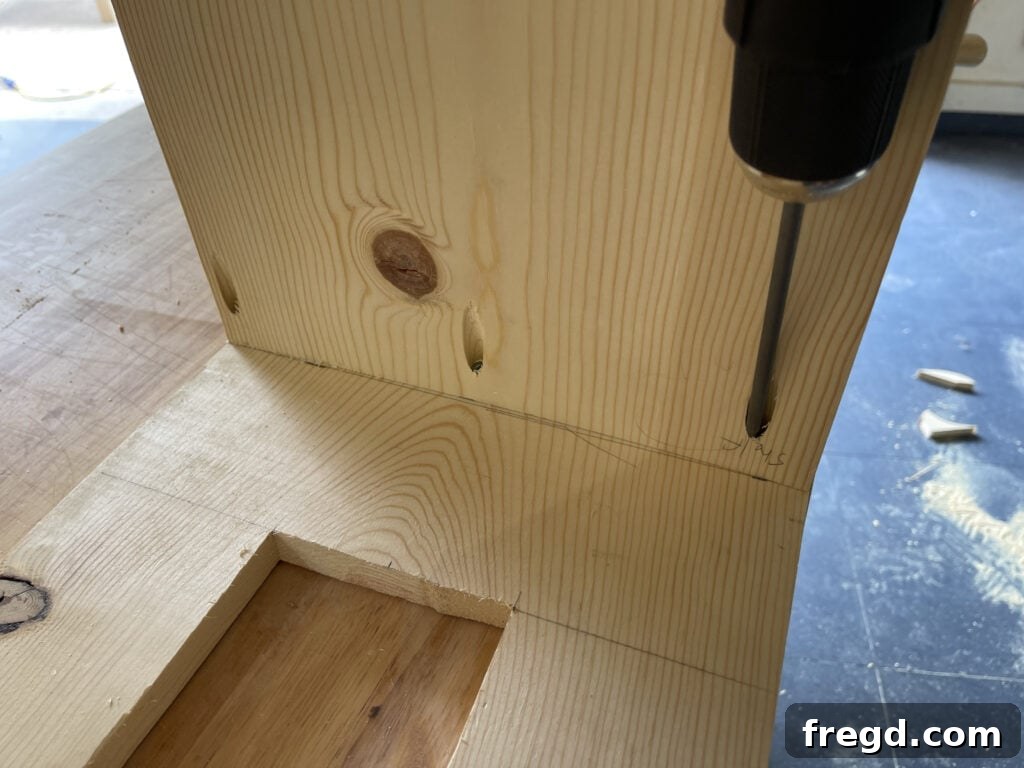
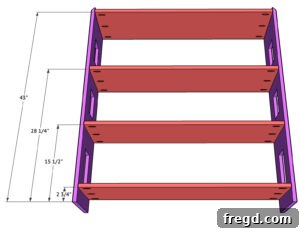
With your pocket holes ready, begin attaching the shelves to the side pieces. Apply a generous amount of wood glue to the mating surfaces, then secure the joints with 1 1/4″ pocket hole screws. Wood glue adds significant strength to the joint, making the bookcase robust and durable. Ensure your pieces are square as you assemble, using clamps to hold them in place if needed.
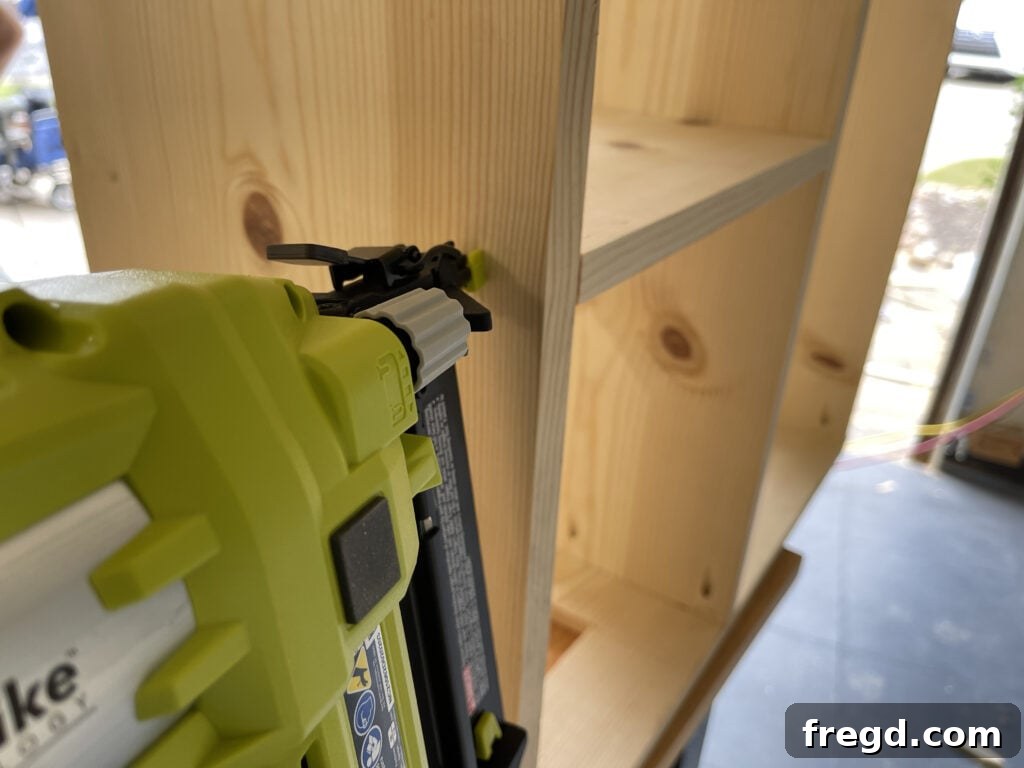
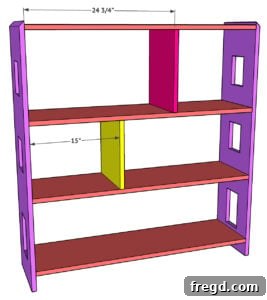
Once the main frame is stable, cut your room dividers to size. These pieces help define the dollhouse “rooms” and add extra structural integrity. Attach them to the shelves using a nail gun with 1 1/4″ brad nails and, again, a good application of wood glue. The brad nails will hold the dividers in place while the glue dries, creating a permanent bond.
Step 3: Constructing the Roof
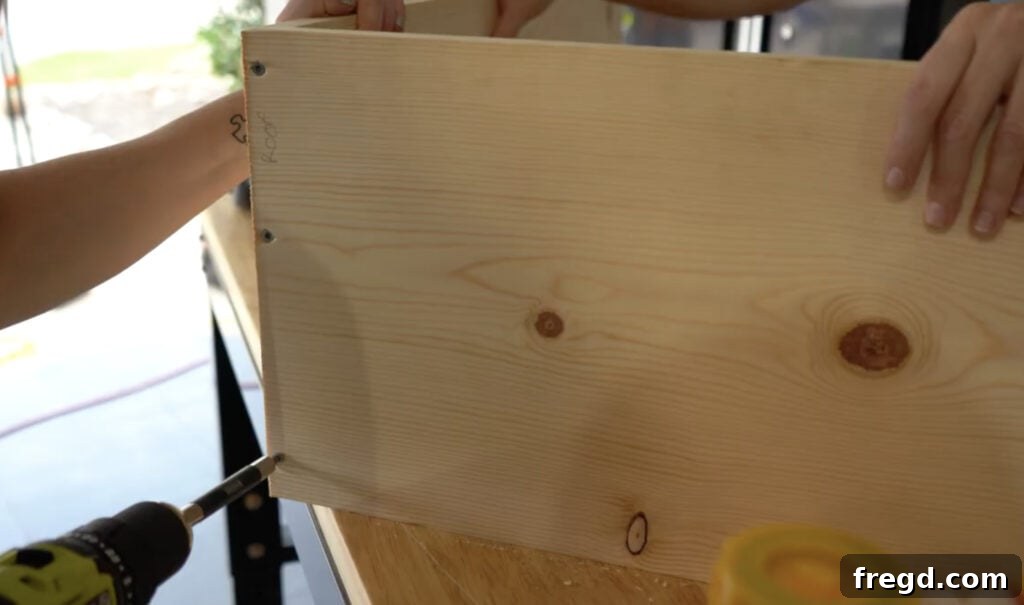
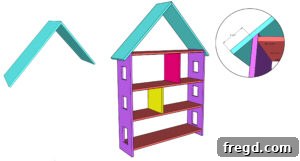
The roof is a key feature of the dollhouse aesthetic. Cut your roof boards to the specified size, ensuring the mitered ends are precise for a tight fit at the peak. Join these two roof halves together by applying wood glue along the mitered edges and then securing them with 1 1/4″ wood screws. We highly recommend using SPAX screws for this step because their self-tapping design often eliminates the need for pre-drilling pilot holes, saving you time and effort.
- You can find the high-quality SPAX screws we use here.
A helpful tip for finishing: I chose not to attach the roof to the main bookcase structure at this point. This allowed me to paint the roof a contrasting color without needing to meticulously tape off edges, resulting in much cleaner lines. You have the option to attach the roof now or wait until after painting or staining, as I did. The final attachment process is covered later in Step 7 and in the detailed free printable plans.
Step 4: Adding the Base Trim
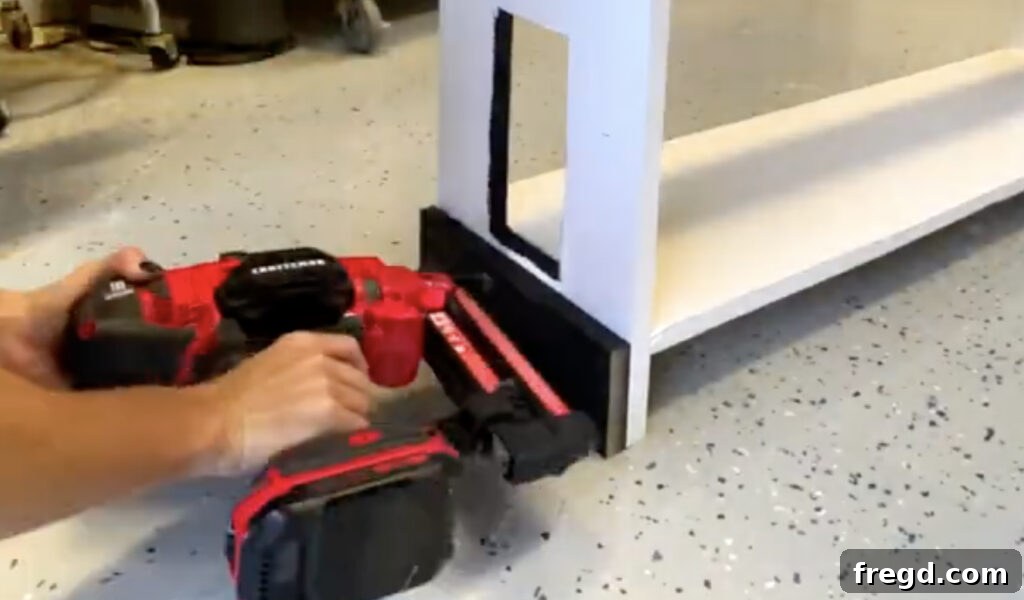
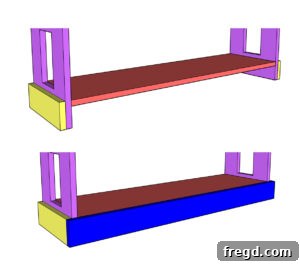
The base trim adds a finished look and helps ground the bookcase. Cut the side base trim pieces to size according to your plans. Apply wood glue to the back of the trim and attach it to the sides of the bookcase using 1 1/4″ brad nails. Ensure the trim is flush with the bottom edges of the bookcase.
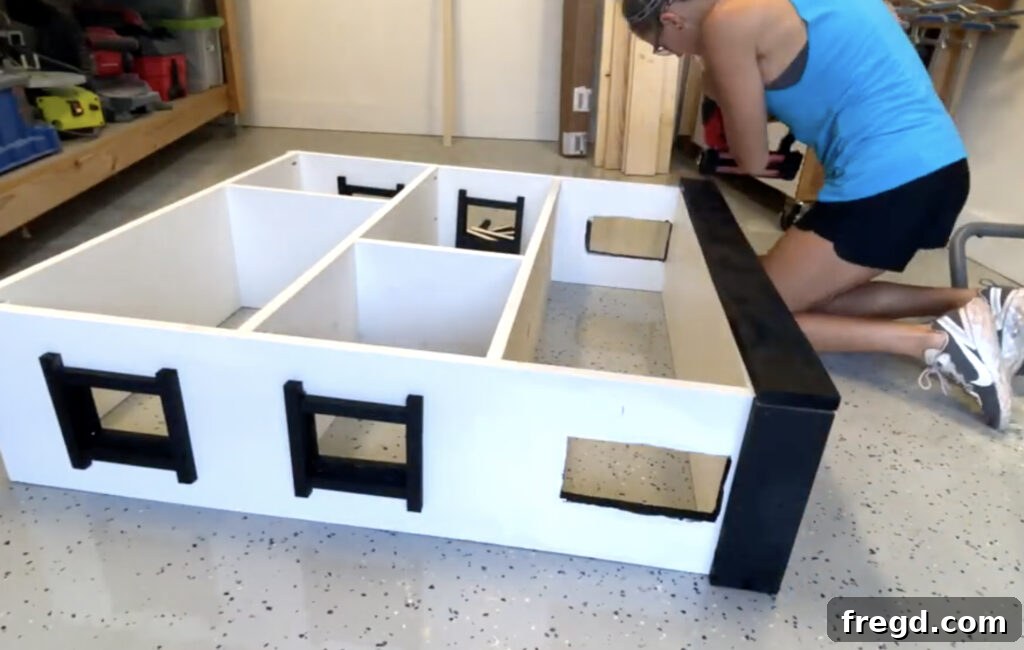
Next, measure and cut the front base trim piece. Attach it in the same manner as the side pieces, using wood glue and 1 1/4″ brad nails. This creates a continuous, clean base around the entire structure.
Similar to the roof, I opted to paint the base trim separately before permanent attachment. This method simplifies the painting process and allows for sharper paint lines. This is an optional step, depending on your preferred finishing sequence.
Step 5: Framing Windows and Doors
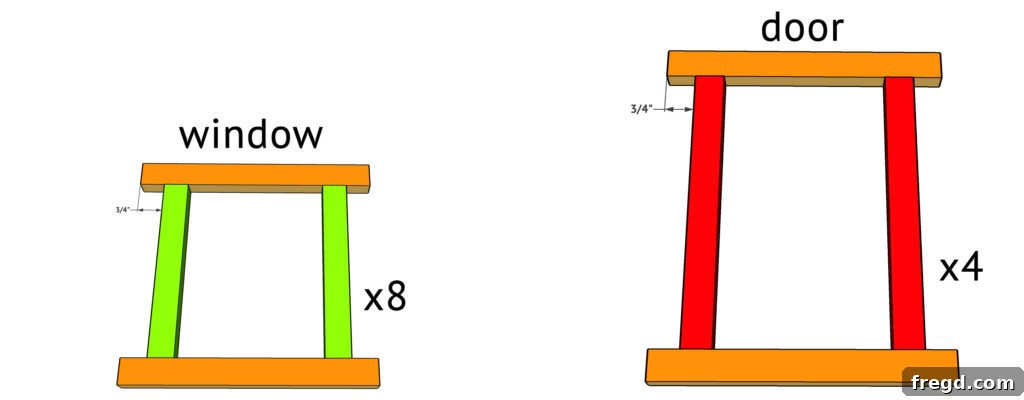
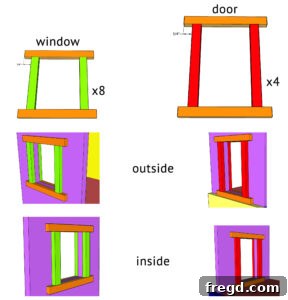
These frames add charming detail and bring the dollhouse aesthetic to life. Cut the small trim pieces for your door and window frames to their precise sizes. Assemble these small frames using 1″ pin nails and wood glue. Pin nails are excellent for this delicate work as they create tiny holes that are virtually invisible after finishing.
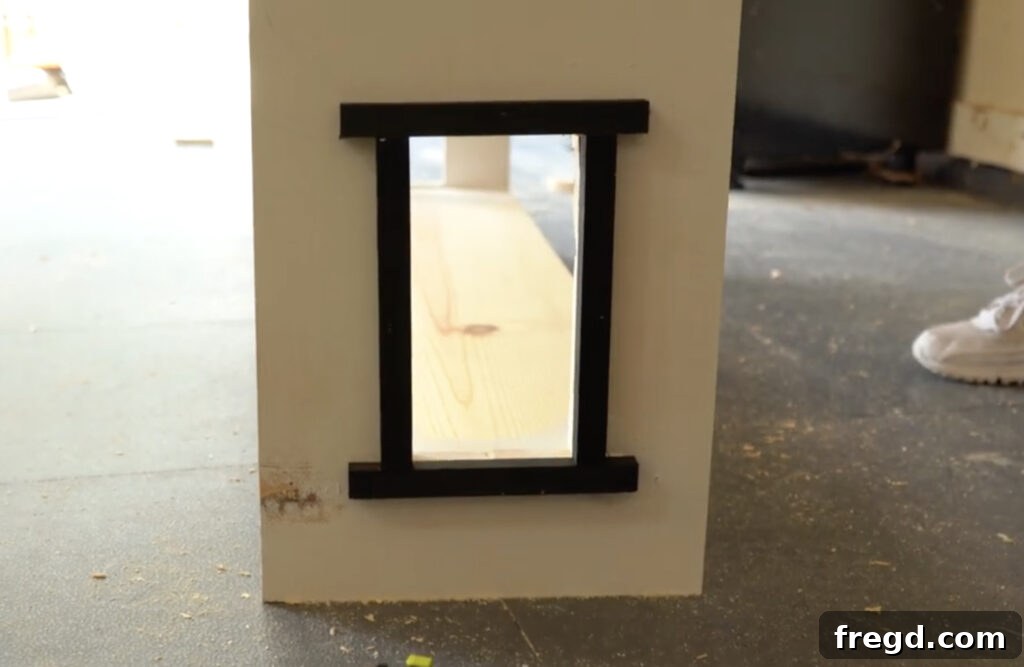
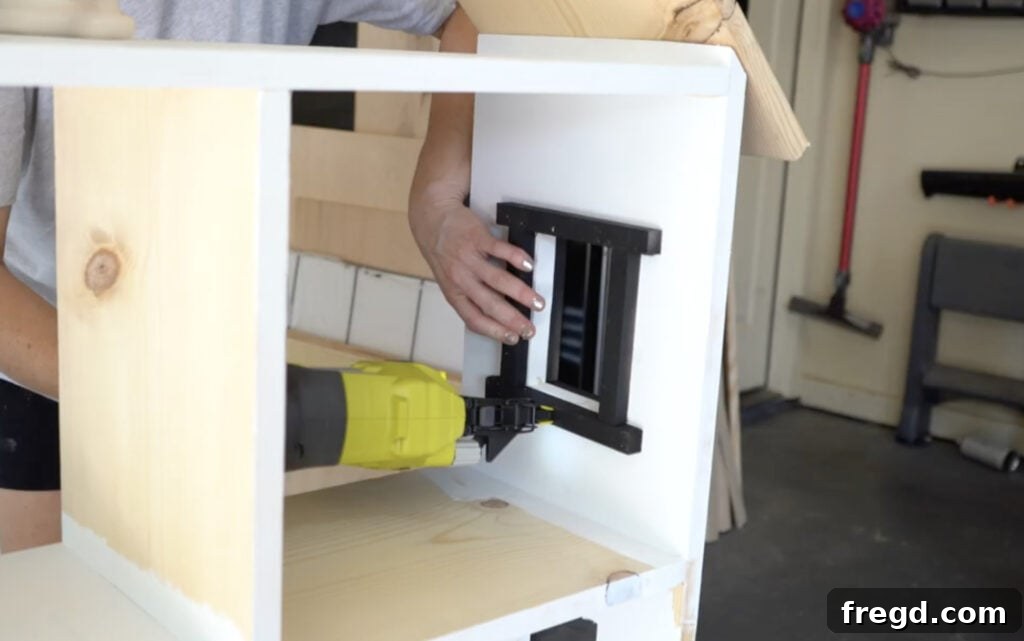
Once your frames are assembled, attach them to the bookcase. Carefully position the window and door frames around their respective openings on both the inside and outside of the bookcase sides. Secure them with 1″ pin nails and wood glue. This meticulous step truly elevates the dollhouse appearance.
Step 6: Crafting the Railing
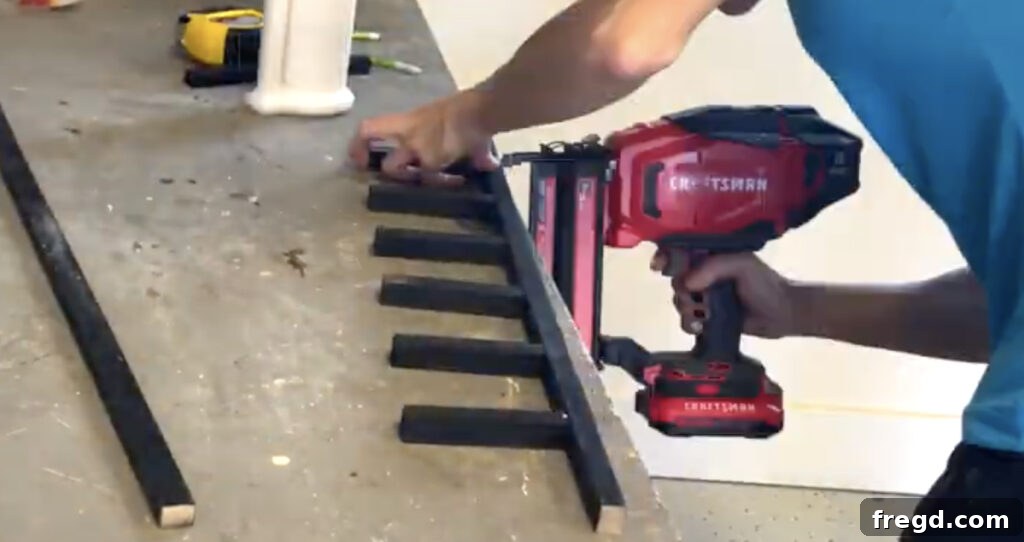
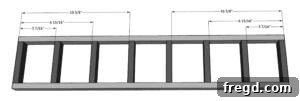
The railing adds another delightful architectural detail. Cut the remaining trim pieces to the specified lengths for the railing. Assemble the shorter vertical pieces to the longer horizontal pieces using 1″ pin nails and wood glue, forming the railing sections.
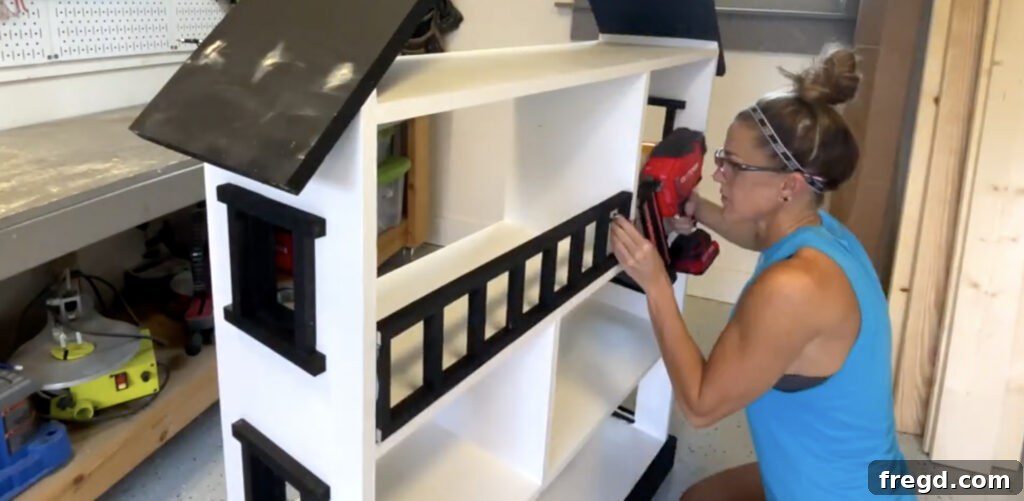
With the railing sections assembled, it’s time to attach them to the top shelf of the bookcase. Secure the railing from the sides of the bookcase into the rail, and from the bottom of the top shelf into the rail, using 1 1/4″ brad nails and wood glue. This creates a secure and attractive barrier, enhancing the dollhouse charm.
Step 7: The Grand Finale – Sanding & Finishing
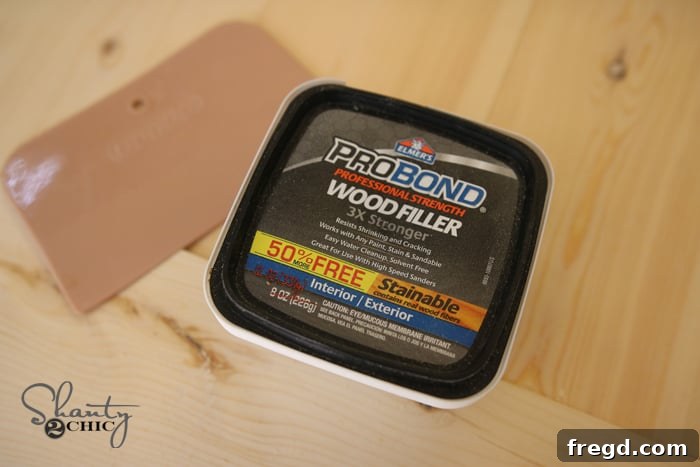
Now for the finishing touches that transform your project from raw wood into a polished masterpiece! Start by filling all exposed screw and nail holes with wood filler. Use a putty knife to apply the filler smoothly, ensuring it’s slightly proud of the surface. Allow it to dry completely according to the product instructions.
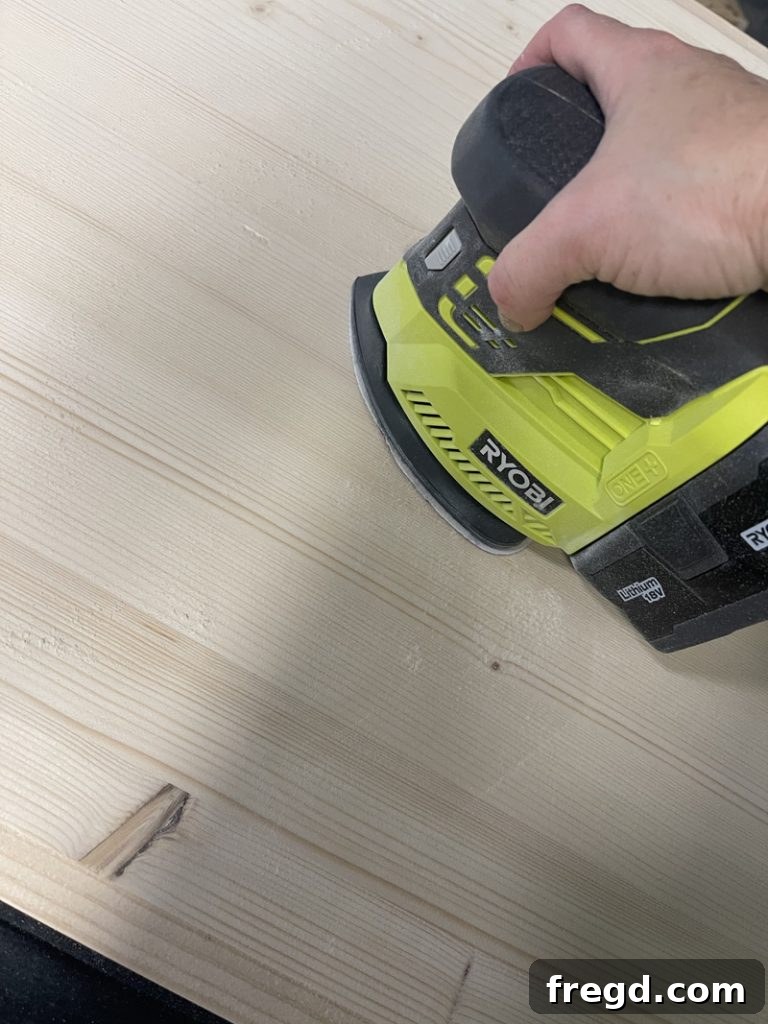
Once the wood filler is dry, it’s time to sand. Start with a coarser grit (like 80-grit) to quickly remove excess filler and smooth out any imperfections. Progress to a medium grit (120-grit) to remove sanding marks from the coarser paper, and finish with a fine grit (220-grit) for a silky-smooth surface. I used a corner cat sander for precision in tight areas. Thorough sanding is crucial for a professional-looking finish, especially if you plan to paint.
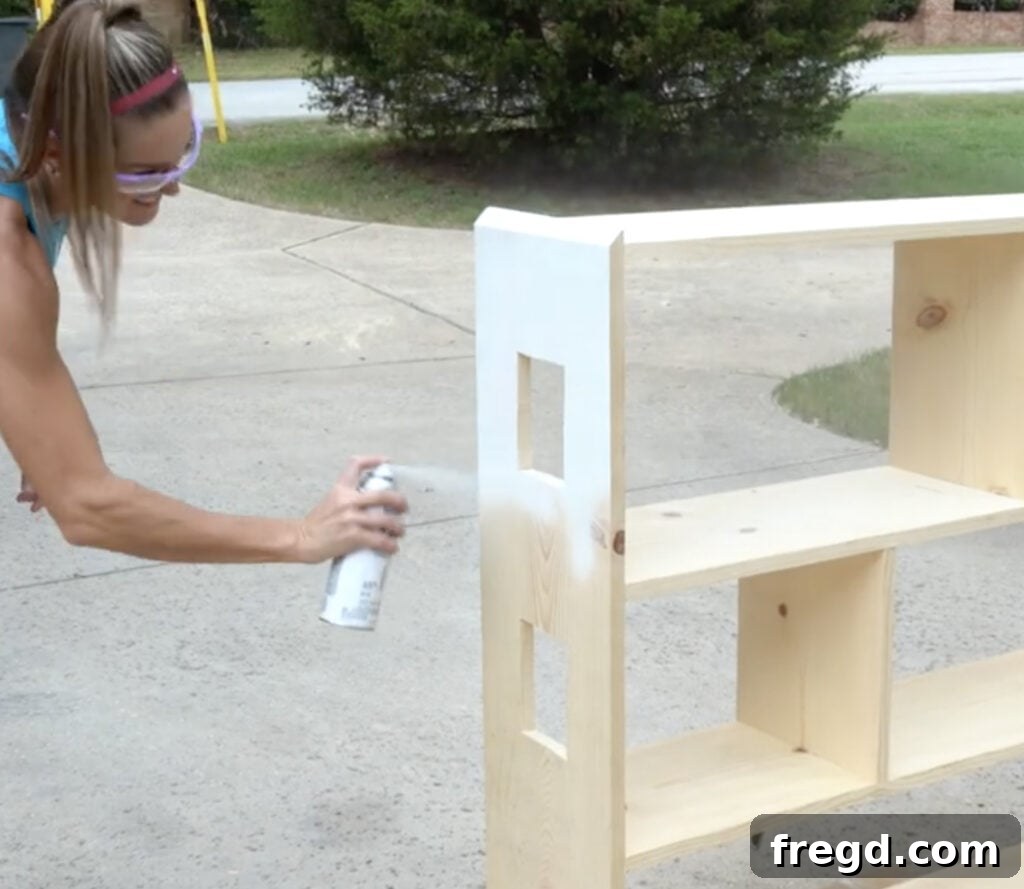
For the finish, I applied two coats of white spray paint to the main bookcase body and two coats of black spray paint to the trim pieces, base trim, and roof. As mentioned earlier, painting these components separately before final assembly significantly streamlined the process and allowed for cleaner paint lines without extensive masking. If you chose to wait to attach the roof and base trim, now is the time to do so, carefully integrating your pre-painted components into the main structure with glue and appropriate fasteners (wood screws for the roof, brad nails for the trim).
Your Completed Dollhouse Bookcase: A Source of Joy
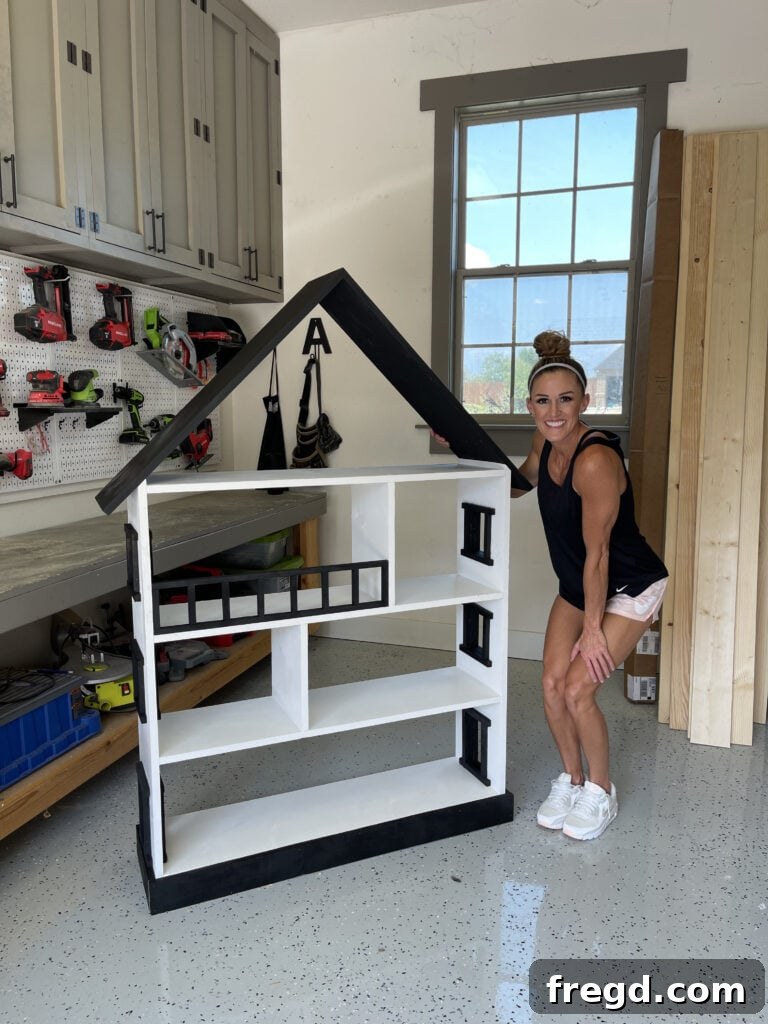
There’s immense satisfaction in seeing a project like this come to life! I was absolutely thrilled to hand over this adorable dollhouse bookcase to my friend. It’s truly the perfect piece, seamlessly blending practical storage with whimsical charm to add both form and function to a child’s room. Before sending it off, I couldn’t resist styling it up for a quick photoshoot – just look at how versatile and inviting it is!
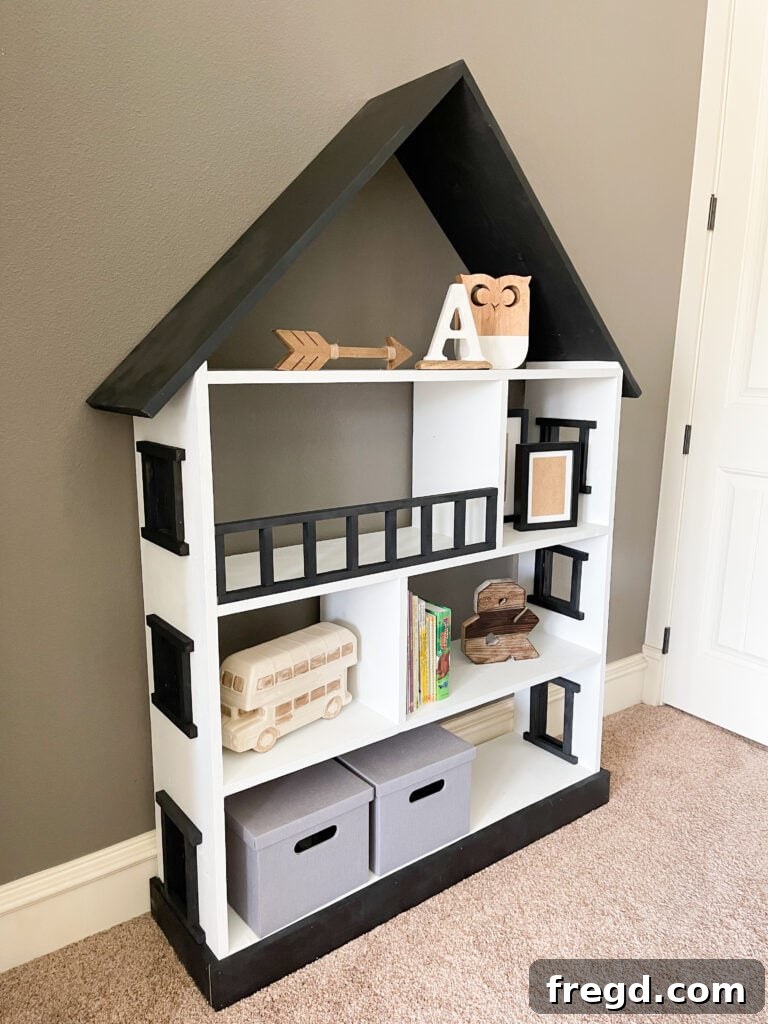
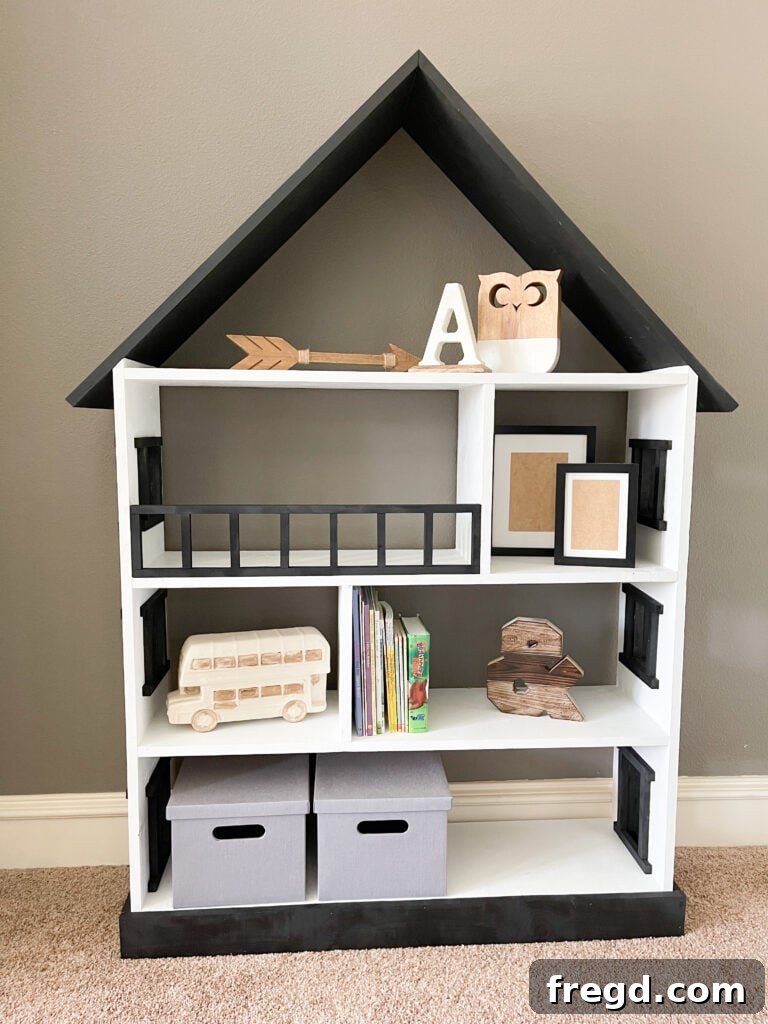
My friend later filled it with delightful goodies for the baby shower, and she did an incredible job making it sparkle! Seeing how much joy this piece brings truly fuels my passion for DIY. It makes me wonder what other creative book-storage ideas could be out there – perhaps a DIY Firehouse Bookcase with a sliding pole next?
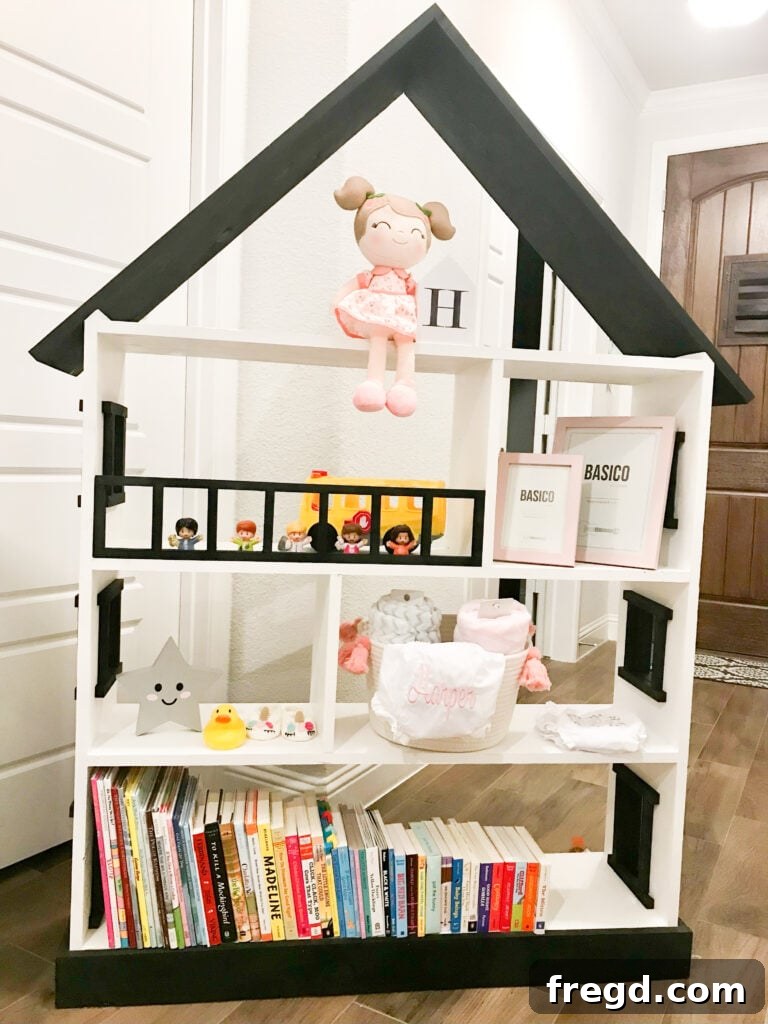
Thank you so much for joining me on this building adventure!
Happy Building!
Explore More Kids’ Projects
If you enjoyed building this dollhouse bookcase, you’ll love our other free plans for engaging kids’ projects. Expand your DIY skills and create even more fun and functional items for the little ones in your life!
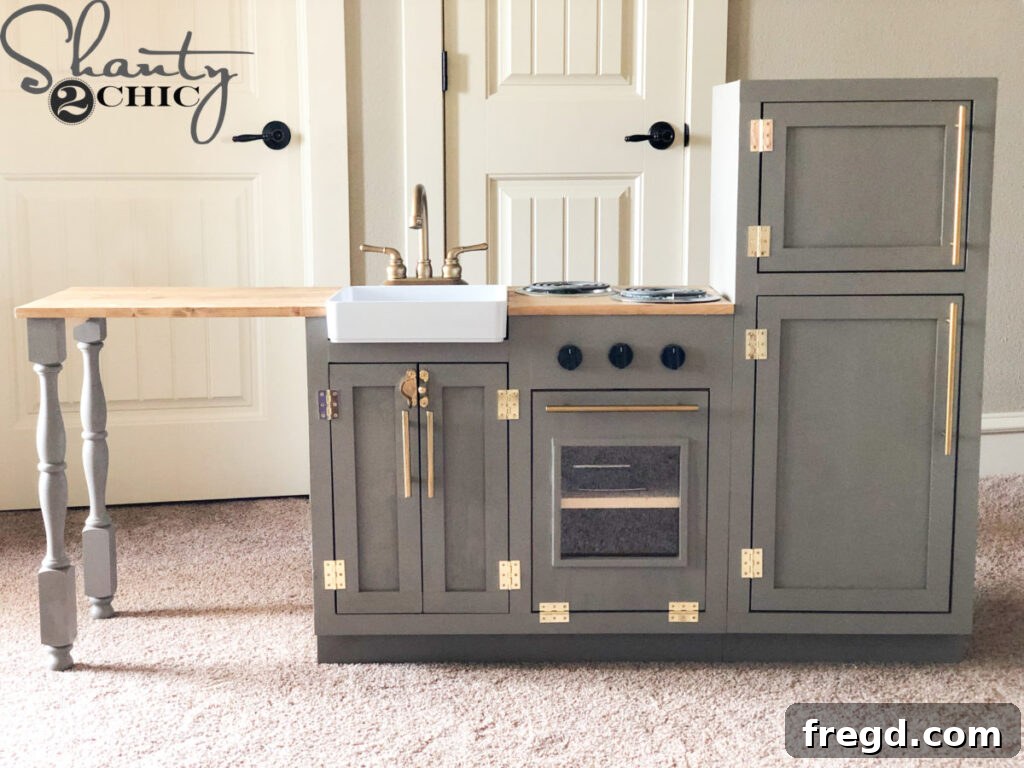
DIY Play Kitchen

DIY Sand Box Table
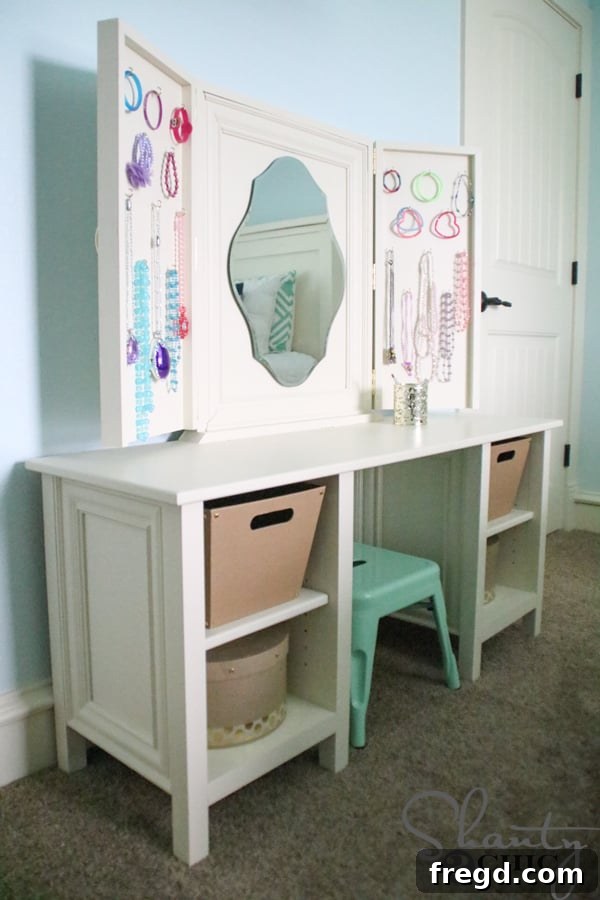
DIY Kids Vanity
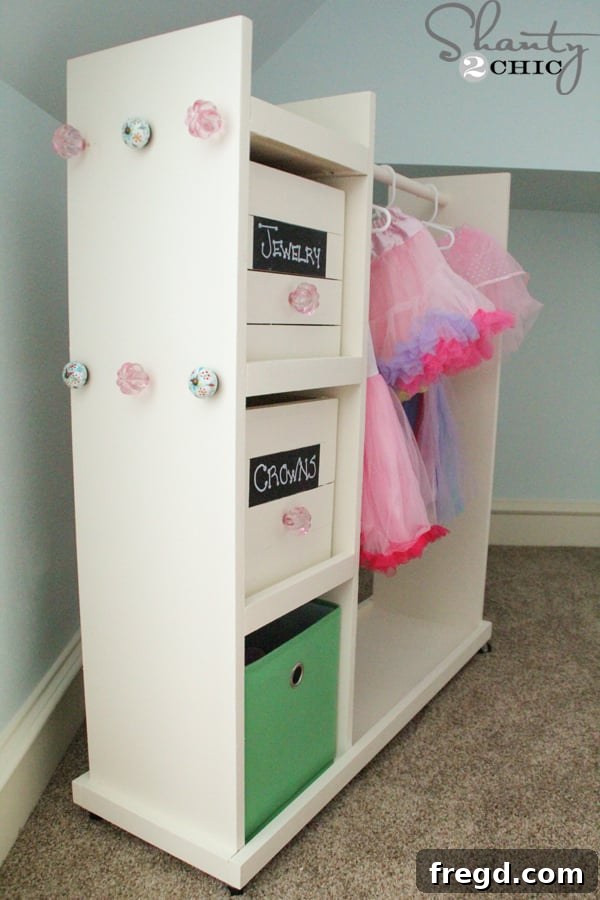
DIY Dress Up Cart
Free Printable Plans & Cut List: DIY Dollhouse Bookcase
Here you’ll find the comprehensive plans and detailed instructions to guide you through building your very own DIY Dollhouse Bookcase. These plans are designed to be clear, precise, and easy to follow, ensuring a successful project from start to finish. Crafted with functionality and charming aesthetics in mind, this dollhouse bookcase provides ideal storage for books and a wonderful space for imaginative play.
Keyword: bookcase, diy, dollhouse, how to, kids bookcase
Detailed Cut List
Before you begin cutting, carefully review this list and the accompanying diagrams. Precision in cutting is key for accurate assembly.
-
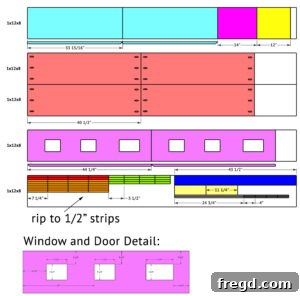
Cut List Diagram 1: This diagram provides the dimensions for your main side and shelf pieces. Pay special attention to the miter angles at the top of the side pieces which form the roof slope.

-
Once your side and shelf pieces are cut to size, mark and cut the windows and doors into the side pieces using a jigsaw. Drill 3/4″ pocket holes into the ends of the shelf boards, ensuring they are on the inside face. Attach these shelves to the side boards using 1 1/4″ pocket hole screws and wood glue, ensuring the structure is square.
-
Cut the internal dividers to size. Secure these dividers to the shelves using 1 1/4″ brad nails and wood glue. These dividers create distinct ‘rooms’ and add stability.
-
Cut the roof boards to size, ensuring precise mitered ends. Attach them together at the mitered ends with 1 1/4″ wood screws and wood glue. Once dried, you can attach the roof to the bookcase structure using 1 1/4″ wood screws and wood glue. (Remember, you can also paint the roof separately before final attachment.)
-
Cut the side base trim pieces to size and attach them to the sides of the bookcase with 1 1/4″ brad nails and wood glue. Then, measure and cut the front base trim piece and attach it in the same manner. (As with the roof, painting the trim separately is an option.)
-
Cut the trim pieces for the door and window frames to size. Assemble these frames with 1″ pin nails and wood glue. Carefully attach the assembled frames to both the inside and outside of the bookcase’s window and door openings using 1″ pin nails and wood glue.
-
Cut the remaining small trim pieces to size for the railing. Attach the shorter vertical pieces to the longer horizontal pieces with 1″ pin nails and wood glue to form the railing sections.
-
Attach the completed railing to the top shelf. Secure it from the sides of the bookcase into the railing, and from the bottom of the top shelf into the railing, using 1 1/4″ brad nails and wood glue.
-
Finally, fill all visible screw and nail holes with wood filler, allow it to dry, and sand the entire piece smooth. Now it’s ready for your chosen finish – paint or stain! Apply your desired coats for a durable and beautiful result.
We absolutely love seeing your creations! Make sure to share photos of your finished dollhouse bookcase with us on social media and use the hashtag #shanty2chic so we can share your inspiring work with our community!
Happy Building!