
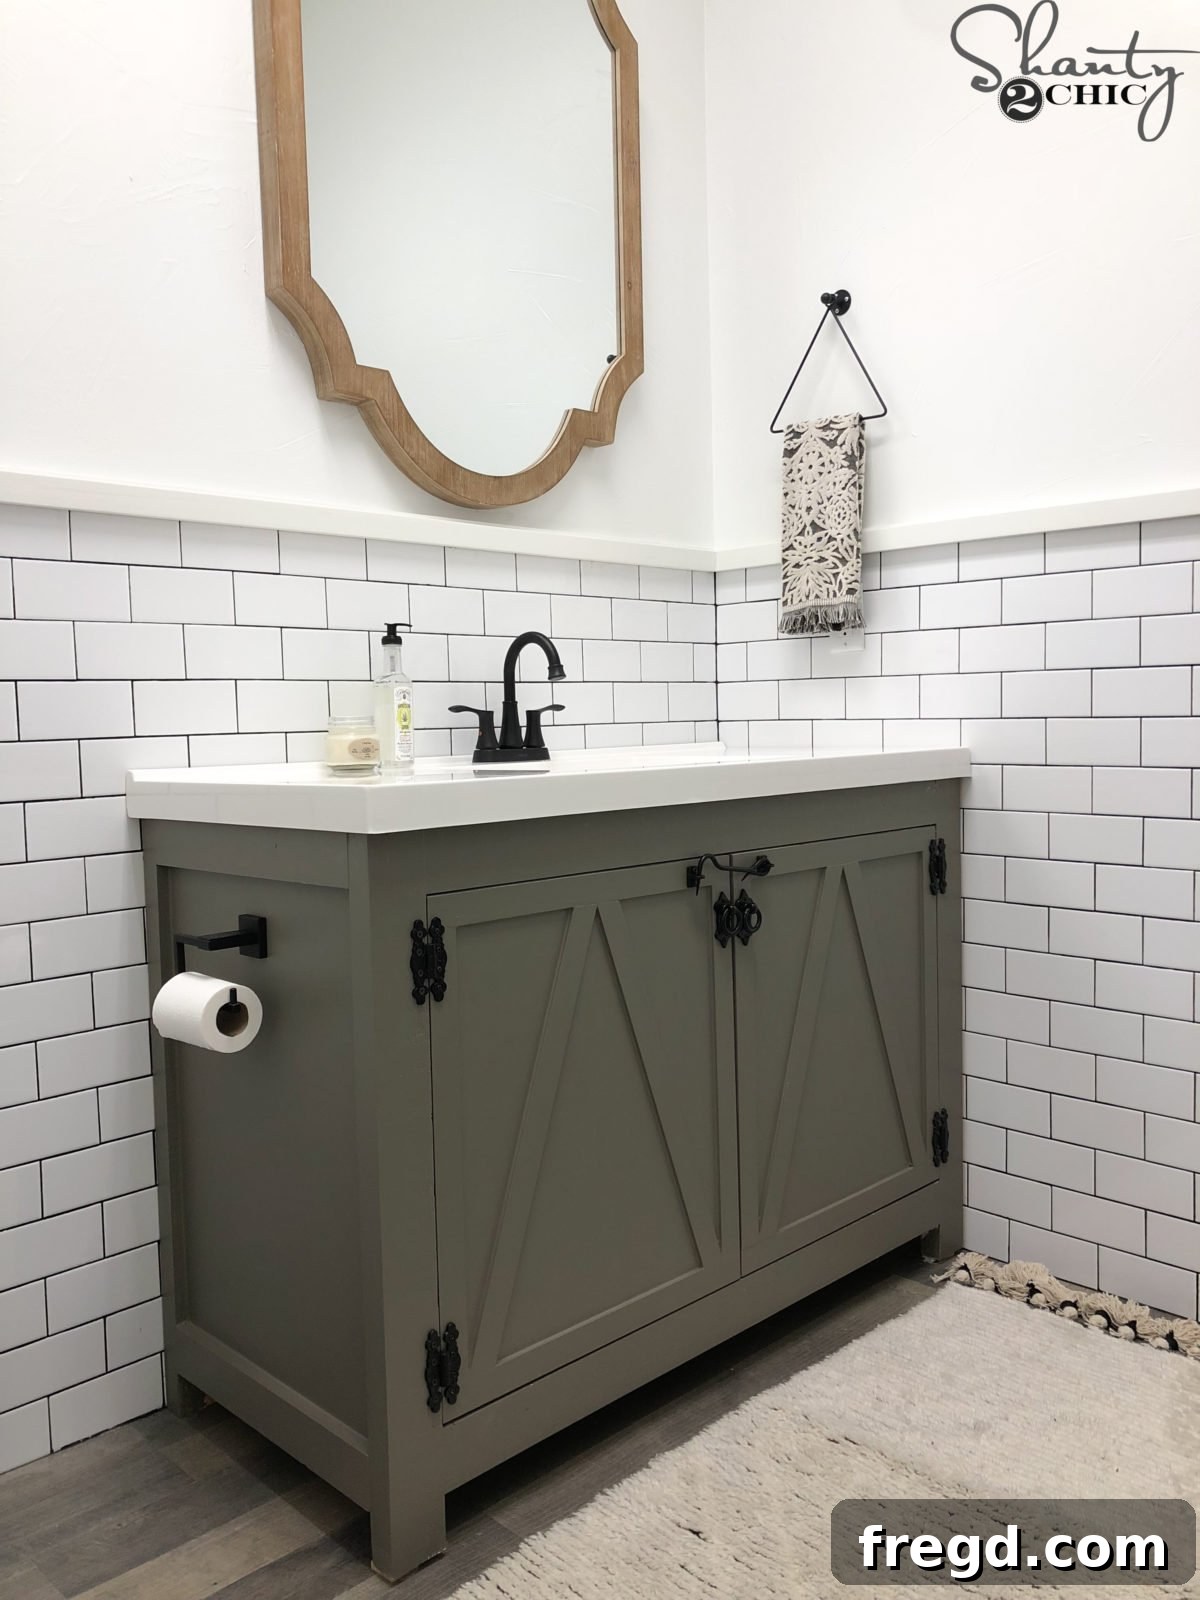
Embarking on a bathroom renovation, especially for a new office space, often brings the exciting yet daunting task of selecting the perfect sink vanity. Our recent quest for a new bathroom vanity proved to be a familiar journey of disappointment and sticker shock. After scouring countless stores and online catalogs, we consistently faced two major frustrations: an inability to find a design that truly resonated with our vision, and the exorbitant prices of those that merely came close. It became abundantly clear that the most practical and fulfilling path forward was to build our own. And let us assure you, the idea of constructing a bathroom vanity, while initially sounding complex, is far more approachable than it seems. If you possess the fundamental skill of building a simple box, then you are more than capable of tackling this project. So, let’s roll up our sleeves and dive into creating a stunning, bespoke DIY Modern Farmhouse Bathroom Vanity that perfectly complements your space and style.
Craft Your Dream: The DIY Bathroom Vanity Project
Beyond the undeniable satisfaction of a successful DIY project, this modern farmhouse vanity offers a compelling blend of benefits. Not only is it remarkably easy to construct, making it accessible even for those with moderate woodworking experience, but it also presents a significant cost-saving alternative to store-bought options. Furthermore, the aesthetic appeal of this handcrafted piece far surpasses anything we encountered in retail environments. It allows for a level of customization and charm that mass-produced items simply cannot match, ensuring your bathroom gains a unique focal point.
Ready to bring this vision to life? Settle in with your favorite beverage and prepare to be inspired. You can watch our detailed, step-by-step video guide by clicking HERE or by simply playing the embedded video below. Our video tutorial offers a dynamic visual accompaniment to these written instructions, making the building process even clearer and more enjoyable.
As you’ve seen, this project is not only super easy but also incredibly affordable – a true win-win for any home improver! To ensure your success, we’ve prepared comprehensive, easy-to-follow instructions. Make sure to download the FREE printable plans HERE. These detailed plans provide all the necessary measurements and diagrams to guide you through each stage. You can also follow along with the detailed step-by-step guide provided below, which elaborates on each crucial phase of the construction.
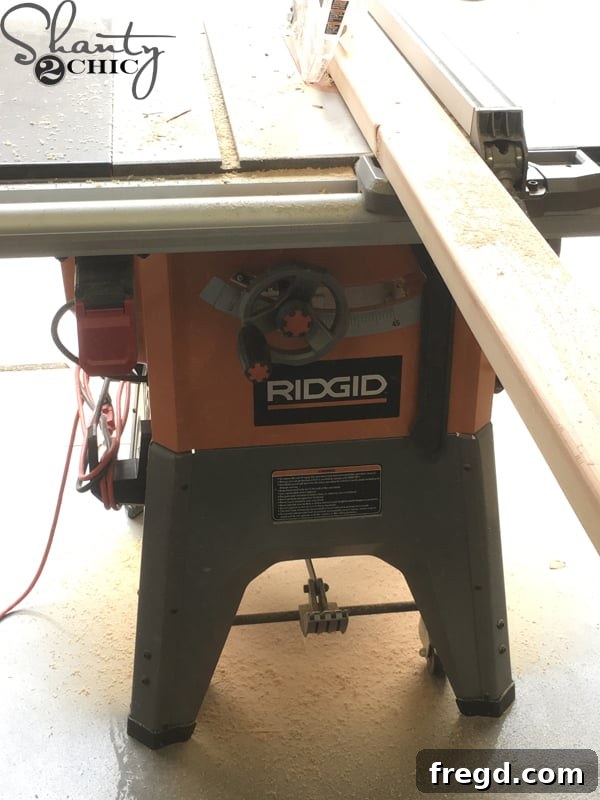
The initial step in achieving a polished, professional look for your vanity involves preparing the 2×4 boards. While not strictly mandatory, we highly recommend ripping off the rounded edges of your 2×4 boards to create a clean, crisp 3-inch width. This small detail significantly enhances the modern aesthetic of the farmhouse style. If you opt to skip this step and retain the original rounded edges, remember to meticulously adjust all subsequent measurements in the plans to accommodate the slightly different dimensions. Precision here is key for a seamless fit. For a visual demonstration of this technique, you can watch our detailed how-to video on this specific process HERE. Safety first: always use appropriate safety gear when operating power tools.
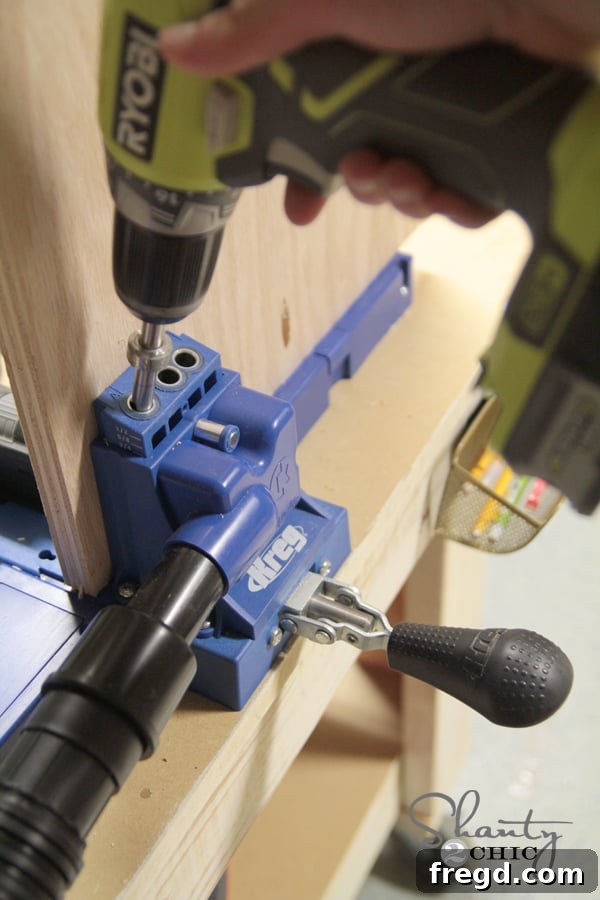
Moving on, the next critical phase involves crafting the essential side panels of your vanity. Begin by precisely cutting your plywood and leg pieces according to the provided plans. Accuracy at this stage is crucial for a symmetrical and sturdy build. Once cut, we utilized our trusty Kreg Jig to meticulously drill 3/4-inch pocket holes into each side of the plywood. Pocket holes are a fantastic method for creating strong, concealed joints, ideal for furniture construction. These angled holes will securely anchor the legs to the plywood, forming the robust framework of your side panels. A quality Kreg Jig is an invaluable tool for any woodworking enthusiast, simplifying joinery significantly. You can find our personal favorite model of Kreg Jig and discover its benefits HERE!
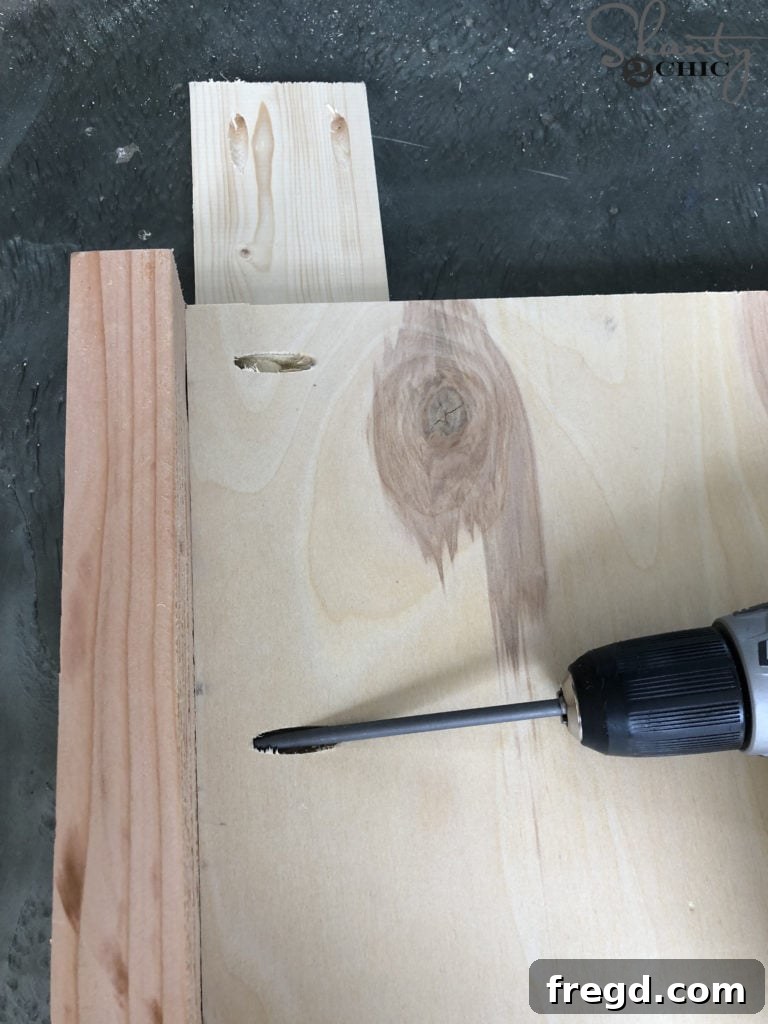
With the pocket holes prepared, it’s time to assemble the side panels. Carefully align and attach one leg to each side of the plywood using 1 1/4-inch pocket hole screws, reinforced with a generous application of wood glue. The wood glue provides an additional layer of strength, ensuring a lasting bond. Pay close attention to the positioning: the top edge of the legs should be perfectly flush with the top edge of the plywood. Furthermore, it’s essential to create a precise 3/4-inch gap on the front face of the panels and a 1 1/2-inch gap on the back. These specific gaps are vital for the subsequent attachment of trim and structural components. You will need to build two identical assemblies to form both sides of your vanity. Pro Tip: To achieve the exact 3/4-inch gap needed on the front effortlessly, place a scrap 1x board (which is typically 3/4-inch thick) underneath each panel as you attach the legs. This simple trick provides consistent spacing and makes alignment much easier.
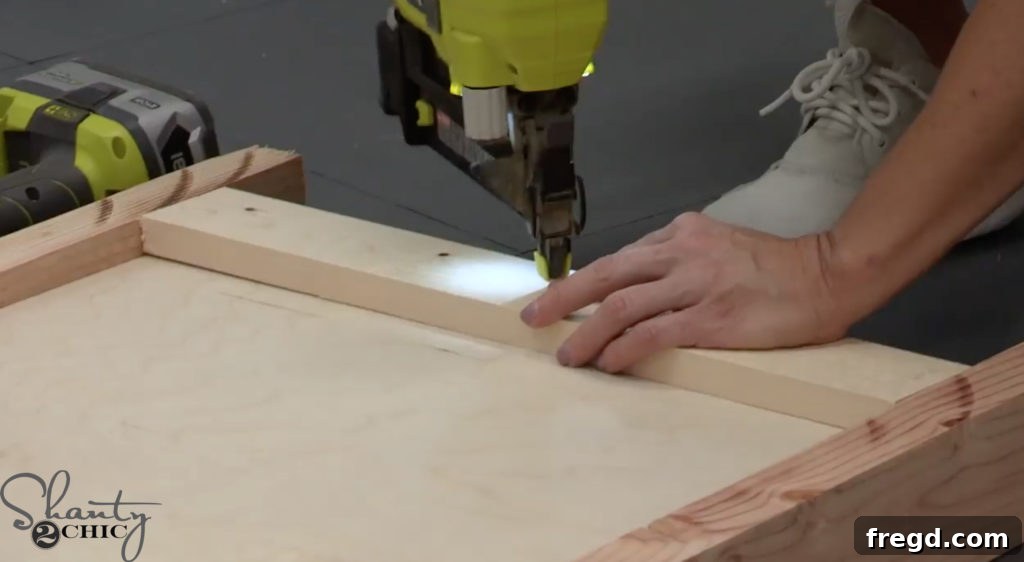
Once your side panel assemblies are complete, the next step enhances their aesthetic appeal and structural integrity by adding the trim. Accurately measure and cut the top and bottom side panel trim pieces to size. These trim pieces will give the vanity a finished, custom-built look. Carefully flip the side panels right-side-up, ensuring they are stable for attachment. Then, with precision, attach these trim pieces to the front of each side panel. For this, we used our reliable Ryobi 18-Volt, 18-gauge brad nailer, securing the trim with 1 1/4-inch brad nails. Always use wood glue in conjunction with nails for maximum strength and durability. The brad nailer makes quick work of this, leaving minimal holes that are easy to fill later. For anyone looking to invest in this incredibly versatile tool, you can find our favorite Brad Nailer model HERE!
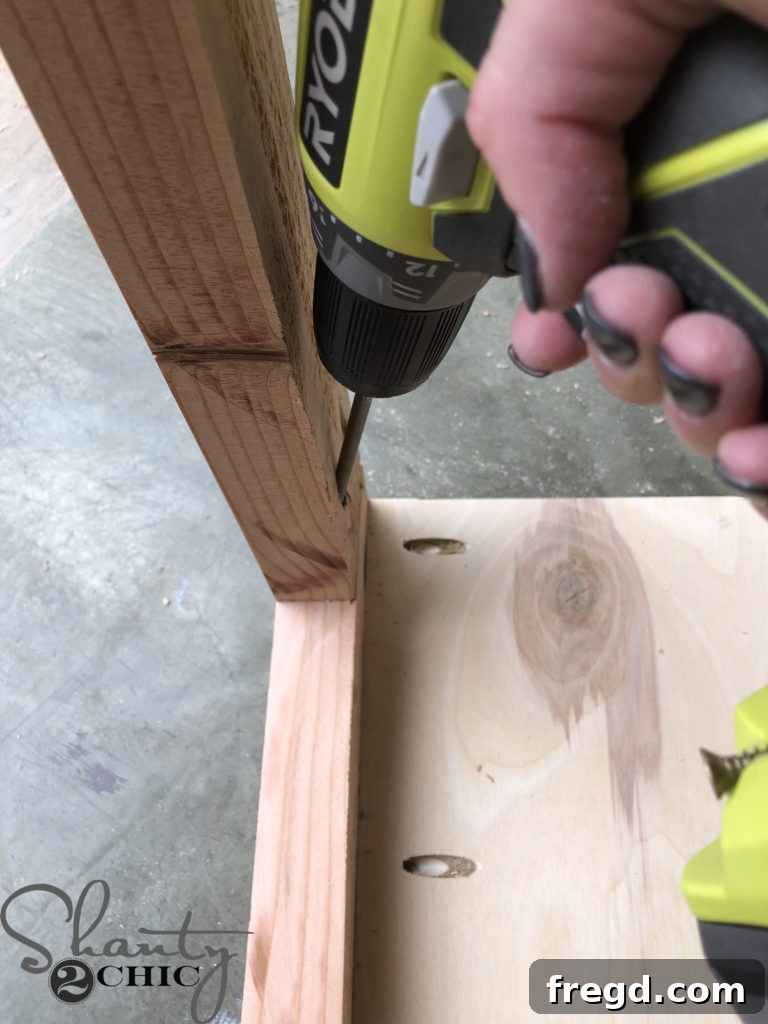
With both robust side panels fully assembled and trimmed, it’s time to unite them and form the main carcass of the vanity. This involves connecting the front and back aprons, which act as crucial horizontal stabilizers. Begin by cutting the front and back apron pieces to their exact specified sizes. For the back aprons, drill 3/4-inch pocket holes, while the front aprons require 1 1/2-inch pocket holes. This difference in hole depth accommodates varying screw lengths and ensures optimal joint strength. Once the holes are drilled, carefully position and attach these aprons to the legs. Use the appropriate 3/4-inch and 1 1/2-inch pocket hole screws, always supplementing with wood glue for a strong, lasting bond. Proper placement of these aprons on the legs is critical for the vanity’s overall stability and squareness, so always refer back to your detailed plans for precise guidance on their positioning. Take your time to ensure everything is perfectly square before tightening all screws.
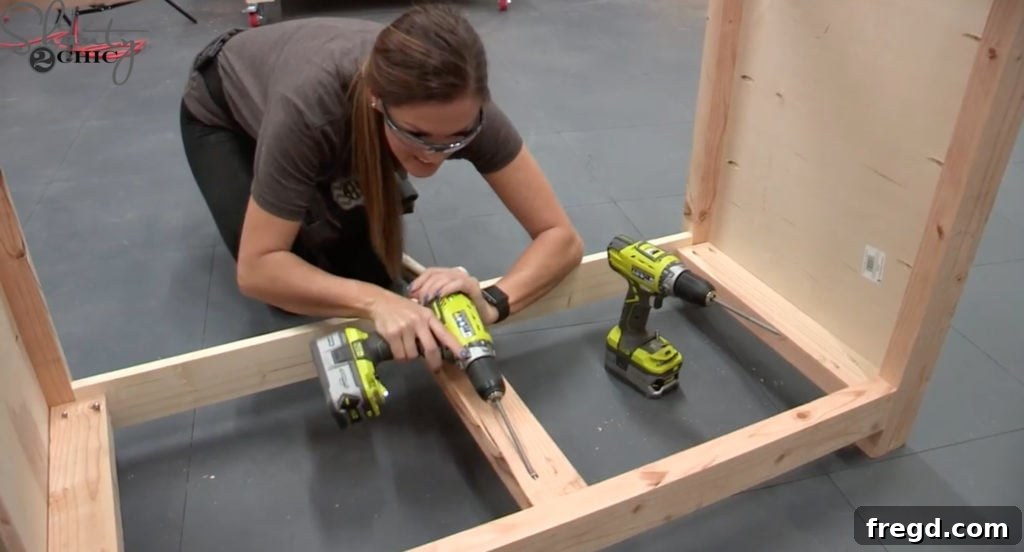
Next, we will install the bottom support pieces, which are fundamental for supporting the vanity’s base. Cut these support pieces accurately to size. Drill 1 1/2-inch pocket holes into the ends of these supports that will connect to the front apron. For the opposing ends, drill 3/4-inch pocket holes. This variation in pocket hole depth ensures the correct screw length can be used for each connection point, optimizing strength and avoiding blowouts. With the pocket holes ready, carefully attach these support pieces to the aprons using a combination of 1 1/4-inch and 2 1/2-inch pocket hole screws. As with all structural connections, apply wood glue generously before fastening. These supports will create the necessary framework for the bottom shelf, providing a solid foundation for the vanity’s interior space and contributing significantly to its overall rigidity.
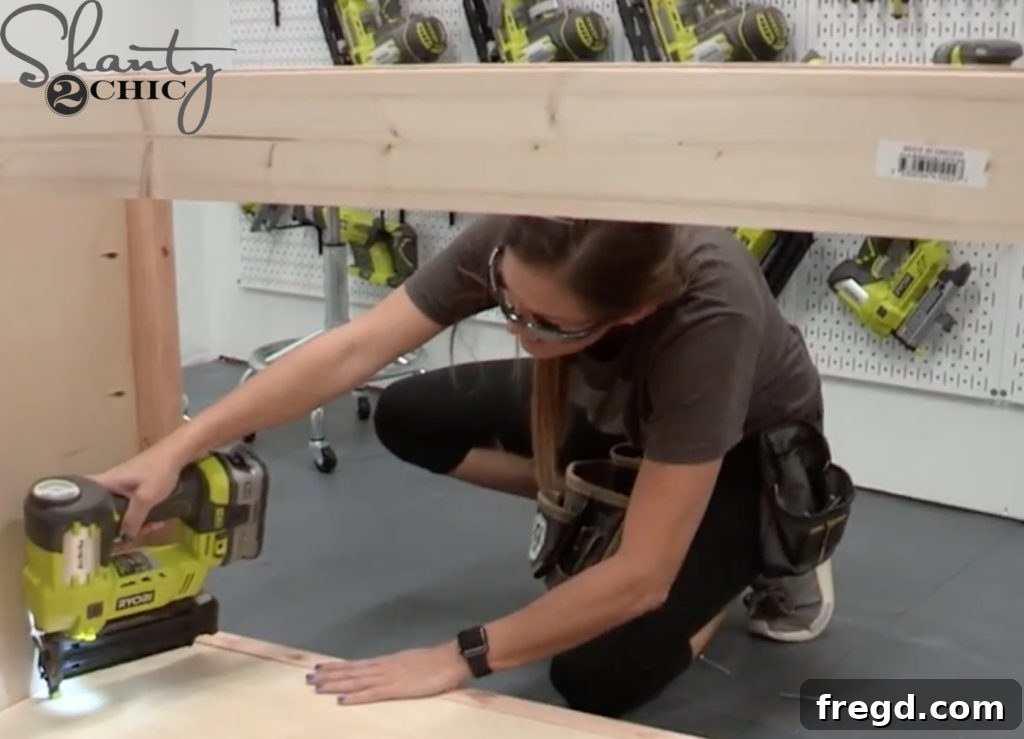
With the foundational supports in place, it’s time to install the bottom of the vanity, which forms a robust shelf for storage. Begin by cutting the plywood sheet to the precise dimensions specified in your plans for the vanity’s bottom. Once cut, apply a continuous, even bead of wood glue along the top edges of all the bottom support pieces you just installed. Carefully lay the cut plywood sheet directly onto these glued supports, ensuring it sits flush and square within the frame. To permanently secure the plywood, we used our dependable Ryobi 18 Gauge Brad Nailer, driving 1 1/4-inch brad nails through the plywood and into the supports. The combination of wood glue and brad nails creates a very strong bond, preventing any movement and providing a solid, stable base for the vanity’s interior. This step marks a significant milestone, as your vanity will truly begin to take its final form.
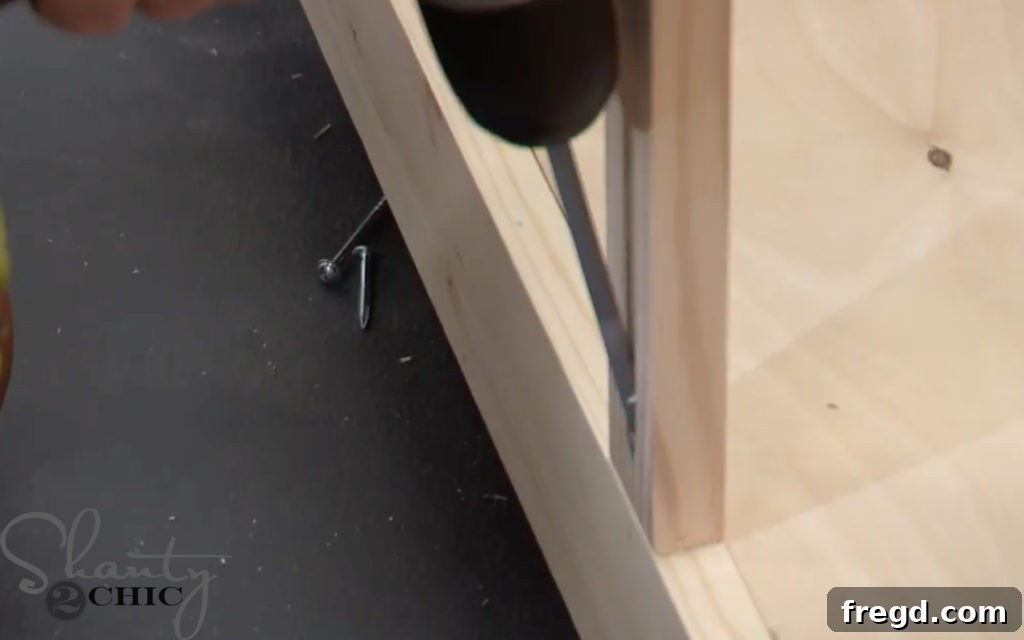
To further enhance the structural integrity and functionality of your vanity, the next step involves adding the crucial middle support pieces. These supports help distribute weight evenly and provide additional attachment points. Accurately cut the middle support pieces to their specified length. Drill 3/4-inch pocket holes into both ends of each middle support. This ensures a strong, concealed connection to the aprons. Carefully center these middle supports on the aprons, ensuring precise alignment according to your plans. Then, securely attach them to the aprons using 1 1/4-inch pocket hole screws, reinforced with a liberal application of wood glue for superior hold. Referring to your detailed plans for the exact placement of these middle support pieces is paramount, as their position can impact the functionality of doors or internal shelving. These supports contribute significantly to the overall rigidity and longevity of your custom vanity.
Note: At this juncture, you have the option to install a back panel on your vanity. If you choose to do so, cut a 1/4-inch plywood sheet to the appropriate size. Then, attach it securely to the back aprons and any back dividers using 3/4-inch staples and wood glue. A back panel adds a finished look and can help prevent items from falling behind the vanity. However, we opted not to include a back panel in our design due to the specific plumbing configurations in our bathroom. For those installing a back panel with existing plumbing, you can easily use a jigsaw to cut precise openings for your pipes, ensuring a snug and custom fit. This adaptability allows you to tailor the vanity to your specific bathroom’s needs and existing infrastructure.
Now, for the part that truly defines the aesthetic and functionality: the doors!
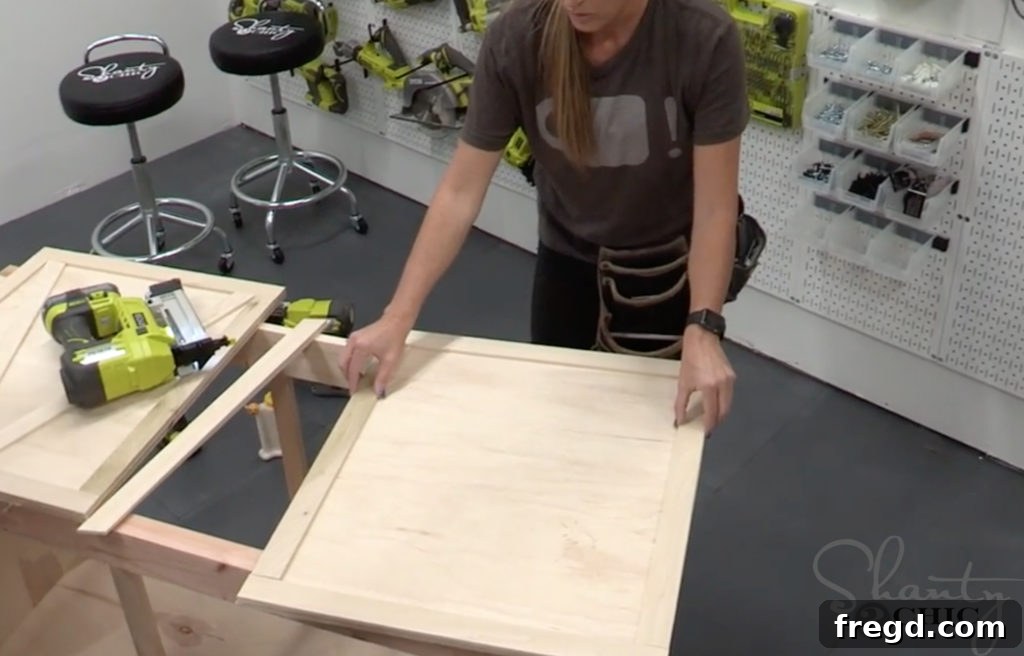
Crafting the doors is a satisfying step that brings your modern farmhouse vanity to life. Begin by cutting the 1/2-inch plywood panels and the top and bottom craft boards to their exact specified dimensions. These form the core and initial trim of your doors. Once cut, carefully attach the top and bottom craft boards to the plywood panels using 5/8-inch brad nails and a strong wood glue. Ensure precise alignment and firm pressure during this step to create neat, clean edges. Following this, move on to the diagonal trim pieces. These diagonal elements are a hallmark of the farmhouse style, adding visual interest and character. Attach them using the same method: a combination of 5/8-inch brad nails and wood glue. The glue provides the long-term hold, while the brad nails temporarily secure the pieces while the glue cures. Repeat this process for all vanity doors, ensuring consistency in their construction for a harmonious overall look.
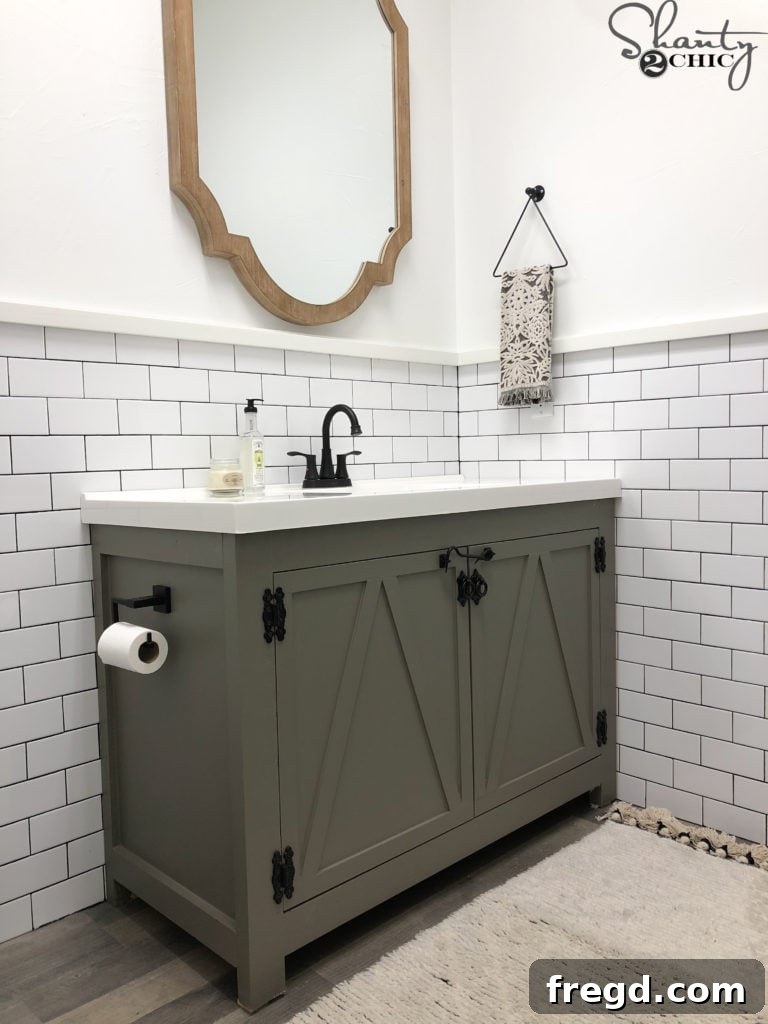
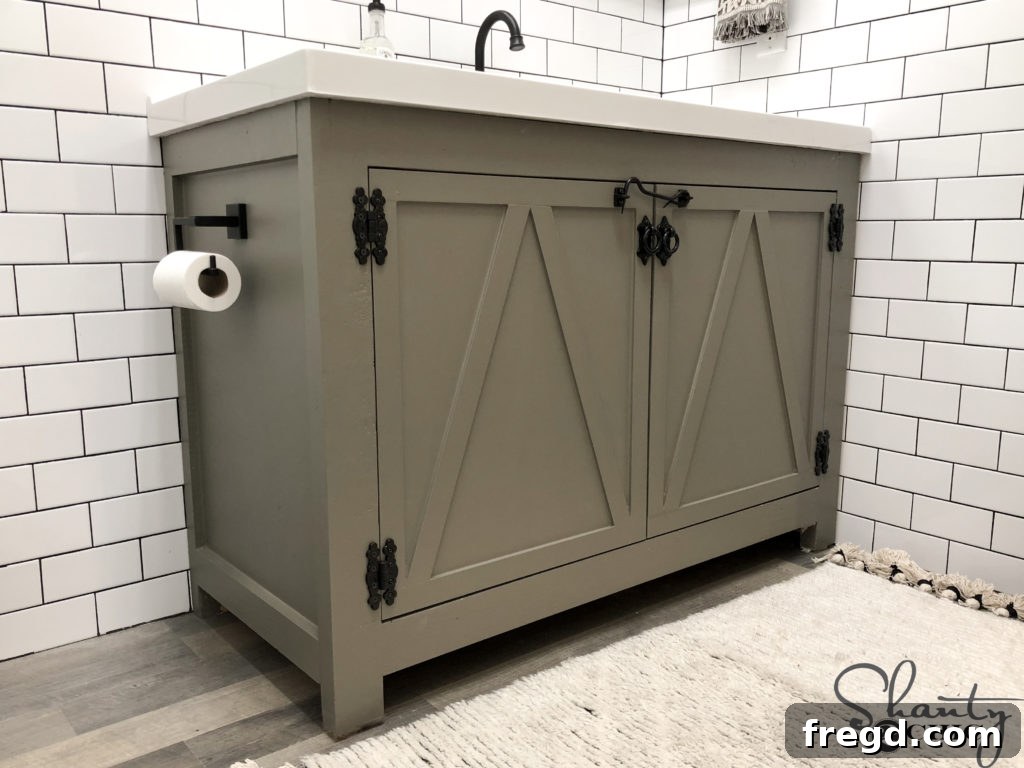
With the construction phase complete, it’s time for the exciting finishing touches that transform your raw build into a beautiful piece of furniture. We meticulously applied two coats of high-quality paint to all surfaces of the vanity and doors. For bathroom furniture, it’s advisable to use a paint that offers good moisture resistance to protect against humidity. Allow ample drying time between coats and light sanding if necessary for a super smooth finish. Once the paint was fully cured, we proceeded to attach the hardware. This includes the hinges for the doors, and any chosen handles or pulls that complement the modern farmhouse aesthetic. Finally, the vanity top was carefully placed and secured. When it comes to the plumbing connections for your sink, if you’re not entirely comfortable working with pipes and seals, we highly recommend hiring a professional plumber or a skilled handyman. They can ensure all connections are watertight and up to code, preventing future headaches. To ensure our newly built cabinet doors remained neatly closed, we installed robust cabinet latches. You can find the specific cabinet latches we used, which offer a great balance of functionality and style, HERE!
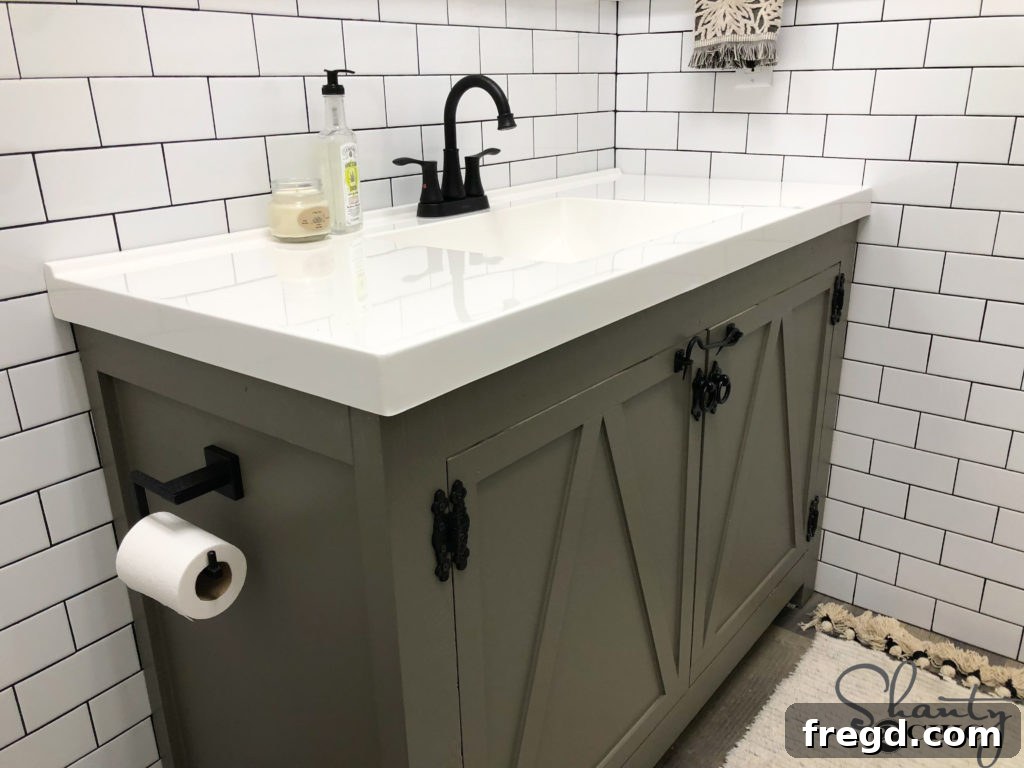
One of the greatest advantages of building your own vanity is the ability to perfectly integrate it with your chosen sink top. We thoughtfully designed the dimensions of this vanity to fit this specific vanity top, ensuring a seamless and custom look. This precise planning eliminates common issues like gaps or ill-fitting components that often arise with off-the-shelf vanities. The result is a cohesive and elegant fixture that looks professionally installed. For those who appreciate the crisp aesthetic, you can find the exact vanity top that we purchased and integrated into this project HERE!
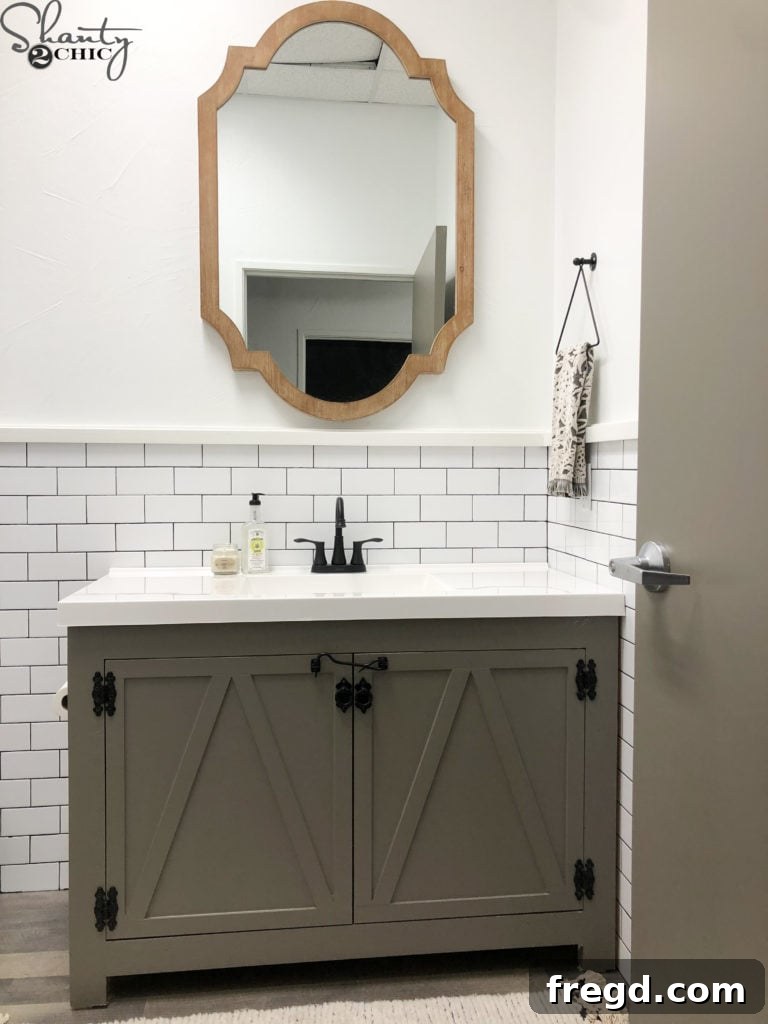
The completed vanity is a true testament to the beauty of thoughtful design and DIY craftsmanship. We absolutely adore the harmonious blend of clean lines, which lend a contemporary edge, with the charming rustic hardware that firmly grounds it in the beloved farmhouse aesthetic. The crisp white top provides a bright, refreshing contrast and completes the sophisticated yet inviting look. It’s a statement piece that not only serves its function impeccably but also elevates the entire bathroom’s decor.
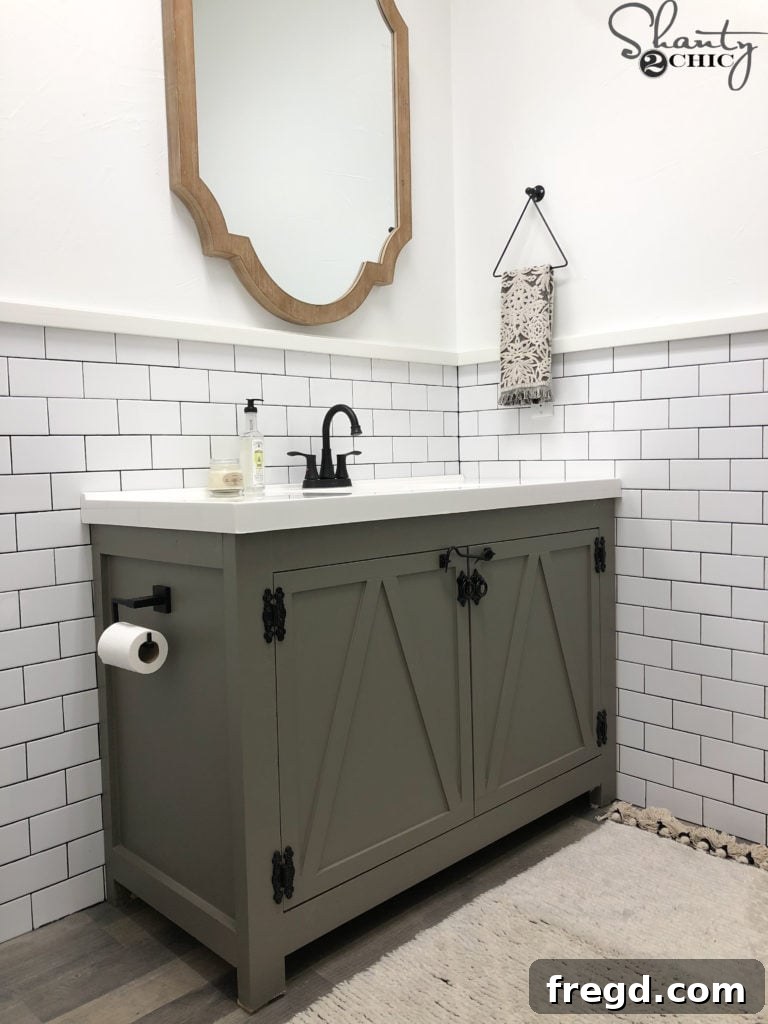
This project delivered precisely the vanity we had envisioned in our minds – a piece that, despite extensive searching, simply wasn’t available in stores. The satisfaction of bringing that vision to life with our own hands is immeasurable. Not only did we successfully create a unique, high-quality fixture tailored perfectly to our needs and aesthetic preferences, but we also realized significant financial savings compared to purchasing a comparable item. This DIY modern farmhouse bathroom vanity stands as a testament to the power of custom building, proving that with a little effort, you can achieve exactly what you want, often for a fraction of the retail cost, without compromising on style or functionality.
For your convenience, here is a comprehensive list of everything we used and sourced for this beautiful DIY Bathroom Vanity project. These are the exact items that helped us achieve this stunning result:
Faucet
Vanity Top
Toilet Paper Holder
Hand Towel Holder
Mirror
Cabinet Latches
Hinges
Hook and Eye Closure – Hobby Lobby
Handles – Hobby Lobby
Rug
We absolutely love seeing your creative projects come to life! Once you’ve completed your own DIY Modern Farmhouse Bathroom Vanity, we encourage you to share your beautiful builds with us on social media. Be sure to use the hashtag #shanty2chic in your posts so we can easily find and share your inspiring work with our community! Your success stories motivate and encourage other DIY enthusiasts, and we can’t wait to celebrate your craftsmanship.
Happy Building, and enjoy your stunning new custom vanity!