
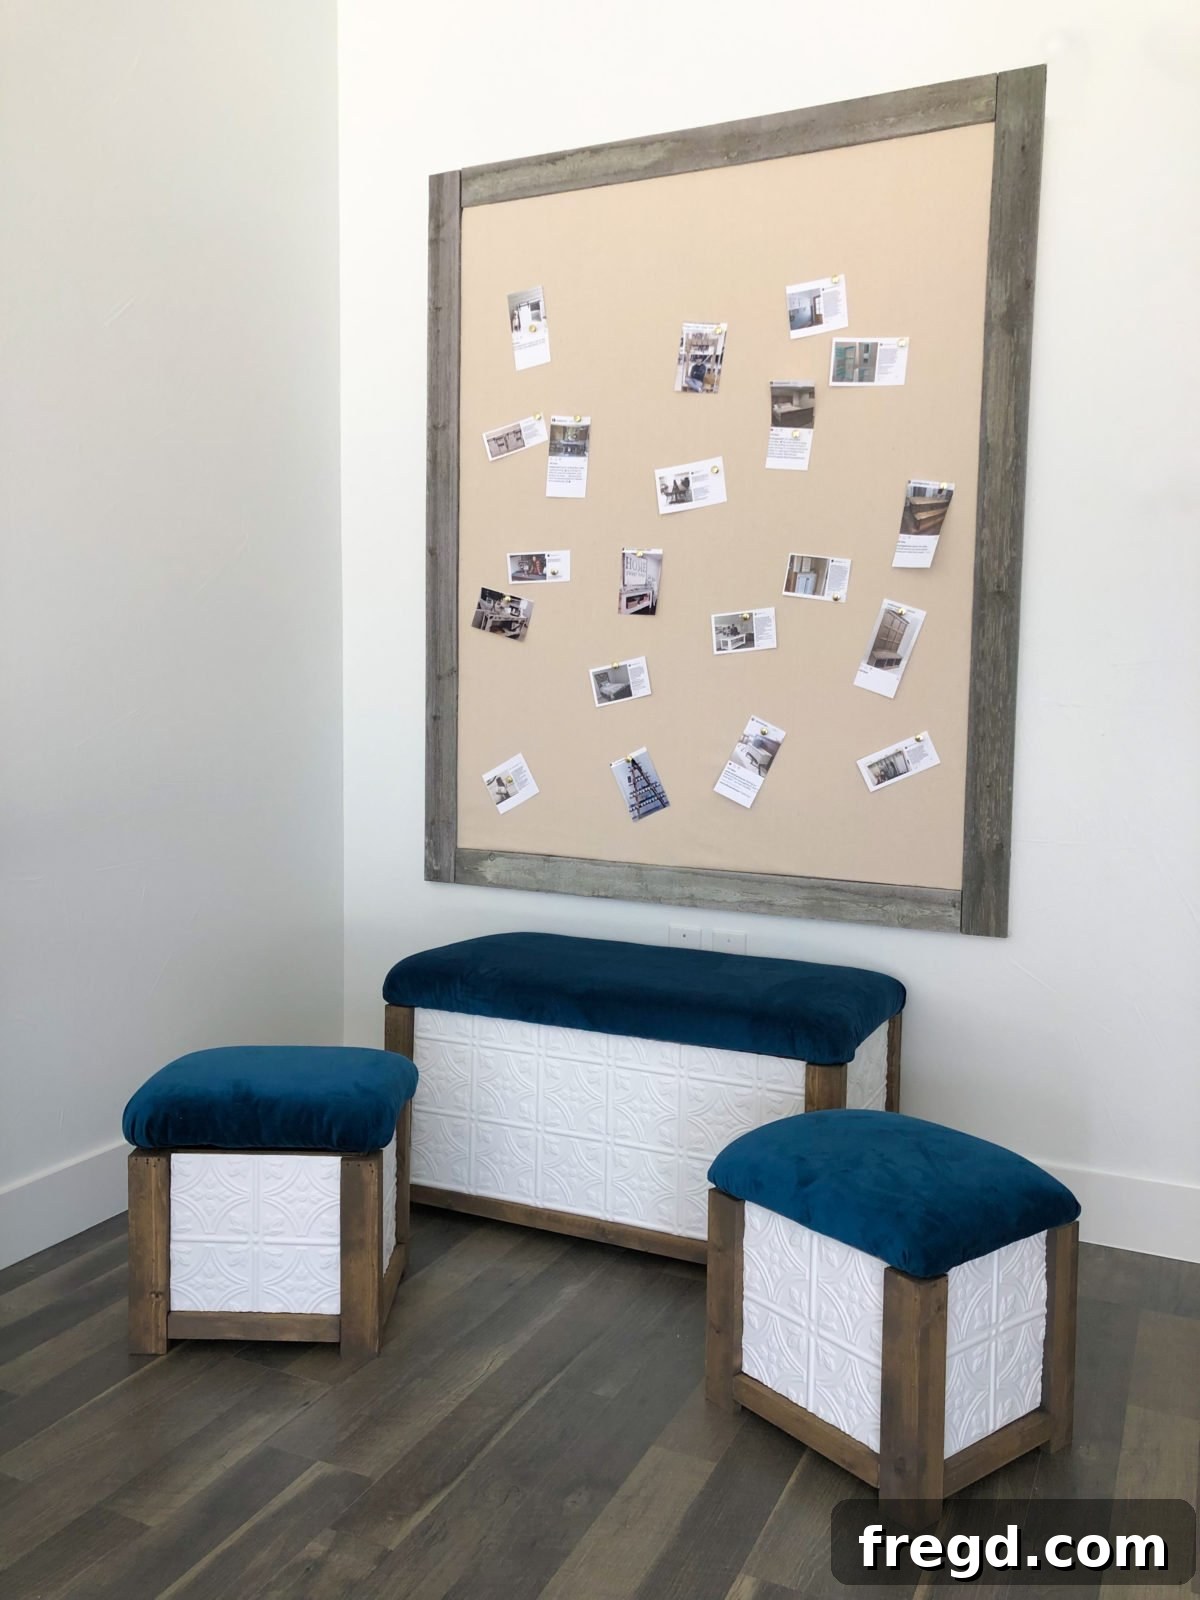
If you’re anything like us, the quest for more storage space is a never-ending journey. Imagine combining that essential need with stylish, versatile furniture that adds a touch of custom elegance to any room. We’re thrilled to share a project that does just that: our DIY Trunk with Nesting Ottomans, a brilliant solution for decluttering and enhancing your home decor. This unique build merges functional storage with our beloved faux tin tile technique, creating pieces that are as beautiful as they are practical. Whether you’re a seasoned woodworker or just starting your DIY adventure, this project offers rewarding results. Dive in and discover how to build these fantastic nesting ottomans and a matching trunk – perfect for stowing away essentials while offering comfortable extra seating.
Ready to see this exciting project come to life? Click HERE or watch the detailed video tutorial below!
For a complete guide, make sure to download the FREE Printable Plans HERE. These plans provide precise measurements and diagrams that will be invaluable throughout your build. This comprehensive set of plans is designed for constructing one elegant trunk and two perfectly sized nesting ottomans. The great news is that the core construction for both the trunk and the ottomans follows a very similar process, making it easier to master. We’ll begin by detailing the construction of an ottoman, guiding you through each step to ensure a successful and enjoyable build.
DIY Trunk with Nesting Ottomans: Your Ultimate Storage and Seating Solution
The allure of this DIY project extends beyond just storage. These nesting ottomans offer incredible versatility, allowing you to pull them out for extra seating when guests arrive or neatly tuck them away under the main trunk when not in use. The trunk itself provides ample hidden storage, keeping your living spaces tidy and organized. Adorned with beautiful faux tin tiles, these pieces transform ordinary plywood into high-end furniture that looks like it came straight from a designer showroom. This article will walk you through the entire process, from preparing your lumber to applying the final decorative touches, ensuring your DIY Trunk with Nesting Ottomans is a masterpiece of both form and function.
Step-by-Step Guide: Building Your Nesting Ottomans and Storage Trunk
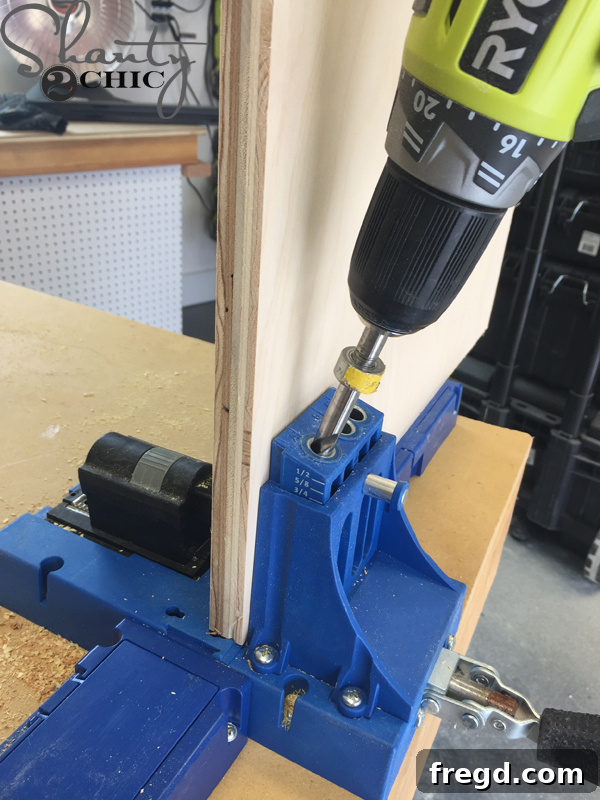
Accuracy is key when beginning any woodworking project, and building your DIY trunk and ottomans is no exception. Start by carefully cutting all your plywood pieces to the specified sizes according to the free printable plans. Once your pieces are precisely cut, the next crucial step involves drilling pocket holes using a Kreg Jig. For the bottom piece of your ottoman or trunk, drill 3/4″ pocket holes on all four sides. For the front and back pieces, you’ll need to drill 3/4″ pocket holes on both ends. These strategically placed pocket holes are essential for creating strong, concealed joints. Using a reliable Kreg Jig ensures consistent, strong, and clean pocket holes, which are fundamental to the structural integrity of your furniture. You can find our trusted and favorite Kreg Jig model HERE to help you achieve professional-level results in your woodworking endeavors.
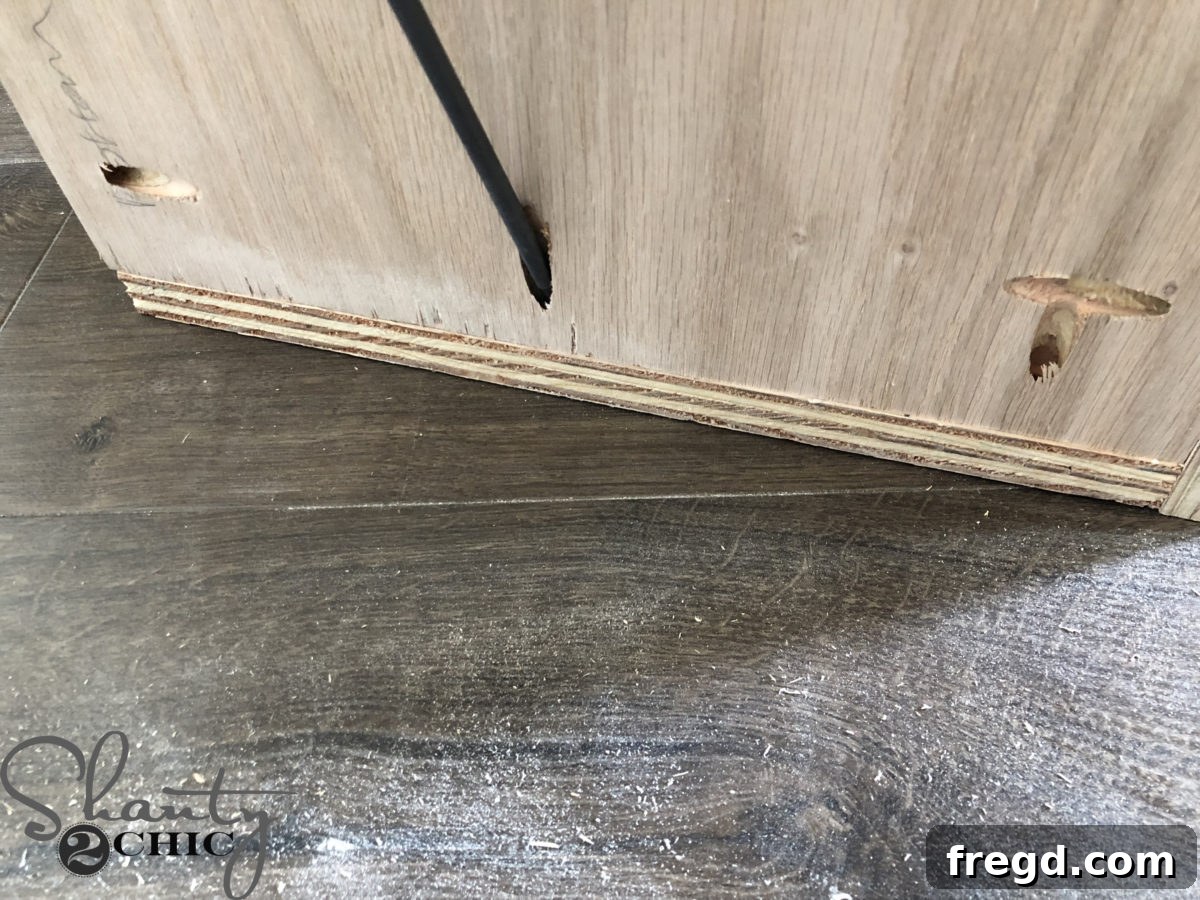
With your pocket holes drilled, it’s time to start assembling the main body of your ottoman or trunk. Begin by attaching the front and back plywood pieces to the bottom piece. Apply a generous bead of wood glue along the edges to be joined, then secure them firmly with 1 1/4″ pocket hole screws. It’s important to orient the pocket holes so they face outwards. This clever positioning ensures that the pocket holes will be completely concealed later in the process when you apply the decorative faux tin tile, resulting in a clean and seamless finish. This method not only provides robust structural support but also maintains the aesthetic appeal of your DIY furniture piece.
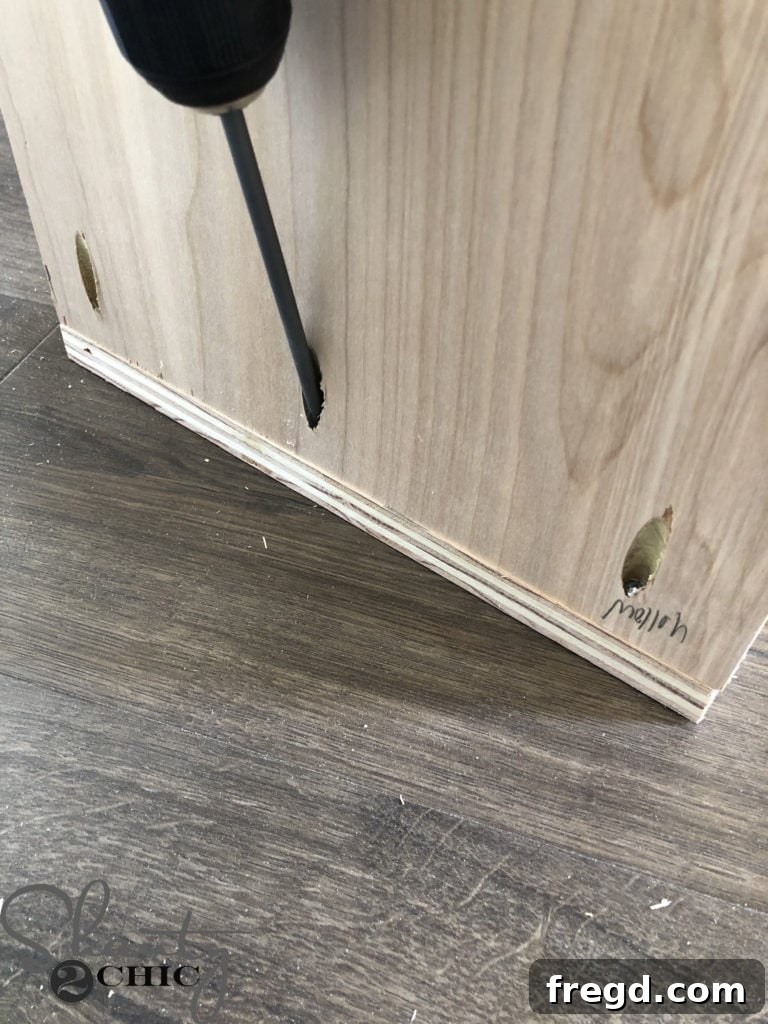
Once the front and back panels are securely attached, carefully flip the partially assembled piece over. Now, you will attach the side pieces to complete the box structure of your ottoman or trunk. Apply wood glue to the mating edges and secure them using 1 1/4″ pocket hole screws. This step ties all the main body panels together, forming a sturdy and robust frame that will serve as the foundation for your nesting ottoman or storage trunk. Ensure all connections are tight and square, as this will impact the overall stability and appearance of your finished furniture piece.
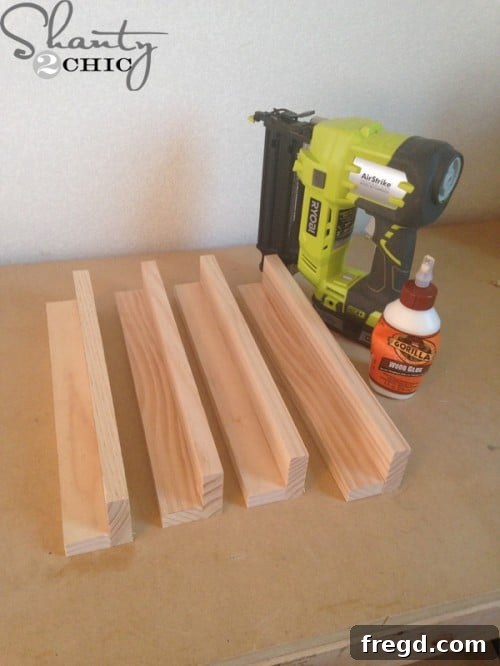
Next, let’s create the stylish and supportive legs for your ottomans and trunk. Begin by cutting all the leg pieces to their precise sizes as indicated in your plans. Each leg is constructed by combining a 1×2 and a 1×3 piece of lumber. Apply wood glue along the surface of the 1×2 where it will meet the 1×3, then align and attach them using 1 1/4″ brad nails. Repeat this process for all four legs required for each piece of furniture. This combination of wood glue and brad nails creates a strong, durable leg assembly that will provide excellent stability and a sophisticated finish to your DIY storage solutions.
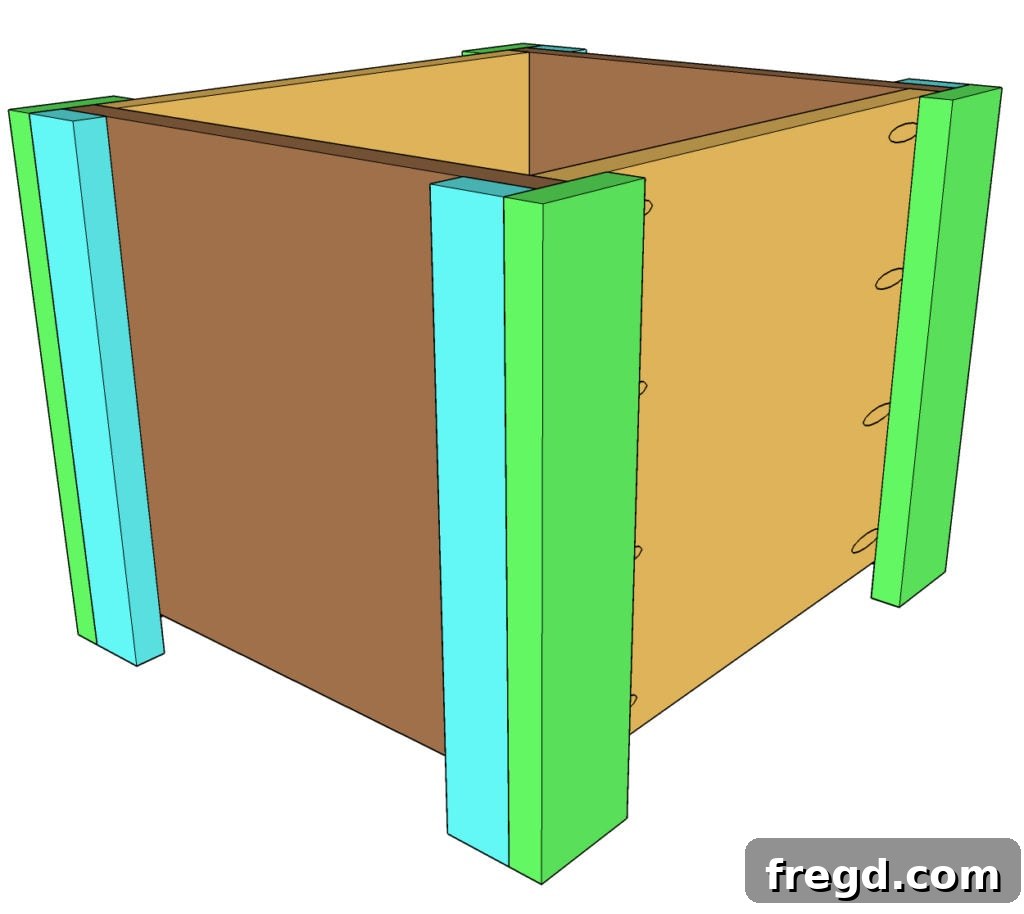
Now it’s time to integrate the leg assemblies into the main structure of your ottoman or trunk. Carefully position each assembled leg into a corner of the ottoman/trunk body. Apply wood glue to the contact surfaces and then secure each leg firmly with 1 1/4″ brad nails. Pay close attention to the orientation: the wider 1×3 side of the leg should face the front and back of the ottoman, ensuring maximum stability and a refined aesthetic. Crucially, align the top of each leg to be perfectly flush with the top edge of the ottoman/trunk, while allowing the legs to extend approximately 1″ past the bottom edge. This extension not only provides a beautiful design detail but also elevates the piece slightly, protecting the bottom from direct floor contact.
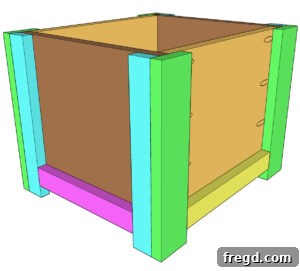
To give your ottomans and trunk a complete and polished look, the next step involves adding bottom trim pieces. Cut these trim pieces to the exact dimensions specified in your plans. Once cut, apply wood glue along the back of each trim piece and position them carefully around the bottom perimeter of your assembled ottoman or trunk. Secure the trim firmly with 1 1/4″ brad nails. This trim detail not only hides any exposed plywood edges at the bottom but also adds a significant touch of craftsmanship and finished elegance, elevating the overall appearance of your DIY storage furniture.
Before moving on to the upholstery and decorative faux tile application, it’s an excellent time to apply a base coat of stain or paint to all your wooden components. This step allows for thorough coverage on all surfaces before the addition of fabric and tiles, ensuring a consistent and beautiful finish. Apply one coat of your chosen stain to all the wooden pieces of your ottomans and trunk. This pre-finishing step simplifies the staining process and prepares the wood perfectly for its final look. You can find the specific wood stain we used for this project HERE, which achieved a rich, desirable hue that complements the faux tin tiles beautifully.
Adding Comfort and Style: Upholstering the Lids
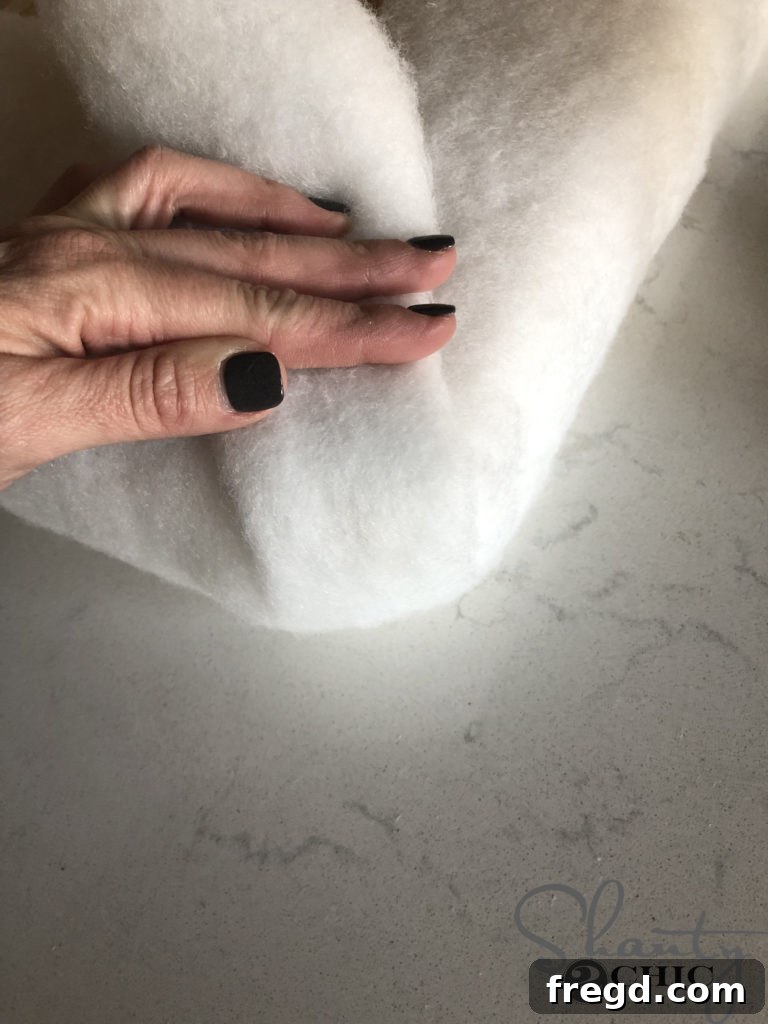
Once the two nesting ottomans and the main trunk are fully built and stained, it’s time to add the plush comfort of upholstery to their lids. This step is crucial for transforming them into functional seating pieces. Begin by attaching 2″ batting to the top of each lid, ensuring it’s taut and evenly distributed for a smooth, cushioned surface. Then, carefully stretch and secure your chosen upholstery fabric over the batting and around the edges of the lids. We sourced our high-quality batting and beautiful fabric from Hobby Lobby, offering a wide selection to match any decor. For a more detailed visual guide on this upholstery process, be sure to check out the comprehensive instructions in our how-to video. This stage not only adds comfort but also allows for immense personalization through fabric choice, making your DIY storage solutions truly unique.
The Signature Touch: Applying Faux Tin Tiles
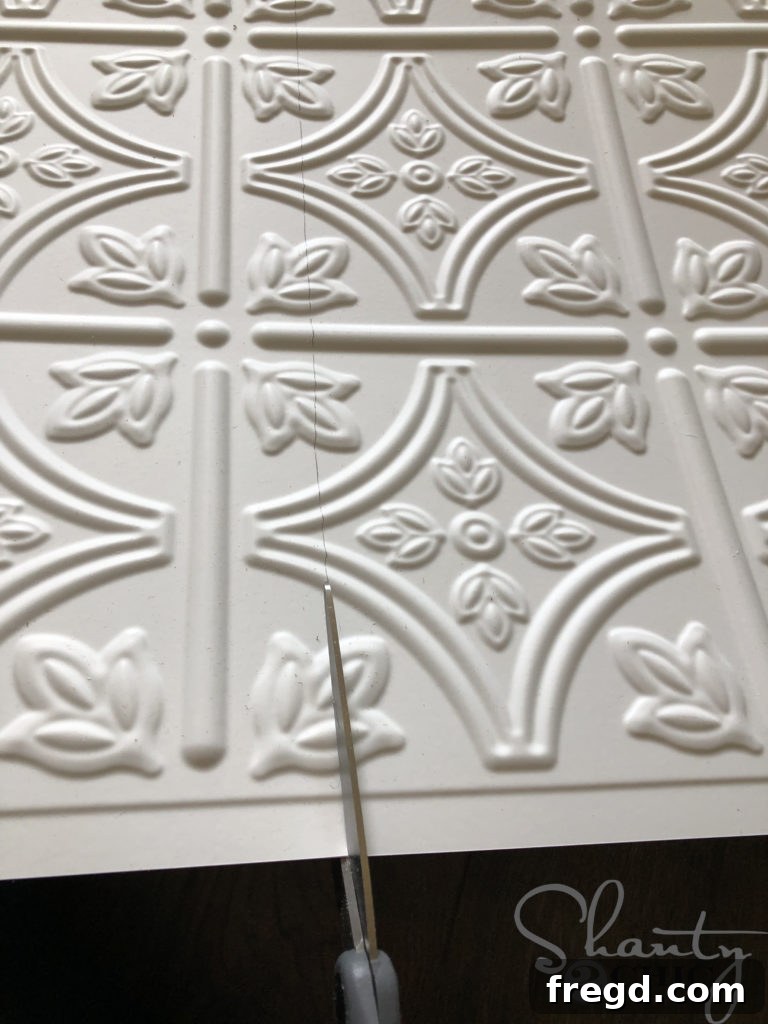
The faux tin tiles are what truly make these DIY nesting ottomans and trunk stand out, adding a touch of vintage charm and sophistication. Carefully cut each faux tin tile piece to the required size, ensuring clean and precise edges. Then, using hot glue, attach each tile piece firmly to the sides, front, and back panels of both the trunk and the ottomans. For the larger trunk, you will likely need two faux tin panels on both the front and back. This is where attention to detail pays off: you can carefully match up the intricate designs of the faux tiles and slightly overlap them to create a beautifully seamless pattern that looks like a single, continuous sheet. This technique is key to achieving that high-end, custom look. You can find the specific faux tin tile we used for this project HERE, which is easy to work with and delivers stunning results.
Final Assembly: Attaching the Hinges
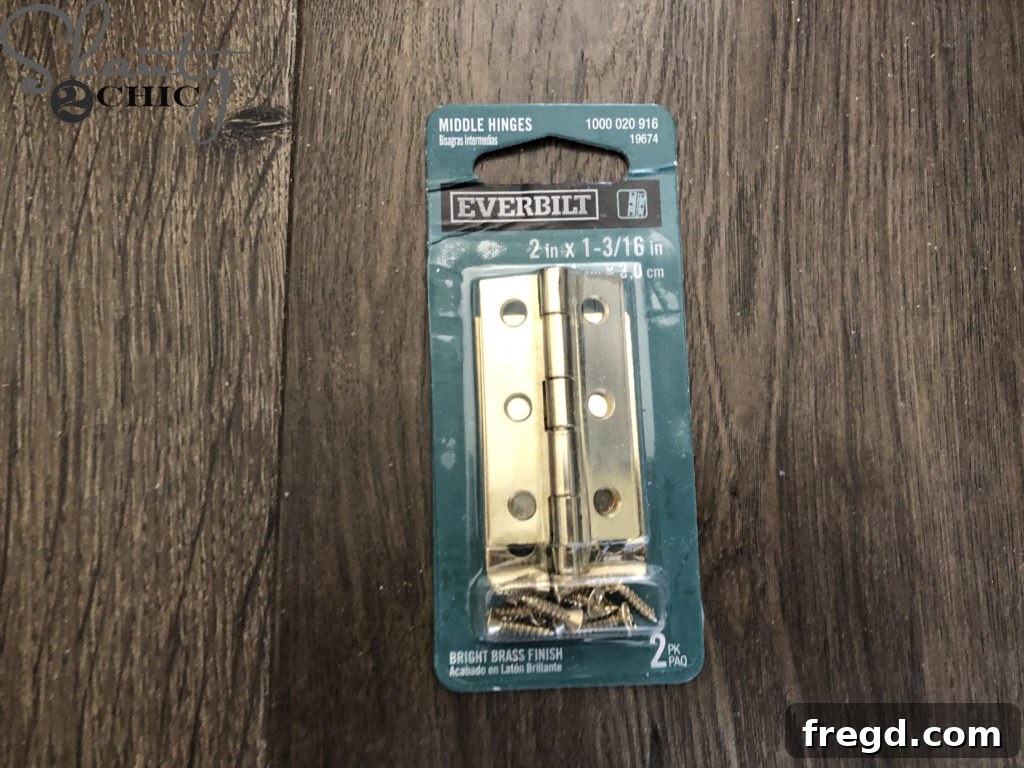
With the decorative elements in place, the final step in completing your DIY storage solutions is to attach the hinges, allowing the upholstered lids to open and close smoothly. For this project, we used a convenient pack of two 2″ hinges, which are perfectly sized for the lids of both the ottomans and the trunk. These hinges provide ample support and functionality. You can find the exact hinges we recommend HERE to ensure a reliable and durable mechanism for your lids.
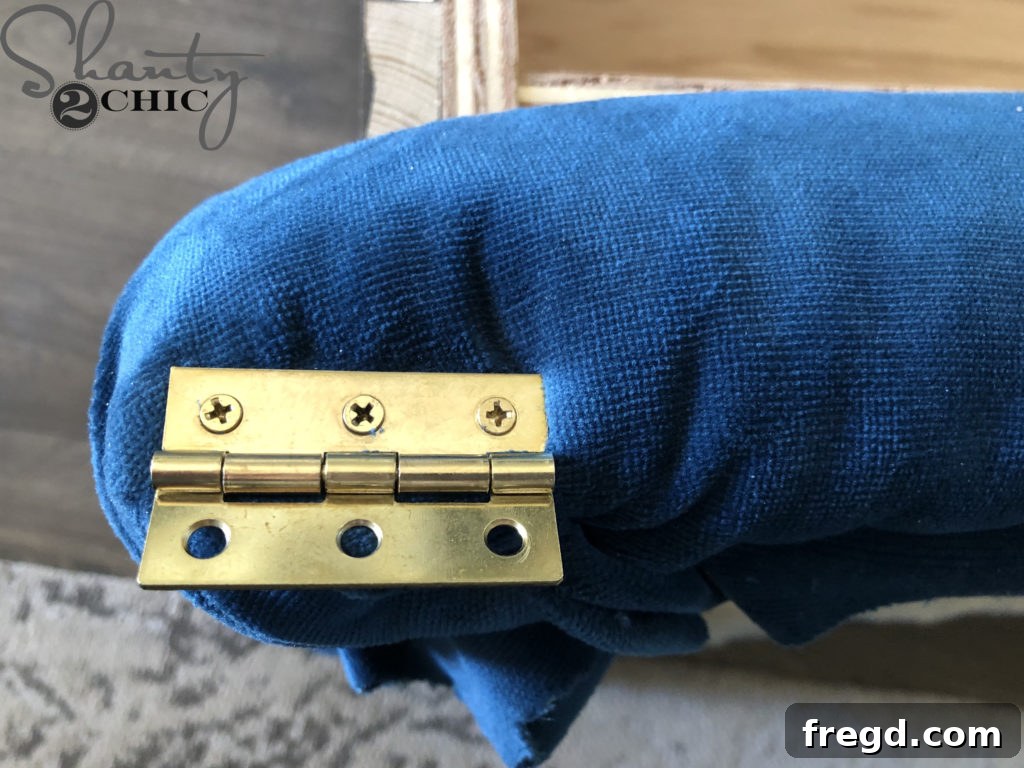
The hinge installation process is straightforward. First, position and attach the hinges directly to the upholstered lids. For these particular hinges, there’s no need for pre-drilling, making the process quick and effortless. Once the hinges are securely fastened to the lids, align the lids onto the main body of the trunk or ottoman, and then attach the other side of the hinges into the leg pieces. This strategic placement ensures that the hinges are securely anchored into solid wood, providing strong support for the opening and closing mechanism. Take your time to align the lids perfectly before screwing the hinges into the legs to ensure a smooth operation and a professional finish.
The Grand Reveal: Enjoying Your New DIY Masterpieces!
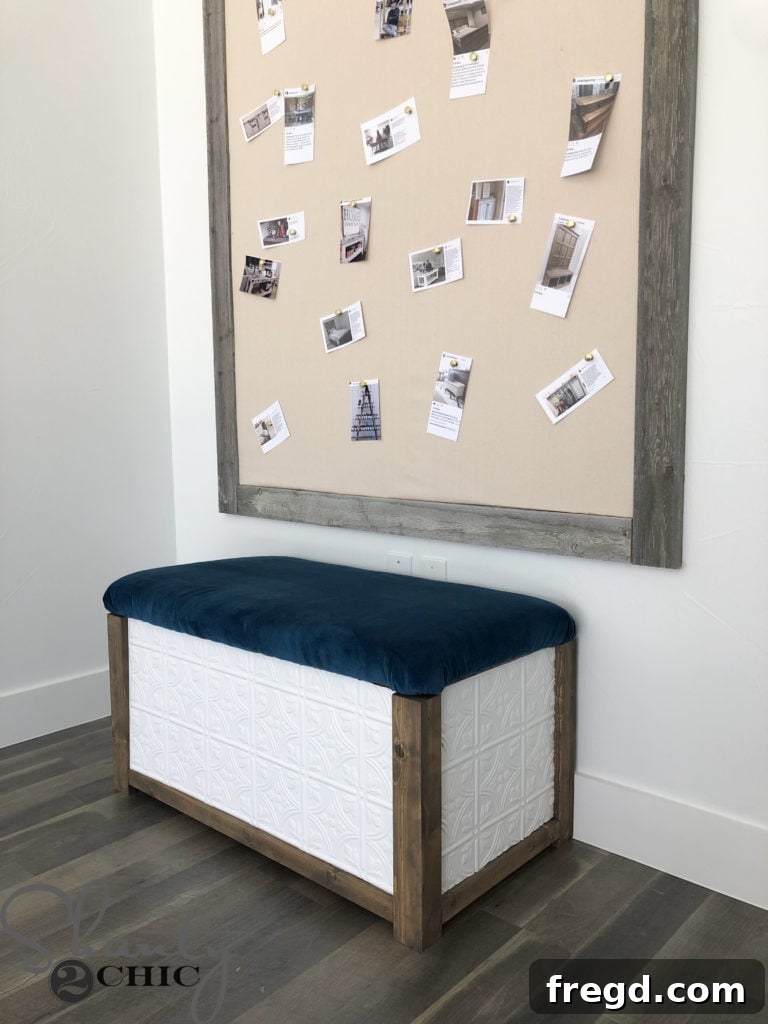
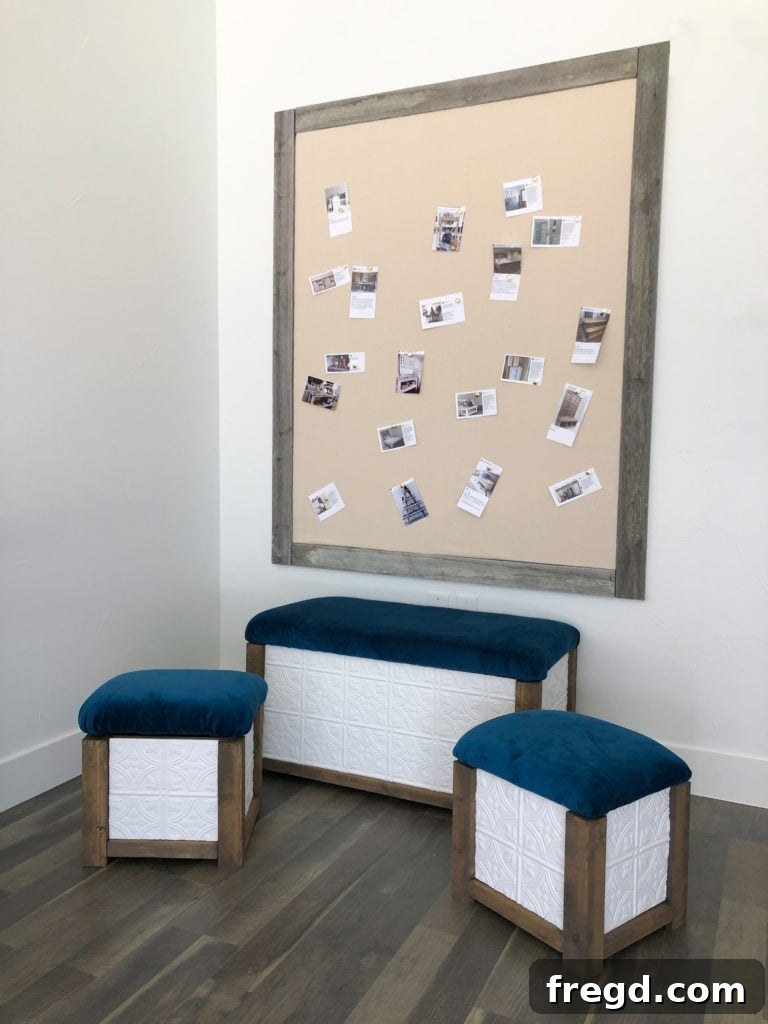
And just like that, you’ve completed a super cute and incredibly easy DIY project that brings maximum storage and style to your home! This DIY Trunk with Nesting Ottomans is more than just furniture; it’s a testament to your creativity and skill. Imagine the satisfaction of knowing you built these beautiful, functional pieces with your own hands. These nesting ottomans offer versatile seating for guests and discreet storage for blankets, toys, or magazines, while the larger trunk provides a generous space for bulkier items. The faux tin tile detail adds an undeniable charm, making them focal points in any living room, bedroom, or entryway.
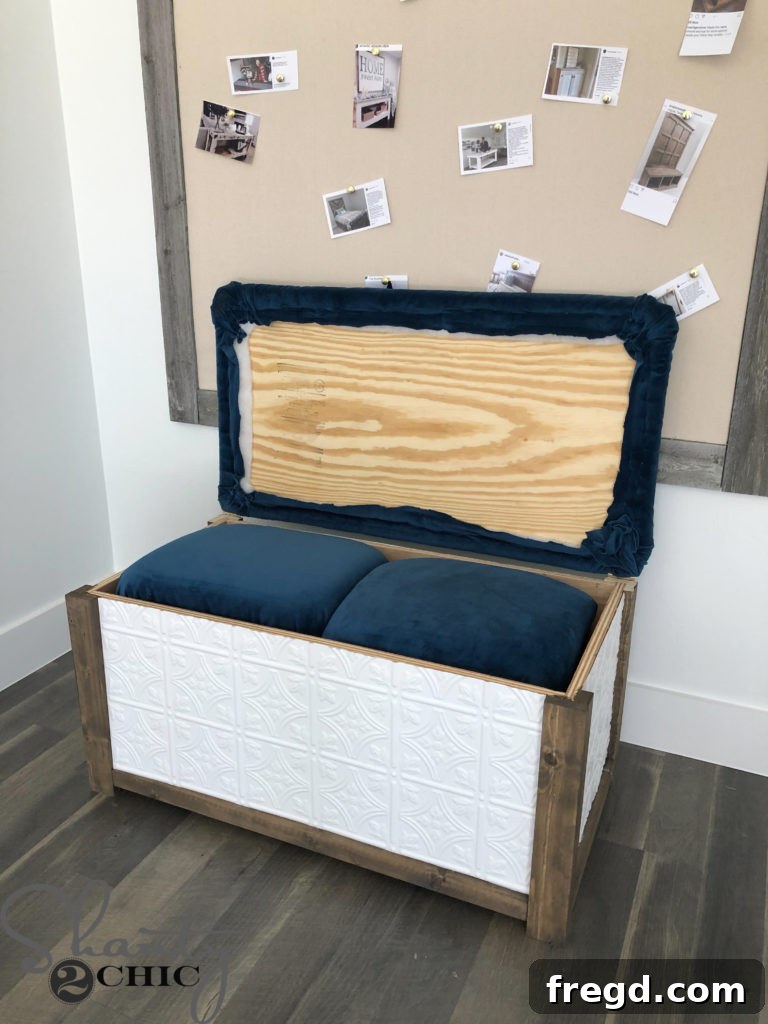
The beauty of this project lies not only in its practicality but also in its customizability. You chose the stain, the fabric, and brought it all together to create pieces that perfectly match your personal style and home decor. This project is a fantastic way to declutter your living spaces while adding significant aesthetic value and comfortable extra seating options. It’s perfect for small apartments needing clever storage solutions or larger homes looking for elegant accents. You’ve created durable, beautiful, and highly functional furniture that will be enjoyed for years to come.
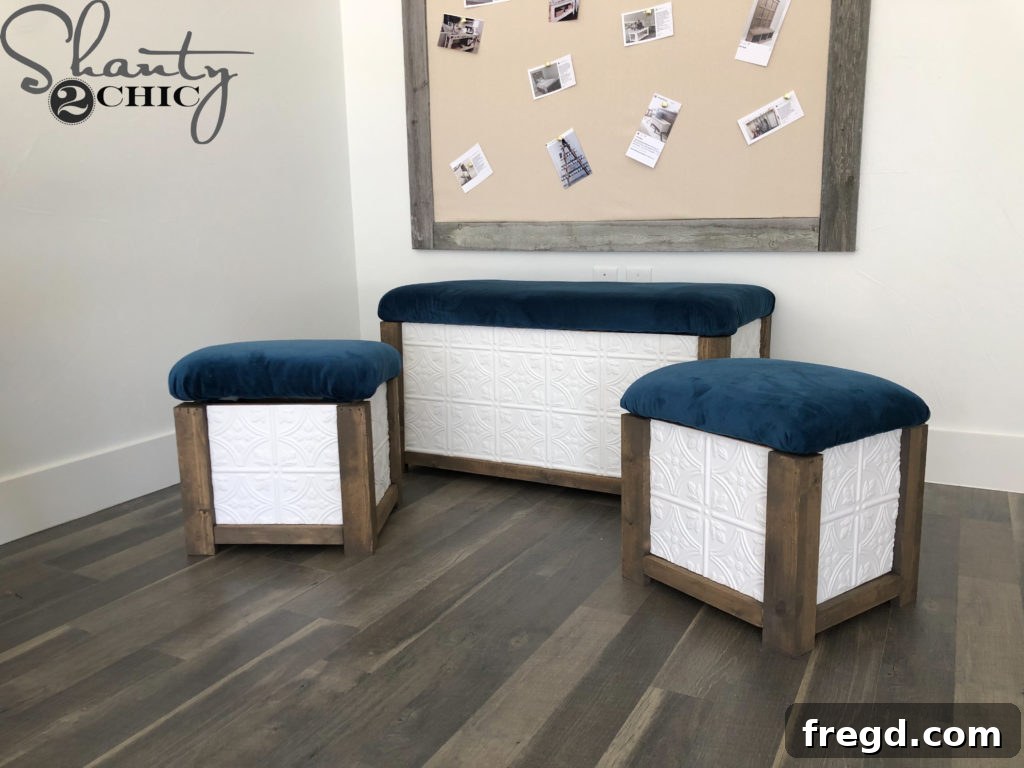
We absolutely love seeing what you create! Don’t forget to share your amazing builds with us on social media. When you post photos of your completed DIY Trunk with Nesting Ottomans, be sure to use the hashtag #shanty2chic so we can easily find and share your inspiring work with our community. Your projects serve as wonderful inspiration for others embarking on their own DIY journeys. We can’t wait to celebrate your craftsmanship and see how you’ve personalized these fantastic storage solutions in your home.
Happy Building!