
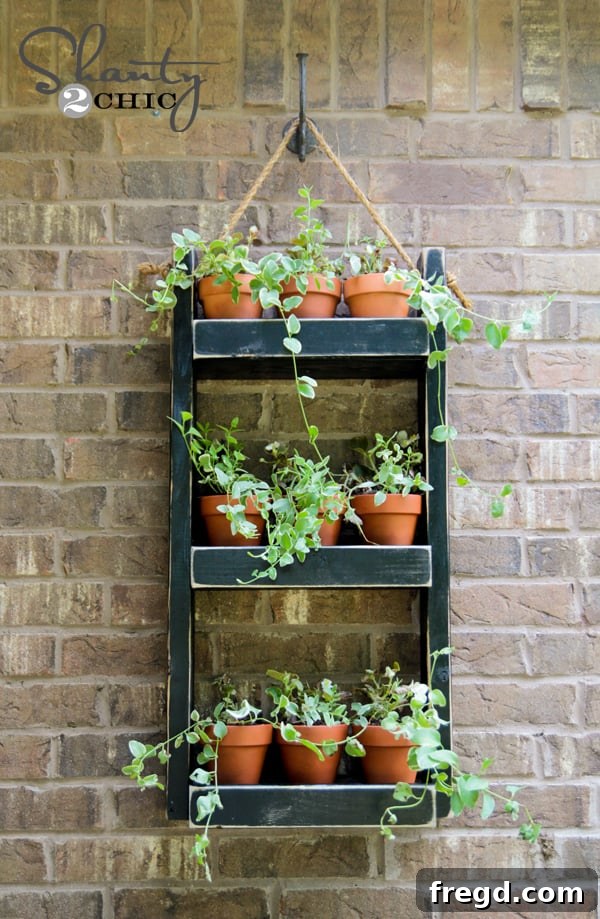
Transforming your outdoor space into a vibrant oasis doesn’t have to break the bank or consume your entire weekend. Imagine adding a touch of rustic charm and vibrant greenery to any blank wall or fence with a project that’s both rewarding and incredibly simple. Introducing your next favorite DIY endeavor: a stylish and functional DIY Wood Wall Planter. This project is designed for everyone, from novice crafters to seasoned DIY enthusiasts, promising a stunning result for under $20 and in less than an hour of active building time. Get ready to cultivate beauty and embrace your inner artisan!
As the weather warms and the allure of the outdoors beckons, my focus invariably shifts to enhancing every corner of my outdoor living area. This budget-friendly wood wall planter has quickly become my latest obsession. It’s not just a planter; it’s a statement piece, a vertical garden solution, and a testament to how simple woodworking projects can yield impressive aesthetic results. Perfect for urban balconies, cozy patios, or expansive garden walls, this versatile planter offers an ideal way to bring lush foliage, fragrant herbs, or colorful blooms right to your eye level, creating an immediate focal point and a breath of fresh air.
Beyond its charm, this project is a celebration of practicality. It repurposes common lumber into a display system that maximizes vertical space, making it perfect for small gardens or simply adding dimension to larger ones. The process is straightforward, the materials are affordable and readily available, and the customization possibilities are endless. Whether you envision a cascading succulent display, a fragrant herb garden, or a vibrant burst of annual flowers, this DIY wood wall planter is your canvas. It’s time to roll up your sleeves, grab your tools, and create a captivating piece of outdoor decor that will make your neighbors green with envy!
🛠️ Essential Materials for Your DIY Wood Wall Planter
Gathering your supplies is the first exciting step towards building your beautiful vertical garden. This project is designed to be cost-effective and utilize readily available materials, ensuring you can start without extensive hunting. Here’s a detailed breakdown of what you’ll need to create your sturdy and stylish wood wall planter:
- 1 – 2x4x8 Pine Board: This forms the robust side supports of your planter. Pine is an excellent choice for its affordability and ease of working. When selecting your board, look for straight pieces with minimal knots or warps for the best structural integrity and aesthetic finish.
- 1 – 2x6x8 Pine Board: This board will become the shelves that cradle your pots. The 2×6 dimension provides ample depth for small to medium-sized terracotta pots, ensuring they sit securely. Again, opt for straight boards to prevent wobbling shelves.
- 1 – 1x3x6 Pine Board: This thinner board is for the decorative trim along the front of each shelf. While optional, it adds a refined touch, helps secure the pots, and elevates the overall look of your planter.
- Drill (Your Trusty Sidekick): A cordless drill is indispensable for this project, essential for pre-drilling holes and driving screws. Ensure it’s charged and has appropriate drill bits for wood, including a 3/8″ bit for the hanging rope.
- Wood Glue + Finish Nails: Wood glue provides an incredibly strong bond, reinforcing the structural integrity of your planter. Finish nails (or brad nails if you have a nail gun) secure the trim pieces discreetly. Using both glue and nails ensures a durable and long-lasting connection.
- Spray Paint (Go Wild!): This is where your personal style shines! Choose a color that complements your outdoor decor. Opt for an exterior-grade spray paint for maximum durability and weather resistance. Consider bold hues, classic neutrals, or even a distressed look for added character.
- 2–3 Feet of Rope: This will be the sturdy and decorative hanging mechanism for your planter. Look for natural fiber ropes like jute, sisal, or cotton for a rustic feel, or a synthetic outdoor-grade rope for enhanced weather resistance. Ensure it’s strong enough to support the weight of the planter and its filled pots.
- 9 Small Clay Pots (Think Cute Over Clunky): These iconic terracotta pots are perfect for their charm and drainage properties. The design accommodates nine pots, allowing for a diverse display of plants. While clay pots are traditional, feel free to explore other small, lightweight pot options that fit the aesthetic you’re aiming for.
Before you begin, ensure you have all these materials on hand. It’s also wise to gather essential safety gear, such as safety glasses and work gloves, especially when handling power tools. A clear workspace will also make the construction process much smoother and more enjoyable. With your materials ready, you’re set to embark on a delightful woodworking adventure!
✂️ Step 1: Precision Cuts for a Perfect Structure
The foundation of any great woodworking project lies in accurate cuts. Taking your time with this step will ensure your planter is sturdy, level, and aesthetically pleasing. Remember to prioritize safety whenever using power tools. Always wear safety glasses and ensure your workpiece is securely clamped before making any cuts. If you’re new to using a miter saw or circular saw, practice on scrap wood first.
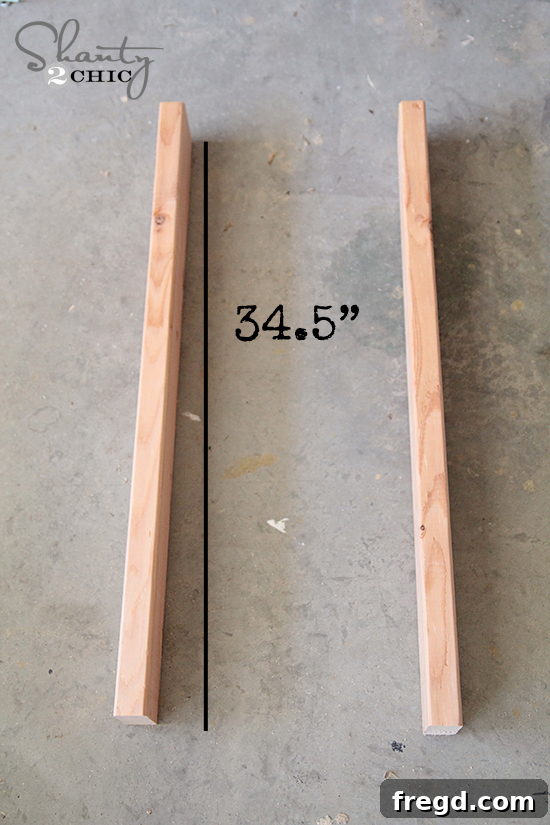
- From Your 2×4 Board: You’ll need to cut two pieces, each precisely 34.5 inches long. These will serve as the vertical side supports for your planter. Measure twice, cut once! A clean, straight cut here is crucial for the overall stability and appearance of your finished project.
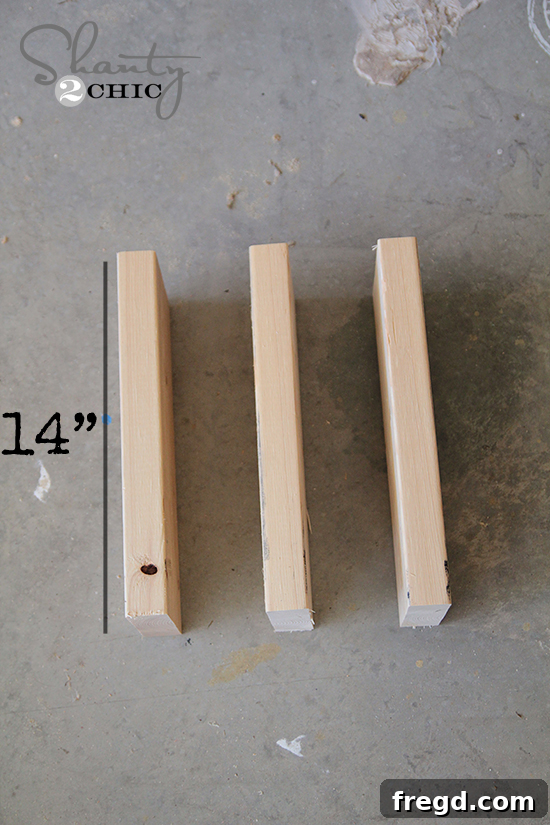
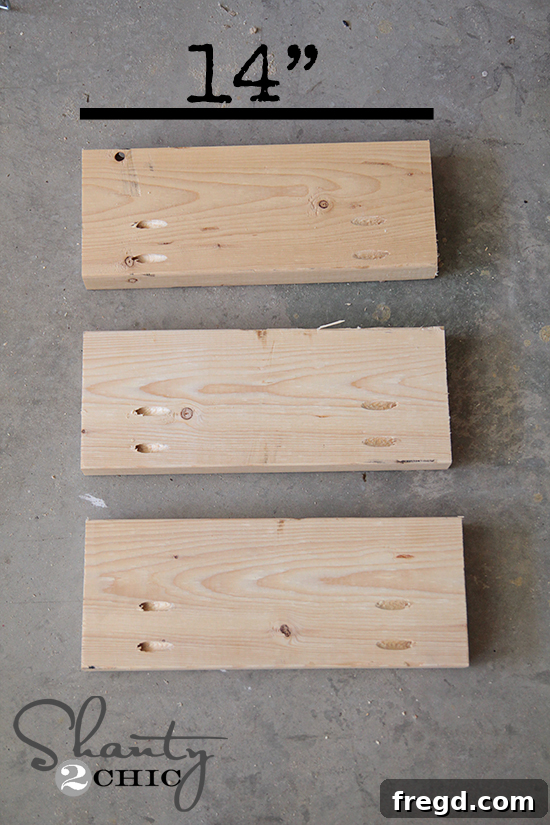
- From Your 2×6 Board: Cut three pieces, each 14 inches long. These will form the three horizontal shelves where your clay pots will rest. Again, accuracy is key to ensuring your shelves are level and evenly spaced.
With these cuts complete, you’ve already made significant progress! These basic components are the building blocks of your elegant wood wall planter. Ensure all cut edges are free of splinters; a quick pass with sandpaper now will save you effort later and ensure a smoother finish.
🔧 Step 2: Assembling the Sturdy Planter Frame
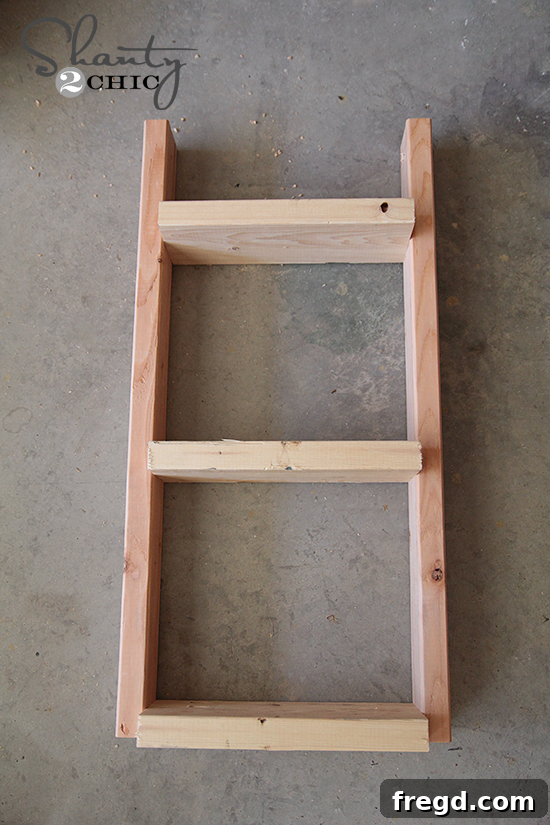
Now that your wood pieces are perfectly cut, it’s time to bring them together to form the robust frame of your wood wall planter. This step involves attaching the shelves to the side supports, and there are a couple of excellent methods to achieve a strong and clean assembly.
For those with a Kreg Jig, this tool is a game-changer for creating strong, concealed joints. By drilling pocket holes into the shelves, you can attach them to the side pieces using specialized pocket-hole screws. This method results in incredibly strong joints with no visible fasteners from the front, offering a professional and clean aesthetic. Apply a bead of wood glue along the edges before screwing for an even stronger bond.
If you don’t have a Kreg Jig, absolutely no worries! You can still achieve a very secure frame using standard wood screws. To do this, simply drive wood screws from the outside of the 2×4 side supports directly into the ends of the 2×6 shelves. For a cleaner look and to prevent wood splitting, always pre-drill pilot holes. While the screw heads will be visible, they can be easily concealed later with wood putty or decorative caps, ensuring your planter still looks fantastic. There’s truly #NoJudgmentZone here – use the tools you have and enjoy the process!
Pro Tip for Spacing: To achieve that perfectly balanced and aesthetically pleasing look, make sure to space your shelves 13.5 inches apart from each other. This specific measurement not only ensures visual harmony but also provides ample room for your plants to grow and for easy access to water and tend to them. Use a tape measure and a pencil to mark the exact locations for each shelf on your side supports before you begin fastening. Double-check your measurements and use a level during assembly to ensure each shelf is perfectly horizontal. This attention to detail will pay off in the final appearance and functionality of your DIY wood wall planter, making it a truly exceptional piece of outdoor decor.
✨ Step 3: Elevate with Elegant Trim for Style Points
Adding trim might seem like a small detail, but it makes a colossal difference in the overall finished look of your DIY wood wall planter. This step elevates your project from functional to truly refined, providing a charming detail that catches the eye and gives it a professional, custom-built appearance.
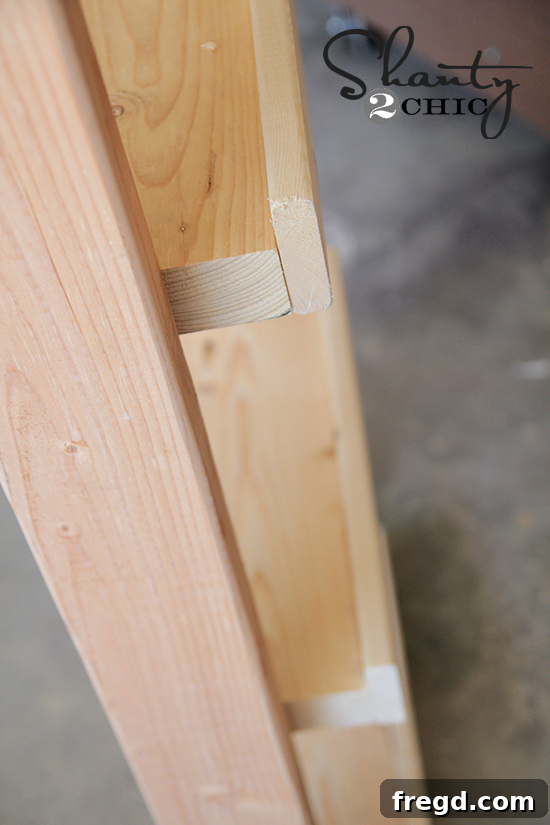
Take your 1×3 board and carefully cut three pieces, each 14 inches long, to match the width of your shelves. These will become the front trim pieces. Apply a generous bead of wood glue along the front edge of each 2×6 shelf. Then, align the 1×3 trim piece flush with the top and ends of the shelf. Secure it in place using finish nails (or brad nails with a nail gun) spaced every few inches. The glue provides the primary strength, while the nails hold the trim firmly in place as the glue dries. This simple addition not only adds a lovely decorative element but also provides a subtle barrier that helps keep your pots securely on the shelves, preventing them from accidentally sliding off.
This trim piece is a testament to the power of small details in woodworking. It creates a cleaner line, adds visual weight, and brings a touch of classic craftsmanship to your modern vertical garden. Stand back and admire the transformation – your planter is already taking on its unique character!
🪛 Step 4: Preparing for Hanging – Drilling the Rope Holes
With the main structure of your planter assembled and trimmed, the next crucial step is to prepare it for hanging. This involves drilling precise holes that will accommodate the rope, transforming your static wooden frame into a dynamic, suspended vertical garden.
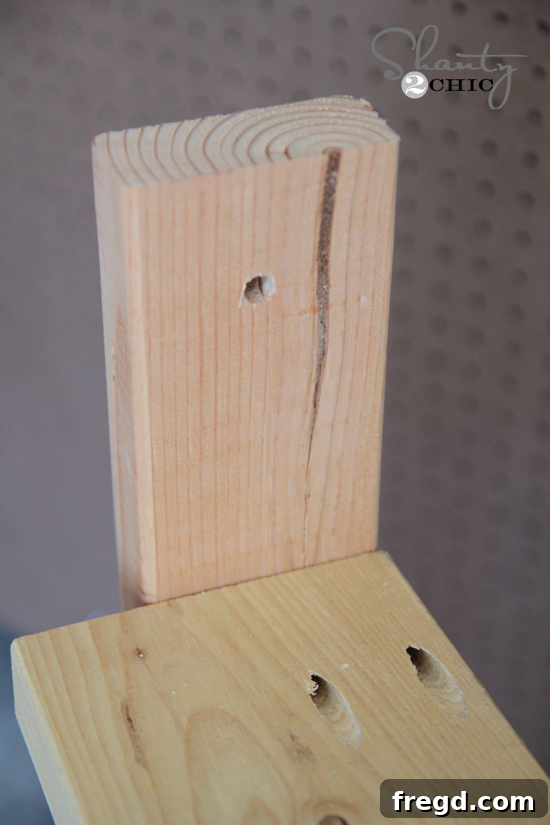
Grab your drill and a 3/8-inch drill bit. Carefully measure and mark a spot at the very top of each 2×4 side support. Aim for a consistent distance from the top edge and the outer edge to ensure your planter hangs level and looks symmetrical. Drill a clean, straight 3/8-inch hole through each marked spot. Take your time to ensure the holes are smooth and free of splinters, as these will bear the weight of your planter. This is where your chosen rope will work its magic, allowing your beautiful creation to be suspended gracefully, ready to adorn your wall or fence.
🎨 Step 5: Patch, Paint, and Personalize Your Planter
Now comes the fun part where your planter truly begins to take on its unique character: patching and painting! This step is essential for both aesthetics and protection, ensuring your DIY wood wall planter is ready for the elements and perfectly matches your outdoor decor.
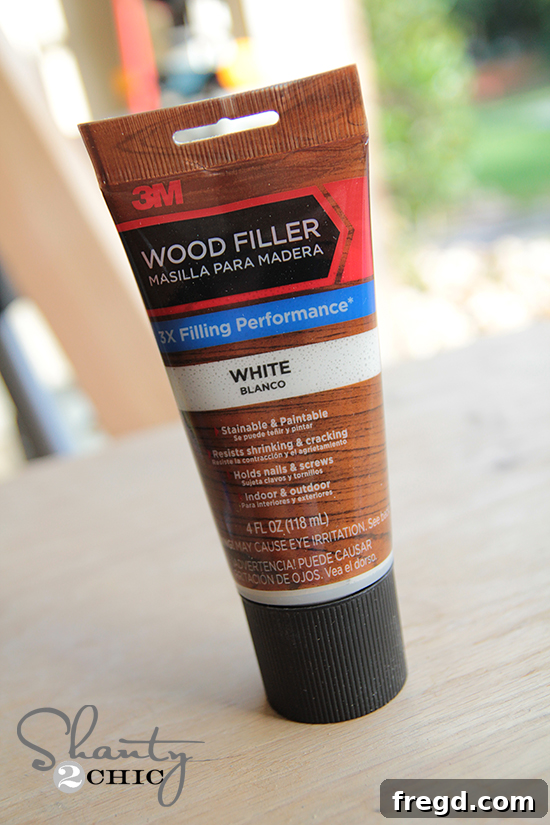
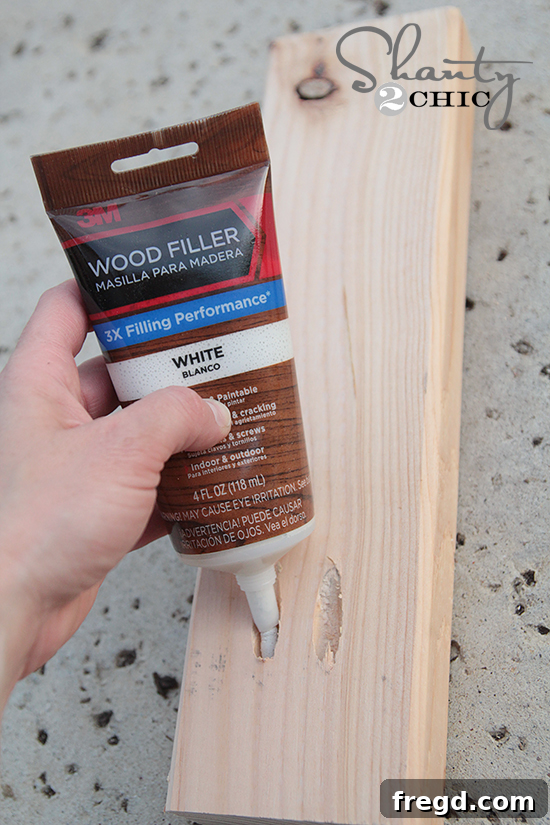
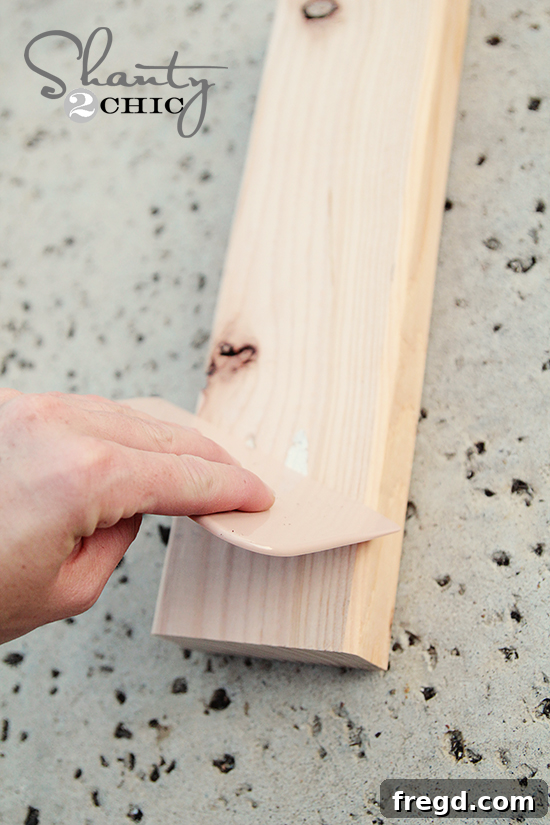
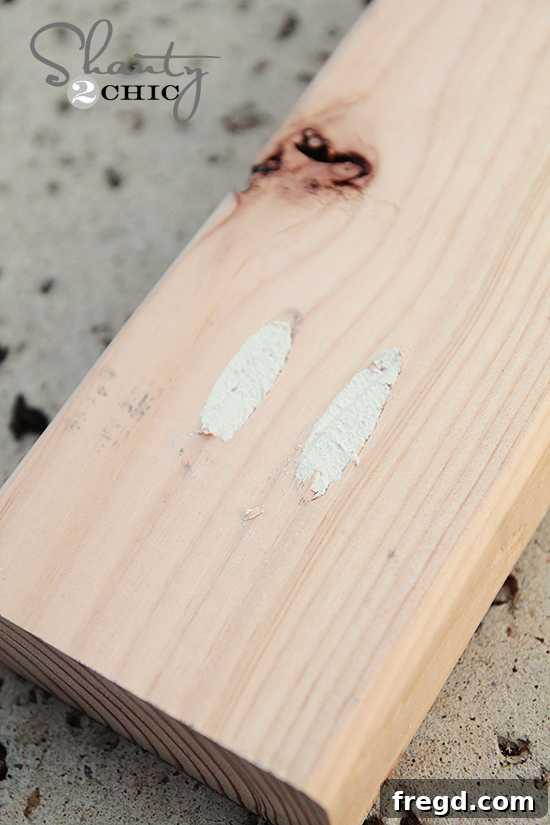
First, address any imperfections. If you used pocket holes for assembly, or if there are any gaps, nail holes from the trim, or minor dents, this is the time to fill them. Apply your favorite wood filler – I highly recommend a quality product like 3M Wood Filler for its durability and ease of use. Apply a small amount to each imperfection, pressing it firmly into the hole or gap. Use a scraper or putty knife to smooth the filler flush with the wood surface. Allow the wood filler to dry completely according to the manufacturer’s instructions, which typically takes a few hours.
Once dry, lightly sand the entire piece, paying special attention to the patched areas. A fine-grit sandpaper (around 180-220 grit) will create a beautifully smooth surface, ready for paint. Wipe away any sanding dust with a tack cloth or damp rag to ensure proper paint adhesion. This preparation is crucial for a professional-looking finish.
Now for the exciting part – painting! Choose an exterior-grade spray paint in your desired color. For this project, I opted for a classic and versatile black, which provides a striking contrast against lush green foliage. When spray painting, remember to work in a well-ventilated area and apply multiple thin coats rather than one thick coat. This prevents drips and ensures even coverage. Allow each coat to dry to the touch before applying the next. For added durability and weather resistance, consider applying a coat of exterior primer before your color, especially if you’re using a light-colored topcoat on darker wood.
To give my black planter a bit of rustic character, I decided to distress the finish. After the final coat of paint was completely dry (this might take 24 hours), I lightly went over certain edges and raised areas with a fine-grit sander. This technique subtly exposes a bit of the natural wood underneath, creating a charming, aged, and weathered look that perfectly complements an outdoor setting. If a distressed look isn’t for you, simply skip the sanding step and enjoy your beautifully painted, pristine planter. The choice is entirely yours, allowing for maximum personalization!
🪢 Step 6: Attaching the Rope and Hanging Your Masterpiece
With your planter beautifully painted and perfectly dry, it’s time for the final structural step: adding the rope and hanging your creation! This step brings your vertical garden to life, allowing it to take its rightful place on your wall or fence.
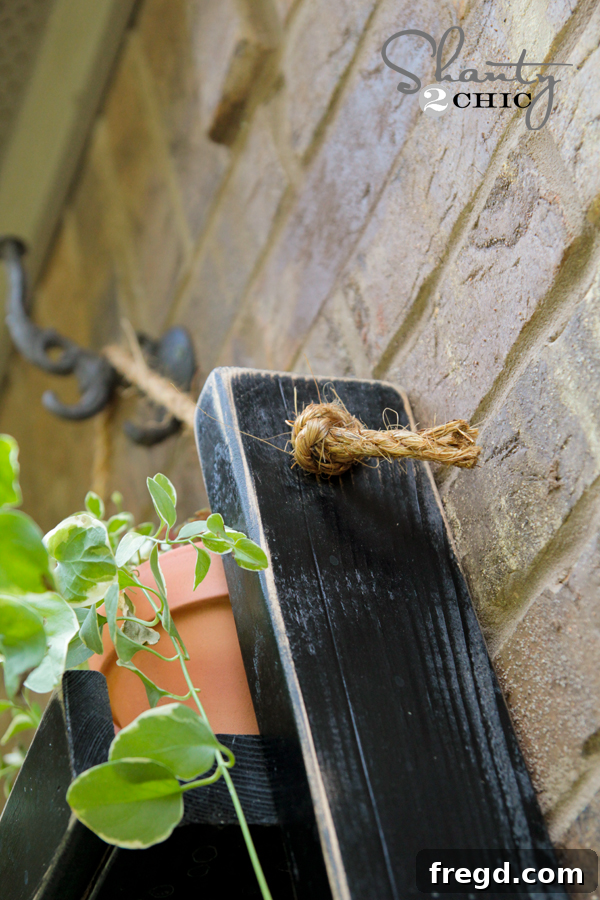
Take your 2-3 feet of rope. To prevent the ends from fraying as you thread them through the holes and tie knots, a simple trick is to wrap a small piece of painter’s tape tightly around each end. This creates a neat, stiff tip that makes threading much easier. Once the tape is on, thread one end of the rope through one of the pre-drilled 3/8-inch holes at the top of a side support, then thread the other end through the corresponding hole on the opposite side support. Ensure the rope passes through from the back of the planter to the front, or vice versa, based on your aesthetic preference. Then, bring the two ends together at the top and tie a sturdy, secure knot. A fisherman’s knot, a double overhand knot, or a figure-eight knot are all good options that will hold strong. Trim any excess rope and remove the painter’s tape for a clean finish.
Now, it’s time to hang it up! The method for hanging will depend on the type of surface you’re attaching it to. For a brick wall, like mine, a heavy-duty metal garden hook secured with a masonry screw is an ideal choice. For wooden fences, sturdy exterior-grade screws or lag bolts can be used. If hanging on siding, ensure you’re drilling into a stud or using appropriate wall anchors to support the weight of the planter, which will increase significantly once filled with pots, soil, and plants.
Always test the hanging mechanism’s strength before placing your pots. Once you’re confident in its security, step back and admire your handiwork. Your DIY wood wall planter is now proudly displayed, ready for its verdant inhabitants!

🌿 Final Touches: Populating Your Vertical Garden
With your stunning DIY wood wall planter securely hung, the moment you’ve been waiting for has arrived: adding the plants! This is where your vertical garden truly comes to life, bringing vibrant color, texture, and natural beauty to your outdoor space. The nine small clay pots are the perfect vessels for this purpose, offering both charm and excellent drainage.
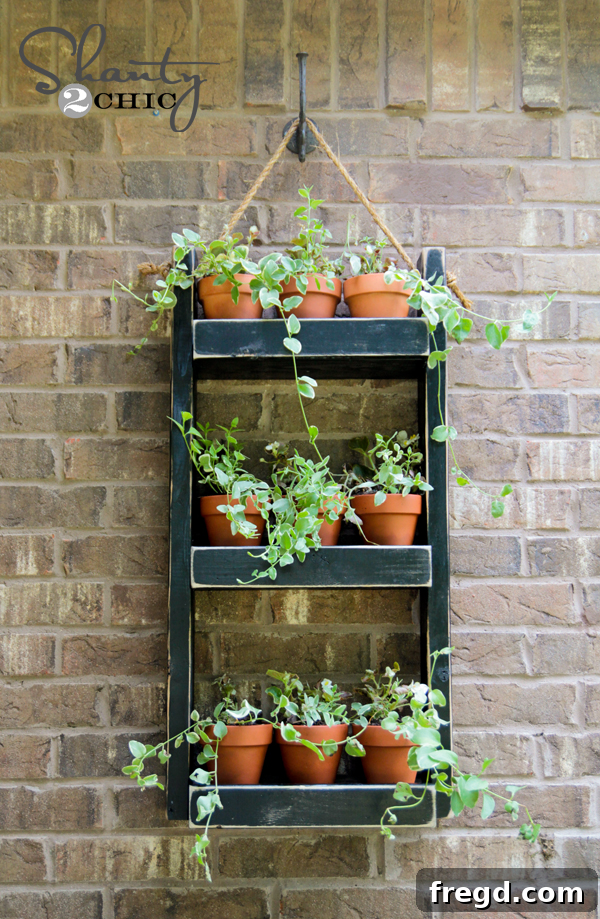
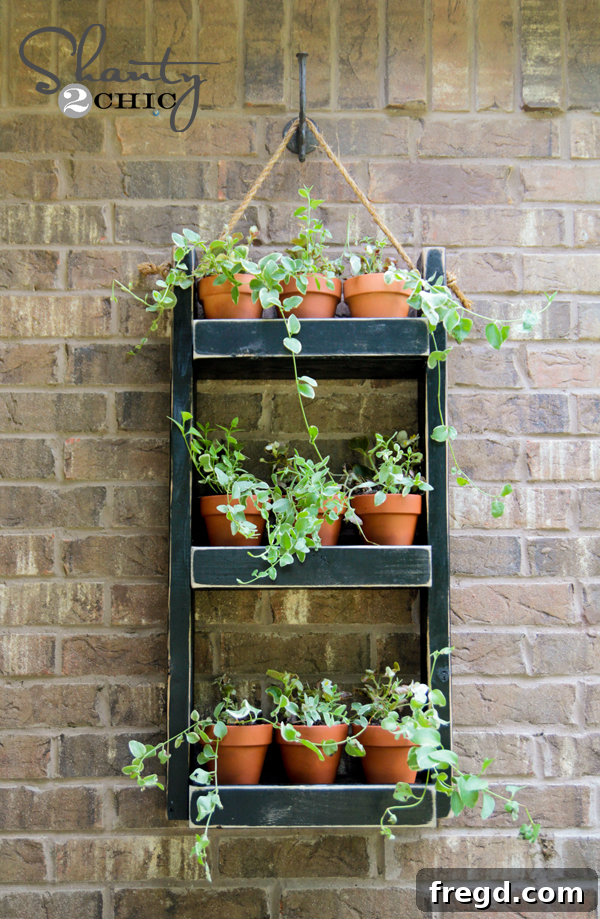
Carefully place your chosen plants into the clay pots, ensuring they have fresh potting soil and adequate drainage. For my planter, I opted for the graceful cascade of Vinca vine, which drapes beautifully over the shelves, creating a lush, flowing effect. However, the beauty of this planter is its versatility, allowing you to personalize it to your taste and your local climate. Consider these fantastic options:
- Fragrant Herbs: Imagine fresh basil, mint, rosemary, or thyme just steps from your kitchen door. An herb garden is not only beautiful but incredibly practical.
- Hardy Succulents: If you prefer low-maintenance greenery, a collection of various succulents and cacti can create a stunning, drought-tolerant display with interesting shapes and textures.
- Colorful Annual Flowers: Impatiens, petunias, pansies, or violas can provide a brilliant burst of seasonal color, easily refreshed each year.
- Cascading Plants: Besides Vinca, consider String of Pearls, Creeping Jenny, or Sweet Potato Vine for a dramatic, flowing look that softens the lines of the planter.
- Small Edibles: Think small strawberries, cherry tomatoes, or various lettuces for a compact edible garden.
Ensure that your chosen plants are well-suited for your local climate and the amount of sunlight your planter receives. Proper watering is key for container plants, especially in terracotta pots which can dry out faster. Regularly check the soil moisture and water as needed. Remember to rotate your pots occasionally to ensure even sun exposure for all plants. With these final, living touches, your DIY wood wall planter transforms into a captivating and thriving vertical garden, ready to delight all who see it.
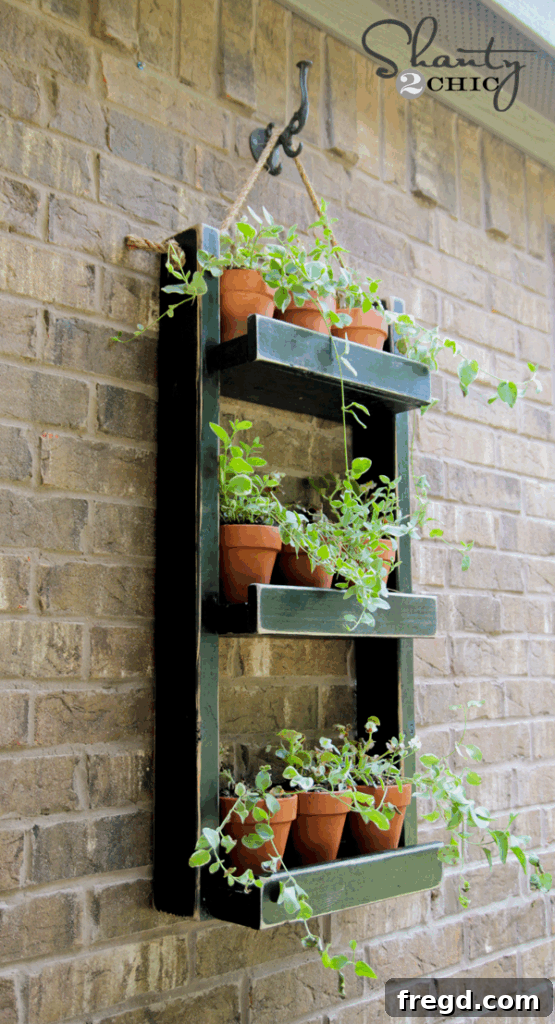
😍 The Result? Garden Wall Goals Achieved!
There’s an undeniable satisfaction that comes from creating something beautiful with your own hands, especially when it transforms a dull space into a lively focal point. This DIY wood wall planter project is a shining example of just that. What was once a plain, overlooked spot on my house has been effortlessly elevated into a Pinterest-worthy moment, brimming with life and personal style. It’s more than just a planter; it’s a living piece of art that enhances curb appeal, invites nature closer, and sparks joy every time I step outside.
The simplicity of the design, combined with its budget-friendly execution, makes this project truly accessible to everyone. You don’t need to be a seasoned carpenter or spend a fortune to achieve a stunning impact. The functional elegance of the tiered shelves and the rustic charm of the distressed wood and rope create a harmonious blend that complements virtually any outdoor aesthetic. Whether you’re aiming for a cozy cottage garden feel, a modern minimalist touch, or a vibrant bohemian oasis, this versatile planter provides the perfect foundation.
Thank you so much for joining me on this creative journey! The joy of DIY lies not just in the finished product but in the process of bringing an idea to life. If you’ve found inspiration in this project, I wholeheartedly encourage you to pin it, share it with fellow craft enthusiasts, and most importantly—build it! Experience the immense satisfaction of stepping back and admiring your very own handcrafted vertical garden. It’s a fantastic way to personalize your outdoor space, connect with nature, and perhaps even discover a new passion for woodworking and gardening.
Happy crafting and happy gardening! May your new wood wall planter bring endless beauty and greenery to your outdoor sanctuary.
~Whitney
Want to keep this incredibly handy project guide within reach? I’ve put together a comprehensive, free, and printable PDF document that includes all the materials, detailed cut list, and step-by-step instructions to make this DIY wood wall planter project even more convenient. This resource is perfect for taking directly to the hardware store for material shopping or straight to your workshop as a constant reference. You can effortlessly download it here and either print it out or share it electronically with a fellow DIY-lover who’s looking for their next rewarding outdoor decor project! Happy building, and enjoy creating your beautiful vertical garden!