
Welcome to our latest update! If you’ve been following our journey on social media, you’ll know that exciting changes are underway as we transition into our brand-new shop and studio space. This move marks a significant milestone for us, primarily because it grants us a dedicated, fully equipped area to consistently produce high-quality how-to videos and engage with our incredible community. We’re beyond thrilled about the potential this new hub offers for expanding our creative projects and sharing even more inspiring DIY content with you all.
While we’re pouring our energy into transforming this space into a functional and beautiful workshop – a comprehensive shop and studio tour video is definitely in the pipeline! – we wanted to share a little something extra. As we meticulously organize tools, arrange materials, and set up our filming stations, we often encounter those wonderfully imperfect moments that make DIY so real. So, before diving into today’s fantastic project, we invite you to take a moment to enjoy a compilation of our “best of the worst” behind-the-scenes moments. It’s a fun reminder that even in the world of crafting and building, laughter and a good sense of humor are essential!
Just click HERE or the video below to watch a glimpse into our world!
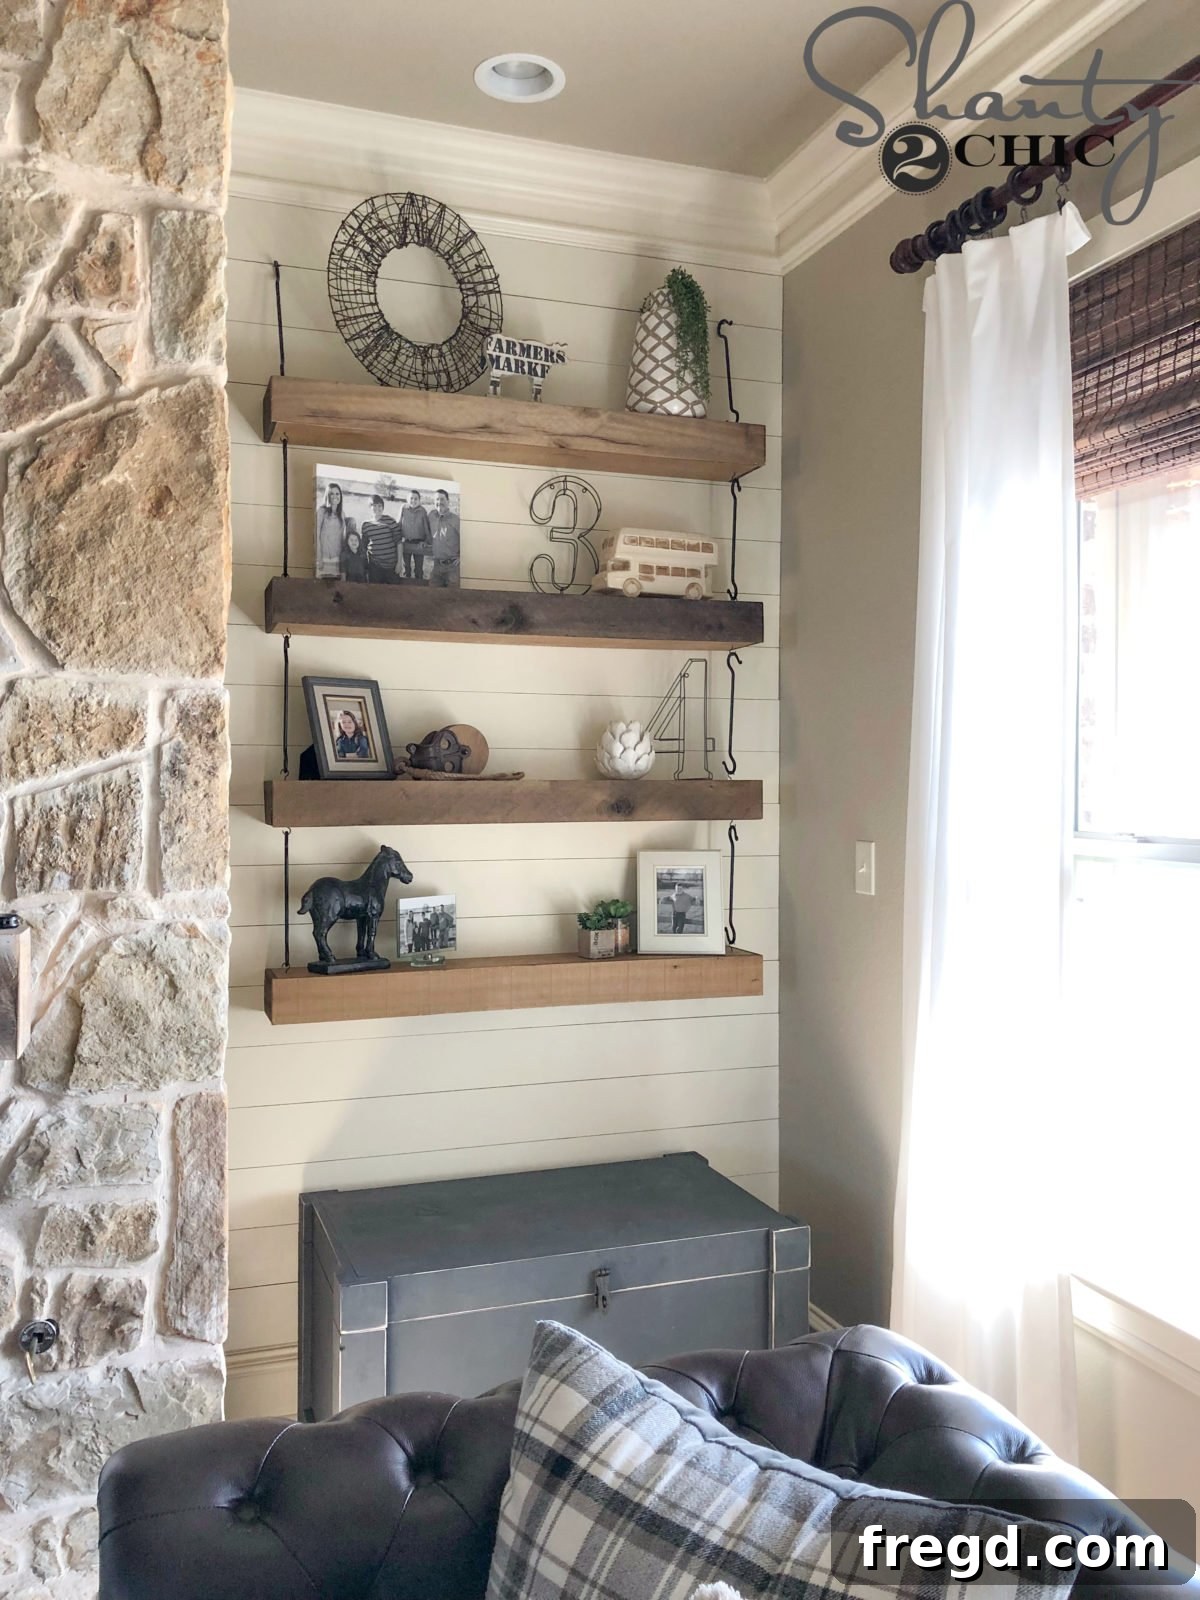
After a good laugh, we know you’re eager for some hands-on inspiration. We simply couldn’t leave you without a project that sparks creativity and enhances your living space. Today, we’re incredibly excited to share the detailed plans for building your very own DIY Floating Shelves with a unique, rustic hardware twist! These aren’t just any shelves; they’re designed to add character, warmth, and practical storage to any room in your home.
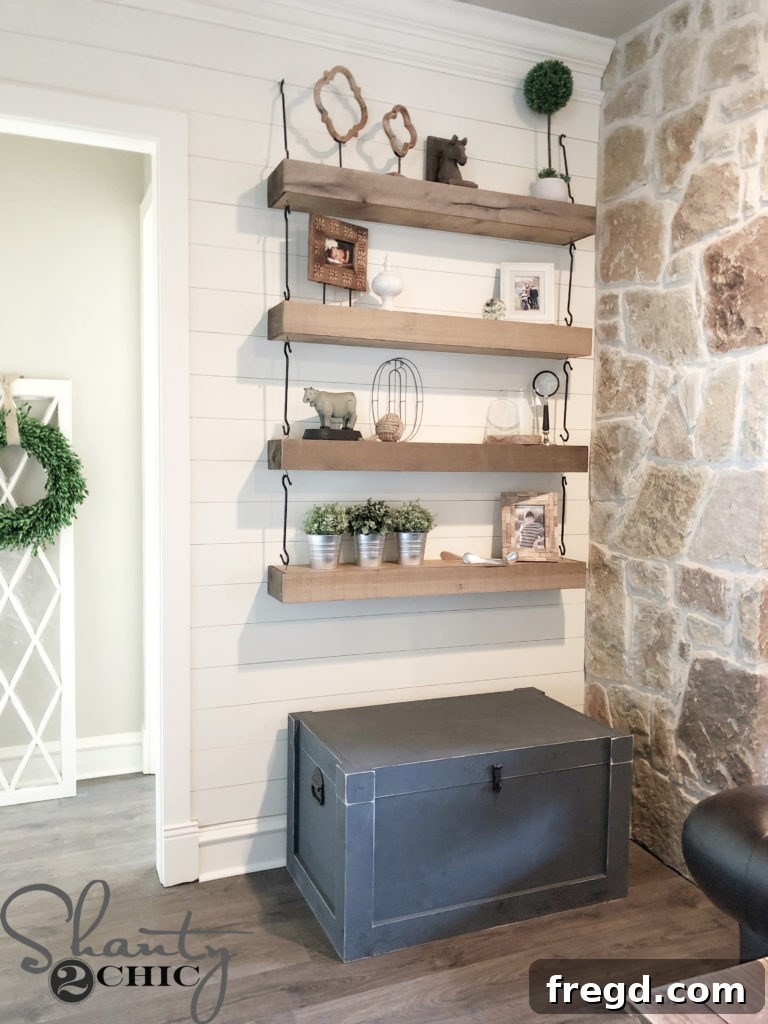
Elevate Your Space: Build Stunning DIY Floating Shelves with Rustic Charm and Unique Hardware
Discover the Allure of Custom Floating Shelves
Floating shelves have long been a favorite in modern and traditional homes alike, celebrated for their clean lines, space-saving design, and ability to declutter while adding visual interest. Our newest design takes the beloved floating shelf concept to the next level, infusing it with unparalleled character and a touch of industrial farmhouse elegance. Imagine shelves that not only serve a practical purpose but also act as a captivating decorative element in your kitchen, living room, bedroom, or entryway.
These aren’t your basic floating shelves. While the underlying structure is robust and straightforward, much like our foundational shelf designs, these shelves feature distinctive hardware that creates a visually striking “hanging” illusion. But the true star of this project is the authentic barn wood construction. Using genuine reclaimed barn wood imbues each shelf with a rich history, unique textures, and a spectrum of natural hues that simply cannot be replicated by new materials. The result is a set of shelves that feel deeply personal, incredibly stylish, and surprisingly simple and inexpensive to build.
Whether you’re aiming for a farmhouse aesthetic, a rustic industrial vibe, or simply a unique storage solution that stands out, these DIY floating shelves with hardware are the perfect project. They offer an ideal blend of robust functionality and exquisite design, proving that custom home decor doesn’t have to be complicated or costly. Get ready to transform your walls and showcase your favorite items with a truly one-of-a-kind creation!
Download Your Free, Comprehensive Project Plans
Before you gather your tools and materials, the first and most crucial step is to arm yourself with our detailed, free printable plans. These plans are your essential roadmap, providing precise measurements, cut lists, and visual guides to ensure your building process is as smooth and successful as possible. Following these plans closely will help you avoid common pitfalls and achieve professional-looking results. They are designed to be user-friendly, catering to DIY enthusiasts of all skill levels.
Make sure you grab the FREE Printable Plans HERE and follow along with the how-to below!
Essential Tools and Materials You’ll Need
To embark on this rewarding DIY journey, ensure you have the following tools and materials on hand. Having everything ready before you start will streamline your workflow and make the building process much more enjoyable:
- Miter Saw or Circular Saw: For precise cuts on your wood pieces.
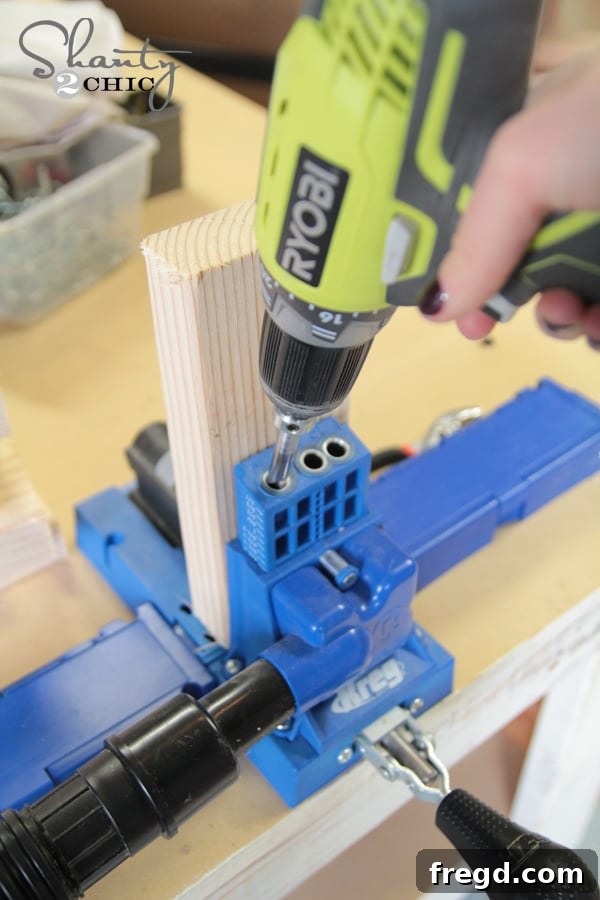
- Kreg Jig: Essential for creating strong, concealed pocket holes for joinery.
- Drill/Driver: To drive screws and attach hardware. An impact driver is highly recommended for speed and efficiency.
- Ryobi 18-Gauge Brad Nailer: For quickly and securely attaching trim pieces with minimal visible fasteners.
- Stud Finder: Crucial for locating wall studs for secure shelf mounting.
- Level: To ensure your shelves are perfectly straight.
- Tape Measure and Pencil: For accurate measurements and markings.
- Wood Glue: For reinforcing joints and ensuring maximum durability.
- Barn Wood: The star material for the shelf boxes, providing unique character.
- Plywood: For the top and bottom of the shelf boxes.
- Pocket Hole Screws: 1 1/2″ and 2 1/2″ lengths.
- Brad Nails: 1″ length.
- Wood Screws: 3″ length for attaching cleats to wall studs.
- Cup Hooks: For the unique hanging hardware effect.
- S Hooks: To connect the shelves and complete the hanging illusion.
- Black Spray Paint: To customize the hardware for a cohesive look.
- Wood Stain (optional): To match or enhance the barn wood and plywood.
Step-by-Step Guide: Crafting Your Rustic Floating Shelves
Phase 1: Constructing the Sturdy Cleats – The Foundation of Your Floating Shelves
The cleats are the hidden heroes of your floating shelves, providing the necessary support and structure that makes them appear to defy gravity. Building them accurately is paramount for stability.
The first step involves precise cutting of all your cleat pieces according to the dimensions specified in the free plans. We recommend using a miter saw for clean, straight cuts, ensuring that all pieces are exactly to size. Accuracy here will directly impact the flush fit of your shelves against the wall.
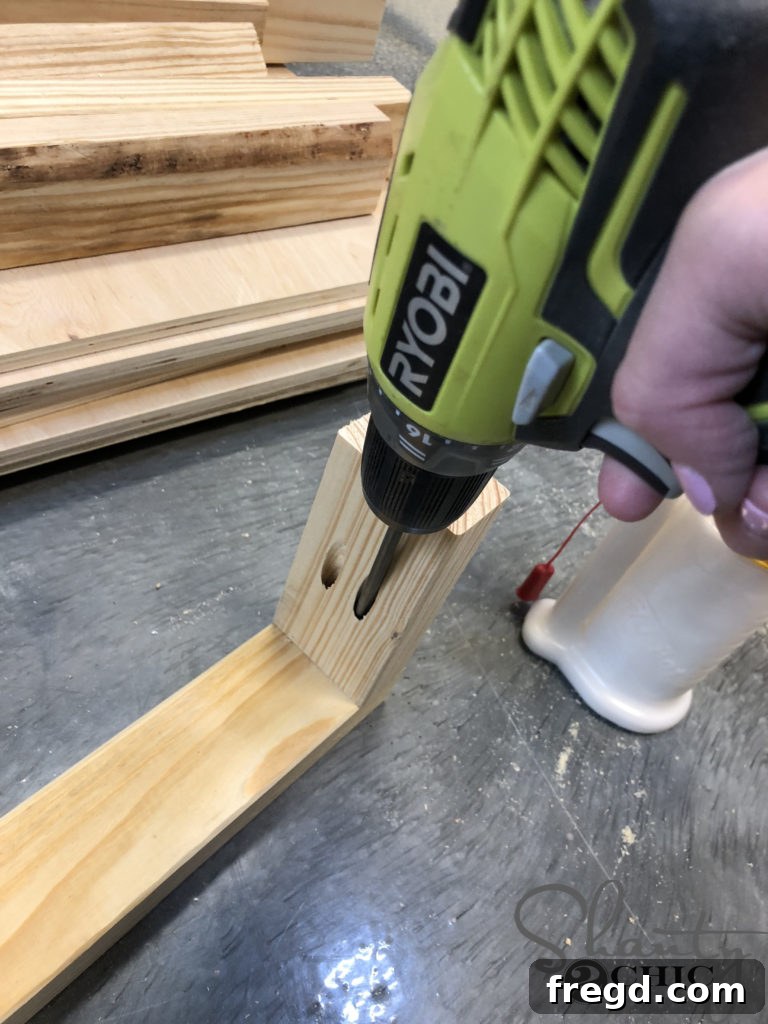
Next, you’ll use your Kreg Jig to drill 1 1/2″ pocket holes into the short cleat pieces. For those new to woodworking, a Kreg Jig is an invaluable tool that allows you to drill angled holes, creating incredibly strong joints where the screws are largely hidden from view. This is key to achieving that seamless, floating aesthetic. Make sure to set your jig and drill bit collar to the correct depth for your material thickness.
You can find our favorite Kreg Jig model HERE!
Once the pocket holes are drilled, apply a generous amount of wood glue to the mating surfaces of the short cleat pieces and the long cleat piece. Wood glue creates a powerful bond that, when combined with screws, results in a joint stronger than wood itself. Attach them together using 2 1/2″ pocket hole screws. Drive these screws firmly into the long cleat piece, ensuring a tight and secure connection. Wipe away any excess glue with a damp cloth before it dries.
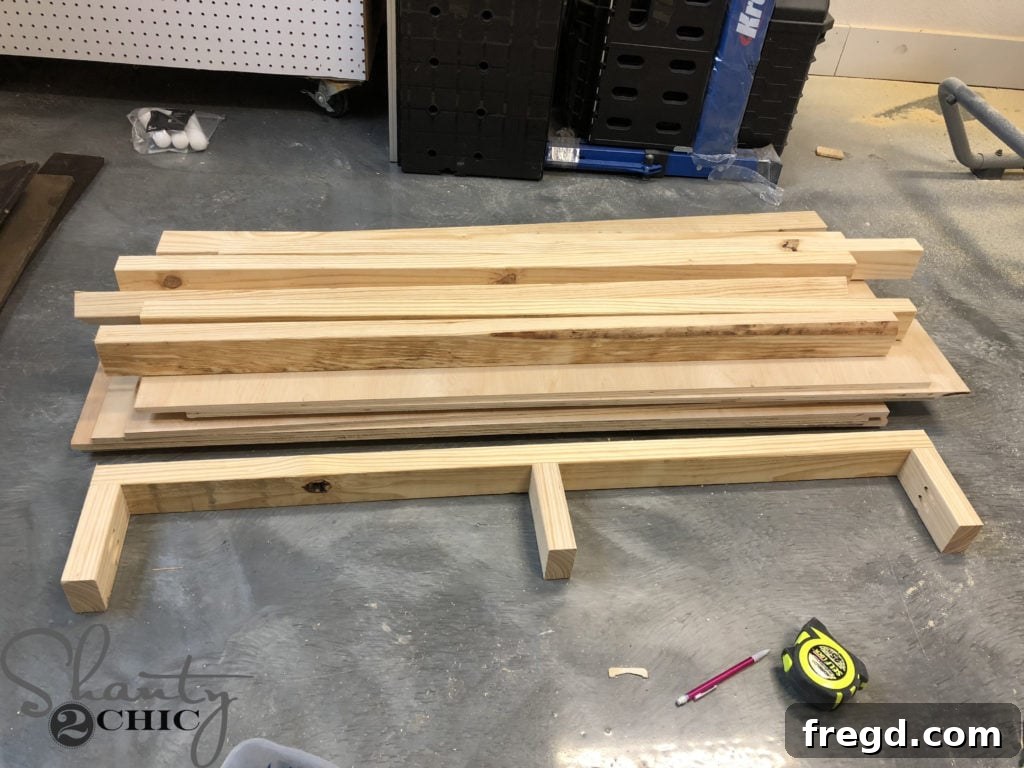
Here is one cleat assembled, forming the robust skeleton that your shelves will slide onto. Take a moment to inspect your assembled cleats, ensuring they are square and solid. These pieces will bear the weight of your shelves and everything you choose to display, so their integrity is crucial. With your cleats ready, we can move onto constructing the beautiful boxes for your shelves!
Phase 2: Building the Elegant Shelf Boxes
With the cleats prepared, it’s time to construct the main body of your floating shelves: the boxes. These boxes will slide over your cleats, encapsulating them to create the seamless floating effect.
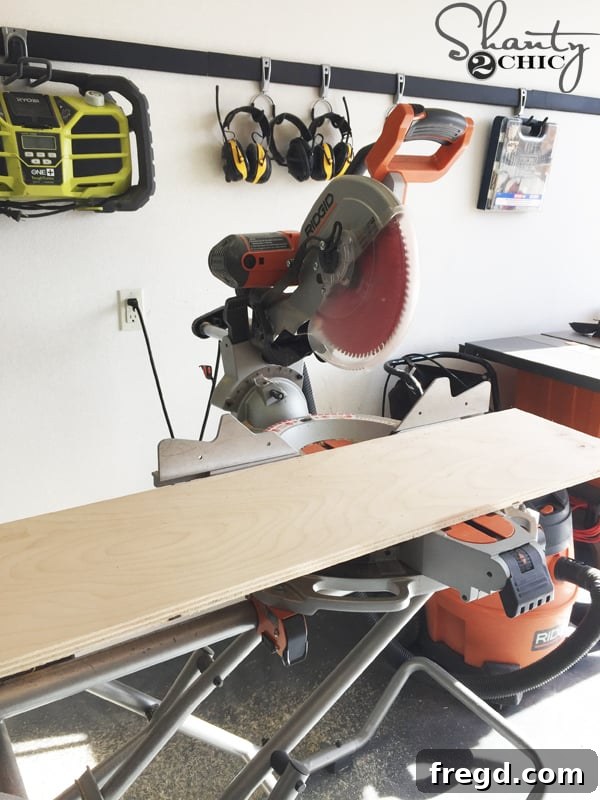
Begin by cutting the top and bottom plywood sheets to the precise dimensions specified in your plans. These pieces will form the upper and lower surfaces of your shelf boxes, so accurate cuts are essential for a professional finish. Ensure your cuts are perfectly straight and square.
Sourcing and Utilizing Authentic Barn Wood
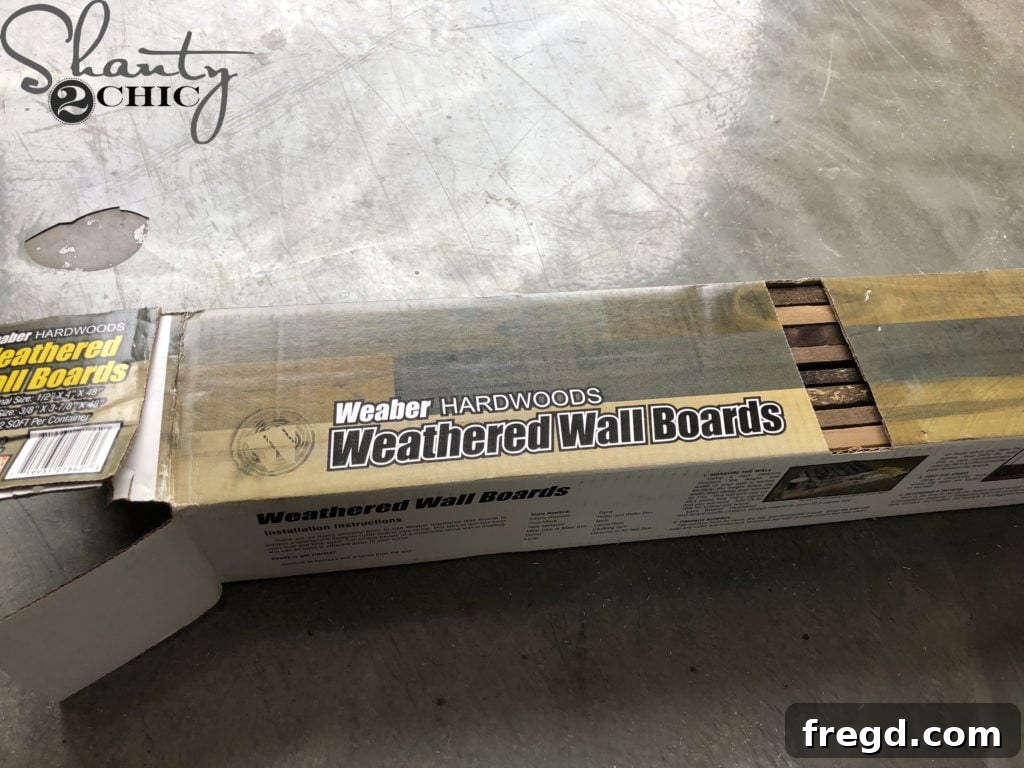
One of the distinguishing features of these shelves is the use of authentic barn wood for the visible outer cladding. This material instantly adds character, warmth, and a unique rustic charm that simply can’t be replicated with new lumber. I was fortunate to find this awesome barn wood directly from my local hardware store, making it easily accessible for anyone looking to replicate this look.
You can find it HERE! This reclaimed material brings a story and a textured finish that elevates the entire project. We will use this barn wood to wrap the front and sides of the shelf boxes, giving them their distinctive appearance.
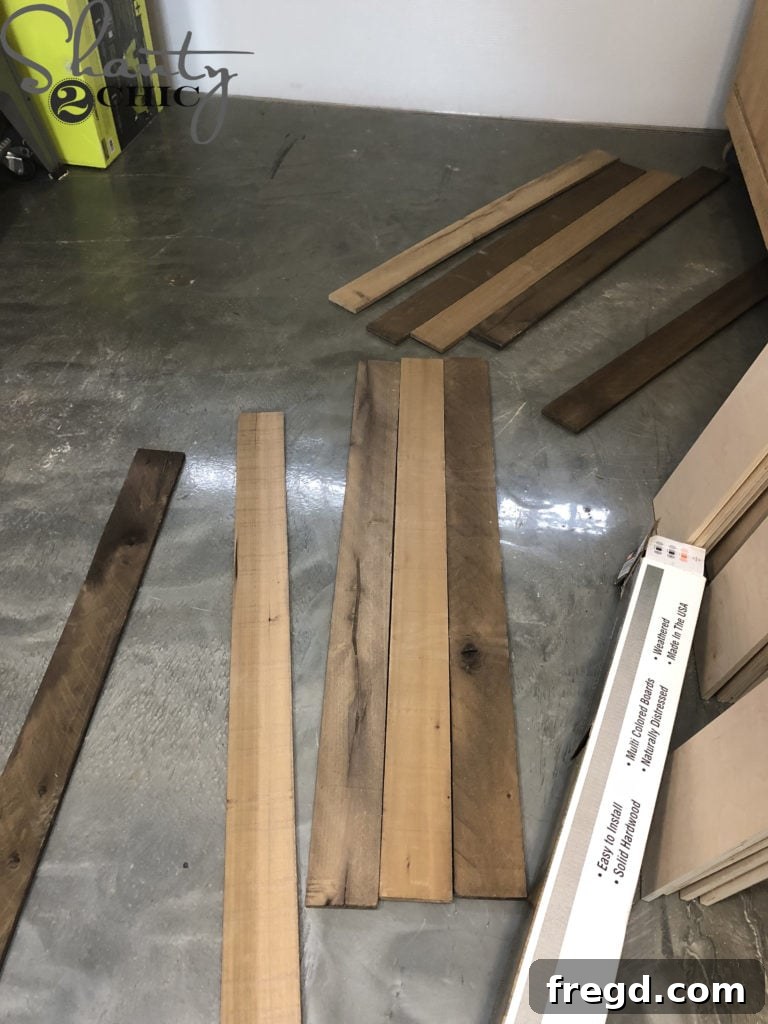
A fascinating aspect of barn wood is its natural variation. Each pack typically contains pieces in different shades of brown, ranging from lighter, weathered tones to deeper, richer hues. For these shelves, I intentionally selected the lightest colors from my batch to achieve a brighter, more airy feel that still maintained that beautiful rustic texture. When selecting your barn wood, consider the overall aesthetic you want to achieve and sort your pieces accordingly. This small step makes a big difference in the final look.
Assembling the Shelf Box Sides and Front Trim
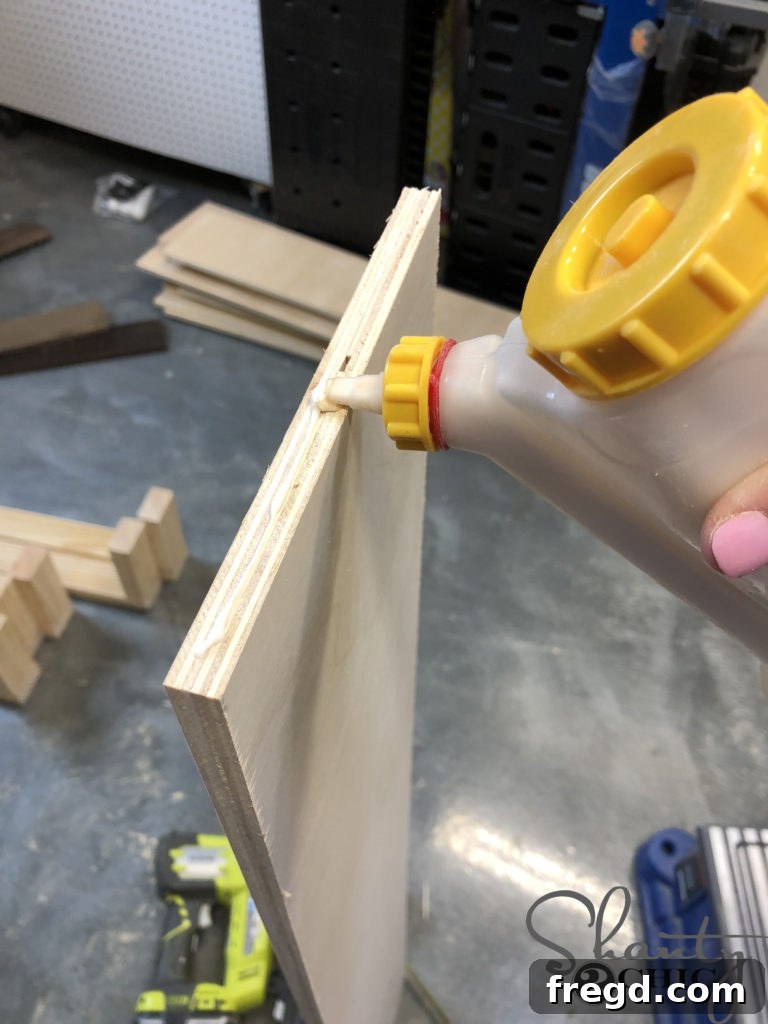
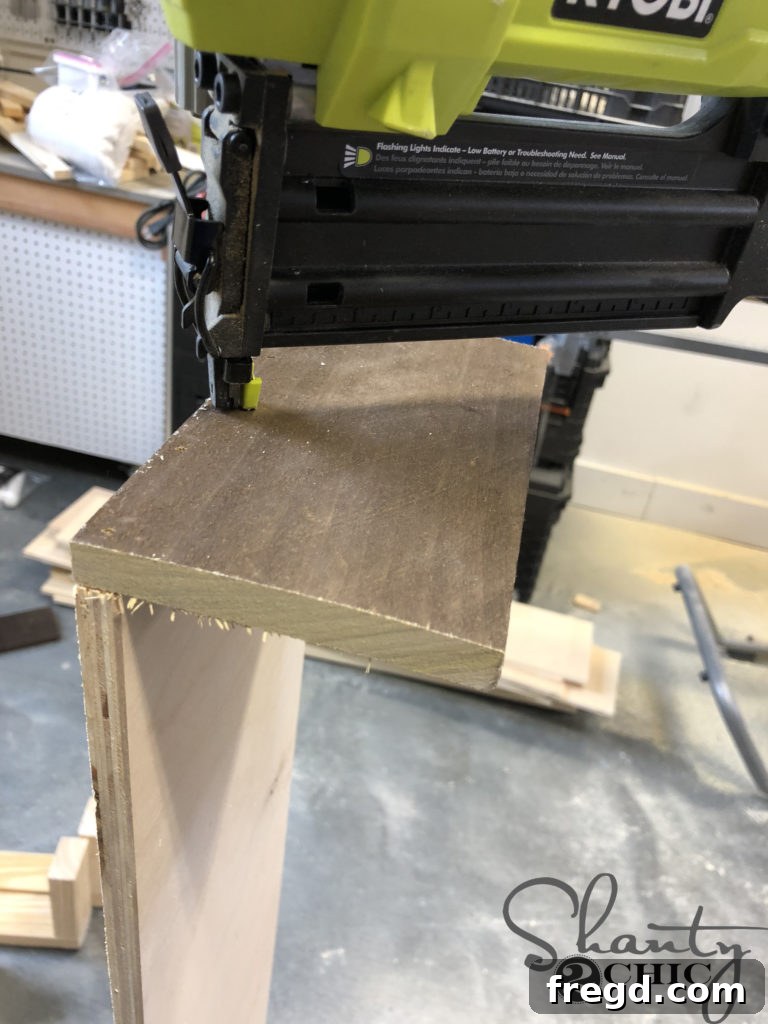
Now, let’s bring the shelf boxes to life. Cut your barn wood side pieces to size, again referring to your detailed plans for accurate measurements. These pieces will wrap around the short ends of your plywood top and bottom. Once cut, apply wood glue along the edges of the plywood where the side pieces will attach. Then, secure them in place using your Ryobi 18-Gauge Brad Nailer with 1″ brad nails. The brad nailer makes this process incredibly fast and leaves only tiny, easily concealable holes, perfect for a clean finish.
You can find our favorite glue dispenser HERE and our favorite Ryobi Brad Nailer HERE!
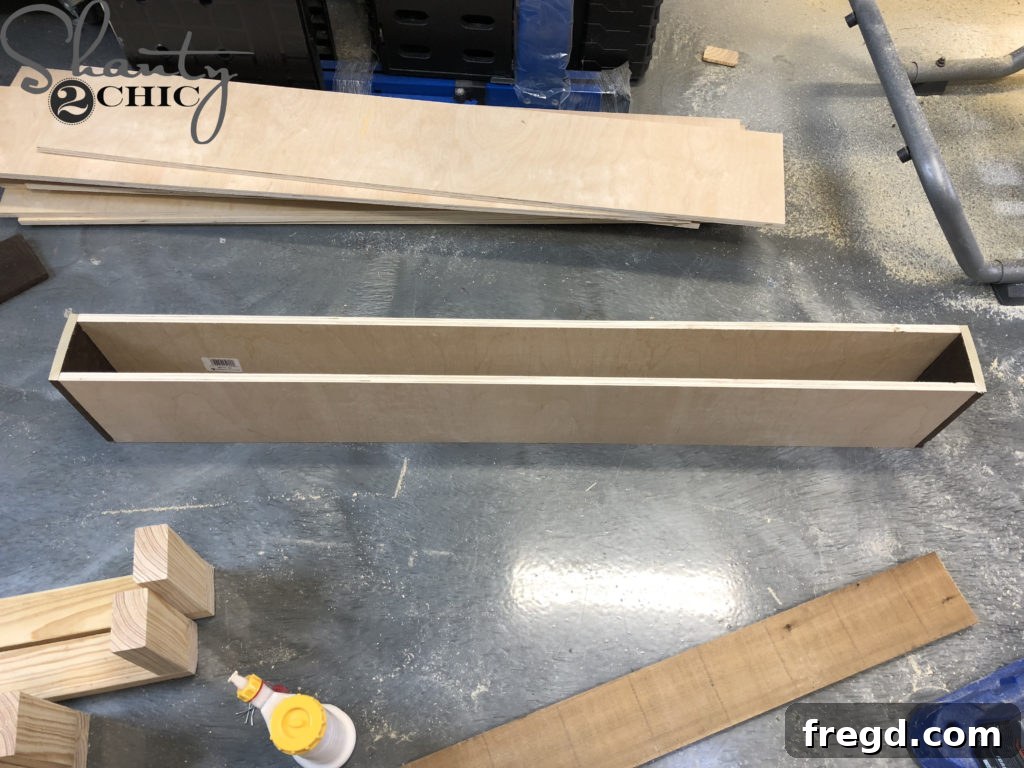
At this point, your shelf box should begin to take its final form, with the plywood top and bottom joined by the barn wood side panels, creating a U-shaped structure that will later slide over the cleat. Take a moment to admire its progress!
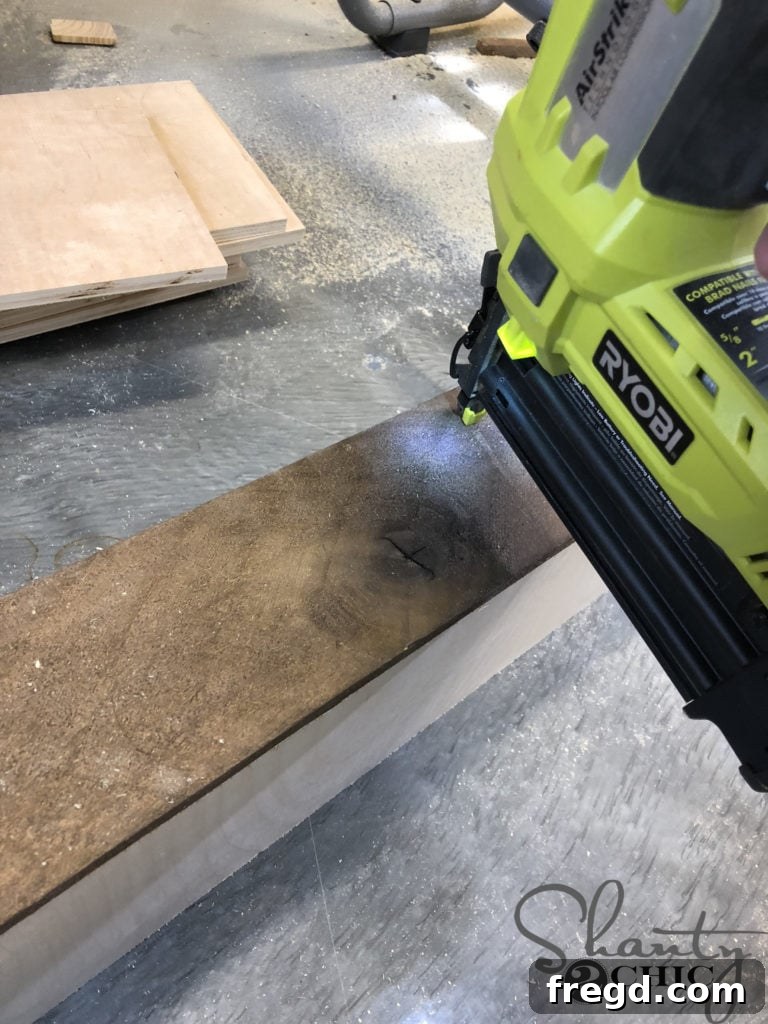
Next, cut the front trim piece from your barn wood to size. This piece will cover the front edge of the plywood top and bottom, completing the barn wood cladding and giving the shelf a finished, solid appearance. Attach it to the front of the shelf box with 1″ brad nails and wood glue, ensuring it’s flush with the top and bottom plywood. Now is also an opportune moment to stain the visible edges of the plywood top and bottom, especially if they are exposed. Choose a stain that either matches your barn wood or complements it to create a cohesive look. This step helps blend the different materials seamlessly.
You can find the stain that I used to match the barn wood HERE.
Phase 3: Securely Mounting Your Floating Shelves
This phase is arguably the most critical for both the aesthetics and safety of your floating shelves. Proper installation ensures your shelves are sturdy, level, and can safely hold your cherished items. The most important step in this project is to make absolutely sure you space the cleats out correctly and attach them directly into wall studs.
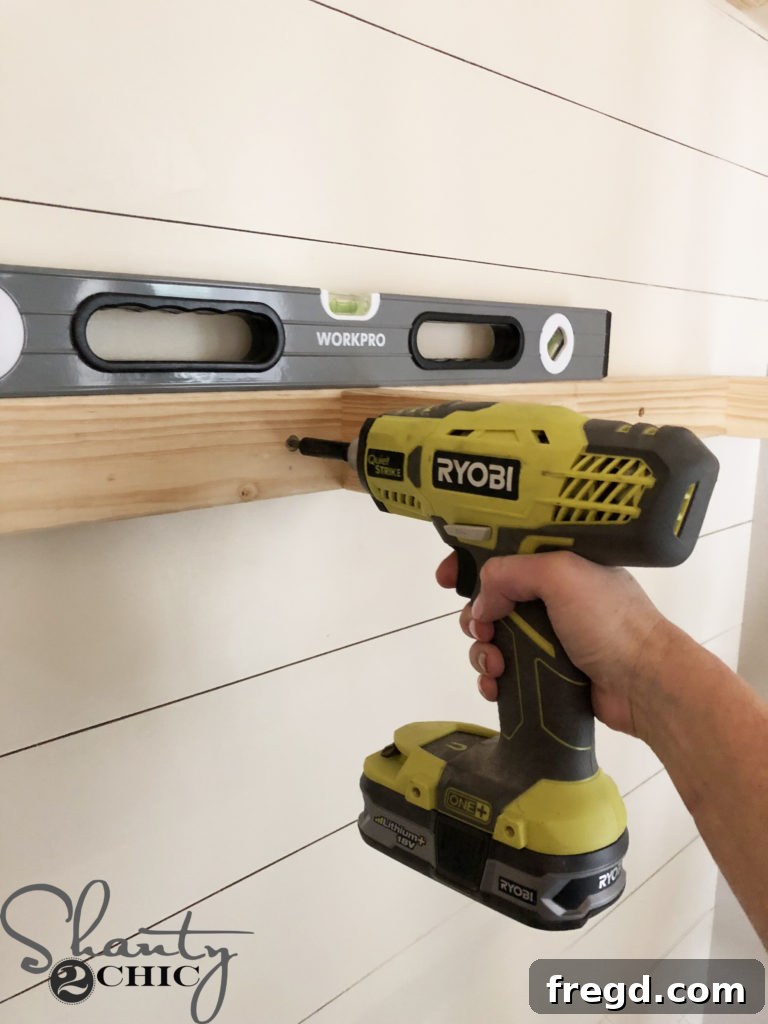
Begin by using a reliable stud finder to locate the vertical studs behind your wall. Mark their positions precisely with a pencil. These studs provide the solid anchor points necessary to support the weight of your shelves. Once the studs are identified, hold your cleat against the wall at your desired height, using a level to ensure it is perfectly horizontal. Then, attach the cleats to the studs using robust 3″ wood screws. Driving screws directly into studs prevents sagging and ensures maximum stability.
For efficient and powerful driving of screws, especially into wall studs, we highly recommend using an impact driver. Its rotational and concussive force makes quick work of even tough wood, saving you time and effort.
You can find our favorite Ryobi 18-volt Impact Driver when we are attaching pieces to studs behind the wall HERE!
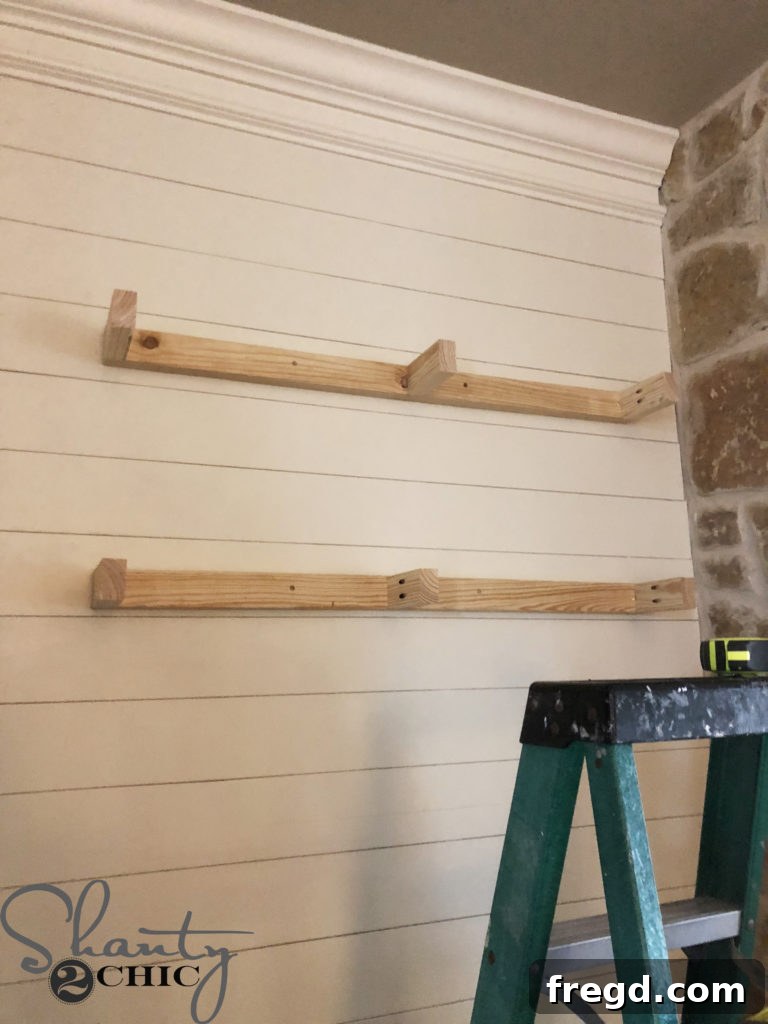
Refer to your plans for the precise spacing I used between the cleats if you are building multiple shelves. Once all the cleats are securely attached to the wall studs and verified to be level, it’s time to complete the floating effect. Carefully slide the prepared shelf boxes over each cleat. They should fit snugly. Once in place, secure the shelf boxes to the cleats by driving a few screws from the top plywood surface of the shelf box down into the cleat. This ensures the box is firmly locked onto its support structure and won’t shift or wobble.
Now that the structural elements are complete and your shelves are securely mounted, it’s time for the exciting part – adding the distinctive hardware that gives these shelves their unique “hanging” look!
Phase 4: Adding the Distinctive Hanging Hardware
The hardware isn’t just functional; it’s a key design element that elevates these shelves beyond the ordinary. This unique detail creates the illusion of suspended shelving, adding an industrial-chic touch.
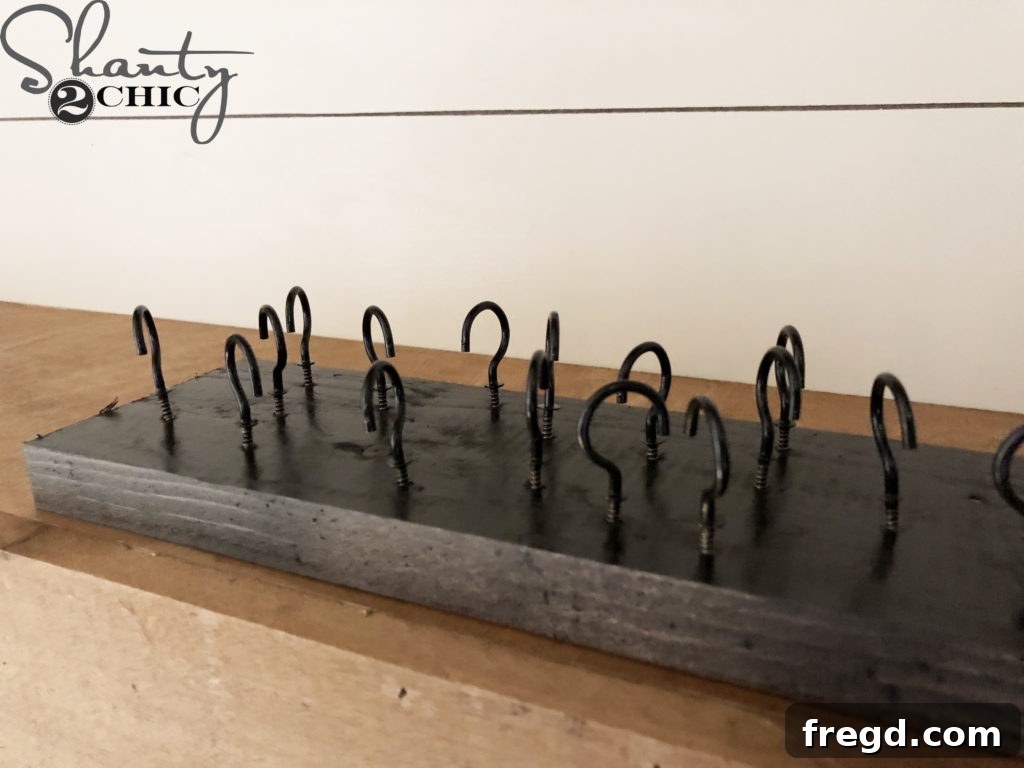
I began by sourcing a box of simple cup hooks from the hardware store. While they come in various finishes, I had a specific aesthetic in mind. To achieve a cohesive and bold look, I spray painted them with a high-quality black spray paint. This simple step transforms inexpensive hardware into custom, stylish accents. Ensure you apply thin, even coats of spray paint in a well-ventilated area for a smooth, durable finish.
You can find the cup hooks we used HERE and the high-quality black spray paint that I used HERE.
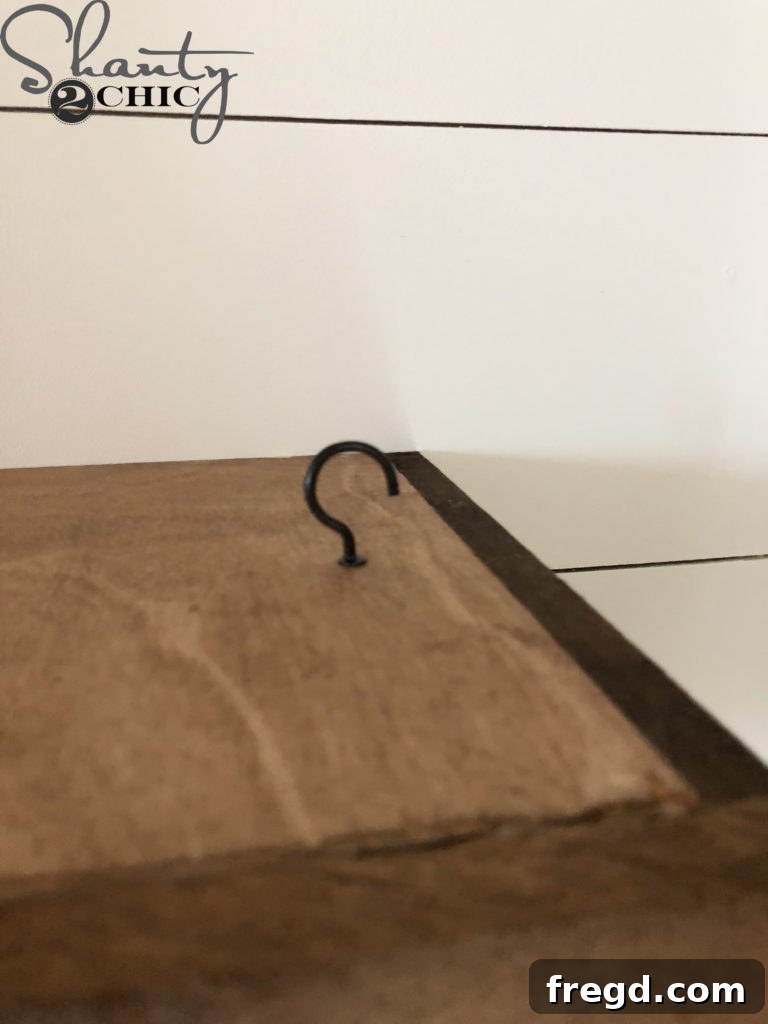
Once the spray paint was completely dry and cured, I attached an eye hook to each side of the top and bottom of the shelves. Precision in placement here is important to ensure the S-hooks hang straight. Note that the very bottom shelf in your stack will not require eye hooks on its underside, as nothing will hang from it. Use your drill to create small pilot holes before gently twisting in the eye hooks to prevent splitting the wood and ensure they are securely seated.
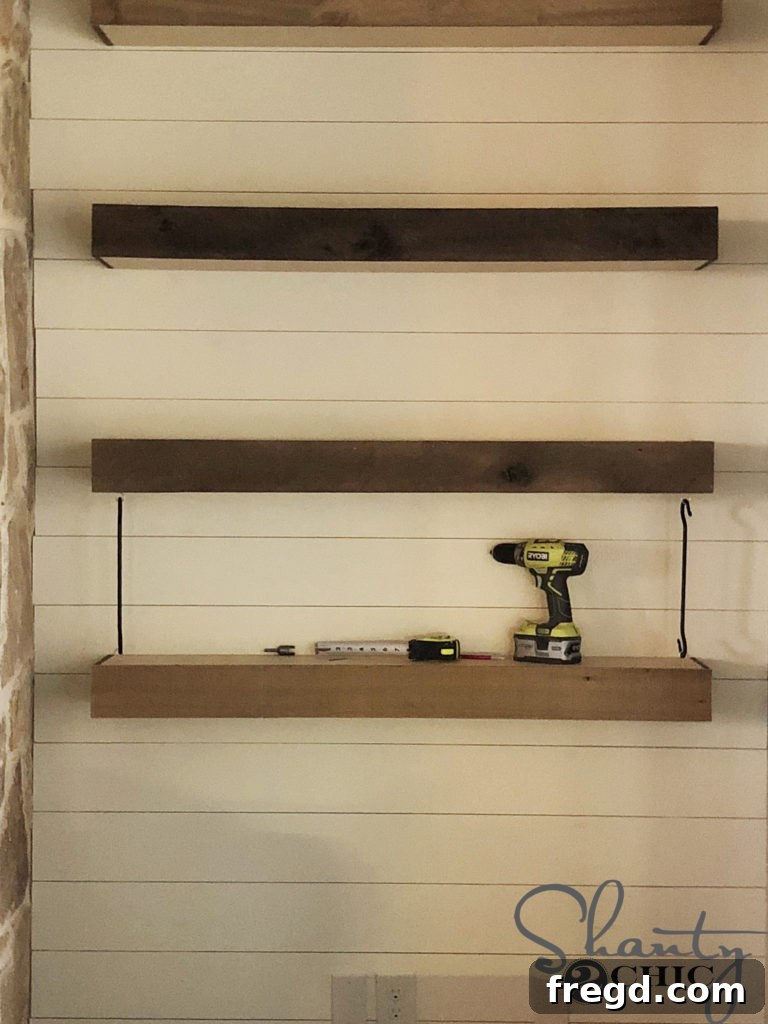
Then, to create the captivating “hanging” effect, I attached an S Hook to each eye hook. These S Hooks connect the upper eye hook of one shelf to the lower eye hook of the shelf above it, creating a continuous, visually appealing chain. This linkage provides the illusion that the shelves are gracefully suspended from one another, adding a dynamic and unique dimension to your wall decor.
You can find the S Hooks HERE.
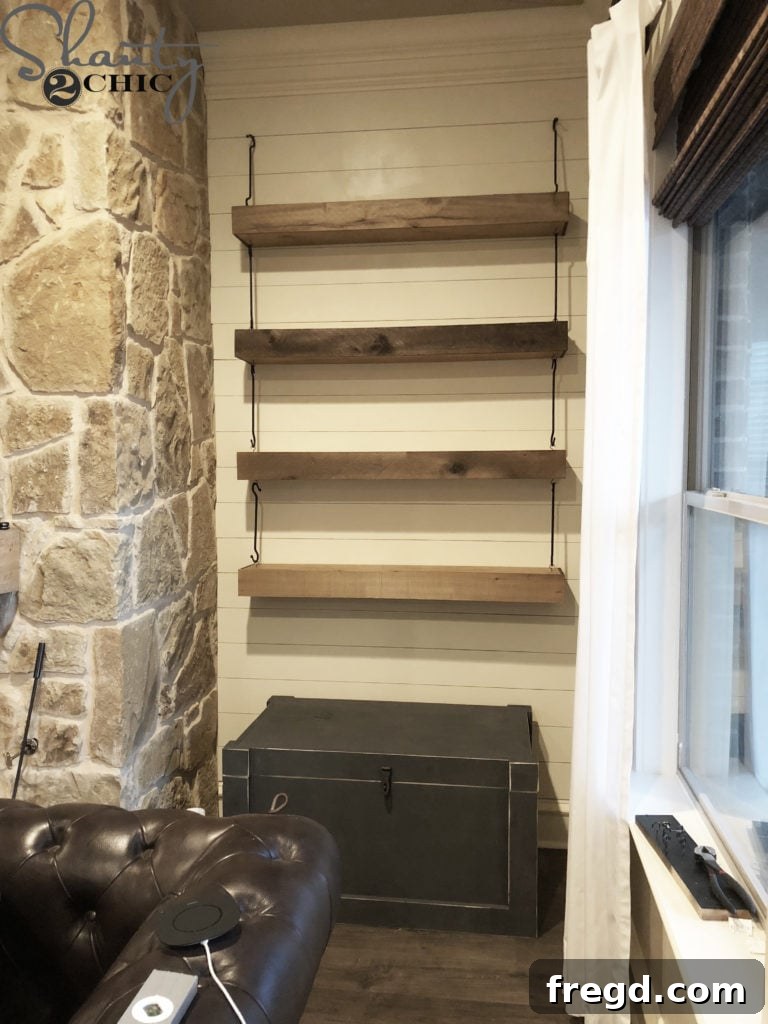
Finally, for the very top shelf, I attached additional eye hooks to its top surface and corresponding cup hooks directly into the wall above, securing the entire tiered structure. This ensures the top shelf is firmly anchored and provides the starting point for the hanging chain of shelves below. Double-check all connections to ensure they are secure and the shelves hang evenly.
The Grand Reveal: Styling Your Newly Built Floating Shelves
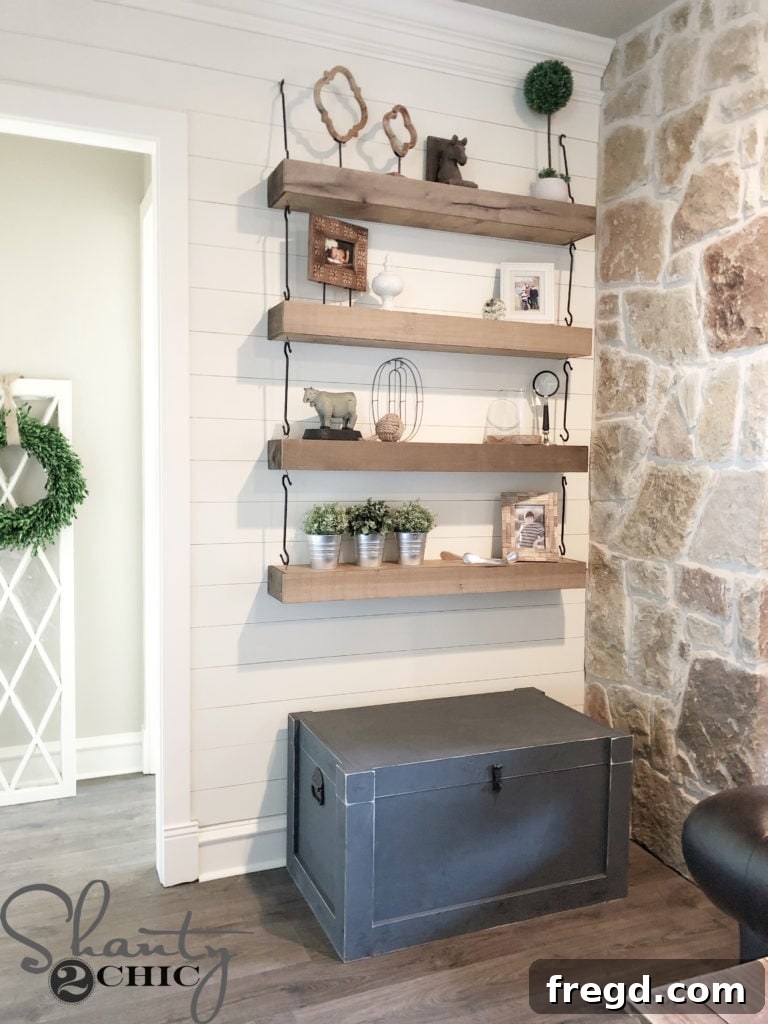
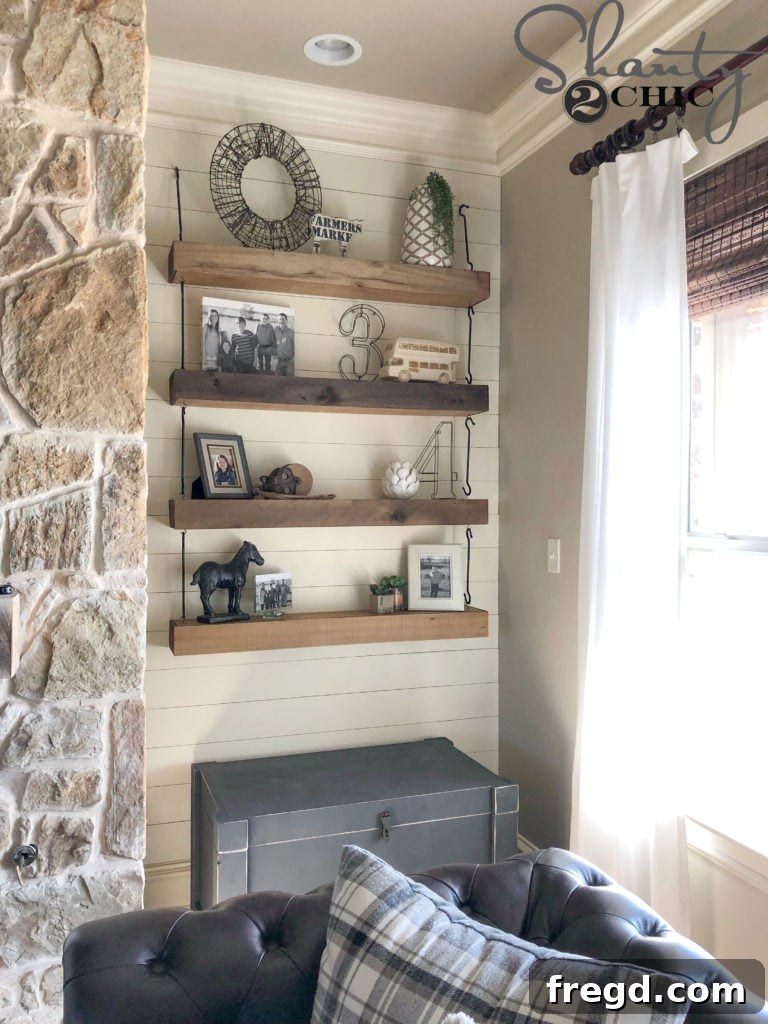
And that’s it! Once all the hardware was meticulously attached, the construction phase was complete, and the most satisfying part began: styling! I lovingly filled my new shelves with a collection of my favorite books, decorative accents, small plants, and cherished keepsakes. The entire process, from cutting the first piece of wood to placing the last decorative item, was incredibly rewarding.
What I particularly adore about these shelves is their slightly more shallow depth compared to many standard floating designs. This feature makes them perfect for displaying items without overwhelming the space, creating a curated and airy feel. Furthermore, the unique, custom-painted hardware truly sets them apart, adding an unexpected touch of rustic elegance and a distinctive focal point to the room. They are not just functional storage; they are a conversation starter and a testament to personalized home decor.
When styling your own shelves, consider a mix of textures and heights. Incorporate greenery, framed photos, ceramic pieces, or woven baskets to add warmth and visual interest. Remember the rule of odd numbers for groupings and leave some negative space to prevent the shelves from looking cluttered. These barn wood shelves, with their rich history and unique hardware, provide the perfect backdrop for showcasing your personality and style.
Unlock More DIY Potential with Our Project Library
Loved this project and eager for more? We have an extensive library of DIY plans designed to help you transform your home, one project at a time. If you appreciate functional and beautiful furniture, you might be interested in another popular build:
You can find the plans for that charming DIY Modern Farmhouse Trunk HERE!
And, if you’re a fan of floating shelves and want to explore other styles, we have many more free floating shelf plans to inspire your next build. Click the images below to discover additional designs and find the perfect floating shelf solution for every room in your home!
Thank you so much for stopping by and sharing in our passion for building and creating. We hope this guide inspires you to pick up your tools and craft something truly special for your home. The satisfaction of building something with your own hands is truly unparalleled.
Why Choose DIY? The Rewards of Crafting Your Own Home Decor
Beyond the cost savings, opting for DIY projects like these floating shelves offers a wealth of benefits. There’s an immense sense of accomplishment that comes from seeing a raw piece of wood transform into a functional and beautiful item in your home. You gain complete control over the design, materials, and finish, allowing you to create truly custom pieces that perfectly match your aesthetic and needs – something often impossible with mass-produced furniture.
DIY also provides an opportunity to learn new skills, hone your craftsmanship, and boost your confidence. It’s a creative outlet that can be incredibly therapeutic and a wonderful way to personalize your living space with items that tell a story. Moreover, by choosing materials like reclaimed barn wood, you’re also making an eco-conscious choice, giving new life to old resources and contributing to sustainable living.
Maintenance and Care for Your Rustic Floating Shelves
To ensure your beautiful barn wood floating shelves continue to look their best for years to come, a little routine maintenance goes a long way. Barn wood is naturally durable, but like all wood, it benefits from proper care. Dust your shelves regularly with a soft, dry cloth to prevent buildup. For deeper cleaning, a slightly damp cloth with mild soap can be used, but always ensure to wipe the wood dry immediately afterward to prevent moisture damage.
Periodically inspect the hardware – the eye hooks, S hooks, and mounting screws – to ensure everything remains tight and secure. Wood can naturally expand and contract with humidity changes, so a quick check now and then is good practice. If any part feels loose, simply tighten it. Avoid harsh chemical cleaners or abrasive scrubbers, which can strip the finish or damage the wood’s natural patina.
Customization Ideas for Your Floating Shelves
While we love the rustic charm of these shelves, the beauty of DIY is the ability to customize! Here are a few ideas to make these floating shelves uniquely yours:
- Wood Alternatives: If barn wood isn’t available, consider pine, oak, or even plywood with a wood veneer. You can then stain or paint it to achieve your desired look.
- Different Finishes: Instead of black spray paint for the hardware, try bronze, copper, or even a distressed antique white for a different vibe. You could also paint the shelf boxes a solid color.
- Varying Sizes: Adjust the length and depth of the shelves to fit specific spaces or display larger items.
- Integrated Lighting: For an extra touch, consider adding LED strip lighting to the underside of the shelves for ambient illumination.
- Unique Hardware: Explore different types of hooks or chains to create an even more personalized “hanging” effect.
We can’t wait to see what you create. Remember to share your finished projects with us! Happy Building!