
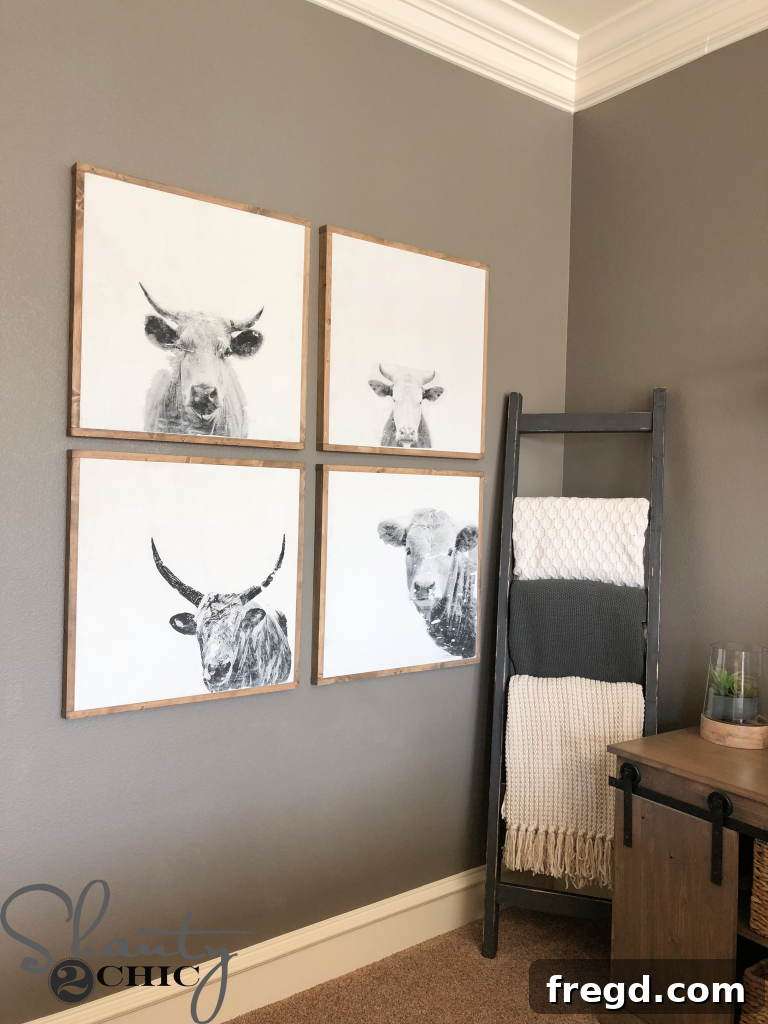
Create Stunning DIY Cow Prints: Affordable Farmhouse Wall Art for Your Home
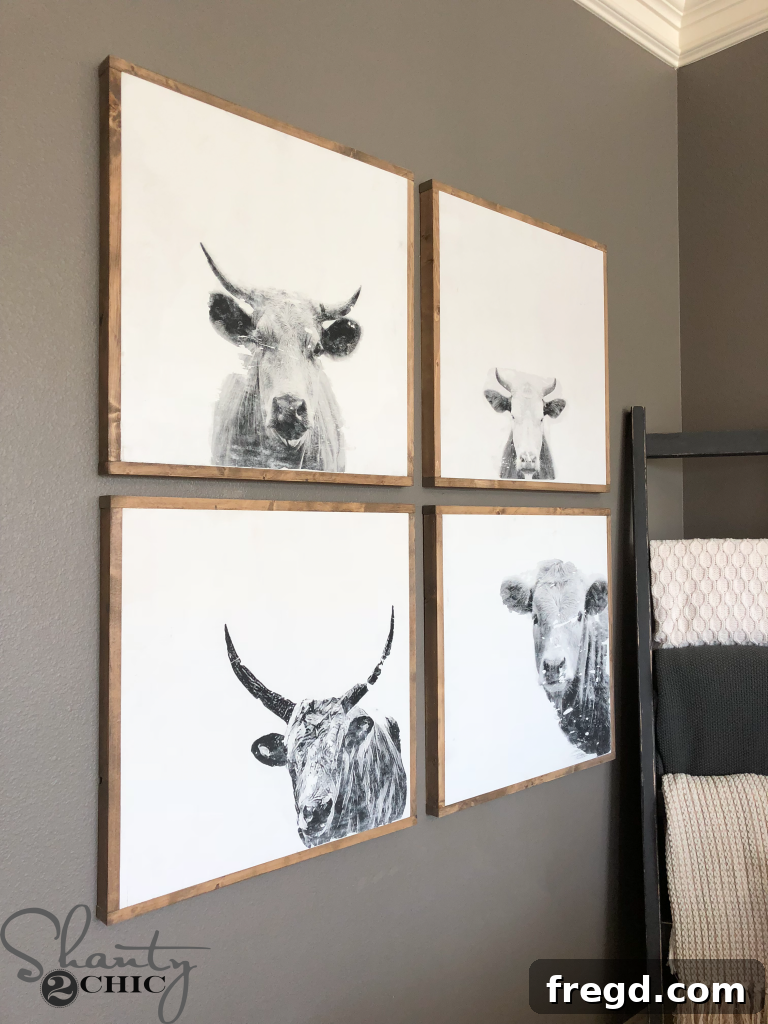
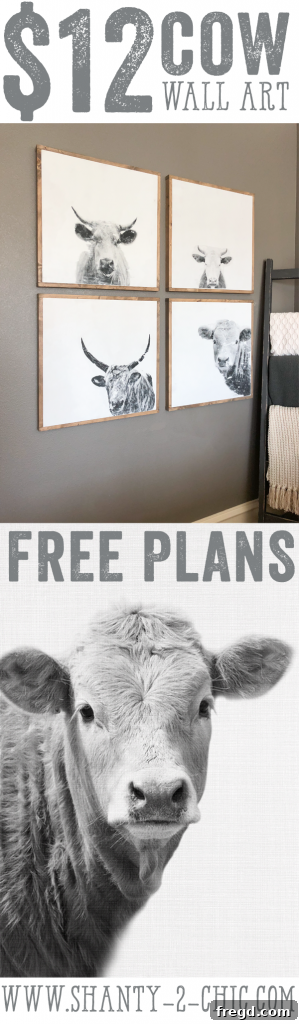
Are you yearning to infuse your living space with the warm, inviting charm of farmhouse aesthetics without spending a fortune? Our DIY Cow Prints project is your perfect solution! These magnificent art pieces, each measuring a generous 24 inches wide, are not only incredibly easy to build but also astonishingly affordable, costing around $12 per print. Imagine transforming your walls with bespoke, rustic elegance that looks high-end but comes with a budget-friendly price tag. Get ready to unleash your creativity and make a bold decorative statement – COWABUNGA!
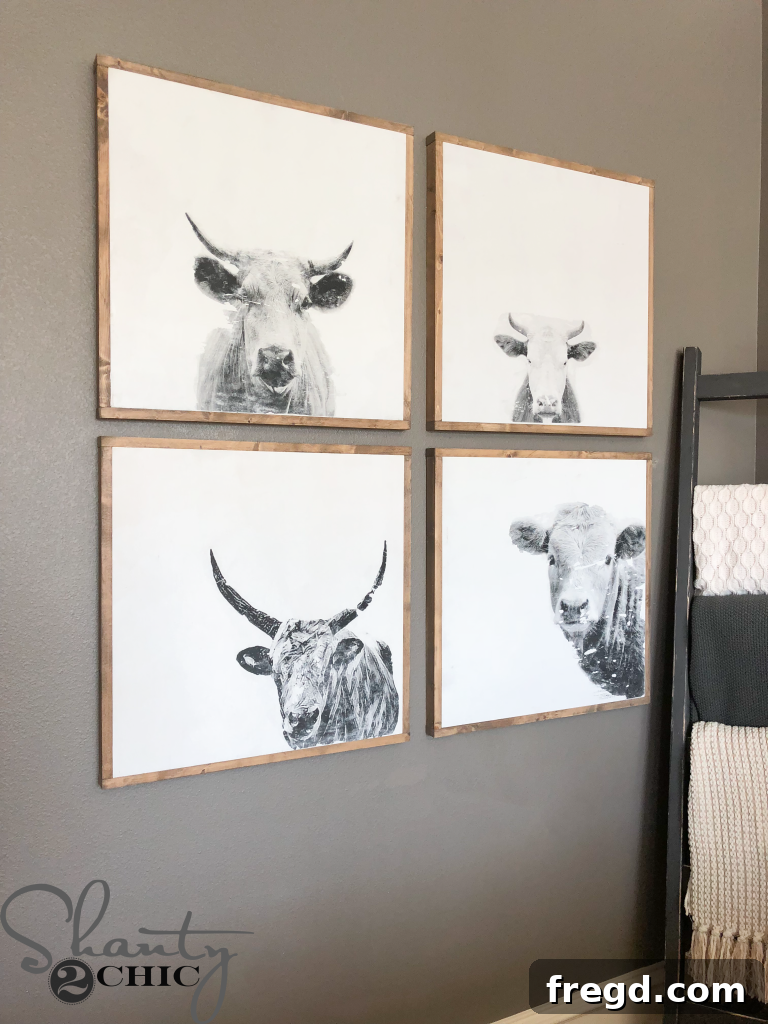
We believe that beautiful home decor should be accessible to everyone, regardless of their DIY experience level. This project is crafted with simplicity in mind, offering clear, concise instructions that guide you through every step of the process. So, settle in with your favorite cup of coffee and prepare to embark on an exciting journey to create captivating DIY Cow Wall Art. For a truly immersive and comprehensive guide, simply click HERE to watch our detailed step-by-step video tutorial. Seeing the techniques demonstrated visually makes achieving professional-looking results even easier and more enjoyable!
The Allure of DIY Cow Prints: Style, Savings, and Satisfaction
Opting for DIY cow prints offers a multitude of benefits beyond mere aesthetics. They introduce a unique character and conversation starter into any room, effortlessly complementing a range of interior designs, from classic farmhouse and rustic country to modern minimalist and eclectic bohemian. The distinct visual appeal of these bovine beauties adds a touch of whimsy and nature-inspired elegance that mass-produced art often lacks.
One of the most compelling reasons to choose this DIY project is the incredible cost-effectiveness. High-quality, large-format framed art can command prices upwards of several hundred dollars in retail stores. By crafting these prints yourself, you dramatically reduce the expenditure, proving that stunning home decor doesn’t require a hefty investment. This budget-friendly approach allows you to personalize your space without financial strain, making it an ideal choice for refreshing multiple rooms or decorating on a budget.
Furthermore, there’s an immense sense of pride and accomplishment that comes from creating something beautiful with your own hands. Each finished print will be a testament to your creativity and effort, adding a deeper, more personal connection to your home’s decor. Whether you’re decorating a cozy living room, a serene bedroom, a playful nursery, or a productive home office, these cow prints offer a distinctive touch that reflects your unique style and craftsmanship.
To ensure your success, we’ve gone the extra mile by providing free, easy-to-follow resources. You can download the FREE printable plans HERE. These plans include detailed measurements and visual guides that work hand-in-hand with our written and video tutorials, making the entire process straightforward and enjoyable for crafters of all skill levels.
Essential Materials and Tools for Your DIY Cow Print Project
A well-prepared workspace and a complete set of materials are key to a smooth and enjoyable DIY experience. Before you begin, take a moment to gather everything you’ll need. Most of these items are readily available at your local hardware store, craft supply shop, or can be conveniently ordered online. Here’s a detailed list to get you started:
- Plywood Sheets: These will form the sturdy base of your art. Ensure you get them cut to the desired dimensions (e.g., 24×30 inches for optimal printable fit).
- White Paint: A good quality acrylic or latex paint is perfect for creating a clean, bright canvas on your plywood.
- Wood Trim Pieces: Select a simple profile for your frame that complements the farmhouse aesthetic. Measure enough for four sides per print.
- Wood Stain: A rich, warm stain like Varathane Briarsmoke will add depth and character to your trim.
- Sandpaper or Power Sander: Essential for smoothing rough edges on the trim pieces. A detailed sander like the Ryobi Corner Cat Sander works wonders for precision.
- Mod Podge: This versatile adhesive and sealant is crucial for the image transfer process.
- Digital Cow Printables: High-resolution images of cows you wish to transfer. (See our sourcing section for links).
- Wood Glue: For securely attaching the trim to your plywood base.
- Nailer: A tool such as the Ryobi Airstrike 18 Gauge Nailer makes attaching trim quick and secure. Alternatively, a hammer and small finishing nails can be used.
- Wall Anchors and Screws: For safely hanging your finished artwork, especially for larger pieces or on drywall.
- Level: An absolute must-have for ensuring your prints hang perfectly straight and look professionally installed.
- Soft Cloths or Sponge: For applying stain and for the image transfer process.
- Credit Card or Brayer: For smoothing out bubbles during Mod Podge application.
Step 1: Preparing Your Plywood Base
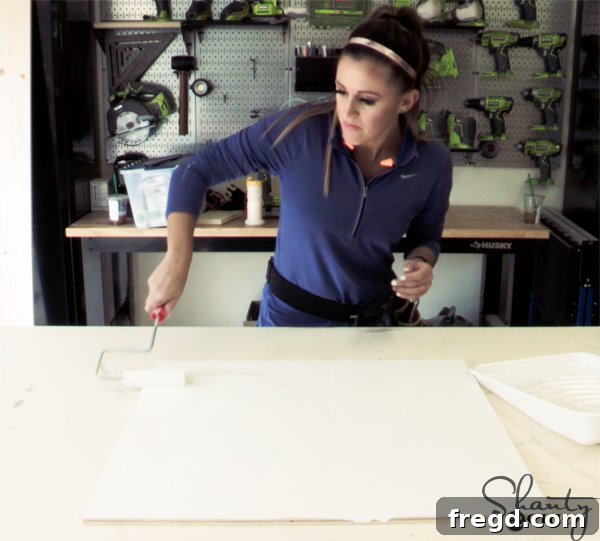
The first critical step involves preparing the plywood base for your cow prints. Many hardware stores offer a convenient cutting service, where they can precisely rip full plywood sheets down to your specific dimensions (e.g., 24 inches wide by the appropriate height for your chosen printable). This saves you time, ensures accurate cuts, and eliminates the need for specialized woodworking tools at home. Once your plywood panels are cut, the next step is to apply two even coats of white paint. This bright, uniform base serves several important purposes: it enhances the vibrancy of your transferred image, ensures a clean background, and creates a finished look before the image transfer. Allow adequate drying time between coats to achieve a smooth, flawless surface ready for the next stage.
Step 2: Crafting the Perfect Trim for Your Frame
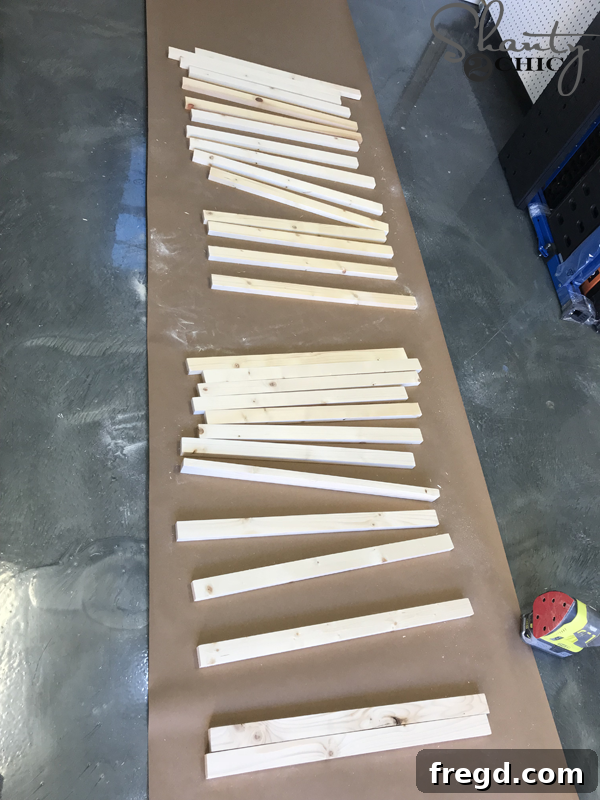
While your painted plywood dries to perfection, you can begin focusing on preparing the wood trim that will elegantly frame your cow prints. If you plan to create multiple pieces, it’s efficient to cut all the trim pieces to size in one go, ensuring consistency across your entire art collection. Each print will require four individual trim pieces to form a complete frame. Precision in your measurements and cuts here is vital for a snug and professional-looking frame.
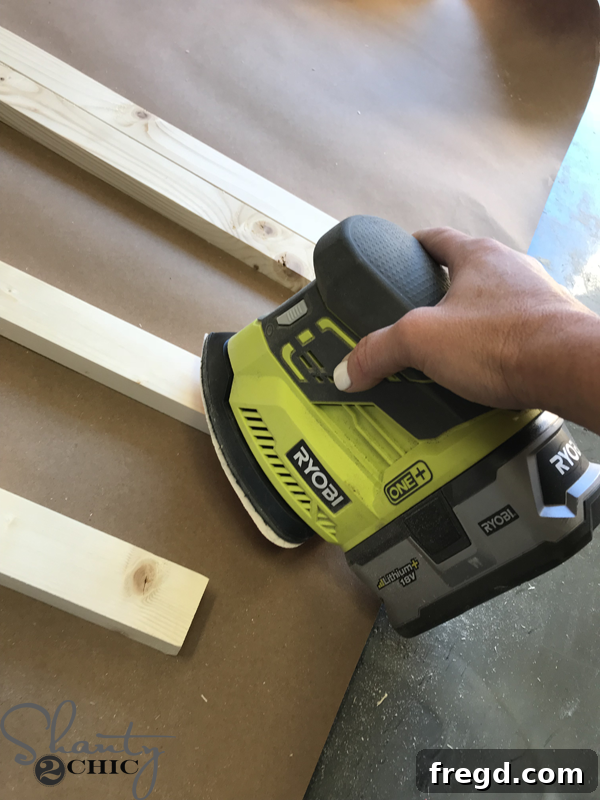
Once your trim pieces are cut, you’ll notice their edges might be a bit rough. To achieve a smooth, refined finish that’s ready for staining and pleasant to handle, sanding is essential. I found my Ryobi Corner Cat Sander to be incredibly efficient for quickly smoothing all the rough edges and corners. However, a simple sanding block or even a piece of sandpaper wrapped around a block of wood will yield excellent results – just ensure all surfaces are free from splinters and imperfections.
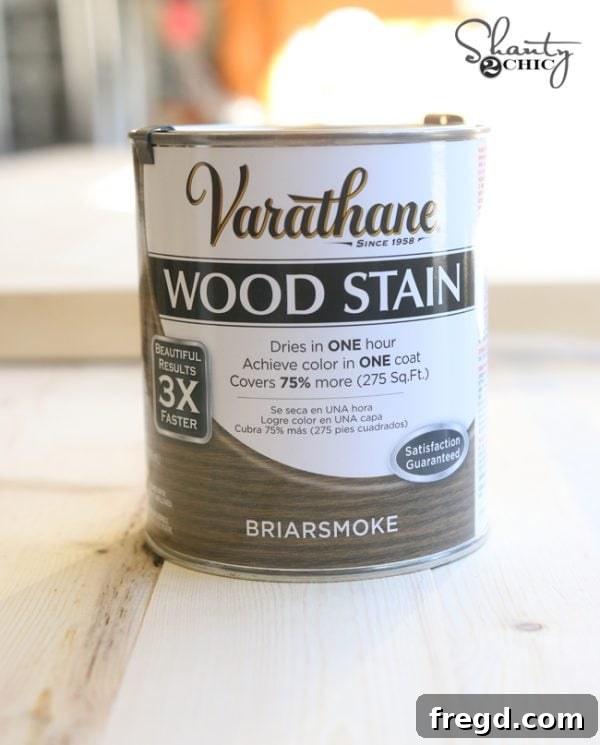
Next, it’s time to elevate the appearance of your trim with a beautiful wood stain. I applied a single, even coat of Varathane’s Briarsmoke stain to all surfaces of the trim pieces. This particular shade imparts a rich, deep warmth and a rustic appeal that perfectly complements the farmhouse aesthetic we’re aiming for. Be meticulous in coating all sides and ends of each trim piece to guarantee a uniform and professionally finished look from every angle. Allow the stain to dry completely according to the product manufacturer’s instructions before proceeding to the next step.
Step 3: Sourcing and Printing Your Stunning Cow Printables
Now, let’s talk about the focal point of your artwork – the cow prints themselves! While the specific cow printables we initially used are no longer available, the fantastic news is that the digital art world is brimming with an abundance of beautiful and affordable alternatives. We’ve curated a selection of similar, high-quality cow prints that are perfectly suited for this project. Explore these updated links to find the ideal bovine subject for your unique wall art:
- Cow Print Option 1 – Classic Bovine Portrait
- Cow Print Option 2 – Artistic Farm Animal Gaze
- Cow Print Option 3 – Modern Farmhouse Cow Art
- Cow Print Option 4 – Rustic Cow Head Illustration
It’s worth noting that prices for digital printables can fluctuate, so always check for the latest pricing. If you’re seeking an even broader selection, a different artistic style, or simply love supporting independent artists, we highly recommend browsing “Cow Printable” on Etsy. This platform is an incredible treasure trove for unique digital art, offering an almost endless array of options to perfectly match your decor and personal taste.
Once you’ve selected and downloaded your high-resolution cow images, the next step is printing. For this project, we utilize the cost-effective and convenient engineering print service offered by Staples. These large-format prints are incredibly budget-friendly, typically costing less than $2 for an 18×24 inch print, and they often boast a rapid turnaround, ready for pick-up within 24 hours. The matte finish and slight translucency of engineering prints are ideal for achieving that authentic, slightly vintage, and integrated look when transferred to wood, perfectly suiting the farmhouse aesthetic. Simply upload your digital files to staples.com and place your order.
Step 4: Transferring Your Cow Masterpiece with Mod Podge
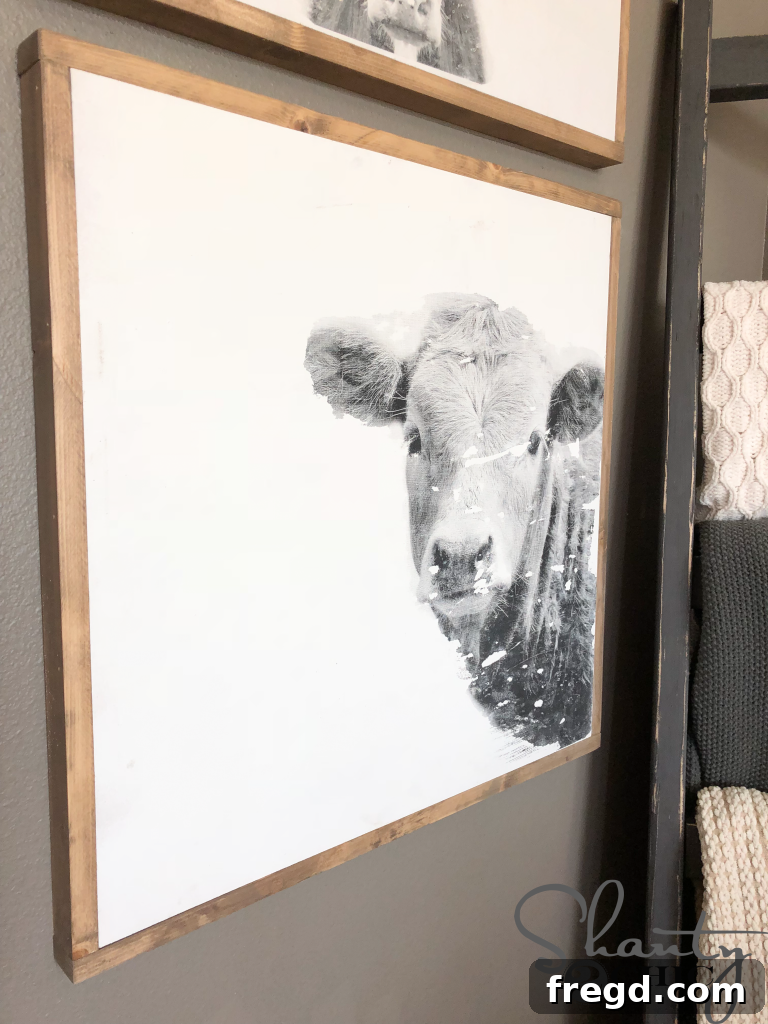
This stage is truly where the transformation happens, turning a simple print into a captivating piece of art. The Mod Podge image transfer technique, also known as decoupage, allows the cow image to meld seamlessly with the plywood, giving it a beautifully integrated and almost hand-painted appearance. This process results in a rustic, slightly distressed look that enhances the farmhouse charm.
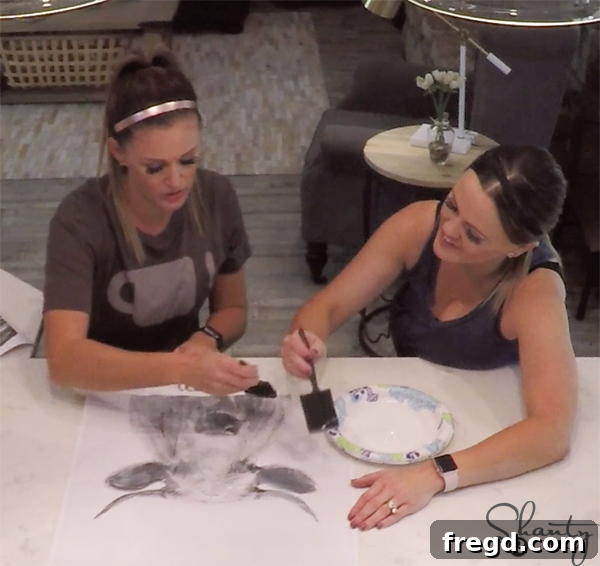
Begin by applying a generous, even coat of Mod Podge directly onto the printed side of your cow image. It’s crucial to focus only on the actual image area of the cow, carefully avoiding any white borders around the print. This precision ensures a clean transfer without unwanted residue or visible edges. The Mod Podge acts as both a powerful adhesive and a medium that helps prepare the paper for the subsequent transfer.
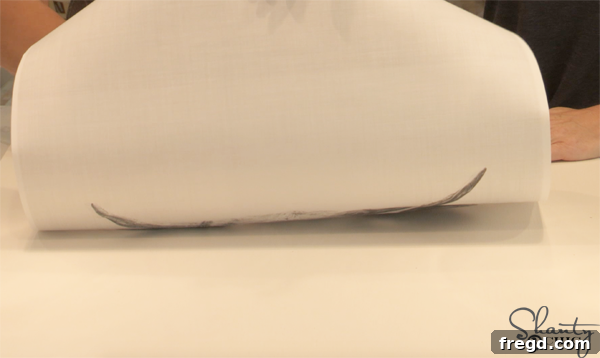
Immediately after applying the Mod Podge, carefully lay the print face-down onto your freshly painted plywood sheet. Take your time during this critical step to ensure perfect alignment. Once positioned, use a credit card, a brayer, or even your fingers to firmly and meticulously smooth out all wrinkles and air bubbles. Work deliberately from the center outwards, pushing any trapped air or excess Mod Podge to the edges. This smoothing process is absolutely essential for a flawless transfer, so patience and attention to detail here will yield significant rewards. Allow the Mod Podge to dry completely, ideally for a minimum of 12 to 24 hours, to ensure the strongest possible bond between the paper and the wood.
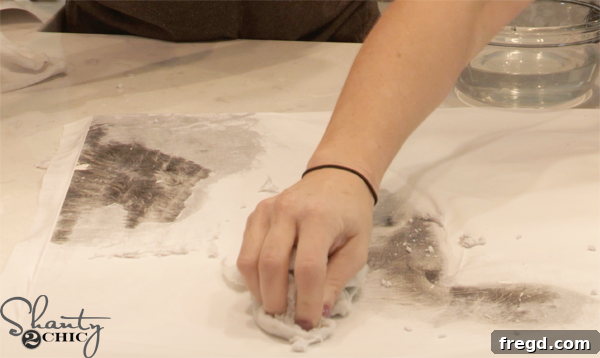
Once the Mod Podge has had ample time to dry thoroughly, it’s time for the truly magical reveal! Gently dampen the back of the paper with a wet sponge or cloth. Allow the water to soak into the paper fibers for a few minutes. Then, using your fingertips, very carefully begin to rub away the paper. You will notice the paper fibers starting to peel and roll off, gradually revealing the transferred image of the cow on your plywood beneath. Continue rubbing gently and patiently until all the paper residue is gone, exposing the beautiful, rustic cow print. This part of the process requires a delicate touch to avoid damaging the newly transferred image.
Step 5: Framing and Adding the Finishing Touches
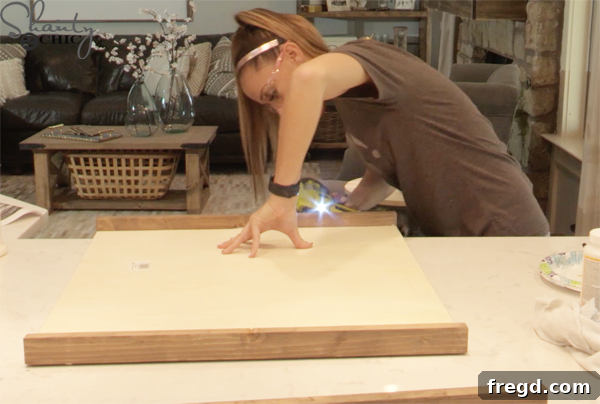
With your stunning cow image now perfectly transferred and dry, the final step is to attach the stained wood trim, creating a beautiful and cohesive frame. This crucial stage brings the entire piece together, elevating it to a professional, gallery-worthy standard. Apply a strong wood glue to the back of your prepared, stained trim pieces. Carefully position them around the perimeter of your plywood base, ensuring they align perfectly with the edges of your artwork. For maximum durability and a secure hold, use a nailer, such as the Ryobi Airstrike 18 gauge nailer, to firmly fasten the trim in place. Pay close attention to the corners, ensuring they meet precisely and the trim is flush with the plywood for a seamless and polished appearance. Once the wood glue has fully cured, your exquisite DIY cow print is complete and ready to take pride of place on your walls!
Displaying Your Masterpiece: Hanging Your DIY Cow Prints
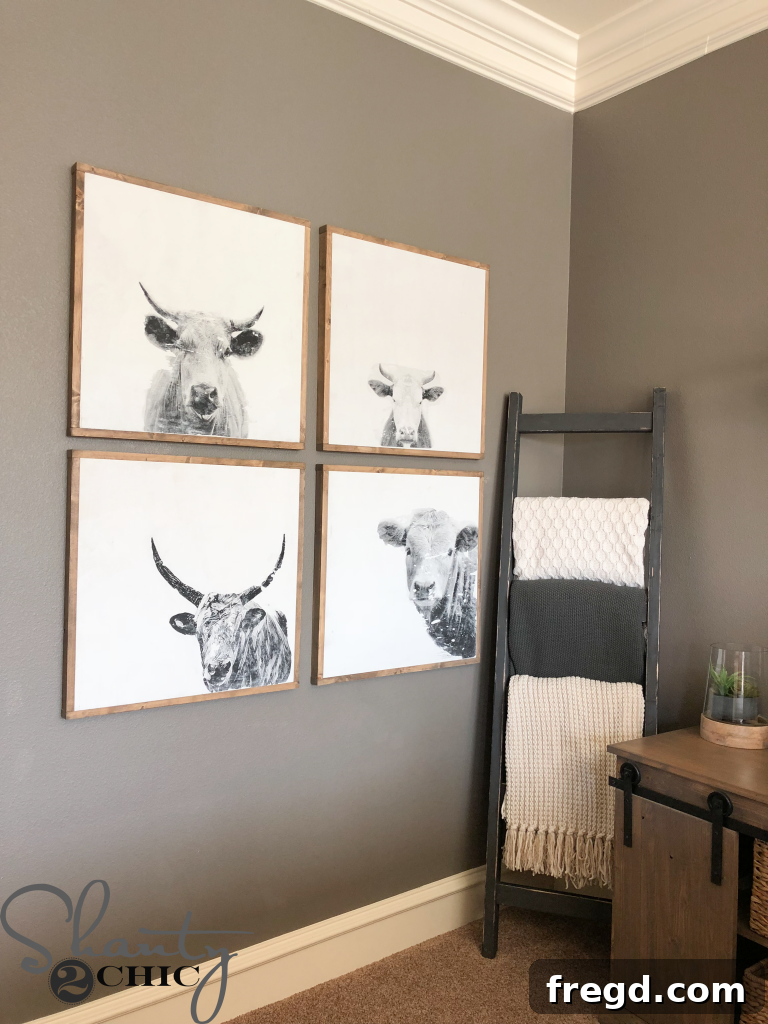
Congratulations, you’ve successfully created a captivating piece of art! Now comes the exciting part: displaying it prominently in your home. Hanging your DIY cow prints is a straightforward process, requiring just a few simple steps to ensure they are securely mounted and perfectly aligned. For optimal stability and to protect your walls, especially for larger or heavier art pieces or when hanging on drywall, we highly recommend using wall anchors. These provide a much stronger hold than screws alone. Once the anchors are securely installed, insert your screws, leaving them protruding slightly from the wall.
Next, carefully lift your finished cow prints and slide them over the protruding screws, allowing the back of the frame or plywood to rest firmly and securely. The single most important tip for this stage is to *always use a level*! A level is an indispensable tool that guarantees your prints hang perfectly straight, lending a polished and professional look to your display. Whether you’re showcasing a single statement piece or arranging a charming gallery wall with multiple prints, taking the extra moment to level each one will make a significant difference in the overall aesthetic appeal of your newly decorated space.
Share Your Creativity and Inspire Others!
We are absolutely delighted to witness how our DIY projects spark joy and transform your living spaces! If you’ve enjoyed crafting these budget-friendly cow prints and are proud of your newly created farmhouse wall art, we would be incredibly grateful if you shared your finished masterpiece with our vibrant community. Pinning your completed project on Pinterest is a fantastic and impactful way to spread inspiration and help countless other aspiring crafters discover this fun, rewarding, and affordable DIY idea. Your shared photos and enthusiasm can truly motivate others to embark on their own exciting home decor adventures!
Explore More DIY Home Decor Projects to Complete Your Space
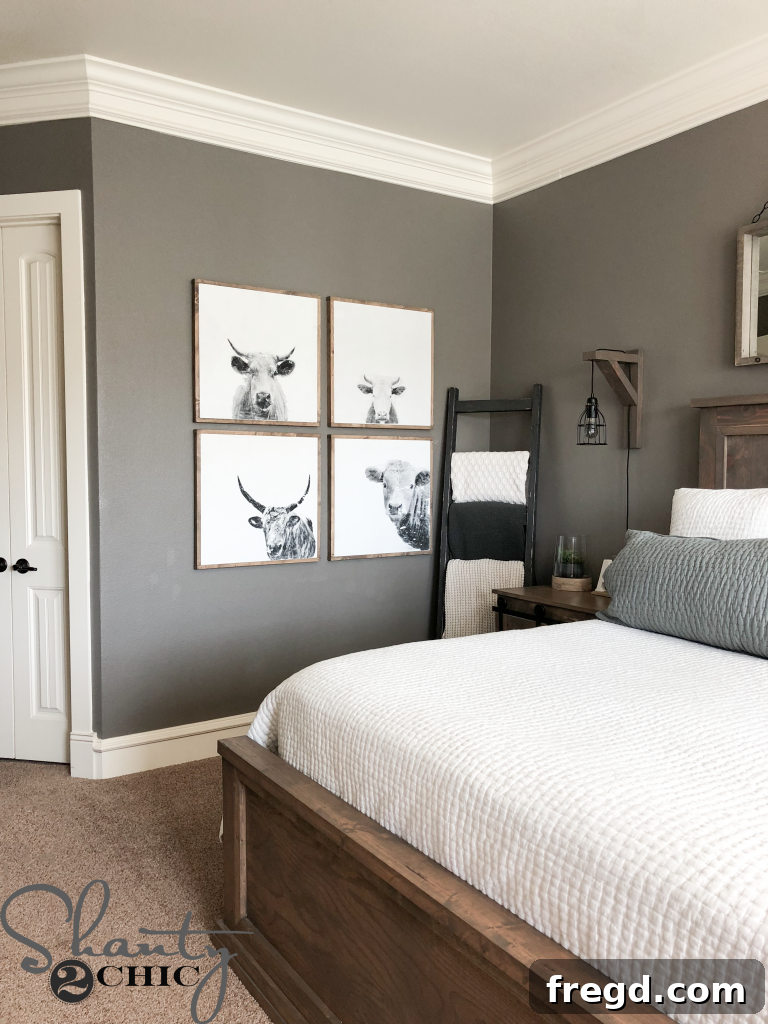
Our passion for creating beautiful and functional pieces for the home doesn’t end with cow prints! If you’re eager to further enhance your living environment with charming, handmade furnishings and savvy budget-friendly solutions, we have a treasure trove of other fantastic projects awaiting your discovery. Many of the complementary pieces you may have noticed in the room photographs above are also wonderfully achievable DIY creations. Click on the links below to uncover how to build more stylish and practical items that will perfectly complement your new cow prints and solidify your complete farmhouse aesthetic. Happy building, and happy decorating!
Learn How to Build Your Own DIY Rustic Blanket Ladder
Create a Charming DIY Rustic Sconce Light for Your Walls
Craft Your Own Stylish DIY Rustic Modern Bed Frame
Build a Functional and Chic DIY Sliding Barn Door Nightstand
Your Next DIY Adventure Awaits!
We sincerely hope this comprehensive guide has ignited your inspiration to create your very own beautiful and budget-friendly DIY Cow Prints. This project stands as a testament to the incredible potential of simple materials and a touch of creativity, culminating in stunning home decor that genuinely reflects your personal style and flair. Whether you’re in the process of decorating a brand-new space, looking to refresh an existing room, or searching for a truly unique and heartfelt handmade gift, these charming cow prints are an exceptional choice that promises to impress.
Don’t hesitate any longer – dive into this wonderfully rewarding DIY project! Your home will undoubtedly thank you for the personalized touch and character these prints bring. Stay connected for more exciting DIY ideas, detailed tutorials, and inspiring projects to help you craft the home of your dreams, one beautiful and meaningful creation at a time. Happy crafting, and most importantly, happy building!