
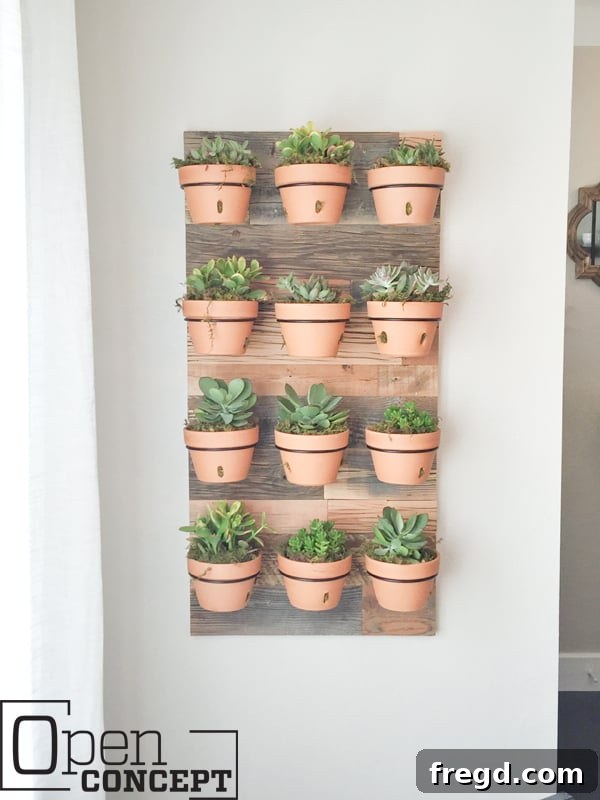
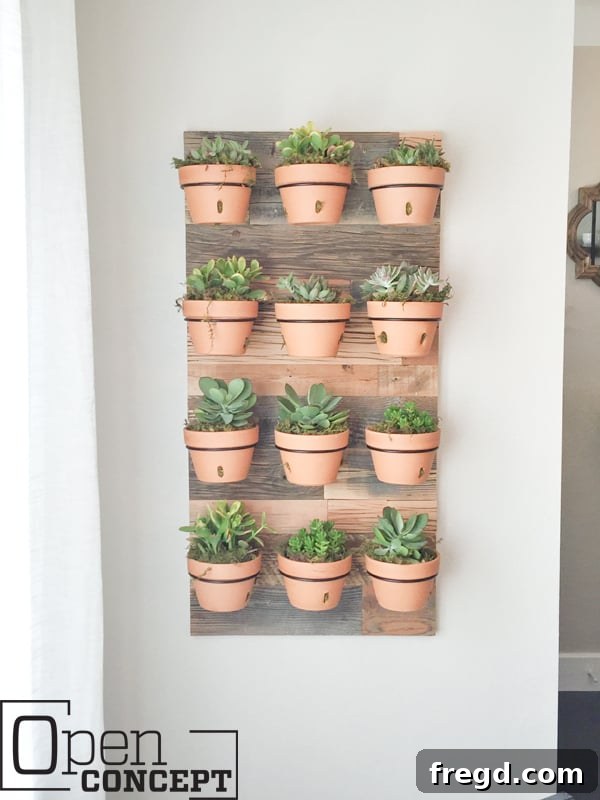
Welcome to our latest DIY adventure! Today, we’re thrilled to share a project that brings rustic charm and vibrant greenery right into your home: a stunning DIY Reclaimed Wood Wall Planter. Perfect for adding a touch of nature and a unique focal point to any room, this vertical garden solution combines aesthetic appeal with practical functionality. Whether you’re an experienced DIYer or just starting, this guide will walk you through creating a beautiful, customizable piece that’s sure to impress.
This exquisite wall planter was originally crafted for the Berry family’s dining room, featured in Episode 3 of HGTV’s “Open Concept.” The design brief called for a piece that would blend seamlessly with a modern farmhouse aesthetic, and we were fortunate enough to have a surplus of the gorgeous barn wood used in other elements of the home, such as the vent hood, planked wall, and study console barn doors. The inspiration drawn from this professional design project ensures that your finished planter will not only be a testament to your DIY skills but also a sophisticated addition to your interior decor.

Why Choose a DIY Reclaimed Wood Wall Planter?
Embracing a DIY project like this wall planter offers numerous benefits beyond simply acquiring a new piece of decor. Firstly, it allows for unparalleled customization. You get to choose the exact dimensions, the type of wood, and the arrangement of your planters, ensuring it perfectly fits your space and personal style. Secondly, working with reclaimed wood is an eco-friendly choice. It gives new life to old materials, reducing waste and bringing a piece of history and character into your home that simply cannot be replicated with new lumber. Each knot, grain, and imperfection tells a story, making your planter truly one-of-a-kind. Lastly, there’s immense satisfaction in creating something beautiful and functional with your own hands. It’s a rewarding experience that adds a deeper connection to your home environment.
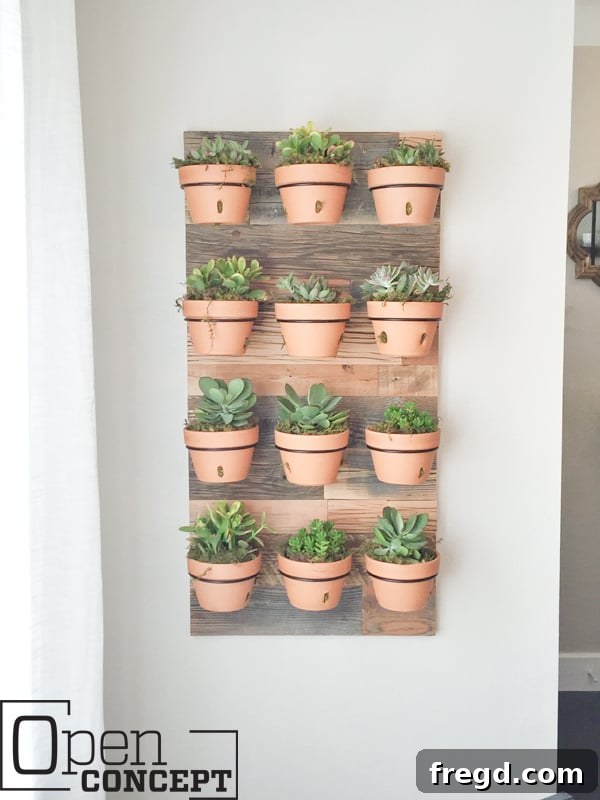
Sourcing Your Materials: The Heart of Your Project
The star of this project is undoubtedly the reclaimed barn wood. For the “Open Concept” episode, we sourced our wood from Reclaimed Designworks, a company renowned for its exceptional quality and commitment to sustainability. They have multiple locations nationwide and also offer online sales, making their unique products accessible to many. What makes their wood so special? Reclaimed Designworks meticulously salvages barn wood from old structures across the United States. This wood is then carefully processed: nails are removed, the wood is thoroughly cleaned, and kiln-dried to ensure it’s stable, free of pests, and perfectly safe for indoor use. This rigorous preparation guarantees that you receive high-quality, character-rich material ready for your project.
We personally visited their Dallas location, where we were able to select the perfect blend of softwood barn wood that caught our eye. The texture, variations in color, and natural distress of reclaimed wood add an unparalleled depth and warmth to any design. You can explore the specific color and style we chose by clicking HERE. If reclaimed wood isn’t readily available or within your budget, don’t worry! You can achieve a similar rustic aesthetic using new lumber and applying distressing techniques or staining it to mimic aged wood. Pine or fir boards are excellent alternatives that can be customized to your desired look.
Beyond the wood, you’ll need the planter pots themselves. For our design, we used stylish wall planters found at Crate and Barrel. We purchased 12 units to create a dynamic display. You can find similar styles or alternative designs HERE. When selecting your planters, consider the types of plants you intend to display. Small ceramic pots, metal buckets, or even glass jars can be adapted to hang on your wall, offering a range of styles from industrial chic to minimalist modern.
The Build: A Simple Yet Impactful DIY Project
Despite its impressive final appearance, this wall planter is a surprisingly straightforward project. It requires only basic tools and can be easily customized to fit any space or aesthetic. I built ours using just a nailer and a saw, demonstrating that you don’t need an elaborate workshop to achieve professional-looking results. The beauty of this design lies in its adaptability: you can use any type of wooden boards and adjust the size to suit your specific needs. Here’s a detailed breakdown of how to construct your own custom wall planter.
Step 1: Preparing Your Plywood Base
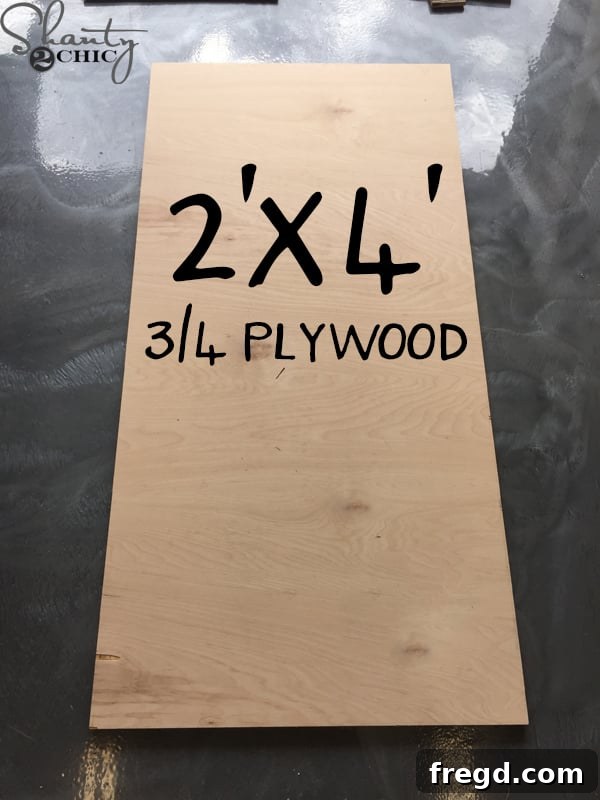
The foundation of your wall planter is a sturdy plywood base. Head to your local hardware store and pick up a 24-inch by 48-inch sheet of 3/4-inch plywood. This dimension provides ample space for multiple planters and a significant visual presence without being overly cumbersome. Ensure the plywood is cut cleanly and accurately. If you don’t have a circular saw or table saw, most hardware stores offer cutting services, which can save you time and ensure precise measurements.
Step 2: Arranging Your Wall Planters
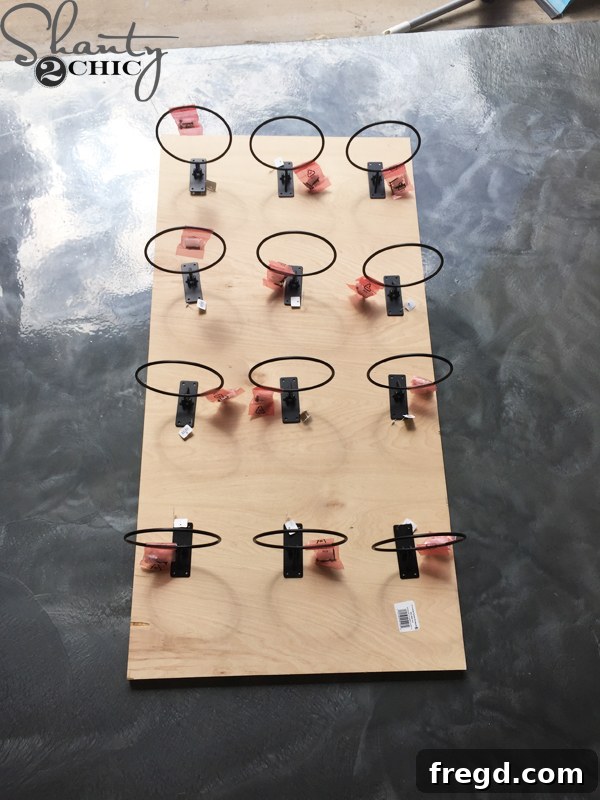
Before attaching any wood, it’s helpful to lay out your chosen wall planters on the plywood to visualize their arrangement. This step allows you to experiment with spacing and ensure you’re happy with the overall look. For our design, we opted for 12 planters arranged in a grid pattern to create a balanced and organized display. Mark the positions of each planter lightly with a pencil. This pre-planning will guide your wood placement and help you determine where to cut your reclaimed wood planks to accommodate the planter rings.
Step 3: Attaching the Reclaimed Wood Planks
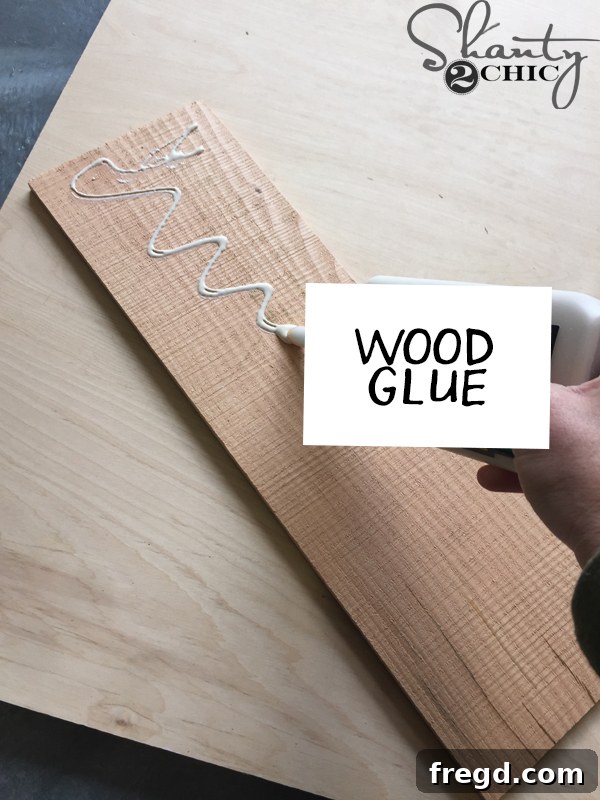
Begin by applying a generous, even layer of wood glue to the back of your first reclaimed wood plank. Starting from the bottom of the plywood, align the plank flush with the bottom edge and one side. Wood glue is essential for the long-term integrity of your planter, providing a strong, permanent bond between the reclaimed wood and the plywood base.
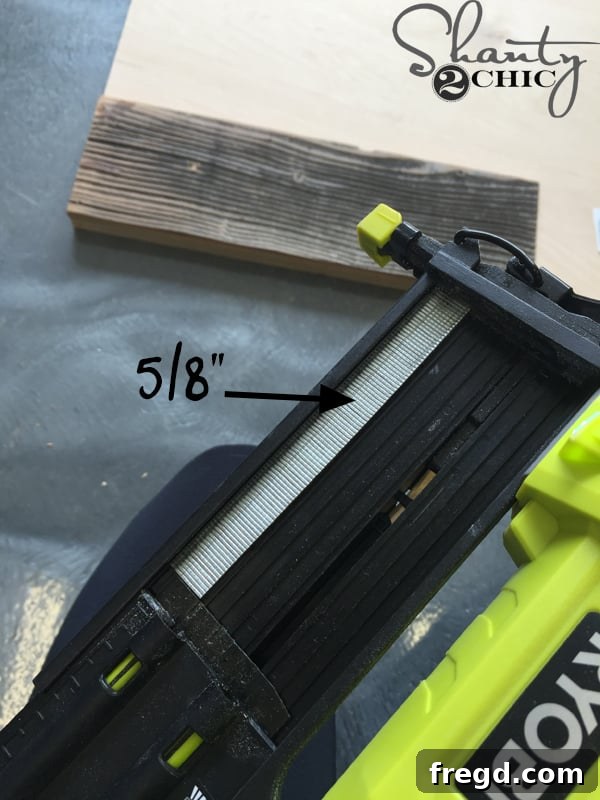
Once the plank is positioned, secure it with 5/8-inch brad nails using an 18-gauge brad nailer, such as the Ryobi Airstrike Nailer. The brad nails serve a crucial temporary purpose: they hold the wood planks firmly in place while the wood glue dries and cures. You don’t need an excessive number of nails; a few strategically placed nails are sufficient to prevent shifting. If you don’t own a power nailer, a hammer and finish nails will work perfectly well, just ensure they are long enough to penetrate both the reclaimed wood and the plywood securely.
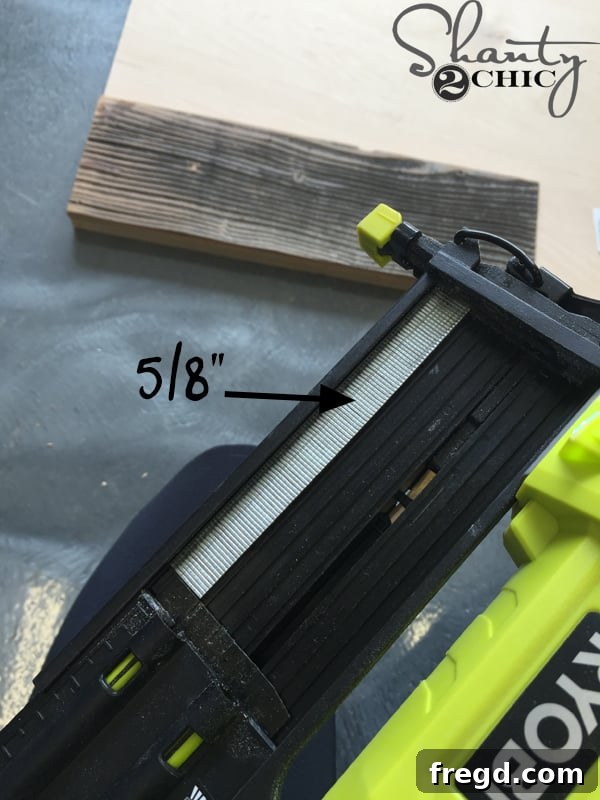
Step 4: Continuing Up the Board
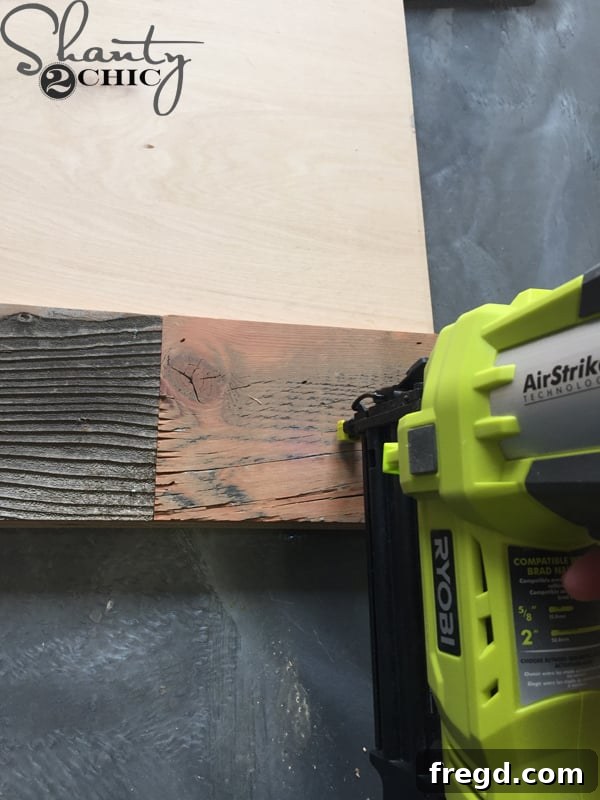
Proceed to attach the next planks, cutting them to fit the remaining width of the plywood. The beauty of working with reclaimed wood, especially planks of varying widths, is the opportunity to create a unique, organic pattern. While there’s no single “correct” way to do this, a good design tip is to avoid having joints line up directly from one row to the next. Staggering the seams creates a more visually appealing and structurally sound surface. Embrace the natural variations of the wood; it adds character and ensures your piece is truly original.
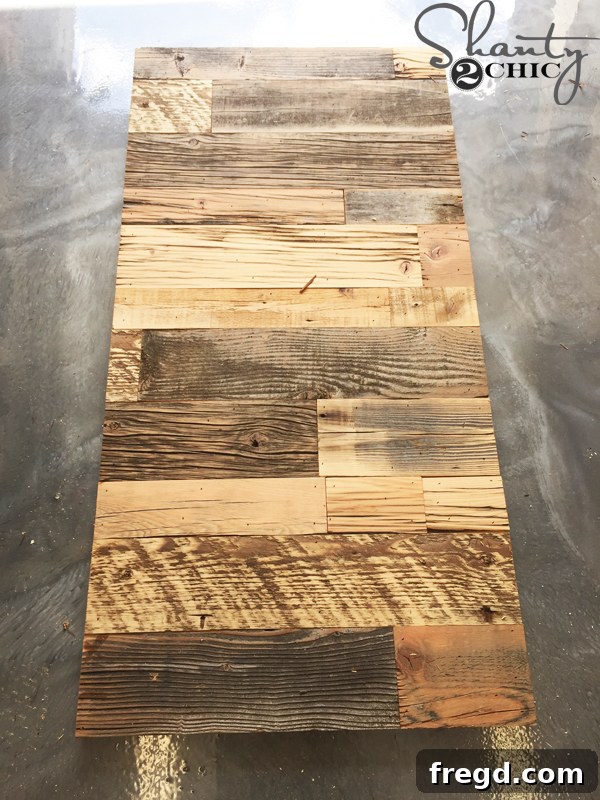
Continue this process, working your way up the entire plywood sheet until it is fully covered with the reclaimed barn wood. Allow adequate time for the wood glue to dry completely according to the manufacturer’s instructions, typically 24 hours. This curing period is crucial for establishing a strong, lasting bond.
Step 5: Attaching the Planter Rings
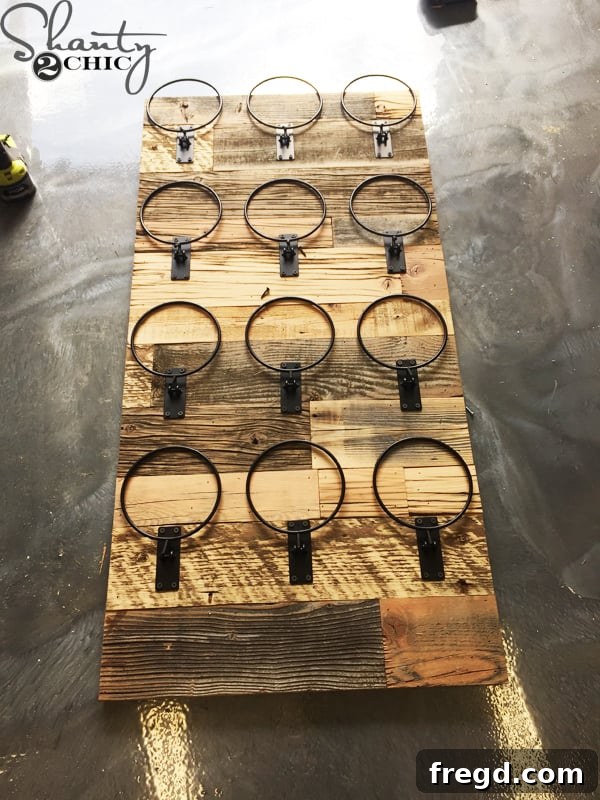
With the wooden backdrop complete, it’s time to integrate the planter rings. Carefully measure and mark the precise locations for each ring based on your initial layout. A balanced arrangement is key to a visually appealing planter. Start by finding the center of your board, then measure outwards to ensure even spacing for each row and column of planters. Use a pencil to mark where each ring will be attached. Precision in this step ensures your final display looks professional and harmonious.
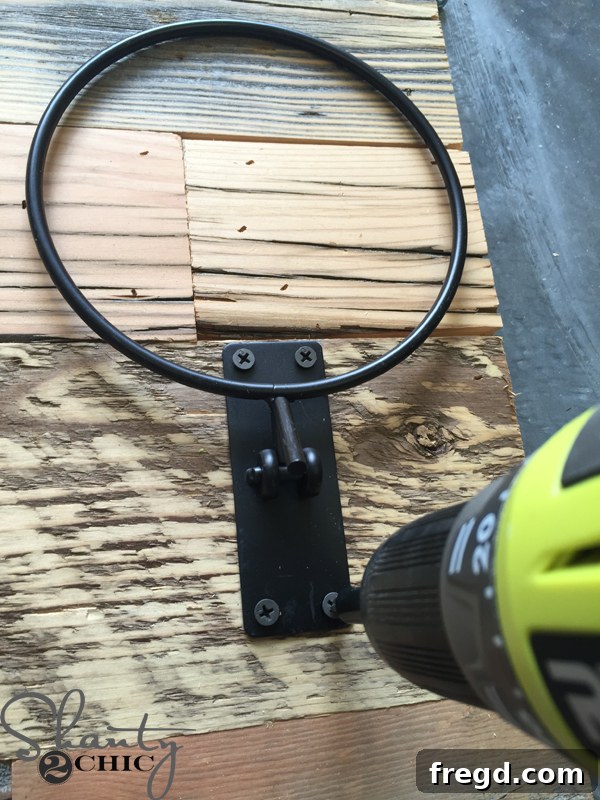
Next, secure each wall planter ring to the reclaimed wood. Use screws that are appropriate for your specific planter design and short enough not to protrude through the back of the plywood. Ensure each ring is firmly attached to hold your potted plants securely. Take your time to align each ring perfectly, as these will be the visible elements that hold your vibrant greenery.
Step 6: Ready for Installation!
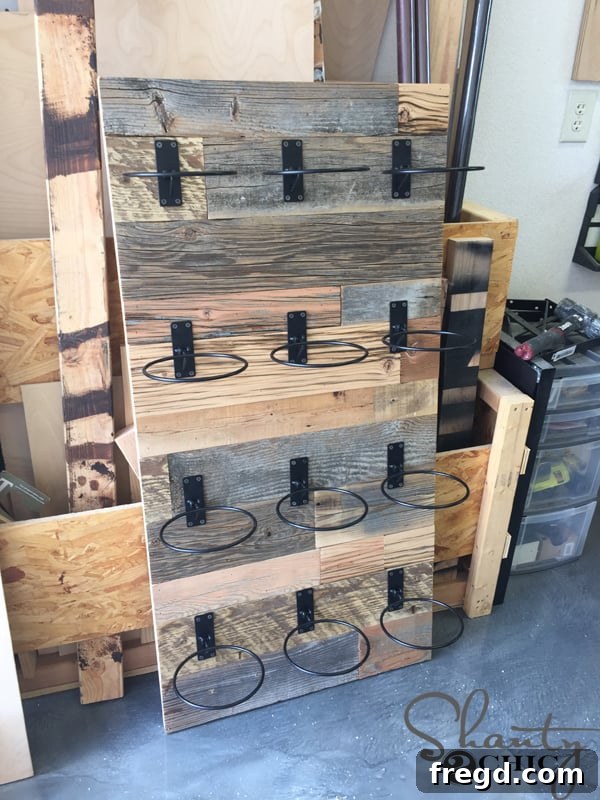
Congratulations, your stunning reclaimed wood wall planter is now fully assembled and ready to be mounted! This substantial piece of functional art will be a magnificent addition to any room, offering a unique blend of rustic charm and contemporary design. Take a moment to admire your handiwork before moving on to the final step of installation.
Hanging Your Wall Planter: Secure & Level
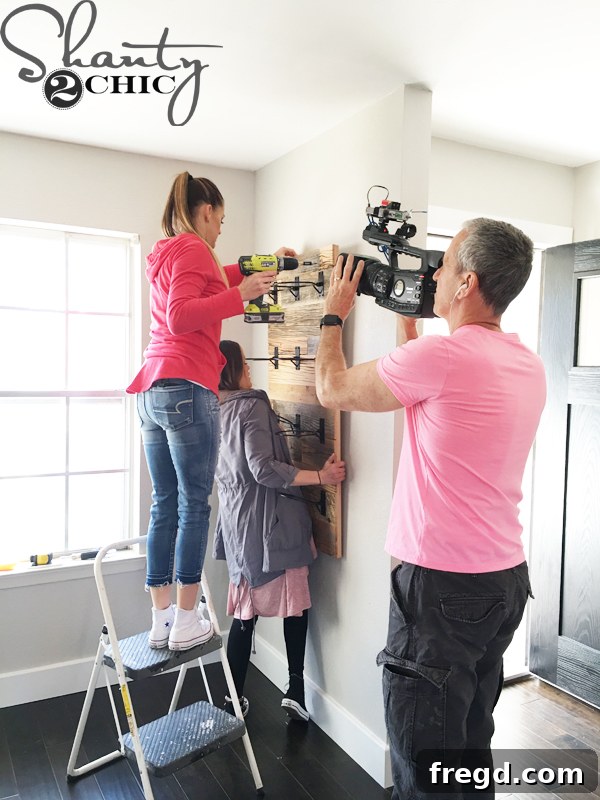
Given the weight of the planter and the plants it will hold, secure installation is paramount. You’ll definitely want an extra set of hands for this part, so enlist a friend or family member to help. Begin by using a stud finder to locate the wall studs. Anchoring your planter into studs provides the strongest and safest hold, preventing any potential sagging or falling. Mark the stud locations clearly with a pencil.
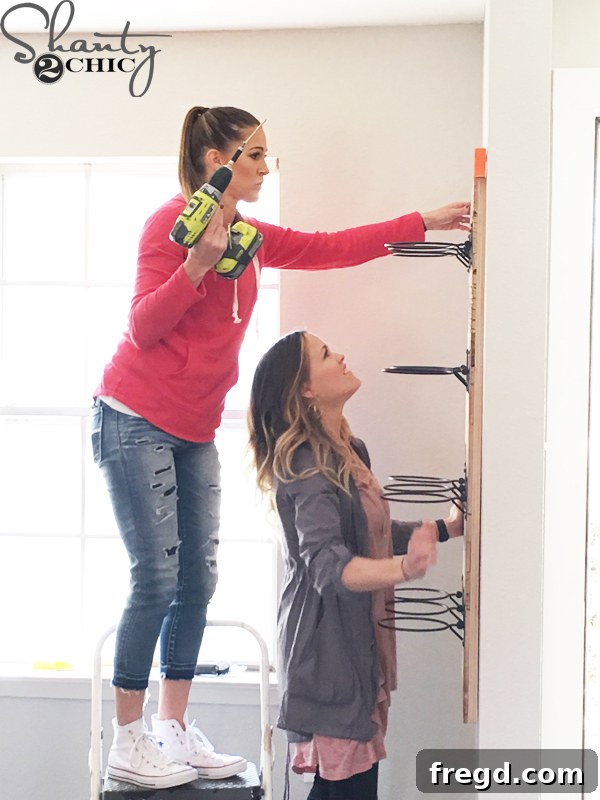
With assistance, hold the planter up against the wall in your desired position. Once you’re happy with the placement, drive a 3.5-inch wood screw directly through the reclaimed wood front of the planter into one of the marked studs. Before adding more screws, use a level to ensure the entire piece is perfectly horizontal. Adjust as necessary. Once leveled, add additional 3.5-inch wood screws, aiming for two screws per stud – one near the top and one near the bottom of the planter. Don’t worry about the screws being visible; once your potted plants are in place, they will largely be concealed by the greenery and blend in with the rustic character of the reclaimed wood.
Bringing It to Life: Adding Your Plants
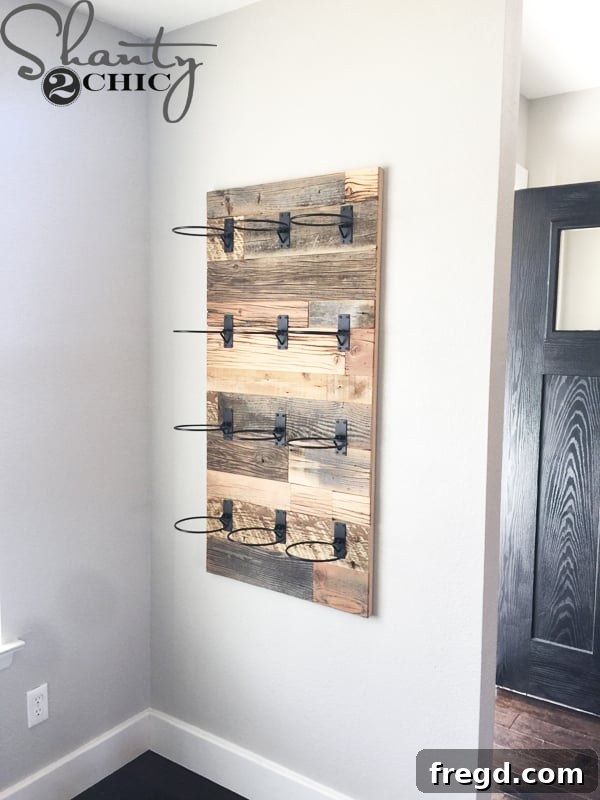
Now for the most exciting part: introducing the plants! The choice of greenery can dramatically influence the final aesthetic of your wall planter. Succulents are an excellent option due to their low maintenance needs and diverse array of shapes, colors, and textures. Their resilience makes them ideal for vertical displays. Other fantastic choices include various types of herbs (perfect for a kitchen or dining area), small trailing plants like pothos or ivy, or even air plants for a truly minimalist look. Consider the light conditions of the room when selecting your plants to ensure they thrive.
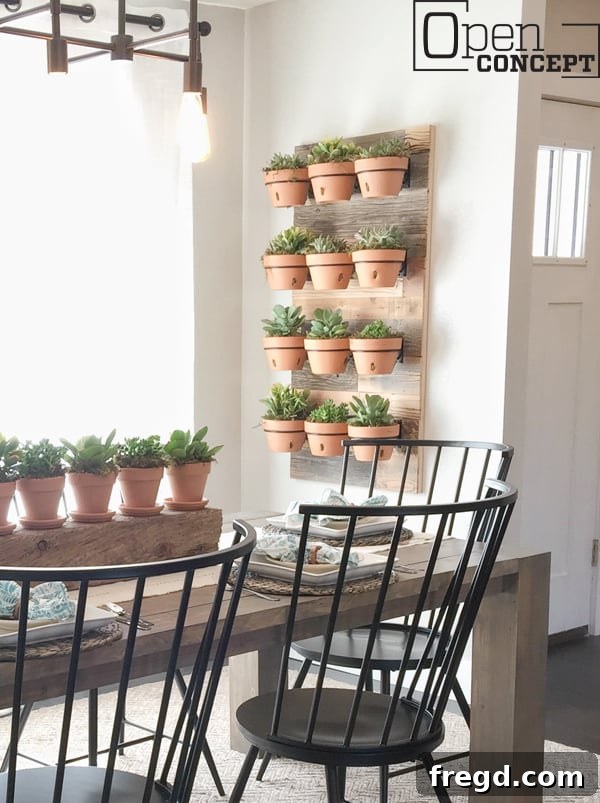
Carefully place your potted plants into the secured planter rings. Arrange them aesthetically, considering height, color, and texture to create a dynamic and appealing display. The combination of the rugged reclaimed wood and the vibrant greenery creates a stunning contrast, transforming your wall into a living work of art. This large-scale, functional art piece is guaranteed to become a captivating focal point and a conversation starter in your home, injecting life and natural beauty into any space.
Explore More “Open Concept” Inspired Projects
This reclaimed wood wall planter is just one of many inspiring projects born from our work on HGTV’s “Open Concept.” If you loved this DIY, you’ll be thrilled to discover other plans from the show that can help you transform your home. For instance, you can find the detailed plans for the Modern Farmhouse Table by clicking on the image below. This table was another highlight from Episode 3 and perfectly complements the rustic elegance of the wall planter. Additionally, you can explore many other “Open Concept” inspired DIY plans and tutorials HERE, providing endless ideas for your next home improvement project.
Complete Your Space: Curated Decor Ideas
To help you achieve a cohesive and beautifully styled dining area, or any space where your new wall planter will reside, we’ve compiled a list of complementary decor pieces. These items, similar to those featured in the “Open Concept” Berry’s dining room, offer inspiration to elevate your home’s aesthetic:
- Dining Chairs: Stylish and comfortable options can be found at Wayfair HERE.
- Chandelier: A statement chandelier from West Elm can dramatically enhance the ambiance, explore options HERE.
- Wall Mirrors: Add depth and light with elegant mirrors, similar styles are available HERE.
- Hanging Basket: Introduce additional texture with a decorative hanging basket from World Market HERE.
- Napkins: Elevate your table setting with unique napkins from Anthropologie HERE.
- Napkin Rings: Complementary napkin rings from World Market can be found HERE.
- White Dinner Plates: Classic and versatile white dinner plates from Target, available HERE.
- Round Salad Plates: Complete your place setting with round salad plates from Target HERE.
- Table Runner: A stylish table runner from World Market adds warmth and defines the dining space.
- Woven Chargers: Enhance your table with natural woven chargers from Hobby Lobby.
We hope this detailed guide empowers you to create your own beautiful Reclaimed Wood Wall Planter and inspires you to embark on more DIY projects. Bringing nature indoors with a touch of handmade charm is a wonderful way to personalize your living space and create an environment that truly feels like home. Happy building!