DIY Modern Full-Sized Bed: Build Your Dream Bed Frame with Free Plans
Are you ready to transform your bedroom with a stylish, sturdy, and space-efficient bed frame? Look no further! This comprehensive guide provides everything you need to build a stunning DIY modern full-sized bed, complete with free, easy-to-follow plans and a step-by-step video tutorial. Perfect for beginners and seasoned woodworkers alike, this project offers incredible customization options, allowing you to adapt the design for a twin, queen, or even a king-sized bed. Embrace the satisfaction of crafting your own furniture and create a beautiful centerpiece for any bedroom.
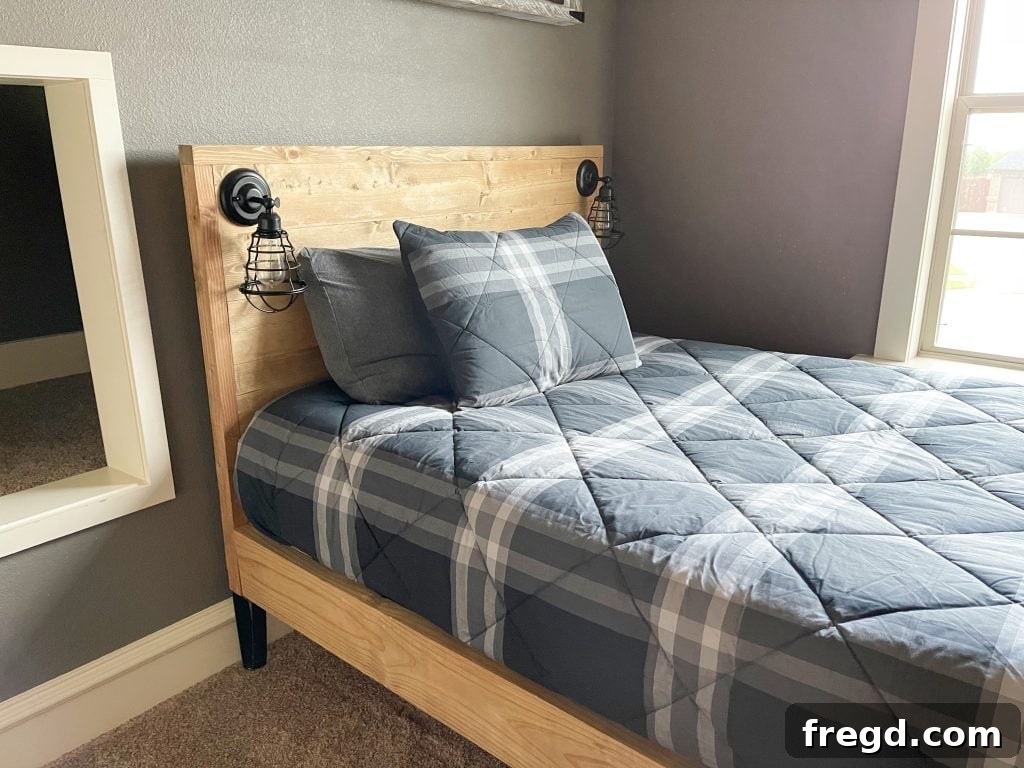
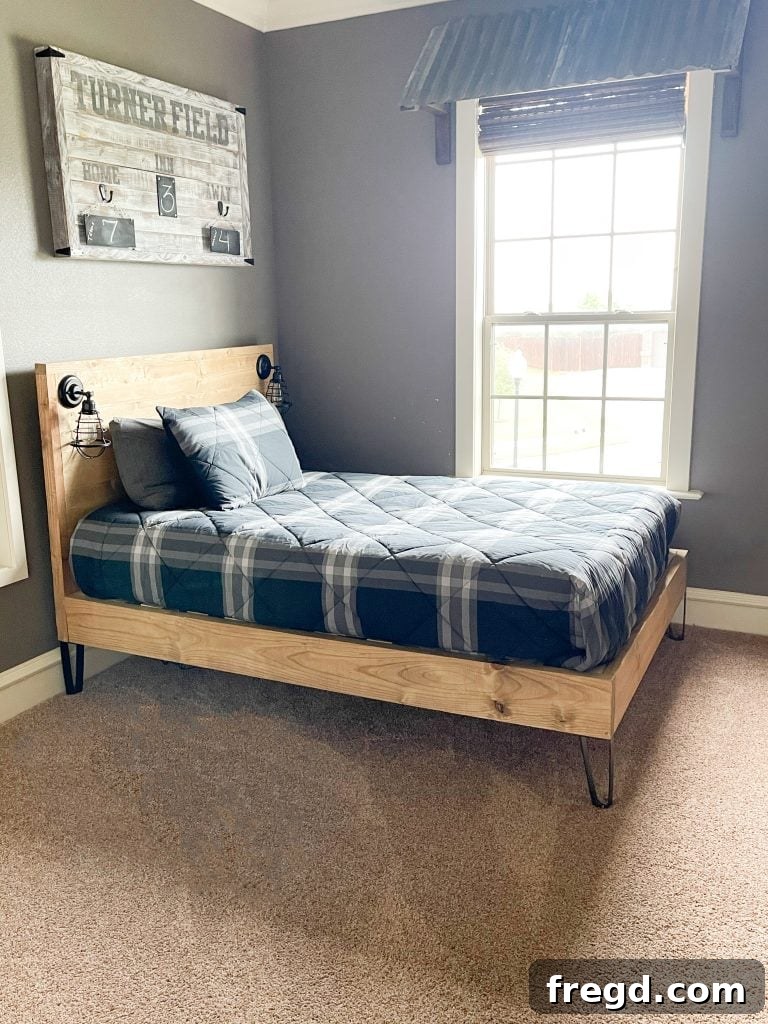
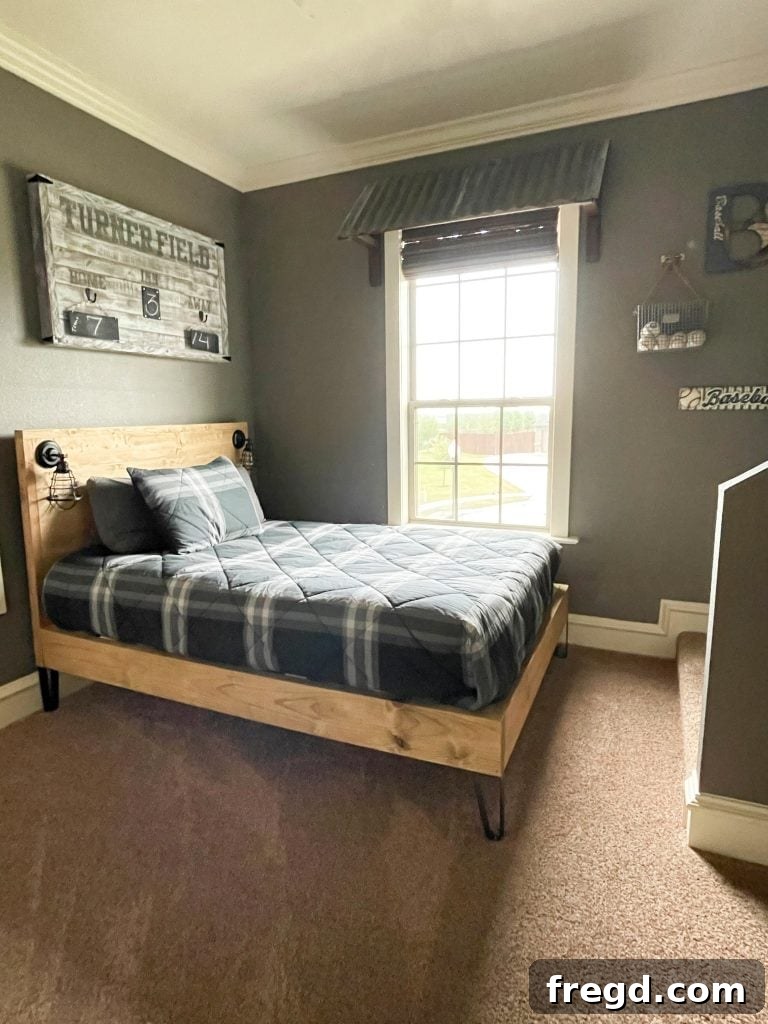
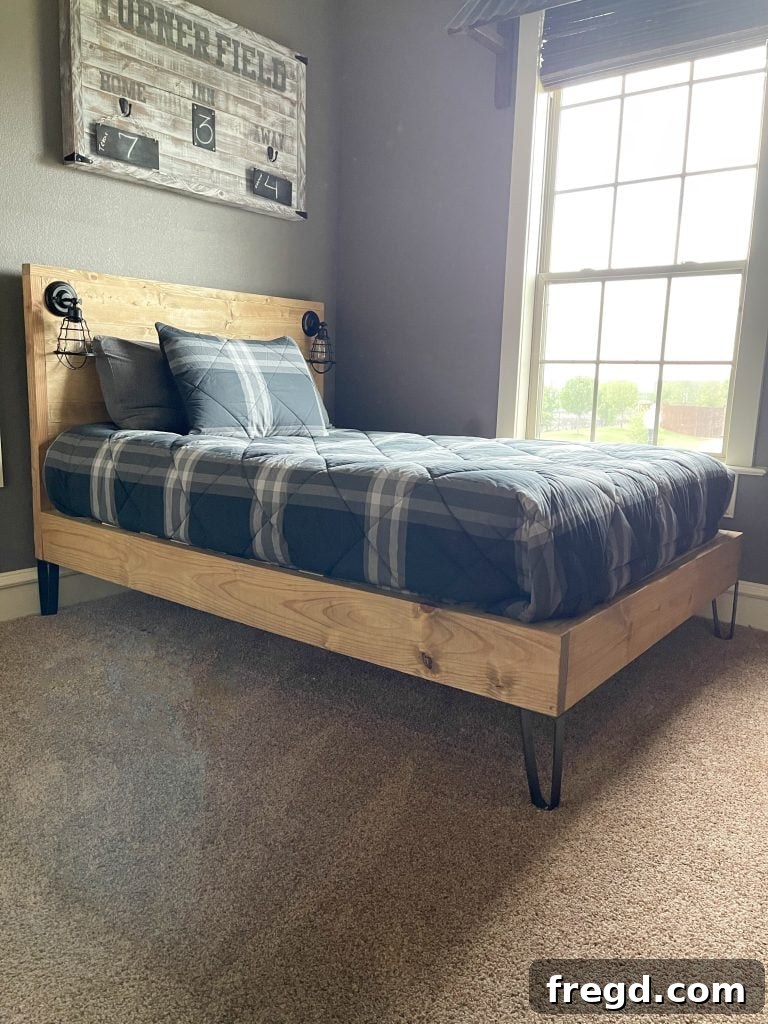
The journey to a new bed often starts with a simple desire for change or an urgent need for an upgrade. For me, it was my son finally asking for a new bed. Having built several for my daughter over the years (she always has new ideas!), his request was a welcome one. His previous platform bed, while functional, left no usable space underneath, making his room feel smaller and more cluttered. My goal for this modern design was to elevate the mattress slightly, creating valuable under-bed storage or simply an illusion of more open space. The results exceeded all expectations, giving his room a fresh, airy feel and a sophisticated modern touch.
This project is designed to be straightforward and rewarding, demonstrating that building your own furniture doesn’t require advanced skills or a workshop full of specialized tools. With clear instructions and a little dedication, you can achieve professional-looking results. The modern aesthetic, characterized by clean lines and a minimalist profile, ensures this bed will complement a wide range of interior styles, from contemporary to industrial chic.
Before we dive into the detailed instructions, take a moment to watch our comprehensive how-to video. It visually demonstrates each step, making the process even clearer and building your confidence for this exciting DIY endeavor. You’ll be amazed at how quickly and easily this beautiful bed comes together!
Now that you’ve seen the build in action, let’s gather our materials and tools and get started on building your very own modern full-sized bed!
Click here to jump down to the free printable plans and detailed cut list!
Table of Contents
Essential Supplies for Your Modern Full-Sized Bed
Gathering all your materials before you begin is crucial for a smooth and efficient build. This list provides all the lumber, fasteners, and decorative elements required for this modern full-sized bed. Remember, good quality materials will ensure a sturdy and long-lasting piece of furniture.
- 3 – 2x8x8 Framing Lumber: These robust pieces form the core structural elements.
- 7 – 1x6x8 Common Board: Ideal for headboard planks and other visible surfaces where a smoother finish is desired.
- 12 – 1x4x8 Common Board: Primarily used for the mattress slats, providing essential support.
- 2 – 2x2x8 Framing Lumber: Essential for creating sturdy cleats within the bed frame.
- 2 – 2x4x8 Framing Lumber: Provides additional structural support and can be used for various framing needs.
- 1 1/4″ Pocket Hole Screws: The workhorse for creating strong, hidden joints.
- 2 1/2″ Pocket Hole Screws: For thicker material connections, ensuring maximum stability.
- 1 1/4″ Wood Screws: Versatile for general fastening, especially for slats.
- 2 1/2″ Wood Screws: For more substantial connections where pocket holes aren’t feasible or for added reinforcement.
- Wood Glue: Always use in conjunction with screws for superior joint strength and longevity.
- 4 – Decorative Feet: Elevate your bed and add a touch of personal style. Choose a design that complements your aesthetic.
- Optional: Cage Lights: For an integrated lighting solution, adding both function and unique flair to your headboard.
Tools You’ll Need for This DIY Bed Frame Project
While this project is beginner-friendly, having the right tools makes all the difference in achieving precise cuts and strong joints. Here’s a list of the essential and optional tools that will aid you in building your modern full-sized bed:
- Miter Saw: Crucial for making accurate crosscuts on your lumber, ensuring all your pieces are perfectly sized.
- Drill: An absolute necessity for drilling pilot holes and driving screws. A good cordless drill will make your life much easier.
- Kreg Jig: This tool is fundamental for creating strong, hidden pocket hole joints, which are key to the clean, modern aesthetic of this bed.
- Table Saw (optional): While not strictly necessary, a table saw can be useful for ripping wider boards to specific widths or for greater precision on long cuts.
- Face Clamp (optional): Extremely helpful for holding pieces flush together while driving pocket hole screws, ensuring smooth and seamless joints.
- Measuring Tape & Pencil: For accurate marking and measuring.
- Safety Glasses & Ear Protection: Always prioritize safety in your workshop.
How to Build Your DIY Modern Full-Sized Bed: A Step-by-Step Guide
Now that you have your supplies and tools ready, let’s break down the construction process into manageable sections. Precision and patience are your best allies in woodworking, so take your time with each step.
Building the Headboard – The Modern Centerpiece
The headboard sets the tone for the entire bed, offering a sleek, minimalist design that defines its modern appeal. Pay close attention to detail here for a professional finish.
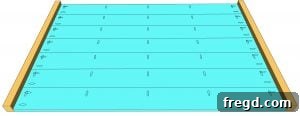
Step 1 – Prepare the Headboard Planks
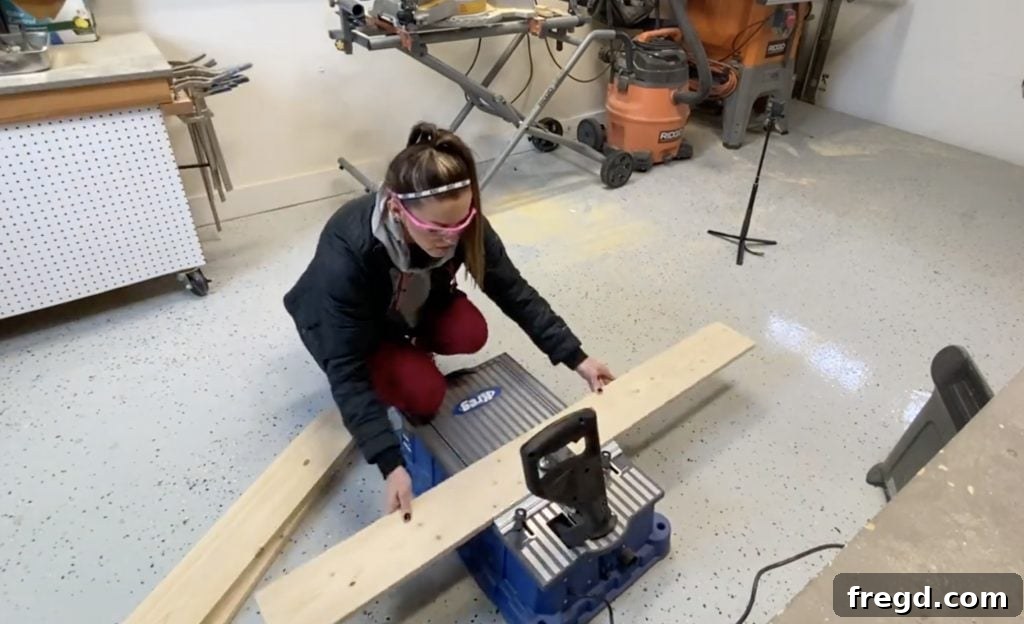
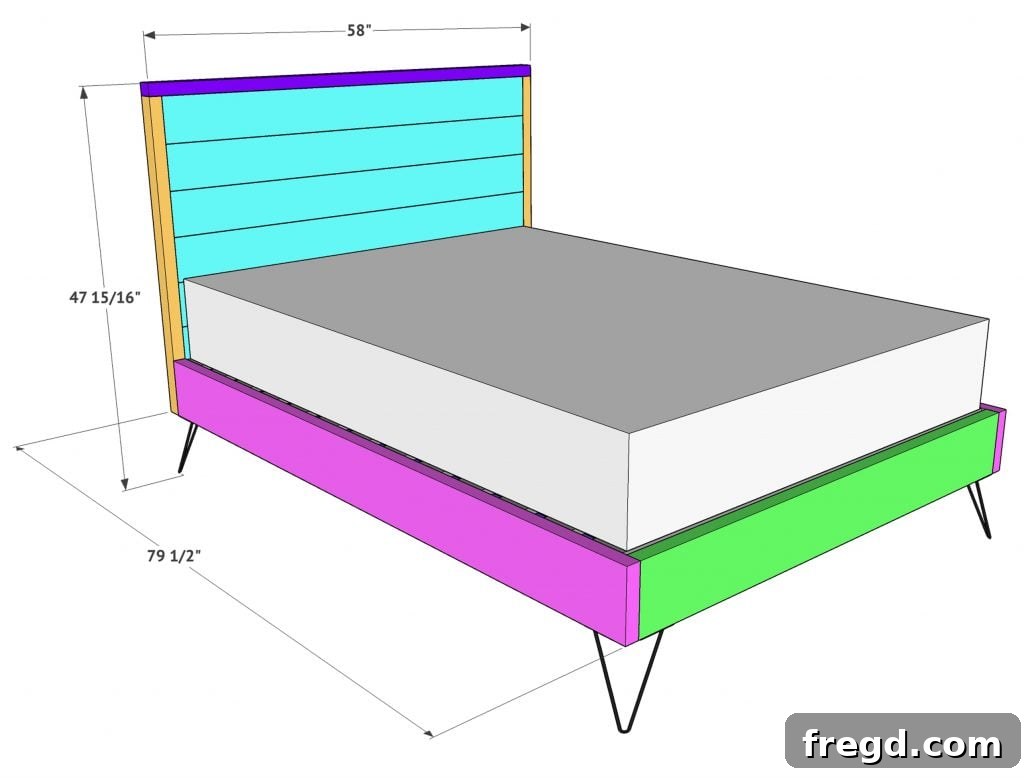
Begin by cutting all your headboard slats (1x6x8 common board) to the precise dimensions specified in the free plans. Accuracy here ensures a seamless assembly. Once cut, set up your Kreg Jig to drill 3/4-inch pocket holes. You’ll need to drill pocket holes along one long edge and both ends of each plank. These holes will allow you to create strong, invisible joints, maintaining the clean lines of your modern design.
- Consider using a Kreg Foreman for faster and more efficient pocket hole drilling!
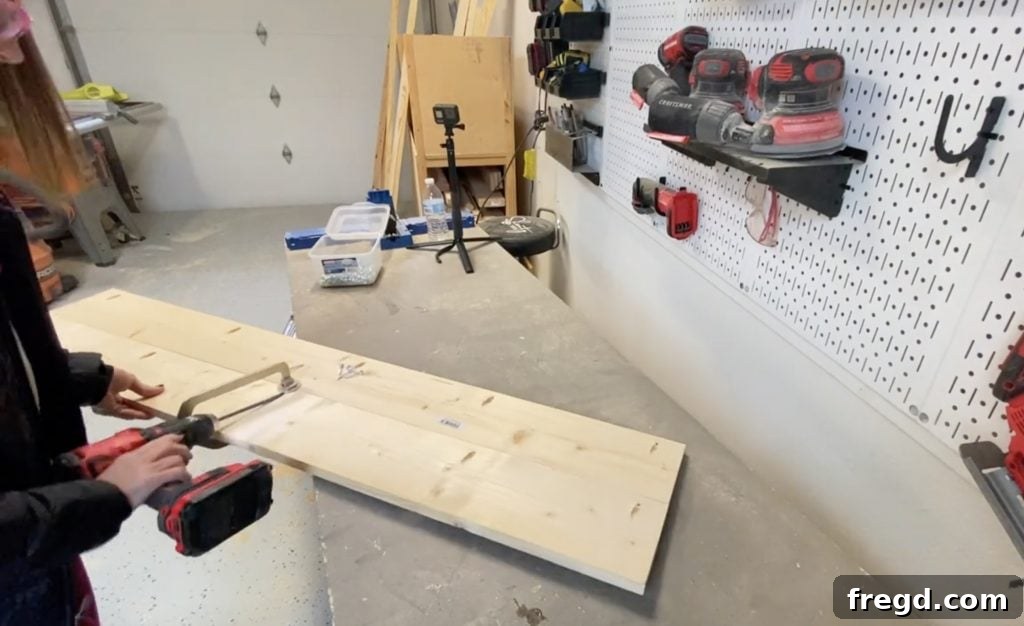
Once all pocket holes are drilled, apply a bead of wood glue along the edges of the planks. Then, using 1 1/4-inch pocket hole screws, firmly attach the planks together. Work carefully, ensuring all edges are flush for a smooth surface. A face clamp can be incredibly helpful here to prevent boards from shifting during assembly.
- A Kreg Face Clamp is perfect for keeping your planks perfectly flush during assembly!
Step 2 – Attach the Side Trim
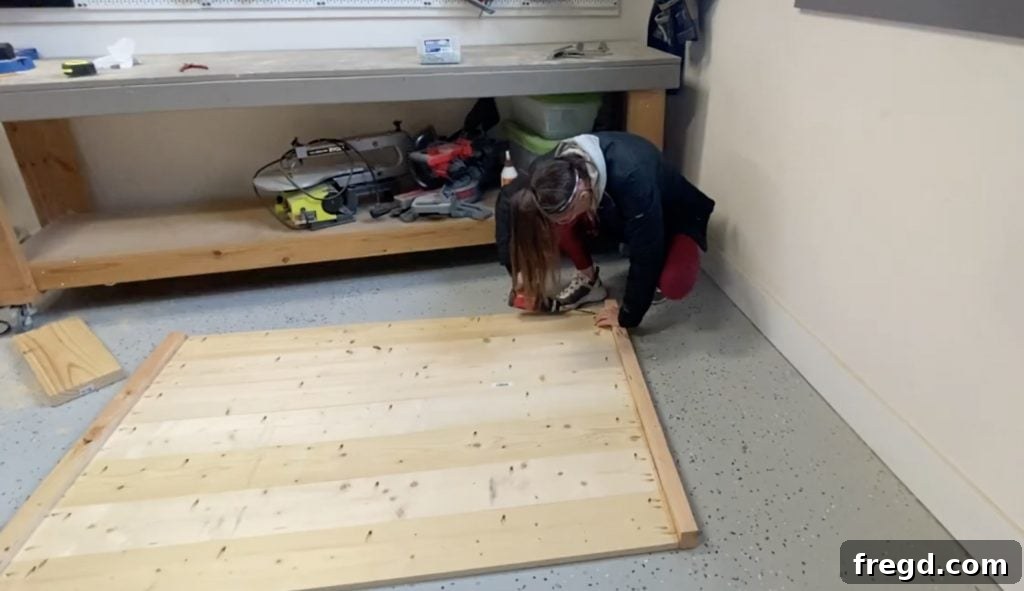
Next, cut your side trim pieces to the specified length. These pieces will frame the main headboard panel, giving it a finished look. Apply wood glue to the edges and attach the side trim to the sides of the assembled planks using 1 1/4-inch pocket hole screws. It is crucial that the front face of the side trim sits flush with the front face of the headboard planks. This creates a continuous, clean surface.
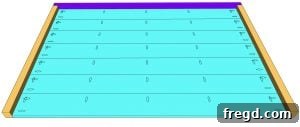
Step 3 – Add the Top Trim
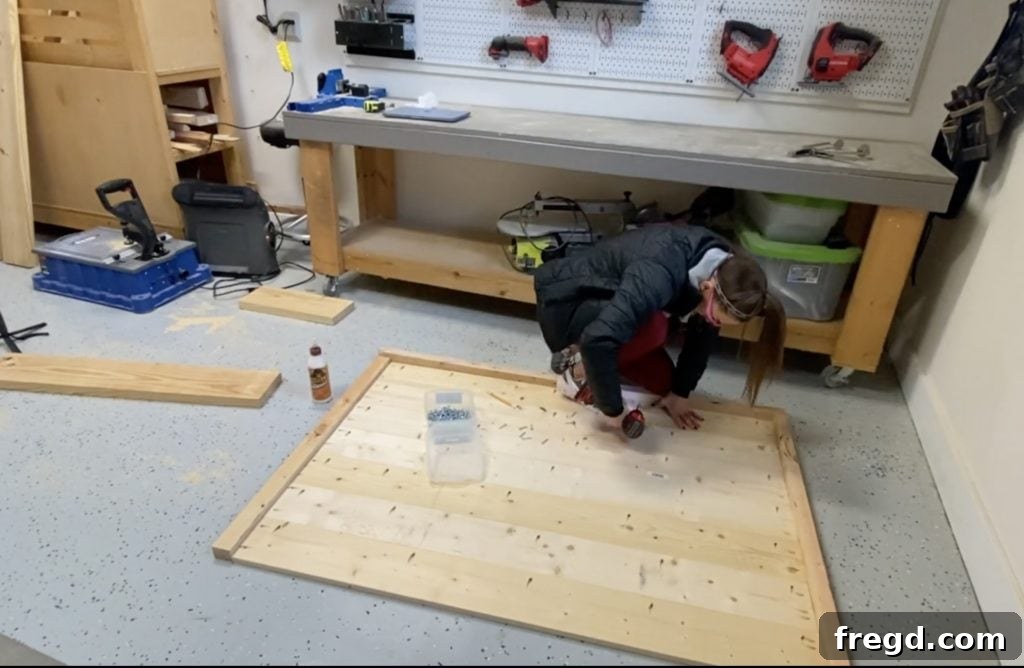
Finally for the headboard, cut the top trim piece to size. This piece will cap off the headboard, providing a smooth, finished top edge. Apply wood glue and attach it to the very top of the headboard structure using 1 1/4-inch pocket hole screws. Ensure this piece is also perfectly flush with both the planks and the side trim, creating a cohesive and polished appearance.
Crafting the Mattress Frame – The Foundation of Comfort
The mattress frame provides the essential support for your mattress and is where the bed’s sturdy structure truly takes shape. This section focuses on creating a robust and stable base.
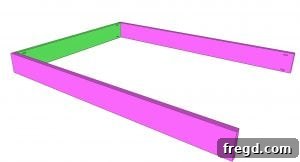
Step 1 – Assemble the Rails and Footboard
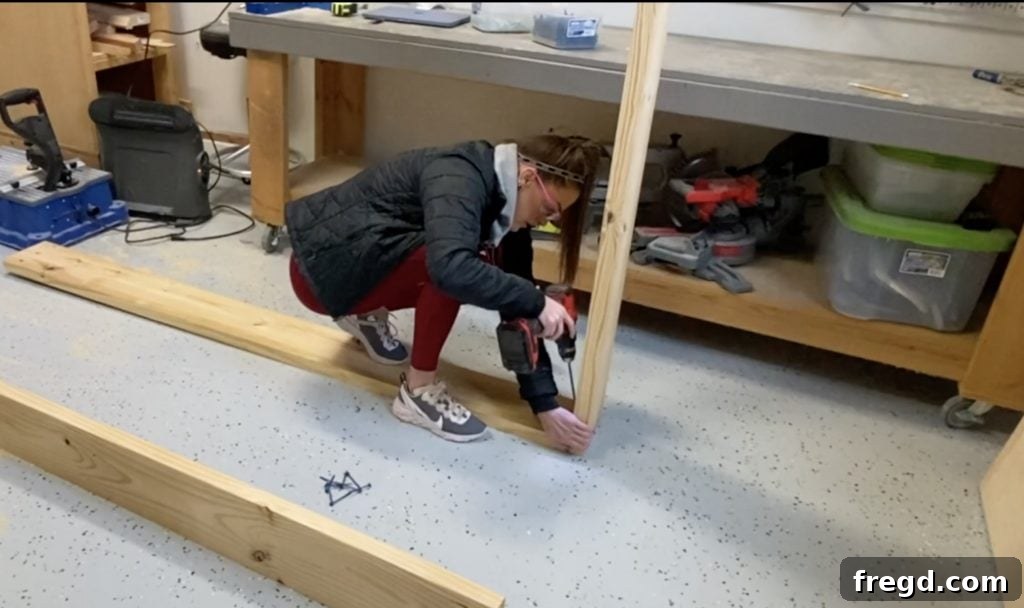
Cut your side rails and footboard pieces (2x8x8 framing lumber) to the dimensions detailed in your plans. These will form the perimeter of your mattress frame. Drill 1 1/2-inch pocket holes at both ends of the footboard piece. For the side rails, drill 1 1/2-inch pocket holes at only one end of each rail (the end that connects to the footboard). Apply wood glue to the joints and attach the side rails to the footboard using 2 1/2-inch pocket hole screws. This creates a U-shaped frame for the mattress.
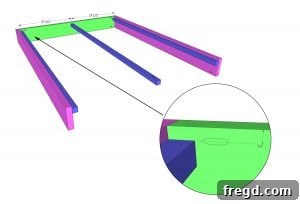
Step 2 – Install the Support Cleats
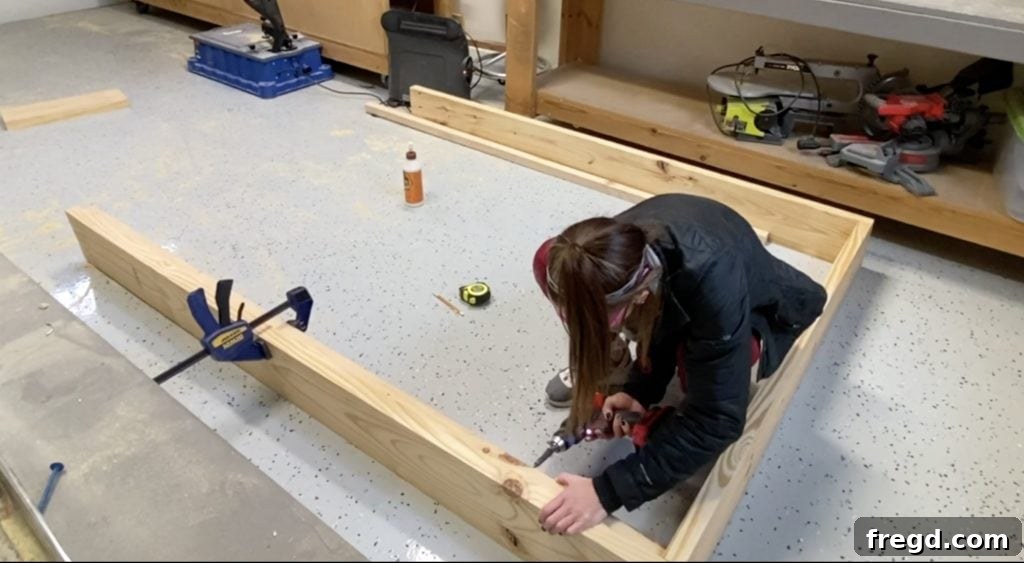
Now, cut the cleats (2x2x8 framing lumber) to the correct length. Drill 1 1/2-inch pocket holes on each end of these cleats. These cleats will provide the ledge for your mattress slats. Attach one cleat to the inside of each side rail using 2 1/2-inch wood screws and wood glue. Ensure they are positioned exactly 3/4 inch down from the top edge of the bed frame. Then, attach one end of the remaining cleat to the footboard using 2 1/2-inch pocket hole screws, centering it on the footboard for optimal support. This cleat will run down the middle of your bed frame, providing crucial central support for your slats. Make sure all cleats are level and evenly spaced for consistent mattress support.
Final Bed Assembly – Bringing It All Together
With the headboard and mattress frame complete, it’s time to assemble the full bed structure. This is where your hard work truly takes shape!
Step 1 – Attach the Headboard to the Rails
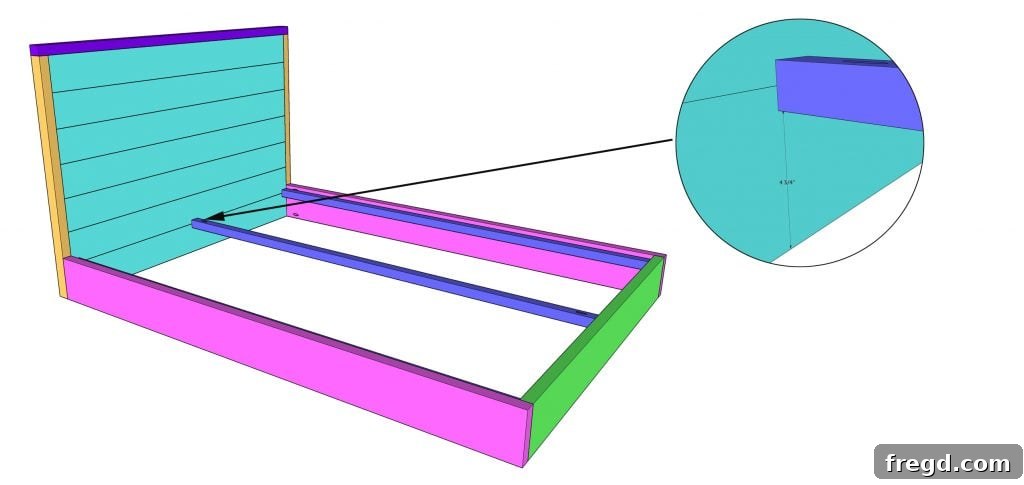
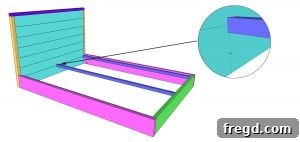
Position the assembled mattress frame against the headboard. The open ends of the side rails should align perfectly with the back of the headboard. Apply wood glue to the joining surfaces and secure the bed frame to the headboard using 2 1/2-inch pocket hole screws. It’s important that the side rails are flush with the side trim on the headboard to maintain the clean lines. Pay attention to the placement of the middle cleat on the headboard – it should align seamlessly with your bed frame’s central support system.
Step 2 – Install the Mattress Slats
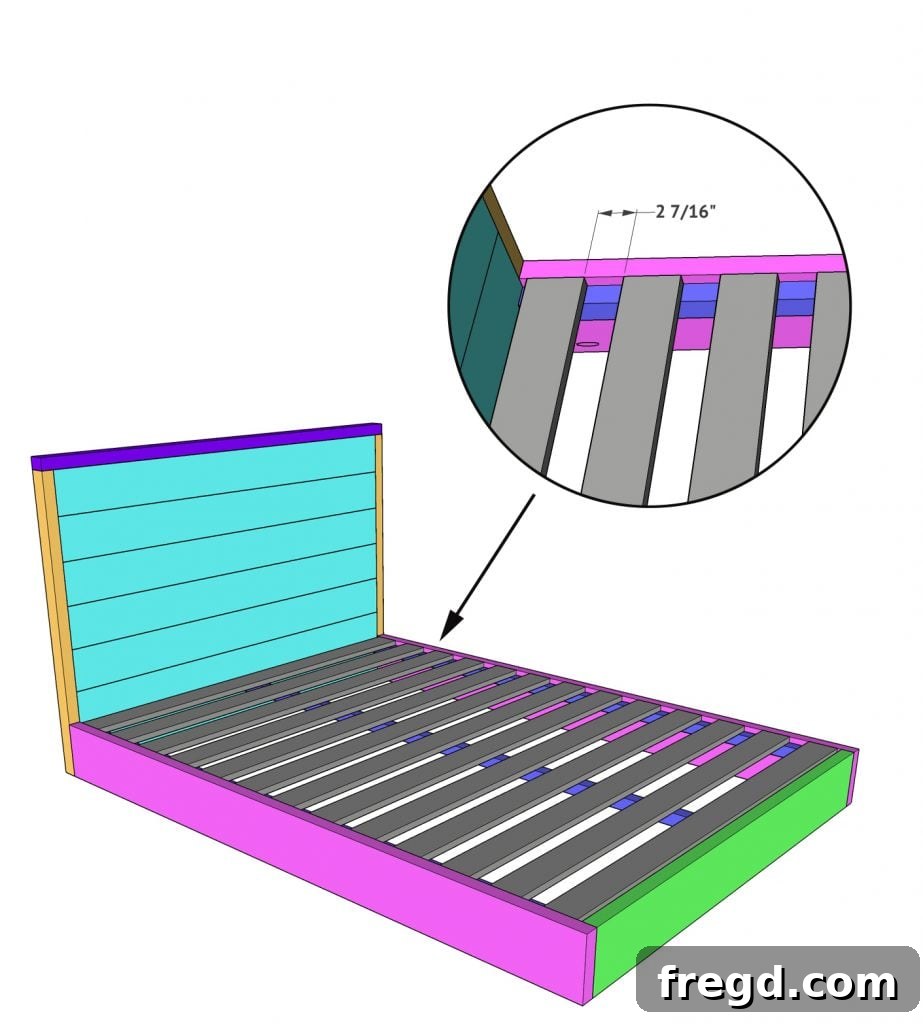
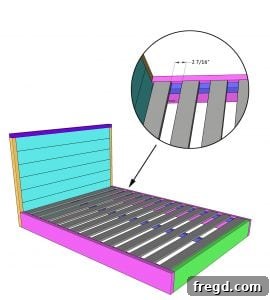
Cut your mattress slats (1x4x8 common board) to the exact width needed to fit snugly between the side rails, resting on the cleats. Evenly space the slats across the entire length of the bed frame, ensuring consistent support for your mattress. Attach each slat to the cleats using 1 1/4-inch wood screws. This step is crucial for the longevity and comfort of your bed, so make sure each slat is securely fastened.
Step 3 – The Finish: Personalize Your Masterpiece
Congratulations, the structural build is complete! Now comes the exciting part: adding your personal touch. Start by thoroughly sanding your entire bed frame. Begin with a coarser grit (e.g., 120-grit) to smooth out any imperfections, then move to a finer grit (e.g., 180 or 220-grit) for a silky-smooth finish. This preparation is key to how well your chosen finish will adhere and look.
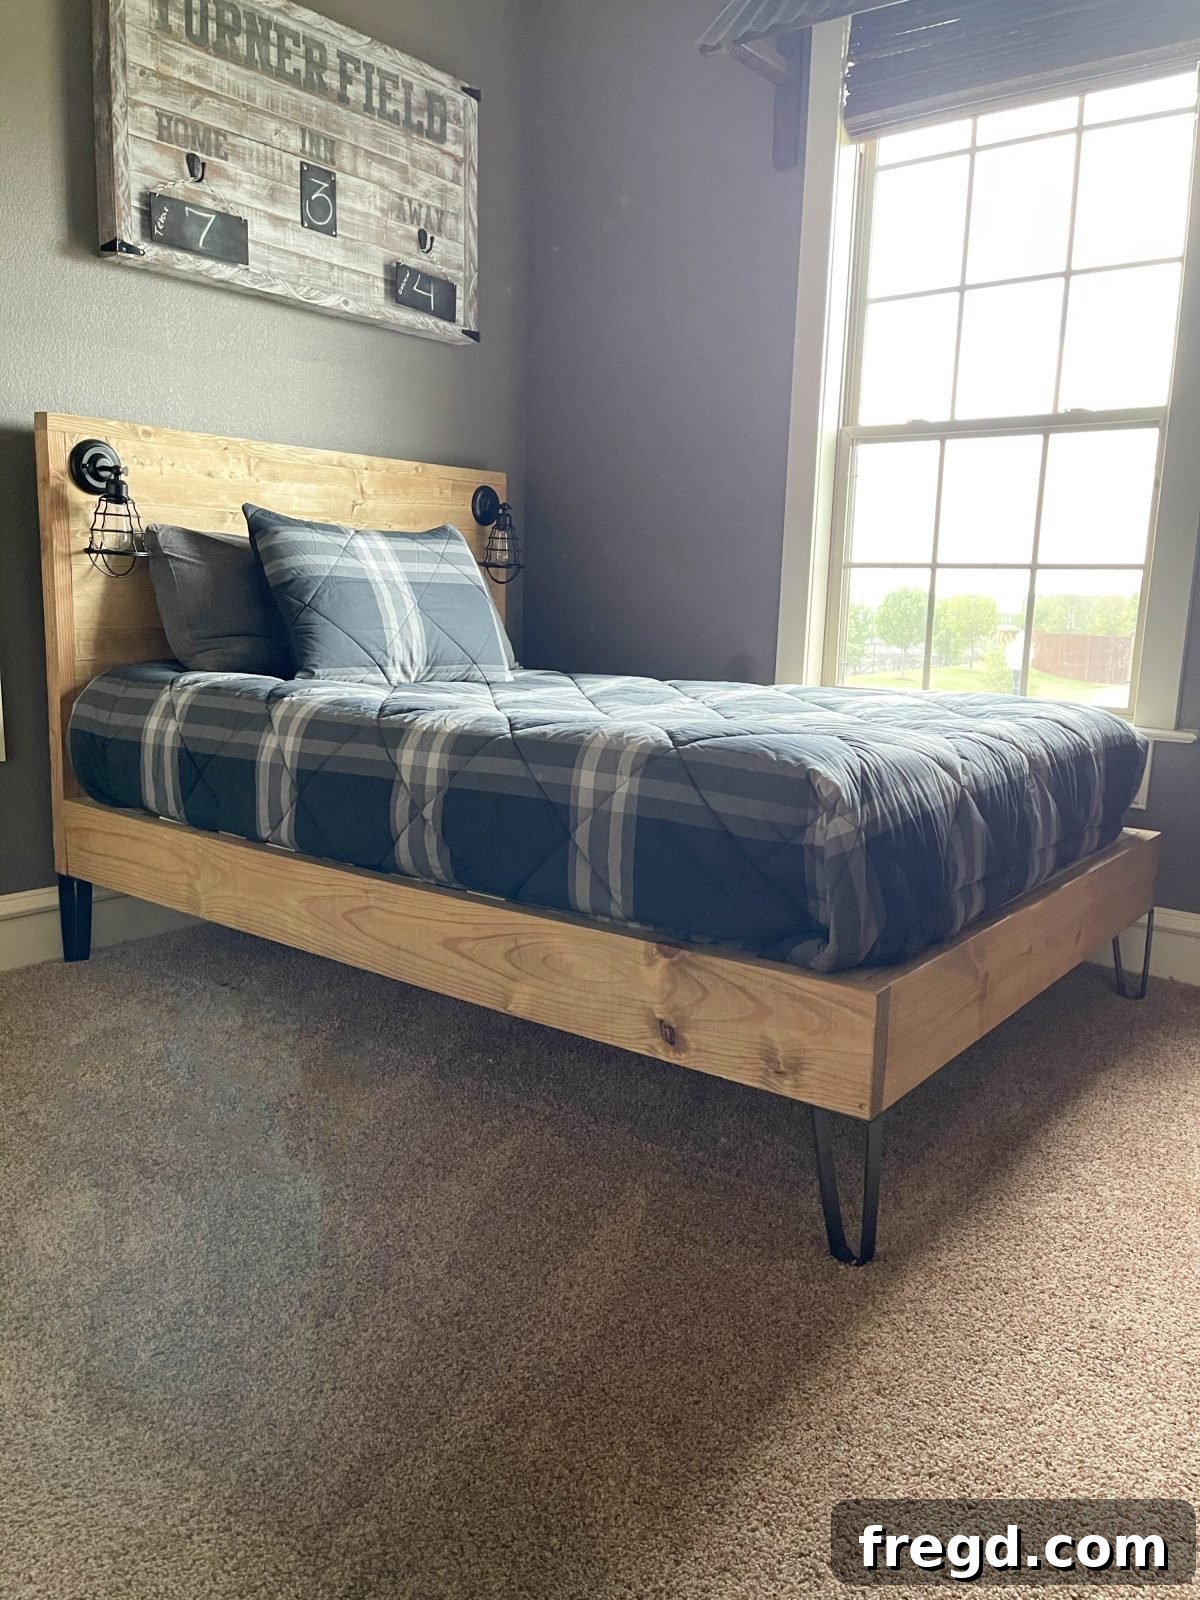
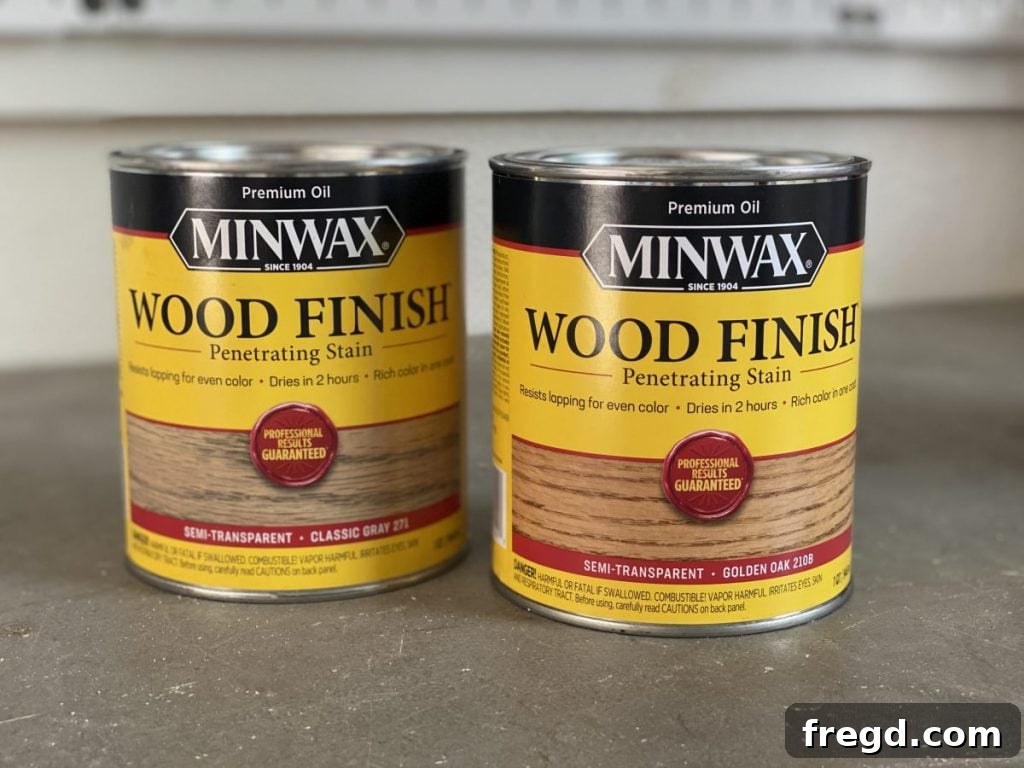
For the demonstrated finish, I opted for a custom stain mix: two parts Golden Oak combined with one part Classic Gray. This blend creates a unique, warm yet modern tone that beautifully highlights the wood grain. Apply one generous coat of your chosen stain, ensuring even coverage. Allow it to dry completely according to the product instructions. Once dry, consider adding a protective topcoat (like polyurethane or lacquer) for enhanced durability and to guard against wear and tear.
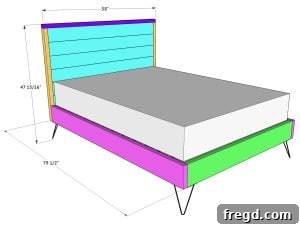
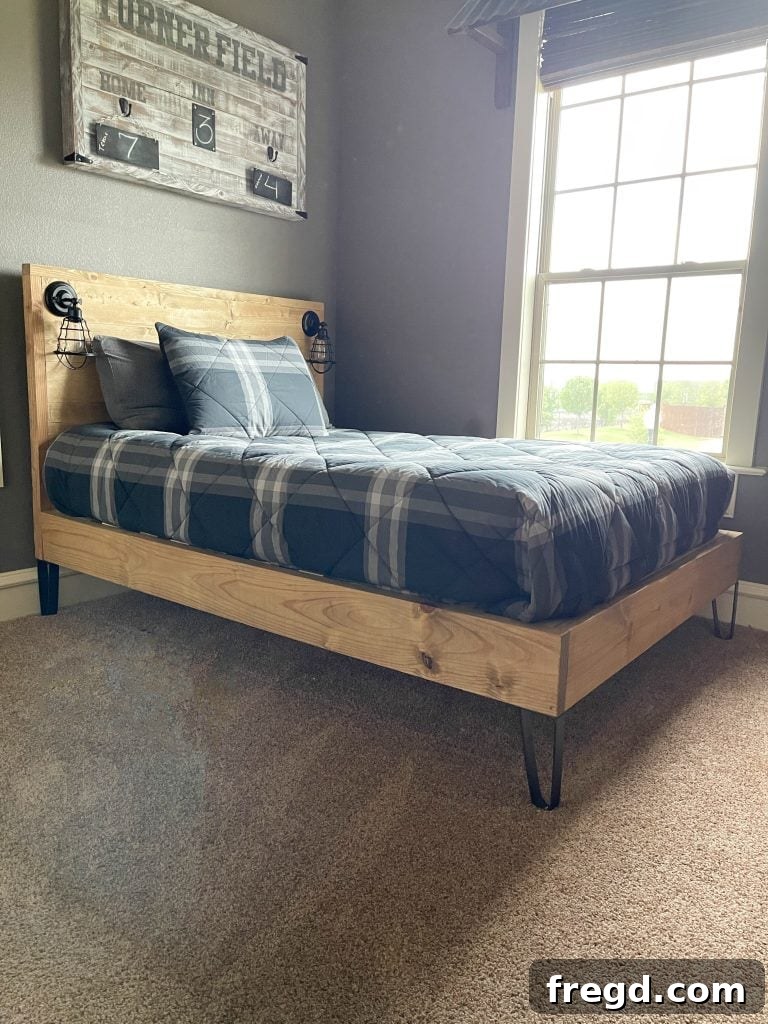
Finally, attach the decorative feet to the corners of your bed frame. These not only elevate the bed but also contribute significantly to its modern aesthetic. If you chose to incorporate cage lights or any other accessories, now is the time to install them. And just like that, your custom-built modern full-sized bed is ready to enjoy!
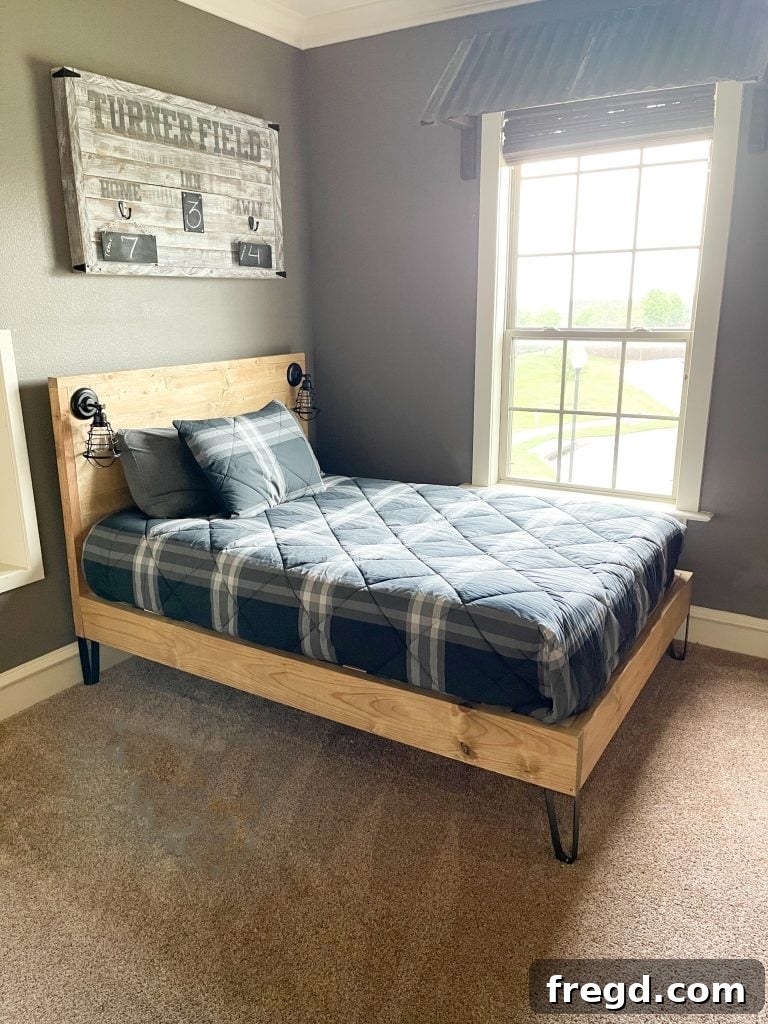
This project is an incredible opportunity to get creative. Experiment with different wood species, stain colors, paint finishes, or even integrated storage solutions. The beauty of DIY lies in making it uniquely yours. We encourage you to share your creations with us! Happy Building!
Find the beautiful bedding featured in these photos here for inspiration!
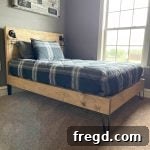
DIY Modern Full Sized Bed: Free Detailed Plans
Download the full set of free printable plans, including a comprehensive shopping list, by clicking here!
Tools Required
-
Miter Saw
-
Drill
-
Kreg Jig
-
Table Saw (optional, for custom cuts)
Supply List
- 3 2x8x8 Framing Lumber
- 7 1x6x8 Common Board
- 12 1x4x8 Common Board
- 2 2x2x8 Framing Lumber
- 2 2x4x8 Framing Lumber
- 1 1/4″ Pocket Hole Screws
- 2 1/2″ Pocket Hole Screws
- 1 1/4″ Wood Screws
- 2 1/2″ Wood Screws
- Wood Glue
- 4 Decorative Feet
Instructions for Assembly
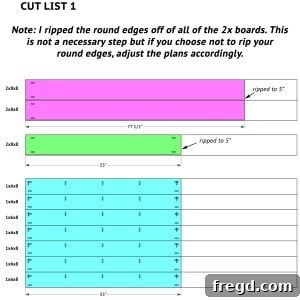
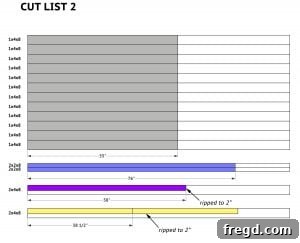
Cut List Overview (Refer to PDF for precise measurements)
For detailed, exact measurements for all components, please download the free printable PDF plans linked above. These images provide a visual representation of the lumber required for different sections.
-
Visual reference for Cut List 1

-
Visual reference for Cut List 2
Building the Headboard
-
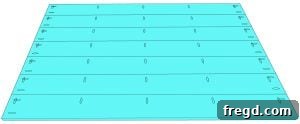
Cut the headboard slats to the specified size and drill 3/4″ pocket holes along one edge and both ends of each plank. Securely attach them together using 1 1/4″ pocket hole screws, ensuring all edges are flush.
-
Cut the side trim pieces to size. Apply wood glue and attach them to the sides of the assembled headboard planks using 1 1/4″ pocket hole screws. Ensure the front face of the trim is flush with the front face of the planks.
-
Cut the top trim piece to size. With wood glue and 1 1/4″ pocket hole screws, attach it to the top edge of the headboard. This piece should also be flush with the planks and side trim, completing the headboard structure.
Building the Mattress Frame
-
Cut the side rails and footboard to their specified lengths. Drill 1 1/2″ pocket holes at both ends of the footboard and at one end of each side rail. Join the side rails to the footboard using 2 1/2″ pocket hole screws and wood glue to form the main frame.
-
Cut the cleats to size and drill 1 1/2″ pocket holes on each end. Attach one cleat to the inside of each side rail using 2 1/2″ wood screws and wood glue, positioned 3/4″ down from the top edge. Center the final cleat on the footboard and attach it using 2 1/2″ pocket hole screws and wood glue, ensuring it also sits 3/4″ down.
Attaching the Headboard to the Mattress Frame
-
Position the assembled mattress frame against the headboard. Attach them together using 2 1/2″ pocket hole screws. The side rails should be perfectly flush with the side trim of the headboard. Pay close attention to the alignment of the middle cleat on the headboard to ensure central support.
-
Cut the mattress slats to size, ensuring they fit securely between the side rails and rest on the cleats. Evenly space the slats across the frame and attach them firmly to the cleats using 1 1/4″ wood screws for robust mattress support.
-
Complete your bed by adding your chosen finish (stain, paint, or seal) and attaching the decorative feet. This project is a fantastic opportunity to unleash your creativity and truly make it your own! We love seeing your unique builds; remember to share them on social media and use the hashtag #shanty2chic so we can celebrate your craftsmanship!
Happy Building!