DIY Rustic Blanket Ladder: Build Your Own Easy & Affordable Wood Decor for Under $10
Transform your living space with a charming and functional rustic blanket ladder! This incredibly easy DIY project requires just three boards, a couple of basic tools, and less than $10 in materials. Say goodbye to cluttered throw blankets on the floor and hello to stylish, organized living. We’ll guide you through every step, from cutting your lumber to applying the perfect finish, ensuring you create a beautiful piece that adds warmth and character to any room.
Whether you’re a seasoned woodworker or picking up tools for the first time, this project is designed for success. It’s a fantastic way to add a personalized touch to your home decor, providing practical storage while enhancing your interior aesthetic. Grab a coffee, gather your supplies, and let’s build this DIY Blanket Ladder together!
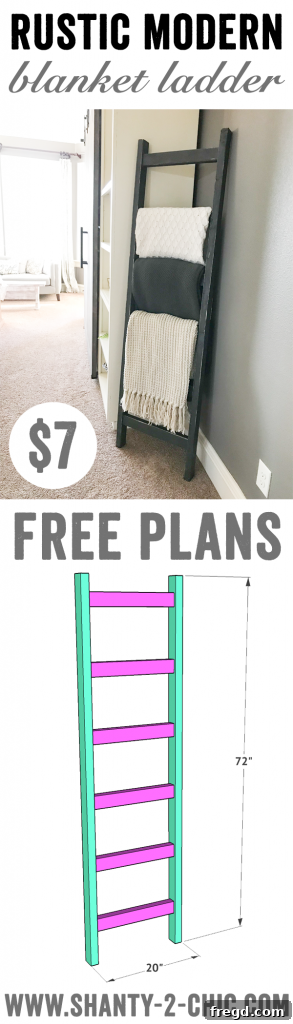
Ready to get started on this rewarding project? You can download the FREE Printable Plans HERE. These plans provide all the necessary measurements, a detailed cut list, and helpful diagrams to make your build seamless and stress-free. Having them handy will ensure precision at every stage.
Continue reading for a comprehensive, step-by-step tutorial that complements the plans, offering practical tips, insights, and expanded details to ensure your DIY project is not just a success, but an enjoyable experience from beginning to end. Let’s dive in!
Table of Contents
How to Build a DIY Blanket Ladder
Embarking on a DIY project can be incredibly rewarding, especially when it results in a functional and aesthetically pleasing piece like this rustic blanket ladder. Our goal is to make this process as straightforward as possible, empowering you to create custom home decor that fits your style and budget. This guide breaks down the construction into easy-to-follow steps, ensuring a smooth build from start to finish. You’ll be amazed at how quickly and affordably you can craft a piece that looks like it cost a fortune!
Why a Blanket Ladder for Your Home?
A blanket ladder is far more than just a place to store throws. It’s a versatile piece of decor that can enhance the aesthetics and organization of almost any room. In the living room, it keeps cozy blankets within reach while adding a touch of rustic charm, turning a functional item into a display. In the bedroom, it can serve as a stylish valet for bed linens, a convenient spot for tomorrow’s outfit, or simply a decorative element that adds height and texture to the room’s design. Beyond blankets, consider its utility in other spaces: in a bathroom for neatly folded towels, near a pool for drying swim towels, or even in an entryway to hang scarves and light jackets. Its vertical design makes it a superb space-saving solution, ideal for smaller homes or rooms where floor space is at a premium. The rustic appeal of this wooden ladder brings a touch of farmhouse elegance, industrial chic, or a cozy cabin vibe, effortlessly blending with various interior design styles from modern minimalist to bohemian eclectic. It’s truly a piece that offers both practical function and significant decorative impact.
Essential Supplies for Your Blanket Ladder
One of the best aspects of this DIY project is its minimal material requirements, which directly contributes to its incredibly low cost. You won’t need an extensive shopping list, making it highly cost-effective and accessible.
- 3 – 2x3x8 Pine Boards or Framing Lumber: These humble boards form the entire structure of your ladder. Pine is an excellent choice for DIY projects due to its widespread availability, affordability, light weight, and ease of cutting, sanding, and finishing. When selecting your boards at the hardware store, take a moment to choose pieces that are as straight as possible, with minimal knots or warps, to ensure your ladder stands true and sturdy. Framing lumber, often found at lower prices in the construction aisle, works just as well and can easily be transformed into a beautiful piece with the right finish.
- 2 1/2″ Finish Nails: These nails are specifically designed for interior trim and woodworking, making them ideal for securing the rungs to the side pieces. They offer good holding power with minimal visual impact, as their small heads can be easily hidden, especially when combined with wood glue. If you’re using a finish nailer, ensure the nail size is compatible with your tool.
- Wood Glue: A crucial component for structural integrity and longevity. Wood glue creates a bond stronger than the wood fibers themselves, significantly reinforcing the nail joints and preventing wobbling over time. Always apply a generous, even bead to all mating surfaces before fastening with nails. This ensures a durable, lasting connection.
- Paint or Stain: This is where you get to personalize your ladder and truly make it your own. A paint finish allows for bold color statements, matching your existing decor, or creating a distressed look. A stain, on the other hand, enhances the natural beauty of the wood grain, offering warmth and depth. We’ll delve deeper into various finish options and techniques in Step 3.
Tools You’ll Need for This Project
Even with minimal tools, you can achieve professional-looking results. The simplicity of this design means you don’t need a full workshop to get started. Here are the two primary tools that will make this build a breeze:
- Miter Saw (or Circular Saw): A miter saw offers unparalleled precision and repeatable cuts, which is excellent for ensuring all your ladder rungs are identical in length. However, a circular saw will work perfectly fine for this project, as all cuts are straight 90-degree angles. If you’re using a circular saw, consider investing in a speed square or a straight-edge guide to ensure perfectly straight and accurate cuts. For those without power tools, even a hand saw can be used with patience and a steady hand, further highlighting the accessible nature of this DIY design.
- Finish Nailer (or Hammer and Nails): A finish nailer, such as a 16-gauge model, makes assembly incredibly fast, secure, and leaves minimal evidence of fasteners. It drives nails quickly and cleanly, leaving small holes that are easy to fill with wood filler before finishing. If you don’t have a nailer, a traditional hammer and finish nails will certainly do the job. Just be sure to use a nail set to recess the nail heads slightly below the surface of the wood. This ensures a smoother finish and prevents snagging blankets.
Always remember to prioritize safety when working with tools. Essential safety gear like safety glasses and hearing protection are always recommended for any woodworking project, regardless of its simplicity.
Step 1: Precise Lumber Cuts for the Ladder

Accuracy in your cuts is the foundation of a strong and visually appealing blanket ladder. Before making any cuts, thoroughly review the free printable plans you downloaded. These plans include a detailed cut list that specifies the precise length of each board required for the ladder’s two long side pieces and the individual rungs. Having this information ready will streamline your cutting process.
Begin by measuring each piece of lumber carefully and marking your cut lines with a sharp pencil. Remember the age-old carpenter’s adage: “Measure twice, cut once.” This simple practice helps prevent costly errors and saves material. For this project, all cuts will be simple 90-degree crosscuts, meaning there are no tricky angles or complex joinery to contend with, making it perfect for beginners.
If you’re using a miter saw, ensure it’s set to a perfect 90-degree angle and make your cuts. The miter saw’s fence and miter gauge help ensure consistency across multiple pieces, which is particularly important for the rungs. If you’re using a circular saw, secure your lumber firmly to a workbench and use a straight edge or a speed square as a guide to achieve perfectly straight cuts. Regardless of the tool, safety is paramount: always wear safety glasses, keep your hands clear of the blade’s path, and ensure your work piece is stable and supported before making any cut.
Once all your pieces are cut according to the plans, it’s a good idea to quickly sand the cut ends to remove any splinters and ensure they are smooth. This preliminary sanding will also help with a cleaner, more professional finish later on.
Step 2: Securely Attaching the Ladder Rungs
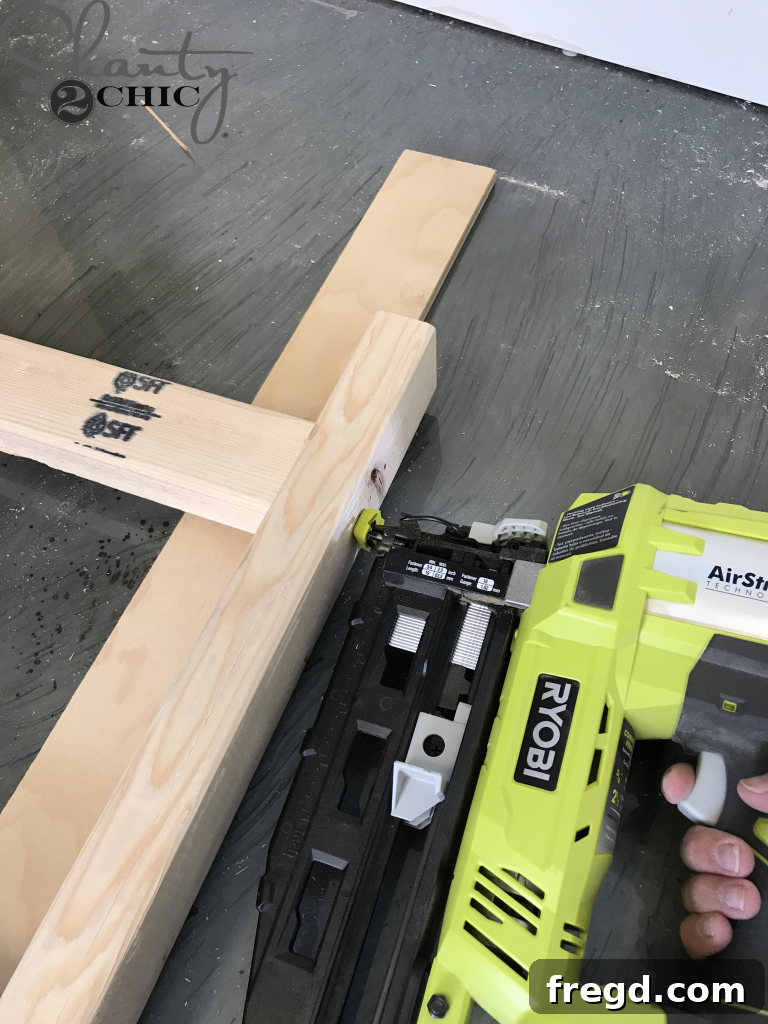
With your lumber expertly cut, it’s time to assemble the main structure of your blanket ladder. This step involves securely attaching the horizontal rungs between the two longer side pieces. Precision in marking and ensuring a strong, lasting bond are key to a sturdy and attractive finished product.
Lay one of your long side pieces flat on your workbench or a stable surface. Using your measuring tape and pencil, carefully mark the exact locations where each ladder rung will be placed. Refer to your PDF plans for the recommended spacing between rungs. Consistent spacing not only ensures aesthetic appeal but also contributes to the ladder’s structural balance and strength. Start from the top of the ladder side and work your way down, making clear and precise marks on the inside edge of the side piece.
Next, apply a bead of high-quality wood glue along the ends of your first rung, where it will meet the marked spot on the side piece. Position the rung precisely on your marked line. Then, secure it in place using 2 1/2″ finish nails. We found our Ryobi 16 gauge finish nailer to be highly efficient for this, quickly driving nails for a strong hold and leaving minimal impact. If you’re using a hammer, ensure you drive the nails straight and use a nail set to countersink the heads slightly below the surface of the wood. This prevents snagging and makes for a cleaner finish.
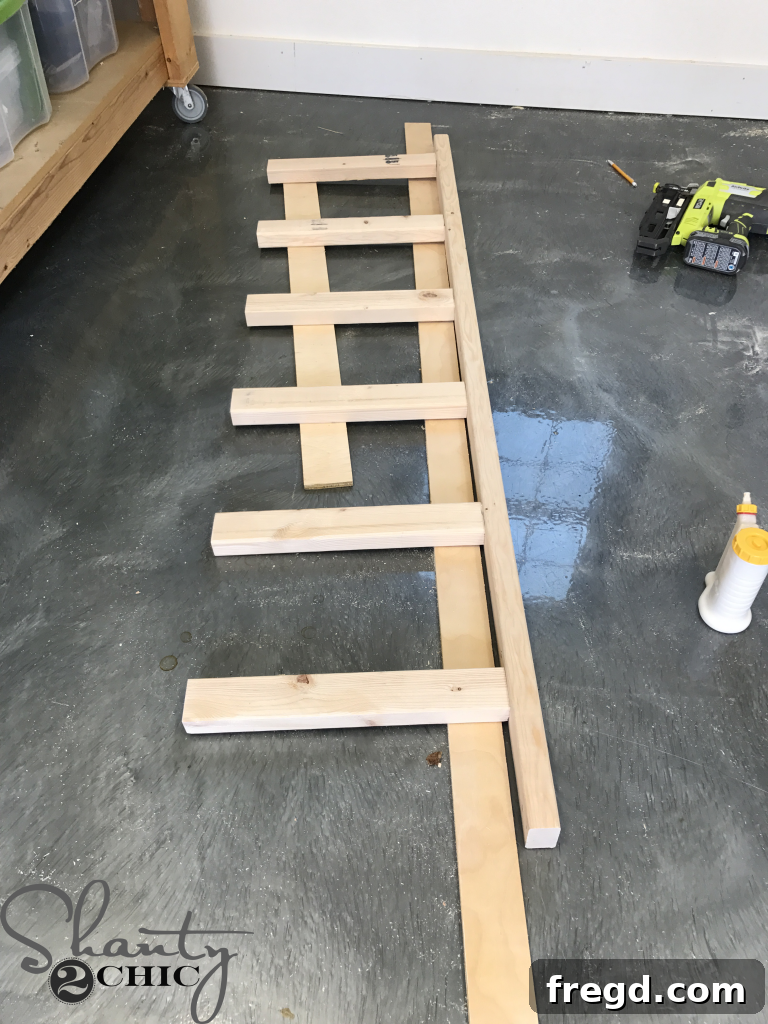
Here’s a clever trick to ensure perfect centering of your rungs on the 2×3 side boards: use a scrap piece of 1/2″ wood. As you attach each rung, place this scrap piece directly under the rung, flush with the edge of the 2×3 side piece. Since the 2×3 boards are nominally 2 inches by 3 inches, but actually measure about 1 1/2 inches by 2 1/2 inches, and your rungs are also 2×3 (1 1/2″ wide), using a 1/2″ scrap piece will automatically create a perfectly centered 1/2″ reveal on both the front and back of the rung. This simple jig makes the assembly process quicker, eliminates the need for constant double-checking, and guarantees a professional, symmetrical look without extra measuring.
Continue this process, attaching each rung to the first side piece. Once all rungs are securely glued and nailed to one side, carefully align the second long side piece with the exposed ends of the rungs. Apply wood glue to these ends and then attach the second side piece, ensuring it aligns perfectly with the marks you made and the consistent spacing of the rungs. Work your way down, securing each rung with finish nails until both sides are firmly attached. Once assembled, allow the wood glue to cure fully according to the manufacturer’s instructions before handling the ladder extensively or proceeding to the next step. This curing time is vital for the ladder’s long-term stability.
Step 3: The Perfect Finish for a Rustic Look
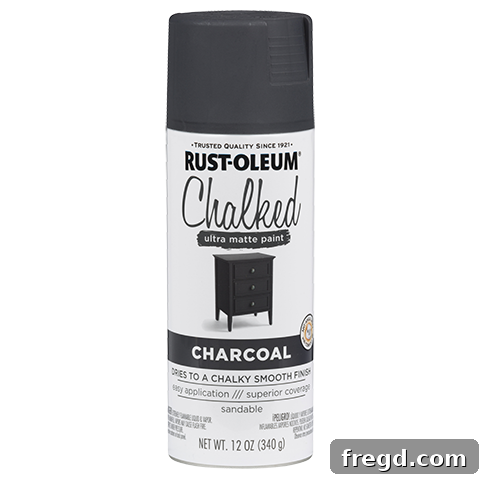
The finish is where your blanket ladder truly comes to life, transitioning from a functional structure to a statement piece that reflects your personal style. For our rustic design, we chose Rust-Oleum’s Charcoal Chalked spray paint, applying two good coats. Chalk paint is fantastic for creating a matte, vintage, or distressed look, providing excellent coverage and adhesion without extensive priming. Its quick-drying nature also helps speed up the project.
- You can often find Rust-Oleum Chalked spray paint at most major hardware stores like Home Depot, or purchase it conveniently HERE on Amazon!
Before painting or staining, thorough preparation is crucial. Give your entire ladder a meticulous sanding. Start with a medium-grit sandpaper (like 120-grit) to smooth out any rough spots or imperfections from cutting and assembly, then follow up with a finer grit (180 or 220-grit) for a silky-smooth surface. Don’t forget to address any areas where you countersunk your nails; you can fill these with wood filler for a truly flawless finish if desired. After sanding, meticulously wipe down the entire ladder with a tack cloth or a slightly damp rag to remove all dust particles. This ensures your chosen finish adheres properly and results in a smooth, professional appearance.
If you opt for paint, apply thin, even coats, holding the can approximately 8-12 inches from the surface. Allow adequate drying time between each application (as specified by the paint manufacturer) to prevent drips, ensure full coverage, and build up a durable finish. For a stained finish, apply with a brush or clean rag, allowing it to penetrate for a few minutes before wiping off any excess stain according to product directions. This technique helps achieve your desired depth of color and highlights the wood grain beautifully.
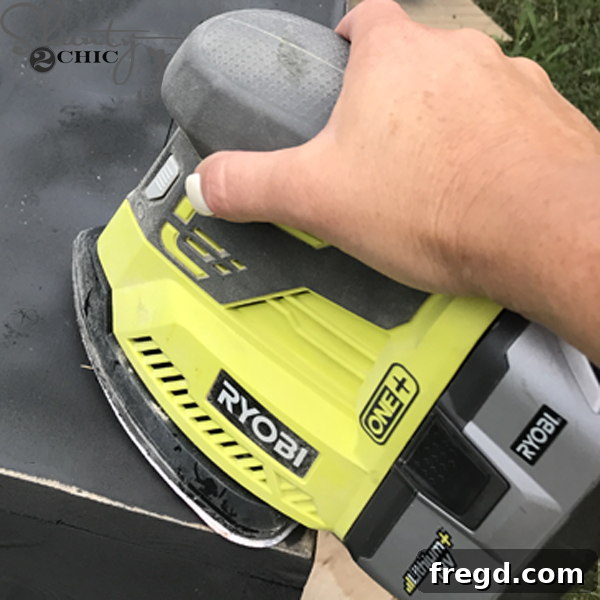
To truly embrace the rustic aesthetic, distressing the painted or stained surface is a must. We achieved this by using our Ryobi Corner Cat Sander along the edges and corners of the ladder. This technique strategically removes some of the paint or stain, revealing the natural wood underneath and mimicking the authentic wear and tear of an aged, well-loved piece. You have complete control over the amount of distressing to suit your preference, from subtle scuffs to more pronounced areas of exposed wood, creating a truly unique item. If you don’t have a power sander, sandpaper or even steel wool can be used by hand to achieve a similar charming effect. For a more in-depth visual guide on this popular technique, you can Watch our How to Get a Distressed Finish for more detail!
Once you’re satisfied with the distressed look, make sure to use an old rag to thoroughly remove any remaining dust or sanding residue. For added durability and protection, especially if your ladder will be in a high-traffic area, used for towels in a bathroom, or if you simply want to prolong its life, consider adding a protective top coat. Rust-Oleum also offers a Chalked Matte Spray Paint Polyurethane, which provides a clear, durable finish without altering the elegant matte look of the chalk paint. Other excellent options include clear wax for a soft, traditional feel, or a brush-on polyurethane for maximum protection and a slightly more robust finish. Choose a clear coat that complements your chosen paint or stain and provides the level of protection you desire. Proper application of a topcoat will ensure your beautiful finish stands the test of time.
And just like that, your rustic blanket ladder build is complete! Step back and admire your handiwork.
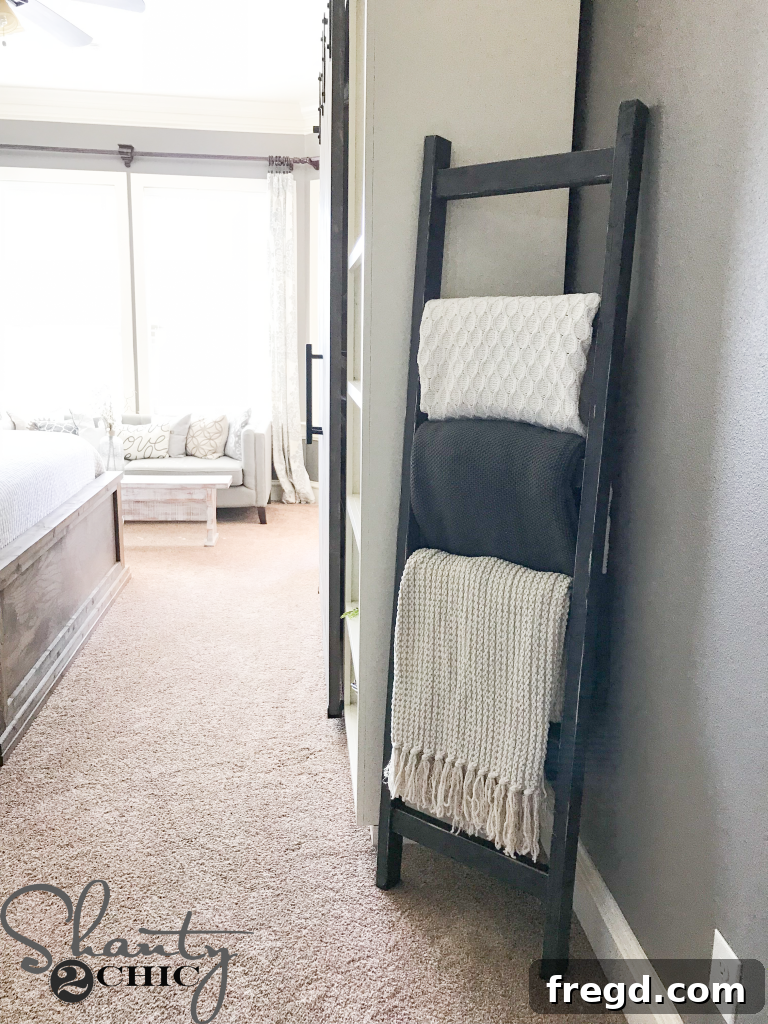
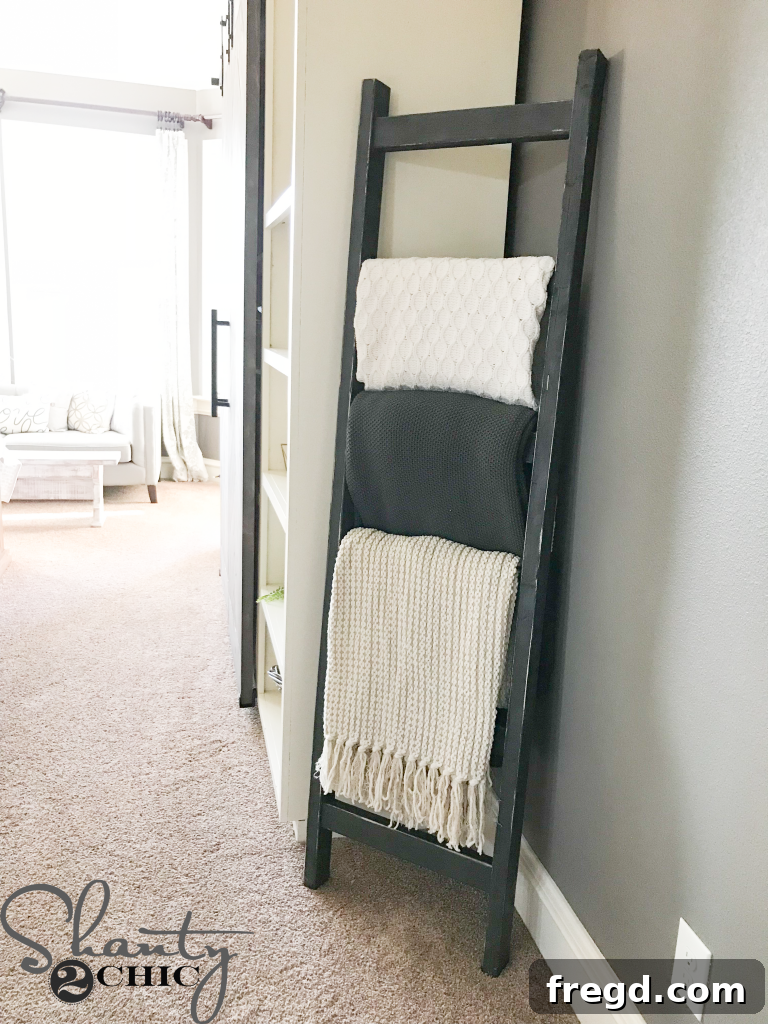
The choice of 2×3 boards truly makes a difference in this design, lending a substantial, chunky, and robust look that perfectly complements the rustic aesthetic. It’s a subtle yet impactful design detail that makes this ladder feel much more custom and high-end than its humble price tag suggests, adding significant character to your home.
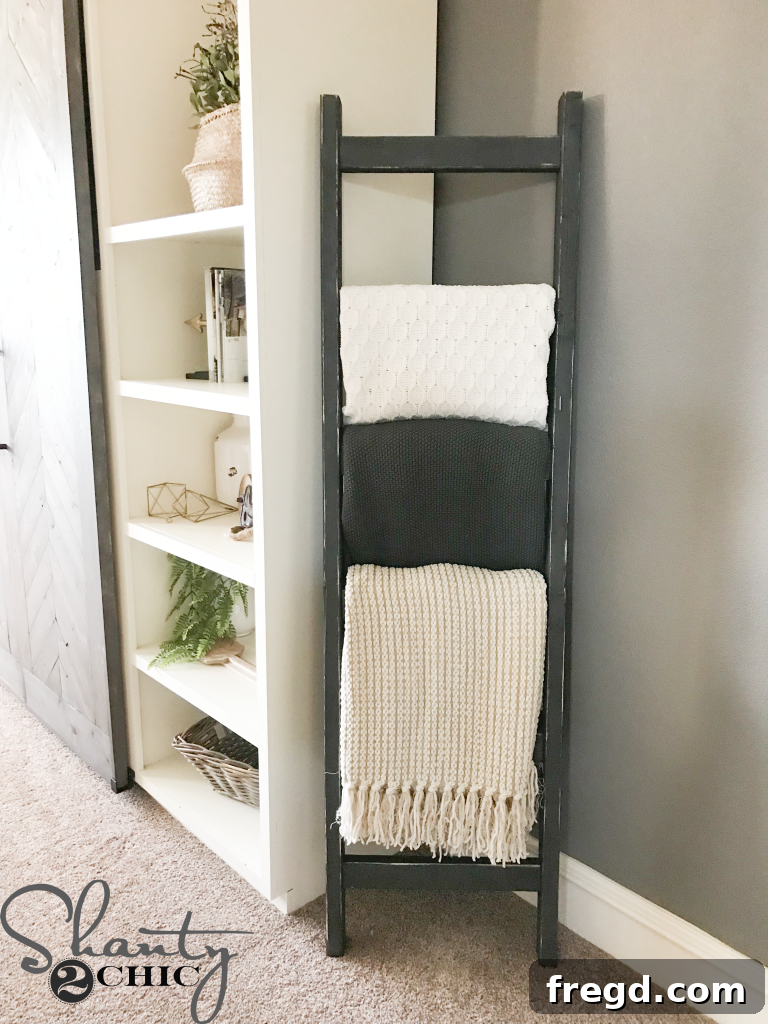
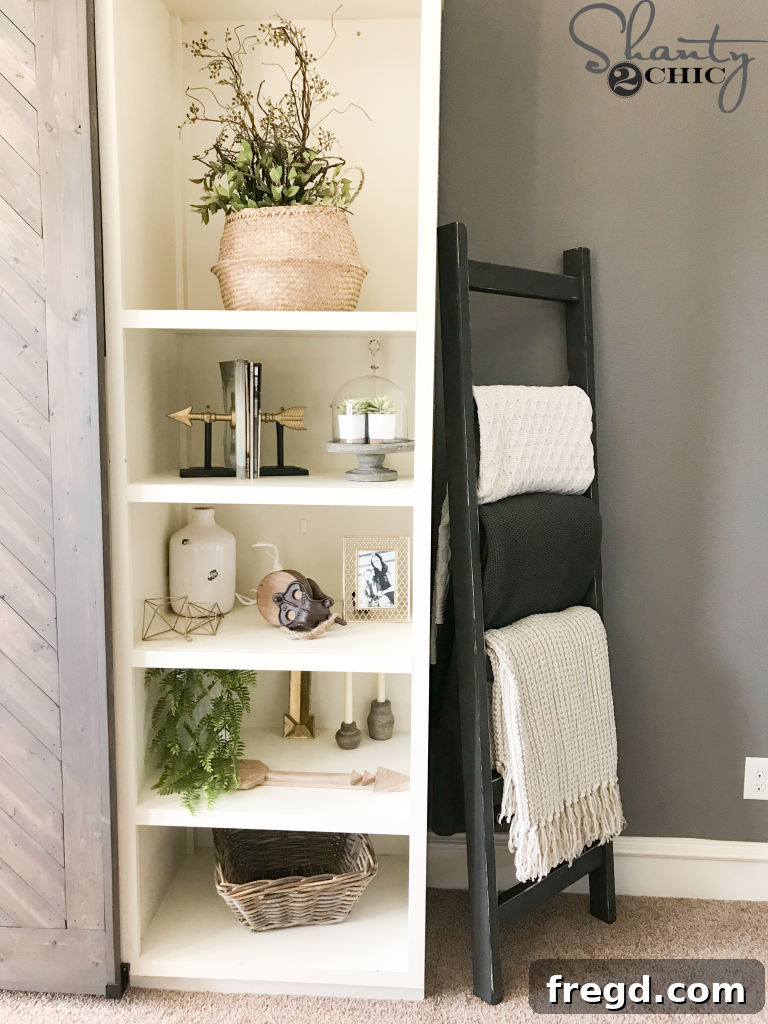
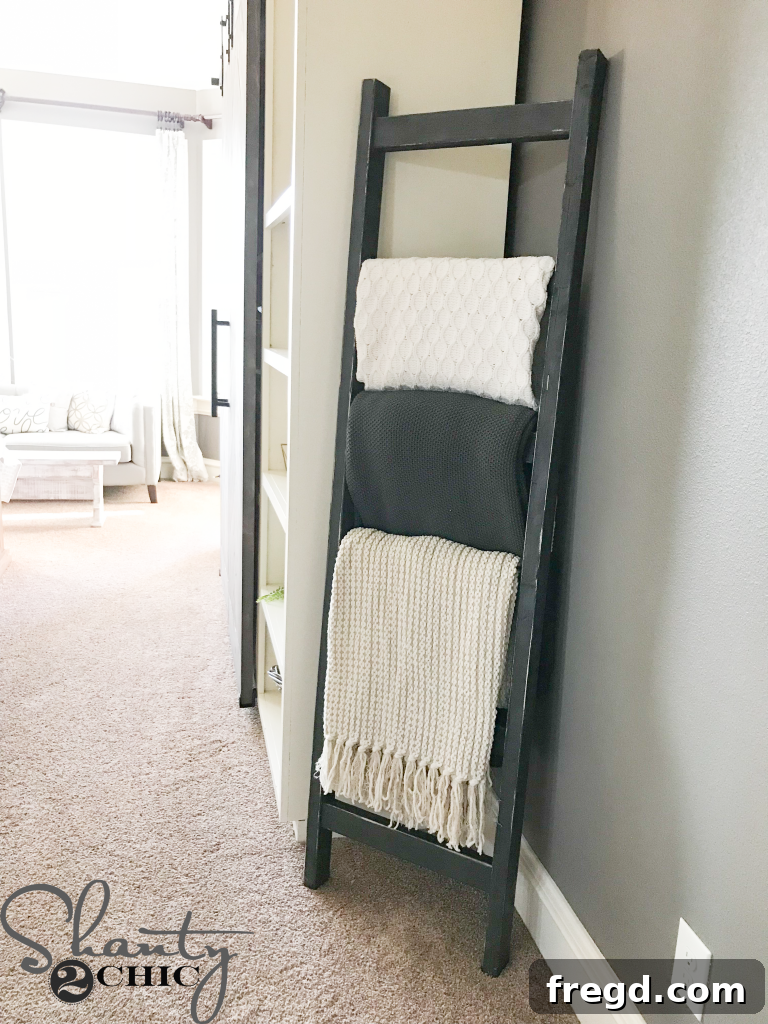
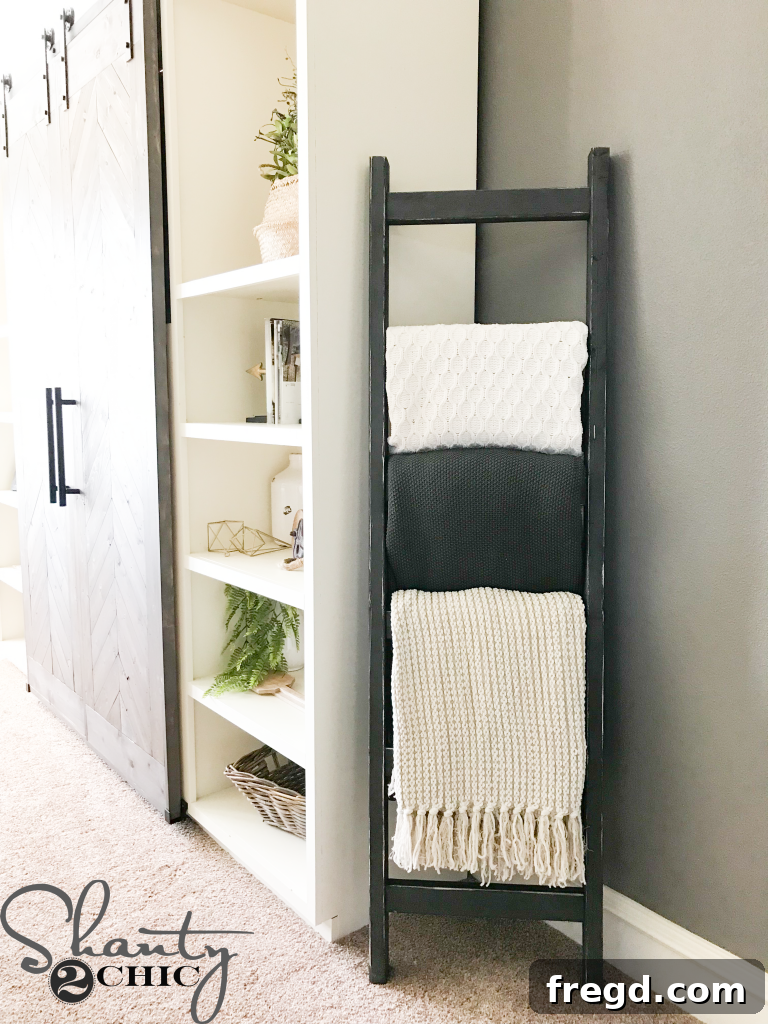
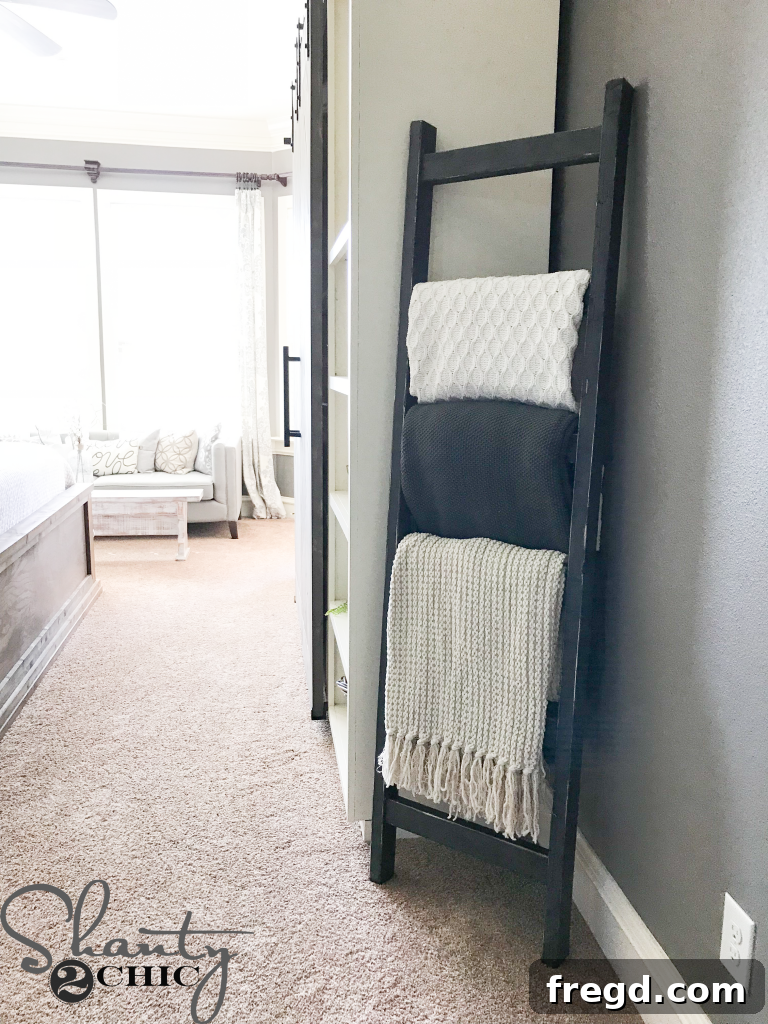
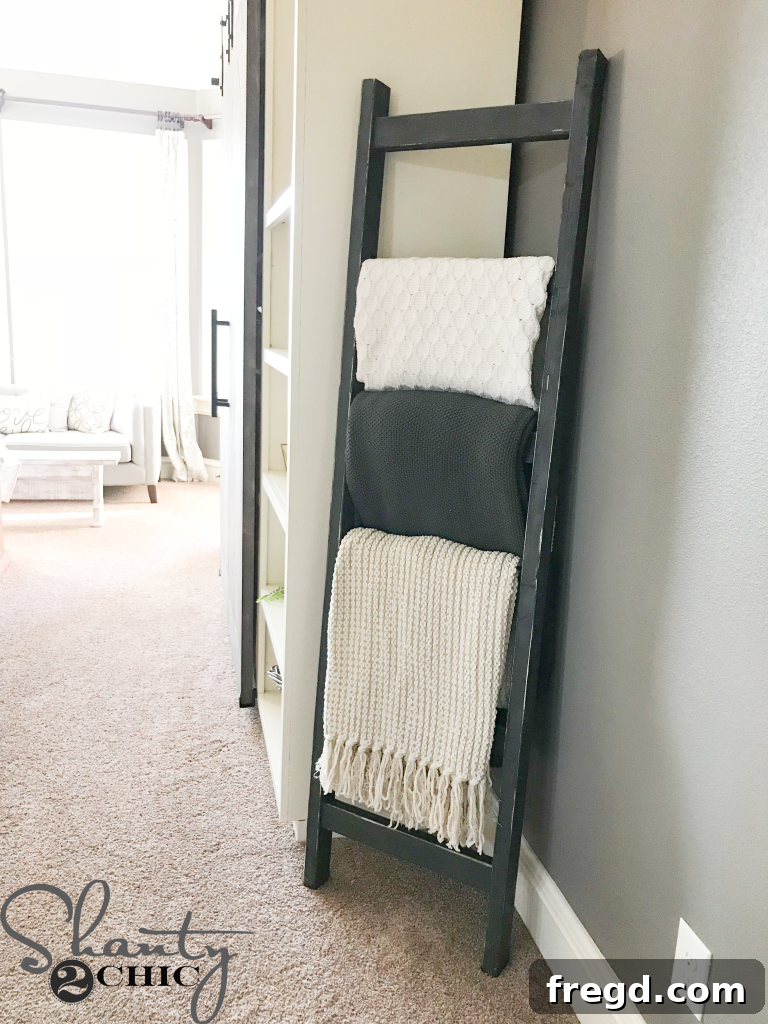
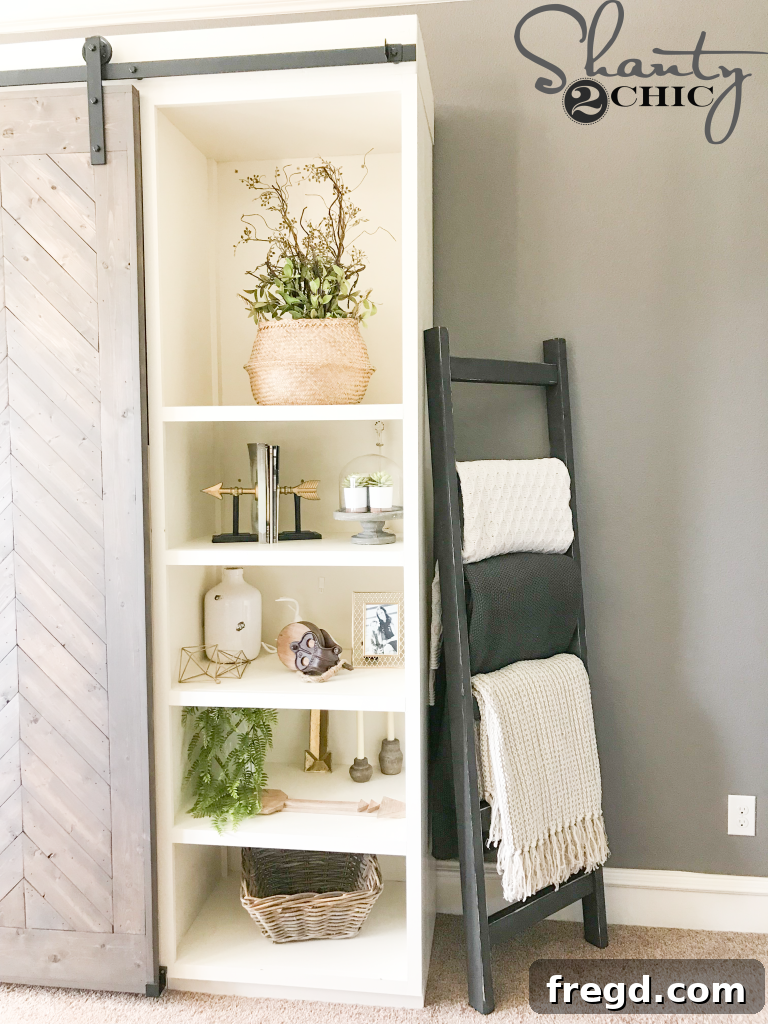
Styling Your New Rustic Blanket Ladder
One of the true joys of a blanket ladder is its remarkable versatility, offering both form and function in a single, elegant piece. It’s not just a storage solution; it’s a decorative accent that can tie a room together and express your personal style. Here are a few ideas for making the most of your new DIY creation:
- Cozy Living Room Corner: Lean your ladder against a wall in your living room, artfully draping a selection of your favorite throw blankets. Mix textures and patterns for visual interest – think chunky knits, soft fleece, and patterned throws. It keeps blankets tidy and within easy reach for those chilly evenings, adding an inviting touch.
- Bedroom Elegance: Place it beside your bed, dresser, or in a vacant corner to store extra quilts, duvets, or even a collection of decorative pillows. It adds an element of warmth and comfort, making your bedroom feel more inviting and organized.
- Bathroom Organization: A blanket ladder is surprisingly perfect for holding fresh towels in the bathroom. Roll or neatly fold towels of varying sizes and colors to create a spa-like display. This is especially useful in guest bathrooms or if you have a larger family needing towel storage.
- Poolside Practicality: For homes with a pool or patio, a blanket ladder makes an excellent outdoor towel rack. Just ensure you’ve applied a weather-resistant topcoat to protect the wood from moisture, sun, and outdoor elements.
- Entryway Accent: In an entryway or mudroom, it can be a stylish spot to hang scarves, small bags, or even lightweight jackets, adding a welcoming and functional touch to your home’s first impression.
- Beyond Blankets: Don’t limit yourself to just blankets and towels! Consider hanging magazines, decorative textiles, or even unique holiday garlands or string lights from the rungs for seasonal decor. Its open design makes it highly adaptable to your creative whims.
If you’ve got an abundance of throws, quilts, or towels, this rustic blanket ladder offers an ideal way to display them beautifully rather than having them tucked away or piled up. It’s a simple addition that makes a significant impact on both organization and aesthetic appeal, proving that practical items can also be stunning decorative elements. Experiment with different arrangements and enjoy the transformation of your space!
Thank you so much for joining us on this DIY journey. We hope you enjoyed building this charming and functional piece for your home, and that it brings you joy and style for years to come!
Happy Building!
Explore More DIY Blanket Ladder Tutorials!
If you enjoyed this project and are looking for more blanket ladder inspiration, you’re in luck! We have a variety of other free tutorials that offer different styles, construction methods, and material combinations. Whether you’re interested in a more modern aesthetic, a specific farmhouse detail, or even a different material combination, there’s a ladder project for you to explore and create.
- Barn Door Pull Blanket Ladder
- $15 Blanket Ladder
- DIY Modern Blanket Ladder
- Blanket Ladder with Wood and Metal Pipe
We always appreciate you pinning and sharing our free plans and tutorials with your friends and fellow DIY enthusiasts! Your support helps us continue to create and share more exciting projects.