
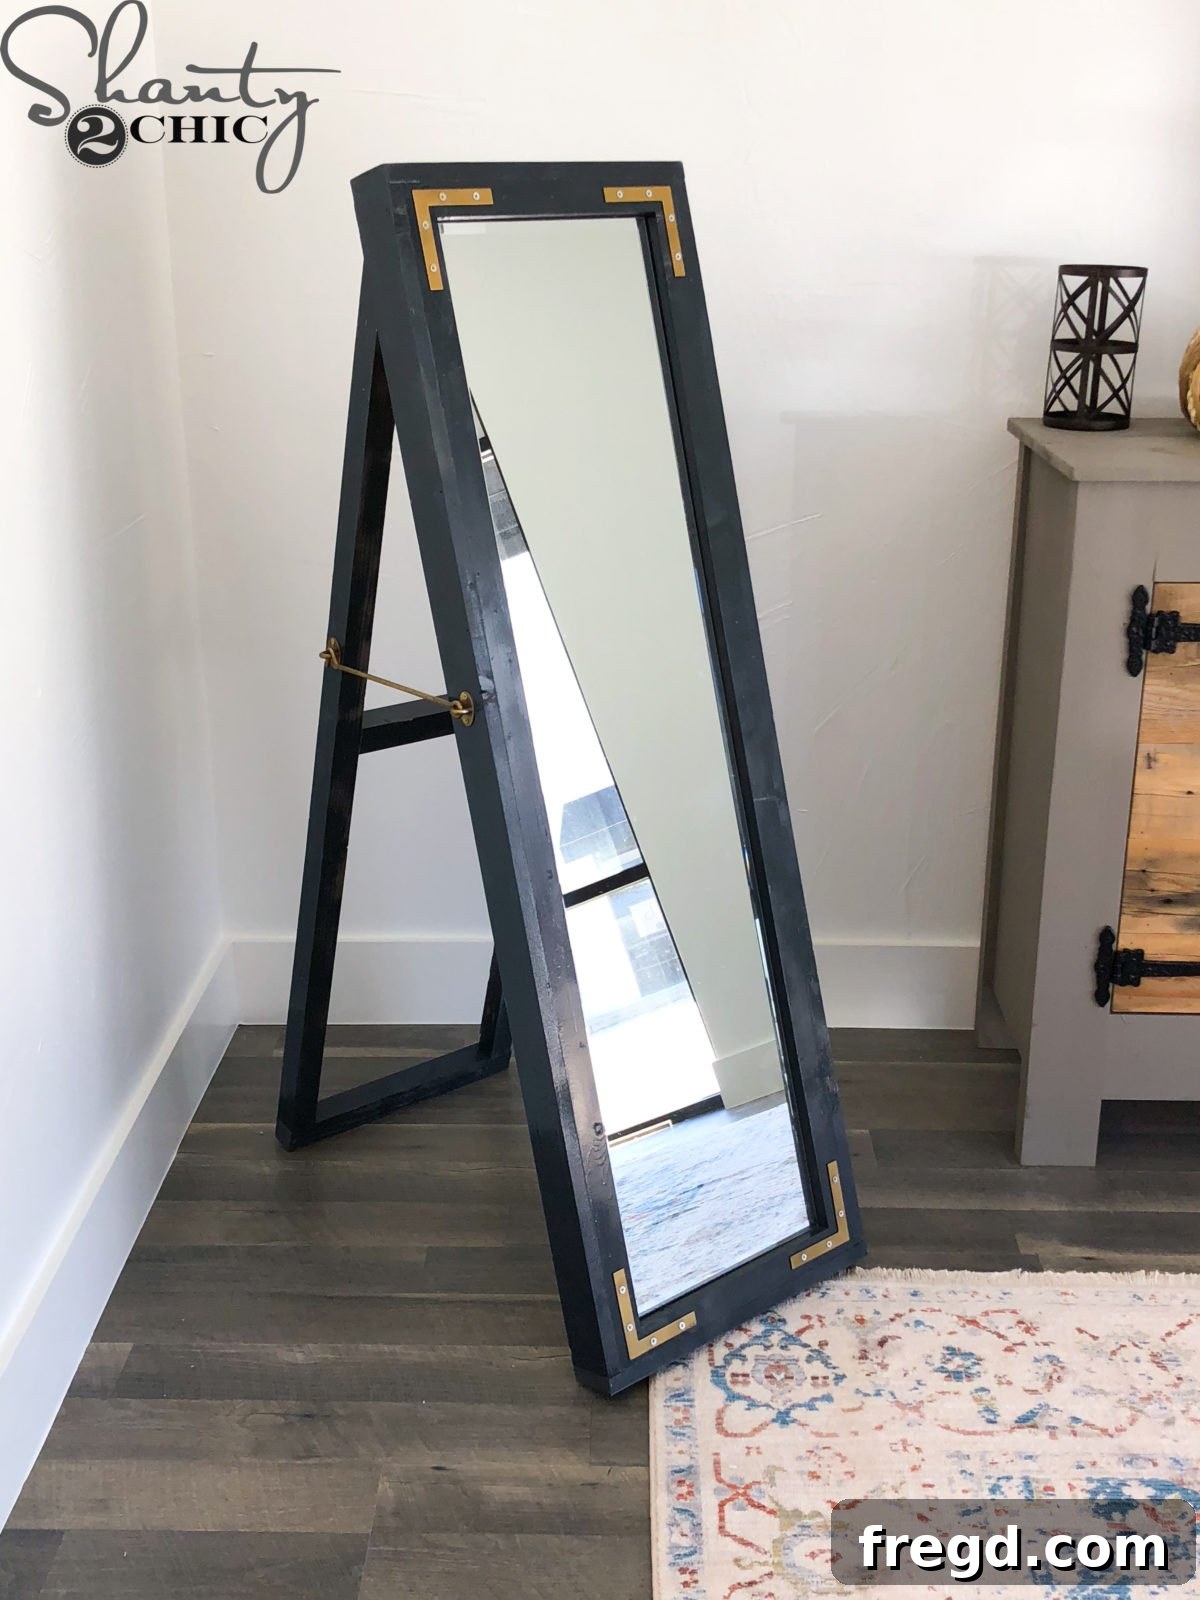
Are you looking for an easy, inexpensive, and incredibly functional home decor project that makes a big impact? You’ve come to the right place! Our DIY Easel Mirror is not just simple to build; it’s also charming and versatile, offering a full-length reflection wherever you need it most. This project is perfect for adding a touch of personalized style to your bedroom, living room, entryway, or even a creative studio space. Imagine a beautiful, custom-built mirror that perfectly complements your home’s aesthetic without breaking the bank. That’s exactly what we’re here to help you create!
Ready to embark on this rewarding woodworking journey? Grab your favorite cup of coffee, settle in, and let’s construct this stunning piece together. We’ve made it incredibly straightforward with a detailed video tutorial. Just click HERE or on the image below to watch the full build process and see every step come to life before your eyes. Visual learners will especially appreciate the clear demonstrations and helpful tips shared throughout the video!
How fantastic is that? Seeing the project from start to finish truly demystifies the building process. To ensure you have all the measurements and material lists at your fingertips, we’ve prepared comprehensive, free printable plans. These plans are your best friend during this DIY adventure, guiding you with precision. Make sure to download the FREE Printable Plans HERE and follow along with the detailed written tutorial below to build your very own stylish easel mirror!
Crafting Your Custom Easel Mirror: A Rewarding DIY Project
We meticulously designed this DIY easel mirror to accommodate an affordable, standard frameless wall mirror. This approach keeps the overall cost down while allowing you to focus on building a beautiful, sturdy frame and easel mechanism. Sourcing the right mirror is the first step in ensuring your project runs smoothly. For your convenience, you can find the exact type of frameless mirror we used for this project HERE. Opting for a frameless mirror provides a clean, modern aesthetic that beautifully complements the wooden easel stand.
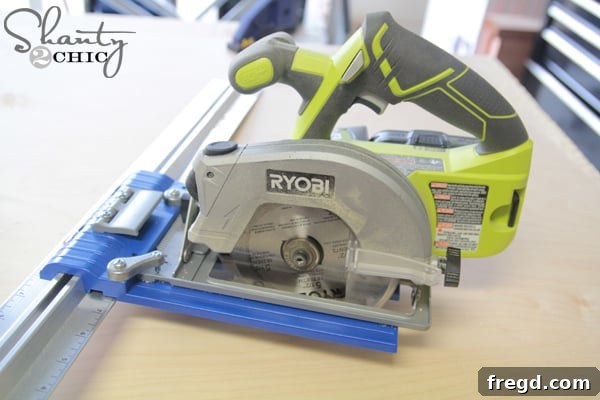
Step 1: Preparing the Plywood Base and Side Frame Pieces
The foundation of your easel mirror begins with precisely cut wood. The very first step involves cutting the 1/4″ plywood and the main side frame pieces to their required dimensions. Accuracy here is crucial for a clean, professional finish. For cutting our plywood efficiently and accurately, we relied on our trusty Kreg Jig Rip Cut. This tool makes it incredibly easy to achieve straight, consistent cuts on large sheets of plywood. If you don’t have a Rip Cut tool, don’t worry! Most hardware stores offer a service to rip large plywood sheets for you, often at a minimal charge. Simply provide them with your exact measurements from the free printable plans. This is a great alternative if you’re new to woodworking or don’t have access to larger cutting tools. You can find the Kreg Jig Rip Cut, an invaluable tool for sheet goods, HERE if you wish to add it to your workshop.
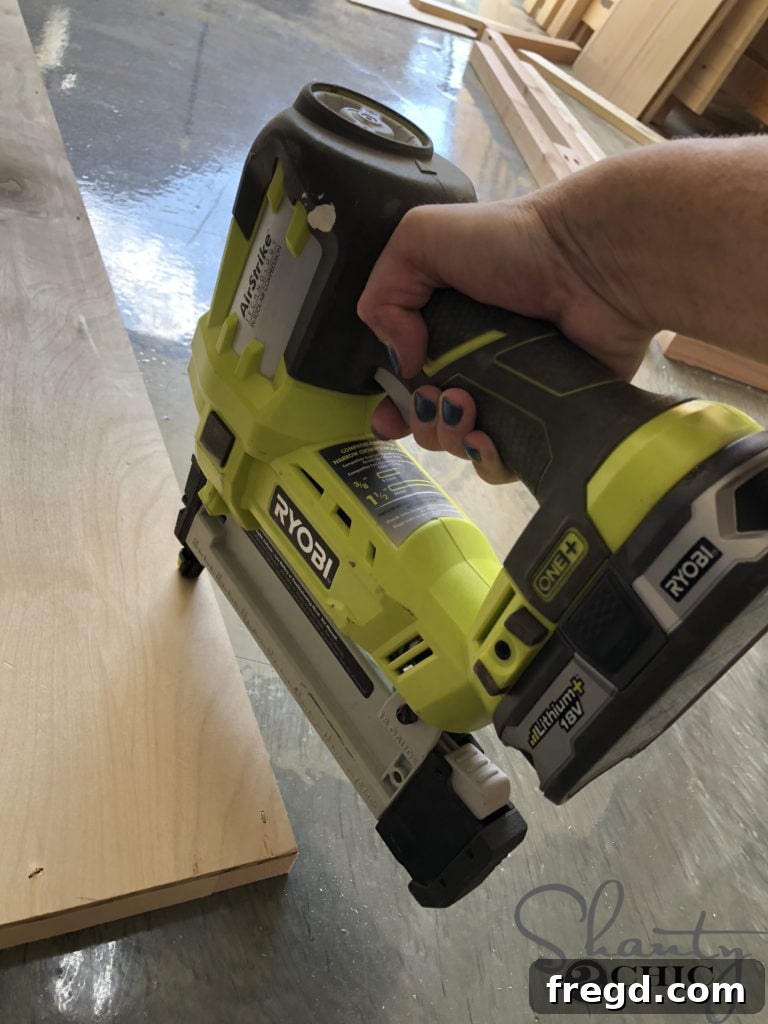
Step 2: Assembling the Plywood Backing to the Side Trim
Once your plywood and side frame pieces are perfectly cut, it’s time to begin the assembly of the primary mirror frame. We carefully laid the plywood backing over the back of the side trim pieces, ensuring everything was aligned correctly. To create a strong and lasting bond, we utilized our reliable Ryobi 18 gauge Narrow Crown Stapler, loaded with 3/4″ staples, in conjunction with a high-quality wood glue. The combination of staples and glue provides incredible structural integrity – the staples offer immediate holding power, while the wood glue creates a permanent bond as it dries. Apply a consistent bead of wood glue along the edges of the side trim pieces before positioning the plywood. Then, secure it with staples, spacing them every few inches for even distribution. This step forms the initial shell of your mirror frame. You can find our favorite staple gun, a versatile tool for many DIY projects, HERE.
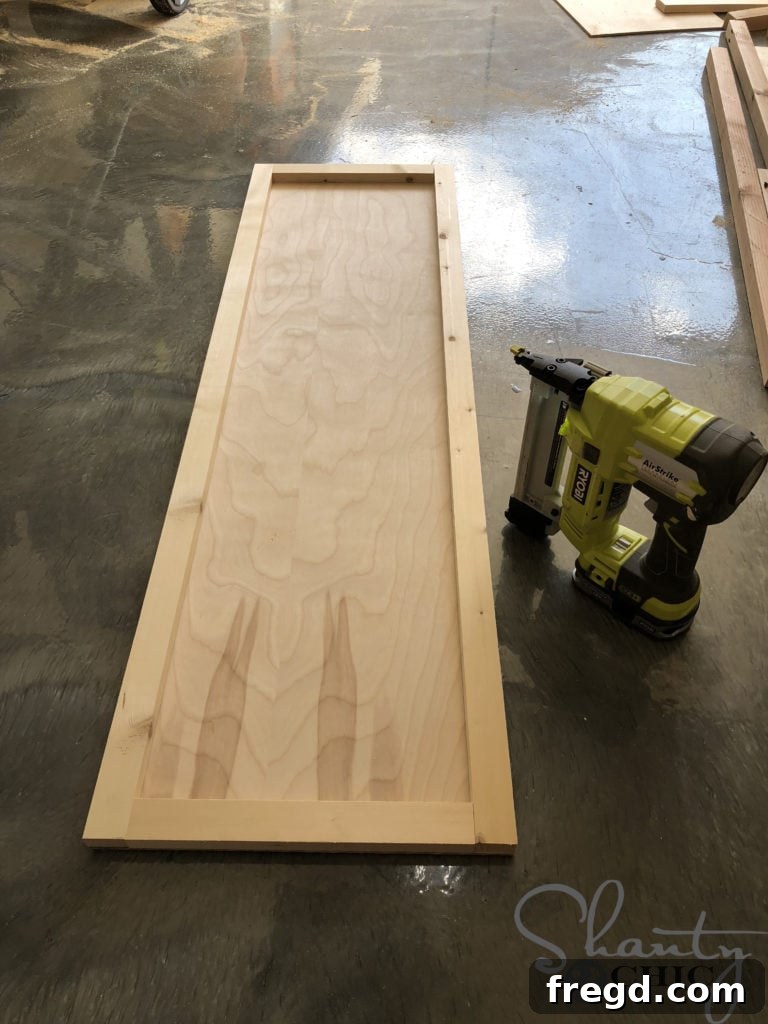
Step 3: Completing the Mirror Frame with Top and Bottom Pieces
With the side pieces and plywood backing securely joined, the next phase involves cutting and attaching the top and bottom frame pieces. Again, refer to your free printable plans for precise measurements. Keeping the assembly upside down, we applied a generous amount of wood glue to the ends of the side trim pieces and then attached the top and bottom trim pieces. These were then firmly secured using 3/4″ staples, just as before. It’s important to ensure that all corners are square during this step to prevent any twisting or unevenness in the final mirror frame. Take your time, measure twice, and staple once! Once these pieces are attached and you turn the frame over, you’ll start to see the robust structure of your mirror frame take shape, ready to hold your frameless mirror beautifully.
Step 4: Constructing the Sturdy Easel Ladder Frame
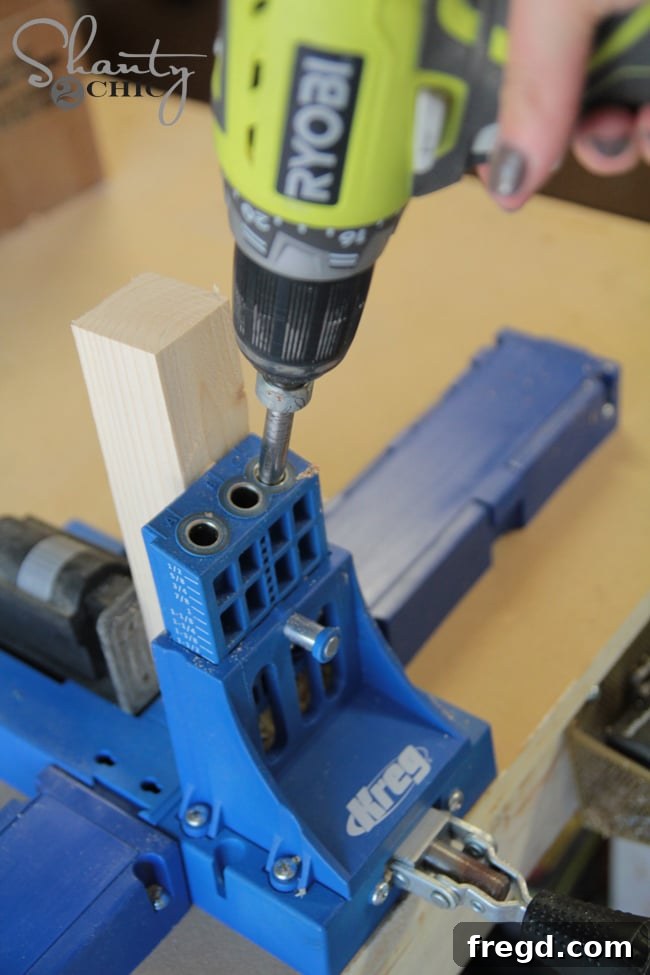
Now, let’s move on to the easel mechanism that will allow your mirror to stand freely. This part of the project involves building a ladder-like frame that will support the mirror. Begin by cutting all the ladder frame pieces to the exact sizes specified in your plans. For strong, concealed joints, we used our versatile Kreg Jig to drill 1 1/2″ pocket holes. These pocket holes were strategically placed at the ends of both of the long ladder pieces and also on the center support piece. Pocket holes are an excellent technique for creating incredibly strong joints that are hidden from view, contributing to a professional and clean finish. If you’re new to using a Kreg Jig, it’s a fantastic tool for any DIY enthusiast, making furniture building much easier and more robust. You can find our favorite Kreg Jig model, a cornerstone tool for many woodworking projects, HERE.
Step 5: Assembling the Ladder Frame Supports
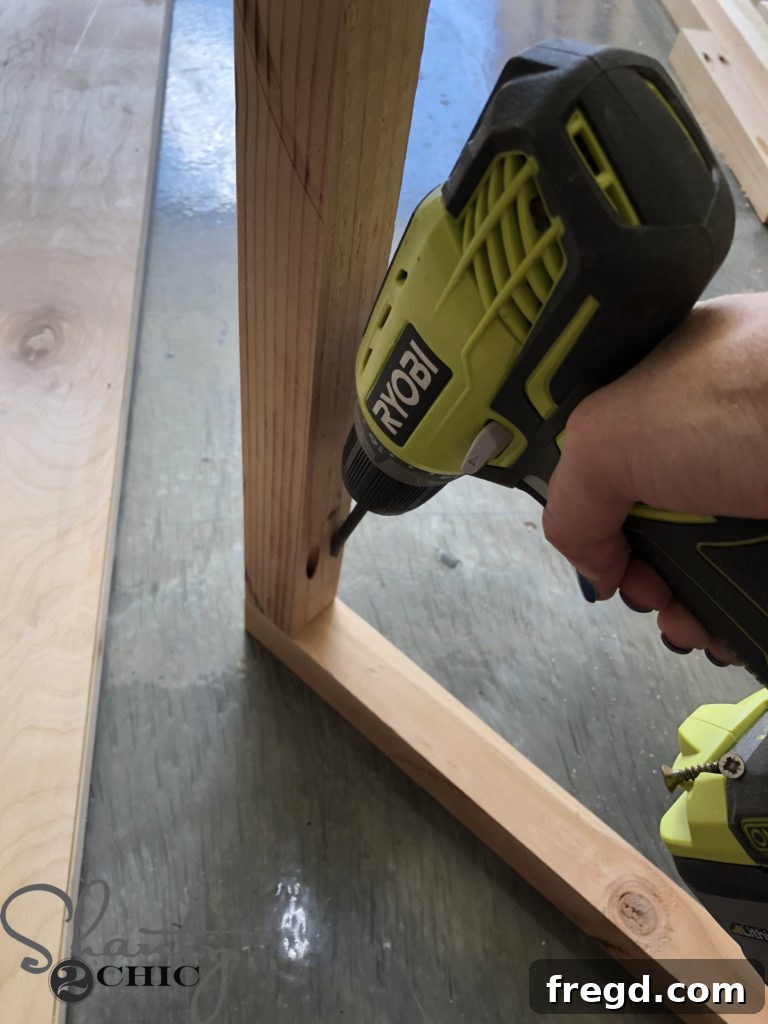
With the pocket holes drilled, it’s time to assemble the ladder frame. We attached the long pieces to the top and bottom, short pieces using 2 1/2″ pocket hole screws. Always complement pocket hole screws with wood glue for maximum strength and durability. Apply glue to the mating surfaces before driving the screws. This combination ensures that your easel frame will be incredibly sturdy and reliable, capable of supporting your mirror securely for years to come. A good quality drill makes driving these screws effortless and precise. You can find our favorite drill, an essential tool for almost any DIY project, HERE.
Step 6: Adding the Center Support to the Ladder Frame
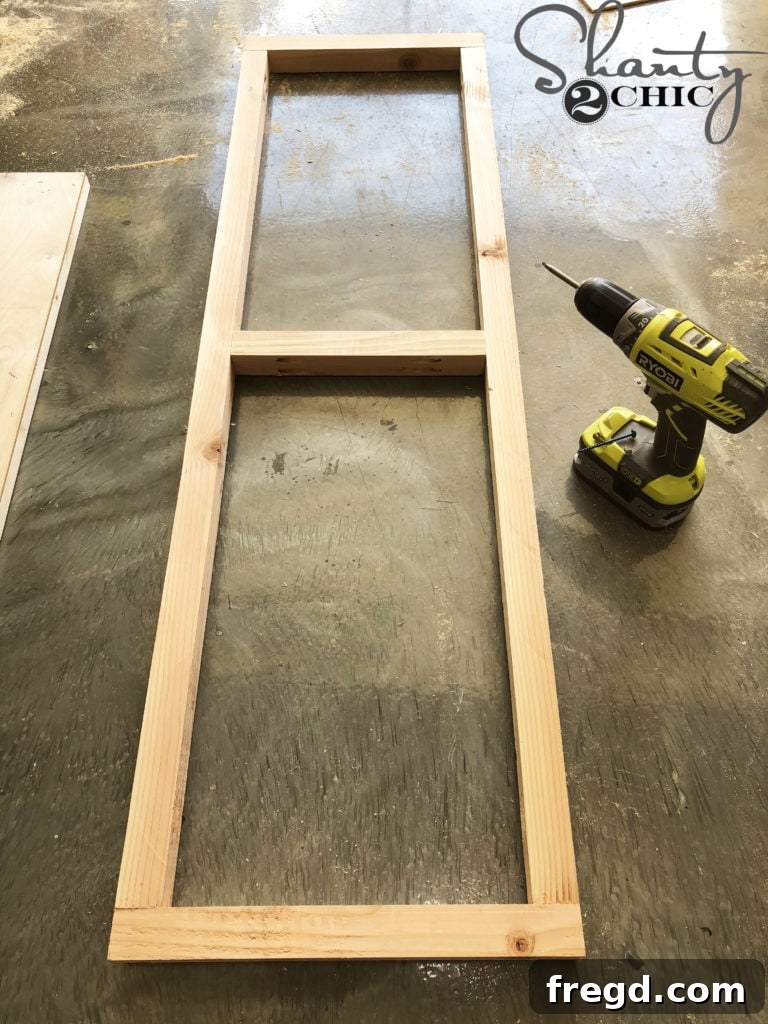
To further enhance the stability and rigidity of the easel ladder frame, we then centered the middle support piece. This piece is crucial for preventing any bowing or weakness in the center of the frame, ensuring it remains perfectly straight and strong. Once centered, we attached it to the long frame pieces, again using 2 1/2″ pocket hole screws and a generous application of wood glue. Ensure that the center support is perfectly perpendicular to the long pieces for optimal performance. This step completes the construction of your easel’s supporting structure, making it incredibly robust and ready to hold the mirror frame.
Step 7: Attaching the Decorative Side Trim to the Mirror Frame
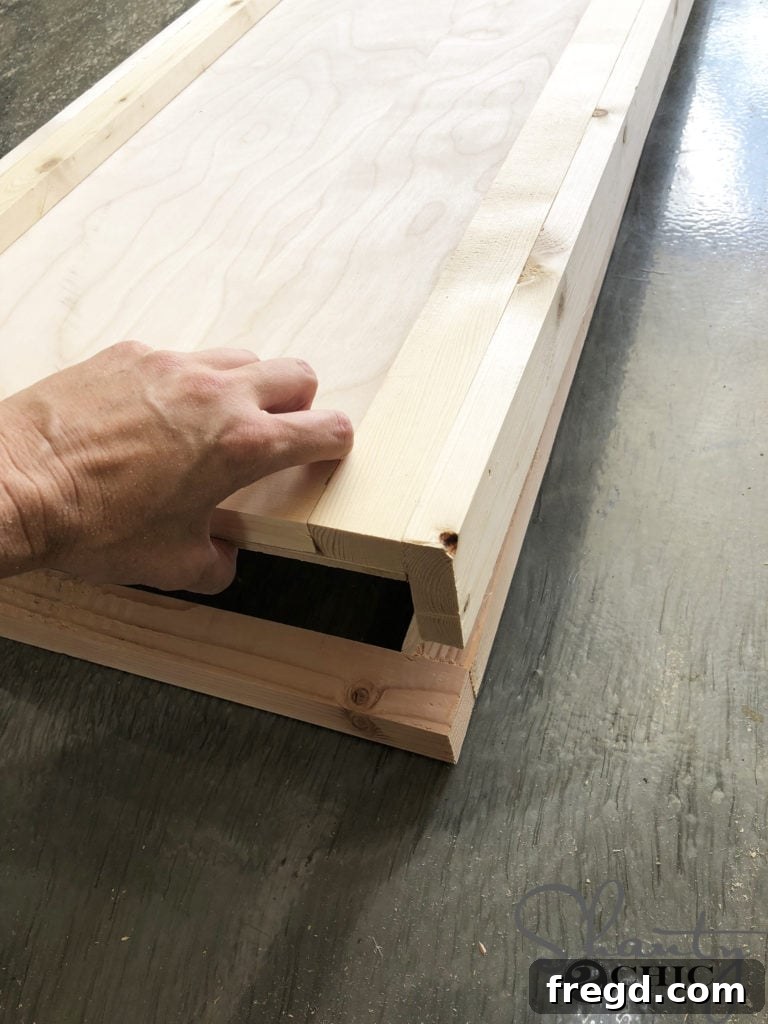
With both the main mirror frame and the easel ladder frame constructed, it’s time to marry the two aesthetically by adding decorative trim to the mirror frame. To ensure perfect spacing and alignment during this process, we smartly laid the mirror frame on top of the ladder frame. This ingeniously acts as a spacer, providing the precise gap needed between the mirror frame and the decorative side trim pieces. This small trick saves time and ensures a clean, professional look.
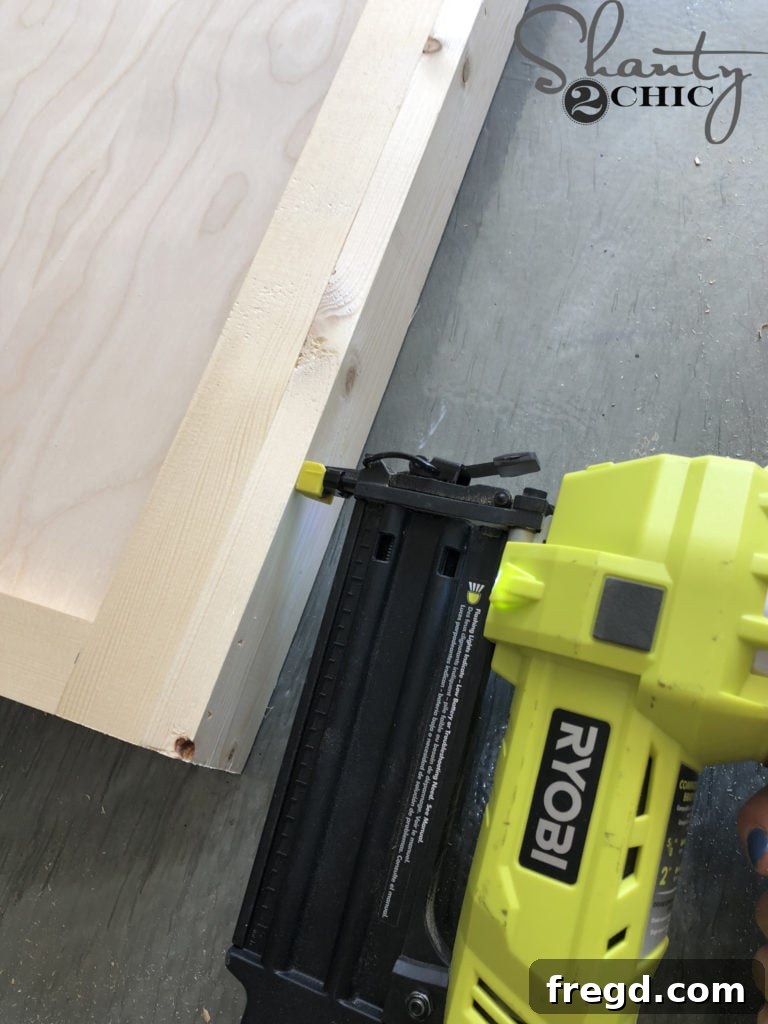
After cutting the side trim pieces to the correct size, we attached them to the mirror frame using our dependable Ryobi 18 gauge Brad Nailer, along with 1 1/4″ brad nails and wood glue. The key here is to make sure the front of the side trim pieces are flush with the top of the mirror frame, creating a seamless and polished edge. Brad nails provide a strong hold with minimal visual impact, perfect for decorative trim. You can find our favorite brad nailer, a must-have for finish work, HERE.
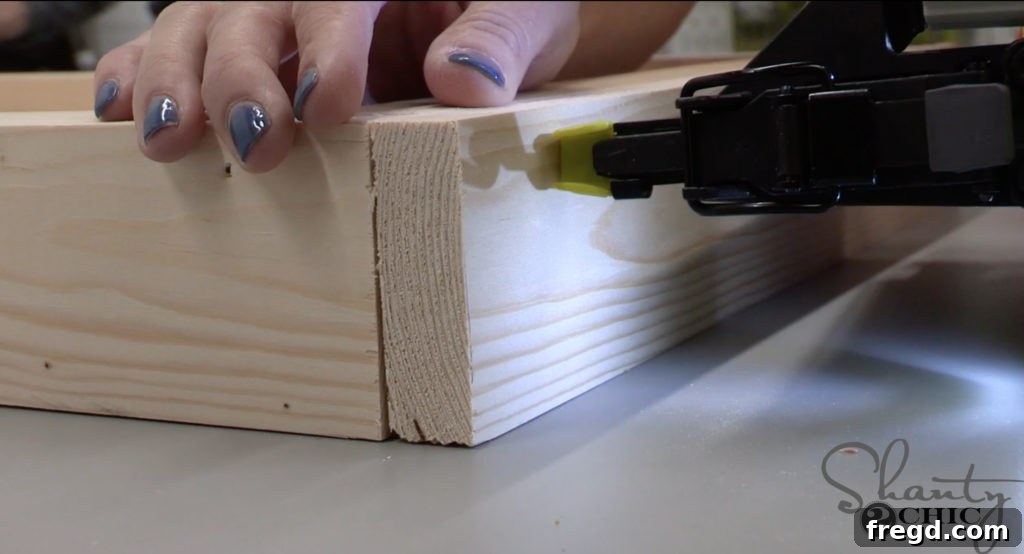
Step 8: Finalizing the Mirror Frame with Top and Bottom Trim
To complete the outer decorative frame around your mirror, we cut the final top and bottom trim pieces to size. These pieces were then attached to the top and bottom of the main mirror frame, using the same combination of 1 1/4″ brad nails and wood glue. Once all the trim pieces are in place, you’ll have a beautifully finished frame, ready for the next exciting step – adding a protective and aesthetically pleasing finish!
Step 9: Adding the Perfect Finish to Your Easel Mirror
NOW IS A GREAT TIME TO ADD A FINISH! Before attaching the hinges and other hardware, applying your desired finish will be much easier and yield a cleaner result. This is where you get to truly personalize your DIY easel mirror. You can choose to paint it in a color that matches your room’s decor, stain it to highlight the natural beauty of the wood, or simply apply a clear sealant for a minimalist look. Consider how the mirror will blend into its intended space. We opted for a particular finish that provided both protection and a lovely aesthetic. You can find the specific finish that we used HERE, but feel free to experiment with what best suits your style. Remember to allow adequate drying time as per the product instructions before proceeding to the next steps.
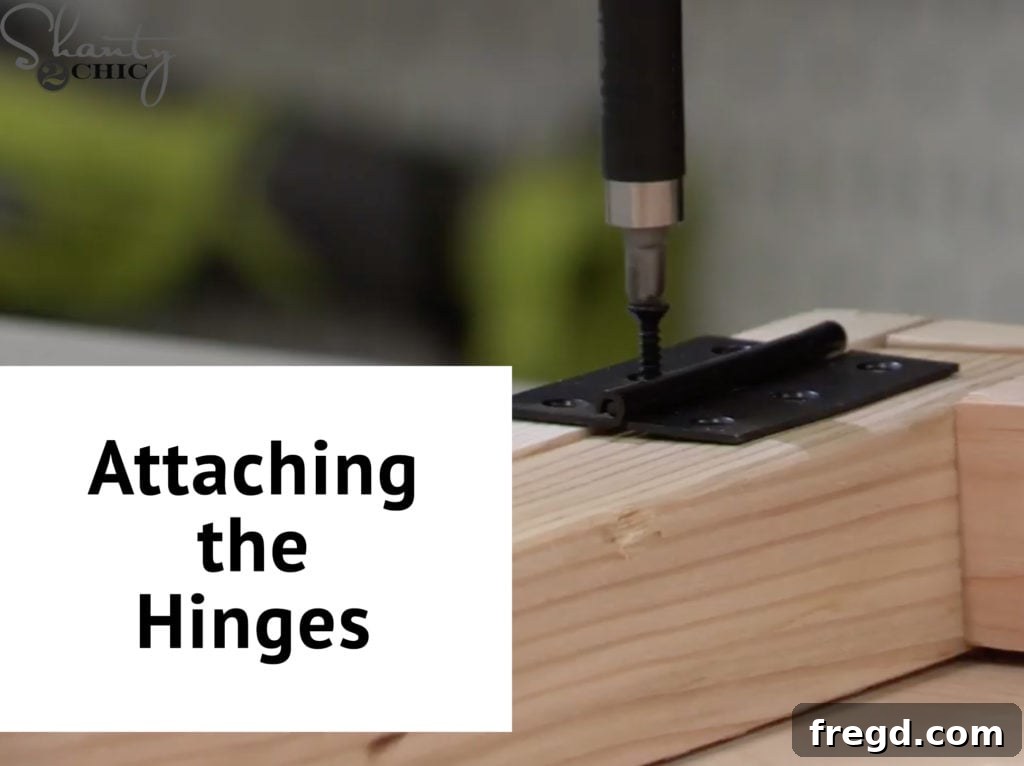
Step 10: Attaching the Hinges for Easel Functionality
Once your chosen finish has completely dried and cured, it’s time to bring the easel mirror to life by attaching the hinges. For this crucial step, we carefully flipped the entire easel upside down. This position provides easier access and better visibility for attaching the hinges securely. We then attached the hinges to the top of the mirror’s trim frame and the top of the ladder easel frame. Ensure that the hinges are perfectly aligned and spaced evenly for smooth operation and stability. The right type of hinge is essential for the easel to fold and unfold correctly. You can find the durable hinges that we used, designed for this specific application, HERE. Take your time to mark and pre-drill pilot holes for the hinge screws to prevent splitting the wood and ensure a clean attachment.
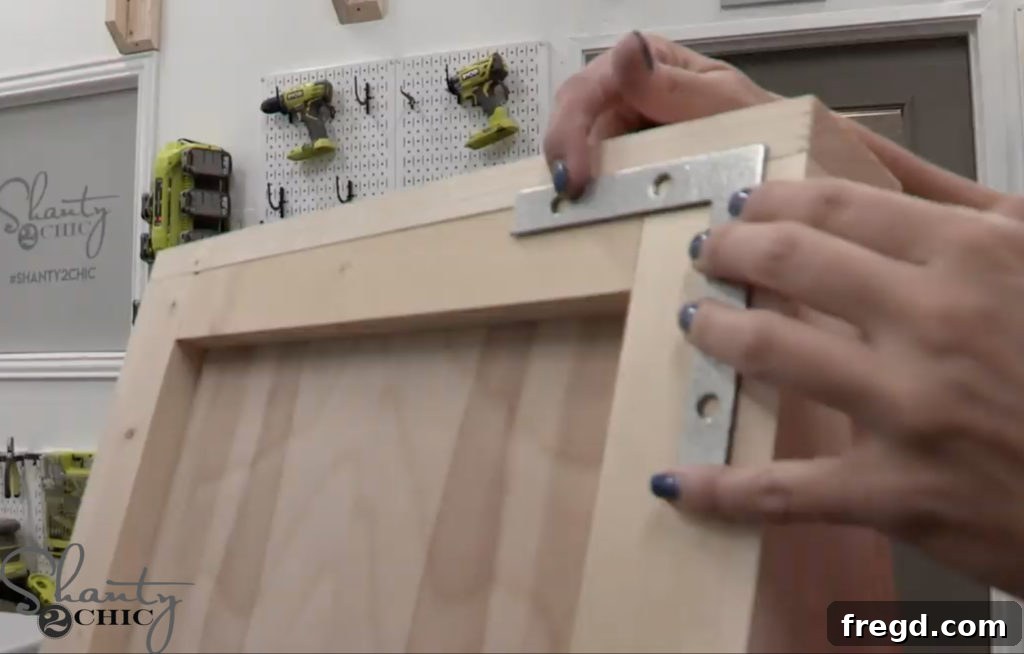
Step 11: Adding Optional Decorative Corner Pieces
To further enhance the aesthetic appeal and provide a subtle touch of sophistication, we added optional corner pieces to our easel mirror. These small details can make a big difference in the overall look, adding a decorative flair while also offering a bit of protection to the corners. They are incredibly easy to attach and provide an instant upgrade. You can find the stylish corner pieces that we used, if you wish to replicate this elegant detail, HERE.
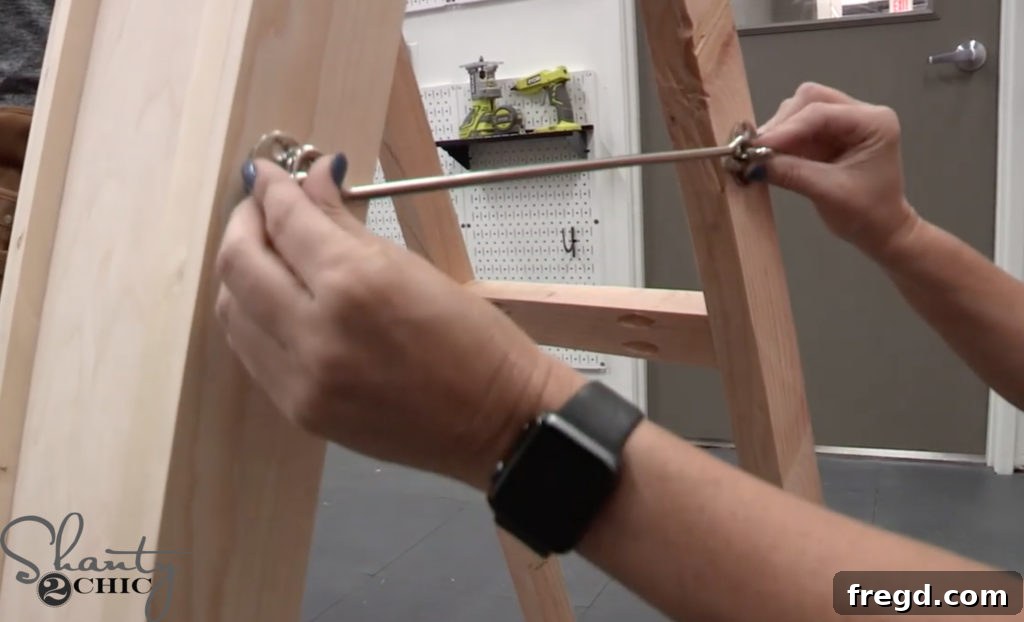
Step 12: Installing the Hook and Eye Latch for Stability
For added security and to ensure the easel remains locked in its open, standing position, we highly recommend using a Hook and Eye Latch. This simple yet effective piece of hardware prevents the easel from accidentally folding inwards, providing robust stability for your mirror. It’s especially useful in high-traffic areas or homes with pets and children, ensuring the mirror stays upright and secure. Position the latch thoughtfully so it engages easily when the mirror is set up for use. You can find the reliable Hook and Eye Latch that we used, ensuring your mirror stays put, HERE.
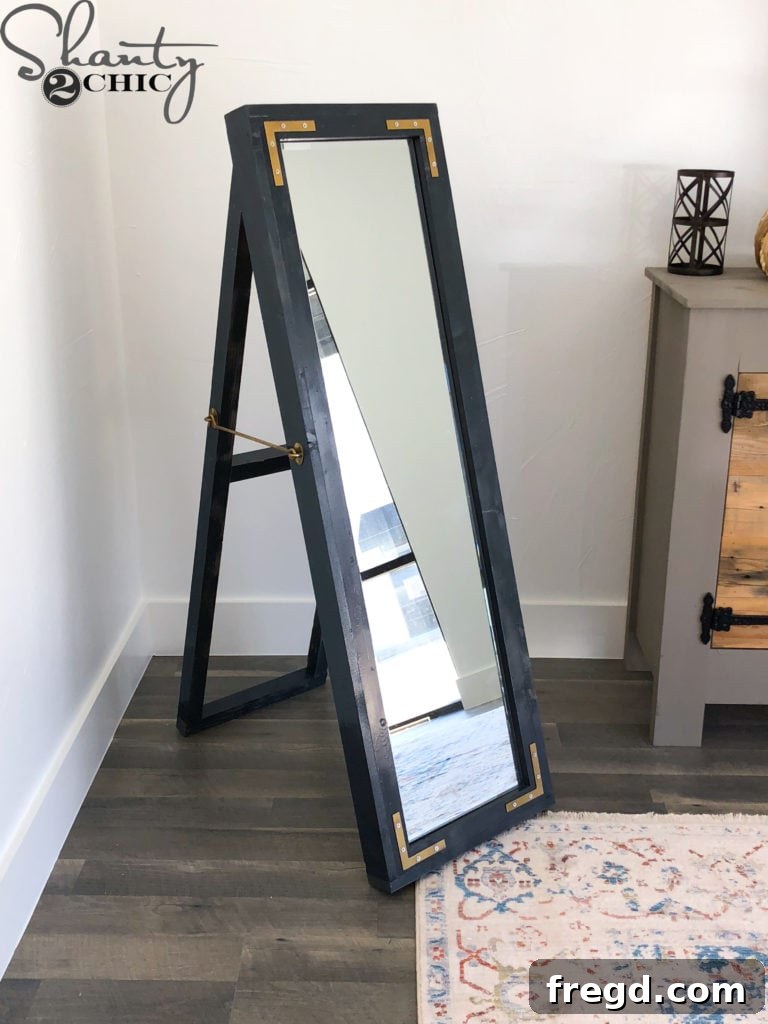
Step 13: Personalizing Your Hardware with Spray Paint
To achieve a cohesive and polished look, we took an extra step to spray paint all of our hardware. This includes the hinges, corner pieces, and the hook and eye latch. Spray painting allows you to match your hardware to the finish of your wooden frame or to introduce a contrasting metallic accent. Whether you opt for a sleek matte black, a classic brushed bronze, or a vibrant pop of color, customizing your hardware elevates the entire project. Always use spray paint suitable for metal and apply several thin coats for a smooth, durable finish. Remember to work in a well-ventilated area and protect surrounding surfaces. You can find the specific spray paint we used to unify our hardware’s appearance HERE.
The Versatility of Your New DIY Easel Mirror
One of the many things we absolutely adore about this DIY easel mirror is its incredible versatility. Unlike a wall-mounted mirror that is fixed in place, this easel mirror can effortlessly go anywhere in your house! Do you need a full-length mirror in your bedroom for getting ready in the morning? Simply unfold it. Hosting guests and want to open up your living room space? Move it there with ease. It’s perfect for a dressing area, an entryway to check your look before heading out, or even a craft room where you might need a different perspective. You can truly fold it open and place it on its stand, or, if you ever change your mind, it’s also lightweight enough to hang on a wall. The possibilities for placement and function are truly ENDLESS! Have fun with it, experiment with different locations, and make this functional and stylish piece uniquely your own. It’s more than just a mirror; it’s a dynamic piece of home decor that adapts to your changing needs and style.
Ready to Build? Download Your Free Plans & Watch the Tutorial!
We hope this detailed tutorial has inspired and equipped you to create your very own DIY Easel Mirror. It’s a project that combines practicality with aesthetic appeal, delivering a piece of furniture that you’ll be proud to say you built yourself. Don’t forget to leverage all the resources we’ve provided to make your build as smooth and enjoyable as possible. Download the FREE Printable Plans HERE for precise measurements and a material list, and watch the video tutorial HERE for visual guidance on every step. Happy Building!
Essential Tools and Materials for Your Easel Mirror Project
To help you get started, here’s a comprehensive list of everything we utilized to construct this beautiful easel mirror. Gathering your materials and tools beforehand will ensure a seamless and efficient building process. Each item is linked for your convenience, allowing you to easily find the exact products we recommend.
- Frameless Mirror: The core of your project, designed to fit standard frameless wall mirrors for a clean, modern look.
- Heavy-Duty Hinges: Essential for connecting the mirror frame to the easel stand, allowing smooth folding and sturdy support.
- Decorative Corner Hardware: Optional but highly recommended for adding a touch of elegance and protecting the corners of your mirror frame.
- Hook and Eye Latch: A crucial safety feature to lock the easel in its open position, preventing accidental folding and ensuring stability.
- Spray Paint for Hardware: For unifying the look of all your metal hardware, allowing you to match or contrast with your wood finish.
- Paint or Stain for Mirror Frame: Your choice for personalizing the wood frame, providing protection and a beautiful finish.
- Kreg Jig: An indispensable tool for drilling strong, concealed pocket holes, vital for robust frame and easel assembly.
- Narrow Crown Stapler: Perfect for securely attaching the plywood backing and other structural elements with speed and efficiency.
- Brad Nailer: Ideal for attaching decorative trim pieces with minimal visible fasteners, ensuring a clean and professional appearance.
- Cordless Drill: Essential for driving screws, particularly for assembling the ladder frame with pocket hole screws.
- Wood Glue: Used throughout the project to provide strong, permanent bonds in conjunction with staples and screws.
- 1/4″ Plywood: Forms the sturdy back panel of your mirror frame.
- Wood for Frame and Easel: Specific dimensions will be outlined in your Free Printable Plans.