
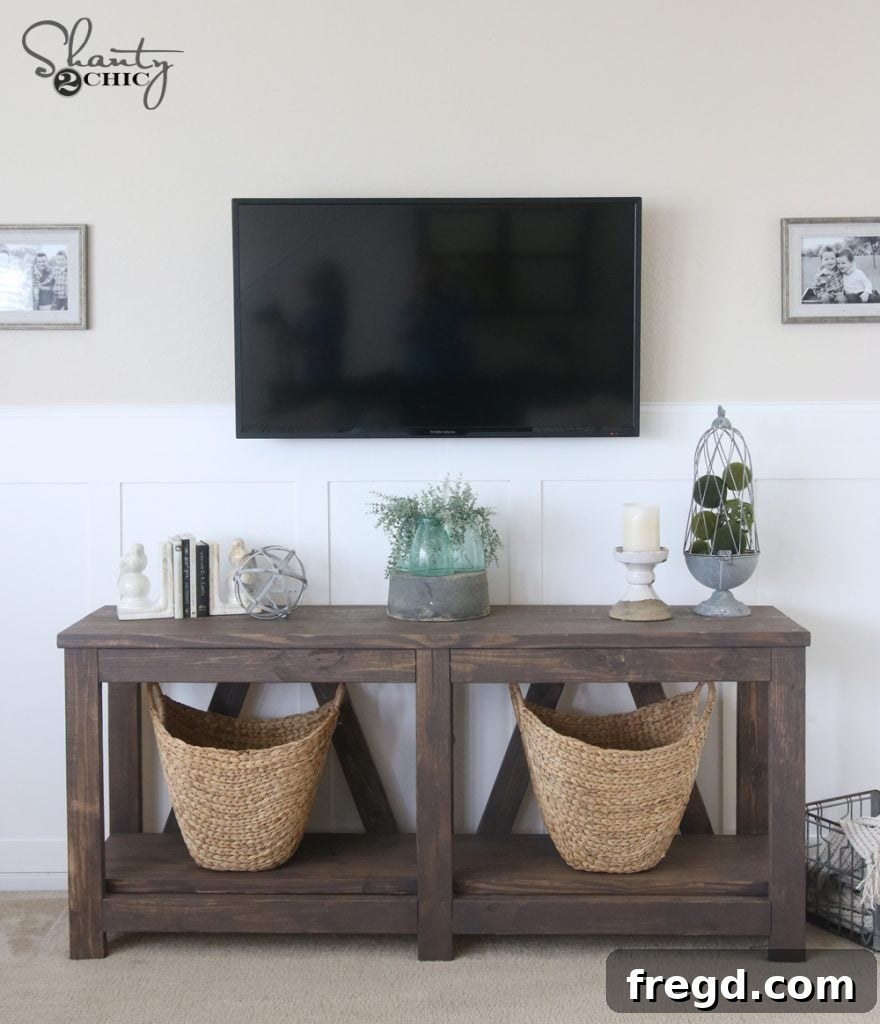
DIY Diagonal Base Farmhouse Console Table: Build Your Own Rustic Masterpiece
Hello fellow DIY enthusiasts and home decor lovers! Today, we’re diving into an exciting project that combines rustic charm, practical storage, and the immense satisfaction of building something beautiful with your own hands. As you might recall, my sister recently opened her home to Ash and me for a little “shanty house crash” near Houston. Our mission? To help transform her space with custom-built furniture, making it truly feel like home. Among the various pieces we crafted, one standout item we’re thrilled to share with you is this stunning Diagonal Base Farmhouse Console Table.
This isn’t just any console table; it’s a statement piece designed to be both highly functional and aesthetically pleasing. Featuring generous open shelving, it provides the perfect spot for decorative baskets to neatly tuck away blankets, remote controls, toys, or anything else you want to keep out of sight but within easy reach. Imagine decluttering your living room while adding a touch of authentic farmhouse style. This table is an ideal companion for your television, creating a cohesive and organized entertainment area, or serving as a welcoming accent in an entryway or hallway.
Its striking diagonal base design offers a unique visual appeal that elevates it beyond a standard console, providing that coveted custom look without the custom price tag. But don’t let its elegant appearance fool you—this piece is built like a tank! Crafted entirely from sturdy 2x framing lumber, it boasts incredible durability and a robust presence. Ash and I definitely got our workout moving this “beast” into place, but the effort was more than worth it for such a substantial and beautiful piece of furniture.
Ready to embark on your own woodworking adventure? I’m excited to guide you through the entire build process, step by step. You can download and print the comprehensive FREE PLANS by clicking HERE! These plans are meticulously detailed to ensure a smooth and successful build, whether you’re a seasoned woodworker or just starting your DIY journey.
Essential Tools and Materials for Your Console Table Project
Before we begin cutting and assembling, let’s gather our supplies. One of the most appealing aspects of this project is its affordability and the readily available materials. You’ll primarily be working with common 2x framing lumber, which keeps the cost down while delivering a robust, rustic aesthetic. For this table, we needed just 11 boards, bringing the total lumber cost to approximately $50 – an incredible value for such a substantial piece of furniture!
Beyond the lumber, you’ll need a few key tools to make this build efficient and precise. At the heart of this project is the Kreg Jig, a fantastic tool for creating strong, hidden pocket-hole joints. If you don’t have one, this project is a perfect excuse to invest in this versatile piece of equipment that will serve you well for countless future woodworking endeavors. Other essentials include a reliable saw (a miter saw is ideal for accurate angled cuts), a drill, wood glue, and pocket-hole screws.
Once you have your lumber, referring to the cut list is crucial. While we provide precise measurements, a golden rule in woodworking, especially for larger pieces, is to “cut as you go.” This ensures that each piece fits perfectly with its mating components, compensating for any minor variations in your lumber or cuts. This approach helps achieve the best possible results and minimizes frustration.
Step-by-Step Guide to Building Your Farmhouse Console Table
1. Constructing the Front and Back Frames
Our journey begins with building the foundational frames for the front and back of the console table. This entire piece relies heavily on the strength and clean aesthetics of pocket-hole joinery, which is where your Kreg Jig comes into play. I used my trusty K5 Kreg Jig, which even made the road trip with us – a testament to its indispensable nature!
You’ll start by drilling 1.5-inch pocket holes as indicated in the cut list. These holes are strategically placed to ensure robust connections that are also hidden, contributing to the clean, finished look of your table. Focus on creating two identical frames at this stage. One will serve as the back of the console, eventually receiving the stylish diagonal accents, while the other will form the unadorned front frame of the table.
For maximum strength and longevity, always apply a thin, even bead of wood glue between each joint before fastening. The glue creates a bond that, once cured, is often stronger than the wood itself, providing incredible stability for your console table.
Secure each joint with 2.5-inch pocket hole screws. These screws are specifically designed for pocket-hole joinery, providing excellent clamping force and a secure hold. Ensure your drill is set to the correct torque to drive the screws without stripping them or overtightening.
At this stage, you should have two sturdy frames that will form the primary structural elements of your console table. Take a moment to ensure they are square and stable, as this precision will impact the rest of your build.
2. Adding the Diagonal Accents to the Back Frame
Now for the signature detail of this farmhouse console table: the diagonal accents. These pieces add significant visual interest and reinforce the rustic aesthetic. It’s crucial to ensure all your pocket holes face the same direction – specifically, towards what will be the hidden back side of the table. This attention to detail ensures a clean, professional finish with no visible fasteners from the front or sides.
After carefully cutting your diagonal pieces with the appropriate angles (refer to your free plans for precise measurements), you will use the Kreg Jig once more to create 1.5-inch pocket holes on these angled ends. Position them correctly in the jig to achieve the desired angle for drilling.
Once the pocket holes are made, your diagonal pieces will be ready for assembly. Double-check that the angles are correct and that the pocket holes are positioned to be concealed.
Attach each diagonal piece to the back frame using wood glue for a strong bond and 2.5-inch pocket hole screws. Carefully align each piece, ensuring even spacing and a tight fit. Clamps can be incredibly helpful here to hold pieces in place while you drive the screws.
3. Assembling the Side Pieces and Base
With the front and back frames prepared, it’s time to connect them using the side pieces. These are also attached using the same trusted method: wood glue for adhesion and pocket hole screws for robust fastening. Pay close attention to the positioning to ensure the console table will be square and level.
The bottom side supports will mirror the top ones, forming a strong base for the lower shelf. Take care to maintain consistent spacing and alignment as you attach these. This creates a solid foundation for the entire structure and defines the dimensions of your open shelving areas.
Now, bring the front and back frames together by attaching the front base to the completed back base. Use 2.5-inch pocket hole screws driven through the pocket holes in the short supports and into the back of the front frame. This step effectively creates the main carcass of your console table, giving it its three-dimensional form. Ensure everything is square and plumb before tightening all screws.
4. Crafting and Attaching the Shelves
The final structural step involves creating and attaching the two shelves: the expansive top surface and the functional bottom shelf. While both are constructed similarly, the top shelf utilizes a wider board to provide ample space for a television, decorative items, or serving as a versatile display area.
Begin by adding pocket holes to both pieces of each shelf. These will be used to join the individual shelf boards together, creating a seamless and strong surface. Pay attention to the placement of these pocket holes, ideally positioning them on the underside of the shelves where they won’t be visible.
Once the pocket holes are drilled, join the shelf pieces together using 2.5-inch pocket hole screws. Again, wood glue should be applied generously between the boards for maximum strength and to prevent any gaps from forming over time. This creates a solid, unified surface for both the top and bottom shelves.
To attach the top shelf, carefully lay the entire console base upside-down onto the bottom side of the top shelf. This orientation provides easy access to the pocket holes you’ve strategically placed on the aprons (the horizontal supports just beneath the top edge of the base). Drive 2.5-inch pocket hole screws through these holes and into the underside of the top shelf, securing it firmly in place. Ensure proper alignment before tightening everything down.
Attaching the bottom shelf follows a similar principle but with a slight adjustment for accessibility. Lay the console table on its side, making it easier to reach the pocket holes located on the bottom supports. Drive your 2.5-inch pocket hole screws through these supports and into the bottom shelf, ensuring it’s level and tightly secured within the base structure. This method makes the process much more manageable and helps guarantee a perfectly fitted shelf.
The Finished Console: Ready for Stain and Style!
Congratulations! At this point, your Diagonal Base Farmhouse Console Table is fully assembled and structurally complete. Take a moment to admire your handiwork—it’s truly a rewarding feeling to see your vision come to life. The robust frame, elegant diagonal accents, and spacious shelves are all in place, ready for the next exciting phase: finishing!
Finishing is where you truly personalize your piece. We initially planned to use Briarsmoke stain for this table, but a quick oversight (it was still back in Ft. Worth – oops!) led us to an unexpected but delightful alternative. Apparently, Varathane stain can be a bit elusive in Houston! So, we improvised and mixed Weathered Grey and Dark Walnut stains to achieve this gorgeous, rich finish. The result? A beautifully nuanced color that is almost identical to our original vision and perfectly complements the farmhouse aesthetic.
When selecting your stain, don’t be afraid to experiment! Always test your chosen stain on a scrap piece of the same lumber to see how it will truly look. Sanding the wood thoroughly before staining is also crucial for an even application and professional appearance. After applying the stain, consider a protective topcoat like polyurethane or a clear matte finish to guard against wear and tear, ensuring your console table remains stunning for years to come.
Once stained and sealed, this console table transforms into a versatile piece of furniture ready to enhance any room. It’s perfect as a TV stand, offering open shelving for media components, books, or decorative accents. The lower shelf is ideal for those baskets we talked about earlier, providing discreet storage for blankets, toys, or craft supplies, keeping your space tidy and stylish.
To complete the look, we found all the charming baskets and accessories at At Home, demonstrating how easily you can style your new console table to match your personal decor. From woven baskets to framed photos and potted plants, the possibilities are endless for making this piece uniquely yours.
This Diagonal Base Farmhouse Console Table is just one of many projects we undertook during our “shanty house crash.” If you’re looking to continue transforming your home with DIY flair, make sure to explore some of our other popular projects:
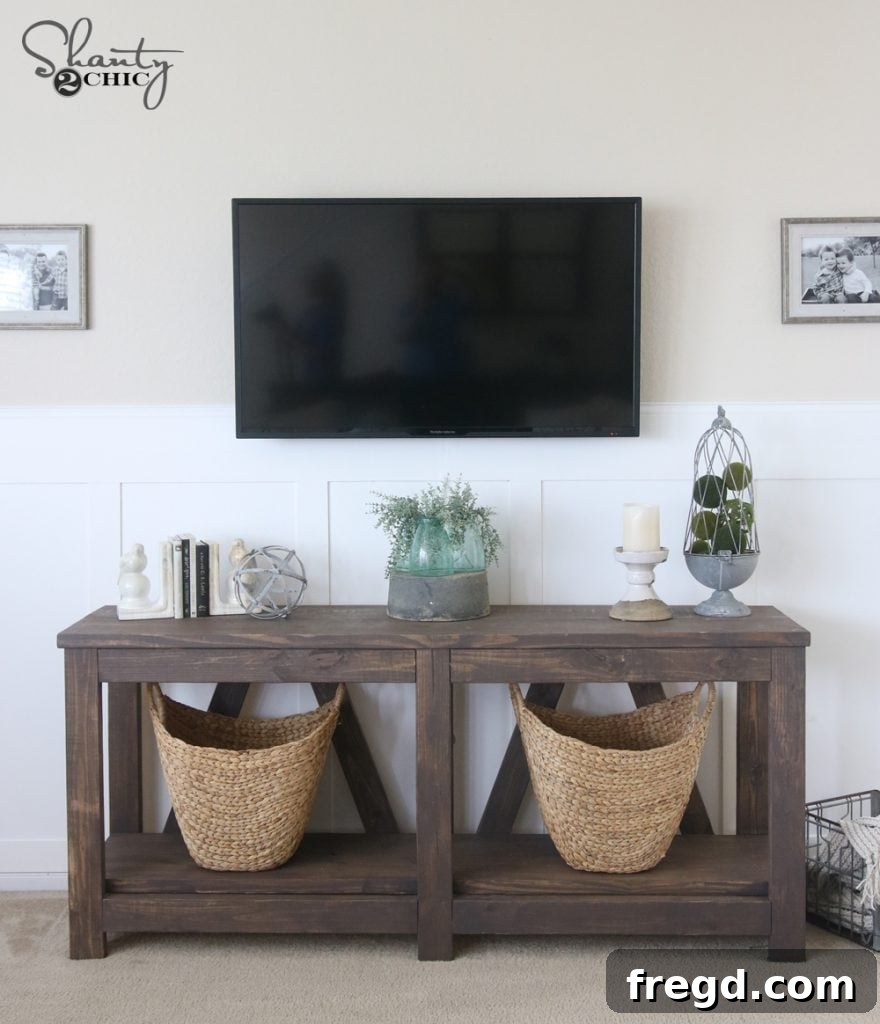
Explore the Diagonal Base Console Plans
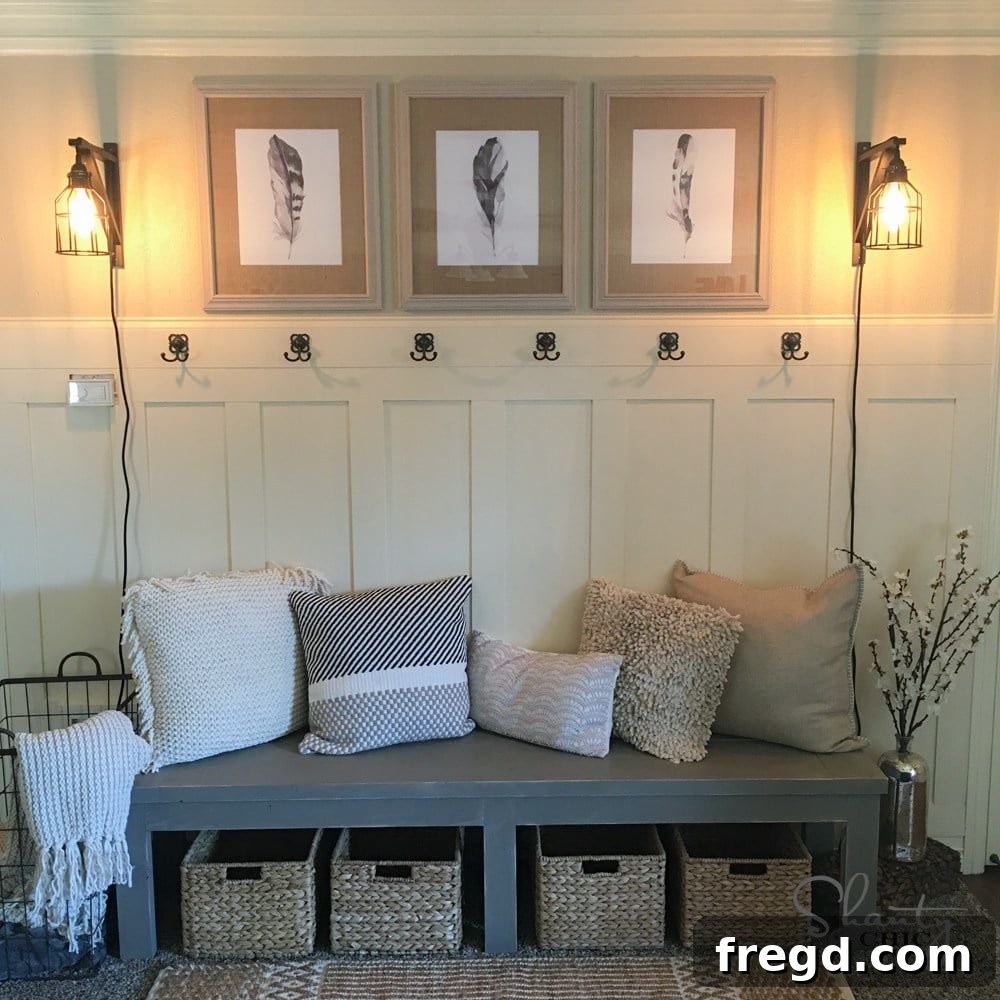
Learn How to Install a Board and Batten Wall
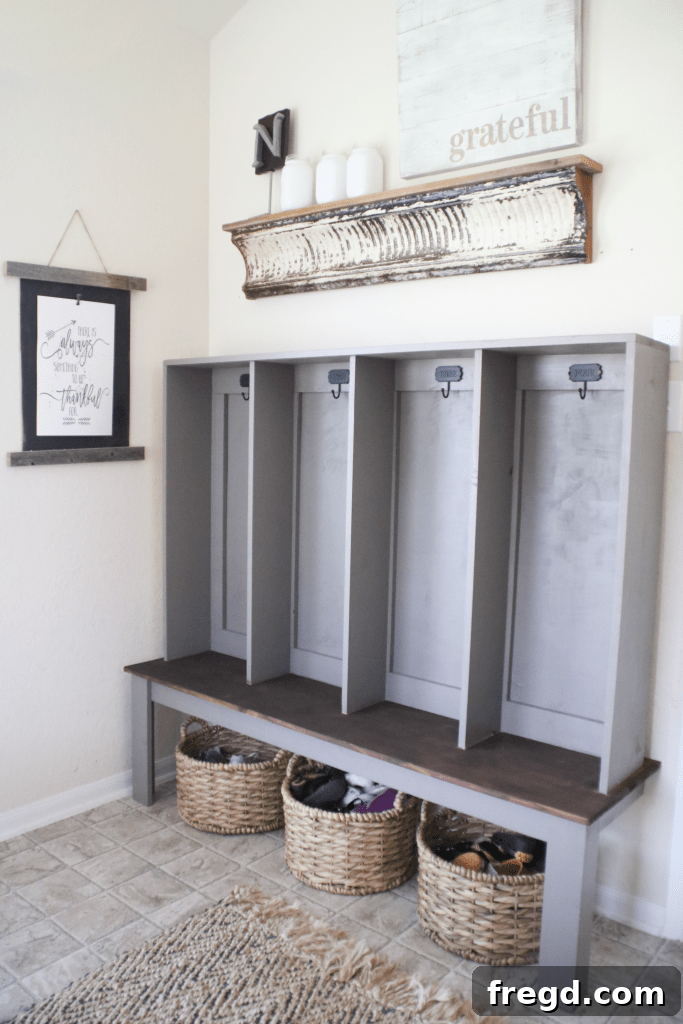
Build Your Own DIY Wall Locker
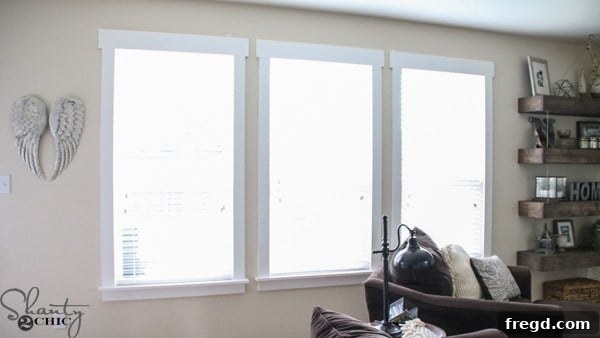
Upgrade Your Windows with DIY Farmhouse Trim
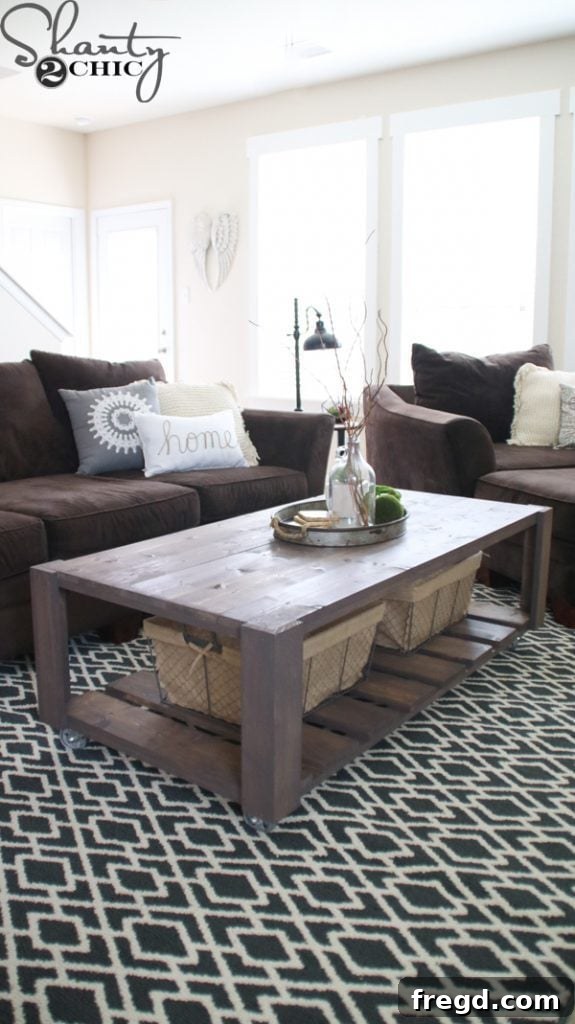
Construct a Rolling DIY Crate Coffee Table
Thank you so much for joining us on this woodworking adventure! We hope this detailed guide empowers you to build your own Diagonal Base Farmhouse Console Table and add a personal touch to your home decor. Don’t hesitate to reach out if you have any questions at all about the build, materials, or finishing techniques. Happy building!
~Whitney