
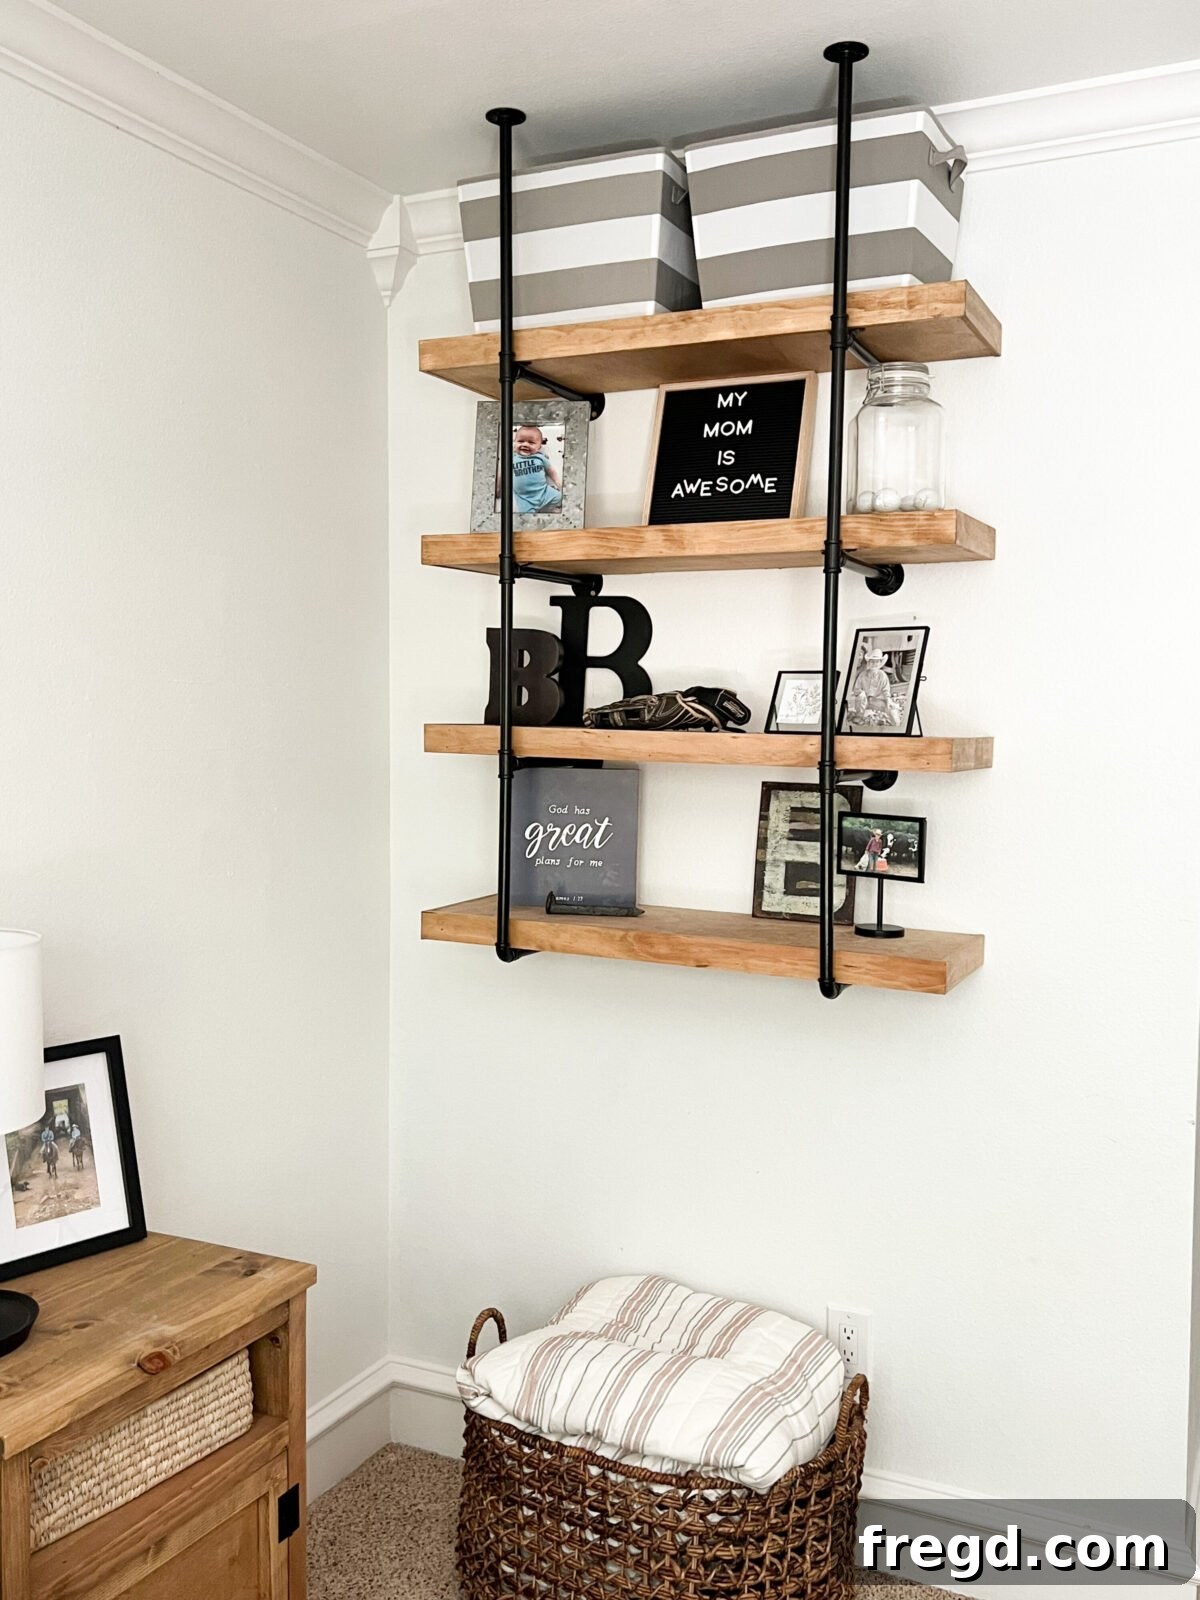
Welcome, DIY enthusiasts! Today, we’re diving into an incredibly rewarding project that combines industrial charm with practical storage: building your very own DIY Pipe Shelves. My son, Brooks, recently needed more space for his growing collection of books and toys, and after scouting out some fantastic and affordable hardware on Amazon, I knew exactly what kind of shelves would be perfect for his room. With the help of my friend Ash, we embarked on this exciting build, creating sturdy, stylish pipe shelves for an impressive budget of around $100! These aren’t just shelves; they’re a statement piece, offering a unique blend of rustic and modern aesthetics that can elevate any room.
If you’ve been searching for an affordable, customizable, and visually striking shelving solution, you’ve come to the right place. This detailed guide will walk you through every step of the process, from cutting your first piece of wood to admiring your beautifully installed creation. We’ll share all the tips, tricks, and resources to help you achieve professional-looking results without breaking the bank. Get ready to transform your space with functional elegance! Before we begin, be sure to watch our step-by-step video to get a visual overview of the build process, and don’t forget to download the FREE printable plans at the end of this post to have all the measurements and details at your fingertips!
Why Choose DIY Pipe Shelves?
There are numerous benefits to opting for DIY industrial pipe shelves over store-bought alternatives. Firstly, the cost savings are significant. By sourcing materials yourself and investing a little elbow grease, you can create high-quality, custom shelves for a fraction of the retail price. Our project came in at just around $100, which is hard to beat for durable, stylish shelving.
Secondly, customization is key. When you build your own shelves, you have complete control over the dimensions, finish, and overall look. You can tailor them to fit the exact specifications of your space and match your existing decor, whether it’s modern farmhouse, industrial chic, or minimalist. This level of personalization is simply not possible with off-the-shelf options.
Finally, there’s an immense sense of accomplishment that comes with creating something with your own hands. These shelves aren’t just functional; they’re a testament to your creativity and hard work, adding a unique character and story to your home. They are incredibly sturdy, designed to hold a significant amount of weight, making them perfect for books, decorative items, or even kitchenware.
Materials You’ll Need
Before you start, gather all your materials. Having everything ready will streamline the building process and prevent unnecessary interruptions. Here’s what you’ll need for each shelf unit:
- Wood Boards:
- 1×2 boards (for the shelf frame). We saved money by ripping a 1×6 into 1x2s, but pre-cut 1x2s work perfectly.
- 1/4” Lauan Plywood (for the top and bottom panels of the shelf). This material is affordable, lightweight, and takes stain beautifully. I specifically used THIS plywood from Lowe’s, and it was ideal for the project’s finish.
- 3/8” Pine Craft Boards (for the trim). We purchased 3-inch wide boards and ripped them down to 2-inch wide strips for a perfect fit. You can find similar boards HERE. You’ll need two boards per shelf for the trim.
- Adhesives & Fasteners:
- Wood Glue: Essential for creating strong, lasting joints. A GluBot, available on Amazon, makes application easy and mess-free.
- 1.25” Brad Nails: For securely attaching frame pieces, plywood, and trim.
- Staples (optional): Can be used in place of or in addition to brad nails for plywood attachment.
- Finish:
- Golden Oak Wood Stain: Or any stain color of your choice to achieve your desired aesthetic.
- Protective Finish (Polyurethane or Varnish): To seal and protect the wood (recommended but not explicitly mentioned in original, good for SEO).
- Hardware:
- Industrial Pipe Shelf Hardware: The distinctive mounting brackets that give these shelves their name. We found an excellent set on Amazon for under $50. You can find it HERE.
- Wall Anchors: Speed anchors for drywall where studs aren’t available, especially for ceiling brackets where minimal weight support is needed.
- Wood Screws: Appropriate size for mounting hardware into wall studs.
Tools You’ll Need
Having the right tools makes all the difference. Here’s a list of essential tools for this project:
- Miter Saw or Circular Saw: For precise cuts on your wood boards.
- Table Saw (optional but recommended): If you plan to rip down larger boards into smaller dimensions to save money, like we did with the 1x6s into 1x2s, or the 3-inch trim into 2-inch.
- Brad Nailer: For quickly and securely fastening pieces with brad nails.
- Measuring Tape: For accurate measurements.
- Pencil: For marking cuts and placement.
- Safety Glasses: Always wear eye protection when working with power tools.
- Gloves: Protect your hands, especially when staining.
- Wood Clamps: To hold pieces together while glue dries or during nailing.
- Level: Crucial for ensuring your shelves are mounted straight and level on the wall.
- Stud Finder: To locate wall studs for secure mounting of the hardware.
- Drill/Driver: For pre-drilling holes and securing screws.
- Sander (optional): For smoothing edges before staining.
- Brushes or Rags: For applying wood stain.
Step 1: Building the Shelf Frame
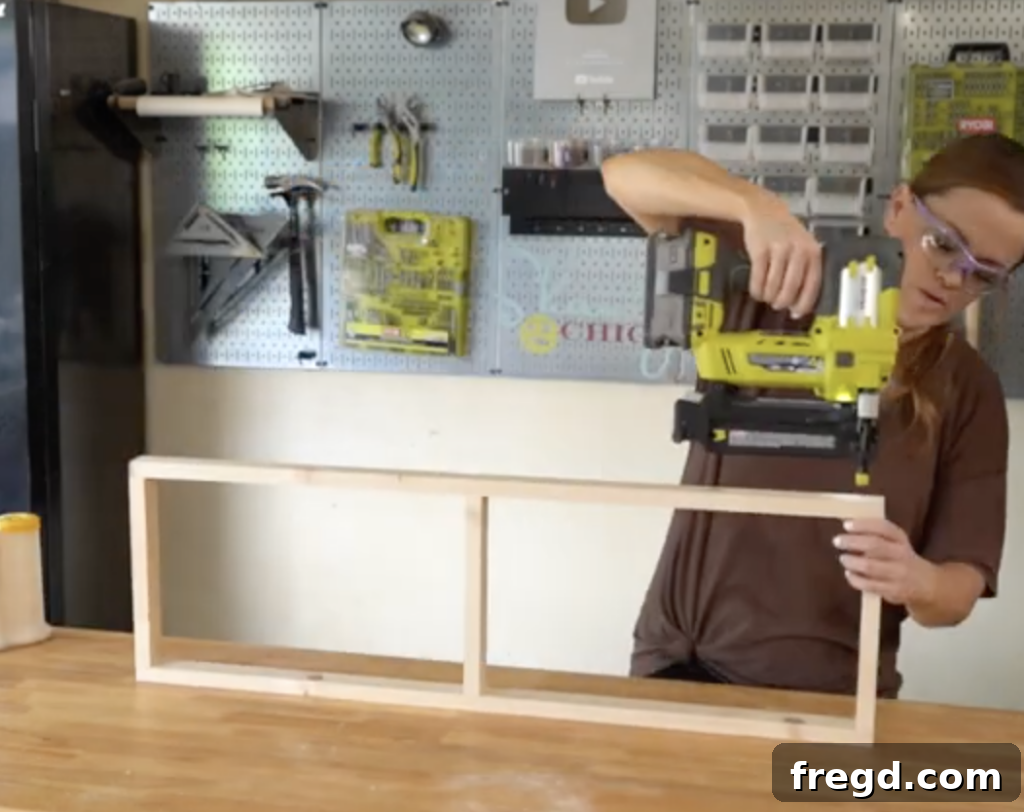
The foundation of your industrial pipe shelves starts with a robust frame. We utilized 1×2 boards for this, aiming for both strength and a clean profile. To maximize our budget, we chose to rip wider 1×6 boards into 1×2 dimensions using a table saw. However, if you prefer convenience, pre-cut 1×2 boards will work just as well.
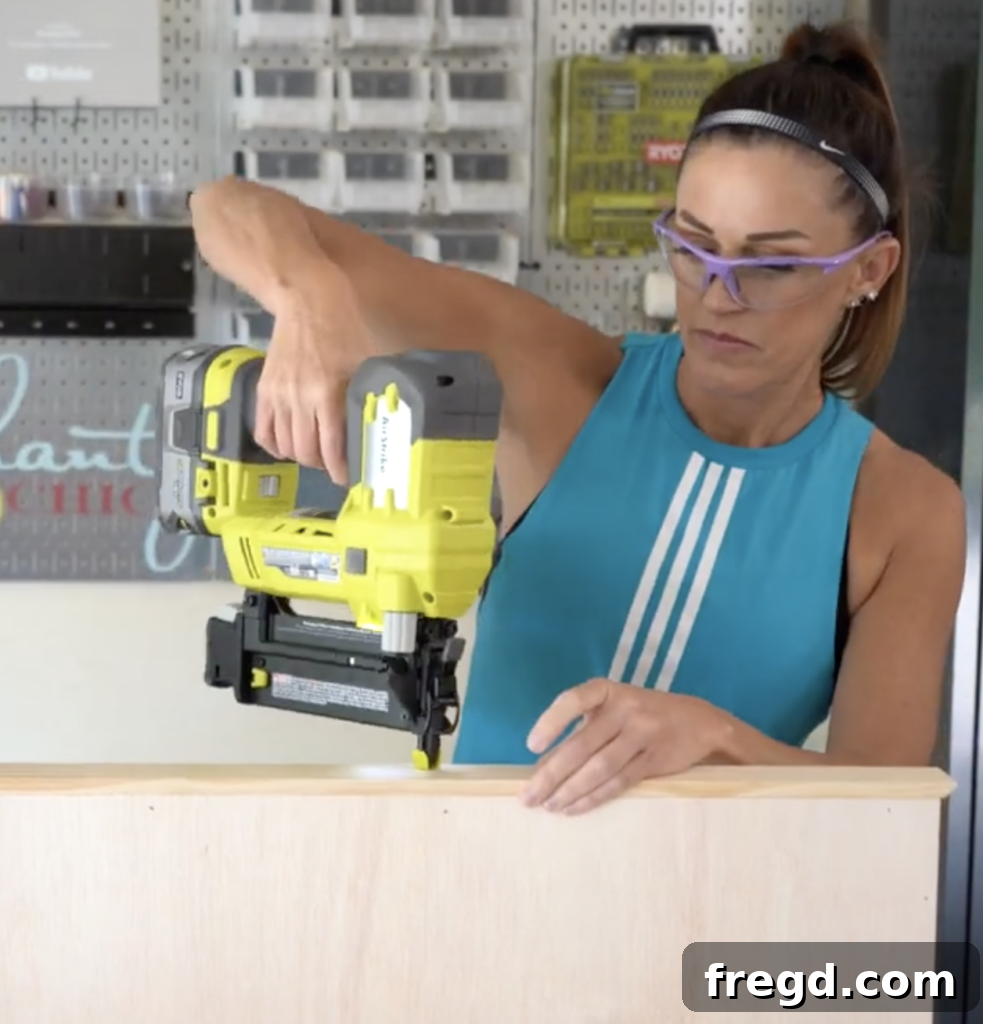
Begin by cutting each piece of your 1×2 lumber to the precise lengths required for your desired shelf dimensions. Accuracy here is crucial for a square and sturdy shelf. Once all pieces are cut, assemble the rectangular frame. Apply a generous bead of wood glue along the ends of the shorter boards where they meet the longer boards. Then, securely attach them using 1.25” brad nails. Apply consistent pressure and ensure your frame remains square as you fasten each joint. The combination of wood glue and brad nails creates an incredibly strong bond, essential for supporting the weight your shelves will hold.
Step 2: Attaching the Plywood Panels
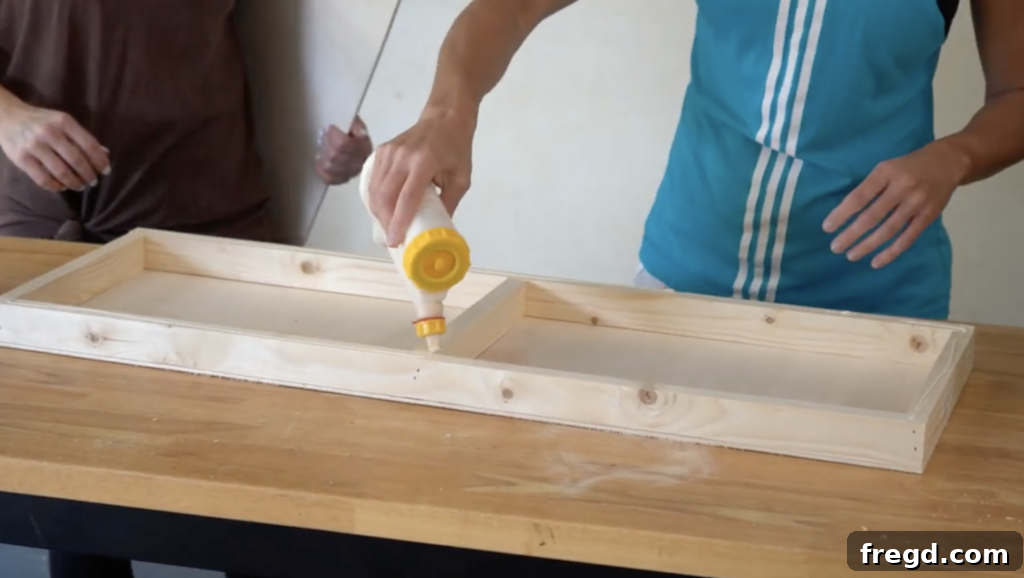
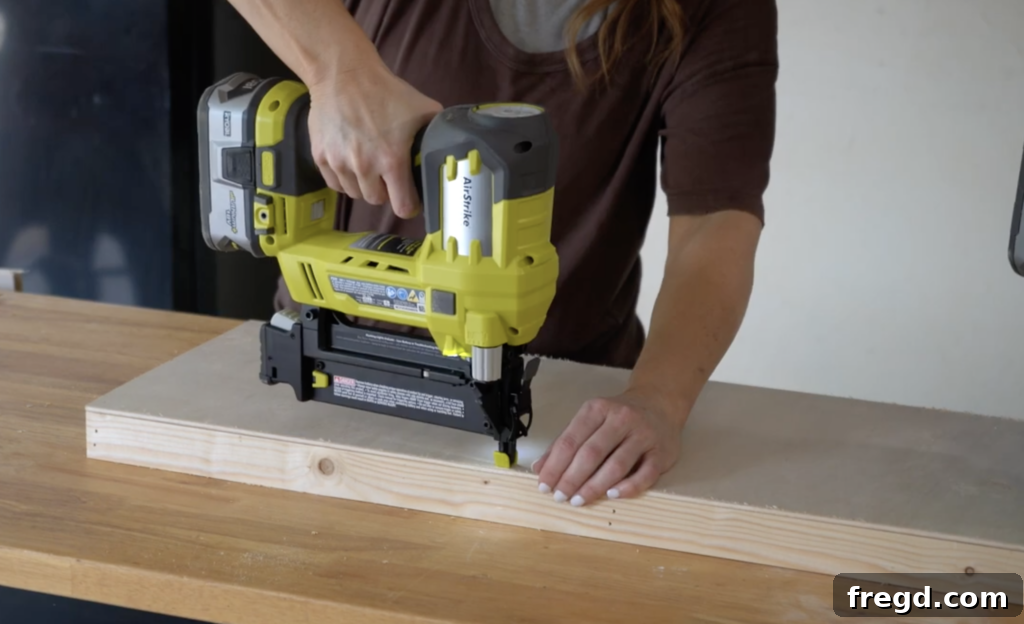
With the frame complete, it’s time to add the top and bottom panels that will form the main surface of your shelf. For this, we selected 1/4” lauan plywood. This type of plywood is not only very affordable but also boasts a smooth finish that takes wood stain exceptionally well, making it a perfect choice for achieving a refined look without a high cost. I personally used THIS specific plywood from Lowe’s, and it delivered excellent results.
Measure and rip each plywood piece to size, ensuring they fit snugly onto the top and bottom of your wooden frame. Once cut, apply a continuous bead of wood glue along the edges of the frame where the plywood will sit. Carefully place the plywood panels onto the glued edges, aligning them perfectly. Then, secure them in place using 1.25” brad nails or staples. The glue provides the primary strength, while the nails/staples hold the plywood firmly until the glue cures. For glue application, we highly recommend using a GluBot, which makes the process much cleaner and more efficient. You can check out this useful tool on Amazon.
Step 3: Adding the Decorative Trim
The final structural step in building your shelf unit is to add the trim, which gives the shelf a finished, professional appearance and hides the edges of the plywood. For this, we used 3/8” pine craft boards. We initially purchased 3-inch wide boards and then carefully ripped each down to 2-inch wide strips, which provided the perfect depth for our shelves. You can view similar craft boards HERE! Remember, you’ll need two boards for each shelf unit to cover all sides.
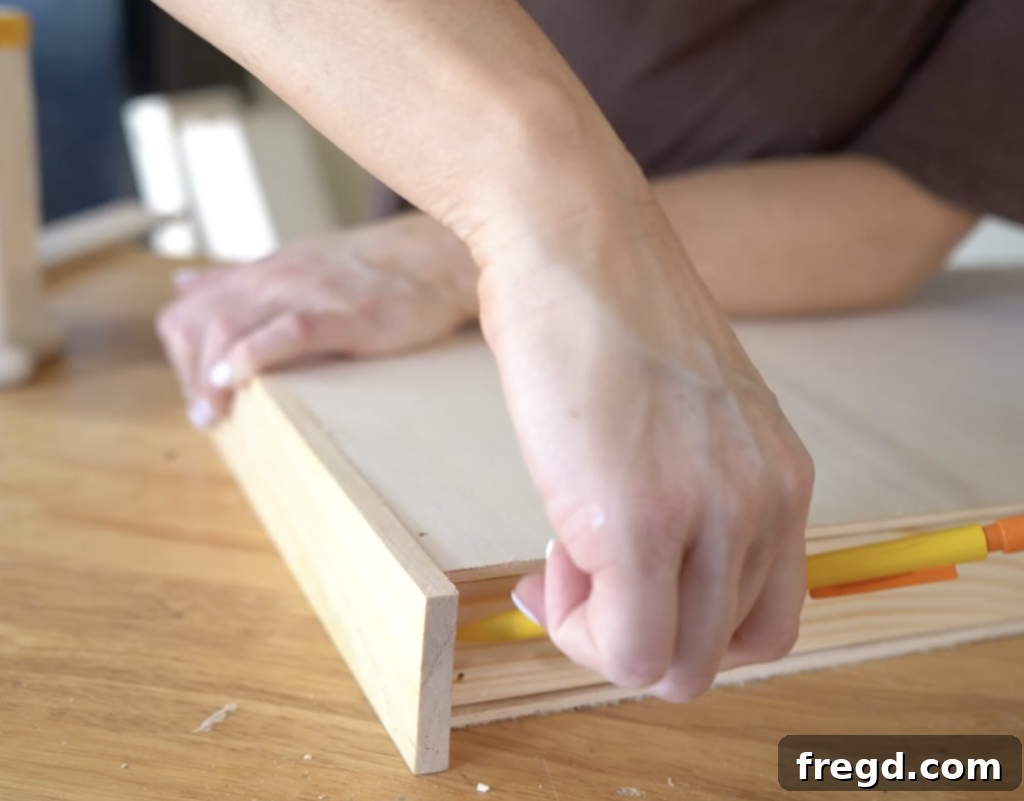
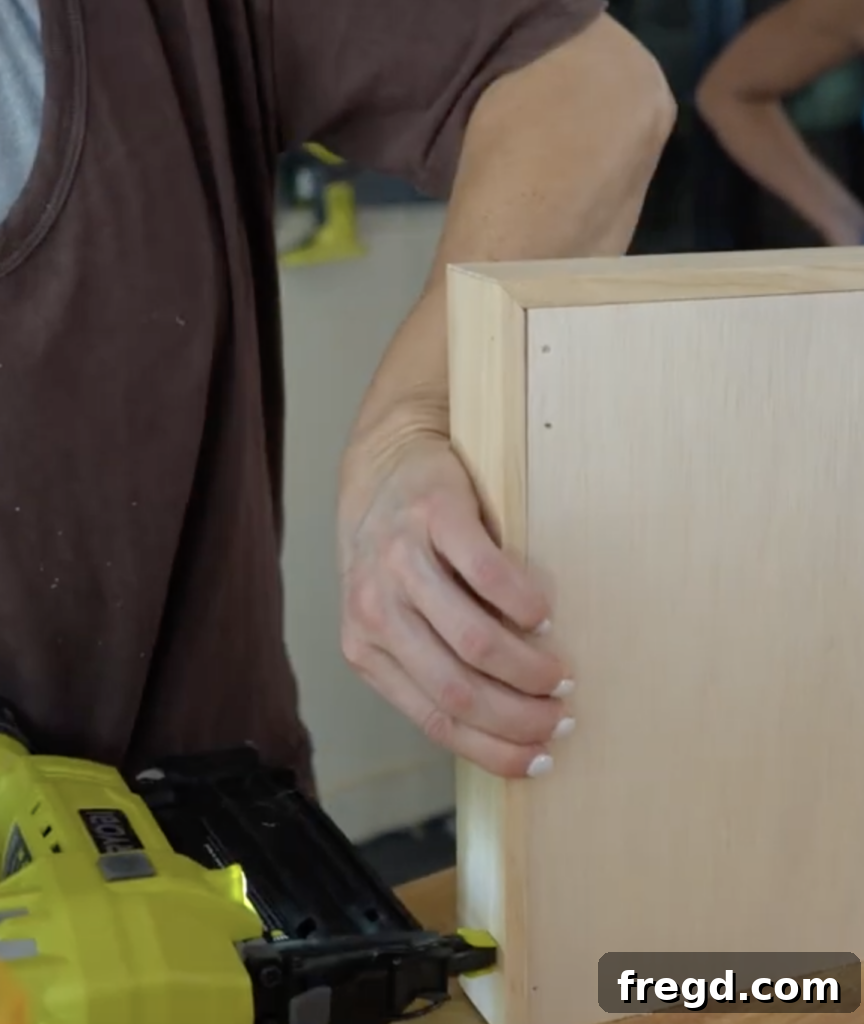
The key to a seamless trim application lies in the corners. Cut the corners of your trim pieces at precise 45-degree angles to create neat mitered joints. It’s often best practice to hold the trim piece in place against the shelf, mark your cut lines with a pencil, and then make your cut. This ensures a custom fit for each section. Once cut, apply wood glue to the back of the trim pieces and carefully attach them to the sides and front of the shelf frame using 1.25” brad nails. Ensure the trim is flush with the top and bottom plywood panels. This step significantly elevates the aesthetic of your shelves, transforming them from simple boxes into elegant display units.
Finishing Your Shelves: Staining and Sealing
Once all the shelf pieces are fully assembled and the glue has dried, it’s time for the finishing touches. This is where your shelves truly come to life and match your home’s aesthetic. We opted for a rich golden oak stain, which beautifully highlights the wood grain and provides a warm, inviting look. However, feel free to choose any wood stain color that complements your existing decor.
Before staining, ensure all surfaces are smooth and free of any dust or debris. You might want to give the shelves a light sanding (220-grit sandpaper) to ensure optimal stain absorption. Apply the stain evenly with a brush or rag, wiping off any excess after a few minutes to prevent blotchiness. Allow the stain to dry completely according to the manufacturer’s instructions, which typically takes several hours. For added durability and protection against moisture and wear, we highly recommend applying a clear protective finish, such as polyurethane or varnish, once the stain has fully cured. This will ensure your beautiful shelves withstand the test of time.
Installing the Industrial Pipe Hardware
The industrial pipe hardware is what gives these shelves their distinctive character and sturdy support. We were thrilled to find an entire set of shelf hardware on Amazon for under $50, making this project even more budget-friendly. You can find it HERE! The assembly of the pipe hardware itself is incredibly straightforward, often just requiring you to screw the pipe sections into their flanges.
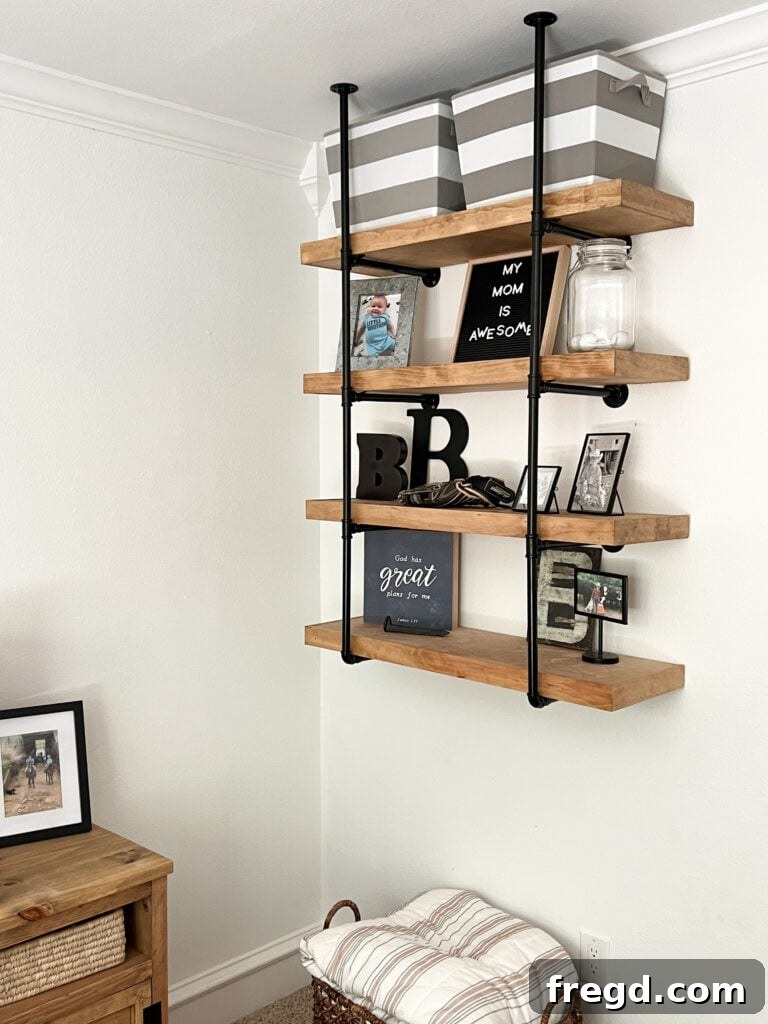
Mounting the shelves securely is paramount. For the wall brackets, it is absolutely essential to mount them directly into wall studs for maximum stability. Use a stud finder to locate these studs and mark their positions. For the ceiling brackets, which carry less direct load compared to the wall supports, we used one speed anchor into each side where studs were not available, and the remaining screws went into the drywall. While these aren’t holding substantial weight, proper anchoring ensures everything stays firmly in place. Always use a level to ensure your shelves are perfectly straight before finalizing any attachments. Once installed, step back and admire your handiwork – the transformation is remarkable!
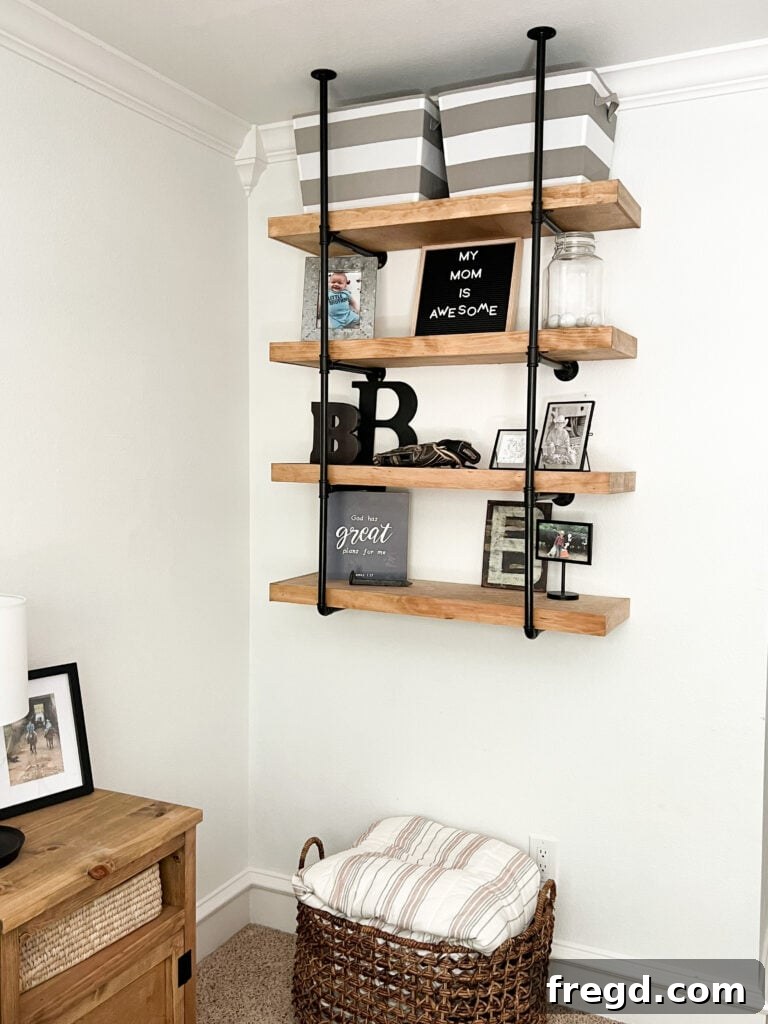
Decorating and Styling Your New Shelves
Once your DIY pipe shelves are securely installed, the fun truly begins: decorating! These shelves are not just storage solutions; they are prominent design elements that can enhance the aesthetics of any room. Their industrial-chic appeal makes them versatile, suitable for displaying a wide array of items. Consider a mix of functional and decorative pieces: books, plants, framed photos, small sculptures, or even collected curiosities. Varying heights and textures can add visual interest. For Brooks’ room, we focused on practical storage for his books and favorite toys, but also added a few personal touches to make the space feel cozy and reflective of his personality. Don’t be afraid to experiment with different arrangements until you find a look that you love. Remember, these shelves are a canvas for your personal style!
You can also check out the reel below of me getting them attached and decorated! It’s truly an easy and impactful project!
Tips for Success and Maintenance
To ensure your DIY Pipe Shelves project goes smoothly and lasts for years to come, here are a few additional tips:
- Measure Twice, Cut Once: This age-old adage is critical in woodworking. Double-check all your measurements before making any cuts to avoid waste and frustration.
- Safety First: Always wear appropriate safety gear, including safety glasses and gloves, especially when operating power tools or handling wood stain. Work in a well-ventilated area when staining.
- Don’t Rush the Glue: Allow ample time for wood glue to dry and cure fully before moving on to the next step or putting any weight on the shelves. This ensures maximum joint strength.
- Level Everything: Use a spirit level throughout the installation process to guarantee your shelves are perfectly straight. Even slight倾斜 can be noticeable and detract from the overall look.
- Regular Cleaning: Dust your shelves regularly with a soft cloth. For tougher grime, a damp cloth with mild soap can be used, but avoid excessive moisture.
- Inspect Periodically: Every few months, check the hardware and mounting points to ensure everything is still secure. Tighten any loose screws if necessary.
Conclusion: Your Stunning New Industrial Pipe Shelves
There you have it! A comprehensive guide to building your own stunning and incredibly affordable DIY Pipe Shelves. What started as a simple request from Brooks for more storage quickly evolved into a fun and fulfilling project that added significant character and functionality to his room. For around $100, we created shelves that are not only robust and practical but also serve as a stylish focal point, showcasing that beautiful home decor doesn’t have to come with a hefty price tag.
We hope this detailed walkthrough inspires you to pick up your tools and embark on your own DIY adventure. The satisfaction of crafting something beautiful and useful with your own hands is truly unparalleled. Whether you’re looking to declutter a living space, organize a home office, or simply add a touch of industrial charm, these pipe shelves are an ideal solution. Feel free to customize the size, stain, and even the pipe configuration to perfectly suit your needs and aesthetic preferences. Don’t forget to download the FREE plans below to get started on your project today!
We can’t wait to see your creations. Share your projects with us and inspire fellow DIYers!
You can download and print the FREE PLANS HERE!