
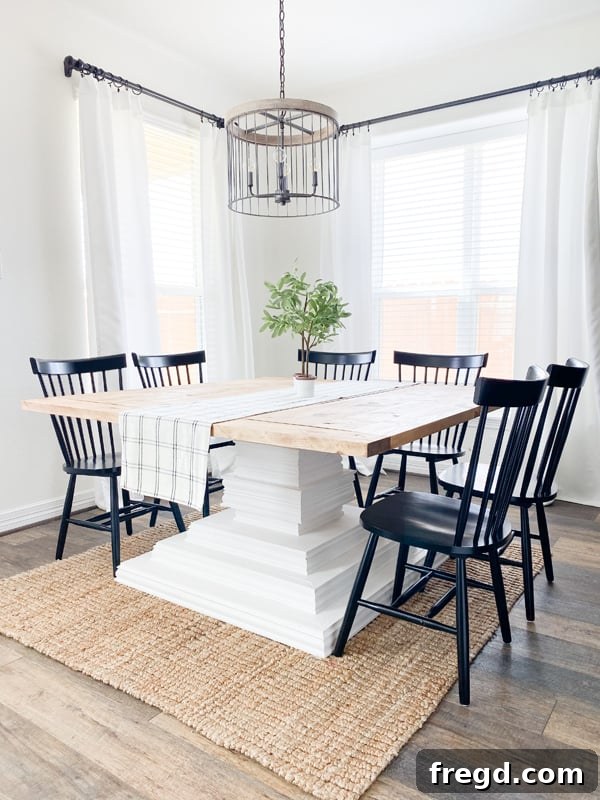
Creating custom furniture is incredibly rewarding, and over the past decade, one project has consistently captured the hearts of our community: the **DIY Square Dining Table**. There’s something uniquely appealing about a square table – it fosters intimate conversations, fits beautifully into various room layouts, and when built by hand, adds unmatched character to your home.
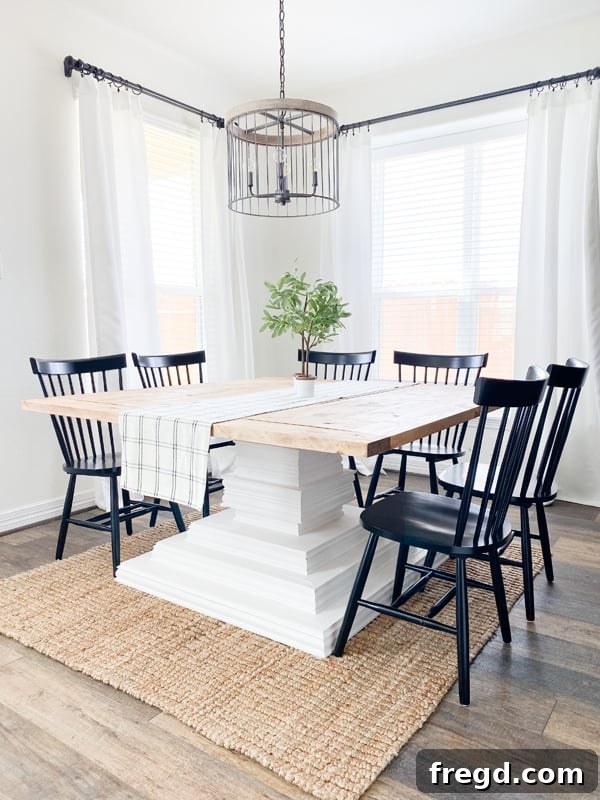
Recently, we embarked on a special journey to Houston, TX, to surprise our sister with a brand new, handcrafted square dining table for her kitchen. The goal was to design a table that could comfortably seat eight people, offering ample space for family gatherings and lively dinners. The best part? This magnificent table is constructed primarily from readily available and budget-friendly framing lumber, making it an accessible project for aspiring DIYers.
Ready to transform your dining space? We’re thrilled to share our complete tutorial, providing everything you need to build this stunning piece. Follow along with our detailed, step-by-step guide below, and don’t forget to grab your free printable plans!
CLICK HERE TO JUMP TO THE FREE PRINTABLE PLANS
Table of Contents
Introduction to Your DIY Square Dining Table
Welcome to your next exciting woodworking adventure! Building your own dining table is not just about saving money; it’s about creating a piece of furniture that tells a story, reflects your personal style, and becomes the heart of countless family meals and memorable moments. This tutorial focuses on a large, square dining table designed to seat eight, offering both generous surface area and an inviting, communal feel. Crafted mostly from common framing lumber, this project is surprisingly approachable and incredibly rewarding, even for those with moderate woodworking experience.
Why Choose a Square Dining Table?
While rectangular tables are a popular choice, a square dining table offers distinct advantages, particularly for specific spaces and social dynamics. Square tables promote balanced interaction, as everyone at the table is equidistant from each other, encouraging more intimate conversations. They can also be surprisingly versatile in square or nearly square rooms, providing efficient use of space. Our design ensures stability and strength, making it not just a beautiful centerpiece but also a highly functional one for everyday use and special occasions alike.
Essential Supplies for Your Project
Gathering all your materials before you begin will make the building process smoother and more efficient. We’ve optimized this design to use standard lumber sizes, keeping your material costs reasonable without sacrificing quality or durability. Remember that material requirements can vary slightly depending on your exact dimensions and any customizations you plan.
- 13 – 2x6x8 Framing Lumber: These will form the core structure of your tabletop and various base components.
- 7 – 2x4x8 Framing Lumber: Used for framing and support within the pedestal structure.
- 7 – Sticks of Trim: Select trim pieces that complement your desired aesthetic. This allows for personalized decorative touches on the base.
- 1 – 3/4″x48″x96″ Hardwood Plywood (e.g., Birch): This will serve as the strong, flat foundation for your multi-layered pedestal bases.
- 1 1/4″ Pocket Hole Screws: Essential for creating strong, concealed joints, particularly for lighter connections.
- 2 1/2″ Pocket Hole Screws: For robust connections where more holding power is needed, such as the tabletop planks.
- 1 1/4″ Brad Nails: Ideal for attaching trim pieces with minimal visible fastener heads.
- 2″ Brad Nails: For slightly thicker trim or casing where a bit more grip is desired.
- 2 1/2″ Wood Screws: For securing larger components, particularly when attaching the tabletop to the base for maximum stability.
- Wood Glue: A crucial component for all joints, providing superior strength and long-lasting durability when combined with screws or nails.
Recommended Tools for Success
Having the right tools will make your DIY square dining table project not only easier but also safer and more enjoyable. While some tools are optional, they can significantly improve the quality and precision of your build. Here’s what we recommend:
- Miter Saw: Indispensable for making accurate cross-cuts, especially for the numerous pieces of lumber required for the table.
- Drill: Essential for pre-drilling holes and driving screws, a cordless drill offers maximum portability and convenience.
- Kreg Jig: Our preferred tool for creating strong, hidden pocket hole joints. This makes assembly cleaner and more professional.
- You can find our favorite Kreg Jig model HERE!
- 18 Gauge Nailer: Perfect for attaching trim and casing with brad nails, leaving small, easily concealable holes.
- Table Saw (optional): Highly recommended for ripping down lumber, especially if you want to achieve clean, square edges by removing the rounded edges of framing lumber. This ensures tighter seams and a more refined finish.
- Sander: Crucial for preparing your wood for finishing. A good orbital sander will save you a lot of time and effort in achieving a smooth surface.
Preparation: Cutting and Ripping Your Lumber
Before diving into assembly, meticulous preparation of your lumber is key. This initial stage sets the foundation for a professional-looking and structurally sound table.
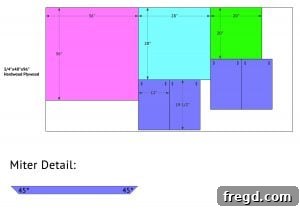
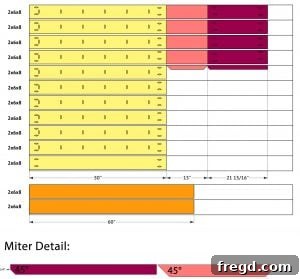
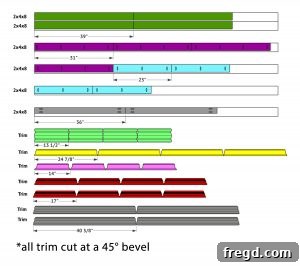
Note on Ripping Boards: We opted to rip the rounded edges off all our 2x boards using a table saw. This process transformed the 2×6 boards into precisely 5″ wide pieces and the 2×4 boards into 3″ wide pieces. While this step is not strictly necessary for the table’s function, it creates much cleaner, tighter joints and a more refined aesthetic, mimicking the look of higher-grade lumber. If you choose not to rip your boards, remember to adjust your measurements and plans accordingly to account for the original dimensions and rounded edges.
Refer to the Free Printable Plans for Detailed Cut Lists:
Our comprehensive free plans include detailed cut lists (Part 1, Part 2, and Part 3) with precise measurements for every piece of lumber and plywood needed. We highly recommend printing these out and marking off each cut as you go.
Building the Table Top
The tabletop is the centerpiece of your dining table, and building it correctly ensures a smooth, durable surface.
Step 1: Attach the Planks for the Main Top
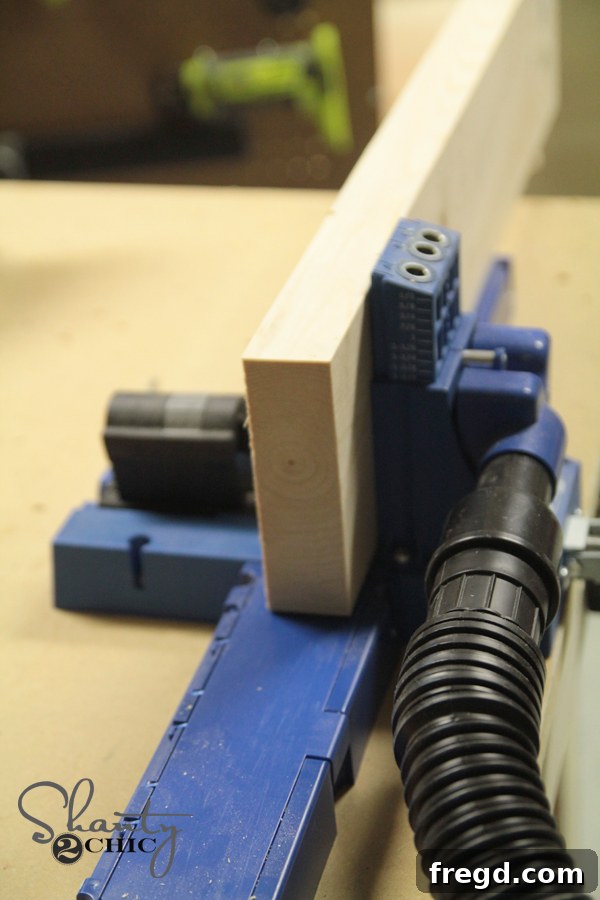
Begin by cutting all your tabletop planks to the specified size from your 2×6 lumber. Using your Kreg Jig, drill 1 1/2″ pocket holes along one edge of all but one of the boards. Also, drill pocket holes at the ends of each plank. This strategic placement allows for strong, concealed joints. Always apply a generous amount of wood glue along the edges before joining. Clamp the boards tightly together, ensuring they are flush, and then secure them with 2 1/2″ pocket hole screws. Work carefully to create a flat, seamless surface.
Step 2: Attaching the Breadboards
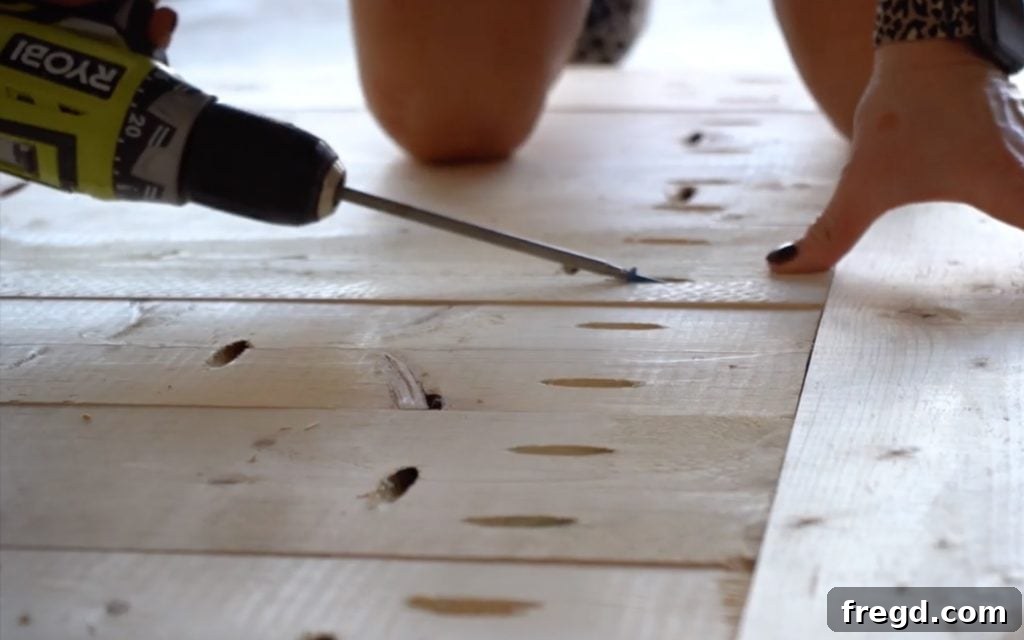
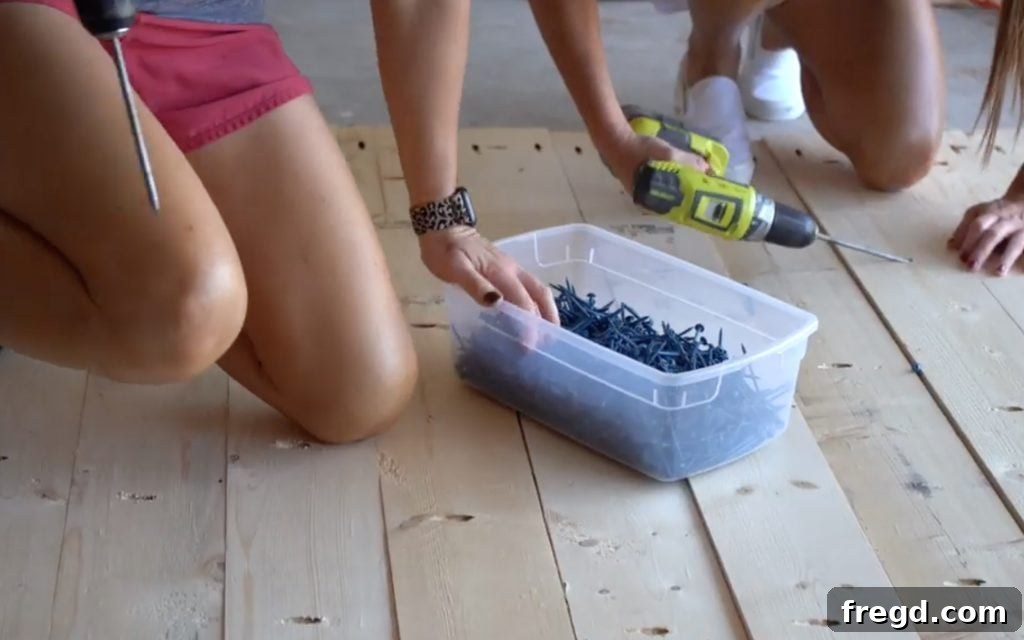
Once your main planks are joined, measure and cut the breadboards to size. These pieces cap the ends of the tabletop, adding a finished look and extra stability. Drill 1 1/2″ pocket holes into the ends of the breadboards. Apply wood glue to the mating surfaces, align the breadboards with the ends of the tabletop planks, and attach them securely using 2 1/2″ pocket hole screws. Ensure the breadboards are flush with the tabletop surface.
Crafting the Pedestal Bases
The robust pedestal base is what gives this square dining table its distinctive character and incredible stability. It’s built in three tiers, creating a substantial and elegant foundation.
Step 1: Building the Bottom Base
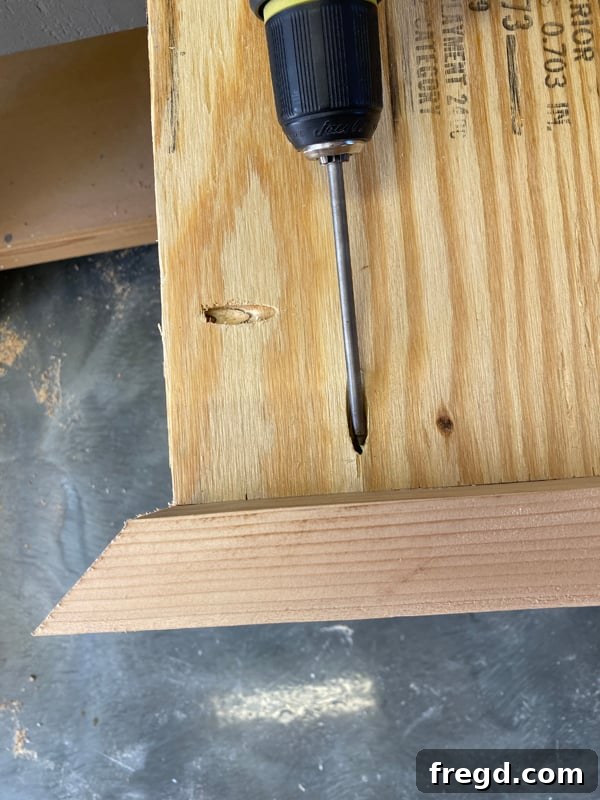
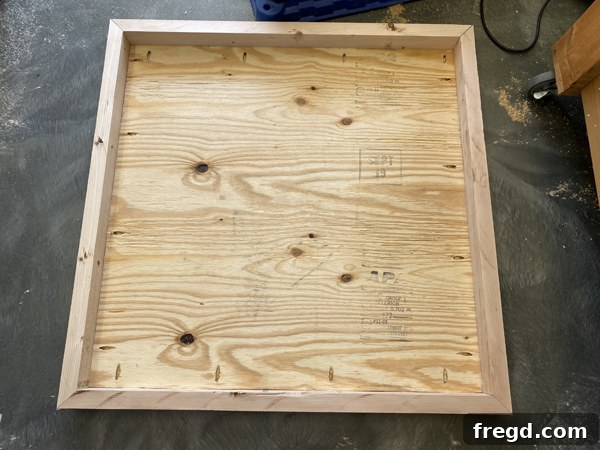
Start by cutting the base plywood to the precise dimensions specified in your plans. Drill 3/4″ pocket holes strategically around all the edges of this plywood piece. Next, cut your base frame pieces (from 2×4 lumber) to size. Apply wood glue to the edges of the plywood and the frame pieces, then attach the frame to the plywood using 1 1/2″ pocket hole screws. It’s crucial that the top surface of the plywood is flush with the top edges of the frame pieces, creating a perfectly flat platform.
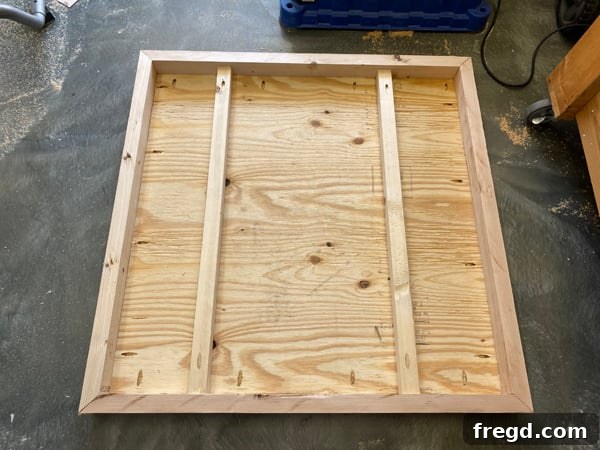
Now, prepare the bottom support pieces. Cut these pieces to size and drill 1 1/2″ pocket holes at both ends of each board. Apply wood glue to the mating surfaces and attach these supports to the underside of the bottom base, securing them with 2 1/2″ pocket hole screws. These supports add significant rigidity to the base. For a finished look, measure and cut your casing pieces to size. Attach the casing to the exterior of the base frame using 1 1/4″ brad nails and a strong bond of wood glue.
Step 2: Constructing the Second Base Tier
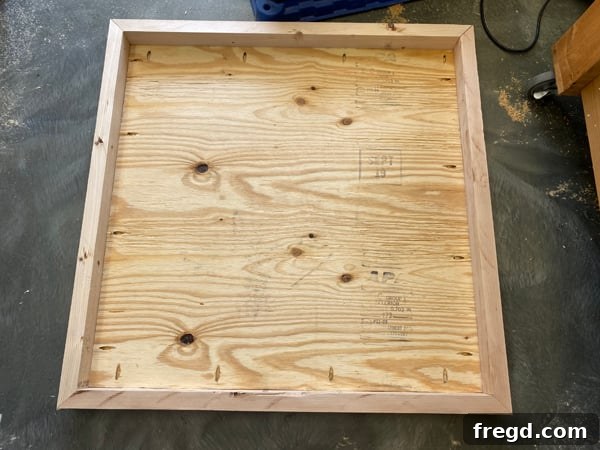
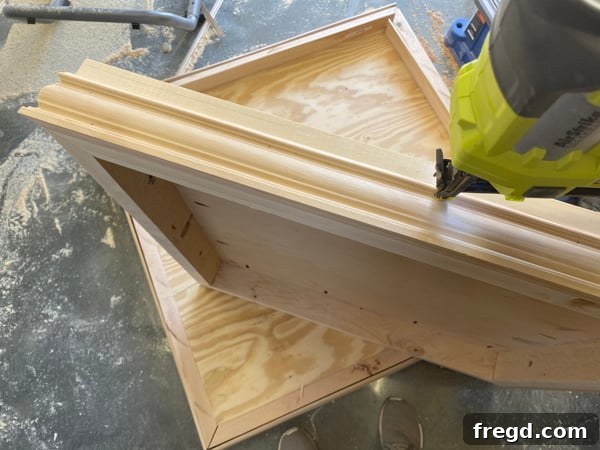
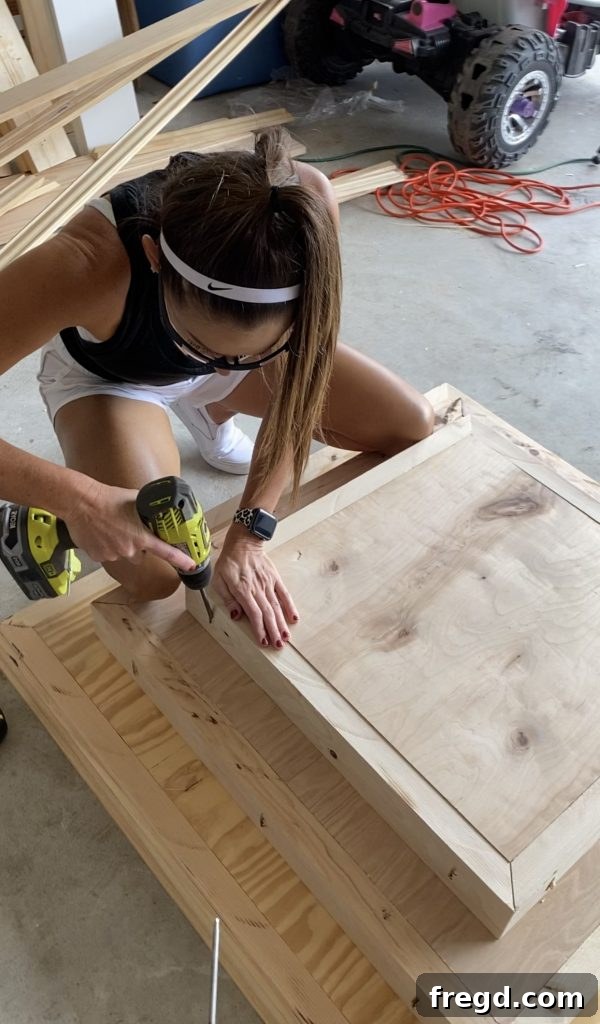
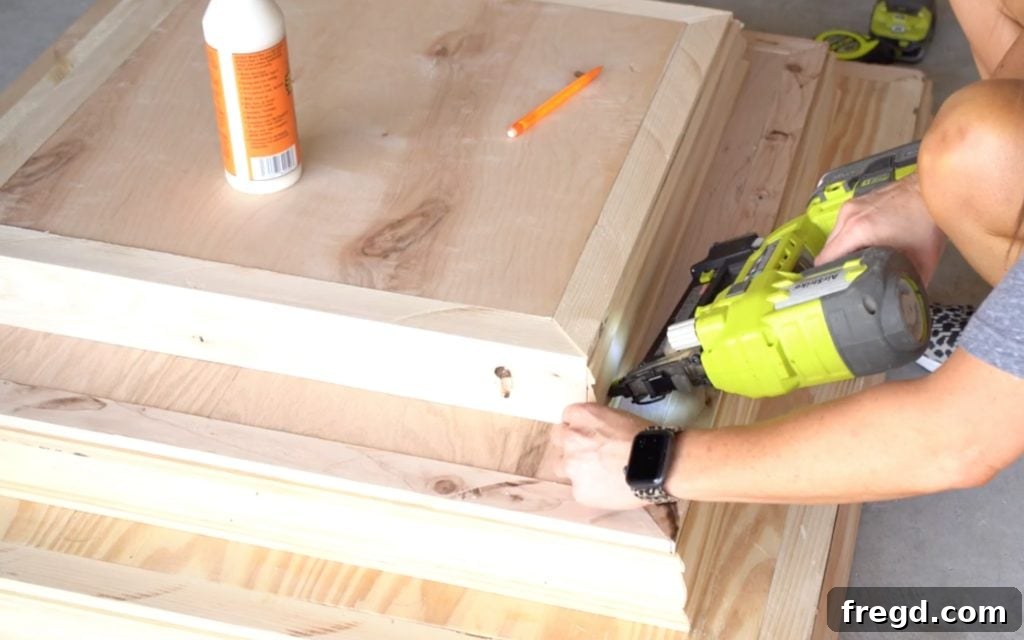
Moving up, cut the plywood for the second base to its specified size and drill 3/4″ pocket holes along its edges. Prepare the corresponding frame pieces by cutting them to size and drilling 3/4″ pocket holes on their front edges. Use wood glue and 1 1/4″ pocket hole screws to attach these frame pieces to the plywood, ensuring a sturdy and flush assembly. Once this second base is complete, carefully center it on top of the first base you just built. Apply wood glue between the layers and secure it to the plywood of the first base using 1 1/4″ pocket hole screws. To complete this tier, cut your chosen trim pieces to size and attach them to the frame of the second base with 1 1/4″ brad nails and wood glue.
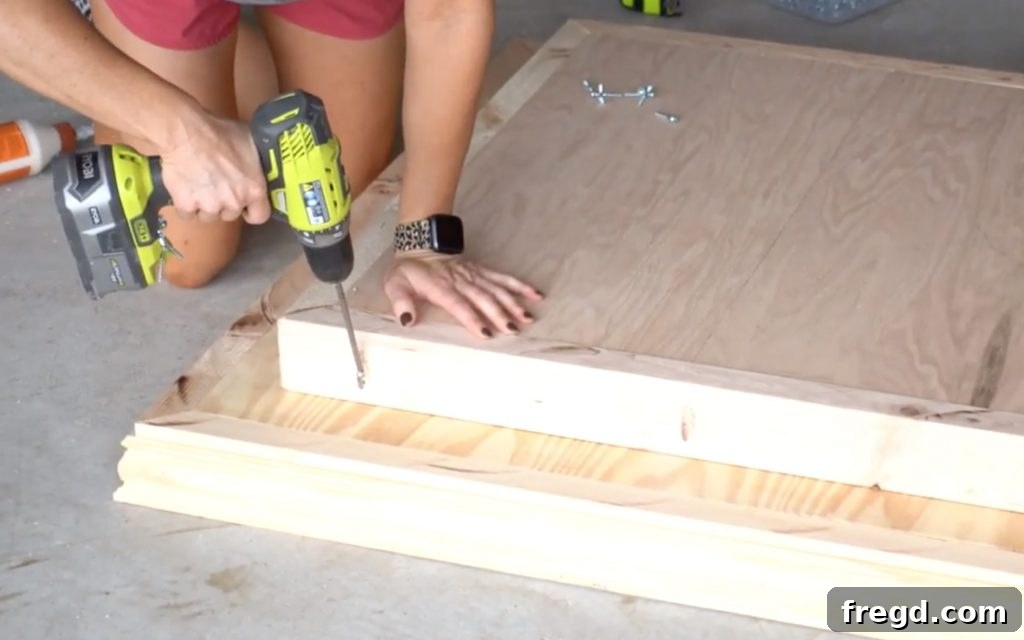
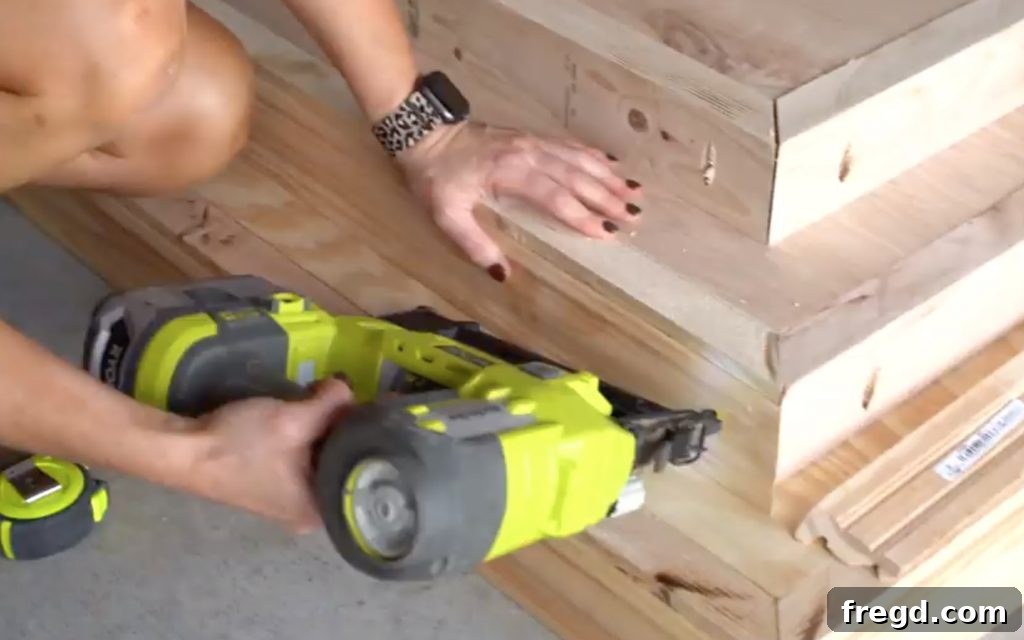
Step 3: Constructing the Third Base Tier
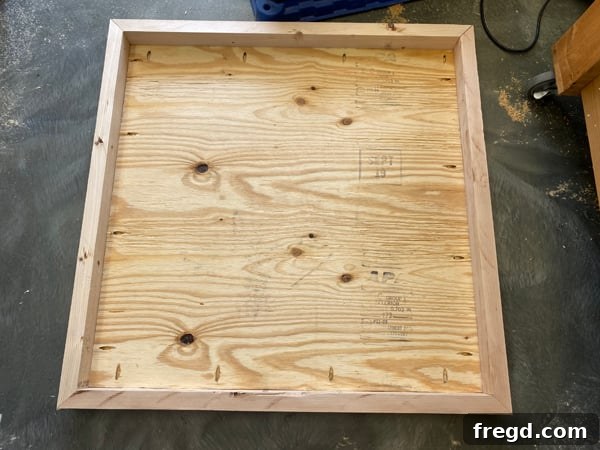
For the final tier of the base, cut the third base plywood to size and drill 3/4″ pocket holes around its perimeter. Next, cut the frame pieces, drilling 3/4″ pocket holes along one edge of each board. Apply wood glue and use 1 1/4″ pocket hole screws to attach these frame pieces to the plywood. Once this third base is built, center it precisely on the previously assembled pedestal structure (the second base). Secure it firmly with 1 1/4″ pocket hole screws and wood glue. Finally, cut your trim pieces for this tier and attach them to the third base frame using 1 1/4″ brad nails and wood glue, completing the layered effect of the pedestal.
Assembling the Trunk (Table Pedestal)
The trunk is the central column that connects the base to the tabletop, providing vertical strength and visual appeal. This section involves angled cuts to create a seamless, elegant pillar.
Step 1: Building the Trunk Structure
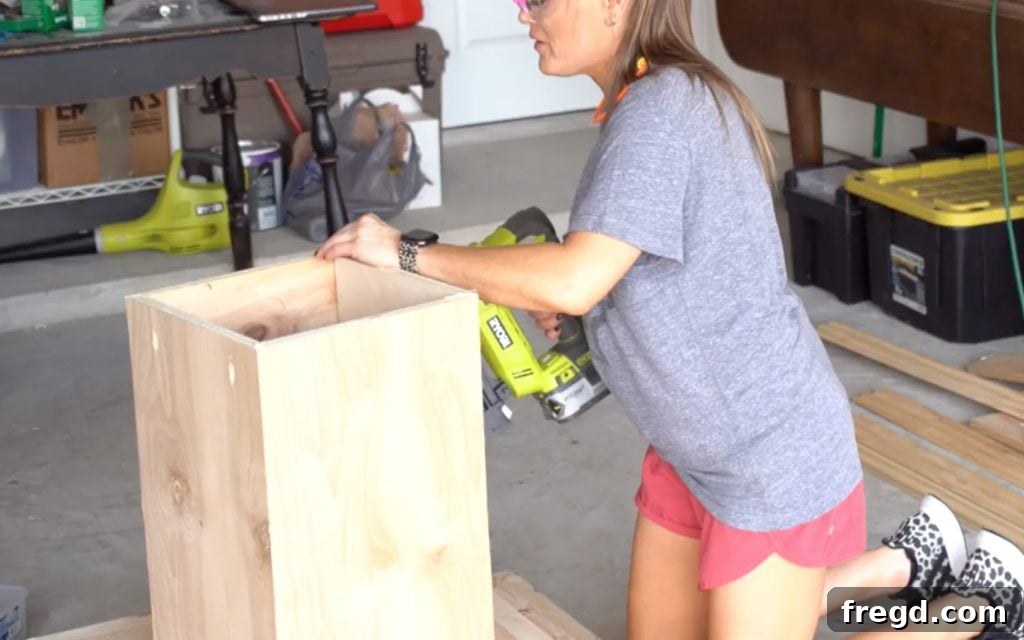
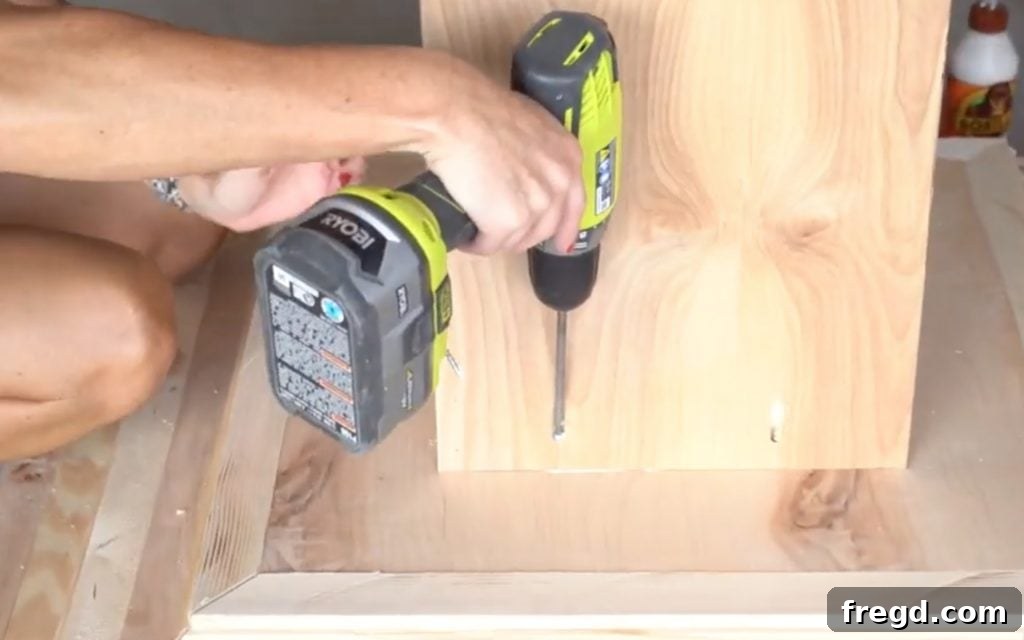
Begin by cutting your trunk pieces to the specified dimensions. This is where precise angled cuts come into play: rip the edges of each piece at a 45° angle using either a table saw or a miter saw. These angled edges will allow the pieces to join together seamlessly, forming a square column. Once all edges are accurately cut, apply wood glue to the mating surfaces and attach the pieces together using 1 1/4″ brad nails. Ensure the corners are square and the joints are tight. After the trunk is assembled, carefully center it on top of the third base. Apply wood glue to the bottom of the trunk and secure it to the plywood of the third base with 1 1/4″ pocket hole screws, ensuring a strong connection.
Step 2: Attaching the Decorative Trim to the Trunk
Adding layers of trim to the trunk transforms it from a simple column into a beautifully detailed pedestal. This step allows for a lot of creative expression.
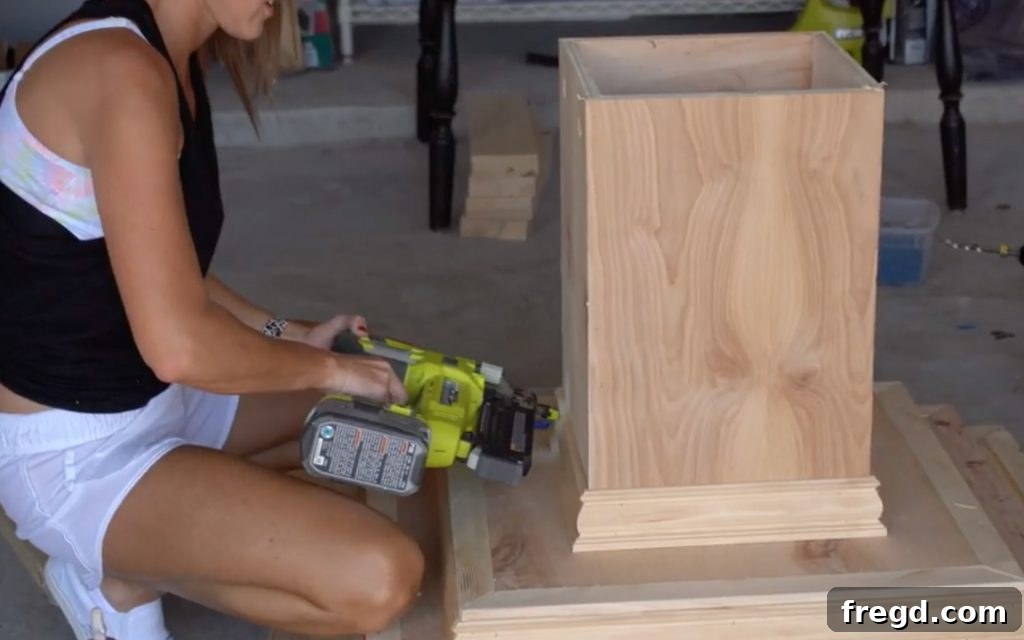
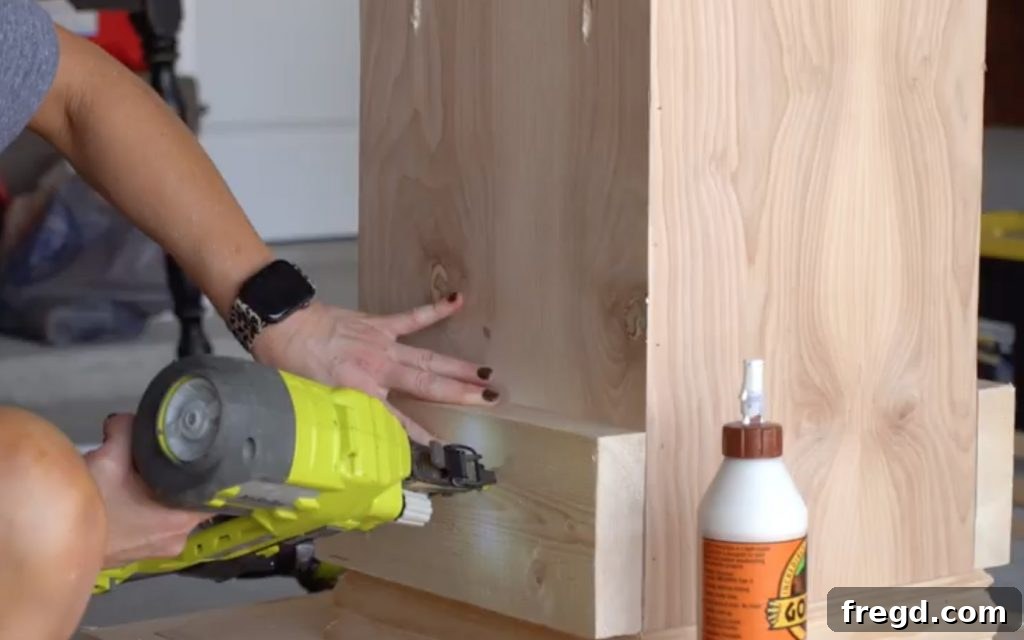
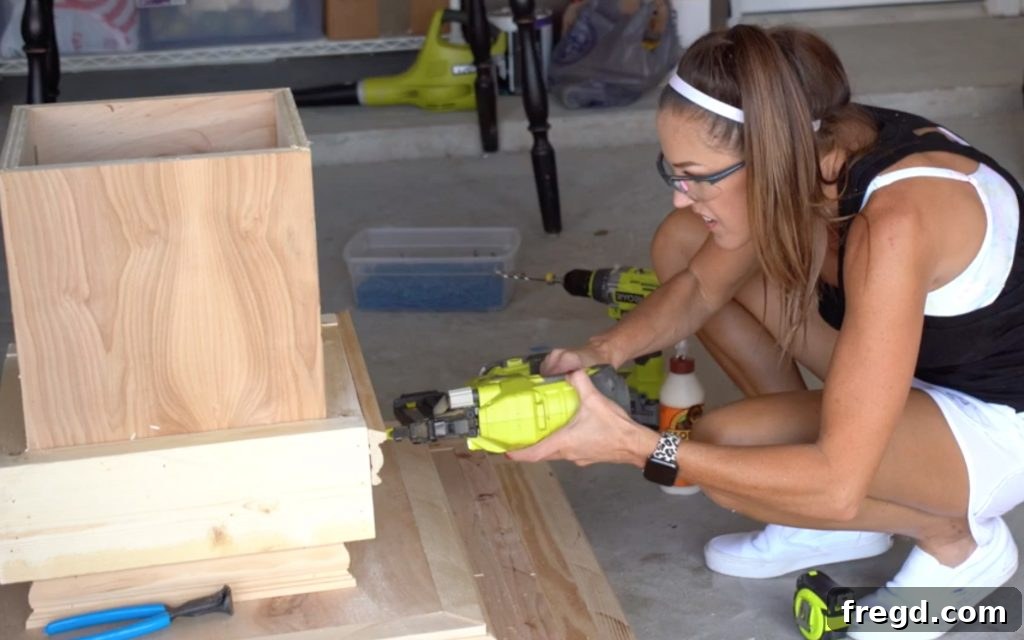
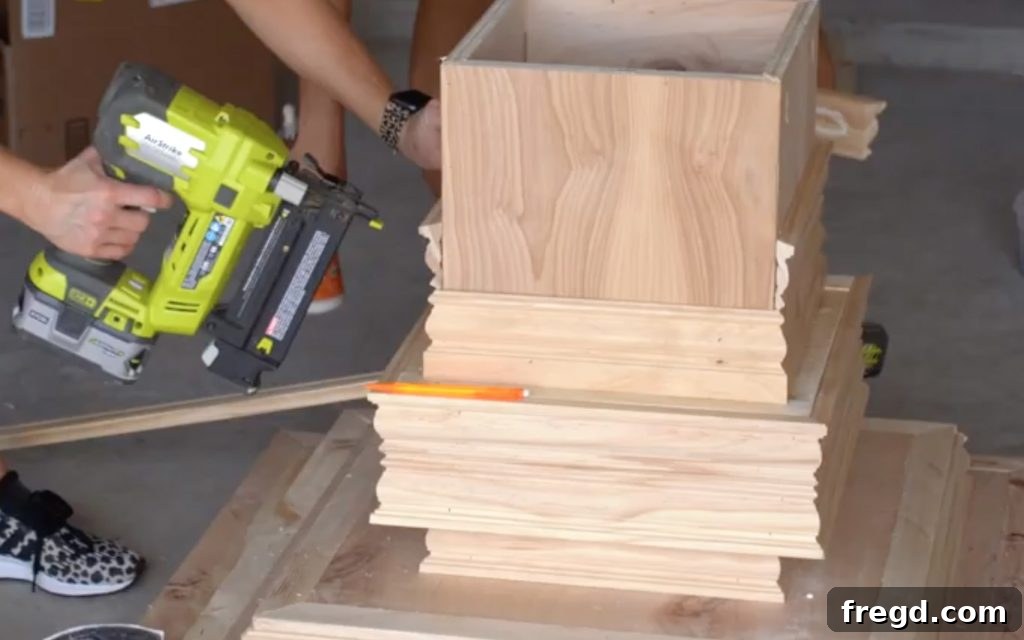
Measure and cut the pieces for the first row of trim. Apply wood glue and attach them to the lower portion of the trunk using 1 1/4″ brad nails. Ensure consistent spacing and level application. Next, cut the second row of trim to size. Apply wood glue and attach these pieces to the trunk, typically overlapping the first row slightly or placed directly above it, using 2″ brad nails for a more secure hold. Continue this process, cutting the third, fourth, and fifth rows of trim to size. Attach them sequentially, generally with 1 1/4″ brad nails and wood glue, building up the decorative profile. Remember, you have artistic freedom here – experiment with different trim profiles and stacking orders to create a unique design that truly reflects your style!
Attaching the Table Top
With the impressive pedestal base complete, it’s time to unite it with your handcrafted tabletop, bringing your dining table vision to life. This final assembly step requires careful alignment and strong fastening for a secure and long-lasting connection.
Step 1: Attaching the Top Supports
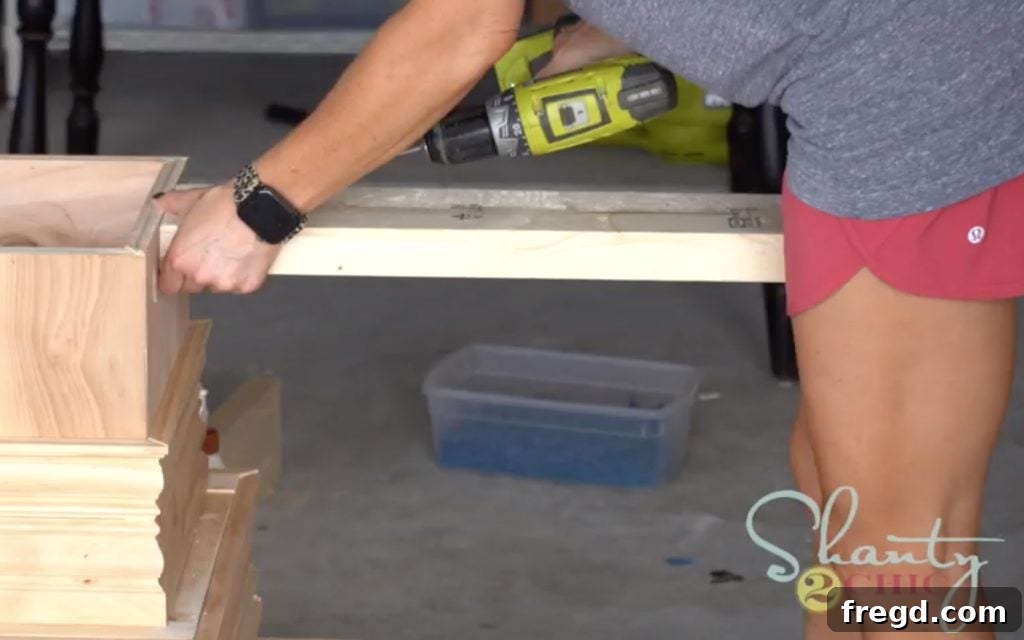
After the entire base structure is fully assembled and robust, shift your focus to the tabletop attachment. Cut the top support arms to their specified lengths. Drill 1 1/2″ pocket holes on the square ends of each support arm. These arms will serve as the crucial connection points between the trunk and the tabletop. Carefully center these support arms on the top of the trunk, ensuring they are evenly spaced and aligned. Apply a generous amount of wood glue to the mating surfaces and secure them firmly to the trunk using 2 1/2″ pocket hole screws. This creates a strong, wide platform for the tabletop.
Step 2: Securing the Table Top to the Base
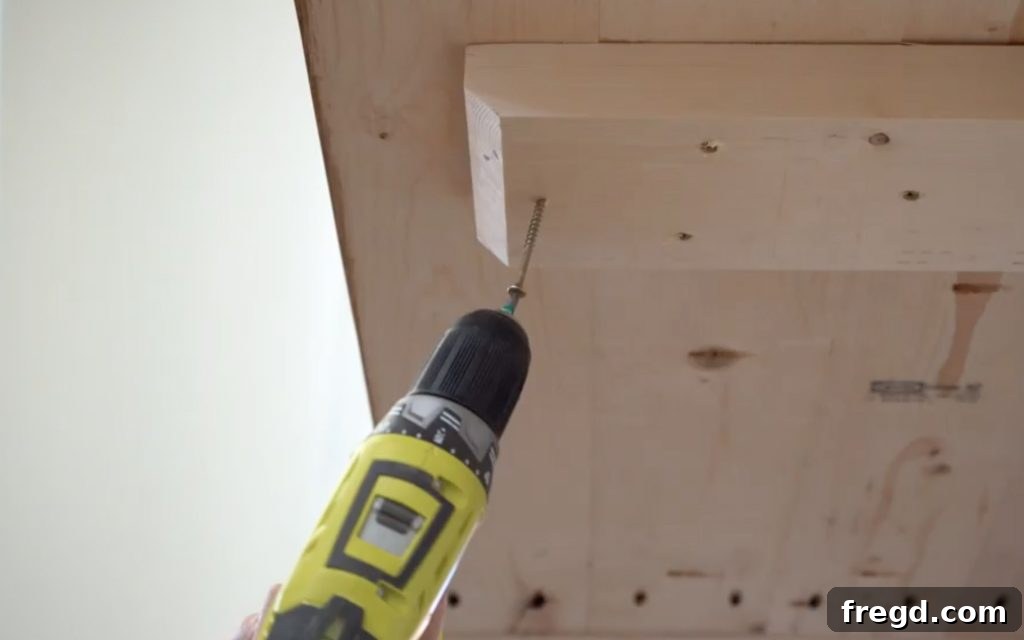
With the top supports securely in place, carefully lift and center your assembled tabletop over these supports. Take your time to ensure it’s perfectly aligned and sits evenly. Once positioned, you will secure the tabletop from below. Drive 2 1/2″ wood screws up through the bottom of the support arms and into the underside of the tabletop. Use multiple screws per arm for maximum stability. This method ensures a strong, hidden connection that won’t compromise the smooth surface of your tabletop.
Finishing Your Masterpiece
The final step, and perhaps the most transformative, is applying the finish. This is where you bring out the beauty of the wood and protect your hard work for years to come.
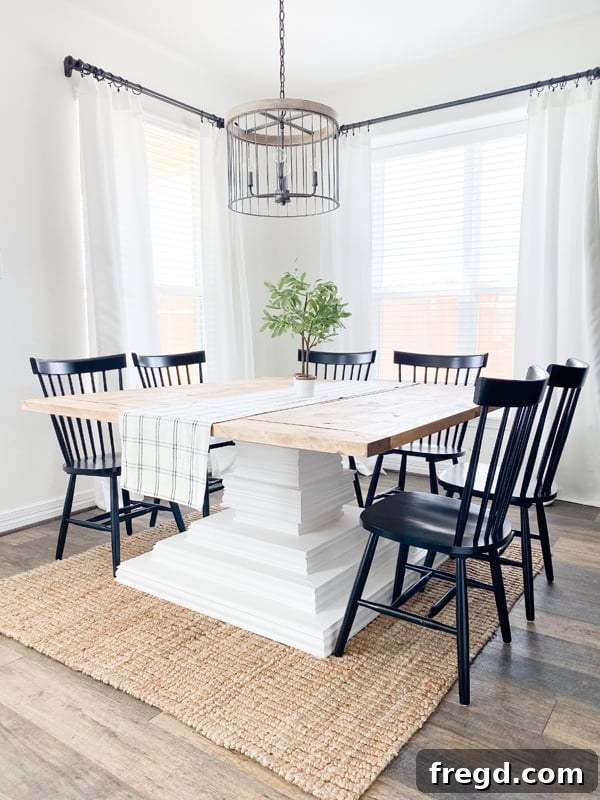
Start by meticulously filling all visible nail holes and any imperfections with wood filler. Allow it to dry completely, then sand the entire table thoroughly. Begin with a coarser grit sandpaper (e.g., 100 or 120-grit) to smooth out any rough spots or glue squeeze-out, then progressively move to finer grits (e.g., 150, 180, and finally 220-grit) for a silky-smooth surface. Proper sanding is critical for a professional finish. Once sanded, clean off all dust before applying your chosen finish.
You have endless possibilities for staining or painting your table. For a rustic, natural look, a wood stain is perfect. If you prefer a more contemporary or vibrant style, paint can completely transform its appearance. After staining or painting, protect your table with a durable topcoat like polyurethane. Apply multiple thin coats, sanding lightly with a very fine grit (e.g., 320-grit) between coats, for a smooth, hard-wearing finish.
- You can find the stain that we used here!
- You can find the poly that we used here!
- You can find the paint that we used here!
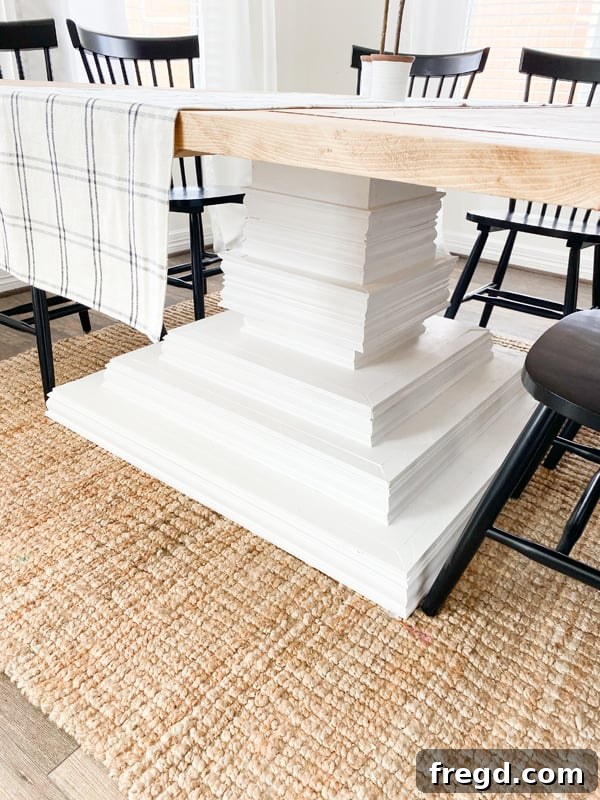
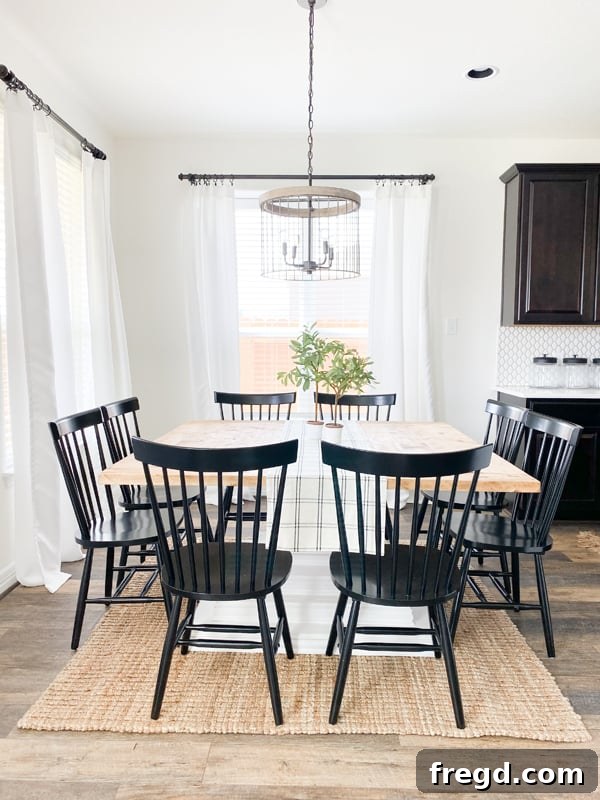
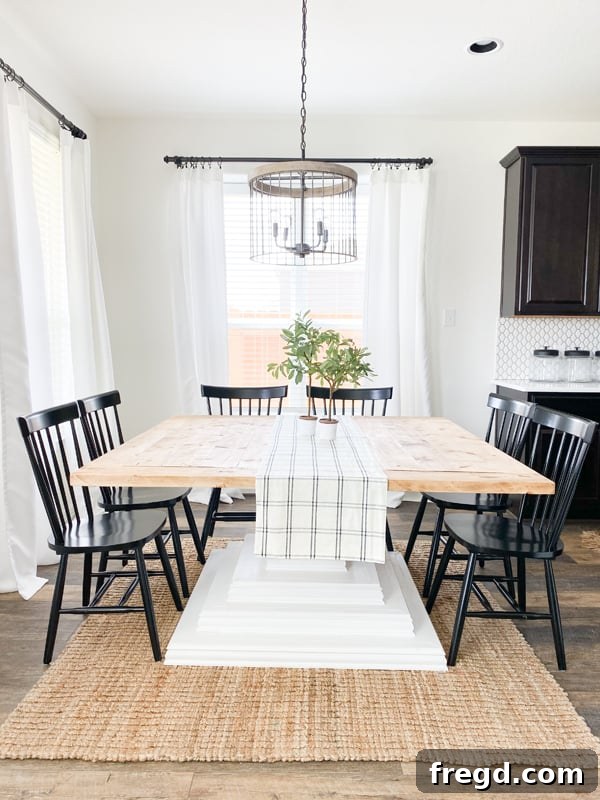
Remember, this is your creation! Feel free to get creative with your choice of stain, paint, and even the style of trim to truly make this DIY square dining table uniquely yours. Once your table is complete, don’t forget to share your amazing builds with us on social media! Use the hashtag #shanty2chic so we can celebrate and share your craftsmanship with our community!
Happy Building!
Free Printable Plans & Cut Lists
Here are the free printable plans to help you build your very own spacious square dining table that comfortably seats 8 people. These plans are broken down into easy-to-follow sections with detailed cut lists and diagrams.
Click below for the free printable plans!
Click here for Part 1 – Cut List & Table Top
Click here for Part 2 – Base & Trunk Assembly
Click here for Part 3 – Trim & Final Assembly
Maintenance & Care for Your Wood Table
To ensure your handcrafted dining table lasts for generations, proper care and maintenance are essential. Avoid placing hot items directly on the surface without protection. Clean spills immediately with a soft, damp cloth. For daily cleaning, a mild wood cleaner is sufficient. Periodically, you might consider reapplying a protective wax or polish, especially in high-use areas, to maintain its luster and shield it from wear and tear. With a little love, your DIY square dining table will remain a cherished piece for years to come.
More DIY Dining Table Inspiration
Loved building this square dining table? Explore our extensive collection of other free DIY dining table designs and find your next project!
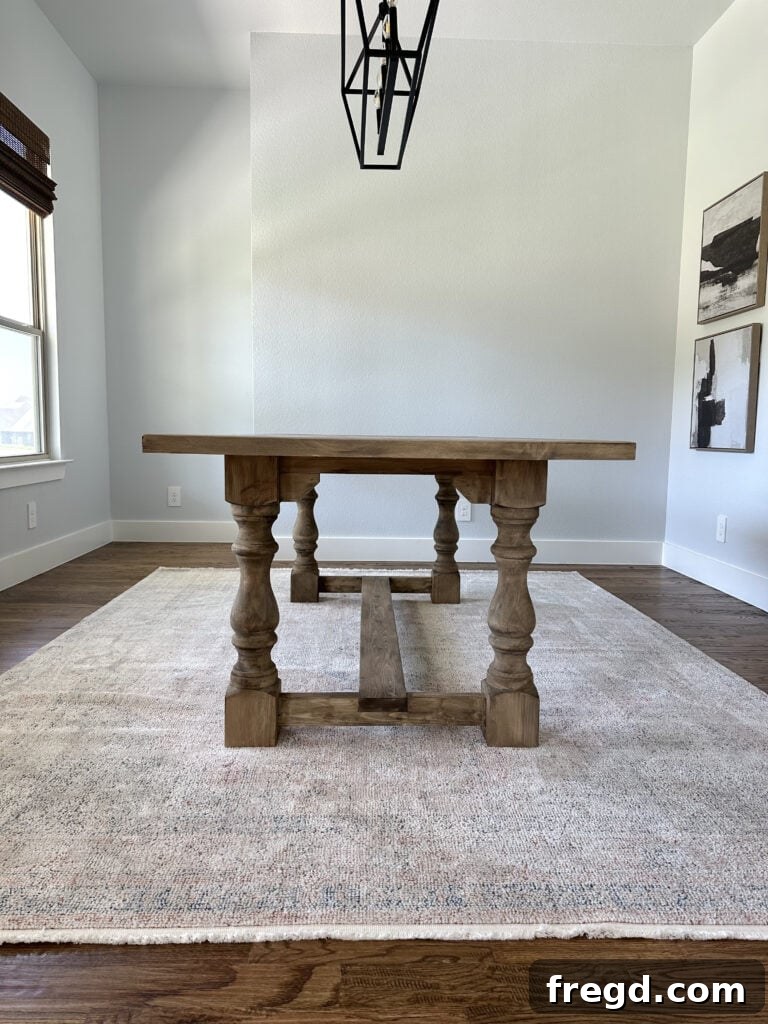
Turned Leg Dining Table: Classic elegance for any home.
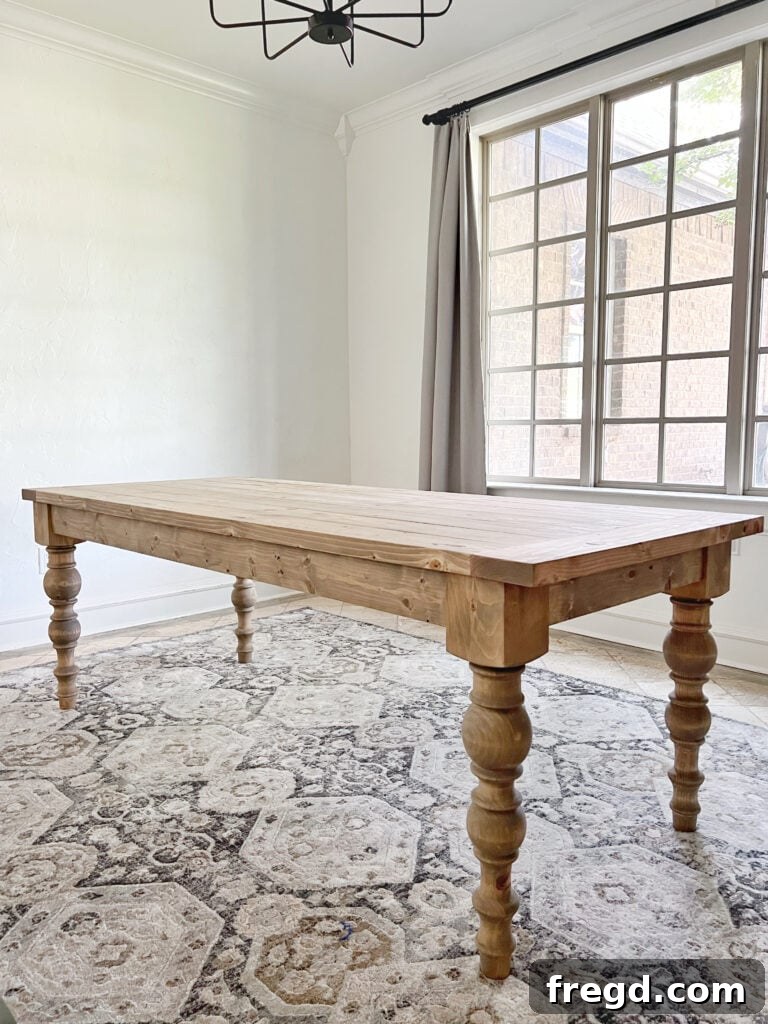
Modern Farmhouse Dining Table: A blend of rustic charm and contemporary style.
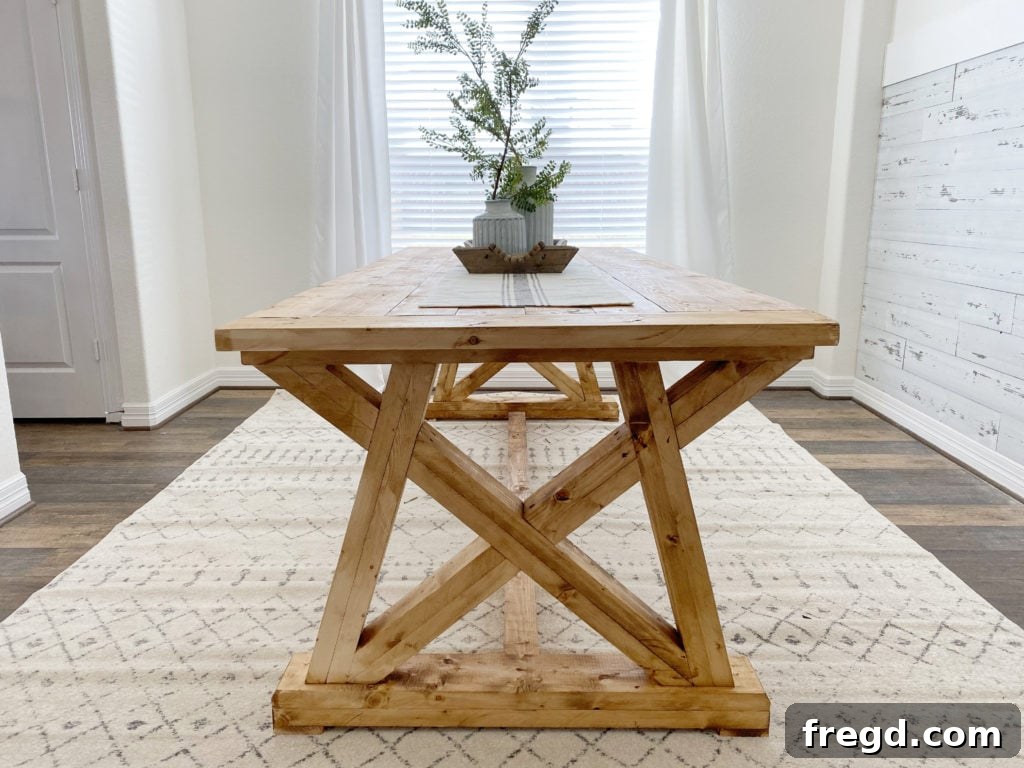
Angle Base Dining Table: A modern, architectural statement piece.
Check out our complete collection of over 25 free DIY dining table designs for beginners and experienced builders alike!