
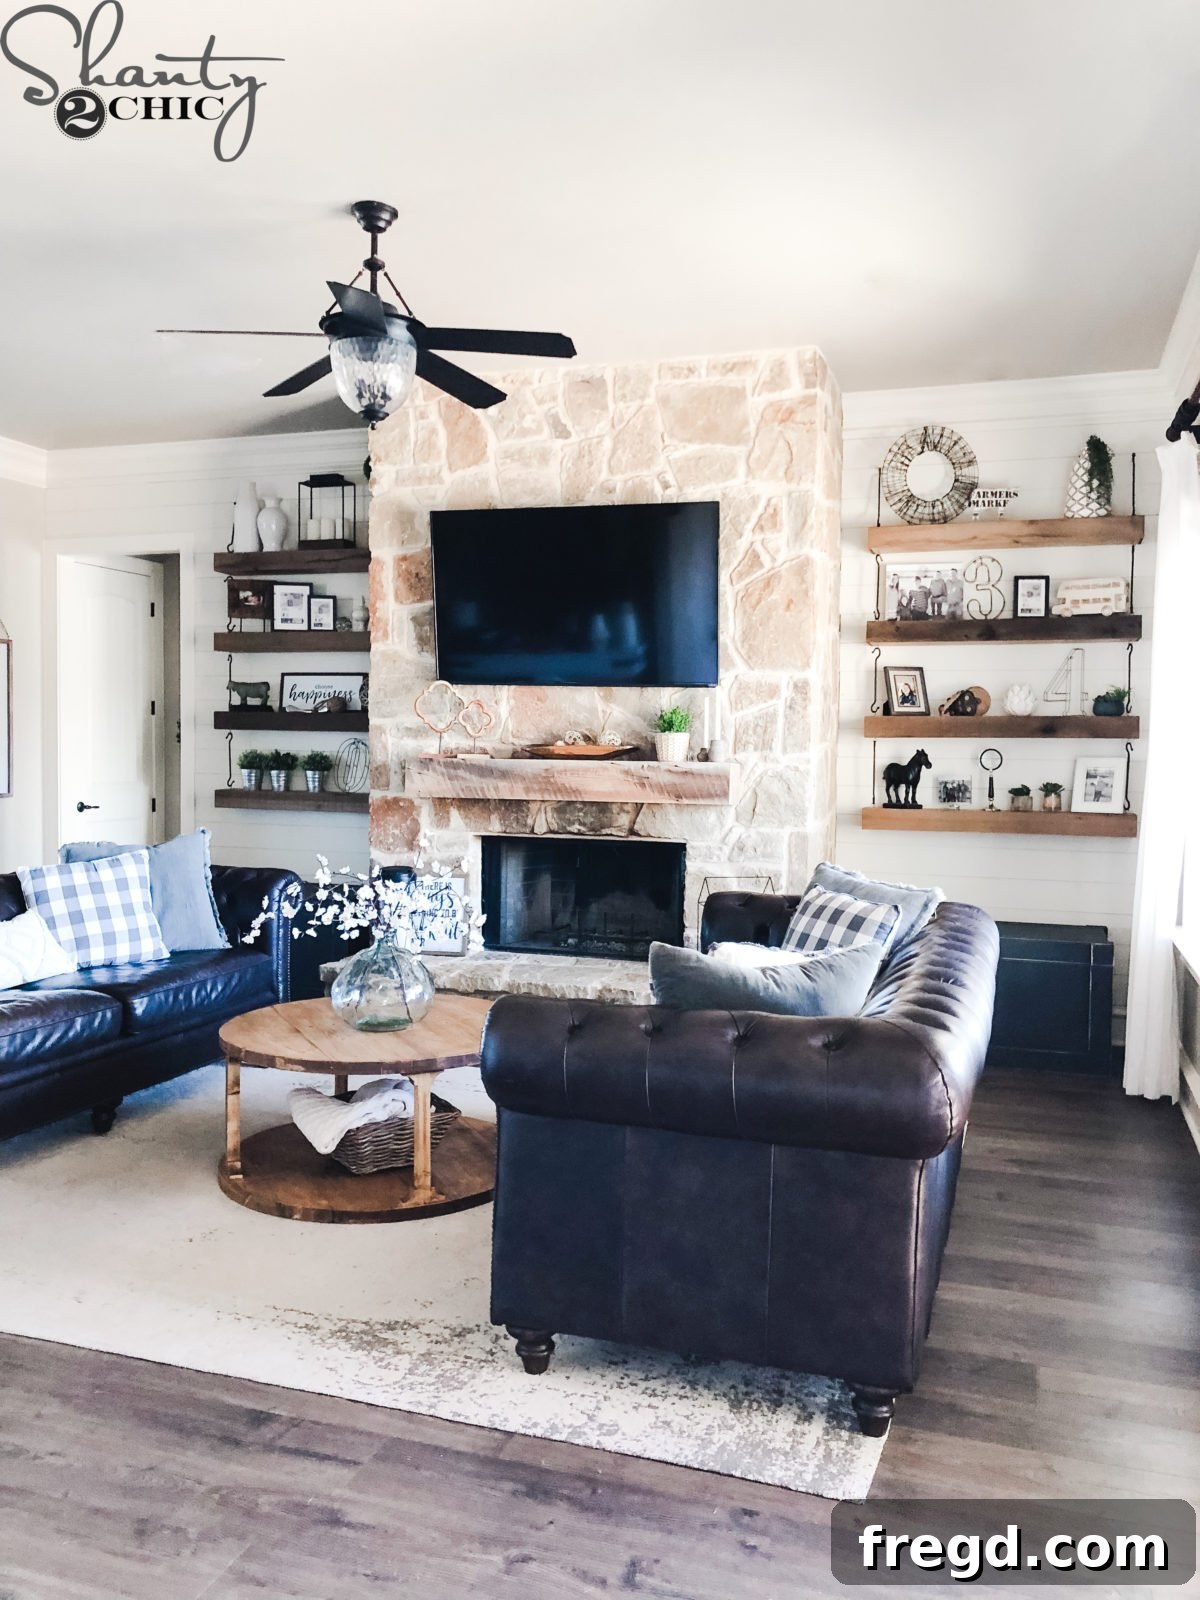
DIY Faux Shiplap Fireplace Accent Wall: Brighten Your Living Room on a Budget
There’s something undeniably captivating about a well-executed wall treatment, and creating a beautiful shiplap accent around your fireplace is a fantastic way to elevate your home’s aesthetic. This particular DIY project focuses on a faux shiplap technique, utilizing plywood planks to achieve that classic, charming look. It’s an incredibly quick, easy, and budget-friendly endeavor that promises to add significant light, dimension, and character to any room. If you’re a beginner looking for an impactful home improvement project with minimal tools, you’ve come to the right place. Let’s dive into transforming your space!
Why Choose Faux Shiplap for Your Fireplace?
Many homeowners dream of the farmhouse-inspired charm that shiplap brings, but traditional shiplap can be costly and require specialized installation. Our solution? Faux shiplap, often referred to as a plank wall. This method uses readily available and affordable materials, typically plywood, cut into strips to mimic the look of authentic shiplap. It’s a genius way to get the desired aesthetic without breaking the bank or requiring advanced carpentry skills. The impact it has on a room, especially a darker space, is truly remarkable. It instantly creates a brighter, more open, and inviting atmosphere, providing a stunning backdrop that makes your fireplace a true focal point.
Materials & Tools You’ll Need
One of the best aspects of this project is its accessibility. You won’t need an arsenal of expensive tools. Here’s a breakdown of what you’ll need to get started:
Key Materials:
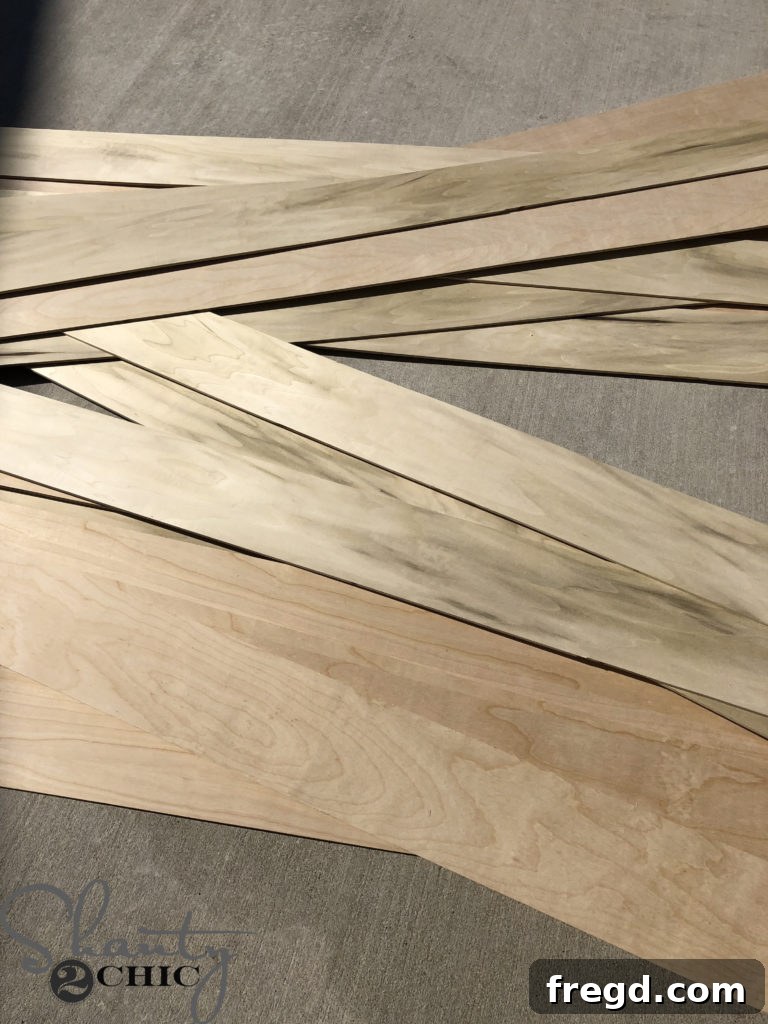
- 1/4″ Plywood: This is the star of our faux shiplap. Using 1/4″ thick plywood (or even thinner scrap pieces) makes the planks lightweight and easy to work with. If you don’t have scrap wood lying around, a standard 4’x8′ sheet from your local hardware store is more than sufficient. We’ll be ripping these into 5.5″ wide strips.
- Wood Filler: Essential for concealing any staple or nail holes for a seamless finish.
- Paint (Valspar Ivory Lace recommended): A light, neutral color like Ivory Lace is perfect for maximizing brightness and complementing various decor styles. You may also need a primer depending on your plywood and chosen paint.
- Pennies (or other spacers): These are your secret weapon for creating consistent gaps between planks, replicating the classic shiplap look.
Essential Tools:
- Table Saw or Circular Saw: To accurately rip your plywood into consistent 5.5″ wide planks. If you don’t own a table saw, a circular saw with a straight edge guide works perfectly. You can check out our How to Rip Plywood video HERE for a detailed tutorial using a circular saw!
- Stapler (18-volt recommended) or Brad Nailer: For securely attaching the lightweight plywood planks to the wall. Staples are excellent for thin plywood, ensuring a strong grip without splitting the wood. A hammer and small nails can also work in a pinch. You can find the 18-volt stapler that we use HERE!
- Tape Measure and Pencil: For precise measurements and markings.
- Jigsaw: Invaluable for cutting around electrical outlets and other wall obstructions.
- Sander or Sanding Block: For smoothing wood filler and plank edges if necessary.
- Paint Brush and Roller: For efficient and even paint application.
- Toothpicks: Handy for cleaning paint out of the shiplap grooves.
Step-by-Step Guide to Your Fireplace Shiplap Makeover
Before you begin, ensure your workspace is clean and clear. A little preparation goes a long way!

1. Prepare Your Space and Cut Your Planks
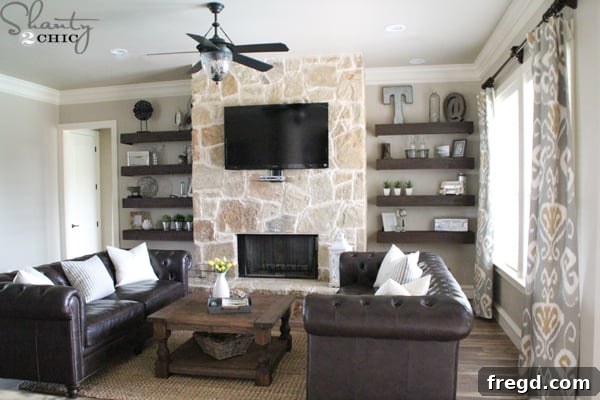
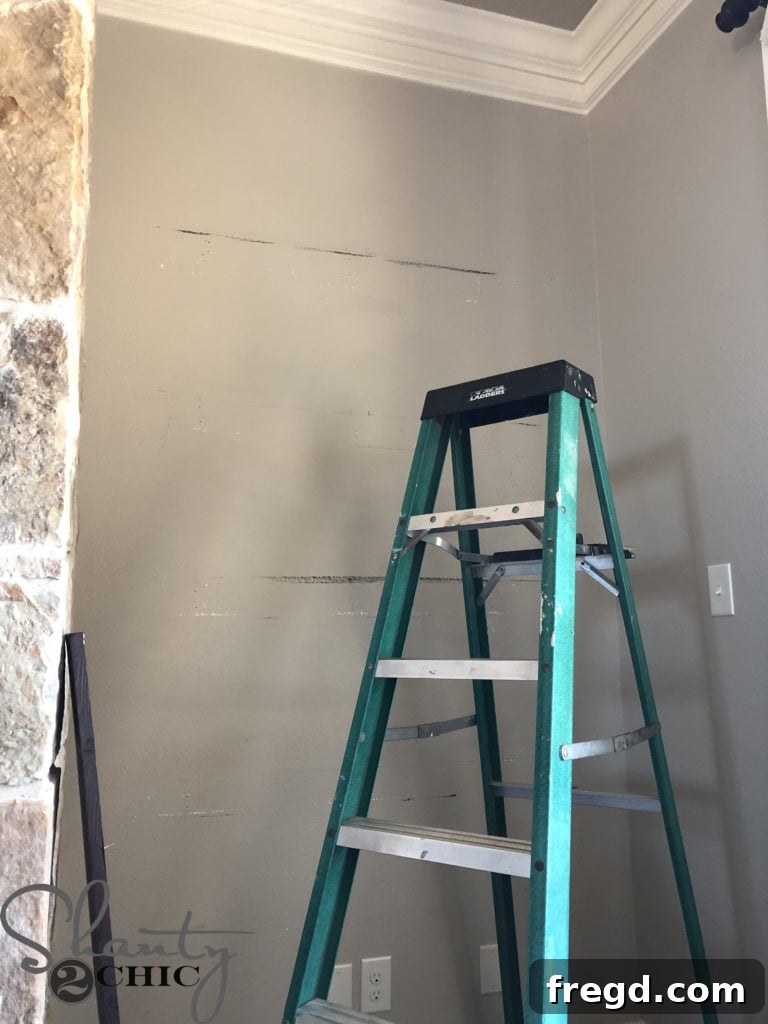
This living room space holds sentimental value, as these floating shelves were among the first projects completed after moving in. While cherished, the desire for a lighter, brighter aesthetic and shallower shelves spurred this renovation. The initial step was to carefully remove the existing floating shelves from the wall. Fortunately, these shelves found a new home with a friend, making this a truly guilt-free upgrade!
Once the old shelves were down, it was time to prepare the faux shiplap planks. I used scrap 1/4″ plywood, which is incredibly lightweight and easy to handle. Using a table saw, I precisely ripped these sheets into 5.5″ wide strips. This dimension strikes a perfect balance, offering a substantial shiplap look without being overly wide or narrow. If you’re working with a circular saw, remember to use a reliable straight edge guide to ensure perfectly uniform cuts. Consistency in plank width is crucial for a professional-looking finish.
2. Strategic Installation: Starting from the Top
For a visually appealing and cohesive look, I began installing the planks from the very top of the wall. The strategic reasoning behind this is simple: I wanted a full 5 1/2″ piece at the uppermost edge. Should any plank need to be custom-cut to a narrower width, it’s far less noticeable at the bottom of the wall, near the baseboard. This approach ensures a clean and intentional appearance right where the eye naturally lands.
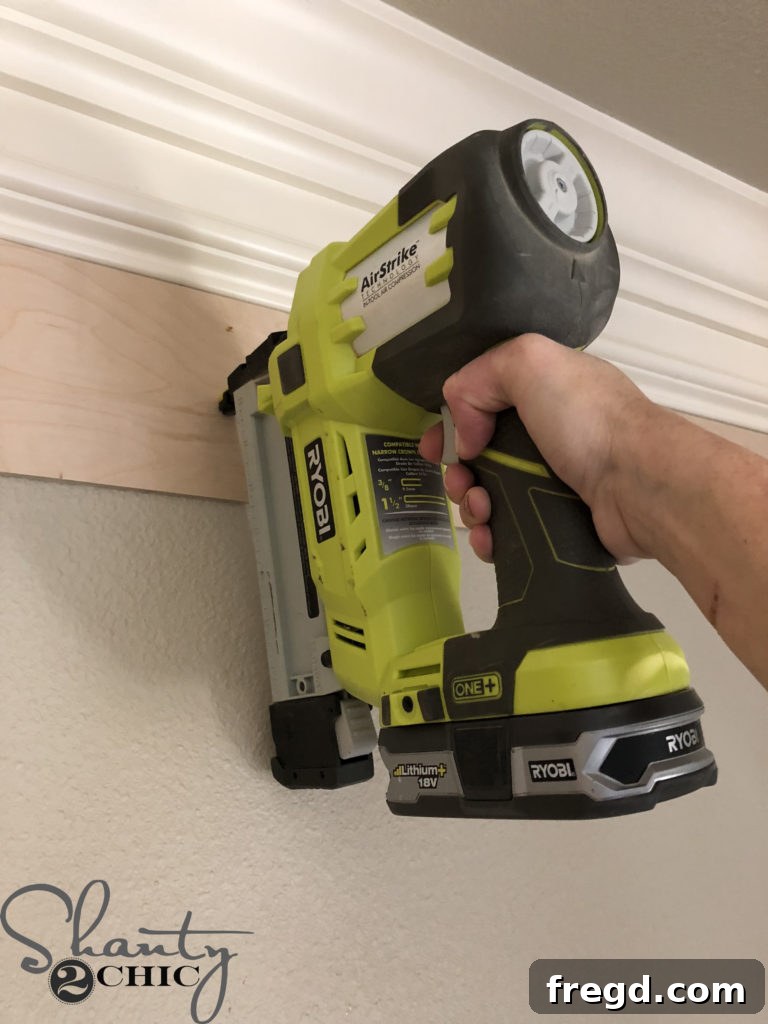
To attach the planks, I opted for an 18-volt stapler. Staples are particularly effective for 1/4″ plywood because their thinner gauge and wider crown provide excellent grip on the material without causing splits or damage. They secure the planks firmly in place. If a stapler isn’t available, a brad nailer with 1-inch brad nails or even a hammer and small finishing nails can be used. Since the plywood is thin and light, the staples proved more than adequate for strong, lasting adhesion.
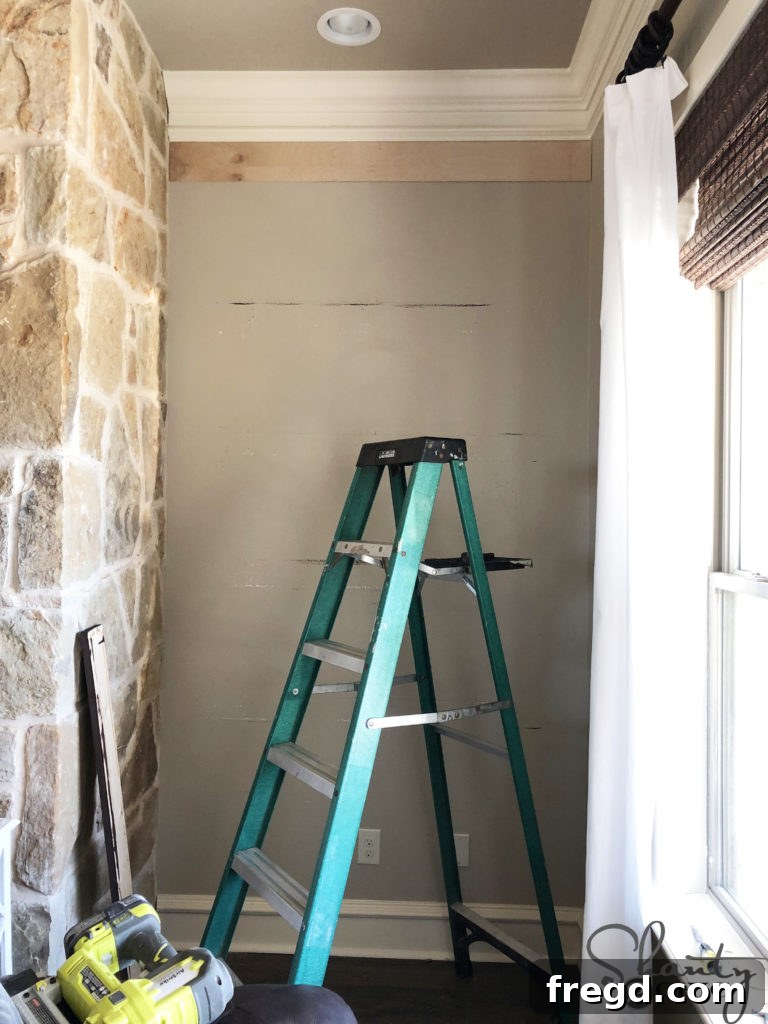
Each plank needed careful attention. Given the specific dimensions of the wall space between the stone fireplace and the existing wall, every single piece had to be individually measured and cut to ensure a perfect fit. This meticulous approach guarantees a professional, custom-built appearance that truly hugs the contours of your fireplace. Even with just one plank attached, you can already begin to see the transformative power of this simple wall treatment!
3. Creating the Signature Shiplap Gap with Pennies
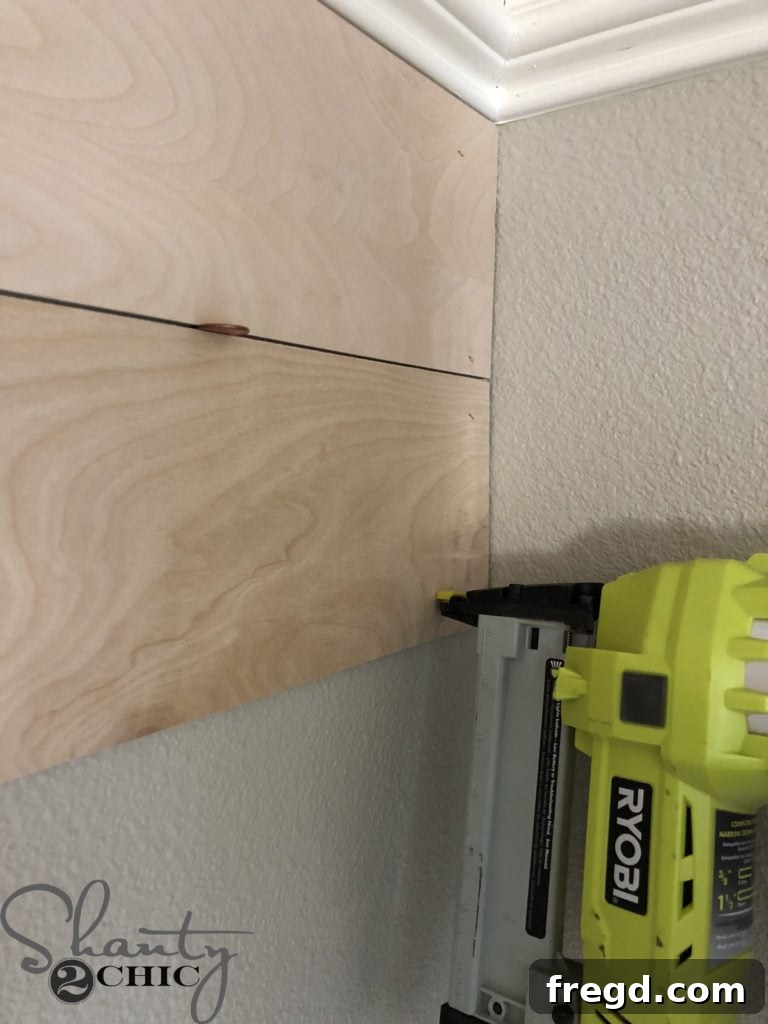
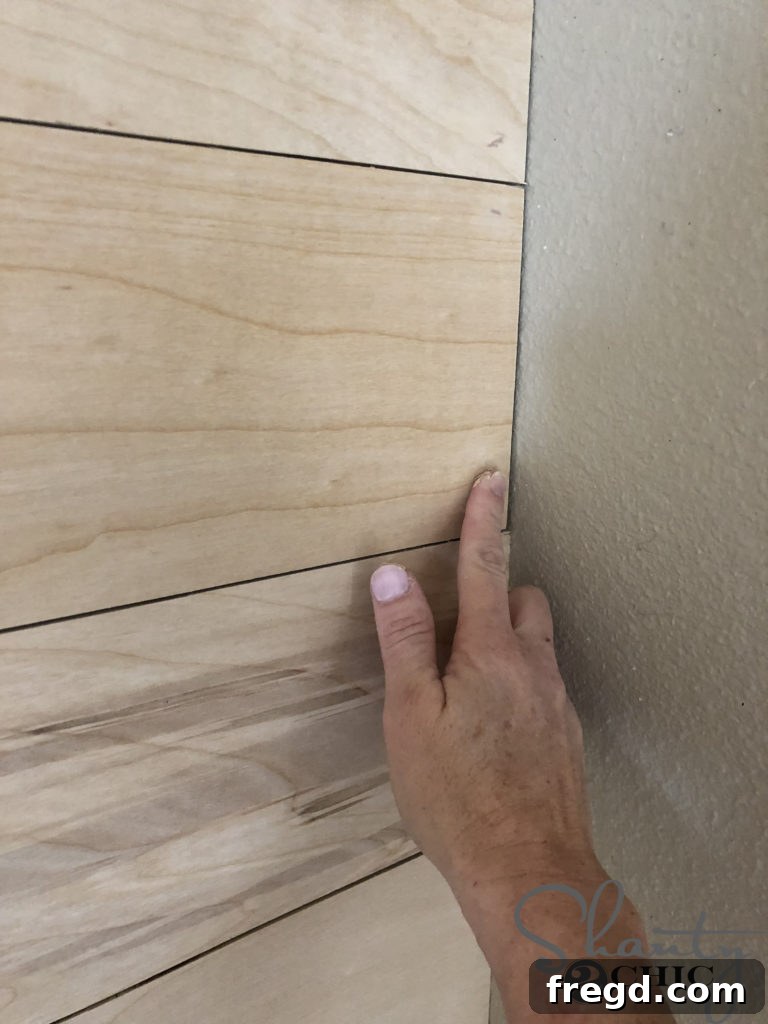
The distinctive charm of shiplap lies in the subtle, consistent gaps between each plank. To achieve this authentic look with our faux shiplap, a simple trick comes into play: using pennies as spacers! As each plank is installed, simply place two or three pennies between the top edge of the newly installed plank and the bottom edge of the one above it. This creates a uniform, narrow gap that beautifully mimics traditional shiplap. Once the plank is secured with staples or nails, you can easily remove the pennies to reuse for the next plank. This ingenious method ensures continuity and a truly professional finish throughout your entire accent wall.
4. Navigating Around Outlets and Obstructions
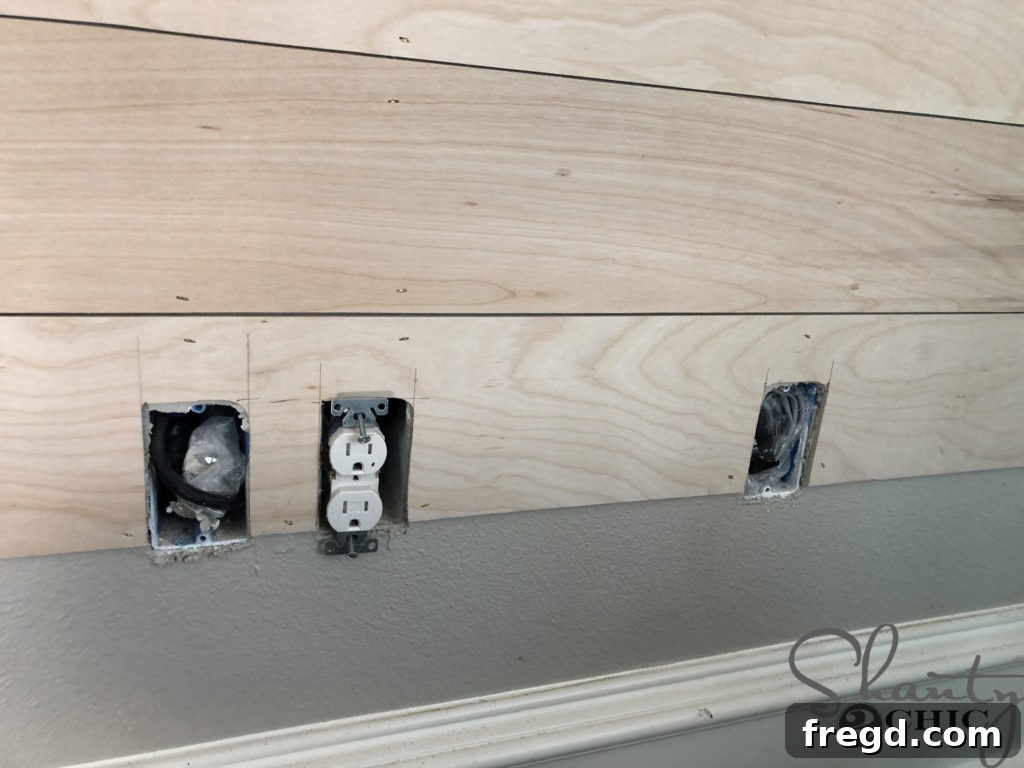
Most walls aren’t perfectly blank canvases; they often feature electrical outlets or other fixtures you’ll need to work around. The good news is that your cuts for these openings don’t have to be absolutely perfect, as the outlet covers will conveniently conceal any minor imperfections. To create the necessary openings, I used a jigsaw. First, carefully measure the dimensions and location of the outlet on the wall, then transfer these measurements onto your plank. It’s always a good practice to turn off the power to the outlet at your breaker box before cutting and working near electrical components. With the measurements marked, use your jigsaw to cut out the opening. This technique allows for a clean fit that seamlessly integrates your shiplap with existing electrical elements. For visual guidance on this process, you can refer to THIS VIDEO and THIS VIDEO.
5. Finishing Both Sides and Filling Holes
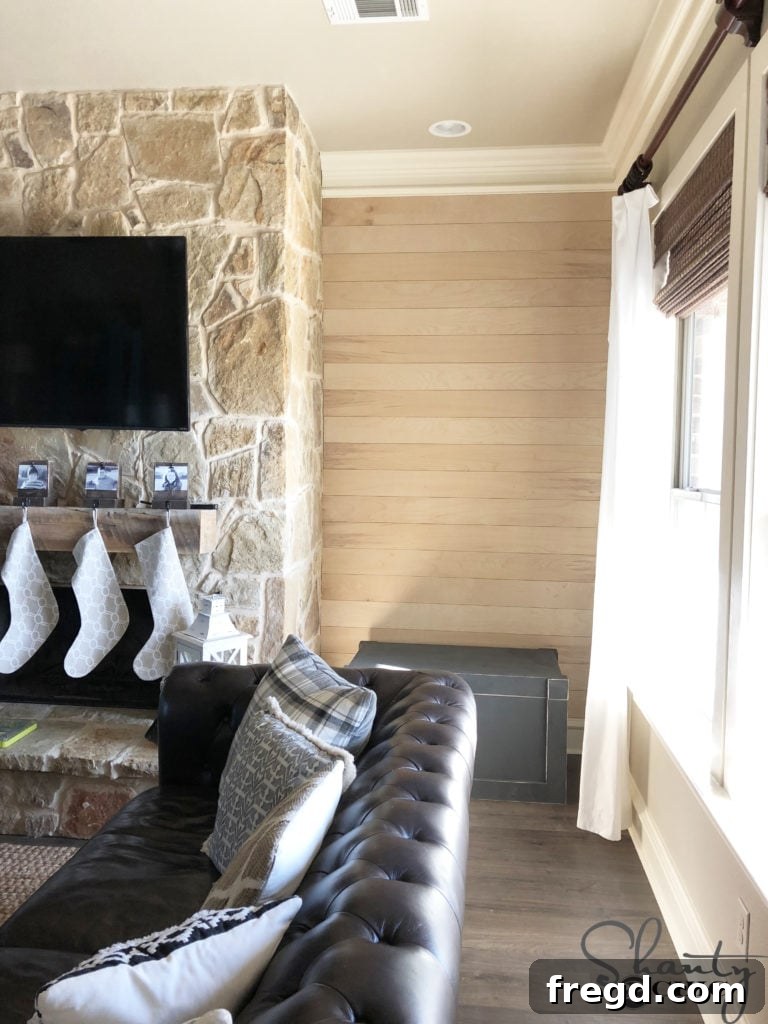
With one side of the fireplace meticulously planked, I simply repeated the process for the other side, ensuring consistent measurements and plank spacing throughout. Once all the planks were securely attached to both sides of the fireplace, the next crucial step was to achieve that flawless, smooth finish. This involved filling all the staple holes with wood filler. Apply the filler liberally, pressing it into each hole, then scrape away any excess with a putty knife. After the wood filler had completely dried, a light sanding was performed to ensure a perfectly smooth surface, ready for paint. This step is vital for making your faux shiplap look professional and polished.
Our favorite wood filler, which delivers exceptional results, can be found HERE on Amazon!
6. Painting for a Bright, Clean Finish
With the wood filler dry and sanded smooth, it was time for the final aesthetic touch: painting. I applied two coats of Valspar’s “Ivory Lace” paint to all the newly installed planks. This particular shade is a beautiful, warm off-white that instantly brightens the space, reflecting light and enhancing the room’s airy feel. The light color choice perfectly complements the goal of creating a more illuminated and expansive living area, while also providing a neutral backdrop for any decor.
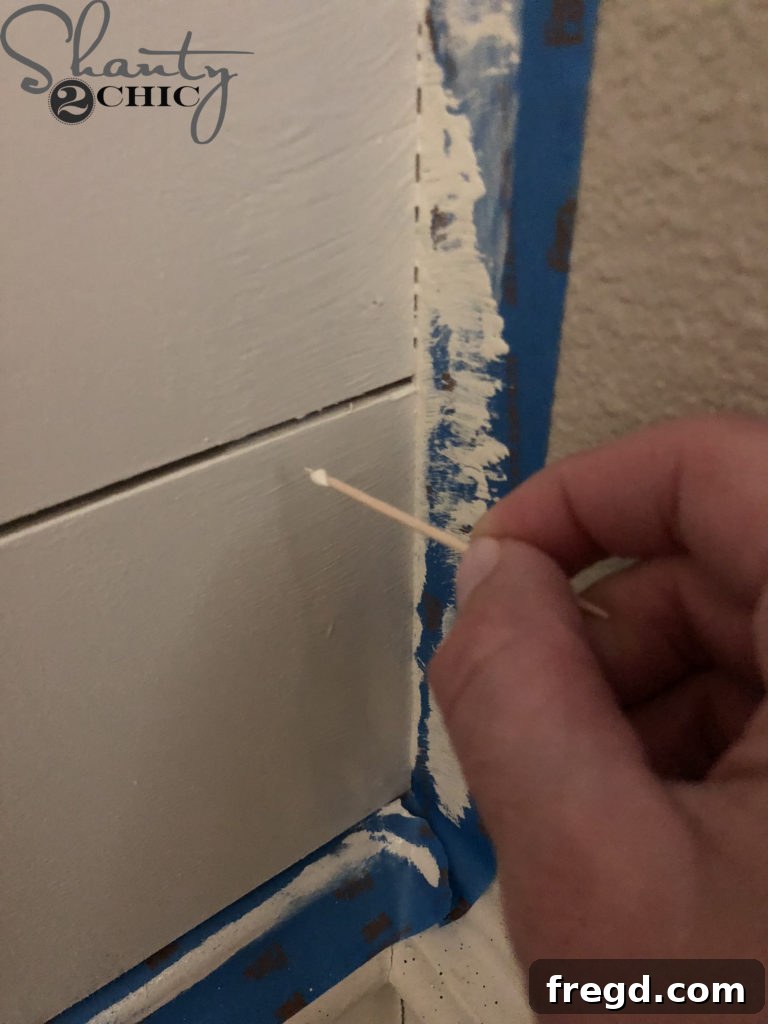
After painting, you might find some paint has settled into the narrow gaps between the planks. To maintain that crisp shiplap definition, I used a toothpick to carefully clean out any excess paint from these cracks. This simple step ensures the distinctive lines of the shiplap remain prominent. Alternatively, if your workspace allows, you could opt to paint the individual planks before installing them. This would minimize the need for post-painting crack cleaning. However, given my workspace constraints, painting after installation proved to be the more efficient choice for this project.
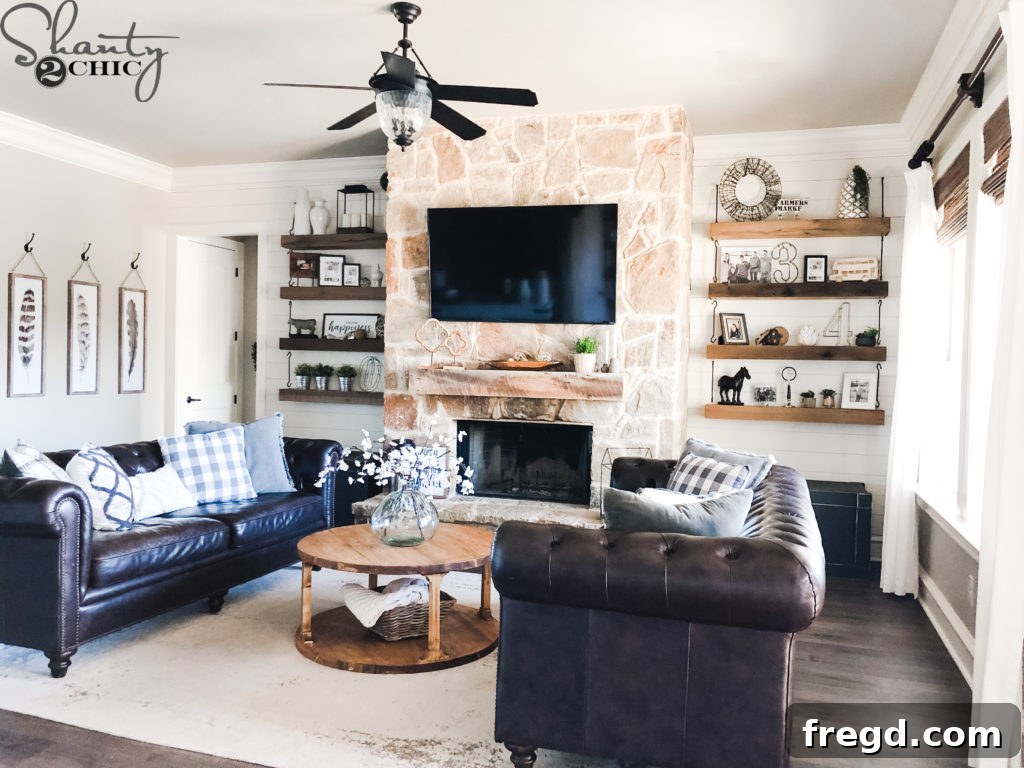
The Final Reveal: A Transformed Living Room
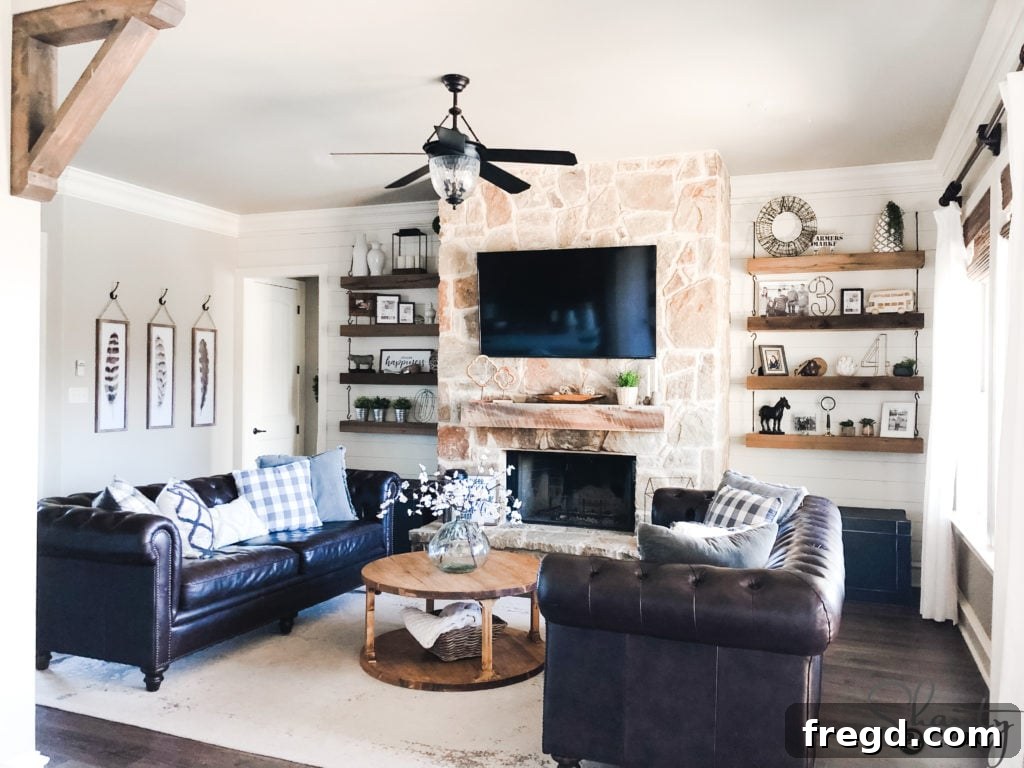
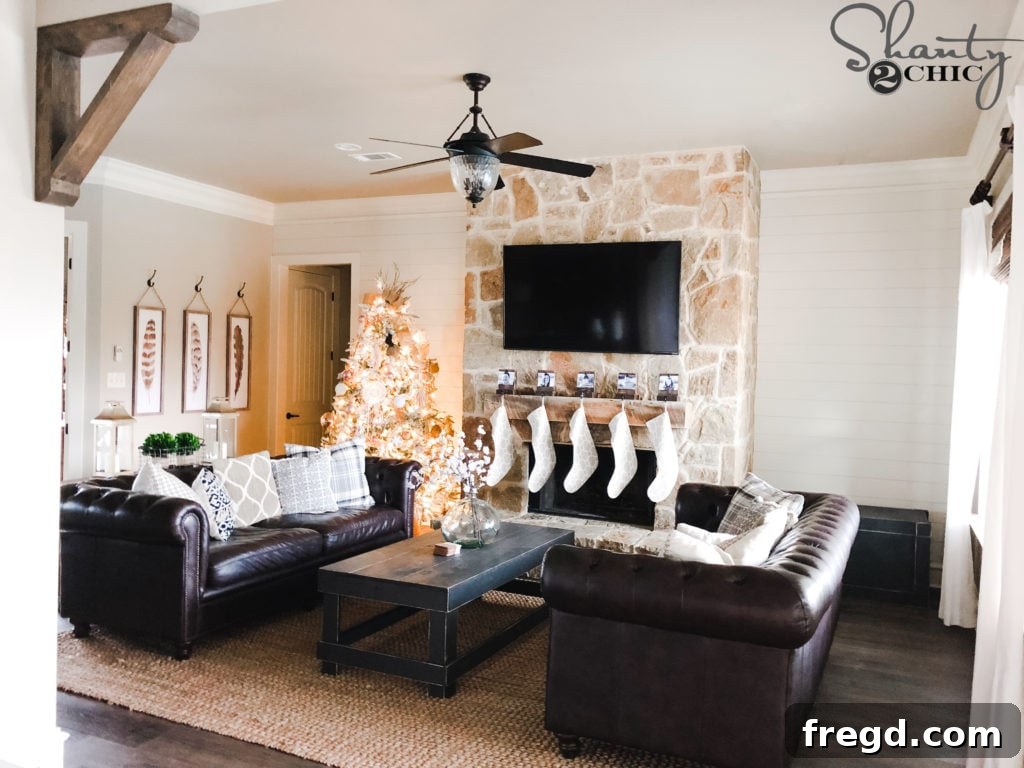
And just like that, the faux shiplap accent wall around the fireplace was complete! The transformation is truly stunning. To complement the updated wall, I then built and installed new, shallower floating shelves. These custom shelves integrate seamlessly with the fresh shiplap backdrop, providing stylish storage and display space. The entire look is cohesive, modern, and incredibly inviting. You can find the free plans for these gorgeous new shelves HERE!
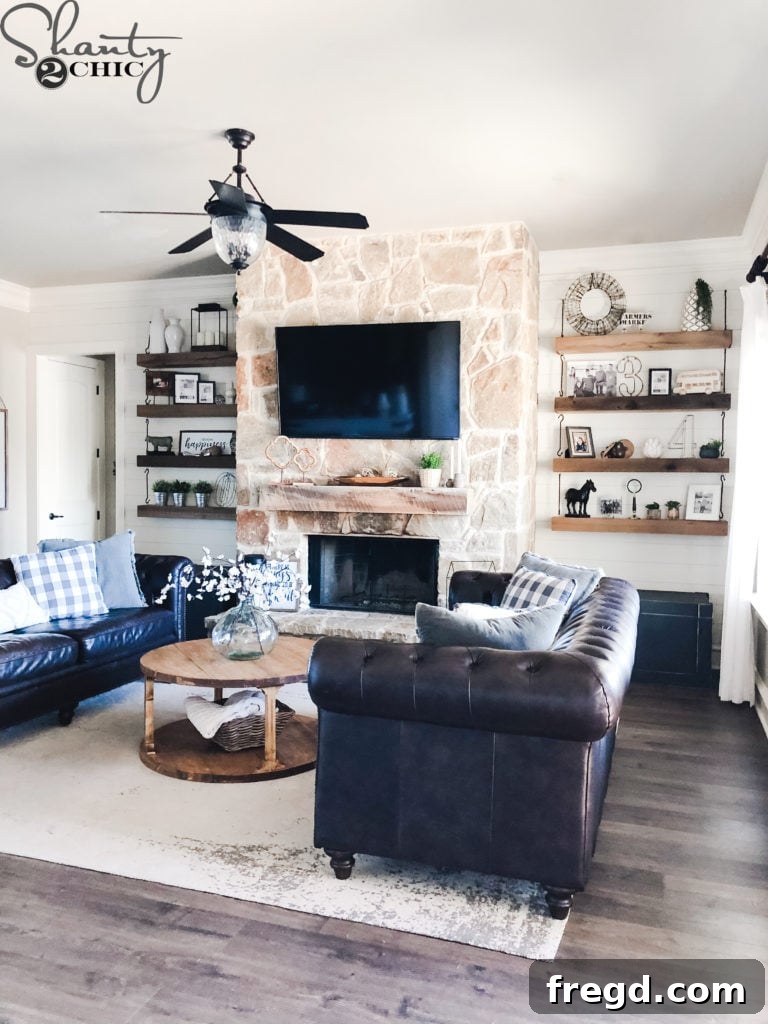
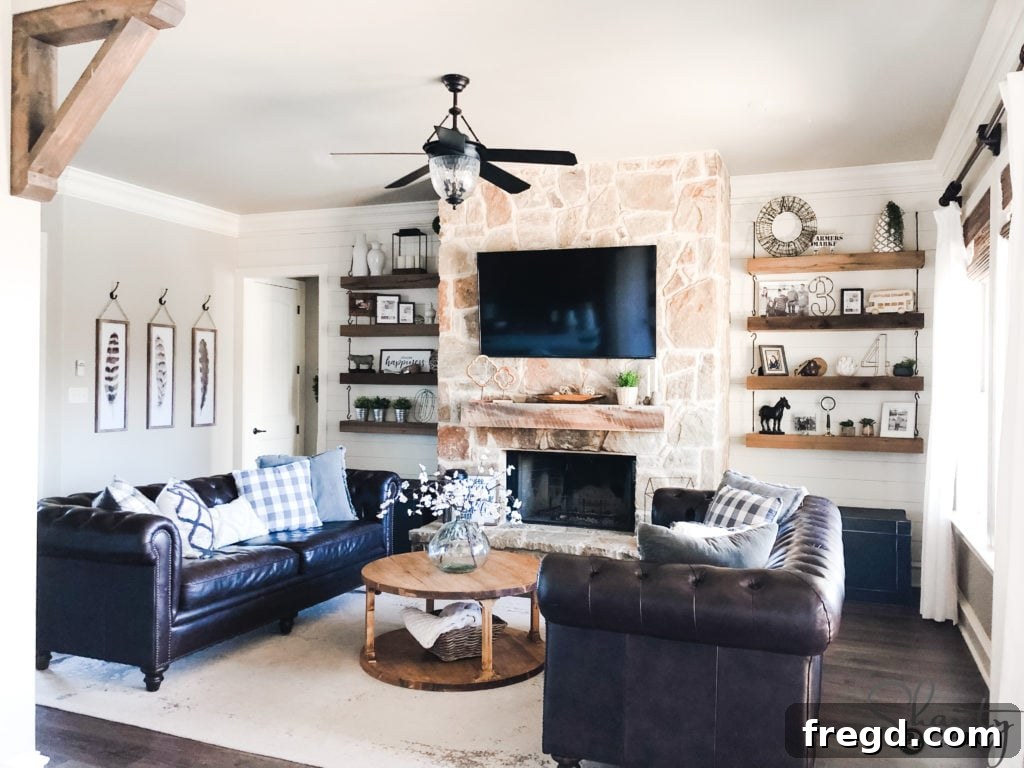
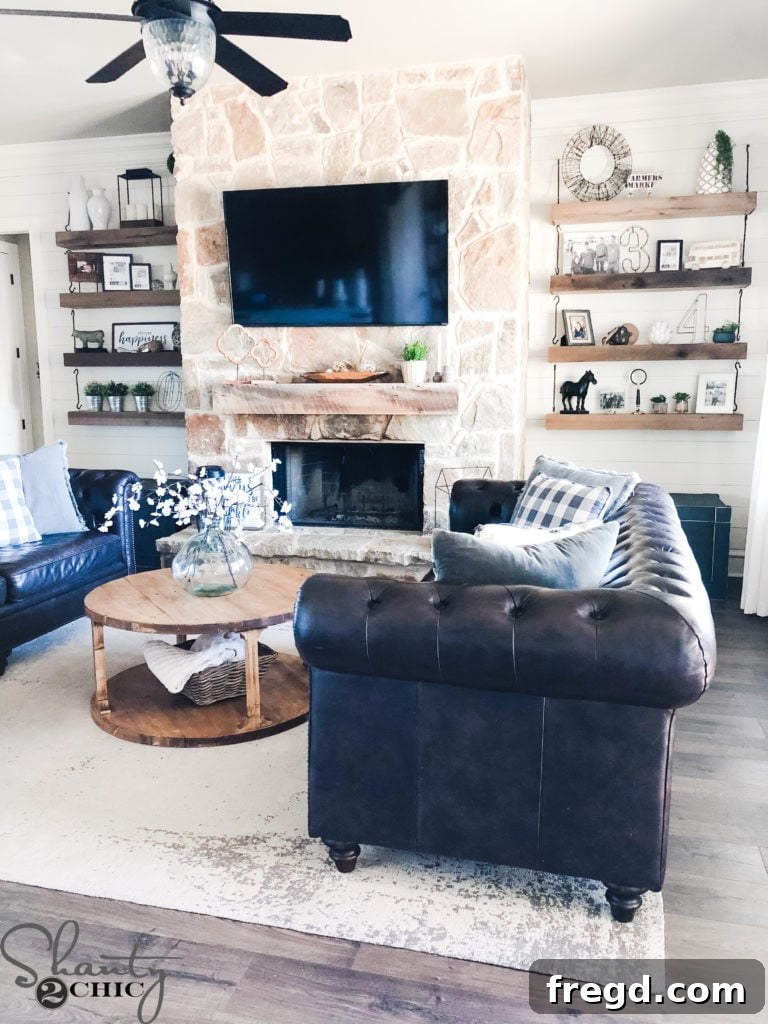
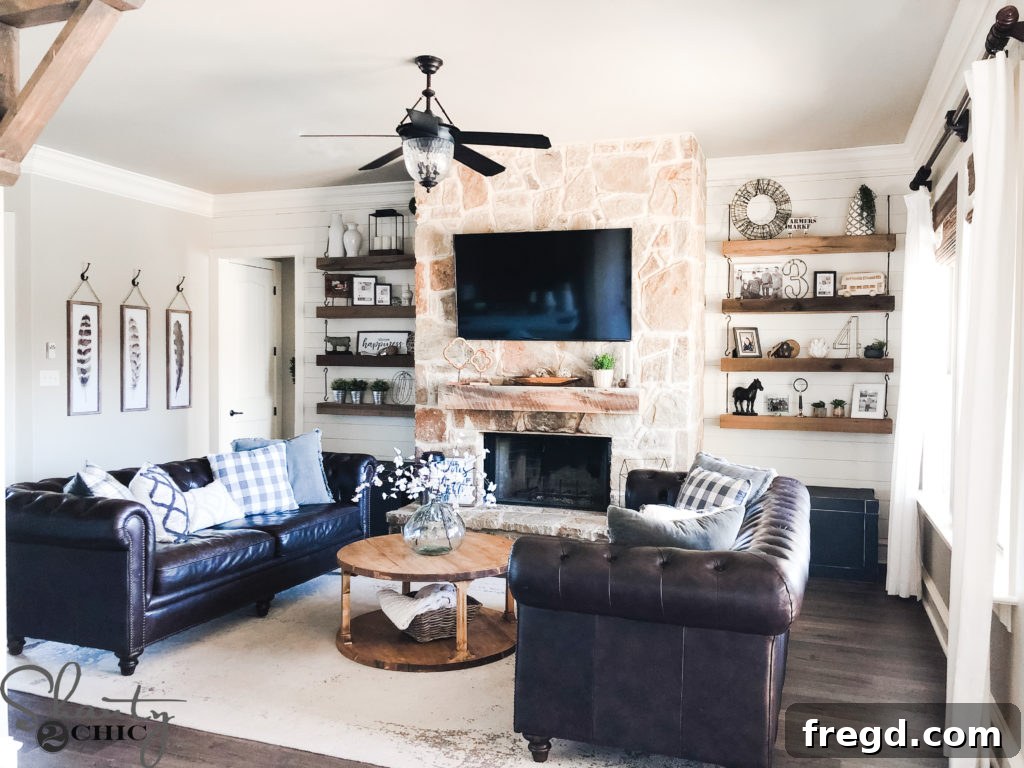
The new shiplap fireplace surround, coupled with the elegant new shelves, has dramatically brightened the living room, adding undeniable character and depth. This project has been so rewarding that it’s sparked a desire to plank the entire house!
Ready to Transform Your Home?
This faux shiplap fireplace accent wall is a testament to how simple DIY projects can yield incredibly impactful results. It’s affordable, achievable for beginners, and creates a focal point that breathes new life into your living space. The added brightness, dimension, and charming character are truly transformative, making your home feel more inviting and stylish. We hope this guide inspires you to pick up your tools and embark on your own home makeover journey!
Shop the Look:
Curious about the other elements that bring this living room together? We’ve linked everything below to help you recreate this inviting aesthetic in your own home. Thanks so much for stopping by and happy building!
-
DIY Round Coffee Table
-
Living Room Rug
-
Decorative Vase
-
Faux Stems for Vase
-
Comfortable Couches
-
“Always Something to be Thankful for” Wall Sign
-
DIY Fireplace Mantel
-
New Hanging Floating Shelves
-
Modern Farmhouse Storage Trunk