
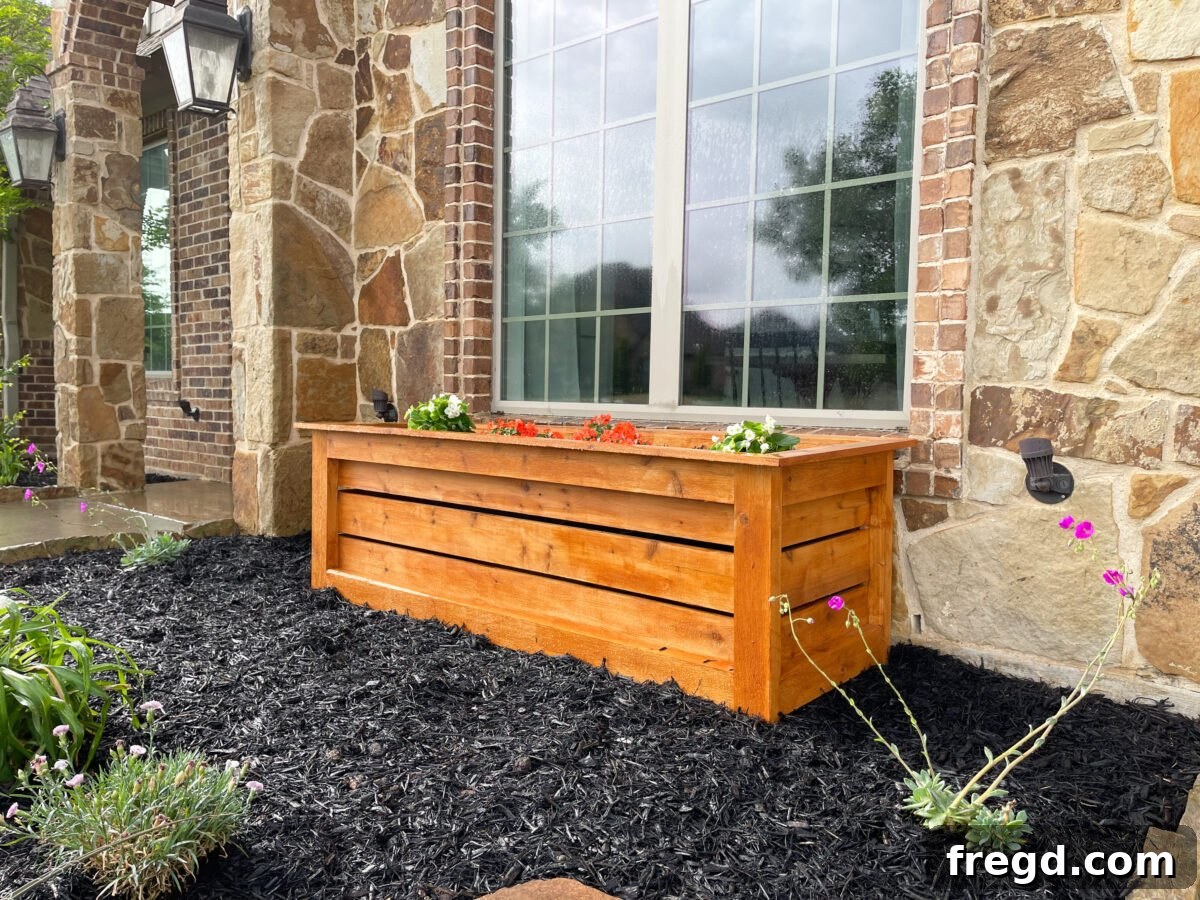
Transform your outdoor living spaces with a beautiful and functional DIY Planter Box. This comprehensive guide, complete with free plans, a helpful how-to video, and a step-by-step tutorial, empowers you to build impressive cedar planter boxes with just a few essential tools. Whether you’re looking to enhance your home’s curb appeal, organize your garden, or simply add a touch of handcrafted charm, this project is perfect for both novice and experienced DIY enthusiasts.
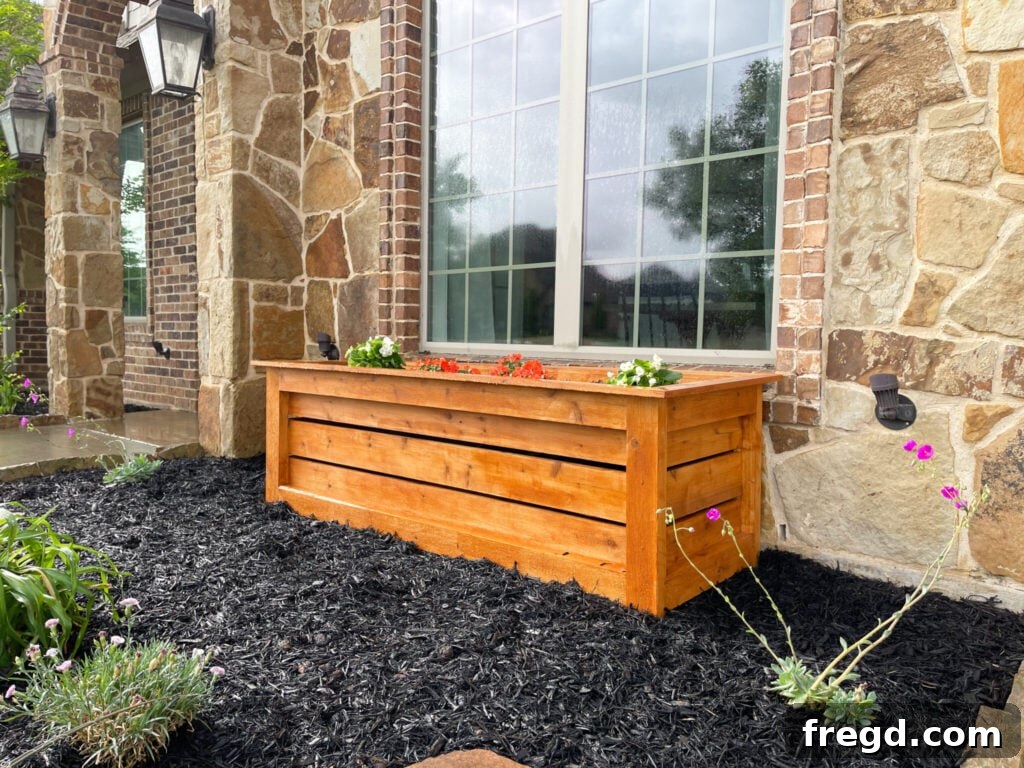
Over the past year, Texas has experienced some exceptionally harsh weather, and the multiple severe freezes have unfortunately taken a significant toll on many flower beds. Many bushes and plants didn’t survive, necessitating a complete overhaul and a fresh start for the garden. This presented the perfect opportunity to implement a long-desired landscaping feature: large, durable cedar planters.
Inspired by the need to revitalize my front yard, I designed and constructed these custom Cedar Planter Boxes. My goals were clear: to boost curb appeal, fill empty spaces with vibrant greenery, and add dynamic dimension to the existing flower beds. The transformation has been remarkable; these planters have completely reimagined the aesthetic of my home’s exterior, offering a sophisticated and inviting look. The best part? Despite their grand appearance, they are surprisingly straightforward and rewarding to build!
For a visual guide and to see the entire construction process in action, be sure to watch our detailed video tutorial. You’ll see Whitney and me tackle this project, providing invaluable insights and tips along the way.
As always, we believe in making DIY accessible. That’s why we provide not only free printable plans but also clear, step-by-step written instructions to ensure your building success.
Click here to jump straight to the free DIY Planter Box Plans and Full Supply List!
So, let’s gather our materials, roll up our sleeves, and dive into building a robust yet elegantly simple wooden planter box that will serve as a stunning centerpiece for your outdoor oasis!
How to Build a Large Cedar Planter Box for Your Garden
Tools You’ll Need
Having the right tools is crucial for any successful DIY project. For this cedar planter box, we’ve outlined a list of essential tools that will make the building process efficient and enjoyable. These tools are commonly found in most DIY workshops and are versatile for many other woodworking projects.
- Miter Saw: Essential for making precise, clean cuts on your cedar planks, ensuring all your pieces fit together perfectly.
- Drill: A powerful drill is needed for pre-drilling holes and driving screws, which is vital for secure assembly.
- Kreg Jig: This handy tool allows you to create strong pocket-hole joints, giving your planter a clean, fastener-free exterior finish.
- Nailer (Brad Nailer): Perfect for attaching trim pieces with small, inconspicuous nails, making for a professional finish.
- Sander: An orbital or block sander will help smooth out rough edges and prepare the cedar for staining or sealing, ensuring a refined look and feel.
Essential Supplies & Materials
The beauty and longevity of your planter box largely depend on the quality of your materials. We recommend using cedar for its natural resistance to rot, decay, and insect infestations, making it an excellent choice for outdoor projects that will endure the elements. Here’s a detailed list of what you’ll need:
- 9 1x6x8 Cedar Planks or Cedar Fence Pickets: These will form the main body and side panels of your planter.
- 2 1x4x8 Cedar Planks or Cedar Fence Pickets: Used for various structural and trim elements.
- 6 2x4x8 Cedar Boards: These sturdy boards will form the foundational frame and legs of your planter, providing crucial support.
- 1 1/4″ Pocket Hole Screws: Ideal for joining smaller cedar pieces securely.
- 2 1/2″ Pocket Hole Screws: For connecting larger frame components with robust, hidden joints.
- 1 1/2″ Outdoor Wood Screws: Essential for attaching cleats and slats, ensuring long-lasting outdoor performance.
- 1 1/4″ Brad Nails: Used primarily for securing trim pieces with minimal visibility.
- Wood Glue: An indispensable adhesive for strengthening all wood joints, providing additional durability and stability. Always choose an exterior-grade wood glue for outdoor projects.
Building the Sturdy Frame
The frame is the backbone of your planter box, providing the essential structure and strength. Careful and precise assembly in this stage will ensure your planter is stable and long-lasting.
Step 1: Prepare and Assemble the Long Frame Sides
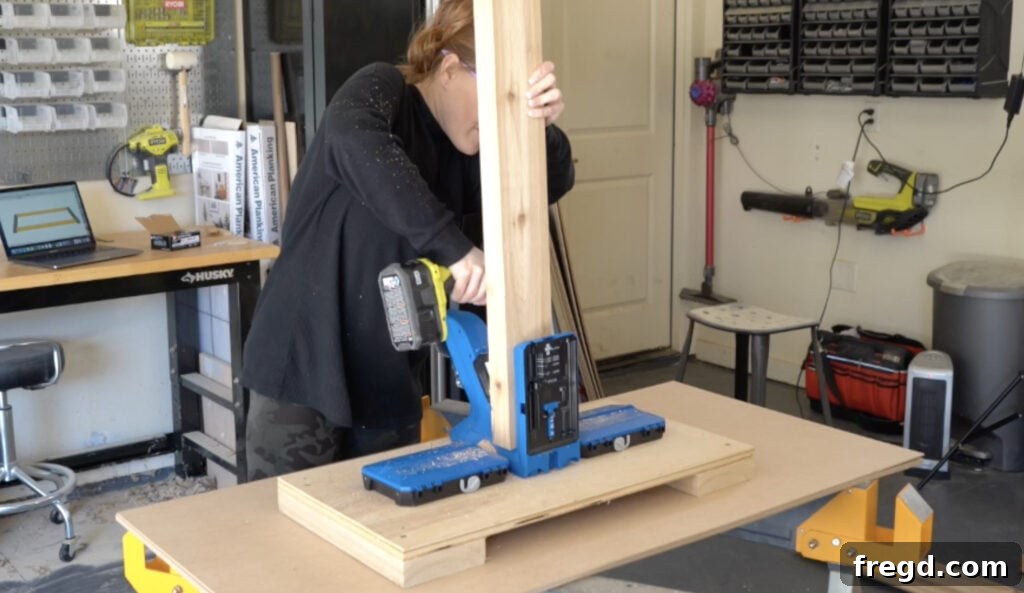
Begin by cutting your frame pieces to the specified sizes according to the free plans. Accuracy here is key, so measure twice and cut once. Once cut, take your long, horizontal frame pieces and drill 1 1/2″ pocket holes at both ends of each. Pocket holes are an excellent way to create strong, concealed joints.
- You can find our favorite Kreg Jig model here for efficient and consistent pocket hole creation.
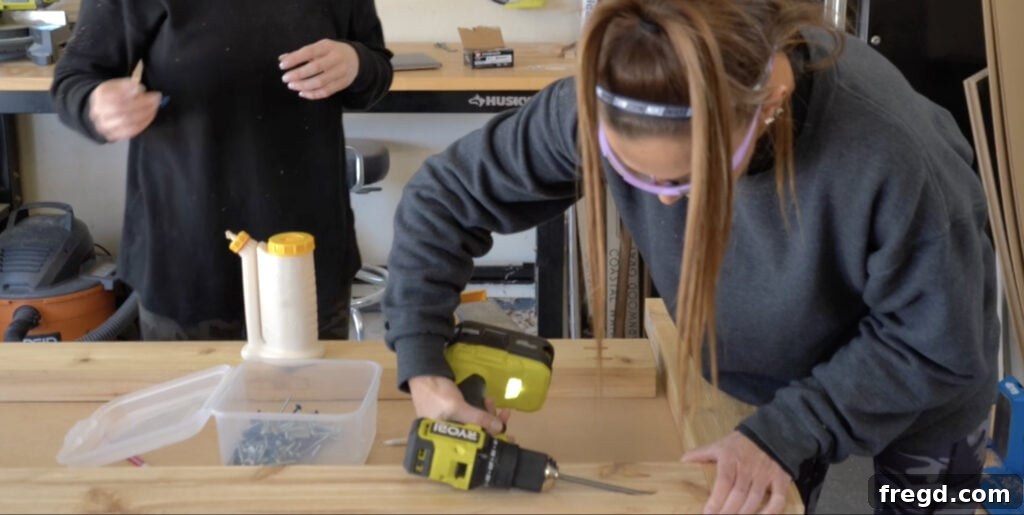
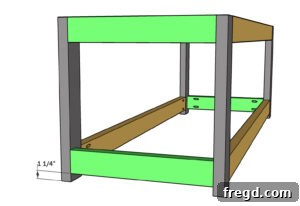
Next, attach these prepared horizontal pieces to two of your legs. Use 2 1/2″ pocket hole screws for a secure connection, enhanced with a generous application of wood glue for added strength and weather resistance. Ensure there is a 1 1/4″ space from the bottom of the legs to the first horizontal frame piece. This gap is important for drainage and overall planter design. Repeat this process to build two identical long frame assemblies, which will form the longer sides of your planter.
Step 2: Connect the Long Frame Assemblies with Short Pieces
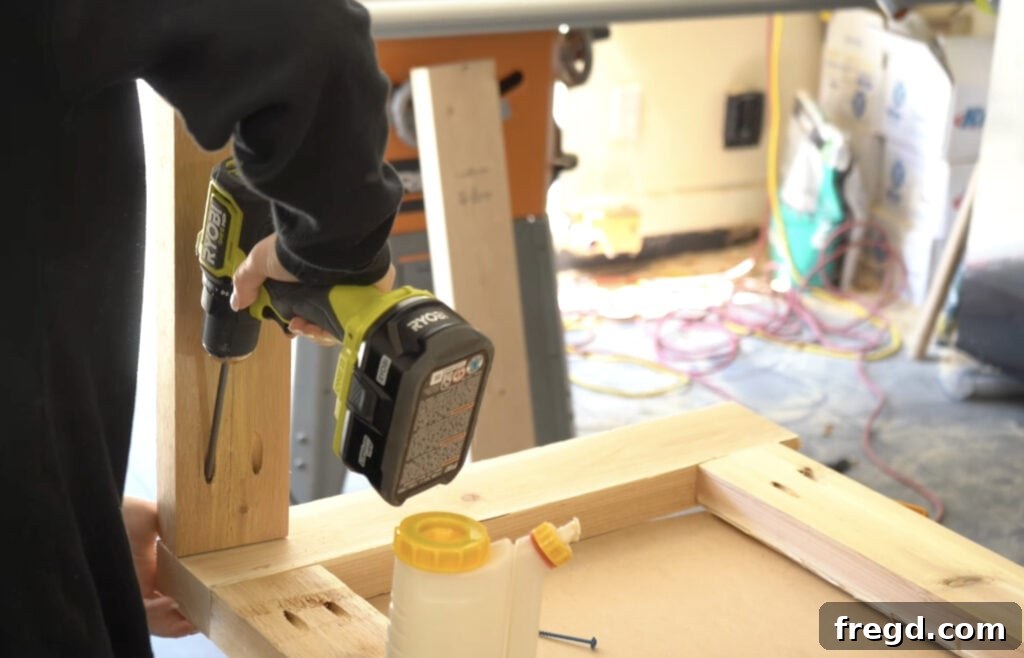
Now, cut the short frame pieces to their correct size. Similar to the long pieces, drill 1 1/2″ pocket holes at both ends of each short piece. These pieces will connect your two long frame assemblies, forming the complete rectangular structure of your planter box. Attach them using 2 1/2″ pocket hole screws and wood glue, making sure all corners are square and the frame is rigid. This step completes the basic skeleton of your planter.
Step 3: Install the Short Cleats
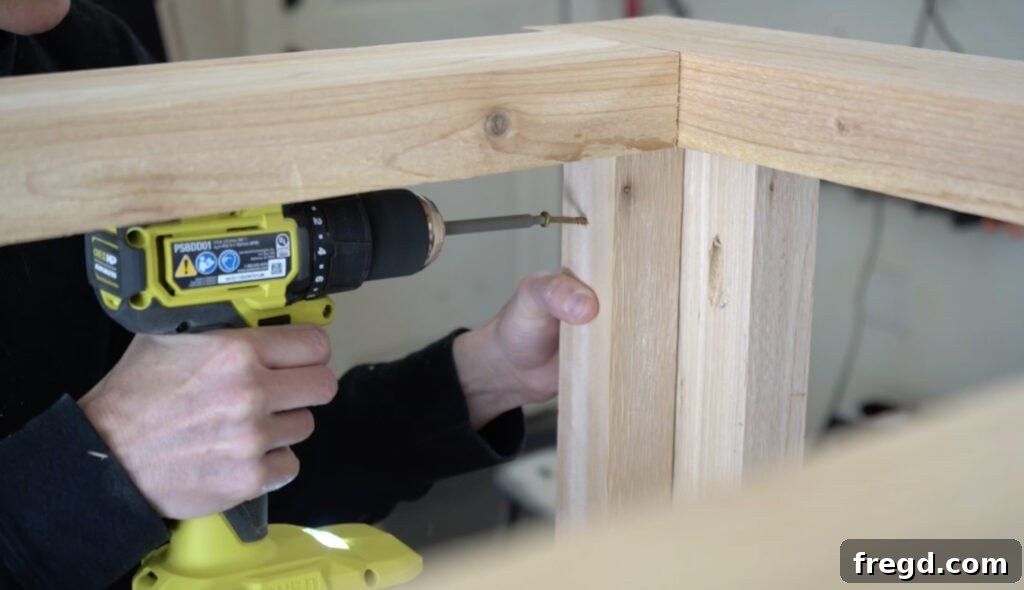
The cleats provide crucial support for the bottom slats of your planter, which hold the soil. Cut the short cleats to size. Attach them flush with the bottom edge of the short frame pieces using 2 1/2″ outdoor wood screws and wood glue. The outdoor screws are vital here for weather resistance. These cleats are essential for creating the internal shelf where the bottom of your planter will rest. If you prefer a shallower planter box, you have the flexibility to attach these cleats higher up the frame. For more detailed instructions on modifying the planter’s depth, refer to the full post on our website.
Step 4: Install the Long Cleats
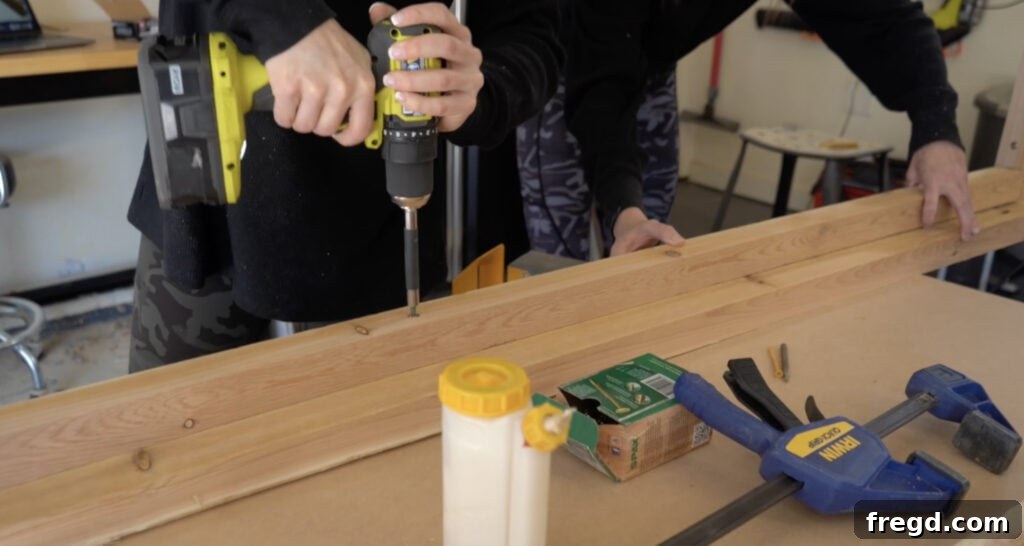
To complete the internal support structure, cut the long cleats to size. These will span the longer sides of your planter. Attach them flush with the bottom edge of the long frame pieces, using the same 2 1/2″ outdoor wood screws and wood glue. With both short and long cleats in place, your planter now has a solid internal lip ready to support the bottom slats and hold a substantial amount of potting mix and plants.
Attaching the Durable Slats
Once the frame is complete, the next step is to enclose the planter box with cedar slats. These not only define the planter’s shape but also allow for essential drainage.
Step 1: Install the Bottom Slats for Drainage
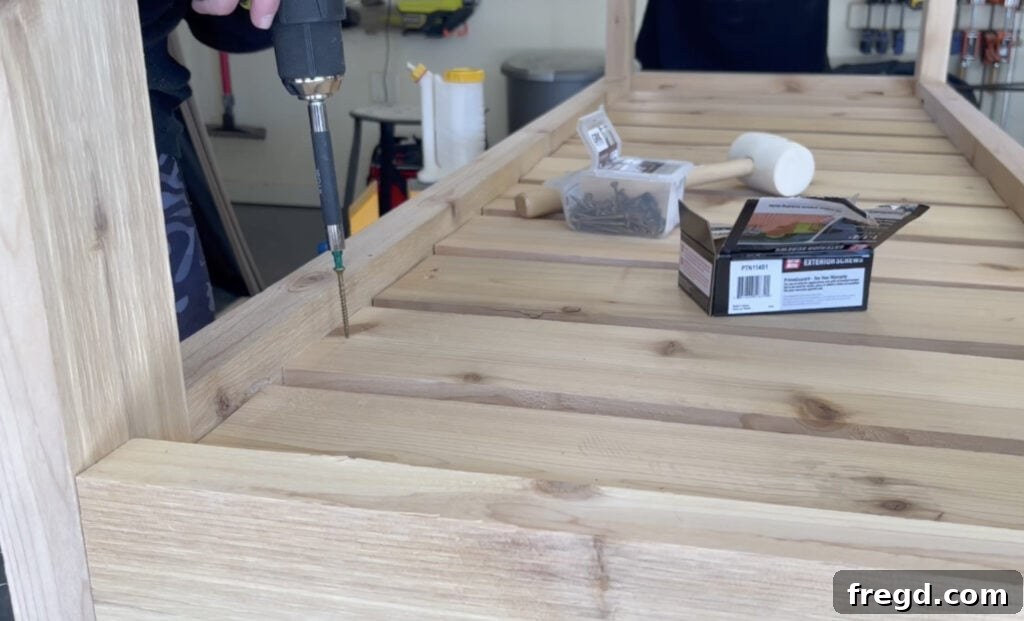
Cut your bottom slat pieces to the appropriate size. These slats will rest on the cleats you just installed. It’s crucial to spread them out evenly over the cleats, ensuring there’s a small, consistent gap between each slat. This spacing is vital for proper water drainage, preventing waterlogging and promoting healthy plant growth. Attach each slat to the cleats using 1 1/2″ outdoor wood screws and wood glue, securing them firmly in place. This forms the base of your planter.
Step 2: Attach the Side Slats
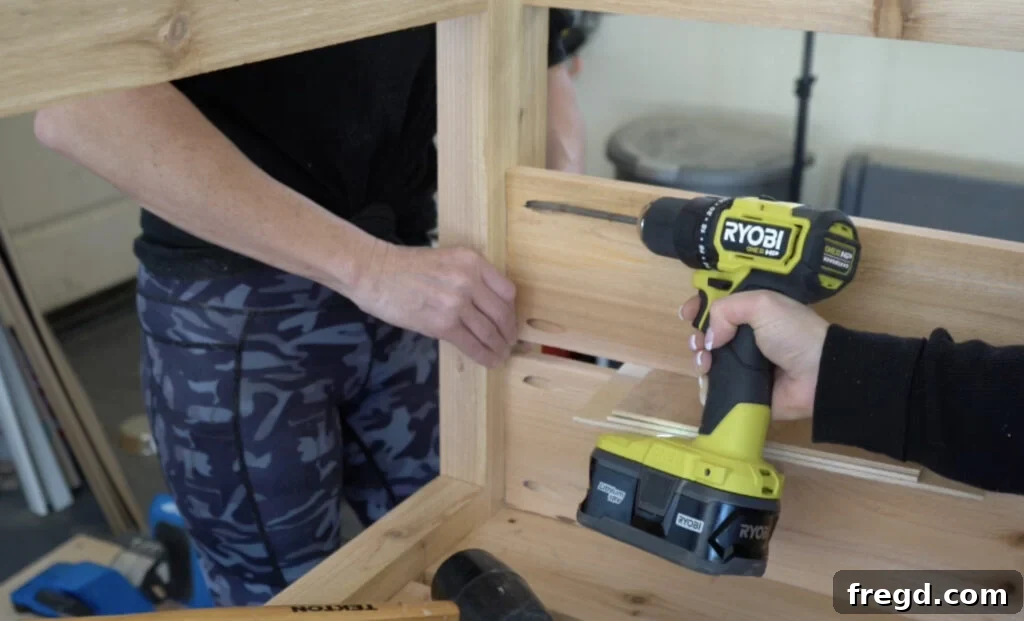
Now, prepare the side slat pieces by cutting them to size. For a clean finish, drill 3/4″ pocket holes at both ends of each side slat. These slats will be attached to the inside of the legs of your planter. Use 1 1/4″ pocket screws and wood glue to secure them. To ensure uniform spacing between the boards, we recommend using a piece of scrap wood (e.g., a 1/2″ thick piece) as a spacer. This consistent gap adds to the aesthetic appeal and also allows for minor wood expansion and contraction due to weather changes.
Step 3: Secure the Long Slats
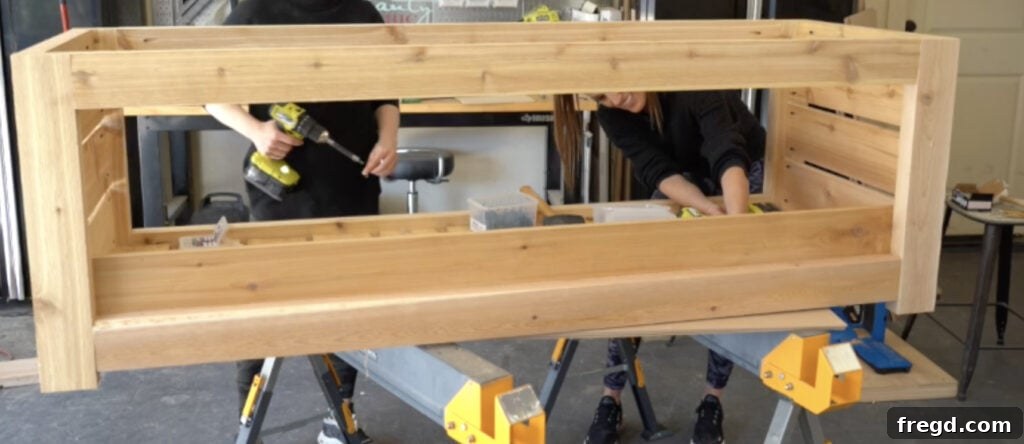
Finally, cut the long slats to size. These pieces will cover the longer internal sides of the planter box. Attach them to the inside of the planter box using 1 1/2″ outdoor wood screws and wood glue. Drive the screws from the back of the slats into the inside of the legs and frame for a strong connection. Maintain the same consistent spacing that you used for the side slats to ensure a cohesive and appealing look across all faces of your planter.
Adding the Decorative Trim
The trim pieces provide a polished, finished look to your planter box, covering exposed edges and enhancing its overall aesthetic. This is where the attention to detail truly shines.
Step 1: Install the Top Trim Pieces
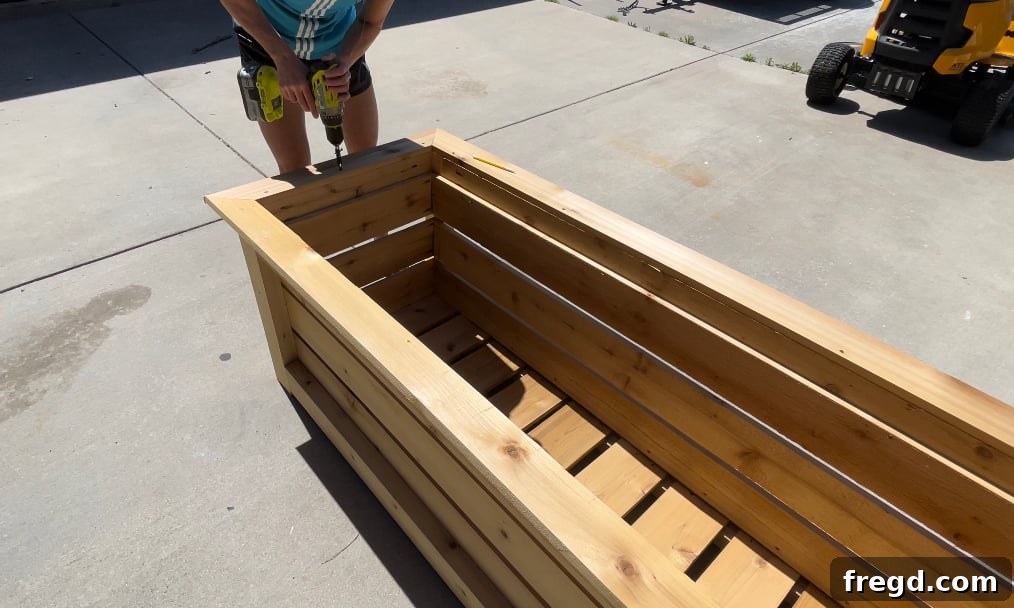
Cut the short angle trim pieces to size, ensuring the angles are precise for clean mitered corners. Attach them to the top ends of the planter box using 1 1/2″ outdoor wood screws and wood glue. After securing the short pieces, measure and cut your long trim pieces. Attach these in the same manner, making sure they align perfectly with the short trim pieces at the corners. For extra reinforcement and to keep the mitered corners tight and clean, pop a few 1 1/4″ brad nails into each corner. This step adds a refined edge to your planter, making it look professionally crafted.
Customization Ideas & Depth Modification
These cedar planter boxes are designed to be substantial, allowing for a wide variety of plant styles and sizes, from deep-rooted shrubs to cascading flowers. However, flexibility in design is often desirable. You might love the grand appearance of a large wooden planter but find that you don’t need its full depth for certain plants or arrangements. This section details how you can easily modify the internal depth of your planter.
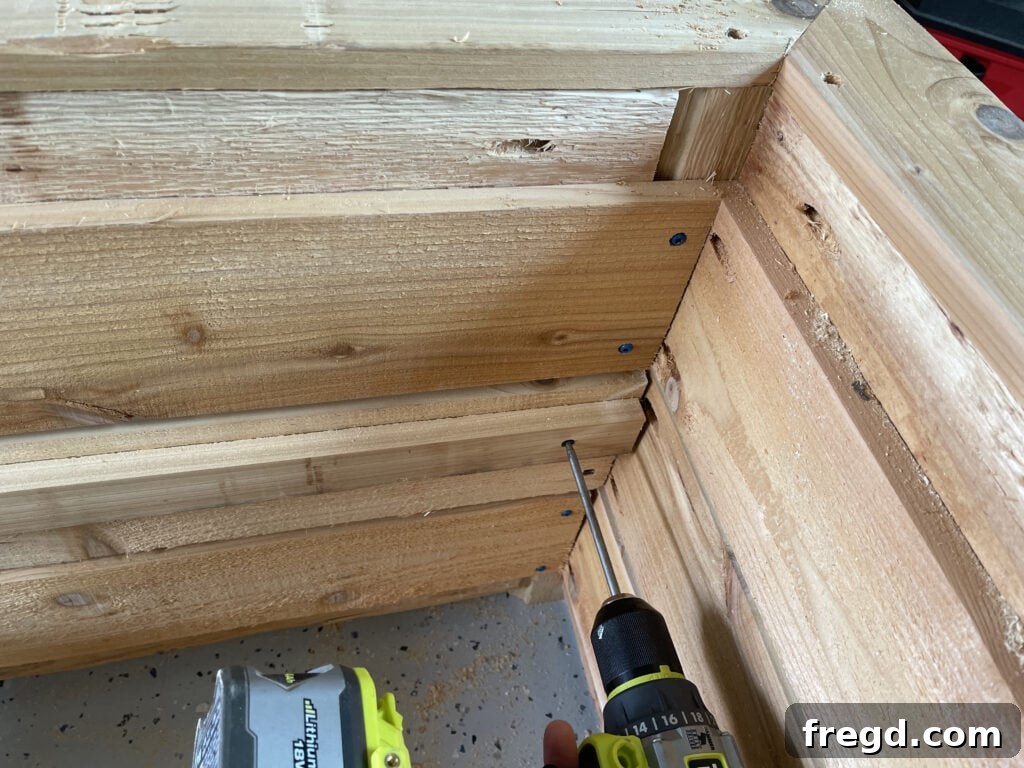
If you desire a shallower planting area, simply adjust the placement of your internal cleats. Instead of attaching them flush with the bottom of the frame, you can move them up to any desired height along the long slats. This creates a raised bottom, effectively reducing the amount of soil needed and making it easier to arrange certain plants. This modification allows you to maintain the impressive exterior dimensions of the planter while tailoring its functionality to your specific gardening needs. This is particularly useful for plants with shallower root systems or for creating layered landscaping designs.
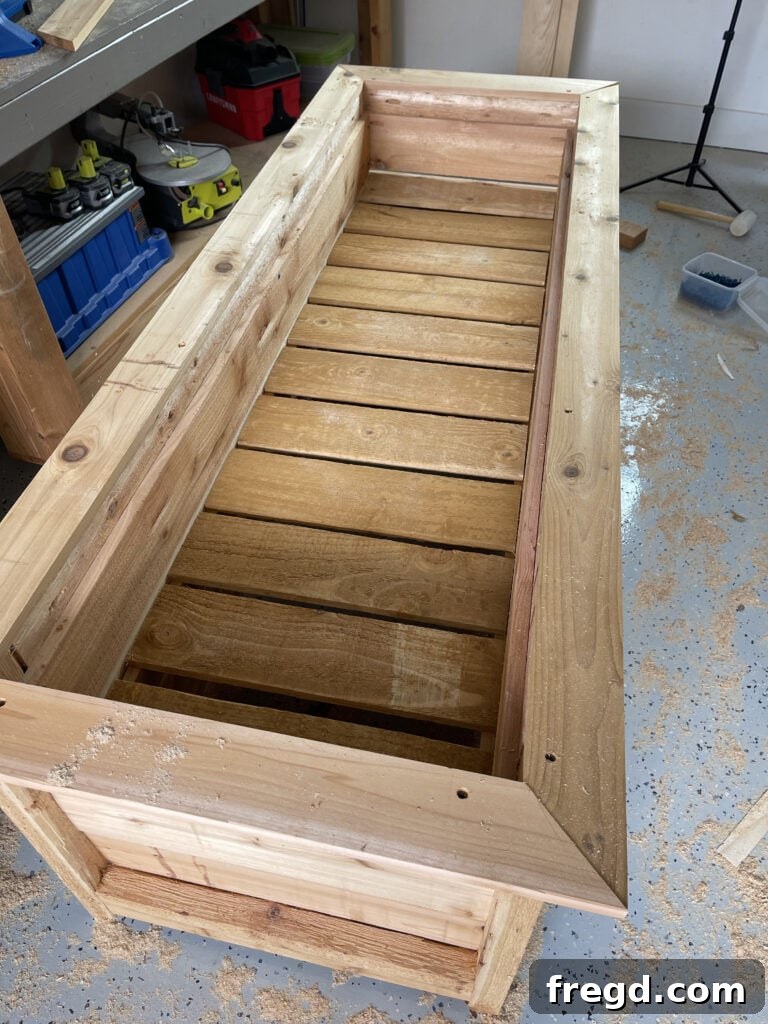
Once you’ve repositioned the cleats to your preferred height, simply attach the bottom slats to these raised cleats in the same manner as described previously. Ensure they are evenly spaced for drainage and securely fastened with outdoor wood screws and wood glue. This simple alteration provides significant versatility, allowing your custom cedar planter box to accommodate an even broader range of planting designs and horticultural requirements. Remember, planning your plant choices beforehand can help you decide on the optimal depth for your planter.
The Finishing Touches
Once construction is complete, the final steps involve preparing your planter for planting and ensuring its longevity through proper finishing and lining. These steps protect your investment and create a healthy environment for your plants.
Step 1: Sanding and Weatherproofing
Begin by filling any exposed pocket holes and screw holes with an appropriate exterior-grade wood filler. Once the filler is dry, sand the entire planter box thoroughly. Start with a medium-grit sandpaper (around 120-grit) to smooth out any rough spots or imperfections, then follow up with a finer grit (180-220 grit) for a silky-smooth finish. Proper sanding is crucial for both aesthetics and to ensure the outdoor finish adheres well.
After sanding, apply a high-quality outdoor finish for weather resistance. This could be a stain, sealant, or paint specifically designed for exterior use on wood. This protective layer will shield the cedar from moisture, UV rays, and temperature fluctuations, significantly extending the life of your planter box. Choose a finish that complements your home’s exterior or creates a desired aesthetic.
- You can find the outdoor stain that I used here, known for its excellent protection and beautiful appearance.
Step 2: Lining the Planter Box
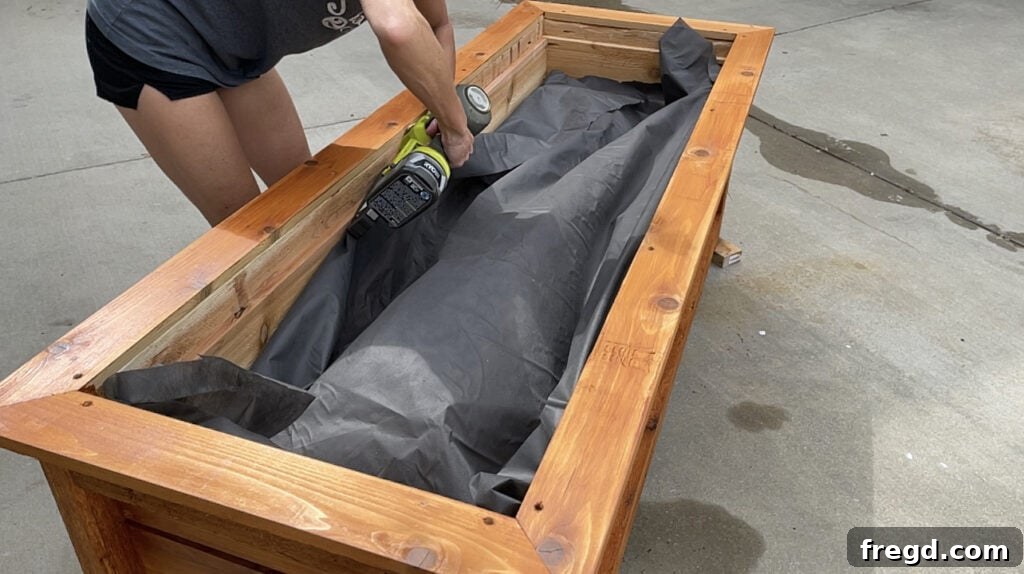
To prepare your planter for soil and plants, and to further protect the cedar, line the inside with landscape fabric. This fabric serves multiple purposes: it prevents soil from seeping out through the gaps in the bottom slats, helps retain moisture in the soil, and acts as a barrier between the damp soil and the wood, further preventing rot. I used an 18-gauge staple gun and 5/8″ staples to securely attach the landscape fabric to the inside walls and bottom of the planter. Make sure the fabric extends up the sides to just below the top trim, providing full coverage.
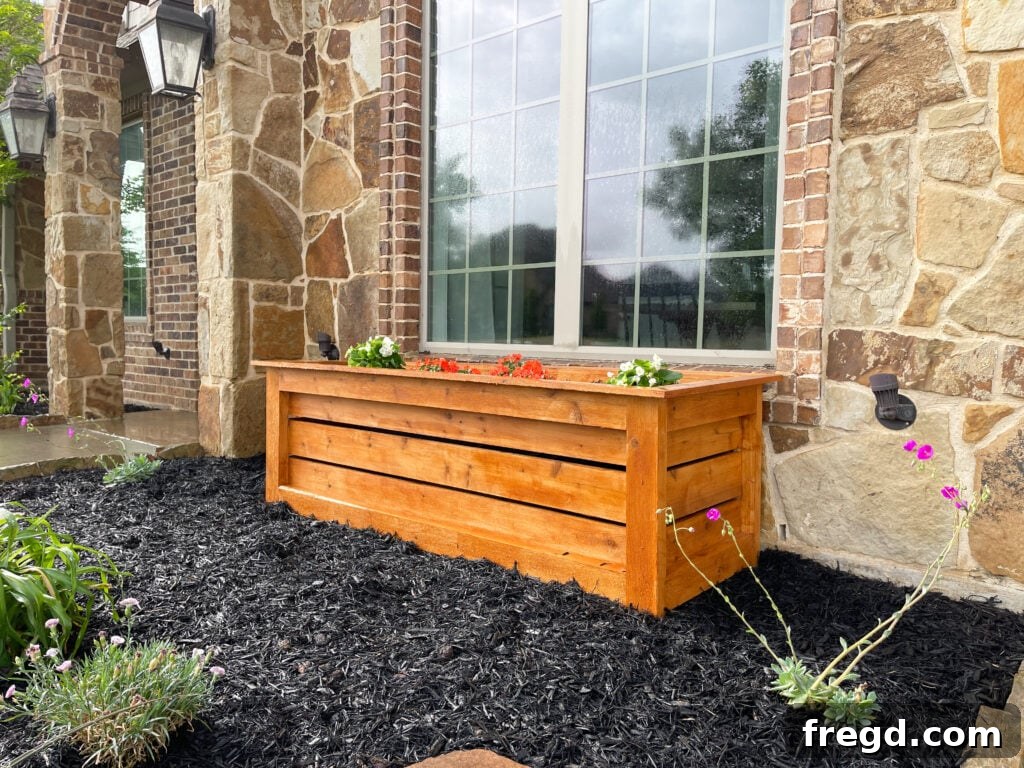
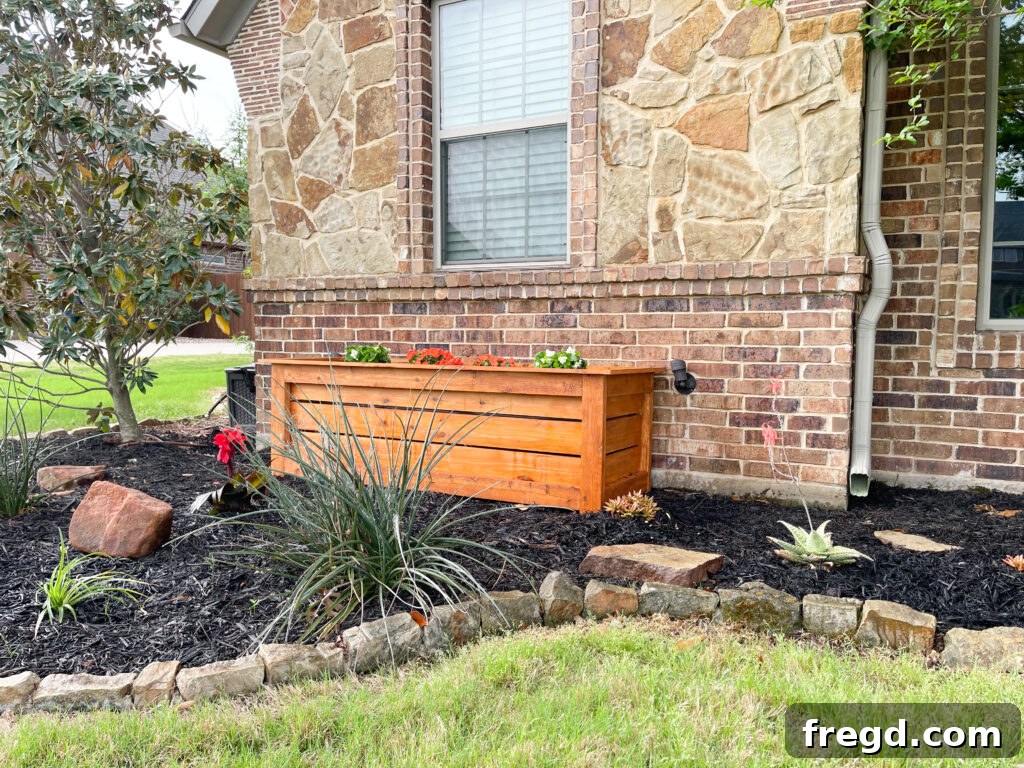
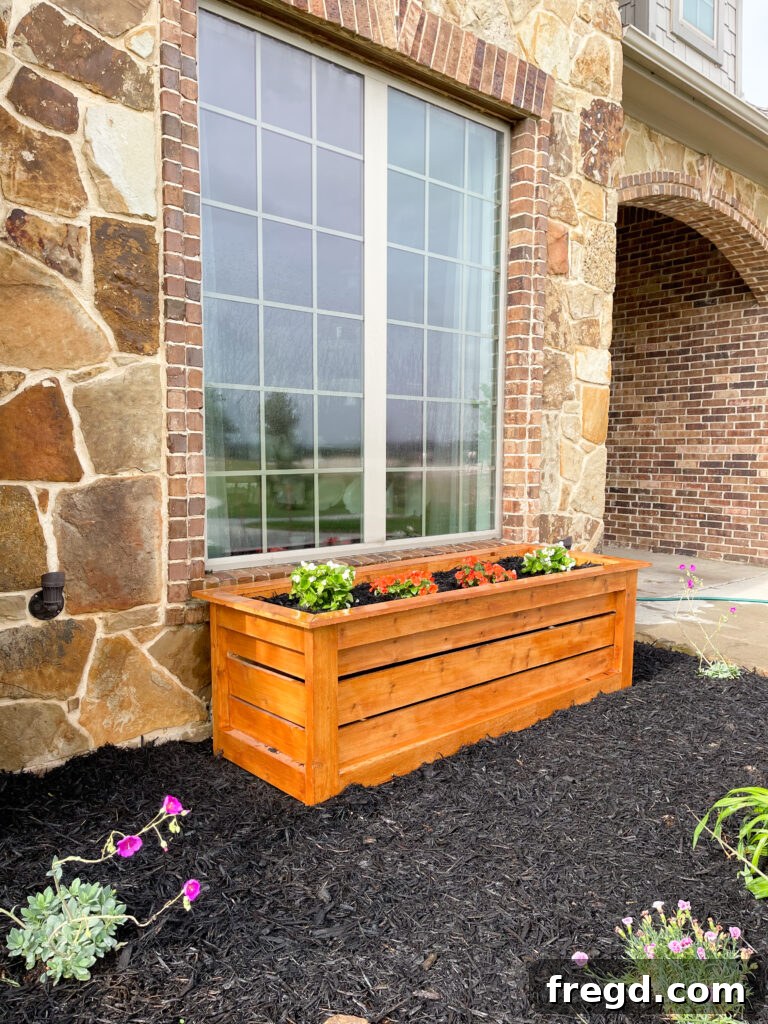
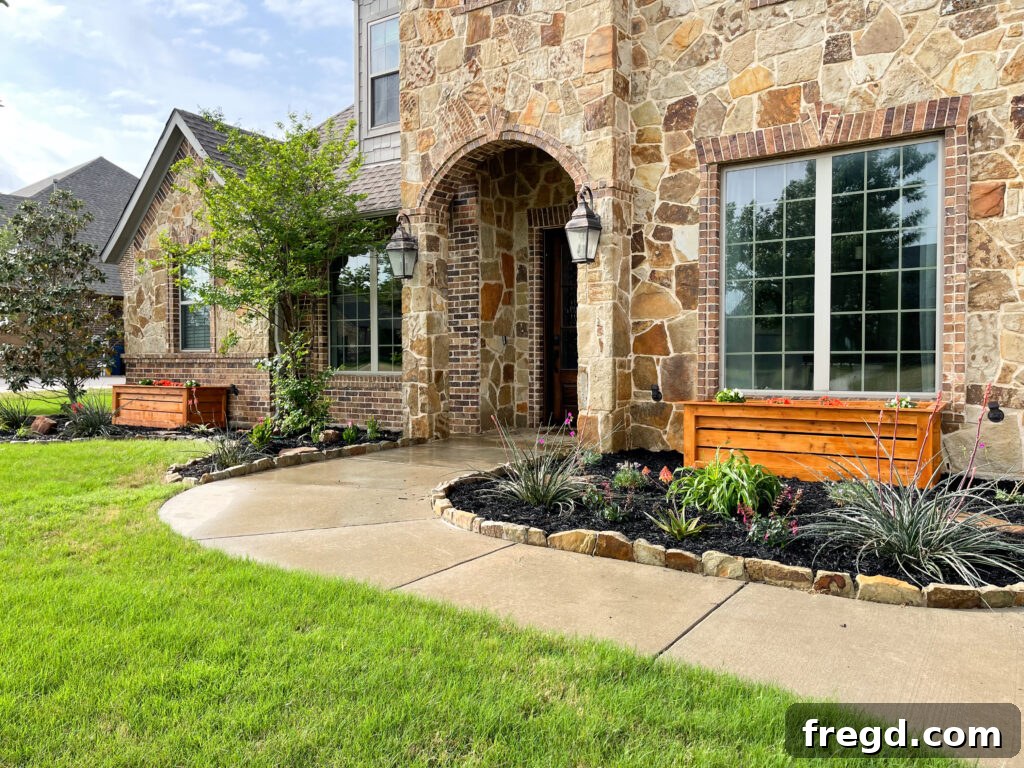
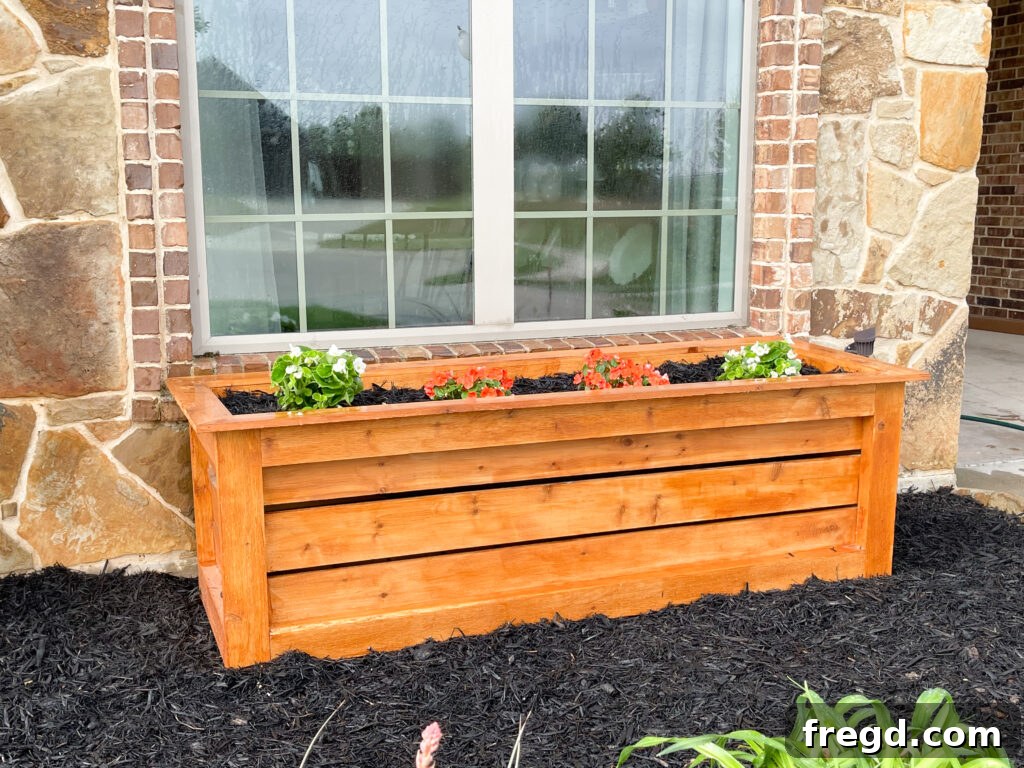
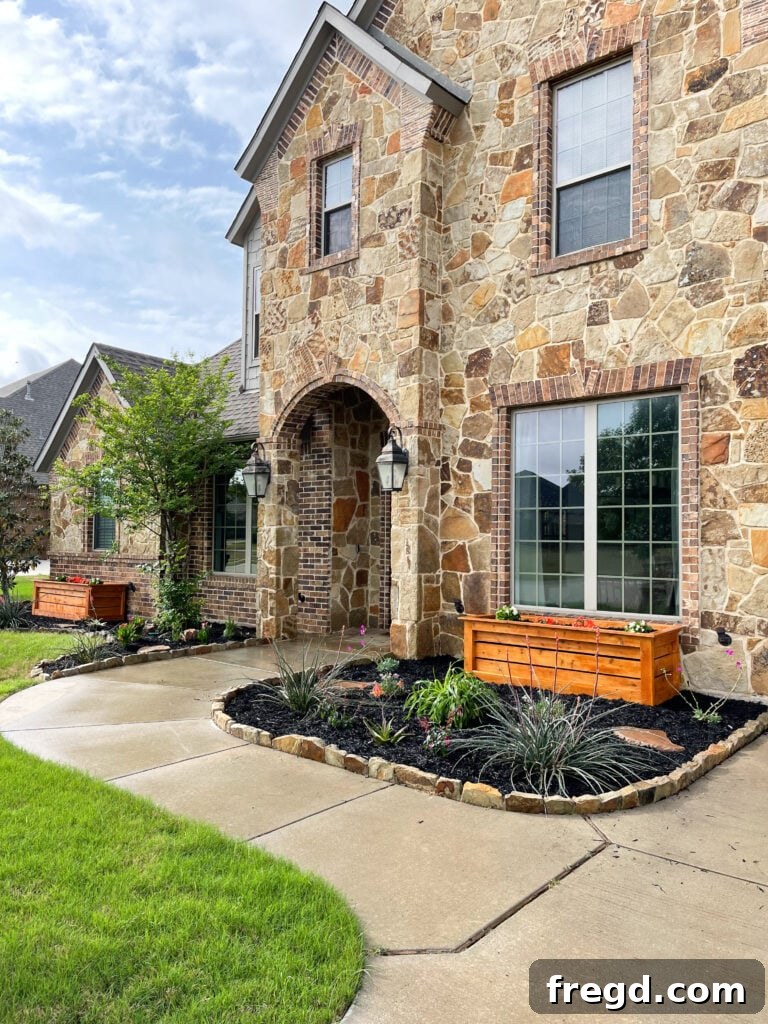
I am absolutely thrilled with my new garden boxes! They truly were so easy to build, and the impact they’ve had on the front of my home is incredible. They add so much character, charm, and a renewed sense of life to the landscape. I encourage everyone to give this project a try!
Once you’ve completed your own planter box, don’t forget to share your creations with us on social media. Use the hashtag #shanty2chic so we can admire and share your amazing DIY projects with our community!
Happy Building, and happy gardening!
Explore More Outdoor DIY Projects!
If you enjoyed building this planter box, you might be interested in tackling some of our other popular outdoor projects. Expand your DIY skills and enhance your outdoor spaces even further!
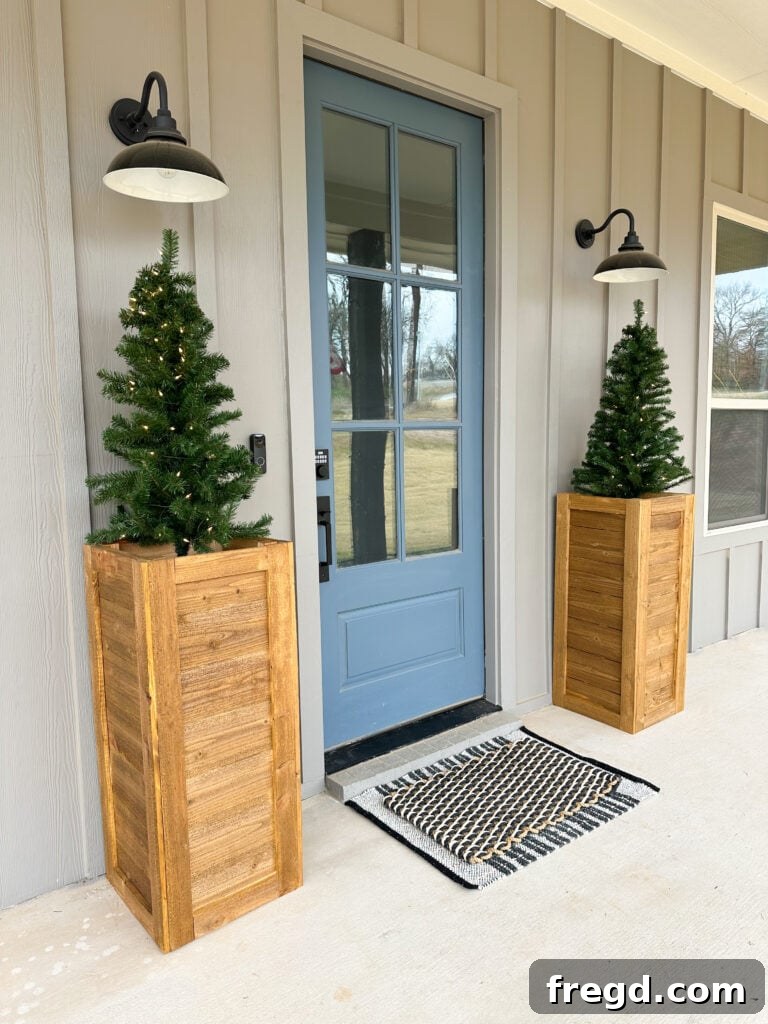
Tall Cedar Planter Boxes
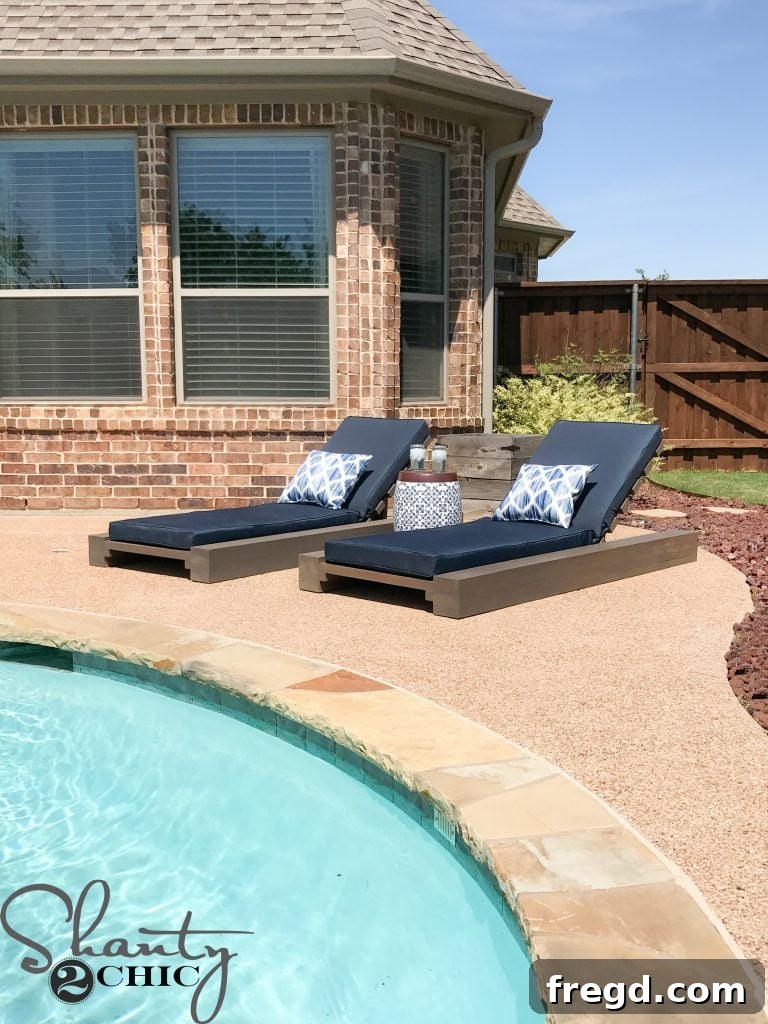
Comfortable Outdoor Lounge Chairs
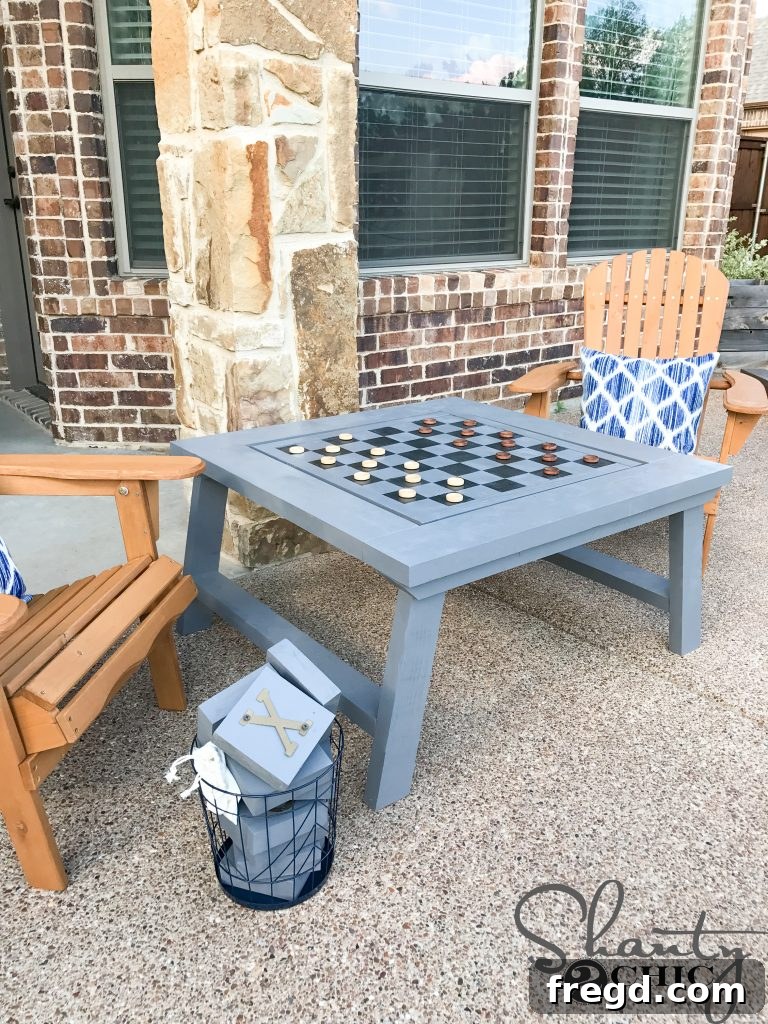
Fun Outdoor Game Table
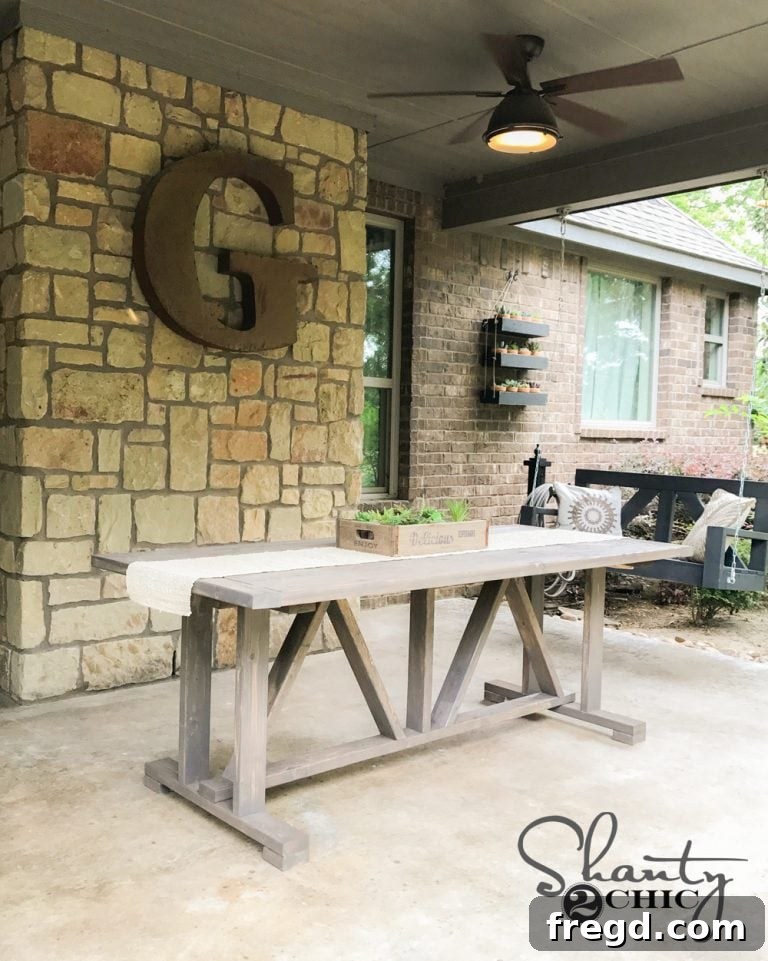
Spacious Outdoor Dining Table
DIY Cedar Planter Box: Free Plans & Step-by-Step Instructions
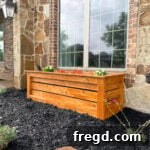
Learn how to build this stunning DIY Cedar Planter Box with just a few tools, a detailed how-to video, and these easy-to-follow free plans by Shanty2Chic. Get ready to enhance your outdoor space!
Click here to download and print the full set of free plans, including the comprehensive supply list and detailed cut list!
Tools Required for This Project
- Miter Saw
- Drill
- Kreg Jig
- Nailer
- Sander
Supply List
- 9 1x6x8 Cedar Planks or Fence Pickets
- 2 1x4x8 Cedar Planks or Fence Pickets
- 6 2x4x8 Cedar Boards
- 1 1/4″ Pocket Hole Screws
- 2 1/2″ Pocket Hole Screws
- 1 1/2″ Outdoor Wood Screws
- 1 1/4″ Brad Nails
- Wood Glue (Exterior Grade)
Instructions
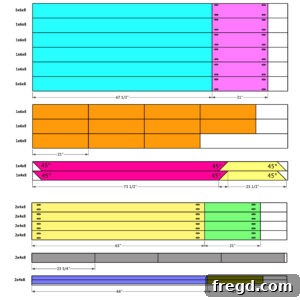
Cut List
-
Begin by making all your cuts according to the detailed dimensions provided in the downloadable plans. Precision in this step will ensure a smooth assembly process.

Refer to the printable plans for exact cut dimensions.
Building the Frame
-
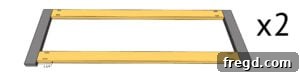
Cut the long frame pieces to size. Drill 1 1/2″ pocket holes at both ends of each long, horizontal frame piece. Attach these to two legs using 2 1/2″ pocket hole screws and wood glue. Ensure there is a 1 1/4″ space at the bottom of the legs for proper design. Repeat this process to build two long frame assemblies.
Step-by-step assembly of the long frame sides. -
Cut the short frame pieces to size and drill 1 1/2″ pocket holes at both ends of each piece. Attach them to the long frame assemblies with 2 1/2″ pocket hole screws and wood glue, creating the full rectangular frame.
Visual guide for connecting the frame assemblies. -
Cut the short cleats to size. Attach them flush with the bottom of the short frame pieces using 2 1/2″ outdoor wood screws and wood glue. Note: If you don’t need a deep planter box, you can attach the cleats higher to create a shallower planting depth. Consult the main article on our site for more detailed instructions on this modification.
Placement of short cleats for bottom support. -
Cut the long cleats to size and attach them flush with the bottom of the long frame pieces with 2 1/2″ outdoor wood screws and wood glue, completing the internal support structure for the planter’s base.
Installation of long cleats for robust base support.

Attaching the Slats
-
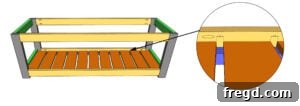
Cut the bottom slat pieces to size. Spread them out evenly over the cleats and attach them to the cleats with 1 1/2″ outdoor wood screws and wood glue. Ensure consistent spacing between slats for proper drainage.
Positioning and securing the bottom slats for optimal drainage. -
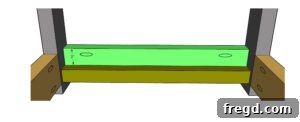
Cut the side slat pieces to size and drill 3/4″ pocket holes at both ends. Attach them to the inside of the legs with 1 1/4″ pocket hole screws and wood glue. Use scrap wood as a spacer (e.g., 1/2″) to ensure even gaps between the boards.
Securing side slats with consistent spacing. -
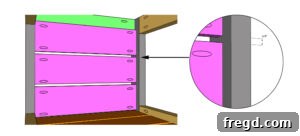
Cut the long slats to size and attach them to the inside of the planter box with 1 1/2″ outdoor wood screws and wood glue. Drive screws from the back of the slats into the inside of the legs and frame. Maintain the same spacing as the side slats for a cohesive look.
Final placement of long slats to complete the planter’s walls.
Adding the Trim
-
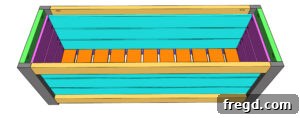
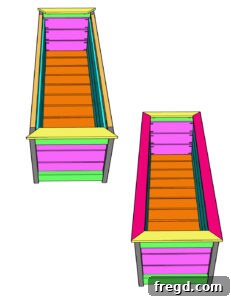
Cut the short trim pieces to size, ensuring precise angle cuts for mitered corners. Attach them to the top ends of the planter box with 1 1/2″ outdoor wood screws and wood glue. Measure and cut the long trim pieces and attach them in the same way, aligning with the mitered corners. For added stability and a clean finish, pop a few 1 1/4″ brad nails into the mitered corners.
Detail of the installed trim, creating a polished finish.
The Finish
-
Fill any exposed pocket holes and screw holes with exterior wood filler, then sand the entire planter box smooth. Apply an outdoor-grade finish (stain, sealant, or paint) to protect the cedar from the elements and enhance its appearance.
For detailed guidance on preparing and finishing your planter box for planting, refer back to the full article and video tutorial on our site.
Once your beautiful cedar planter box is complete, we’d love to see it! Share your finished project with us on social media using #shanty2chic so we can celebrate your hard work and creativity!
Happy Building, and enjoy your new outdoor masterpiece!