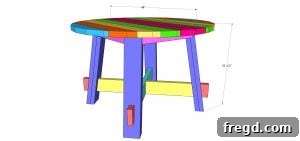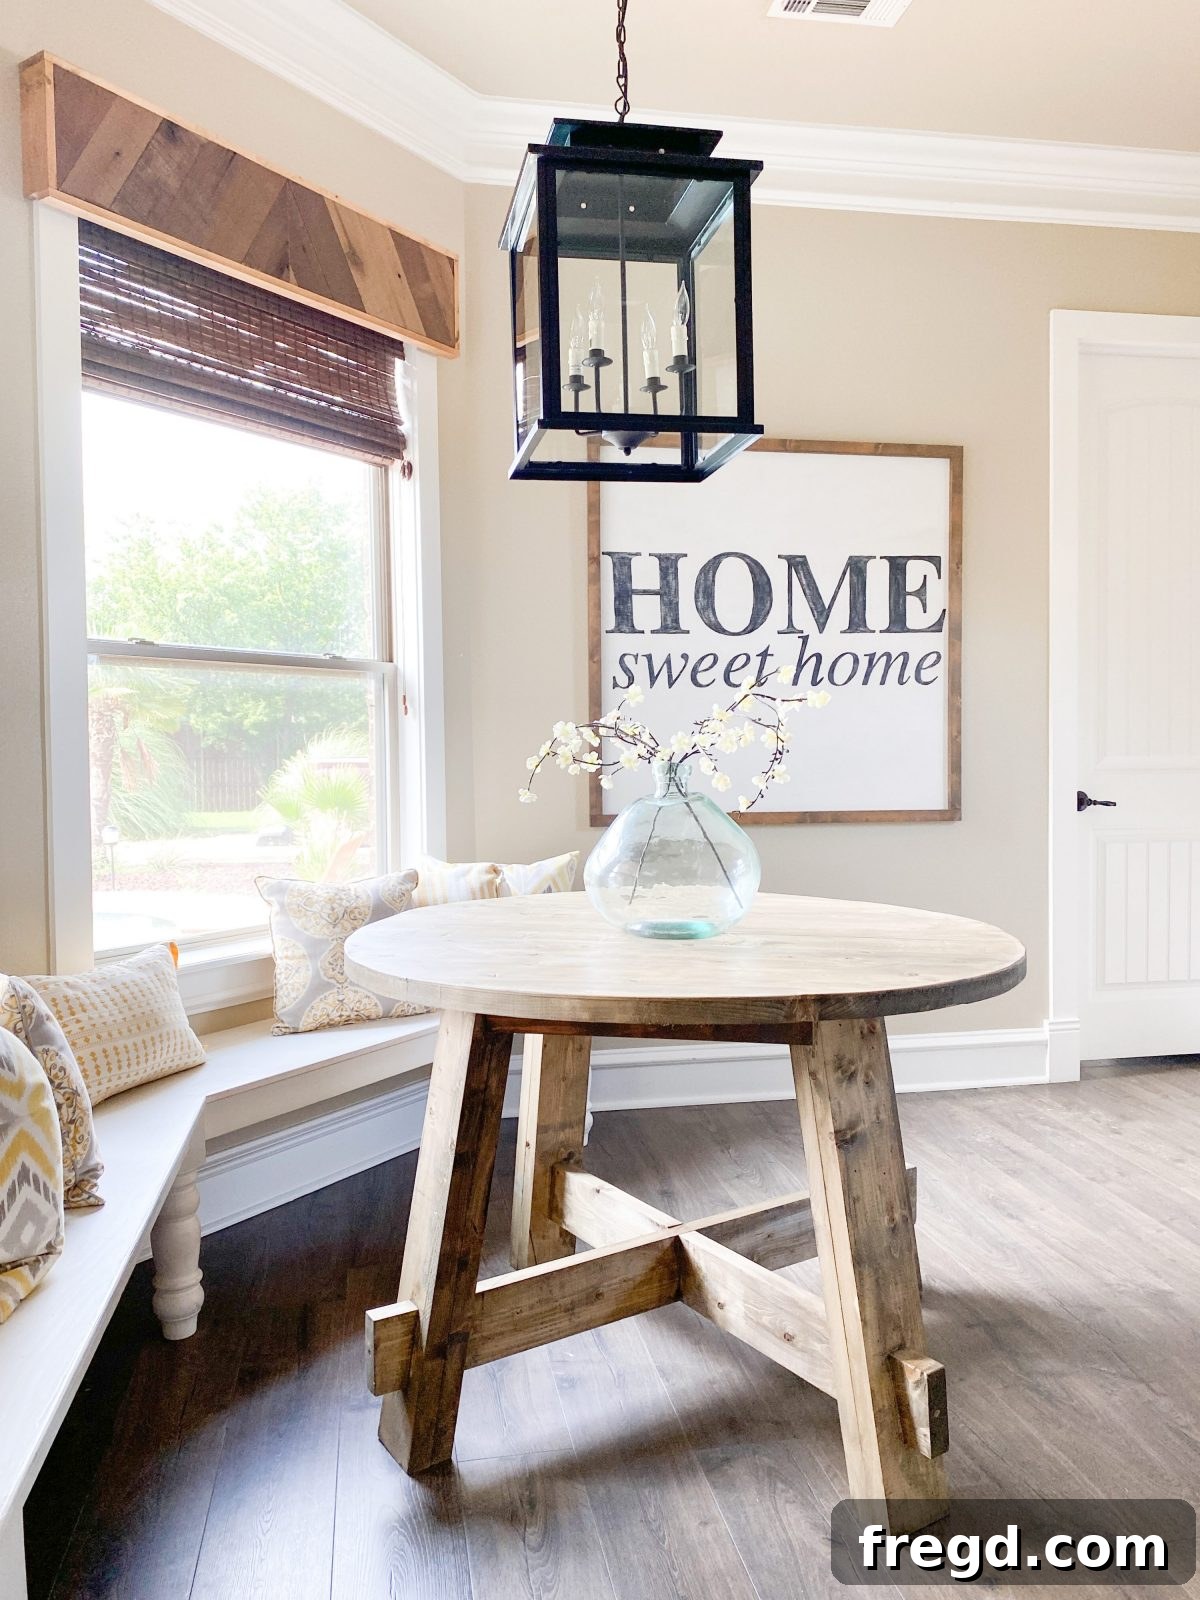
Are you ready to transform your dining space with a unique, handcrafted touch? Learn how to build this stunning DIY Round Dining Table, combining rustic charm with modern design, complete with free detailed plans and an insightful how-to video. This project is perfect for woodworkers of all skill levels, offering a rewarding experience and a beautiful piece of furniture that will become the heart of your home.
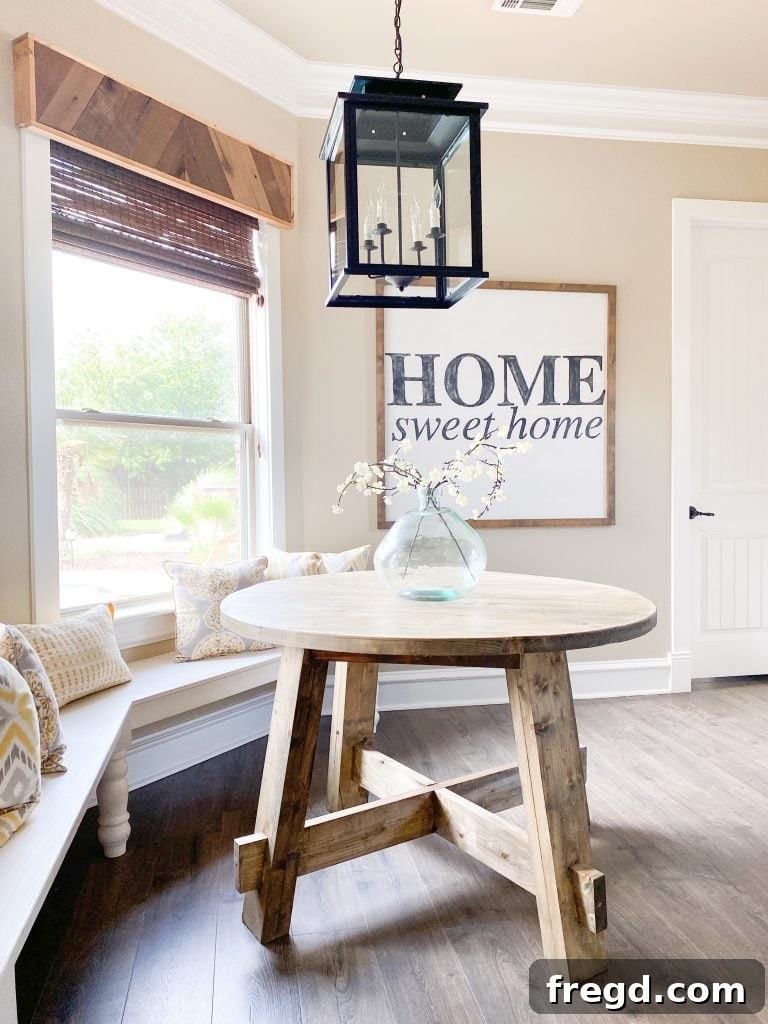
Hello, fellow DIY enthusiasts! For those of you who have been following my journey on social media, you might know I had my house on the market recently. After much deliberation, I made the exciting decision to take it off the market and embrace my current home. This renewed commitment has ignited a passion for transforming every room, starting with a significant makeover in my kitchen’s breakfast area!
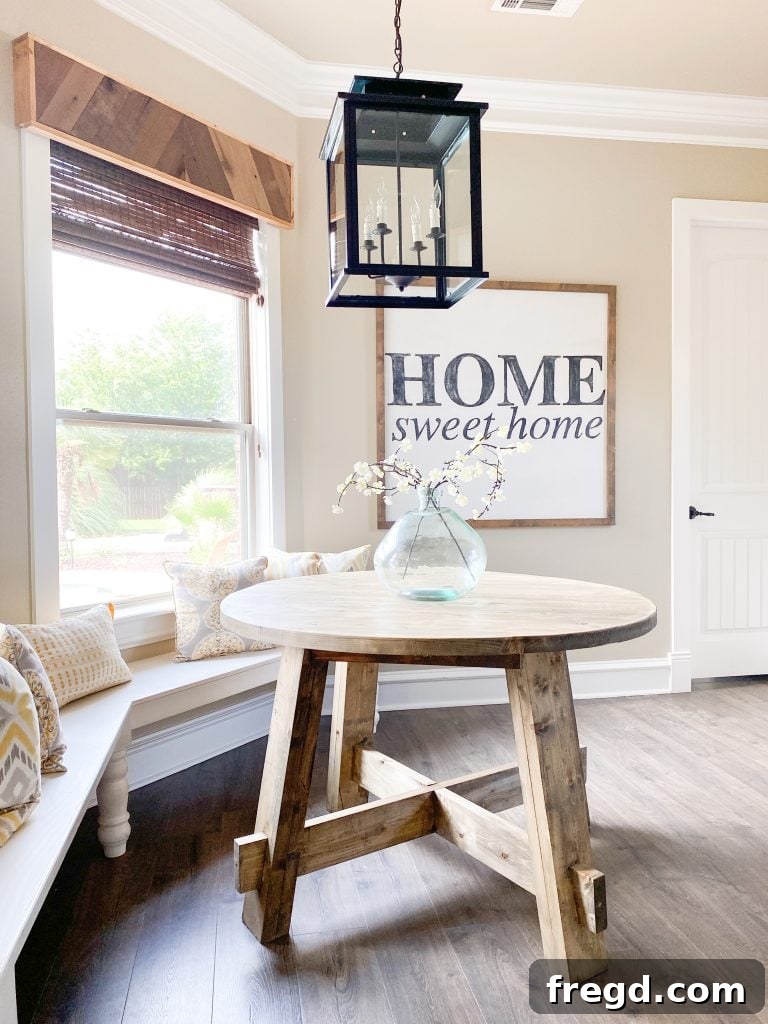
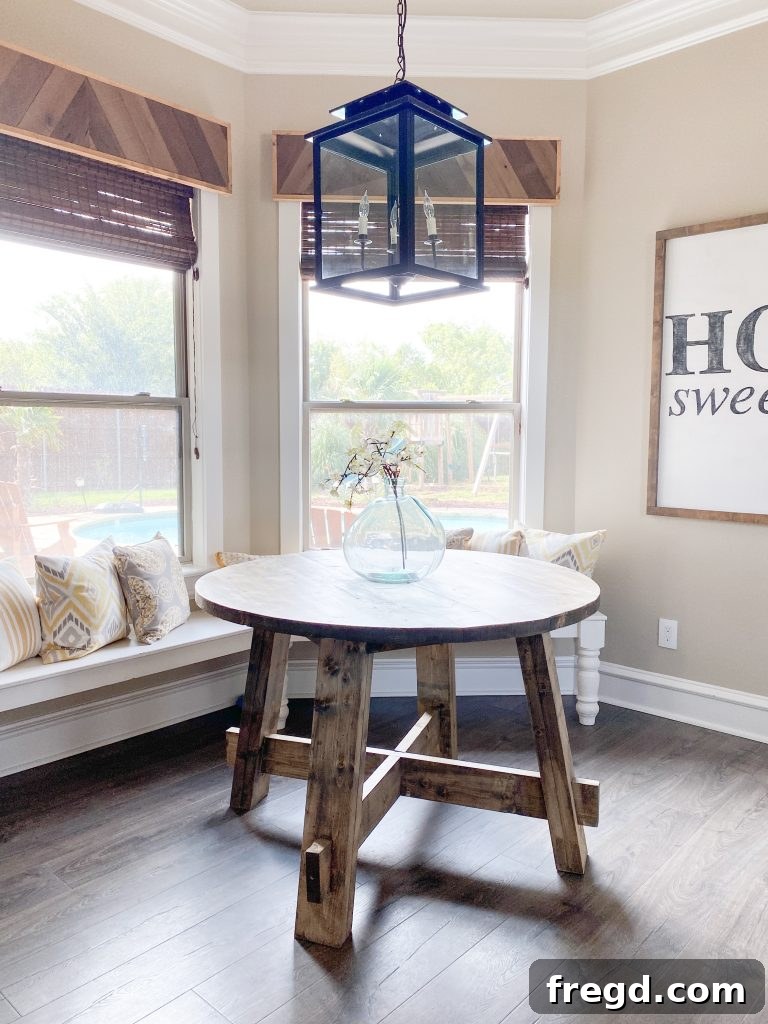
My vision began with the centerpiece of the room: the dining table. I’ve long dreamed of a fresh, innovative design for a round table that would not only be functional but also a true statement piece. The result? This gorgeous rustic modern dining table, which I proudly designed and built for an astonishingly low cost of less than $70 in lumber! It’s incredible what you can achieve with a little creativity and some affordable materials.
Crafting your own furniture is immensely satisfying, and this project is no exception. It’s not just about saving money; it’s about creating something that perfectly fits your style and space, something imbued with your own effort and love. This round dining table offers a versatile aesthetic that can complement a variety of interior designs, from farmhouse chic to minimalist modern. Its circular shape fosters intimacy and easy conversation, making every meal a more connected experience.
The construction process itself is surprisingly straightforward, and I’m thrilled to share every step with you. To make your building journey as smooth as possible, I’ve put together comprehensive, free printable plans. Be sure to download them and follow along with the detailed step-by-step instructions provided below. Before you dive into the written guide, you can also watch the accompanying video which visually demonstrates the entire build, highlighting key techniques and offering helpful tips.
Ready to get started? Let’s build your dream dining table!
Click Here to Download the Free Printable Plans!
Introduction to Your DIY Round Dining Table
Welcome to the ultimate guide for building your very own round dining table! This project combines affordability with a stylish aesthetic, allowing you to create a custom piece of furniture that perfectly suits your home. Whether you’re a seasoned woodworker or just starting out, these plans are designed to be clear, concise, and easy to follow. We’ll walk you through every cut, every joint, and every step to ensure your success.
The beauty of a DIY project like this lies in the ability to choose your own materials and finishes. While we used readily available framing lumber for cost-effectiveness, you can opt for higher-grade pine boards or even hardwoods if your budget allows, offering endless possibilities for customization. The rustic modern design features a robust base and a sleek round top, making it a versatile addition to any dining room, kitchen, or breakfast nook.
Essential Materials and Tools
Before you begin, gathering all your necessary tools and supplies is crucial. This not only saves time but also ensures a smoother, more efficient building process. Investing in quality tools will make your projects easier and yield better results for years to come. Many of these tools are standard for woodworking projects, making them valuable additions to any DIY workshop.
Tools Required for This Project
- Miter Saw: Essential for precise cross-cuts and bevels, ensuring your table components fit together perfectly.
- Drill: A powerful cordless drill is invaluable for driving screws and drilling pilot holes.
- Kreg Jig: This pocket hole jig is a game-changer for strong, concealed joints. It simplifies furniture construction significantly.
- Brad Nailer: Perfect for temporarily holding pieces in place while wood glue dries, or for attaching smaller trim pieces.
- Sander: An orbital sander is ideal for achieving a silky-smooth finish on your tabletop and base, preparing it for staining or painting.
- Table Saw (Optional but Recommended): Useful for ripping boards to custom widths and ensuring perfectly straight edges, though a circular saw with a guide can also work for some cuts.
- Plunge Router with Router Bit: Absolutely key for cutting the perfect circle for your tabletop. A good quality bit will ensure a clean, smooth edge.
Supply List for Your Round Dining Table
The following lumber and hardware are what you’ll need. Always remember to check your local lumberyard or home improvement store for the best prices and availability. Buying slightly more than the cut list requires is a good practice to account for mistakes or damaged pieces.
- 1 (2x4x8) Framing Lumber or equivalent Pine Board: Used for various structural components.
- 9 (2x6x8) Framing Lumber or equivalent Pine Boards: These will form the bulk of your tabletop and base.
- 1 1/4″ Pocket Hole Screws: For attaching the table base to the tabletop.
- 2 1/2″ Pocket Hole Screws: The primary fasteners for assembling the tabletop planks and the table base.
- 2″ Brad Nails: For temporary holding during assembly with glue.
- 3″ Wood Screws: Used for attaching the decorative ends securely.
- Wood Glue: Essential for strong, durable joints. Don’t skip this step!
- Wood Filler: For filling any screw holes, nail holes, or minor imperfections before finishing.
Pro Tip for Shopping: I highly recommend ordering your supplies online from stores like Home Depot and utilizing their curbside delivery service. It’s been an absolute lifesaver for me! Simply place your order, wait for a text notification, pull up to the designated curbside area, and they’ll load your lumber and supplies directly into your vehicle or trailer. This convenience saves a lot of time and heavy lifting.
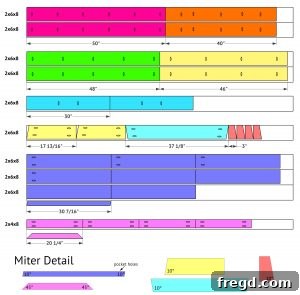
Cut List Diagram
Refer to your printable plans for the detailed cut list and diagrams. Accuracy in cutting is paramount for a professional-looking finished product. Double-check all measurements before making a cut.
Crafting the Table Top: A Step-by-Step Guide
The tabletop is the most prominent feature of your dining table, so careful attention to detail here will truly pay off. This section focuses on assembling and shaping the beautiful round surface.
Step 1: Planking the Table Top
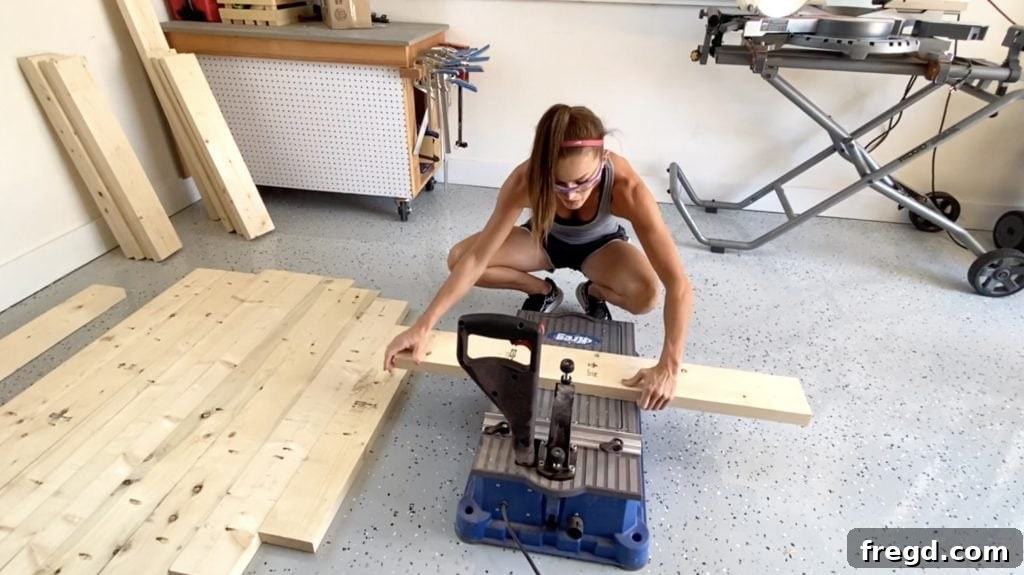
Begin by cutting your 2×6 lumber planks to the required lengths as specified in the cut list diagram. Once cut, you’ll need to drill 1 1/2″ pocket holes along the edges of these boards. These pocket holes are essential for creating strong, hidden joints that will hold your tabletop together seamlessly. While I used my Kreg Foreman – which is fantastic for rapidly drilling many pocket holes, almost like a drill press – any model of Kreg Jig will get the job done efficiently. The Kreg Jig system is incredibly user-friendly and produces professional results.
- Discover the Kreg Foreman here!
- Find our favorite Kreg Jig model here for versatile use!
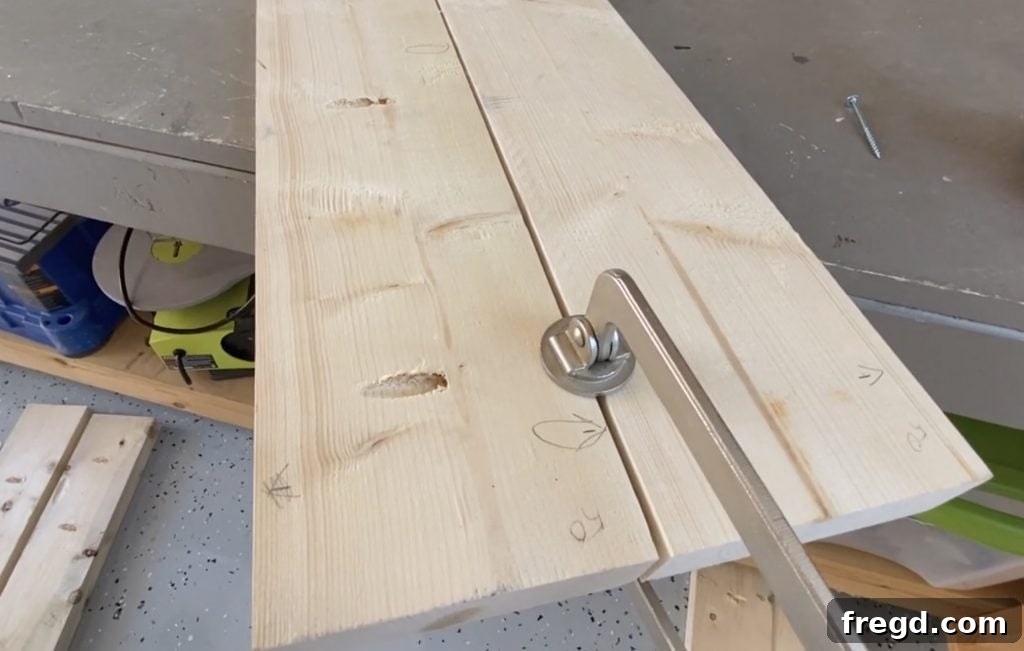
With all pocket holes drilled, apply a generous amount of wood glue along the edges of the boards where they will join. Then, carefully align and attach the boards together using 2 1/2″ pocket hole screws. Work systematically, ensuring each joint is tight and flush.
- Helpful Tip: To ensure your boards remain perfectly even during joining and to prevent any slight misalignment, we highly recommend using Kreg Face Clamps. These clamps are designed specifically for pocket hole applications and will keep your surfaces smooth and level. Many people ask if we use a planer or a jointer to achieve such smooth tabletop planks, but with this simple technique and good clamping, those expensive tools aren’t necessary for beautiful results. You can find our favorite face clamps here!
Step 2: Cutting the Round Table Top
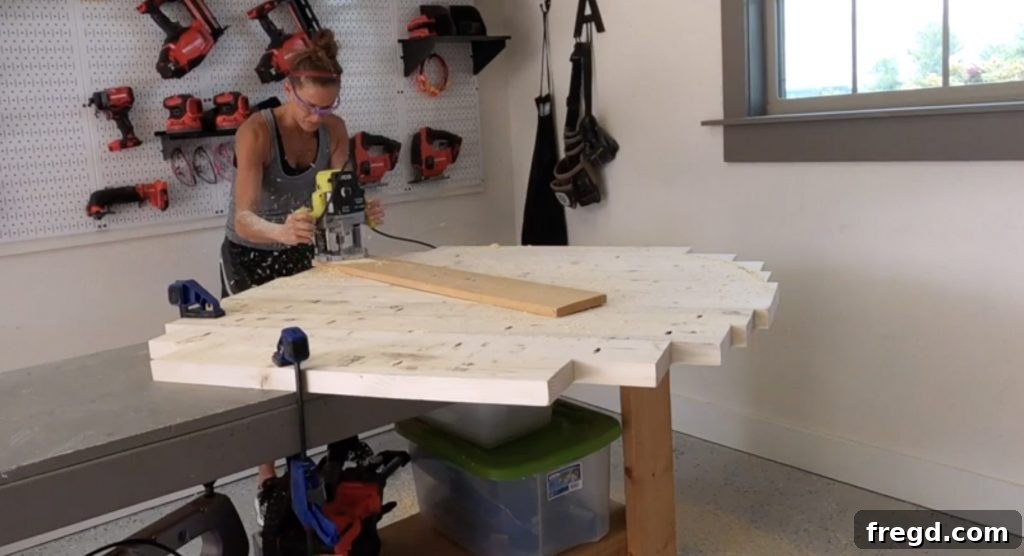
Now for the exciting part – transforming your rectangular plank assembly into a perfect circle! Using a plunge router with a specialized router jig (you can refer to the how-to video to see a demonstration of my DIY router jig), carefully cut a 48″ diameter circle out of the joined table planks. This technique allows for incredibly precise and smooth circular cuts, which is vital for a professional finish. The beauty of a router jig is its versatility; this method can be adapted to cut circles of any dimension.
While a jigsaw can be used to cut a round top, it is generally not recommended for thicker materials like 2″ lumber. The blade of a jigsaw tends to bend or wander when cutting through such depth, resulting in a less-than-perfect, uneven edge. For the best results and a truly round table, a plunge router with a suitable bit and a steady hand (or a jig!) is the superior choice.
- You can find the specific router bit I used to achieve this precise cut here!
Constructing the Sturdy Table Base
A beautiful tabletop needs an equally strong and elegant base. This section outlines the assembly of the table legs, aprons, and runners that will provide stable support for your round top, ensuring your table is both functional and aesthetically pleasing.
Step 1: Building the Legs
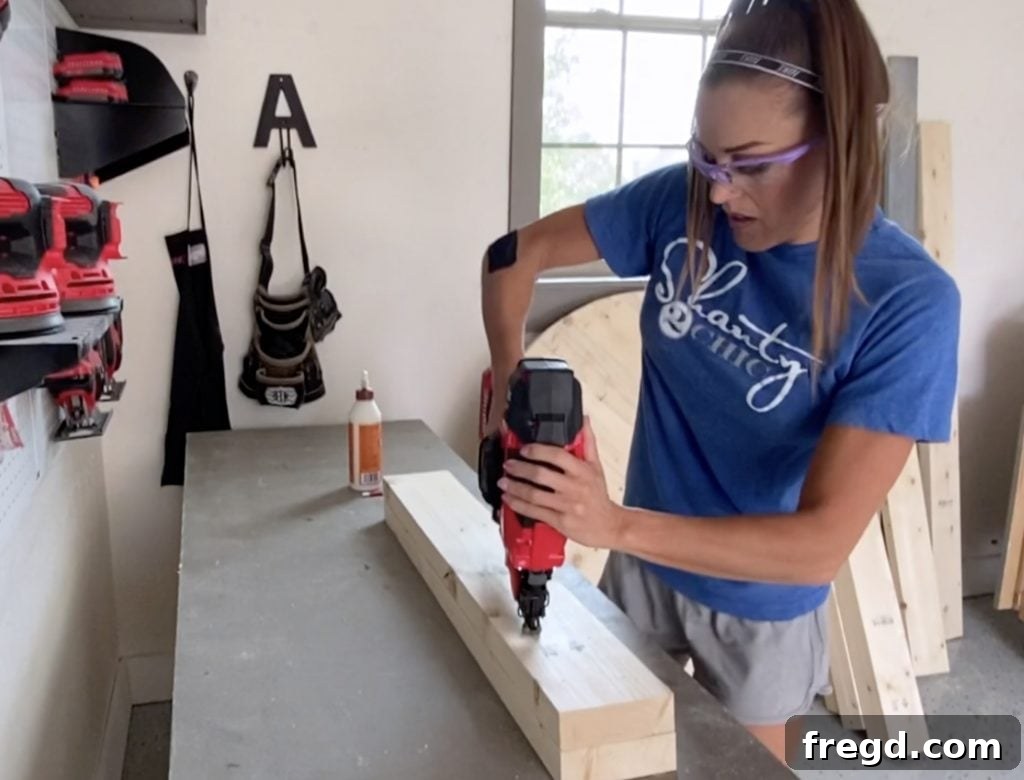
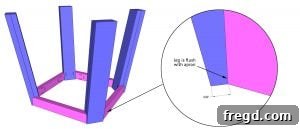
Start by cutting all the leg pieces to their specified sizes. Pay close attention to the cut list for any required bevel cuts, as these angles are crucial for the design. Drill 1 1/2″ pocket holes at the long end of four of these leg pieces. Now, take two leg pieces and attach them together using 2″ brad nails and a generous application of wood glue. The brad nails provide immediate holding power while the glue dries, creating a strong, permanent bond. Repeat this process to build four complete leg assemblies.
- Our favorite 20-volt Brad Nailer can be found here for quick and efficient assembly!
Step 2: Attaching the Aprons for Table Top Supports
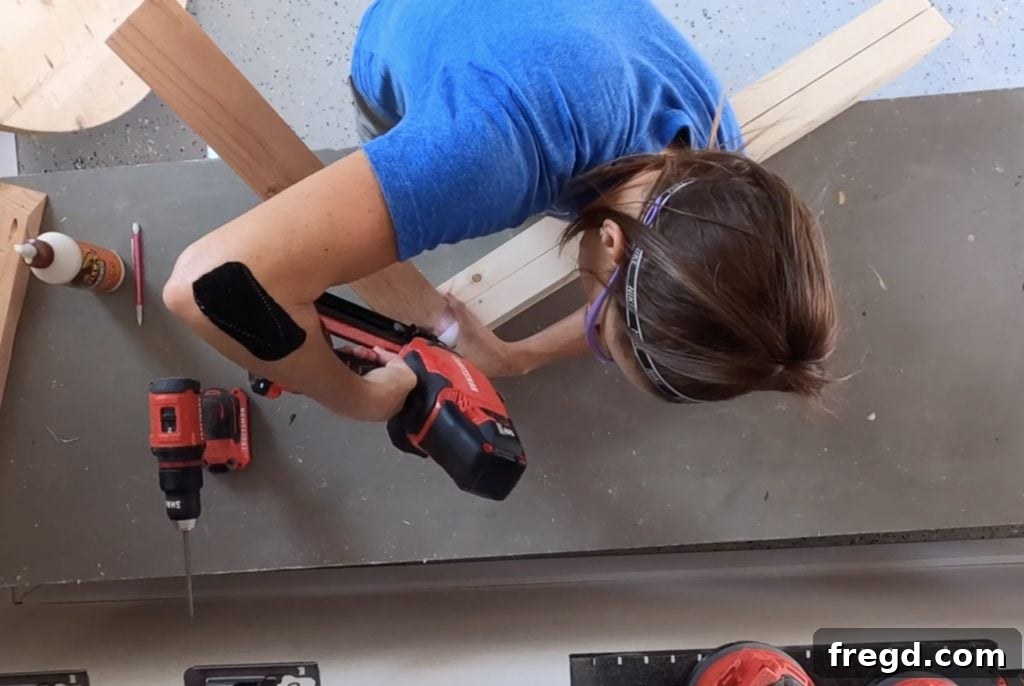
Next, cut the apron pieces to their correct dimensions. For secure attachment, drill 1 1/2″ pocket holes into both ends on the inside face of the aprons. Additionally, drill 3/4″ pocket holes along one edge of each apron; these will later be used to secure the tabletop. Begin the assembly by attaching each apron to a leg assembly. Use 2″ brad nails and wood glue to temporarily hold the apron in position, ensuring alignment before permanent fastening. This pre-tacking step is vital for precision.
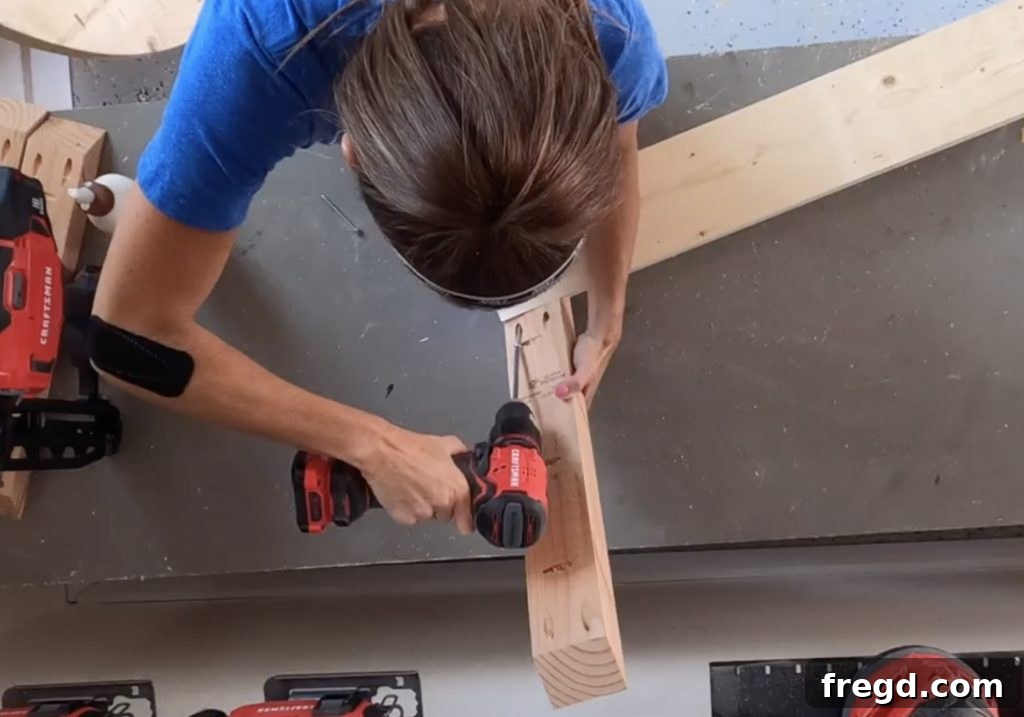
Once the aprons are accurately positioned and temporarily held, follow up by driving 2 1/2″ pocket hole screws through the pre-drilled holes to create extremely strong and robust joints. Ensure all connections are tight and square. This forms the upper framework that will support your round tabletop.
- A reliable 20-volt drill is indispensable for driving these pocket screws effectively, find our top pick here!
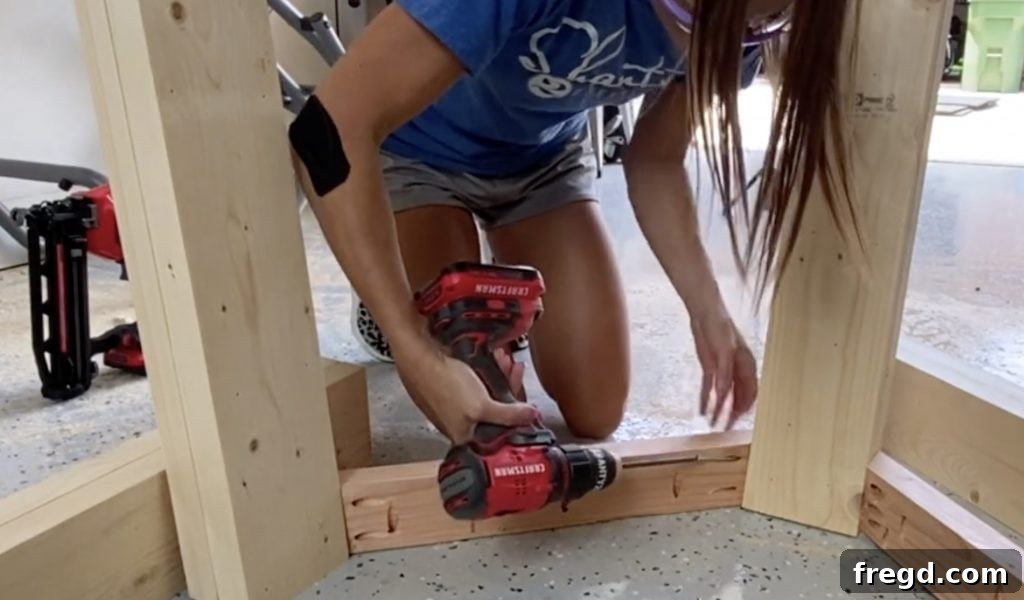
Continue this process, attaching the aprons to each of the remaining leg assemblies until you have a complete and sturdy base framework.
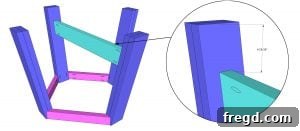
Step 3: Attaching the Long Runner
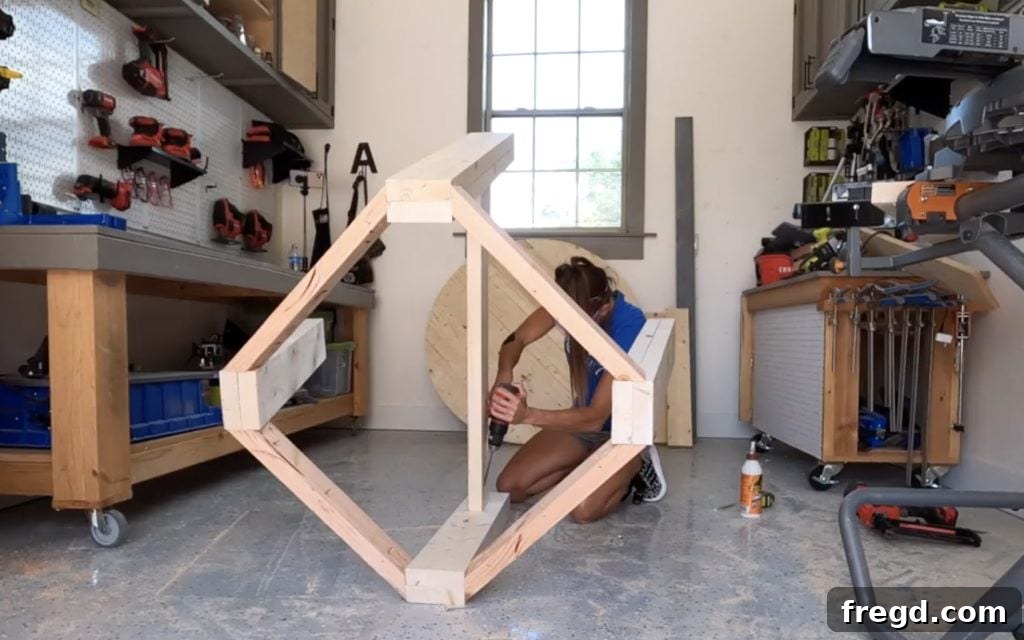
Measure and cut the long runner piece to size according to your plans. Drill 1 1/2″ pocket holes at both ends of one side of this board. This runner adds structural integrity to the base and also serves as a key design element. Apply wood glue to the joining surfaces and attach the long runner to the table legs using 2 1/2″ pocket hole screws, ensuring it is centered and level.
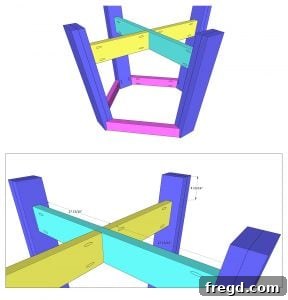
Step 4: Attaching the Short Runners
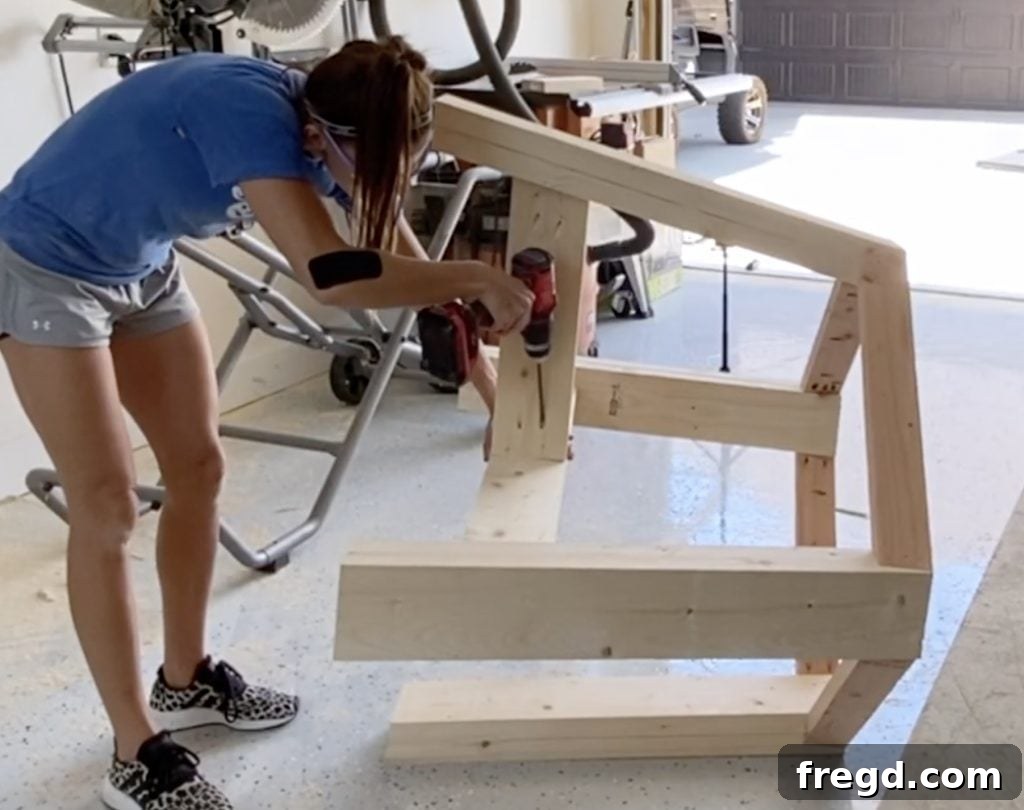
Proceed by cutting the short runners to their specified dimensions. For each short runner, drill 1 1/2″ pocket holes at both ends on one side. These short runners will connect the outer leg assemblies to the central long runner, creating a robust and visually appealing X-brace effect at the base. Apply wood glue and attach them to the legs and the long runner using 2 1/2″ pocket hole screws. This step significantly enhances the stability of the entire table base.
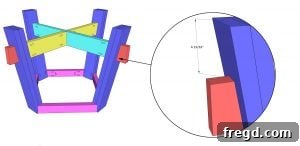
Step 5: Attaching the Decorative Ends
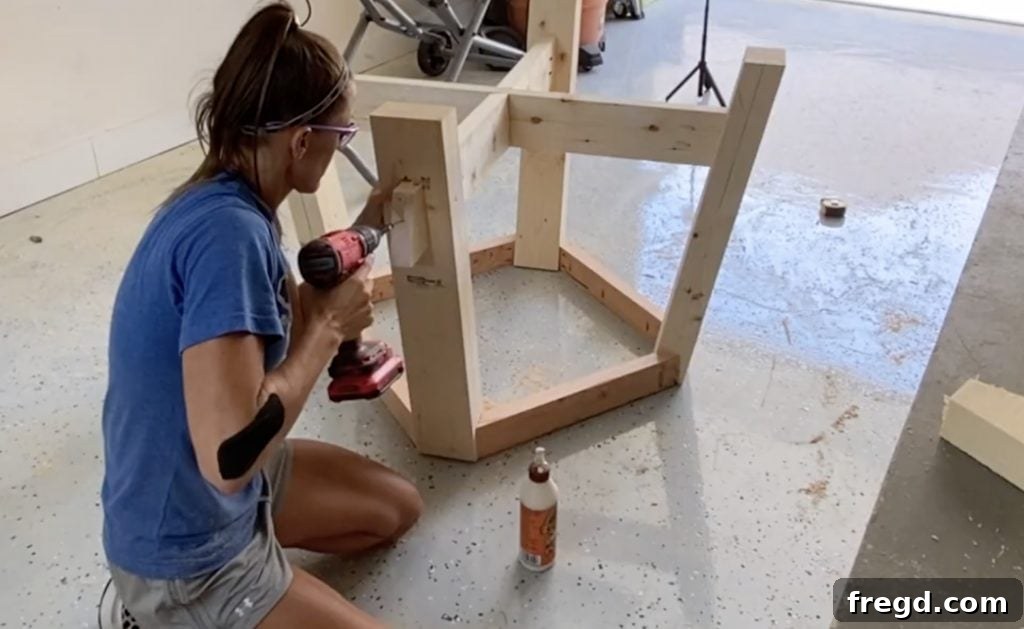
To complete the base, cut the decorative pieces to size. These elements add a refined touch to the legs. Apply wood glue to the mating surfaces and attach these pieces to each leg using 3″ wood screws. The combination of glue and screws ensures these decorative elements are firmly in place, contributing to the table’s overall strength and aesthetic.
The Finishing Touches: Sanding, Staining, and Protection
With the construction complete, the finishing stage is where your table truly comes to life. Proper sanding and the application of a quality finish will protect your woodworking masterpiece and enhance its natural beauty for years to come.
Step 1: Attaching the Table Top to the Base
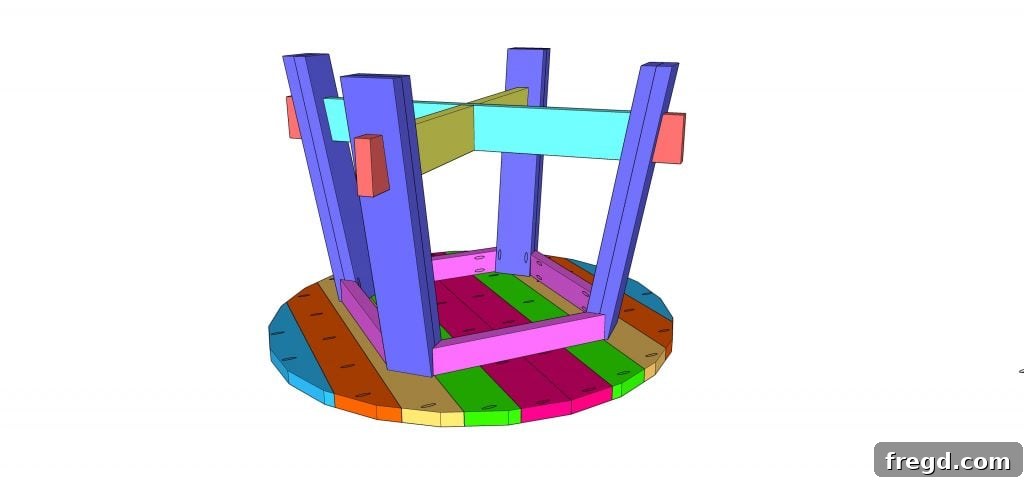
Carefully center the assembled table base on the underside of your round tabletop. Take your time with this step to ensure the base is perfectly aligned. Once positioned, attach the base to the tabletop using 1 1/4″ pocket hole screws. Drive these screws through the pocket holes you drilled earlier along the aprons. This creates a strong, concealed connection that securely fastens the top to its sturdy foundation.
Step 2: Sand and Add a Finish
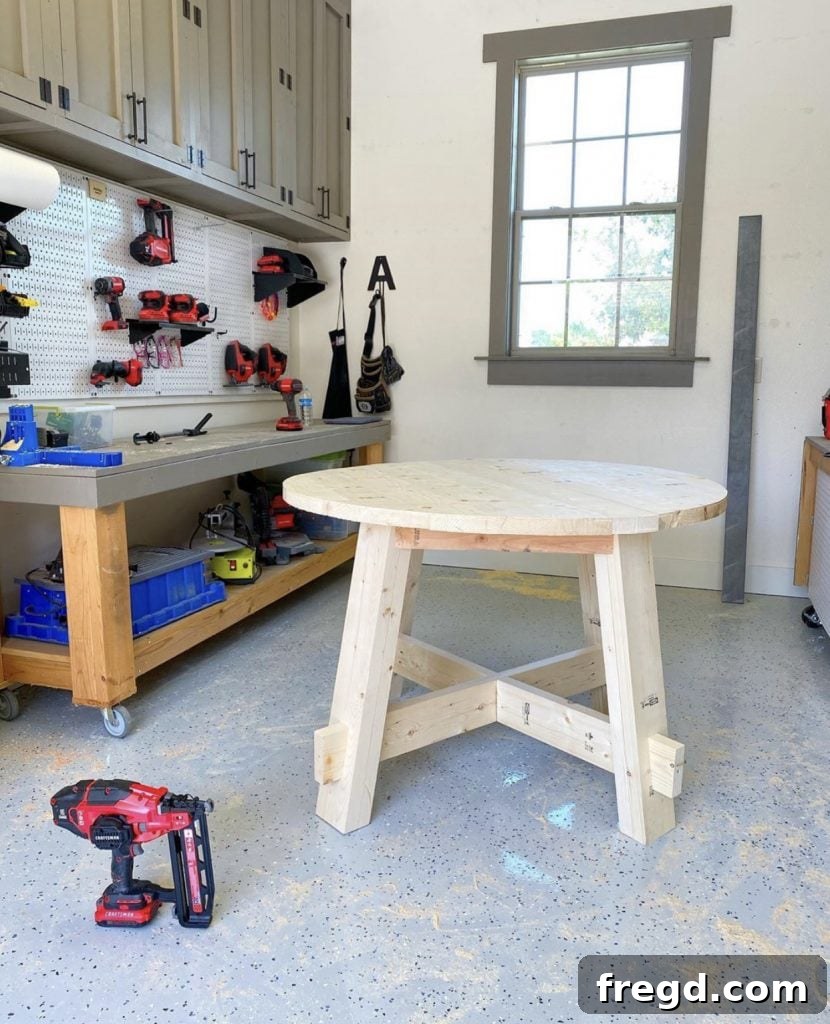
The key to a professional-looking finish is thorough preparation. Start by filling any visible screw holes or nail holes with wood filler. Allow the filler to dry completely, then sand it smooth. Next, it’s time for the crucial sanding process. Begin with 80-grit sandpaper to remove any major imperfections, glue squeeze-out, or rough spots. Follow this with a 120-grit sandpaper pass to smooth out the deeper scratches left by the 80-grit. Finally, use 220-grit sandpaper to achieve a wonderfully smooth surface that is ready for finishing. While I prefer using an orbital sander for efficiency, a belt sander or even manual sandpaper can be used if you don’t have power tools.
Once your table is perfectly smooth and free of dust, it’s time to apply your chosen finish! This is where you can truly customize the look of your table. Whether you prefer a rich stain to highlight the wood grain, a painted finish for a pop of color, or a natural oil finish, ensure you apply it according to the manufacturer’s instructions for the best results. Don’t forget to apply a protective top coat, such as polyurethane, especially for a dining table that will see a lot of use. This clear coat will shield your table from spills, scratches, and daily wear and tear.
- Find our highly recommended wood filler here for seamless repairs!
- Discover the rich stain I used for this project here to replicate the look!
- Ensure lasting protection for your table with the polyurethane I used, available here!
That’s it! Your beautiful DIY Round Farmhouse Table is now complete. Step back and admire your handiwork. You’ve created a functional and stylish piece of furniture that reflects your personal craftsmanship. This table isn’t just a place to eat; it’s a conversation starter, a gathering point, and a testament to your DIY skills.
Share Your Creation!
We absolutely love seeing your completed projects! Once your DIY Round Dining Table is built and looking fabulous, make sure to share photos of your creation on social media. Tag us and use the hashtag #shanty2chic so we can see your amazing work and share it with our community too! We can’t wait to celebrate your building success.
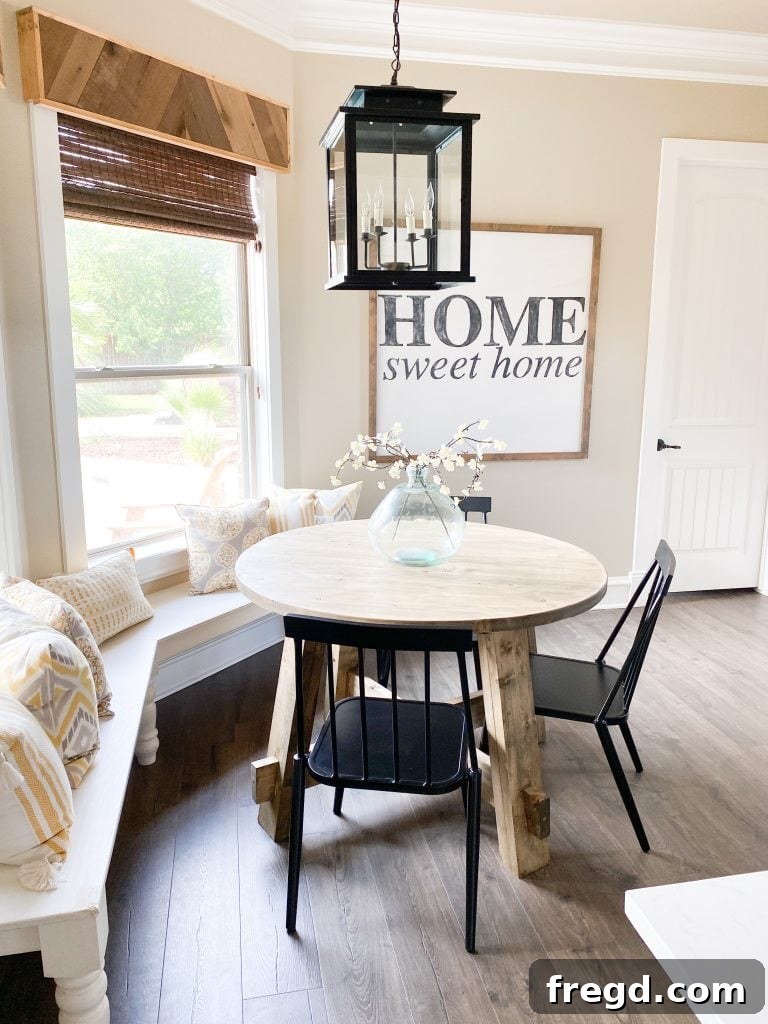
- If you love the chairs in the photos, you can find where I purchased them here!
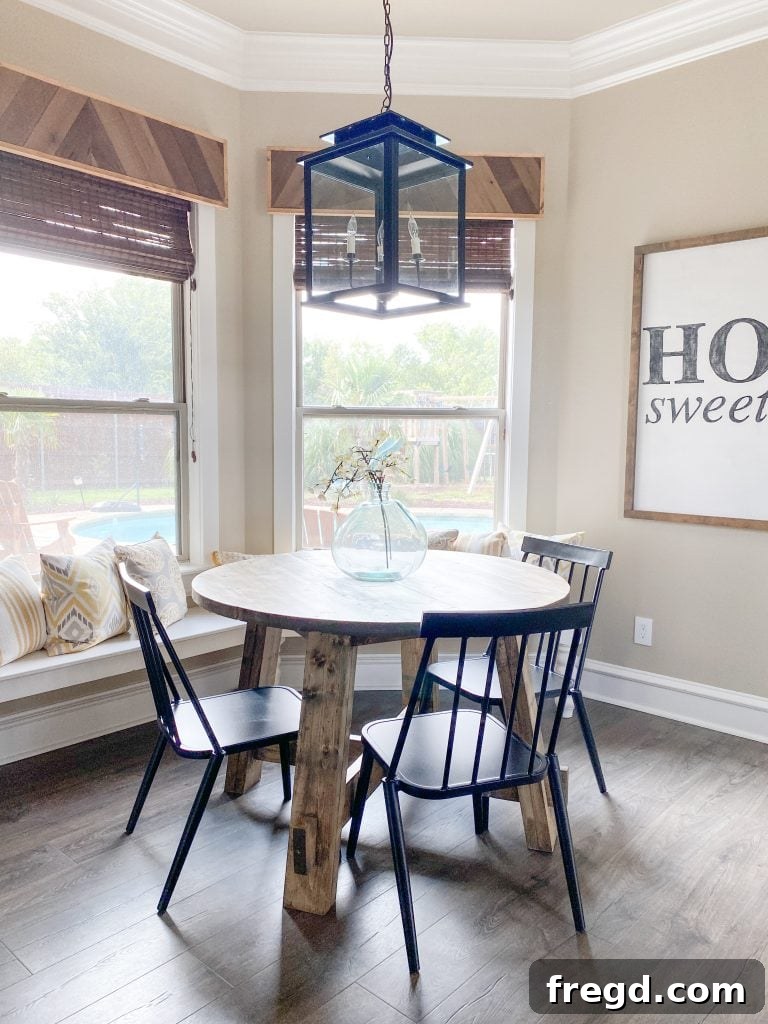
Happy Building!
Explore More DIY Dining Table Ideas
Loved this project and looking for more inspiration? Building your own dining table allows for incredible customization and savings. If a round table isn’t quite what you need, or if you’re looking to furnish other spaces, we have a complete collection of DIY dining table plans with over 25 free tutorials, ranging in styles and sizes to fit every home. Check out some of our other popular designs below:
More Dining Table Plans for Your Next Project
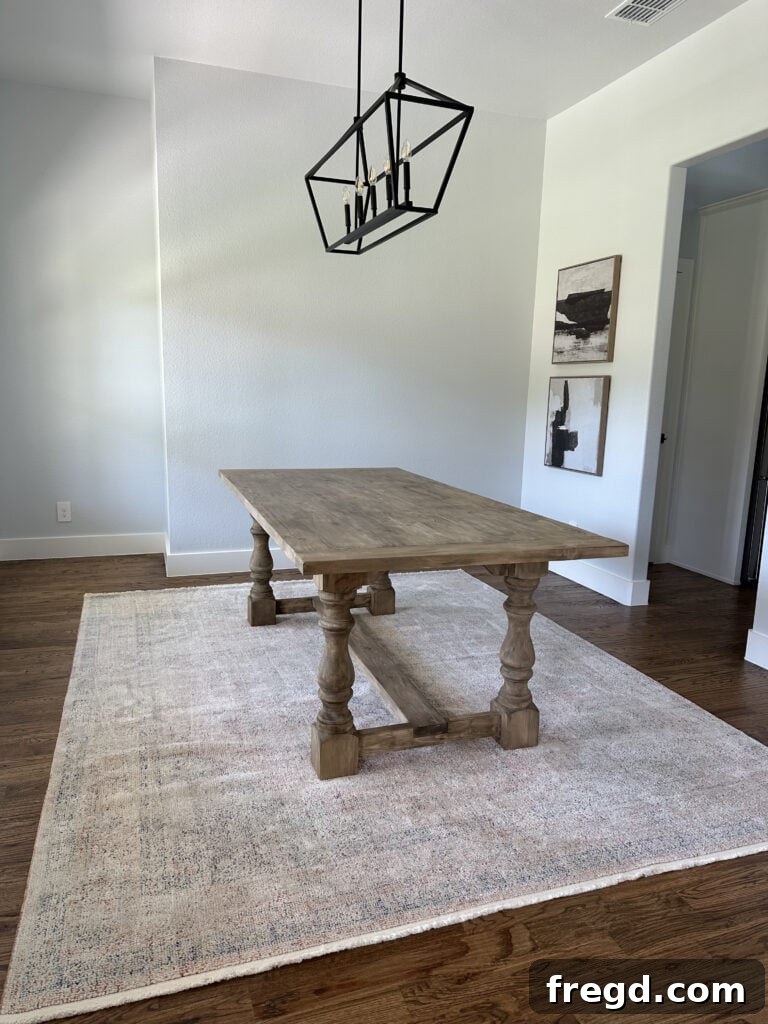
Turned Leg Dining Table
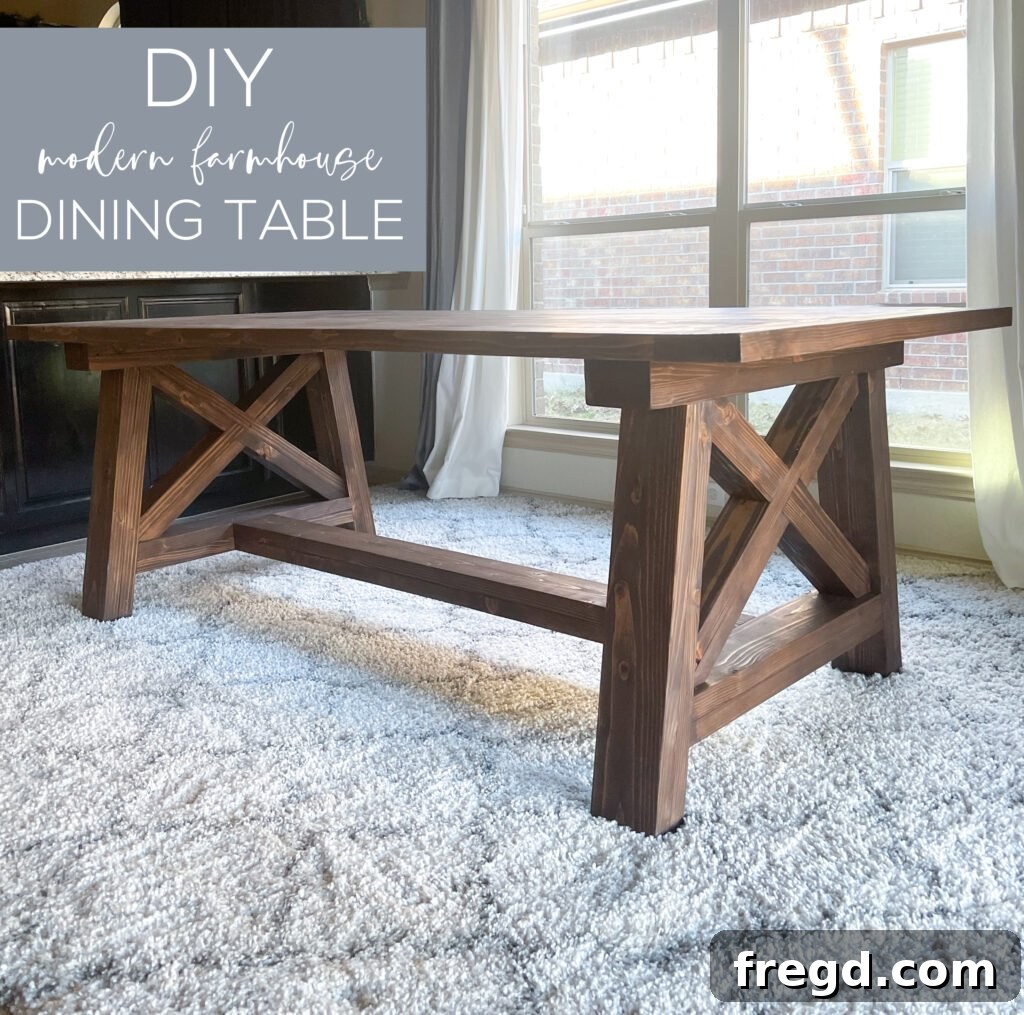
“X” Base Dining Table
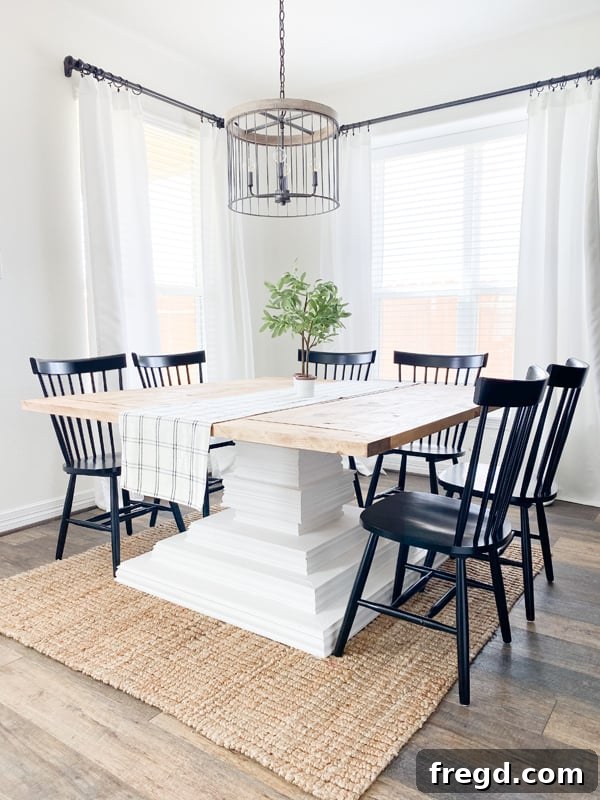
Square Dining Table
Detailed Instructions for Your DIY Round Dining Table
Here’s a consolidated overview of the construction steps. For the most comprehensive guidance, including diagrams and detailed measurements, remember to download the free printable plans linked above.
Building the Table Top
-
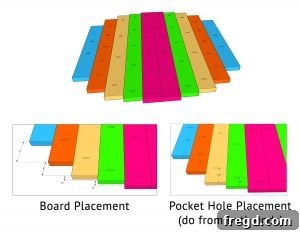
Begin by cutting your table top planks to the sizes specified in the cut list. Drill 1 1/2″ pocket holes along the lengths of these boards as indicated in the plans. Apply wood glue to the edges and join the boards together securely using 2 1/2″ pocket hole screws. Use face clamps to keep the surfaces flush during assembly.

-
Once the glue has dried and the planks are firmly joined, use a plunge router with a DIY router jig to cut a perfect 48″ diameter circle from the assembled tabletop. Refer to the how-to video for a visual demonstration of this technique.

Building the Table Base
-
Cut the leg pieces to size, paying attention to any bevel cuts indicated in the cut list. Drill 1 1/2″ pocket holes at the long end of four of these pieces. Attach two leg pieces together with 2″ brad nails and wood glue to form one leg assembly. Repeat this to create four leg assemblies.
-
Cut the apron pieces to size. Drill 1 1/2″ pocket holes into both ends on the inside face of the aprons, and 3/4″ pocket holes along one edge for tabletop attachment. Temporarily secure aprons to the leg assemblies with 2″ brad nails and wood glue, then permanently attach them using 2 1/2″ pocket hole screws.
-
Cut the long runner to size and drill 1 1/2″ pocket holes at both ends on one side. Apply wood glue and attach it to the table legs using 2 1/2″ pocket hole screws, ensuring it’s centered.
-
Cut the short runners to size and drill 1 1/2″ pocket holes at both ends on one side of each. Attach them to the legs and the long runner with 2 1/2″ pocket hole screws and wood glue to complete the base structure.
-
Finally, cut the decorative pieces to size and attach them to each leg using 3″ wood screws and wood glue for an added touch of elegance.

The Finish
-
Center the completed table base on the underside of the tabletop. Securely attach it to the tabletop using 1 1/4″ pocket hole screws through the apron pocket holes.
-
Fill all screw and nail holes with wood filler, allow to dry, then sand the entire table smooth. Start with 80-grit, move to 120-grit, and finish with 220-grit sandpaper for a silky finish. Apply your desired stain, paint, or natural oil finish, followed by a protective top coat like polyurethane.
Don’t forget to share your finished project with us on social media using #shanty2chic!
Happy Building!