
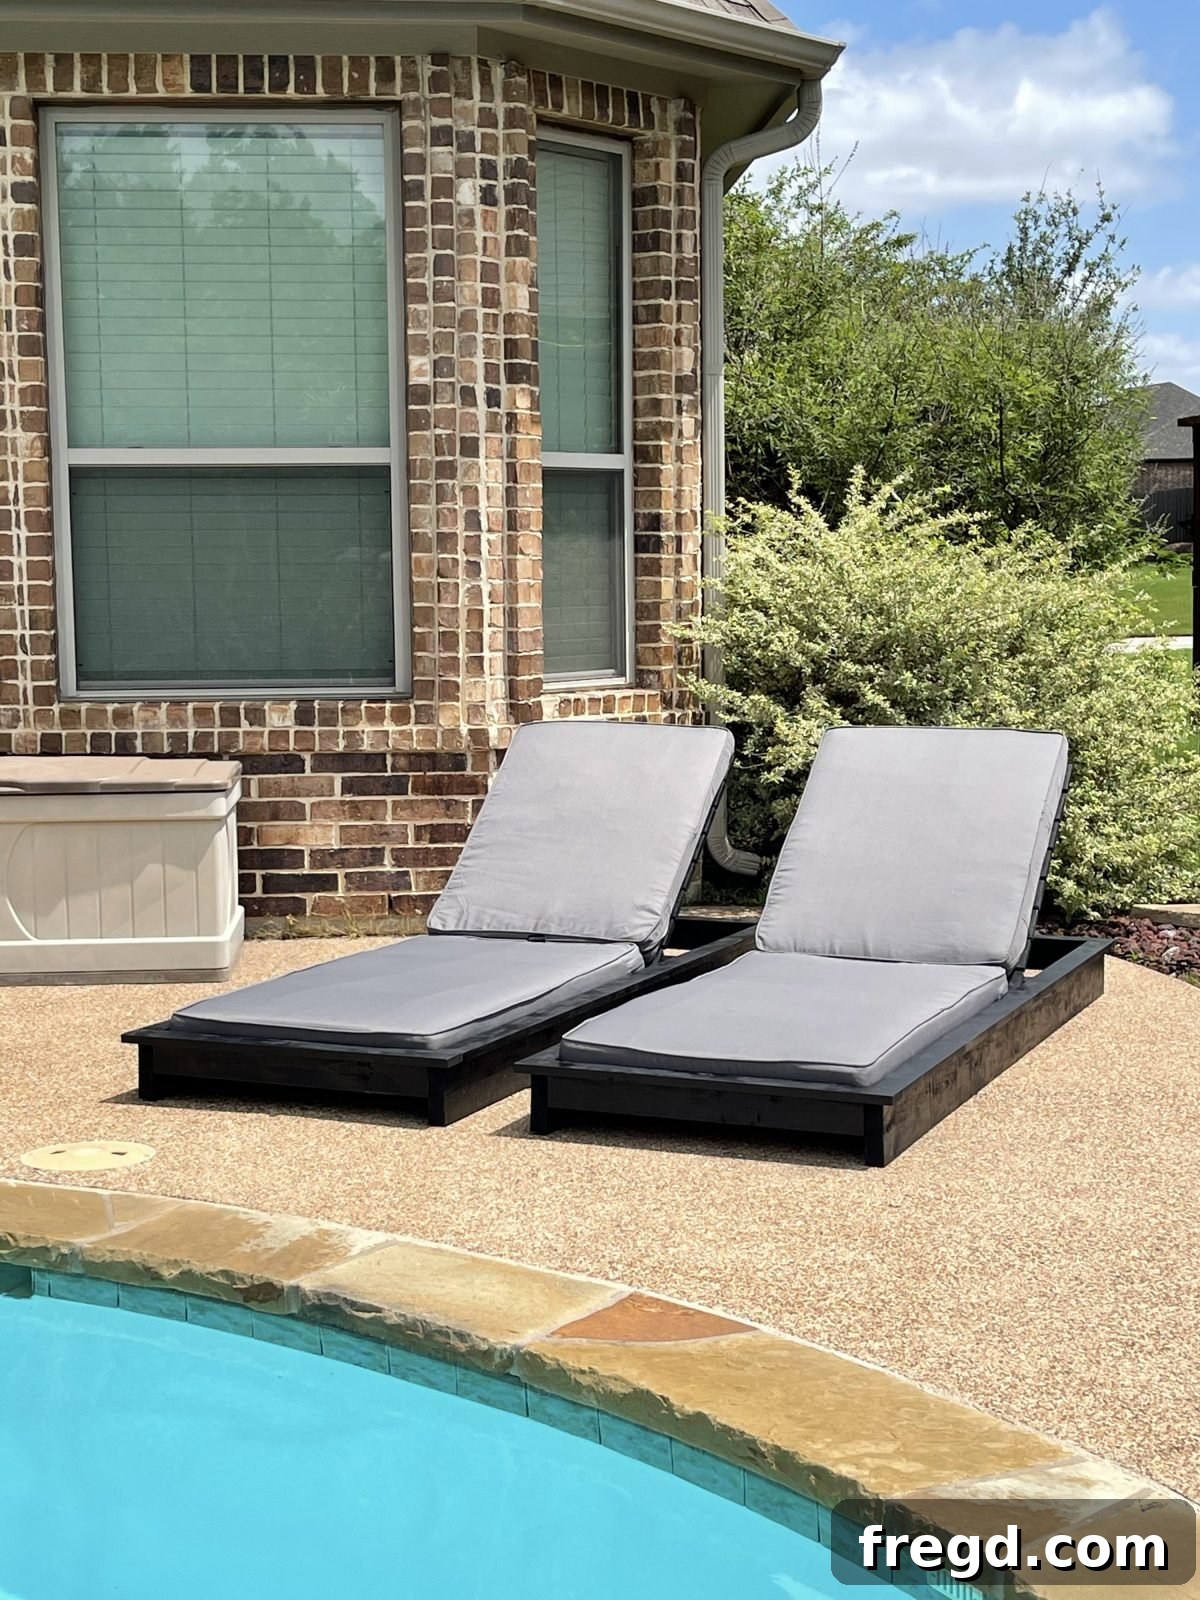
Are you dreaming of long, lazy summer days spent basking in the sun? Imagine relaxing in a stylish, comfortable lounge chair you built with your own hands! This comprehensive guide provides you with everything you need to construct a beautiful DIY outdoor lounge chair, complete with free, detailed plans and a helpful video tutorial. Not only is this a rewarding project, but it’s also incredibly budget-friendly, allowing you to create high-quality patio furniture without breaking the bank. Get ready to transform your outdoor space and embrace the warmth of summer with a personalized touch!
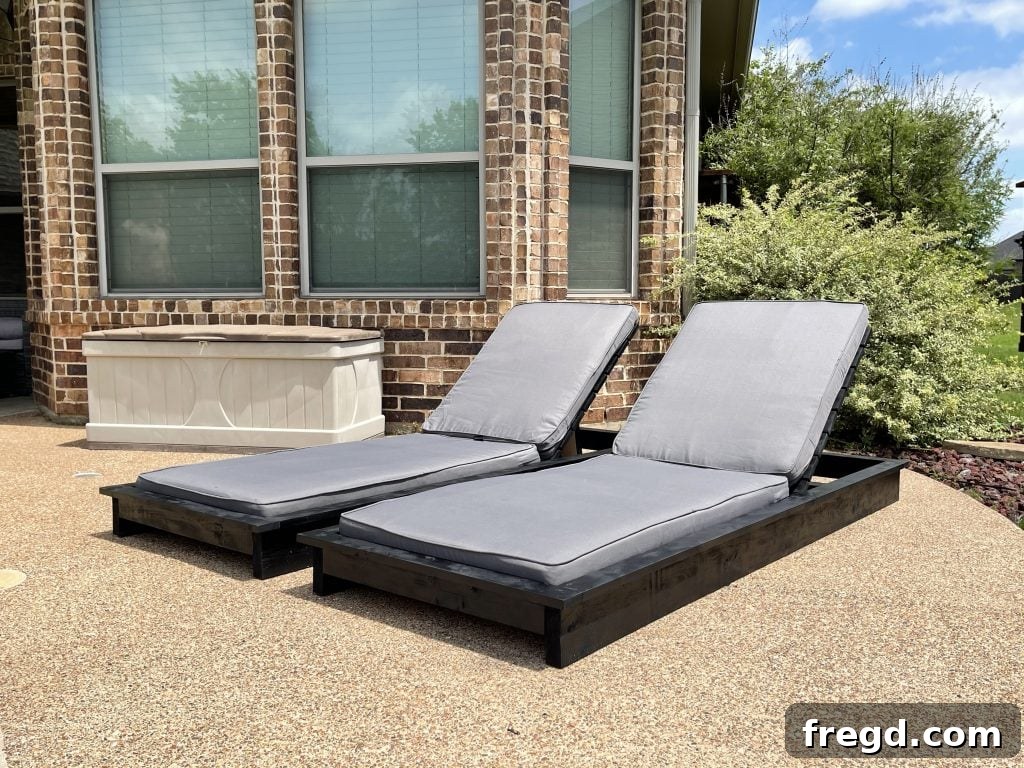
Embrace Summer with Your Custom DIY Lounge Chair
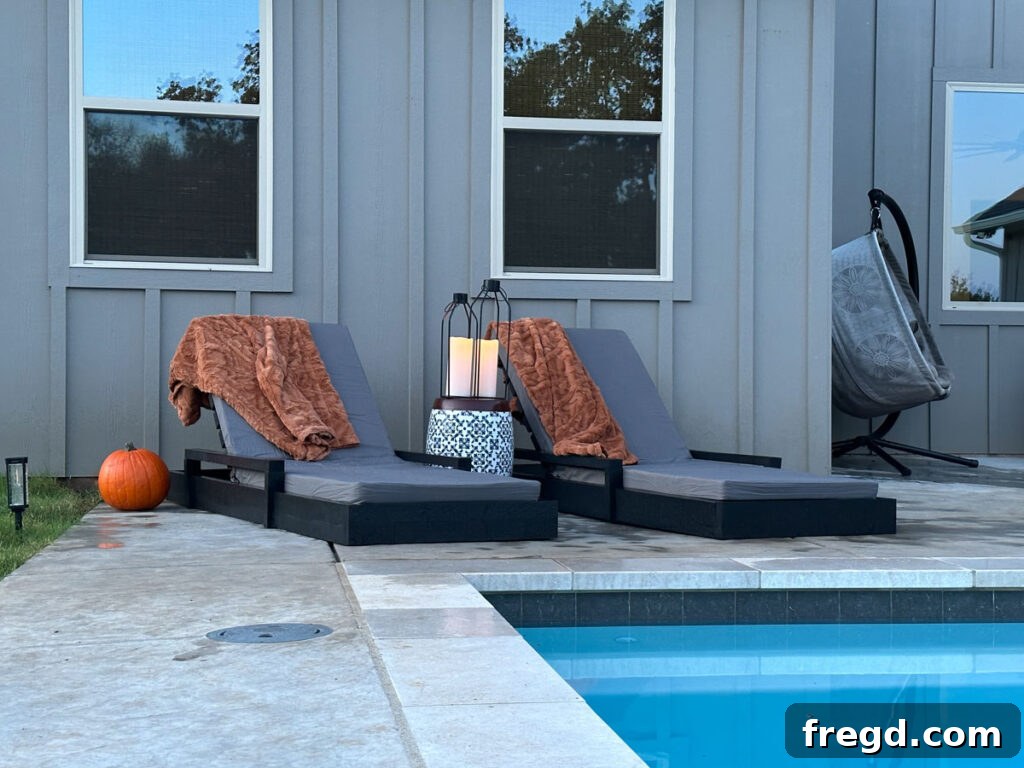
As the days grow longer and the temperatures rise, the allure of outdoor living becomes irresistible. This year, instead of settling for generic, off-the-shelf patio furniture, why not invest your time in a project that offers both immense satisfaction and significant savings? I recently embarked on a mission to refresh my outdoor seating, driven by worn-out cushions and a desire for something truly unique. Rather than searching for cushions to fit old chairs, I decided to flip the script: I found cushions I absolutely adored and then designed and built a new set of lounge chairs specifically to complement them!
With lumber prices being what they are, affordability was a key consideration. I’m thrilled to report that I managed to construct each of these stunning lounge chairs for approximately $125! This guide focuses on building one chair, so if your goal is a pair (or more!), remember to simply double your shopping list. This project is not just about saving money; it’s about crafting a durable, stylish piece that perfectly suits your outdoor aesthetic and provides a comfortable haven for years to come.
Watch the Full Build Tutorial!
To ensure your building process is as smooth as possible, I’ve prepared a detailed how-to video that walks you through each step. Whether you’re a seasoned woodworker or a beginner, this visual guide, combined with the free printable plans, makes the project incredibly accessible. Just click play below to see how effortlessly these chairs come together!
Want to get started right away? You can download the full set of free printable plans, including a comprehensive shopping list and detailed cut diagrams, by clicking here. These plans are your blueprint for success!
Table of Contents
How to Build a DIY Outdoor Lounge Chair
Building your own outdoor lounge chair is a fantastic way to personalize your patio or deck. This project combines sturdy construction with functional design, ensuring both comfort and longevity. Follow these steps carefully, and you’ll soon be enjoying your custom-built creation!
Materials and Tools
Before you begin, gathering all your materials and tools is crucial. This not only saves time but also ensures a smoother, more efficient building process. Prioritize quality lumber and hardware for a durable finished product that can withstand the elements.
Supply List
Here’s a detailed list of all the lumber, fasteners, and other supplies you’ll need for one lounge chair. Remember to adjust quantities if you plan to build multiple chairs.
- 4 – 2x6x8 boards (for the main frame components and sturdy supports)
- 2 – 1x6x8 boards (for specific slat components)
- 8 – 1x4x8 boards (for the numerous slats and trim pieces)
- 2 1/2″ Pocket Hole Screws (for strong, concealed joinery on the frame)
- 1 1/4″ Wood Screws (for attaching slats, back supports, and trim)
- 2 1/2″ Wood Screws (for securing cleats and cross support)
- Wood Glue (an essential for extra strength and durability in all joints)
- 1 1/2″ Hinge (for the adjustable arm assembly)
- Piano Hinge (for seamlessly attaching the top slat assembly to the bottom frame)
- Cushions (choose your desired outdoor cushions before building to ensure a perfect fit)
- Indoor/Outdoor Spray Paint (for a durable, weather-resistant finish in your chosen color)
- Glue Bot (optional, but helpful for precise and mess-free glue application)
- Clamps (essential for holding pieces together while glue dries and screws are driven)
Essential Tools
Having the right tools makes all the difference. Here’s what you’ll need to efficiently cut, drill, and assemble your lounge chair:
- Miter Saw (for accurate cross-cuts on all lumber pieces)
- Drill (for pre-drilling holes and driving screws)
- Kreg Jig (for creating strong pocket hole joints – a game-changer for woodworking projects!)
- Table Saw (optional, but useful for ripping wider boards or making precise adjustments)
- Brad Nailer (for attaching lighter components like the back slider quickly and securely)
- Sander (orbital or belt sander for smoothing surfaces and edges, crucial for a professional finish)
- Jigsaw (for cutting curves or irregular shapes, like the handle slot)
Step-by-Step Construction Guide
Follow these instructions carefully to build a sturdy and stylish DIY outdoor lounge chair. Each step is designed to guide you through the process, from initial cuts to the final finish.
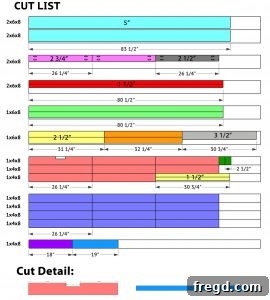
Cut List Diagram
Before making any cuts, refer to your free printable plans for a detailed cut list. This diagram will specify the exact dimensions for each piece of lumber, ensuring you maximize your materials and minimize waste. Measure twice, cut once!
Building the Main Frame
Step 1: Construct the Basic Frame
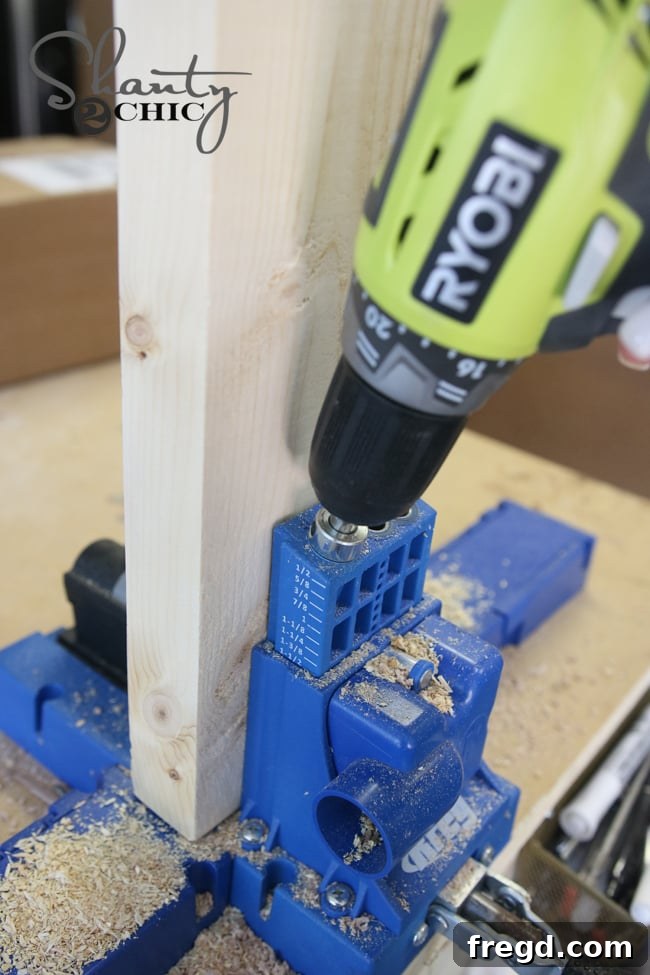
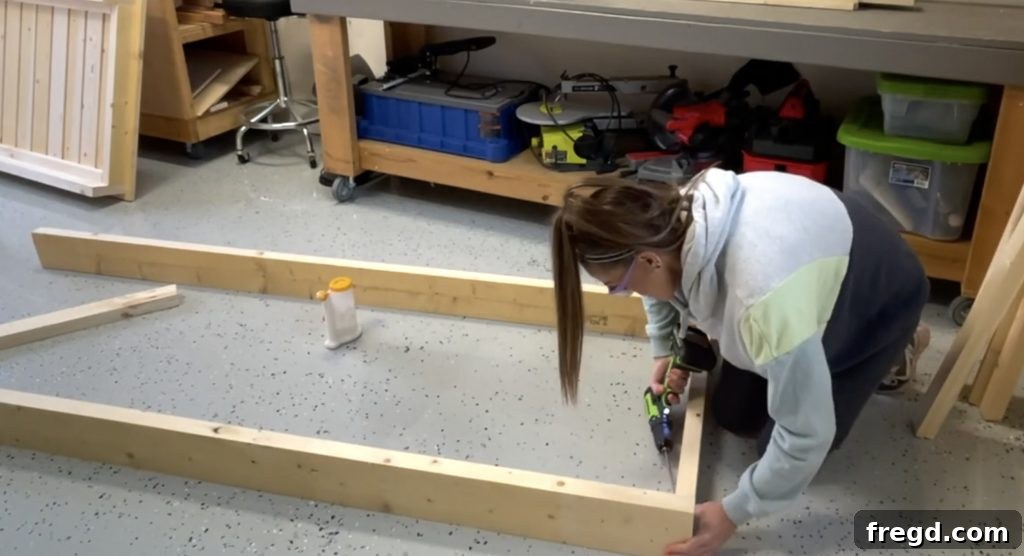
Begin by cutting your frame pieces according to the dimensions in your cut list. Using your Kreg Jig, drill 1 1/2-inch pocket holes at both ends of the top and bottom frame boards. These holes will create strong, concealed joints for a clean look. Once drilled, apply a generous amount of wood glue to the ends of the boards, align them, and secure them together using 2 1/2-inch pocket hole screws. Ensure all corners are square and joints are tight.
(The Kreg K5 jig is an excellent tool for this; you can find it here).
Step 2: Install the Cleats
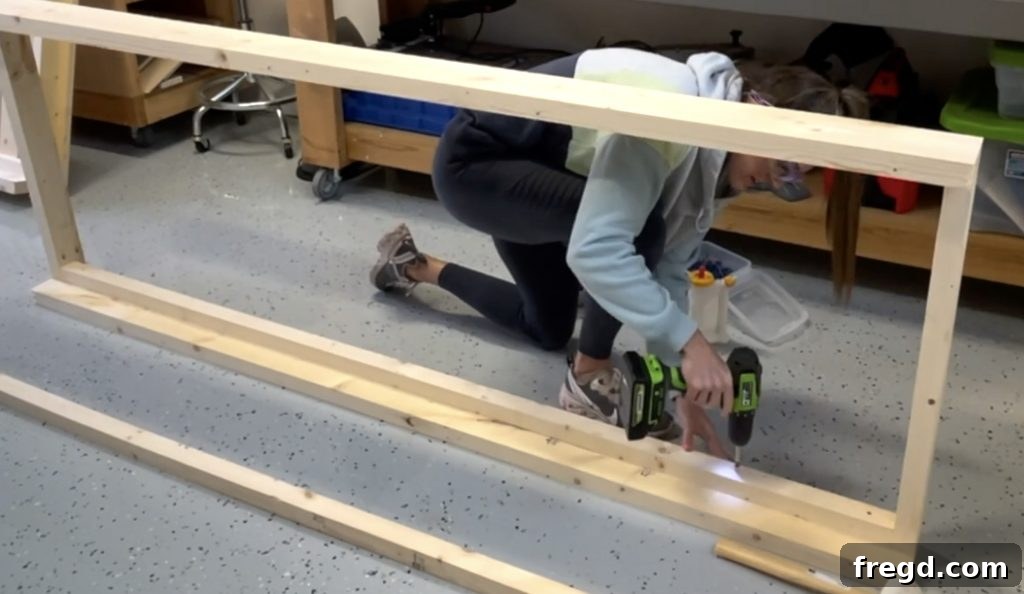
Cut the cleats to the specified size. These pieces will provide support for the bottom slats. Apply wood glue to the back of each cleat and position them precisely 1 1/4 inches down from the top edge on the inside of the frame. Secure them firmly with 2 1/2-inch wood screws, making sure they are level and parallel.
Step 3: Attach the Cross Support
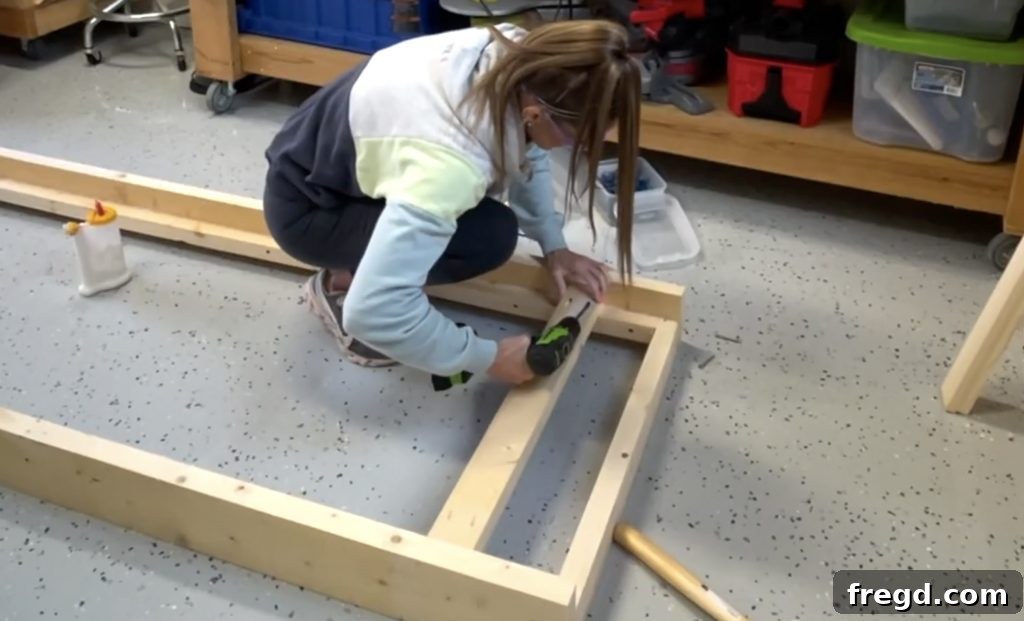
Cut the cross support piece to size. Drill 1 1/2-inch pocket holes at both ends. Carefully flip the lounge chair frame upside down. Apply wood glue to the ends of the cross support and attach it to the bottom of the previously installed cleats using 2 1/2-inch pocket hole screws. This cross support significantly enhances the structural integrity of the chair.
Attaching the Bottom Slats
Step 4: Secure the Bottom Slats
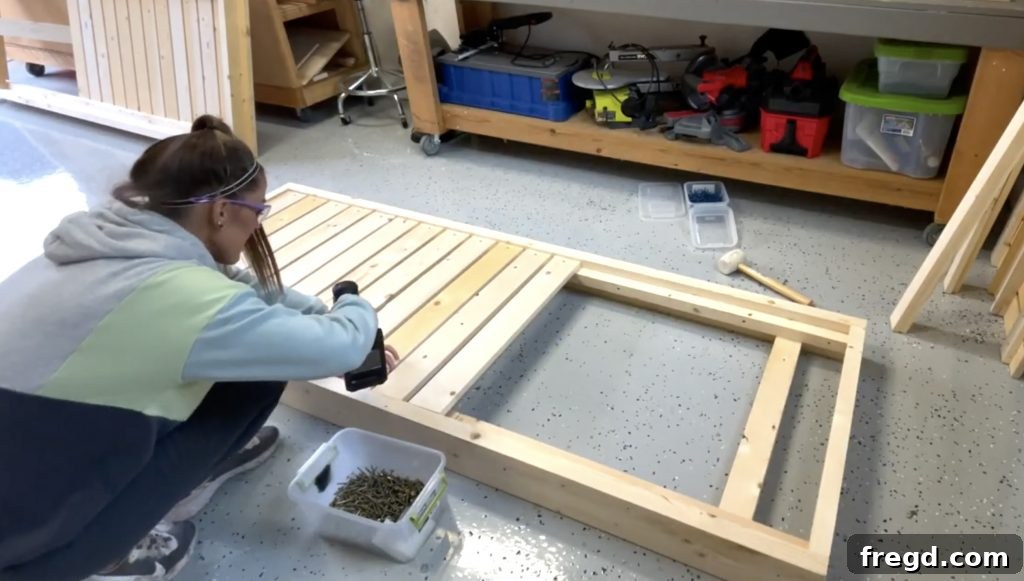
Measure and cut all your bottom slats to size. Lay them out evenly across the cleats, ensuring that the end slats are flush with the ends of the main frame. For consistent spacing, you can use scrap wood pieces as temporary spacers between each slat. Apply wood glue to the cleats where each slat will sit, then secure the slats in place with 2-inch wood screws. This forms the base for your cushion, so ensure it’s flat and secure.
Crafting the Top Slat Assembly
Step 5: Prepare and Assemble the Top Slats
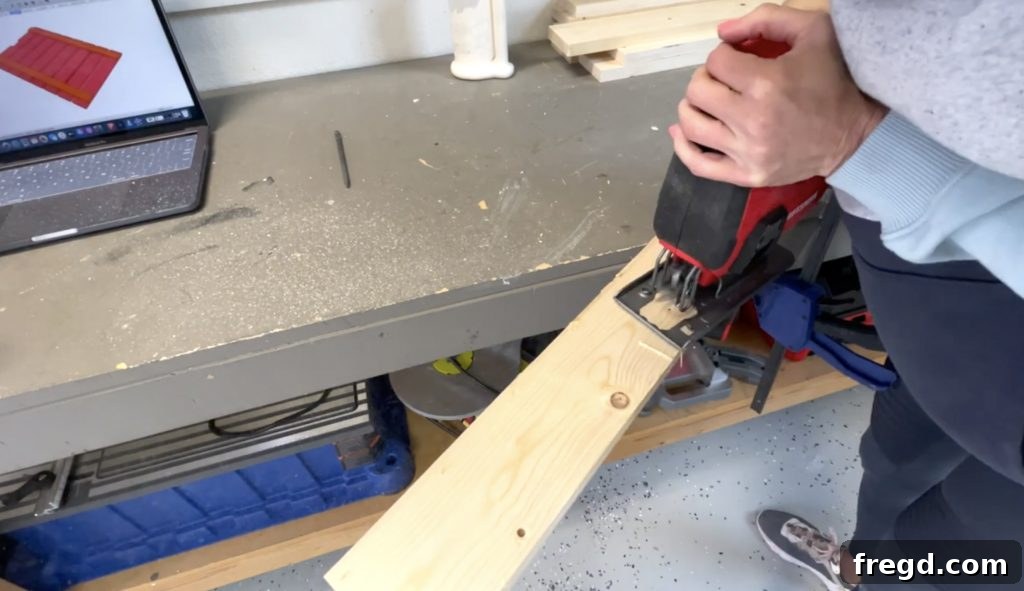
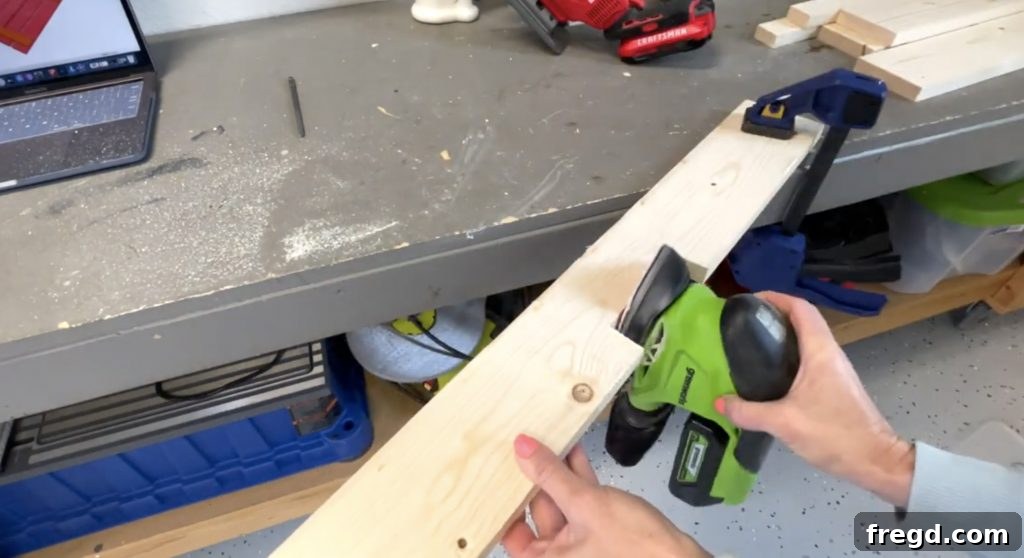
First, take the specific top slat that will feature a handle. Use your jigsaw to carefully cut out the designated handle slot. Once cut, thoroughly sand the edges of the slot to ensure it’s smooth and splinter-free, providing comfortable access. This detail adds both functionality and a refined touch to your lounge chair.
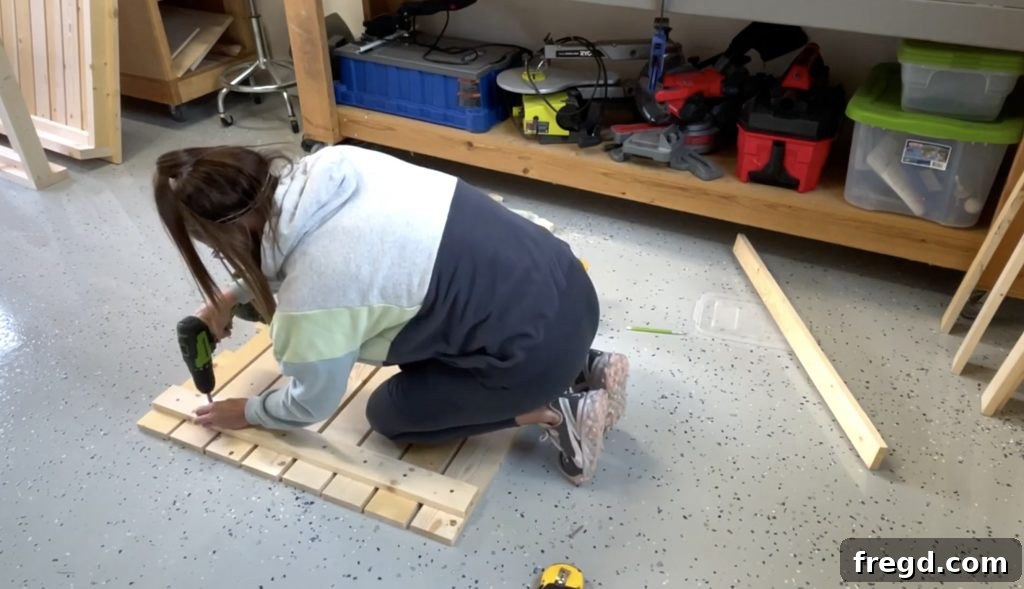
Next, cut the remaining top slats and the back supports to their correct sizes. Lay the top slats face down on a flat surface. Carefully space them out, ensuring even gaps for drainage and aesthetics. Position the back supports across the slats, and attach them using 1 1/4-inch wood screws and wood glue. This assembly will form the adjustable backrest of your chair.
Assembling the Adjustable Back Slider
Step 6: Build the Back Slider
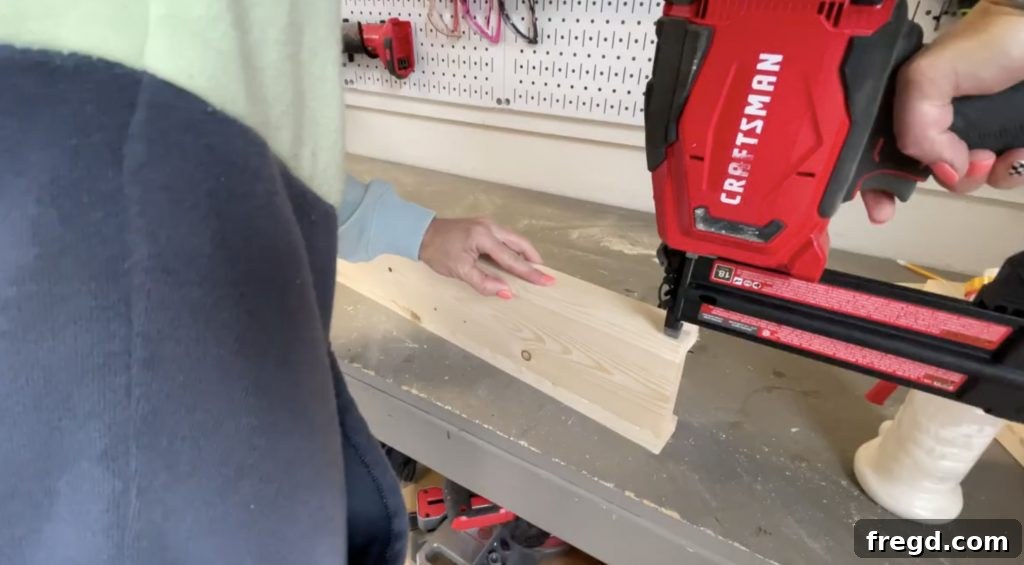
Cut the individual pieces for the back slider assembly. This mechanism allows you to adjust the recline of your lounge chair. Attach the side pieces to the bottom piece using 1 1/4-inch brad nails and wood glue. Ensure that the back edges of the side pieces are perfectly flush with the back edge of the bottom piece for smooth operation.
Step 7: Attach the Back Slider to the Top Slat Assembly
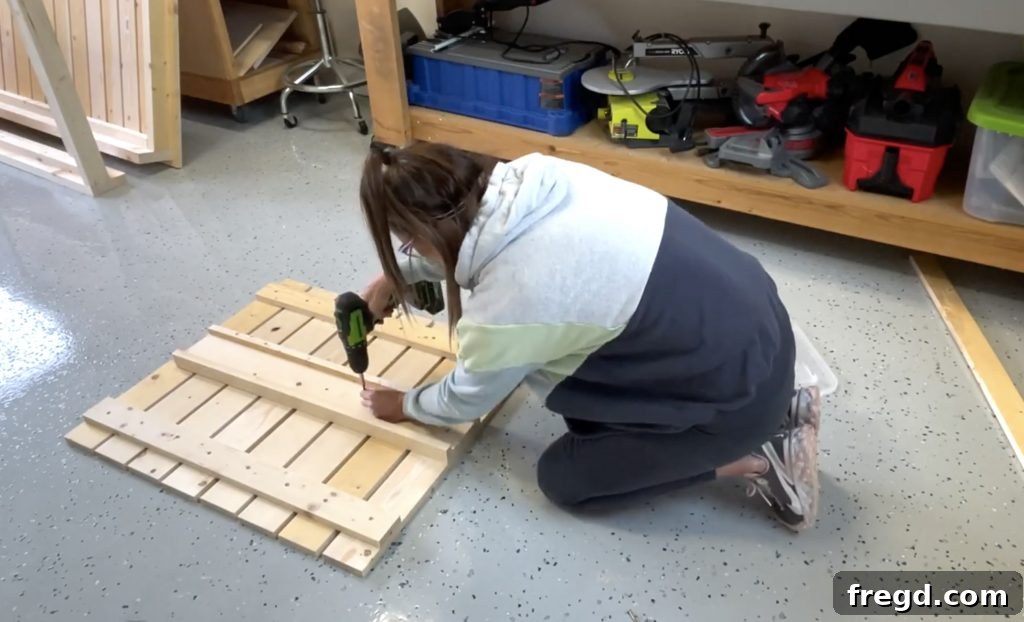
Center the completed back slider onto the back of your top slat assembly. Secure it firmly with 1 1/4-inch wood screws and wood glue. Next, cut the spacer blocks to size. These blocks will fit inside the slider. Attach them to the inside of the slider also using 1 1/4-inch wood screws and wood glue. These spacers help guide the slider smoothly and provide adjustable stopping points.
Constructing and Attaching the Arm Assembly
Step 8: Build the Arm Assembly
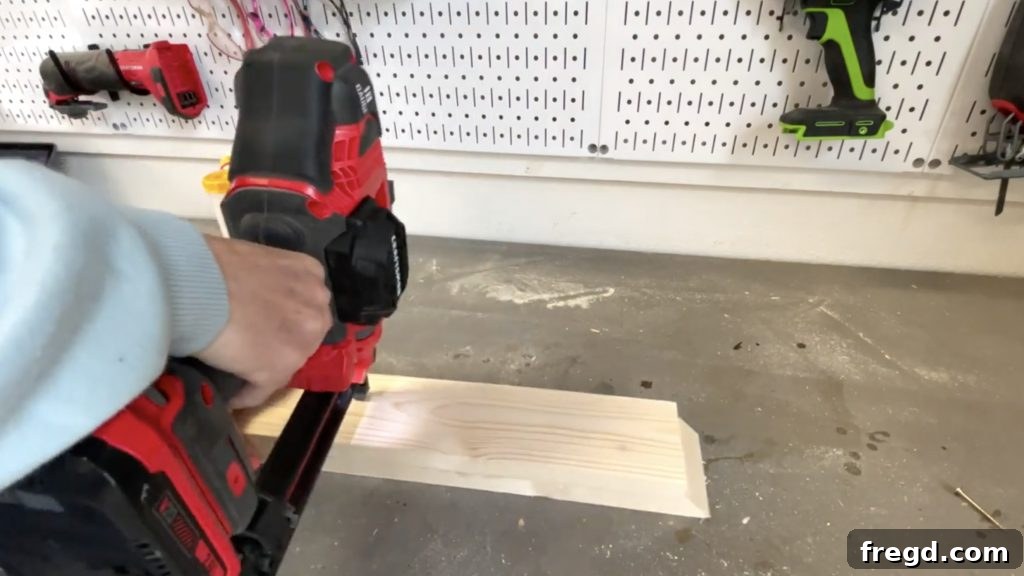
Cut the pieces for the arm assembly. These components will form the adjustable arm that supports the backrest. Join the shorter arm piece to the longer arm piece using 1 1/4-inch brad nails and wood glue. Critically, ensure that the square ends of both pieces are perfectly flush with each other. This precise alignment is key for the arm to function correctly.
Step 9: Attach the Arm Assembly to the Frame
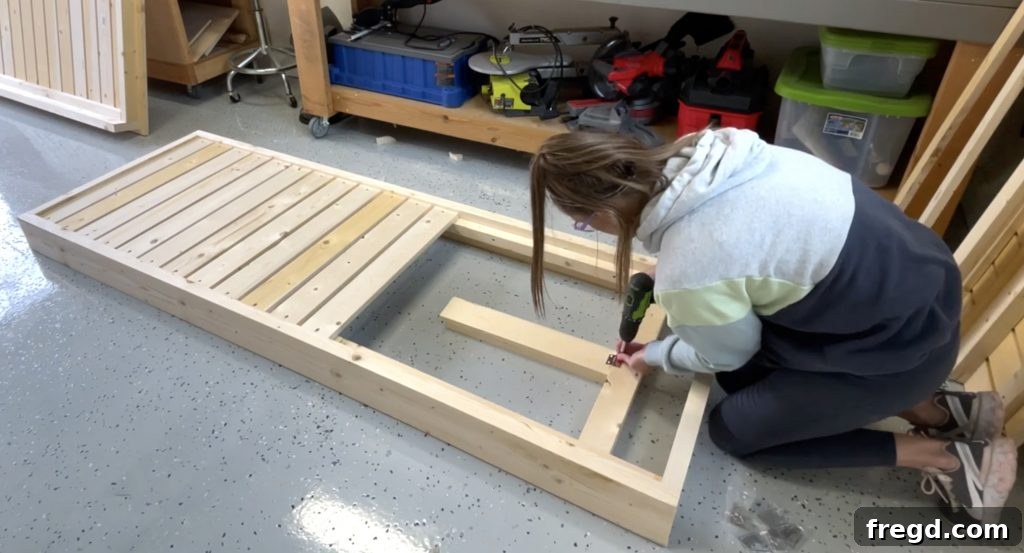
Position the newly built arm assembly directly onto the top of the cross support, ensuring it is perfectly centered. Attach it securely to the cross support using an outdoor hinge. This hinge allows the arm to pivot, enabling the backrest to be adjusted to various reclining positions for ultimate comfort.
Securing the Top Slat Assembly
Step 10: Connect the Top and Bottom Slat Assemblies with a Piano Hinge
Note: For a cleaner finish, I chose to apply the paint or stain to the individual assemblies before attaching the top section with the piano hinge. This prevents paint from getting on the hinges. However, this step is entirely optional, and you can attach them before finishing if you prefer.
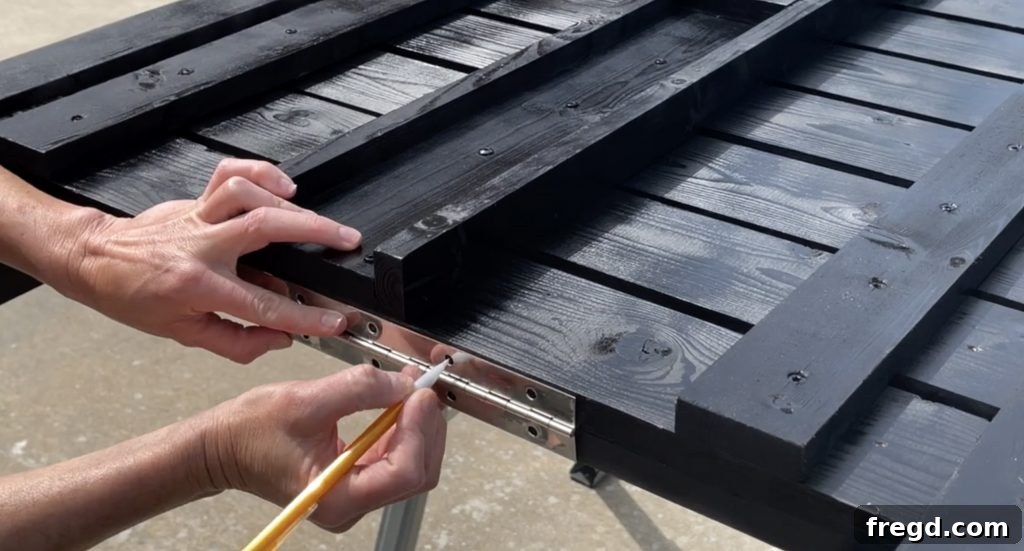
Lay the top slat assembly upside down, carefully placing it over the bottom slats. Align the piano hinge along the edge where the two assemblies will meet. Using a pencil, mark each screw hole on the piano hinge onto the wood. These marks are crucial for accurate placement and to prevent wood splitting.
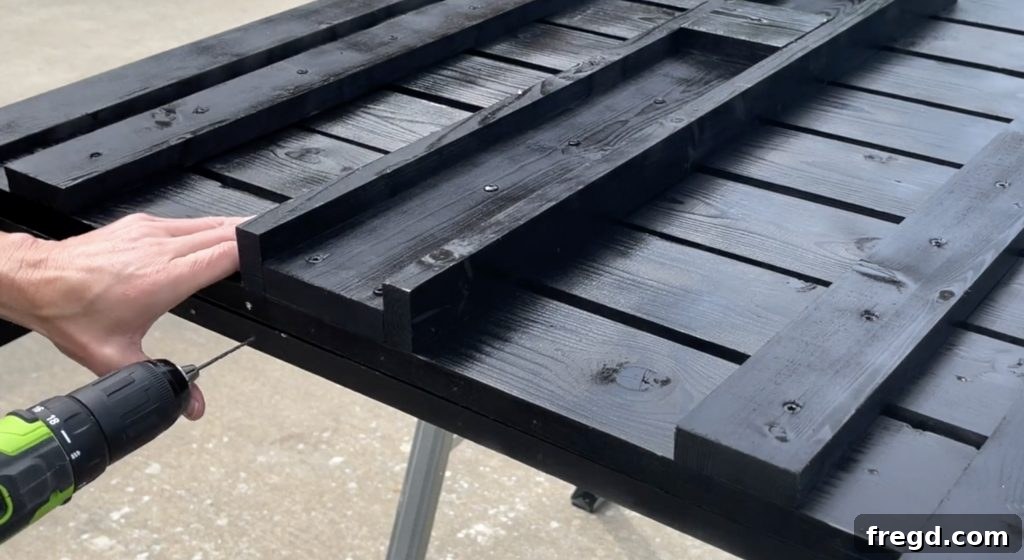
Using a drill bit that is slightly smaller than your hinge screws, pre-drill a pilot hole at each marked spot. This critical step prevents the wood from splitting when you drive in the screws, especially important with softer woods or near edges.
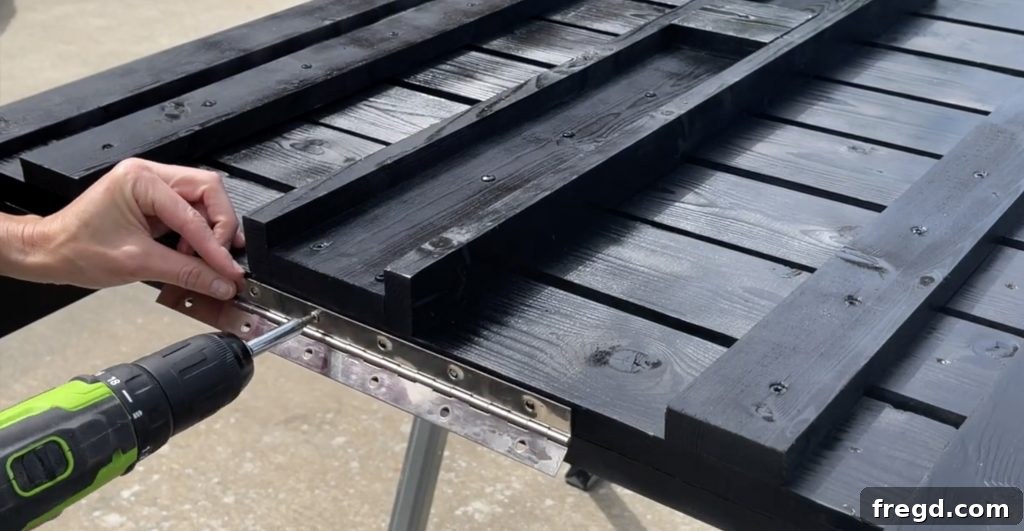
Finally, secure the piano hinge to both the top and bottom slat assemblies using the screws provided with the hinge. Ensure all screws are driven in flush with the hinge surface for smooth operation and a neat appearance.
Finishing the Frame with Trim
Step 11: Add the Side Trim
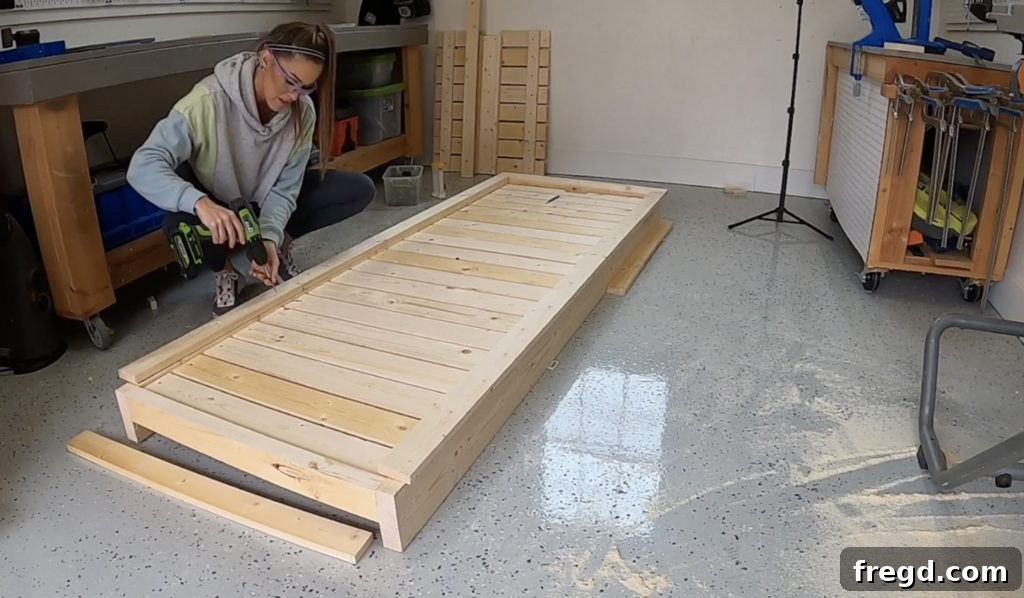
Cut the side trim pieces to their correct lengths. Apply wood glue to the back of each trim piece and attach them to the sides of the main frame using 1 1/4-inch wood screws. It’s important that the inside edge of the trim pieces sits flush with the inside of the frame, creating a clean, finished edge.
Step 12: Attach the End Trim
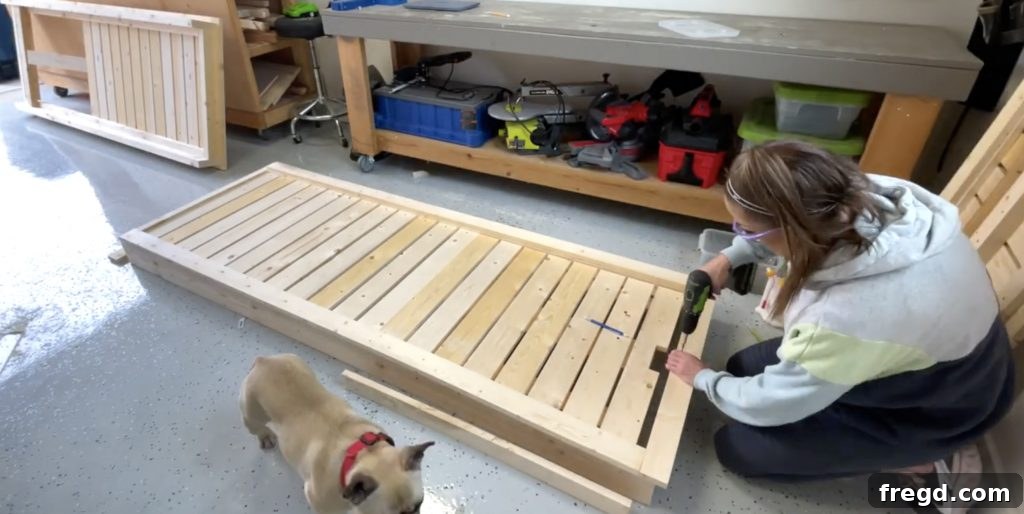
Cut the end trim pieces to size. Apply wood glue and attach these pieces to the ends of the lounge chair frame with 1 1/4-inch wood screws. These trim pieces not only enhance the chair’s aesthetics but also protect the end grain of the lumber, increasing its longevity.
The Finishing Touches
Step 13: Prepare for and Apply Your Chosen Finish
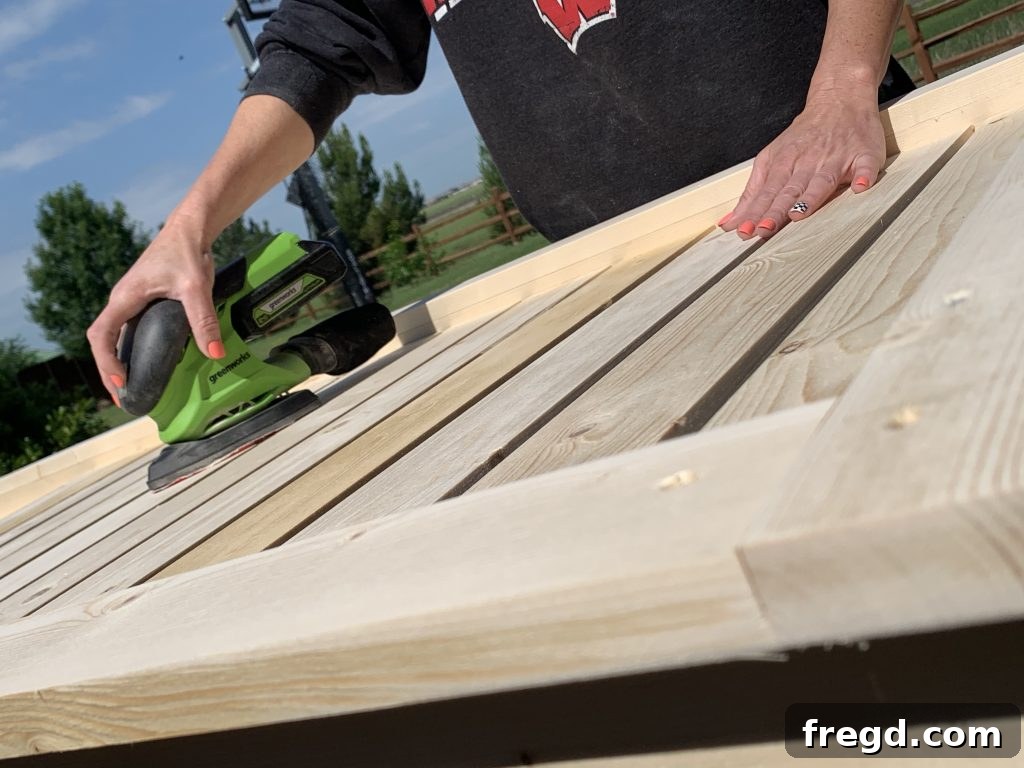
Once all construction is complete, it’s time to refine the surfaces. Fill all visible screw holes with a high-quality wood filler, allowing it to dry completely according to the manufacturer’s instructions. Once dry, sand the entire piece down, starting with a coarser grit (e.g., 120-grit) and progressing to a finer grit (e.g., 220-grit) for a silky-smooth finish. This step is crucial for both aesthetics and the longevity of your chosen finish.
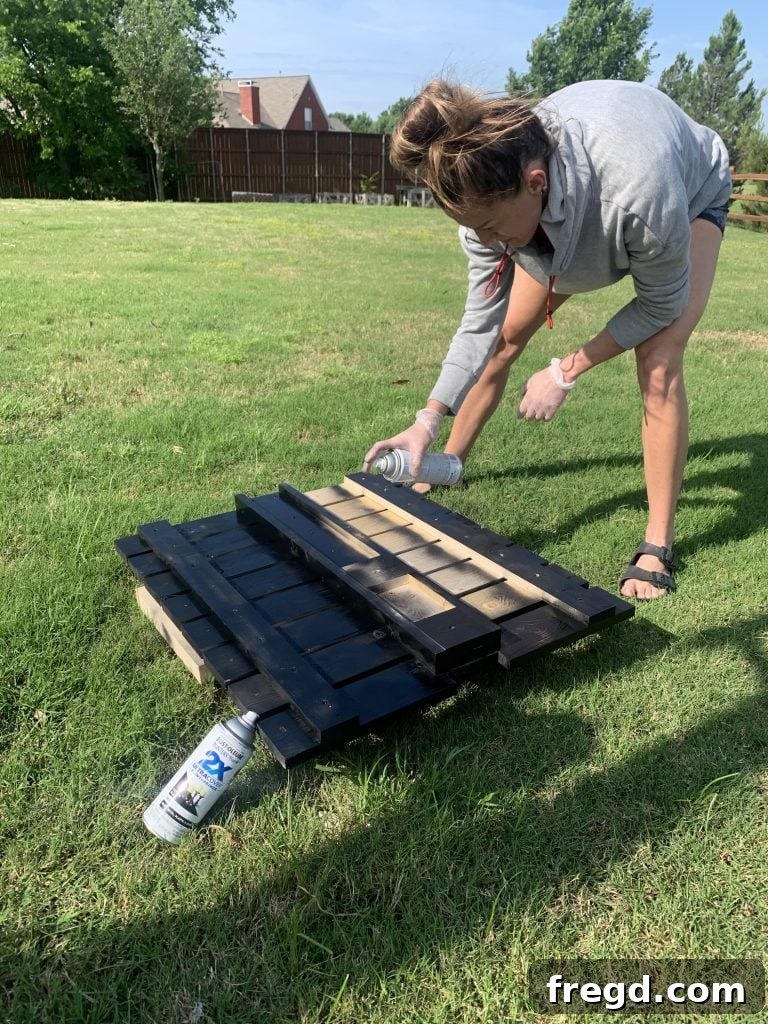
For my chairs, I opted for two coats of an indoor/outdoor spray paint, which provides excellent weather resistance and a vibrant finish. I found that approximately five cans of spray paint were sufficient for two chairs. Choose a color that complements your outdoor decor, or go bold with a statement hue! Don’t forget to protect surrounding areas and work in a well-ventilated space.
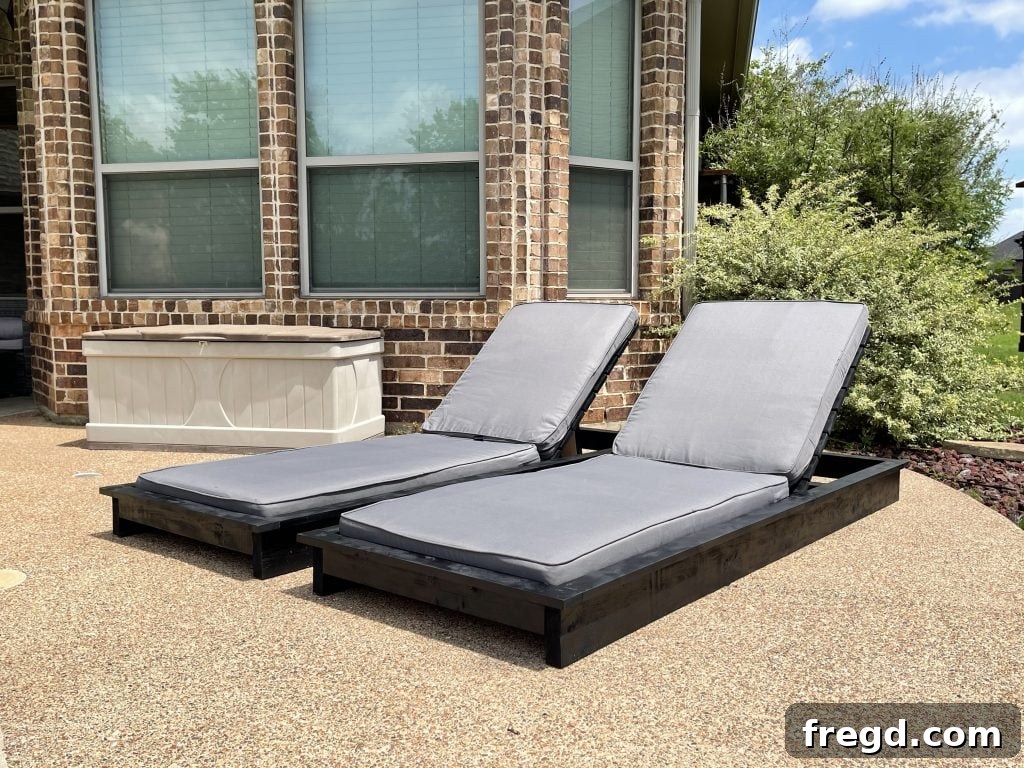
This is where your creativity truly shines! Feel free to customize your lounge chair with different paint colors, stains, or even decorative accents. Once finished, add your comfortable cushions and get ready to enjoy your new favorite outdoor spot. We absolutely love seeing your completed projects! Make sure to share your builds with us on social media and use the hashtag #shanty2chic so we can celebrate and share your amazing work too! Happy Building!
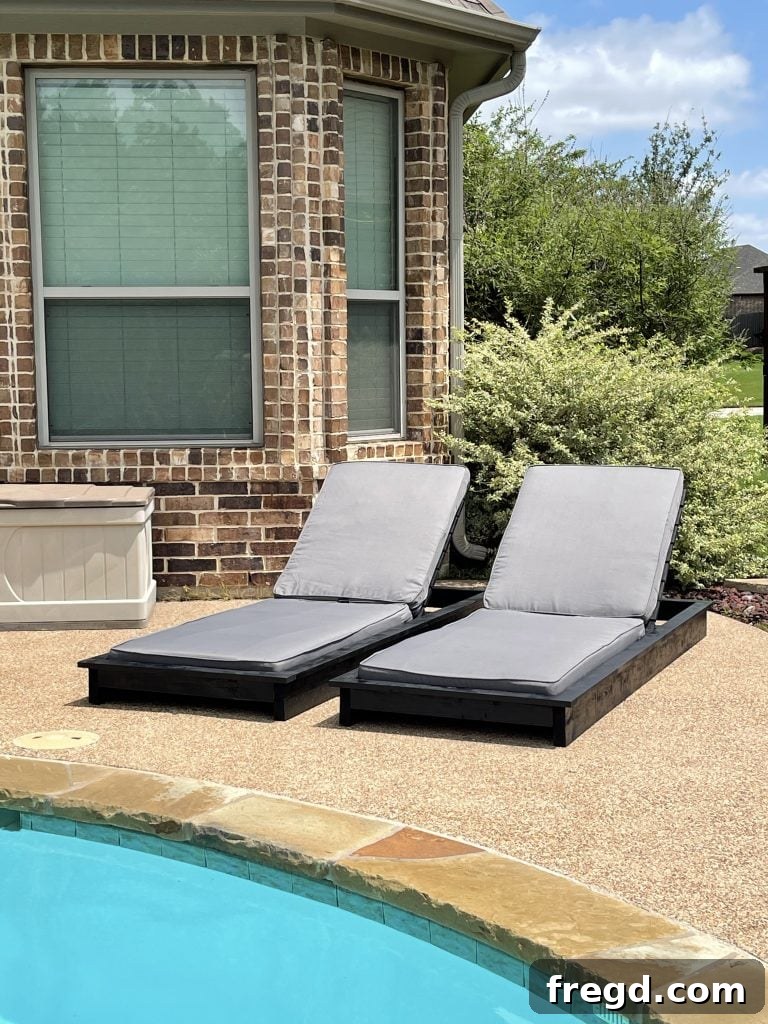
Take Your Outdoor Comfort to the Next Level
To truly elevate my DIY Lounge Chairs and create the ultimate summer oasis, I integrated some fantastic misting products from Lowe’s. These additions are perfect for those scorching summer days when you need an extra touch of cool!

The Cooling Tower is a game-changer, delivering a perfect, refreshing mist that can cool down an entire group. It’s ideal for gatherings or simply enjoying a hot afternoon without overheating.

For more personalized cooling, the Mini Mister is absolutely perfect. Attach it right to your chair, and enjoy a personal cool-down whenever you need it most.
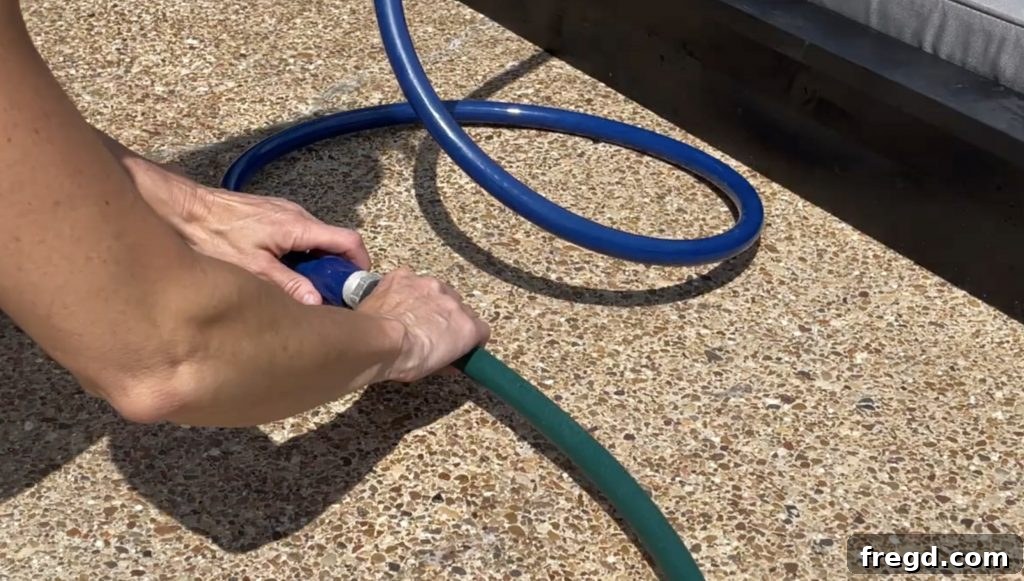
Both misting products are incredibly easy to use – simply hook them up to a standard garden hose, and you’re good to go! They are available exclusively at Lowe’s and have made my summers significantly more enjoyable. Discover the entire range of new misting products here; they’re fun, affordable, and effortlessly enhance your outdoor comfort!
Explore More Outdoor Project Plans
If you enjoyed building this lounge chair, you’re in luck! We have a wide array of other free outdoor project plans to help you continue enhancing your backyard and patio. Dive into these fantastic DIY ideas:
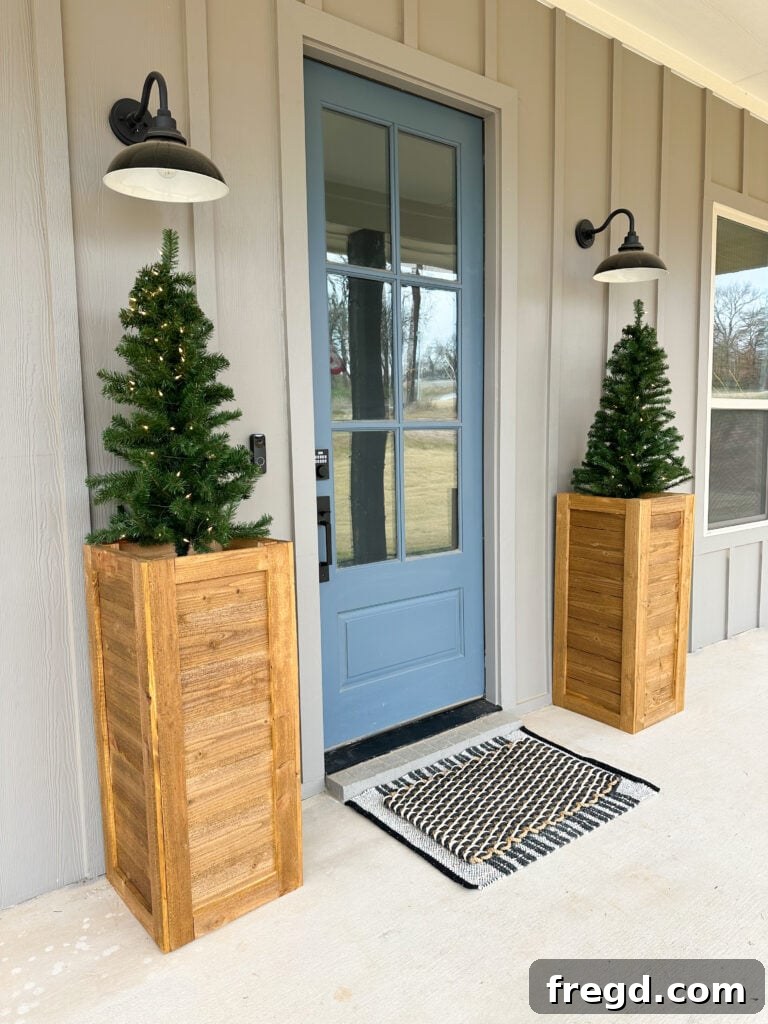
Tall Cedar Planter Box: Add greenery and style to any corner with this elegant planter.
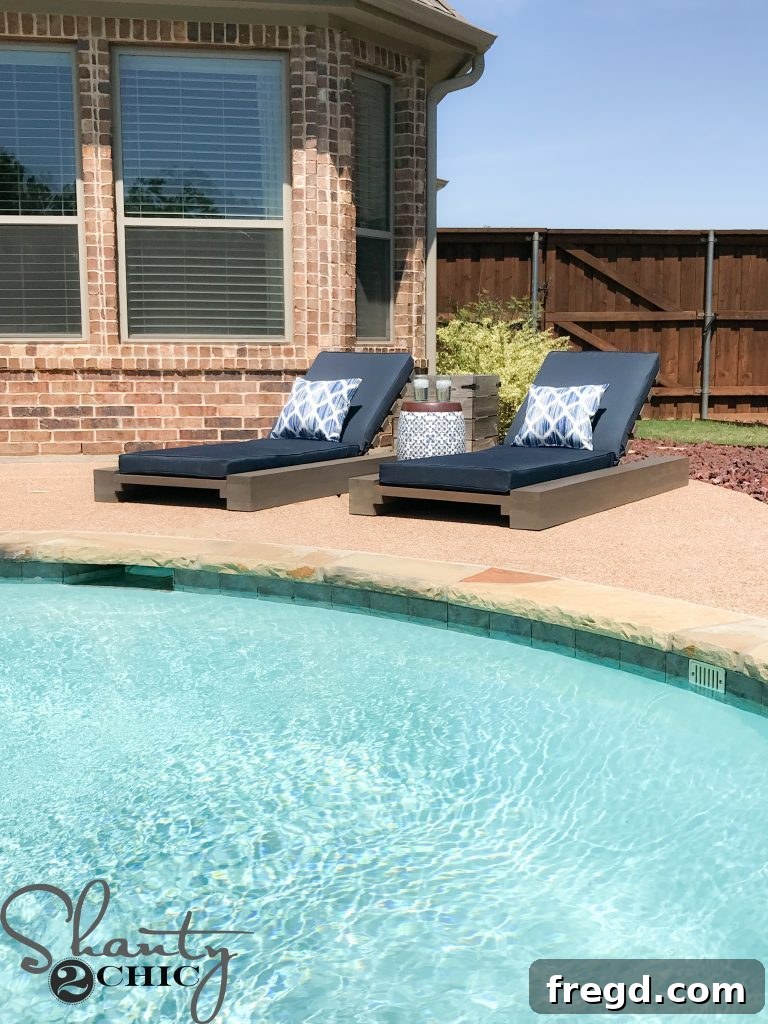
Chunky Lounge Chair!: For a more substantial and robust lounging experience.
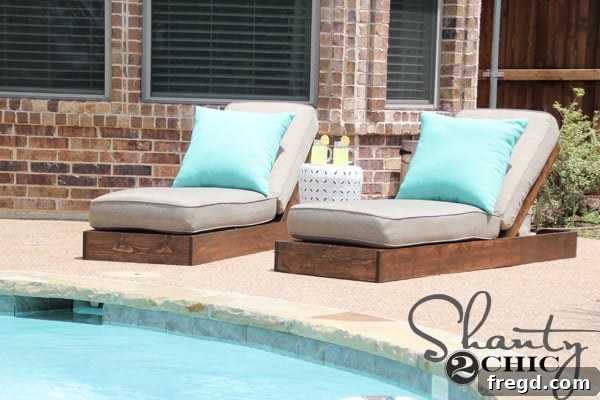
Rustic Lounge Chairs!: Perfect for a charming, farmhouse-inspired outdoor retreat.
Modern Lounge Chair!: Embrace sleek lines and contemporary design with this stylish option.