
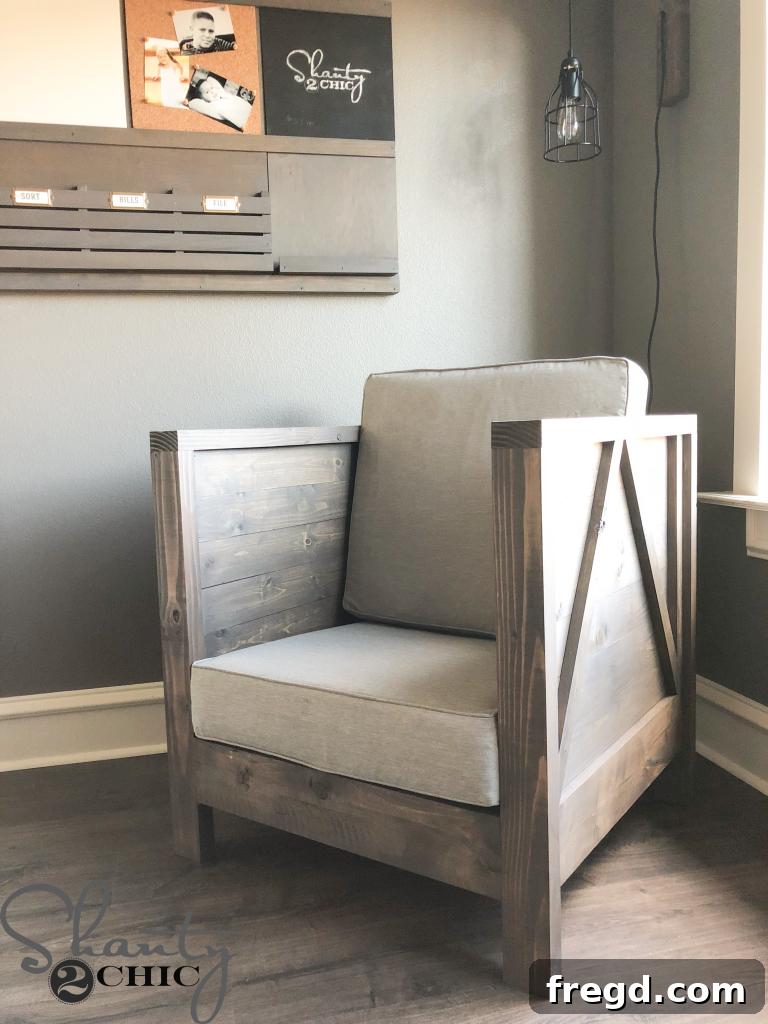
Welcome, fellow DIY enthusiasts and home decor lovers! Today, we’re thrilled to share an exciting project that promises to bring rustic charm and unparalleled comfort to your living space: our very own DIY Farmhouse Club Chair. This isn’t just another woodworking project; it’s an opportunity to craft a substantial, cozy, and stylish piece of furniture with your own hands, all while saving a significant amount of money. Imagine sinking into a chair you built yourself, a chair that perfectly encapsulates that sought-after farmhouse aesthetic!
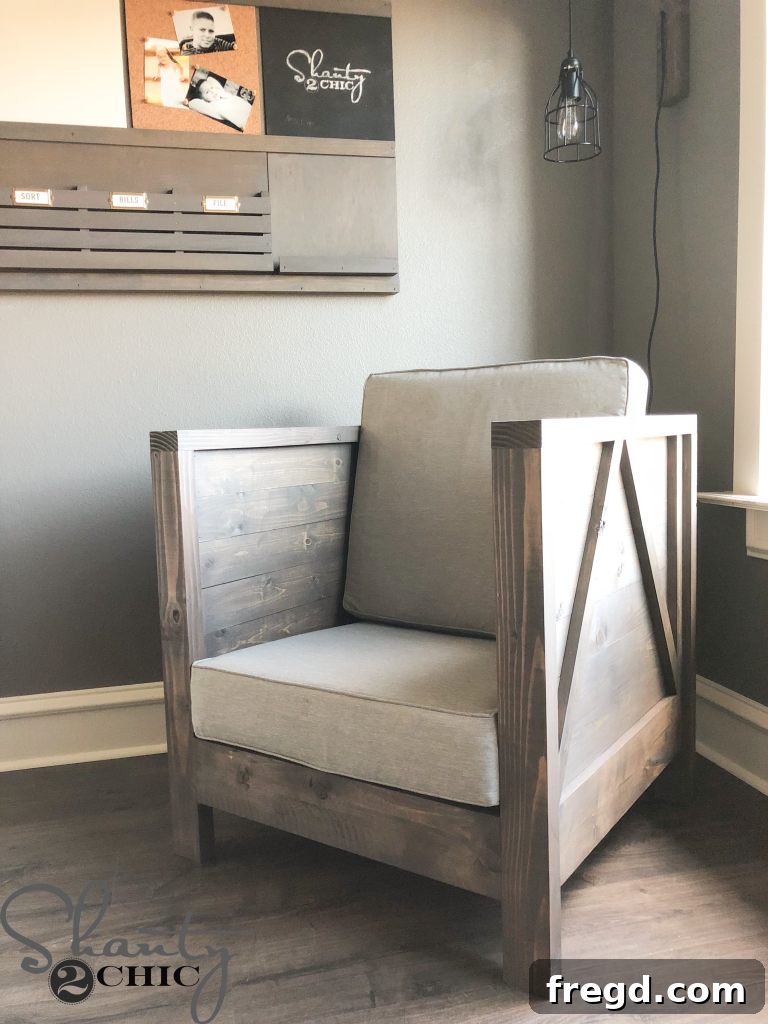
This magnificent club chair is designed for ease of build, making it accessible even for those with moderate woodworking experience. The best part? We managed to construct it for an incredibly affordable price, spending only about $80 on lumber! That’s a fraction of what a similar store-bought piece would cost. To ensure your success, we’re providing both comprehensive free plans and a detailed step-by-step video tutorial. Join us in the workshop and discover just how simple it is to bring this beautiful chair to life. You can watch the full video tutorial by clicking HERE or on the image below.
Ready to get started? We’ve made it super easy for you. Be sure to download the FREE printable plans right HERE. These plans contain all the necessary measurements and cut lists, providing a clear roadmap for your build. Follow along with us below as we guide you through each stage of constructing your very own cozy farmhouse club chair!
Crafting Your Farmhouse Club Chair: The Foundation
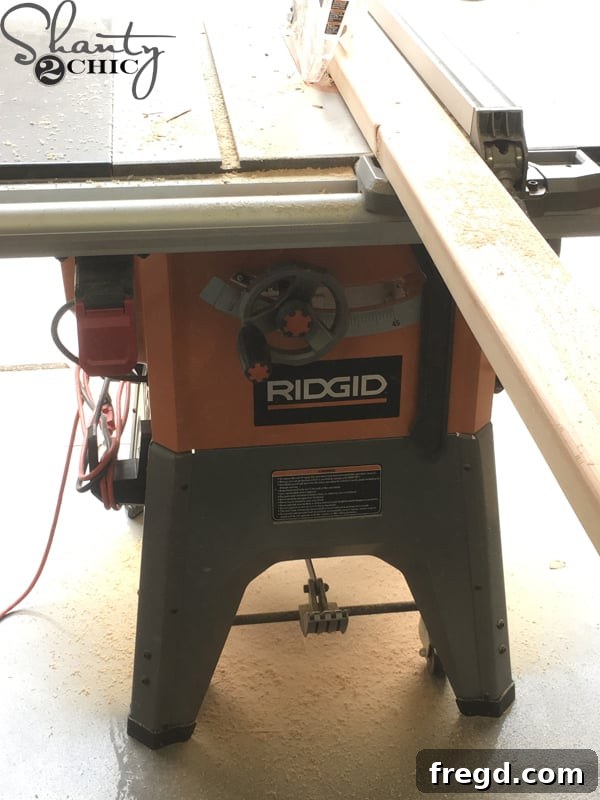
Every great woodworking project begins with precise cuts and careful preparation. For this DIY farmhouse club chair, a crucial initial step involved ripping the rounded edges off the 2×6 and 2×4 boards. While this isn’t strictly necessary for the chair’s structural integrity, it yields cleaner lines and a more refined, professional finish, which is highly desirable in farmhouse-style furniture. If you opt not to rip the edges, remember to adjust your measurements accordingly to accommodate the original board dimensions. For a detailed guide on how to perform this technique, be sure to check out our “How to Rip Edges” video linked HERE.
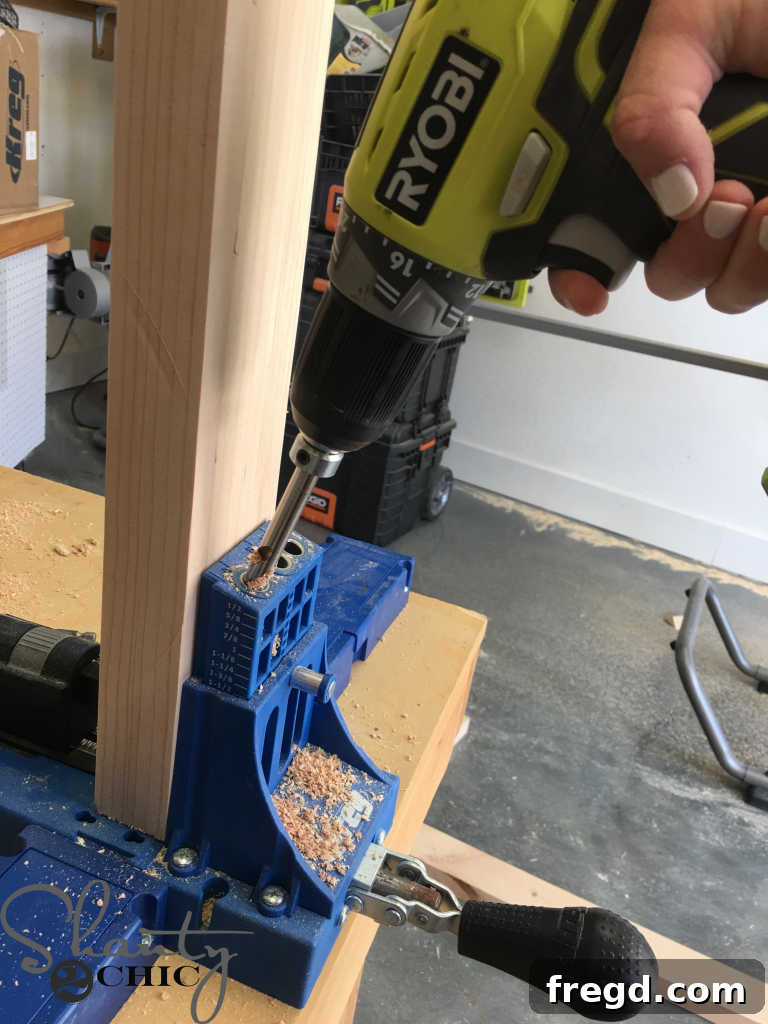
Once all your lumber has been cut to size and, if desired, had its edges ripped, the next vital step is to drill pocket holes in the appropriate boards. The Kreg Jig is an indispensable tool for this project, allowing for strong, hidden joints that contribute to both the chair’s durability and its clean aesthetic. Refer to your free plans for the exact placement and number of pocket holes required for each piece. Proper placement is key to ensuring the strongest possible connections. If you’re looking to invest in a quality pocket hole jig, you can find our favorite Kreg Jig model HERE, a tool we highly recommend for any serious DIY woodworker.
Assembling the Side Frames for Your Club Chair
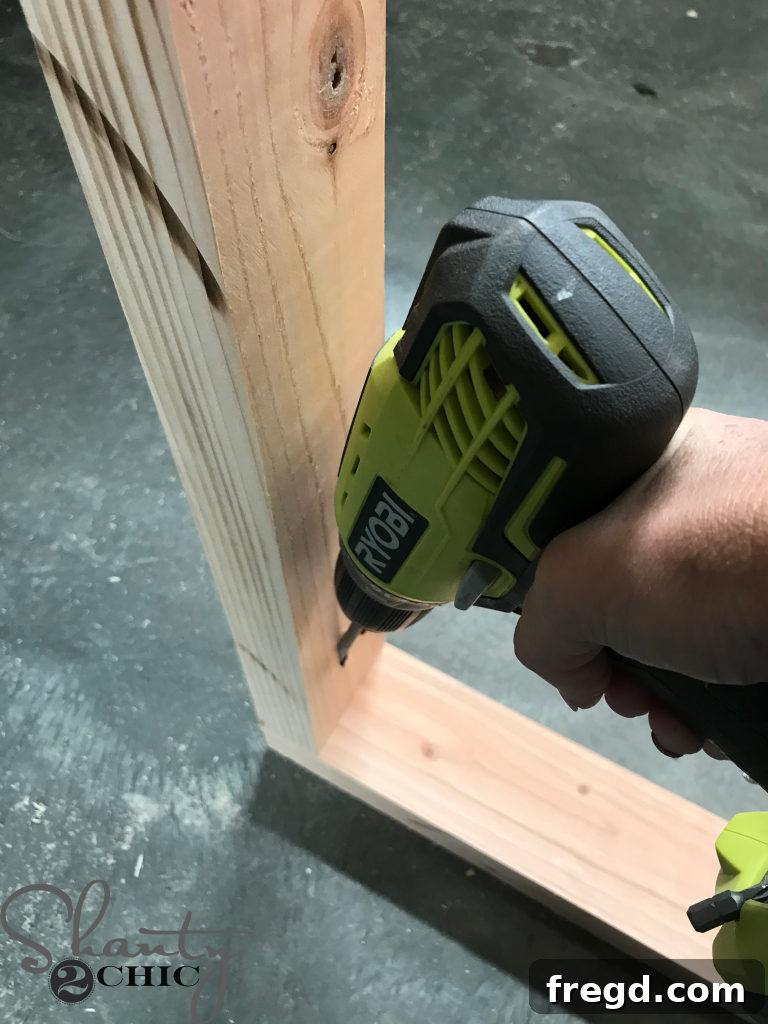
The side frames form the foundational structure of your farmhouse club chair. Begin by constructing these frames, which are comprised of the vertical post pieces and the horizontal top pieces. Carefully align the post pieces with the top piece according to your plans. Secure these components using 2 1/2-inch pocket hole screws and a generous application of wood glue. Wood glue is critical here, as it significantly enhances the strength and longevity of your joints, creating a bond often stronger than the wood itself. Repeat this process to build both side frames, paying close attention to squareness to ensure a stable and aesthetically pleasing final product. Clamping the pieces firmly together while fastening can prevent movement and ensure a tight joint.
Integrating the Apron Pieces for Structural Integrity
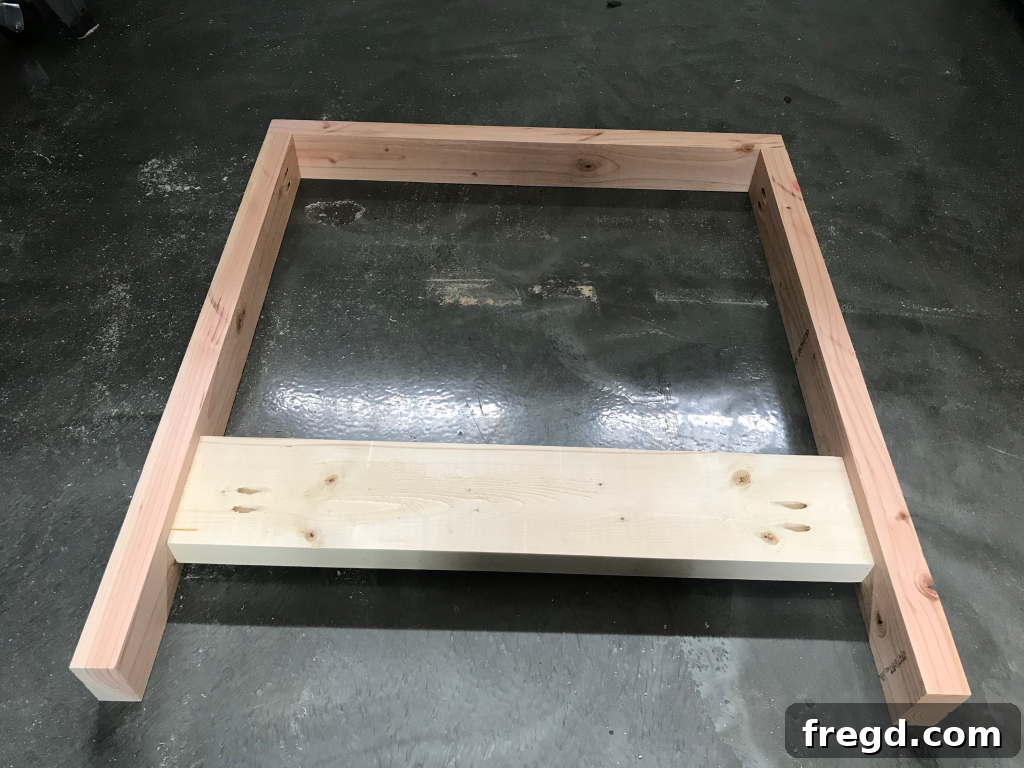
With the initial side frames built, it’s time to integrate the apron pieces. These components provide crucial structural support and contribute to the chair’s overall rigidity. Begin by attaching the side apron piece to each side frame. Just like with the main frame assembly, use 2 1/2-inch pocket hole screws and wood glue for a strong, lasting connection. Always consult your detailed plans for the precise placement of these apron pieces, as their position directly impacts the final dimensions and stability of your club chair.
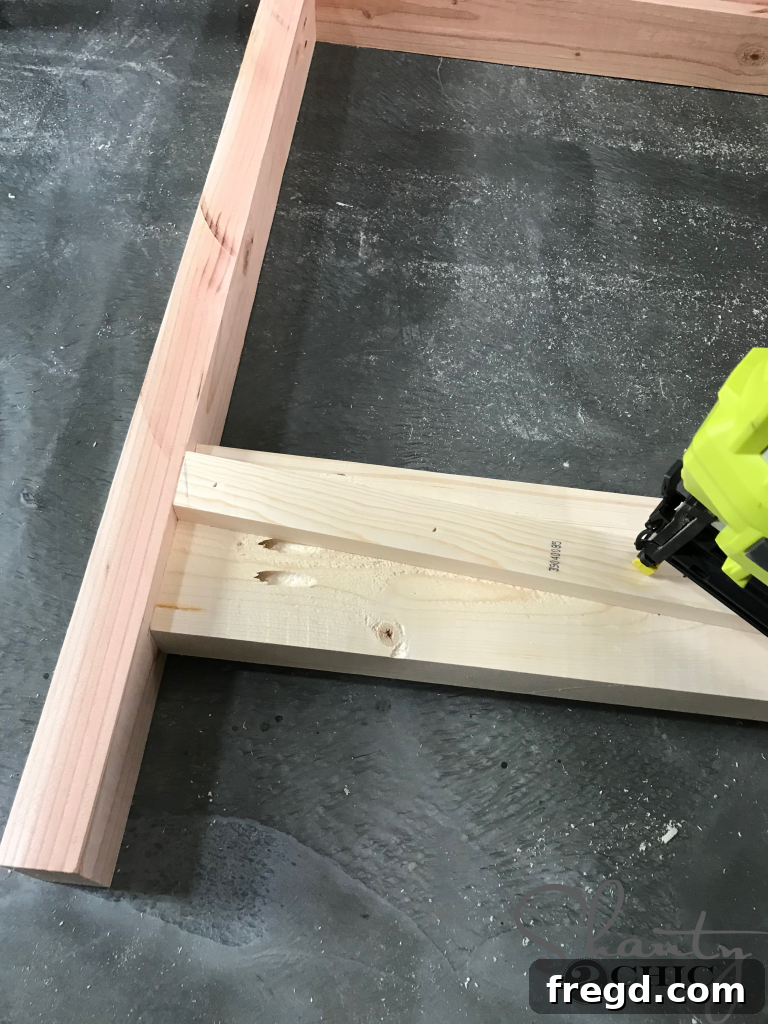
Following the attachment of the main apron pieces, prepare your apron cleats by cutting them to the specified size. These smaller pieces are essential for supporting the seat slats later on. Secure the apron cleats to the inside of the aprons using 1 1/4-inch brad nails and wood glue. The combination of glue and brad nails provides a secure hold that will withstand the forces applied during use. Ensure they are flush and level to provide an even base for the seat.
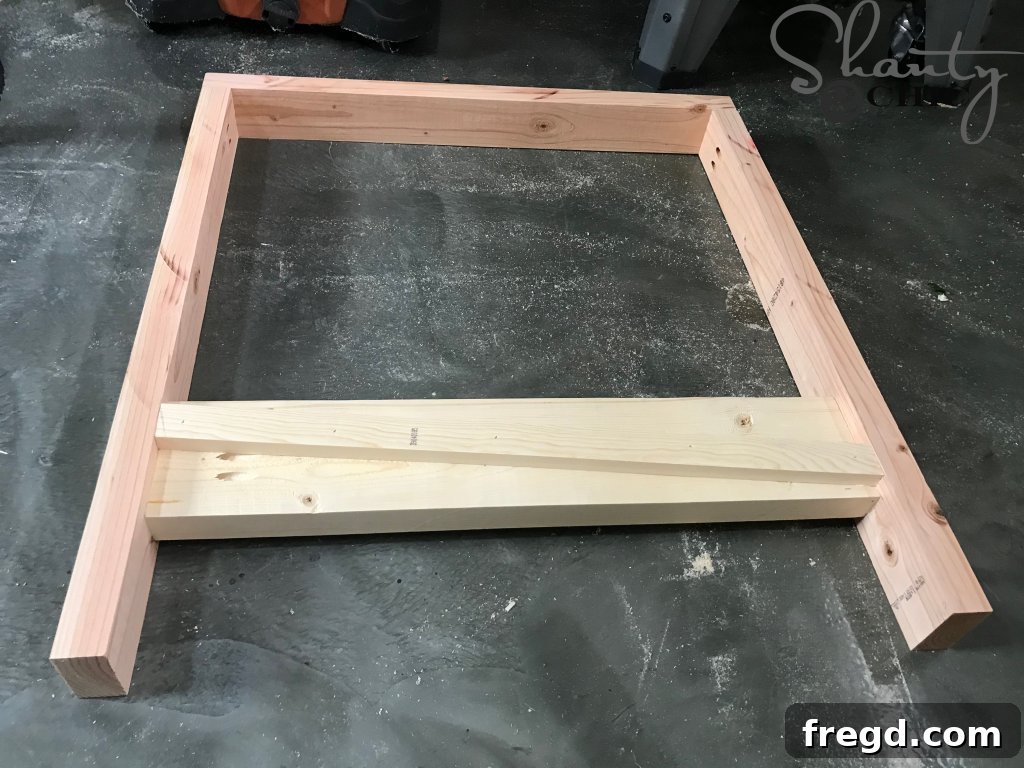
An important detail when constructing the second side frame is to ensure that the apron cleats “mirror” each other. This means if the cleats on the first frame are on the left, they should be on the right (from the same perspective) on the second frame. This symmetry is vital for the proper assembly of the chair’s front and back sections and for ensuring a consistent aesthetic. Double-checking this step now will save you headaches later in the build process.
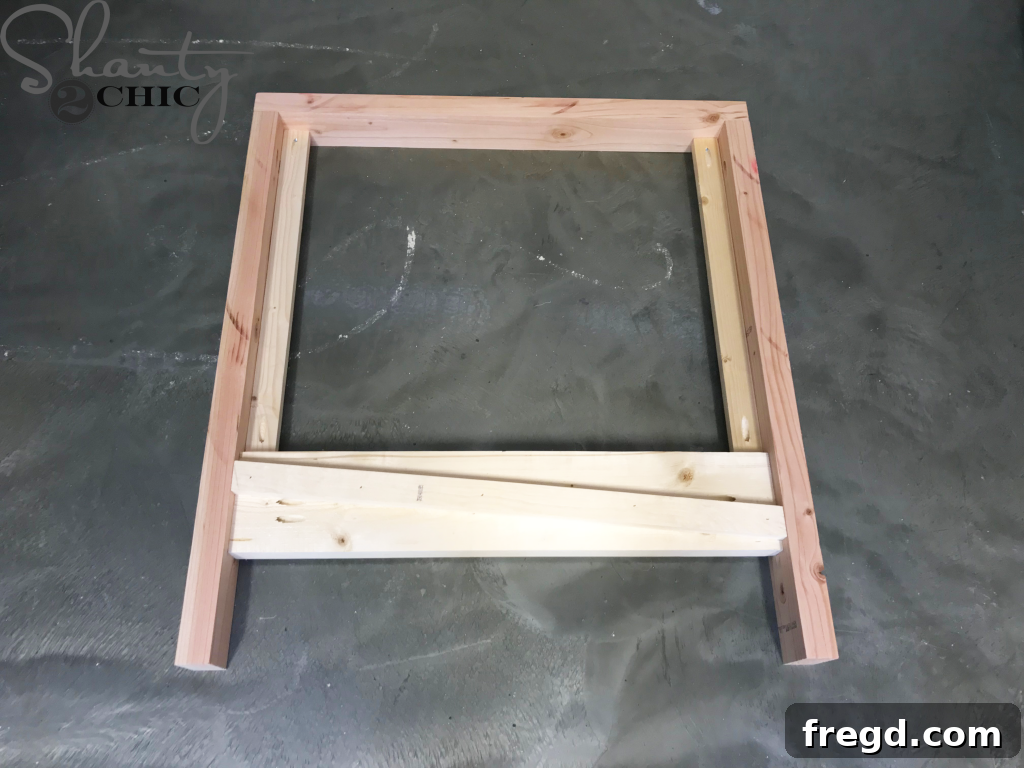
Attaching the Side Cleats for Slat Support
Next, focus on attaching the side cleats to the interior of your side frames. These cleats serve a crucial role in supporting the side slats that will form the arms of your club chair. Secure them firmly with 1 1/4-inch pocket hole screws and a durable wood glue. As always, refer diligently to your plans for the precise placement of these cleats to guarantee structural integrity and proper alignment for the upcoming slats. The careful positioning of these pieces dictates the appearance and strength of the chair’s arms.
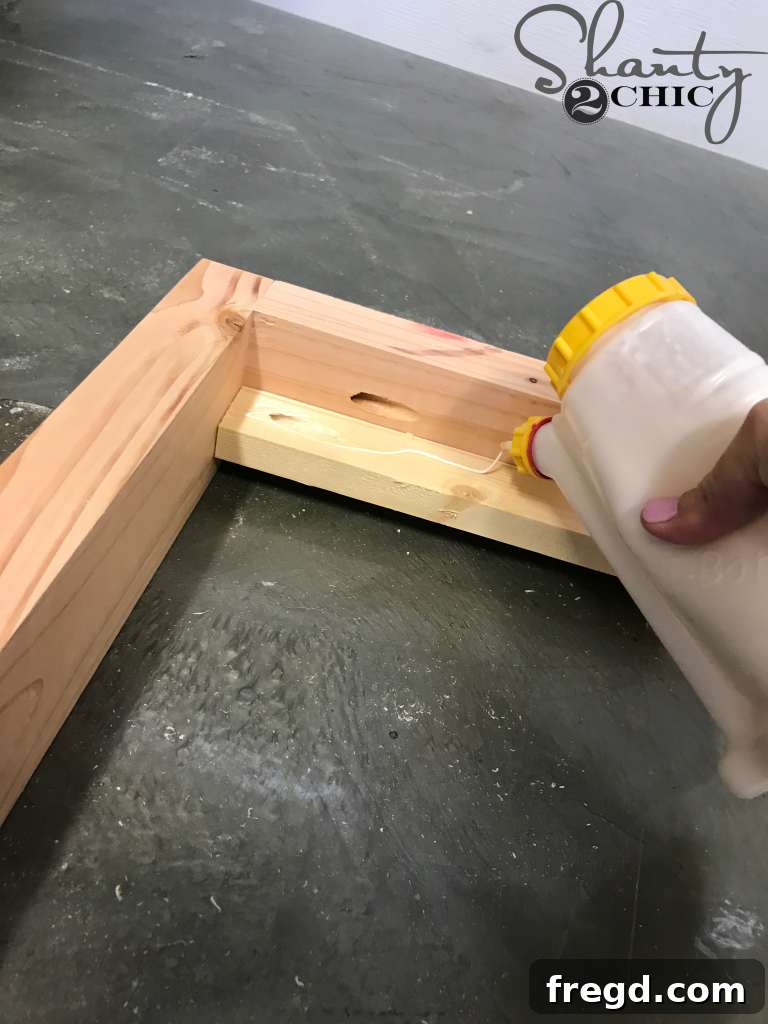
Before attaching the side slats, take an extra moment to apply a thin, consistent line of wood glue along the inside edge of each side cleat. This ensures maximum adhesion and strength when the slats are put in place, preventing any wobbling or loosening over time. This seemingly small step significantly contributes to the chair’s overall robustness and durability, providing a strong bond between the cleats and the slats.
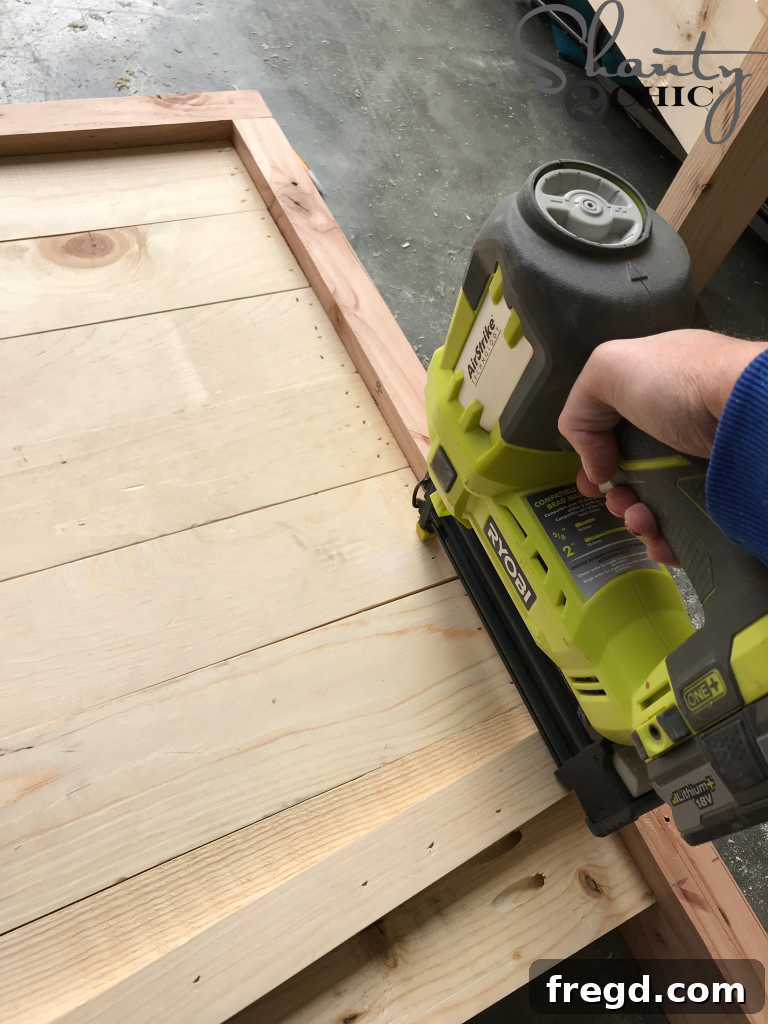
Securing the Side Slats and Main Aprons
Now, it’s time to install the side slats, which will define the comfortable arms of your farmhouse club chair. Attach these slats to the inside of the side cleats using 1 1/4-inch brad nails and a liberal amount of wood glue. For best results and a clean, consistent look, begin attaching your slats from the top and work your way down, ensuring even spacing between each piece. This methodical approach helps maintain alignment and symmetry throughout the armrest structure. The glue provides the primary strength, while the brad nails hold the slats in place until the glue cures.
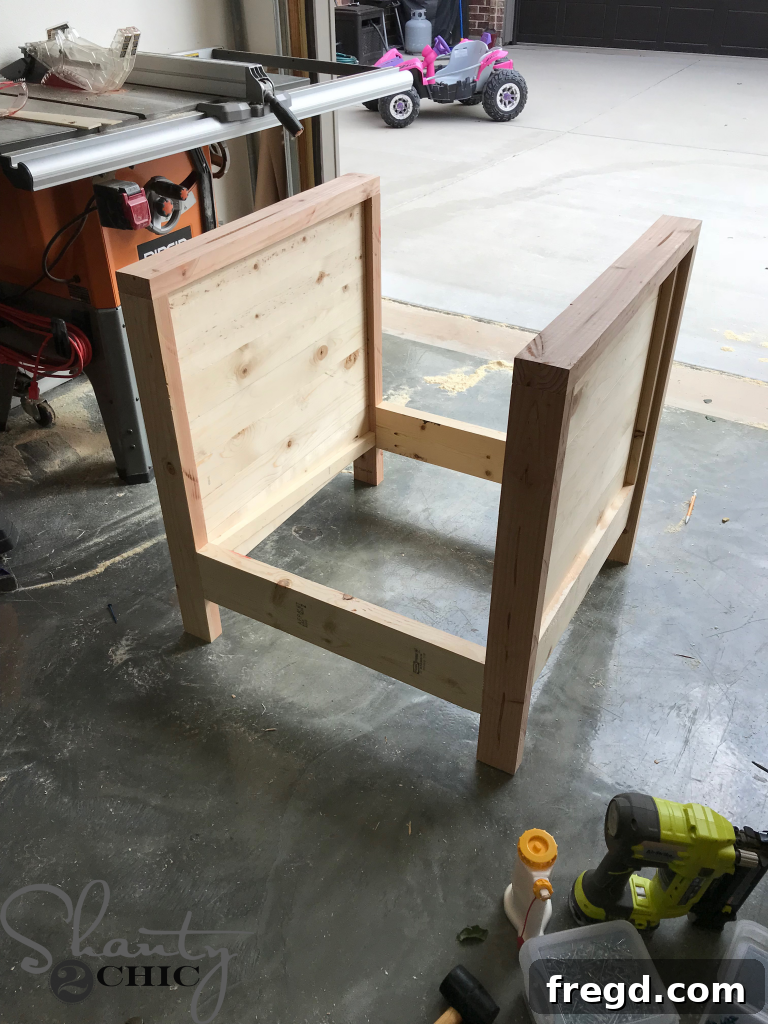
Once the side slats are securely in place, bring the entire chair frame together by attaching the front and back apron pieces. These critical components connect your two completed side frames, giving the chair its full depth and structural integrity. Use 2 1/2-inch pocket hole screws and wood glue to create strong, secure joints. Pay particular attention to the pocket hole placement on the back apron, as detailed in your plans, to ensure optimal strength and a clean finish. This step is where your chair truly starts to take its definitive form.
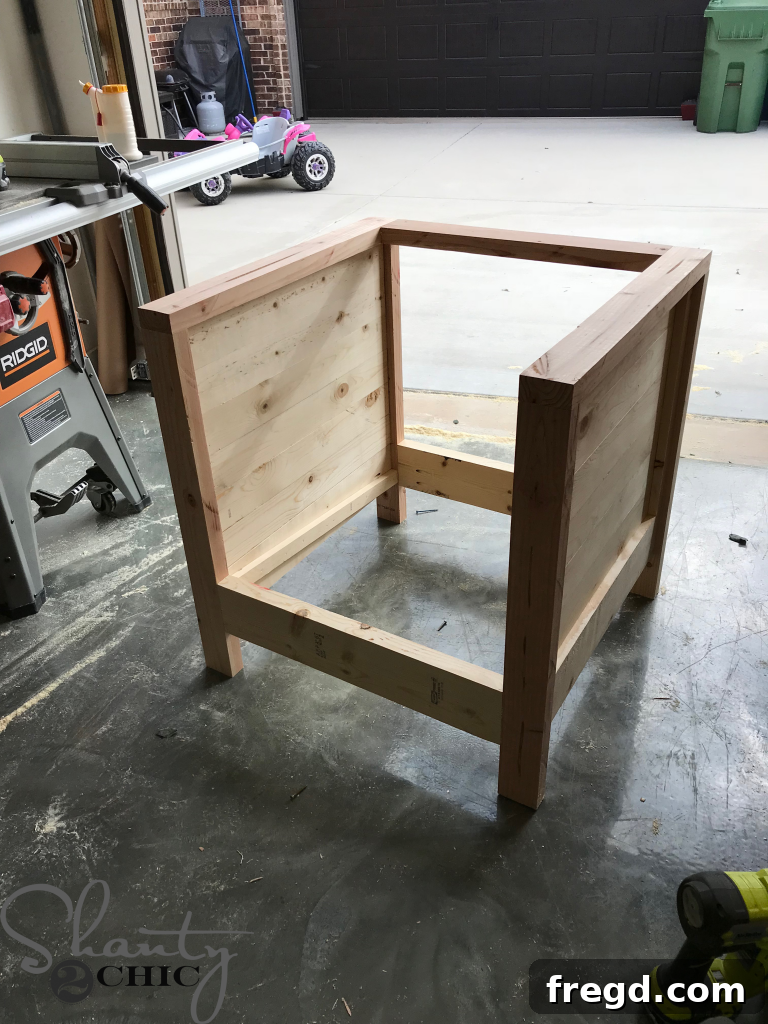
Installing the Top Back Piece of Your Chair
With the main frame and side aprons connected, the next step is to install the top, back piece of your farmhouse club chair. This component is not only crucial for the structural rigidity of the chair’s back but also contributes significantly to its overall aesthetic appeal, providing a defined top edge. Secure this piece firmly using 2 1/2-inch pocket hole screws and wood glue. Ensure it is perfectly level and square with the rest of the frame, as this will impact the alignment of your back slats and the overall comfort and appearance of the finished chair. Take your time to align it correctly before driving in the screws.
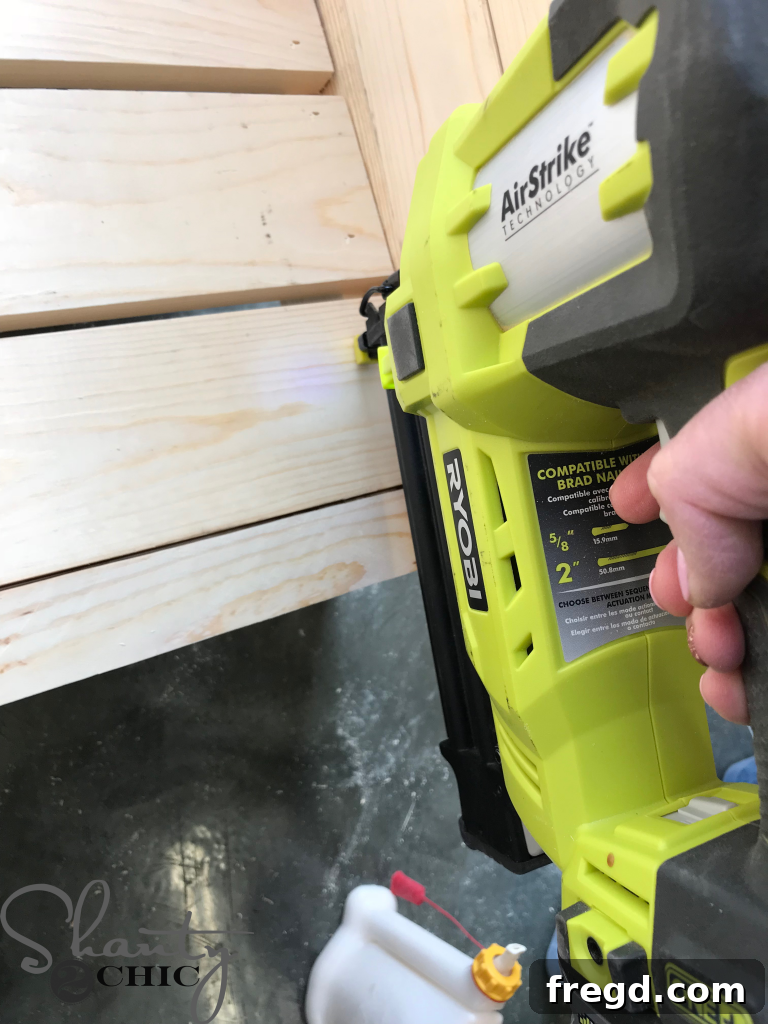
Adding the Seat Slats for Comfort and Support
Now that the primary frame is complete, it’s time to build out the seat for your cozy club chair. Attach the seat slats to the apron cleats that you installed earlier. Use 1 1/4-inch brad nails and wood glue for a strong and secure hold. These slats are essential for providing a firm and supportive base for your seat cushion, ensuring long-lasting comfort. For the best result, begin by attaching the two end pieces first, making sure they are perfectly aligned. Then, space the remaining slats out evenly across the width of the chair, ensuring a consistent and robust foundation for your seating experience. Precise spacing will contribute to the even distribution of weight and overall comfort.
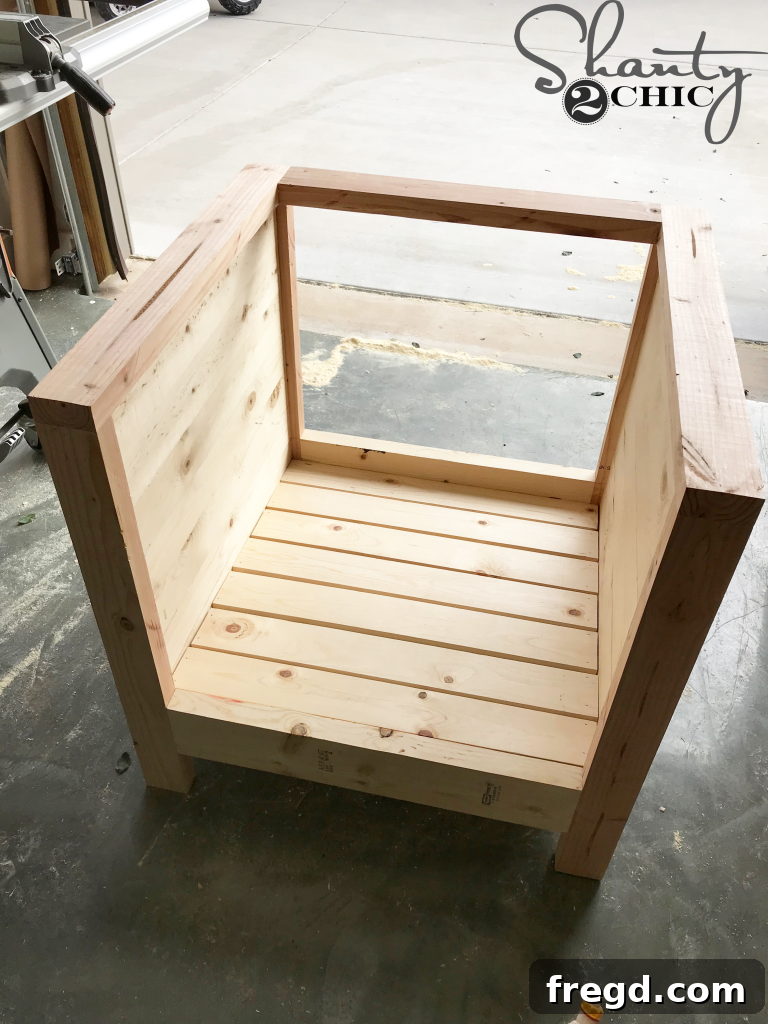
Fastening the Back Slats for Ergonomic Design
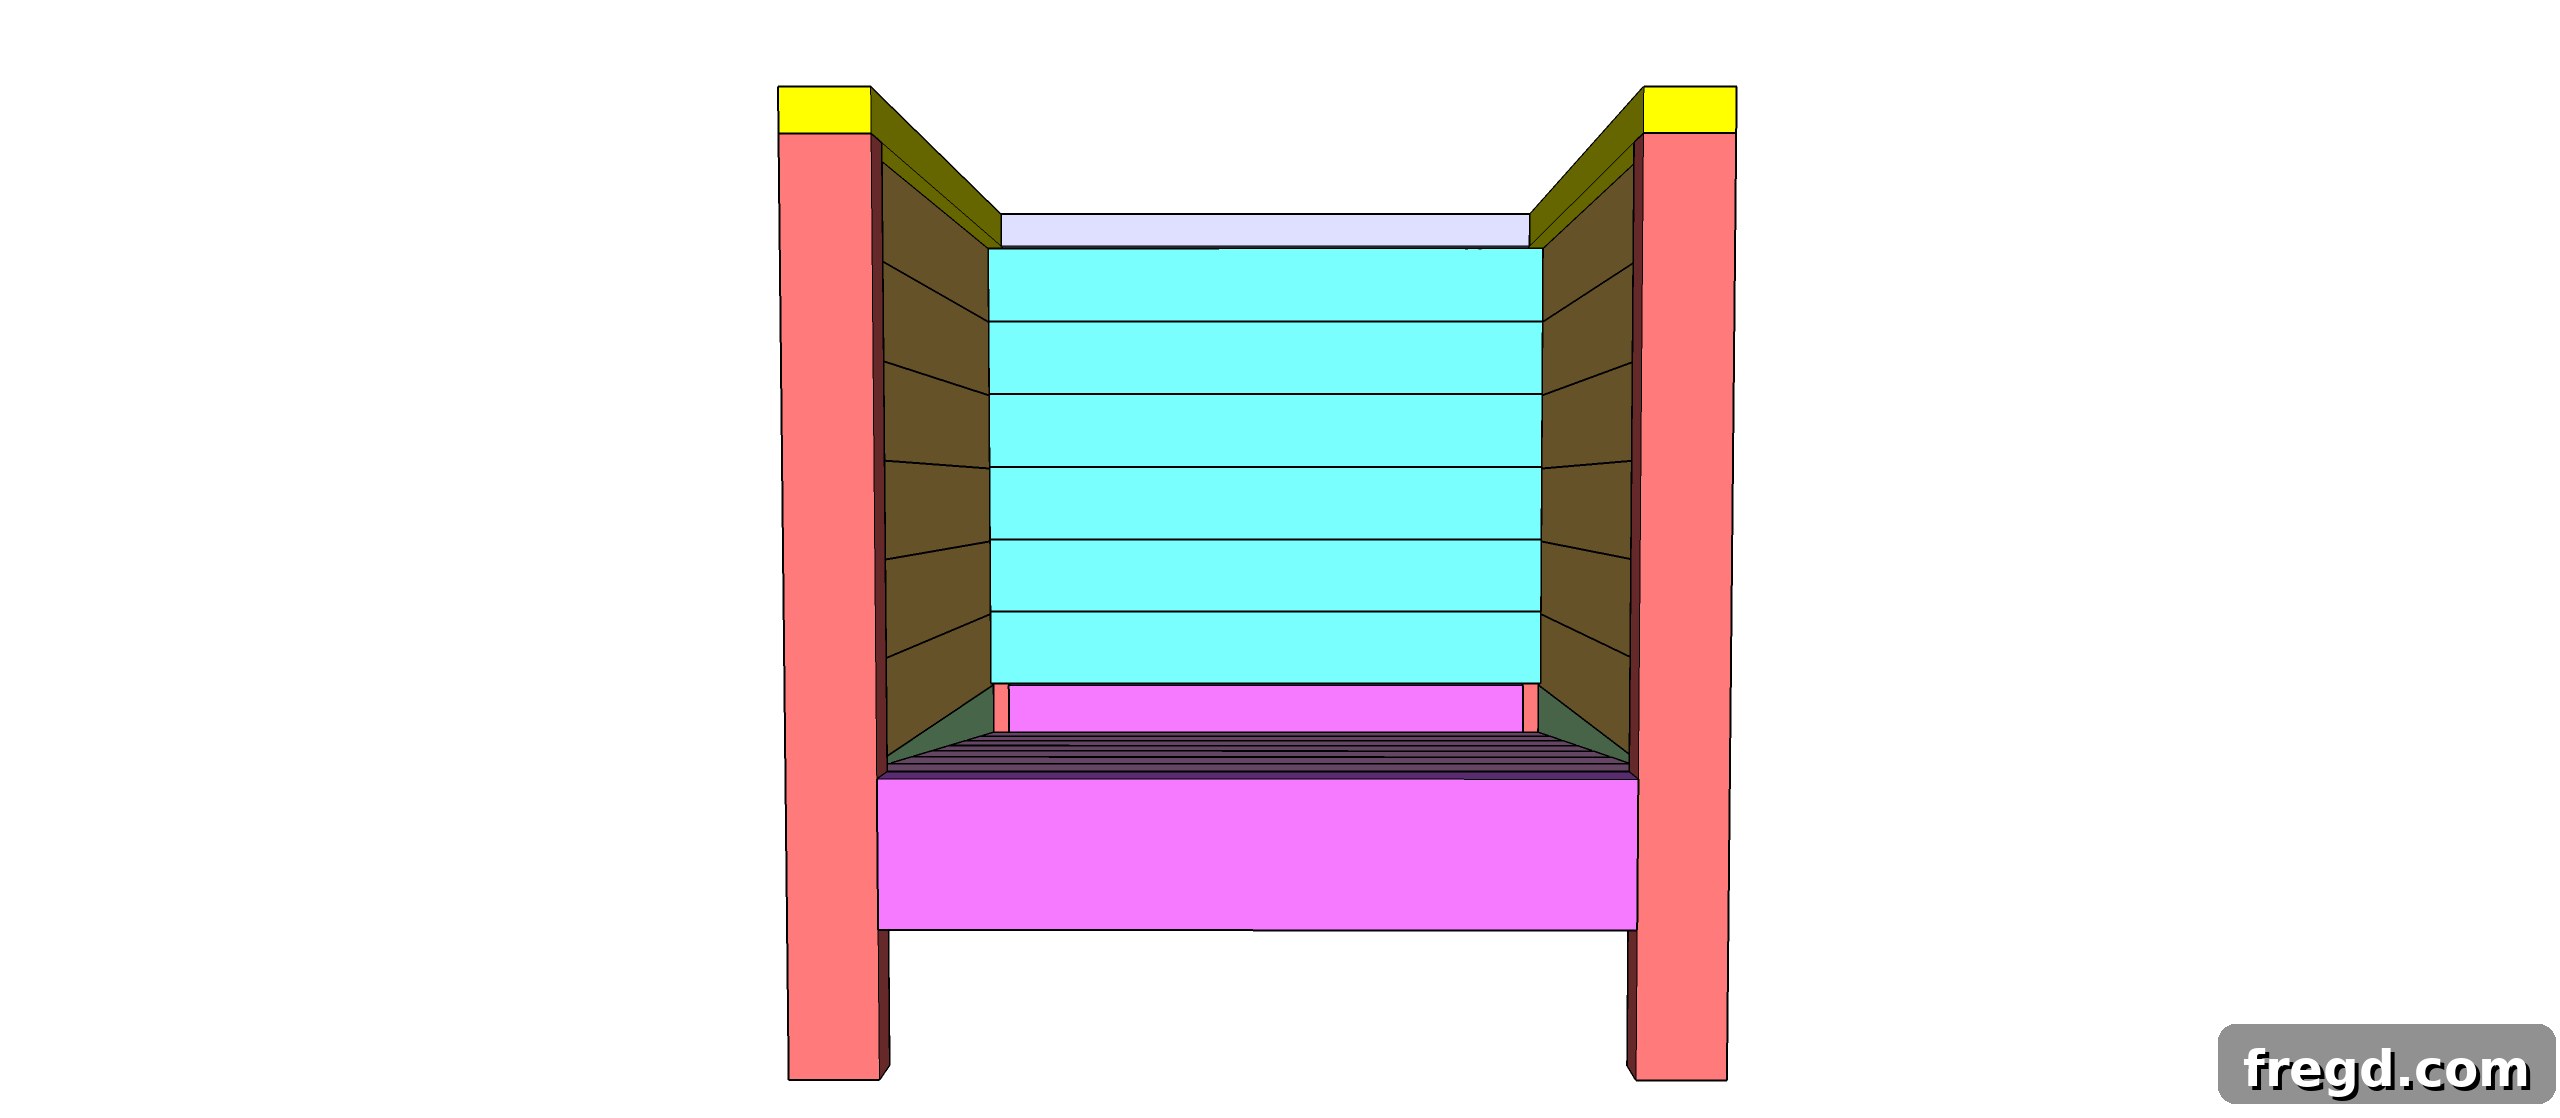
Following the installation of the seat slats, proceed to attach the back slats. These pieces are crucial for providing comfortable back support and completing the signature look of your farmhouse club chair. Start attaching these slats from the top of the inside of the chair’s back and work your way down. This top-down approach helps maintain consistent spacing and alignment, which is critical for both ergonomics and aesthetics. Secure each back slat using 1 1/4-inch brad nails and a generous amount of wood glue. Ensure that the spacing between each slat is uniform to create a neat and professional finish, ready for a cozy back cushion.
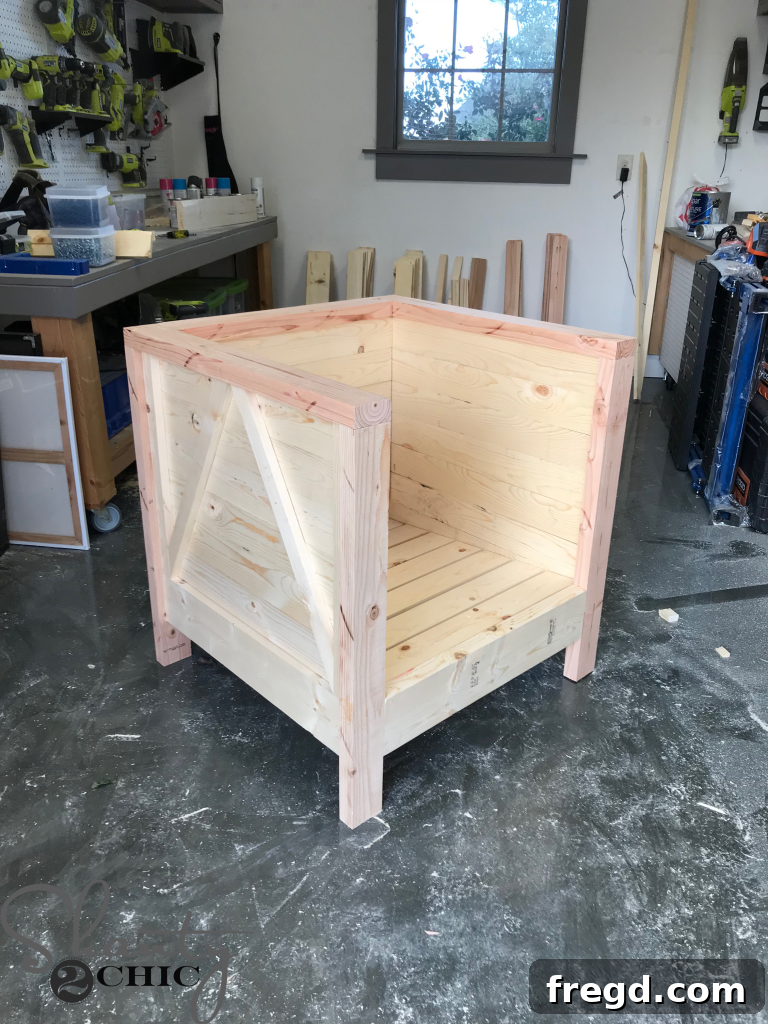
Applying the Finishing Trim for a Polished Look
The final structural step in building your DIY farmhouse club chair involves adding the side trim. This element is essential for giving your chair a complete, polished, and custom-built appearance, neatly covering any exposed edges or fasteners. Carefully measure and cut your side trim pieces to the exact dimensions required. Once cut, attach them securely to the sides of the chair using both wood glue and 1 1/4-inch brad nails. The glue provides lasting adhesion, while the brad nails hold the trim firmly in place as the glue cures. This trim detail truly elevates the chair from a simple frame to a piece of bespoke furniture.
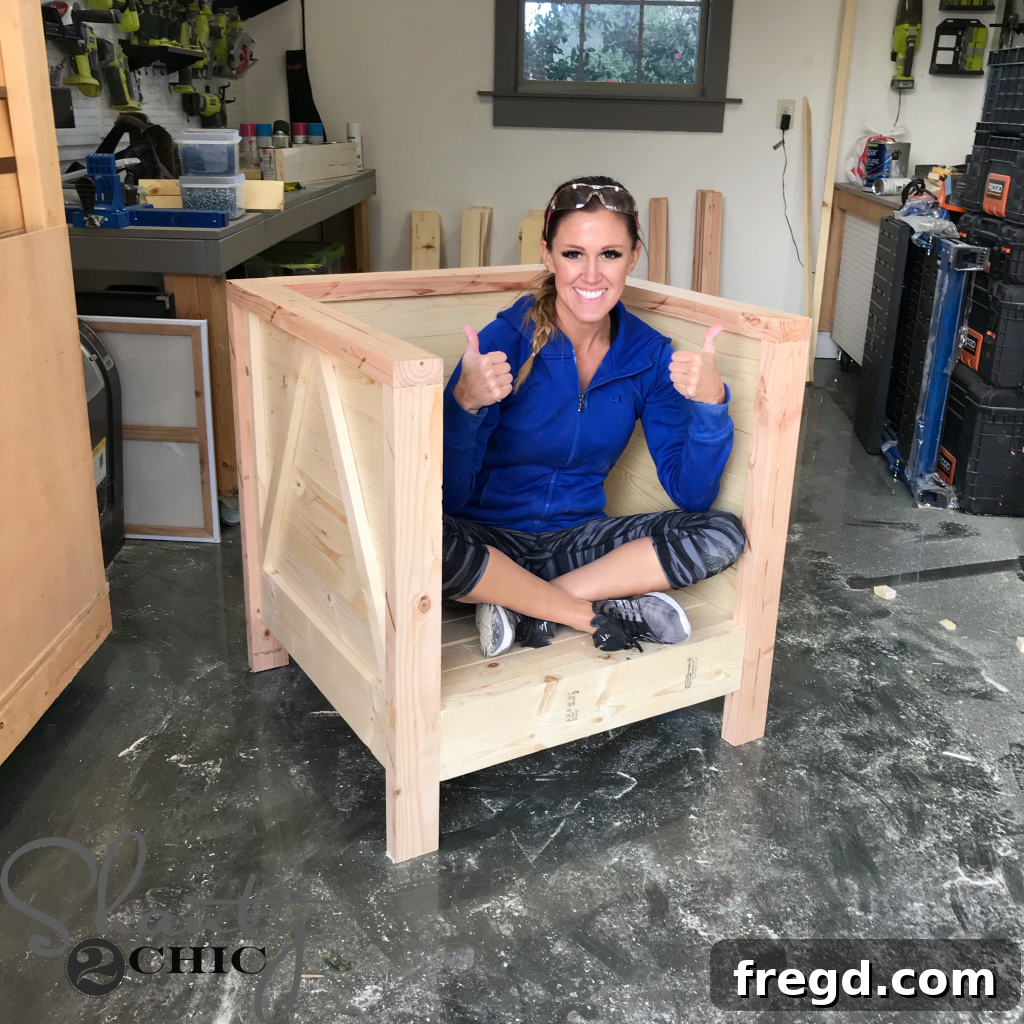
Stain It: Transforming Your Farmhouse Club Chair
Your magnificent DIY farmhouse club chair is now fully assembled and ready for its finishing touches! This is where the true character of your piece emerges. The right stain can highlight the natural beauty of the wood grain and perfectly complement your home’s decor. Before applying any finish, ensure the entire chair is sanded smooth and wiped clean of any dust or debris for optimal stain adhesion and an even result.
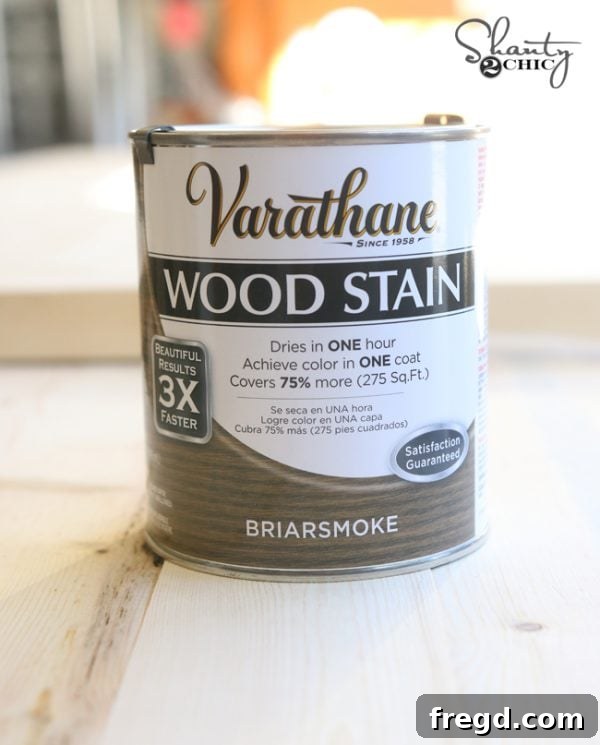
For this particular project, we opted for one luxurious coat of Briarsmoke Stain by Varathane. This beautiful shade delivers a rich, smoky brown that perfectly embodies the rustic elegance of farmhouse style, adding depth and warmth to the lumber. It’s a fantastic choice for achieving that authentic, timeworn look. You can conveniently find this specific stain HERE on Amazon or check for availability at some Home Depot stores. Applying the stain evenly will bring out the gorgeous grain and protect your handcrafted masterpiece for years to come.
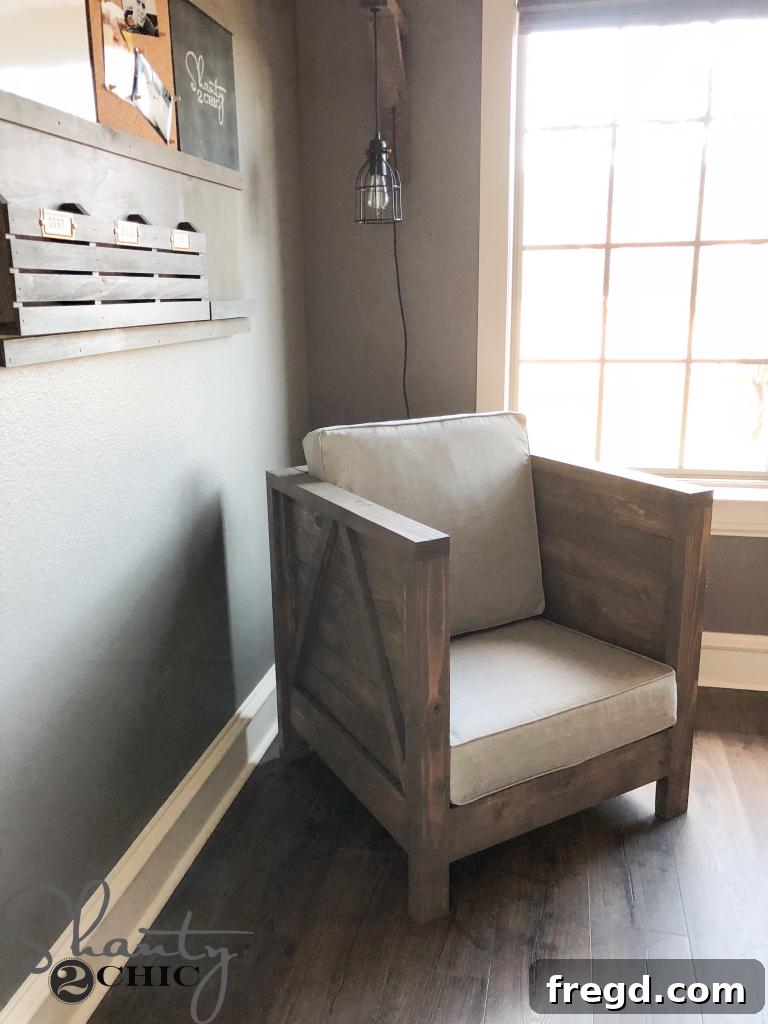
After the stain has dried and cured, the only thing left to do is add some plush cushions to complete your cozy retreat. The right cushions not only enhance comfort but also add another layer of style and personality to your new chair. We added a wonderfully soft seat and back cushion, instantly transforming the sturdy wooden frame into an inviting haven. You can find the exact back cushion HERE and the matching seat cushion HERE, both available on Amazon, making it easy to replicate our comfortable setup.
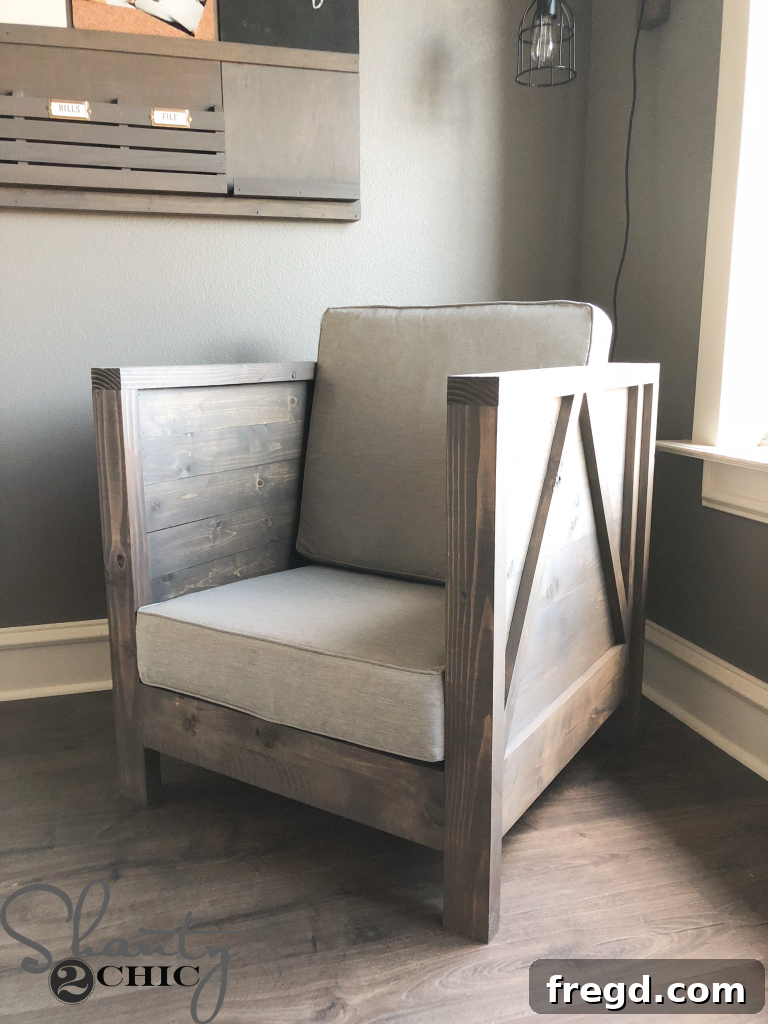
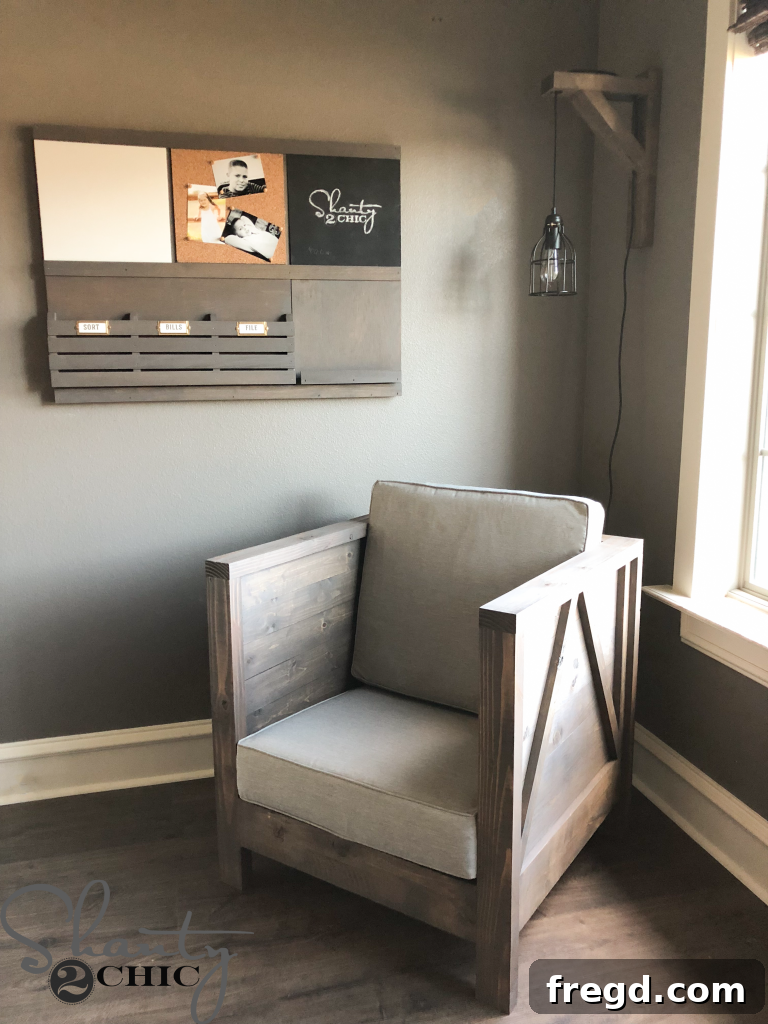
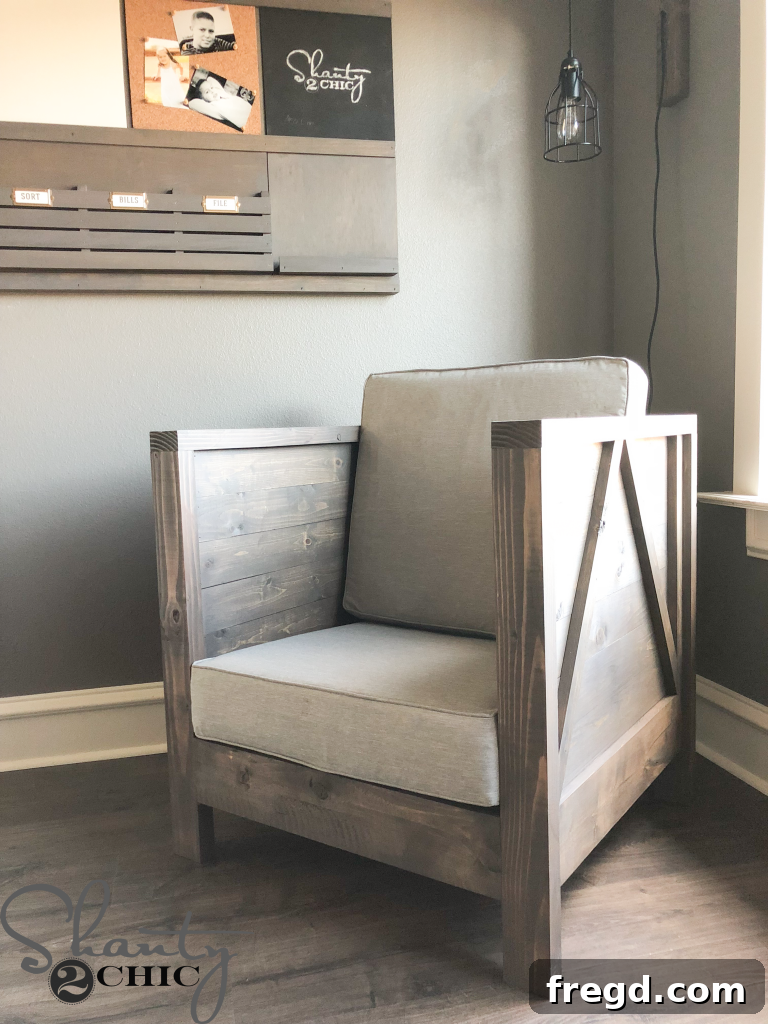
We absolutely love how this DIY Farmhouse Club Chair turned out, and we hope you do too! If you’re inspired by this project and decide to build one for your own home, please consider sharing it with your friends and fellow DIY enthusiasts. A simple pin on Pinterest goes a long way in helping us spread the joy of woodworking and custom home decor. Your support helps us continue to create and share free plans and tutorials with our amazing community!
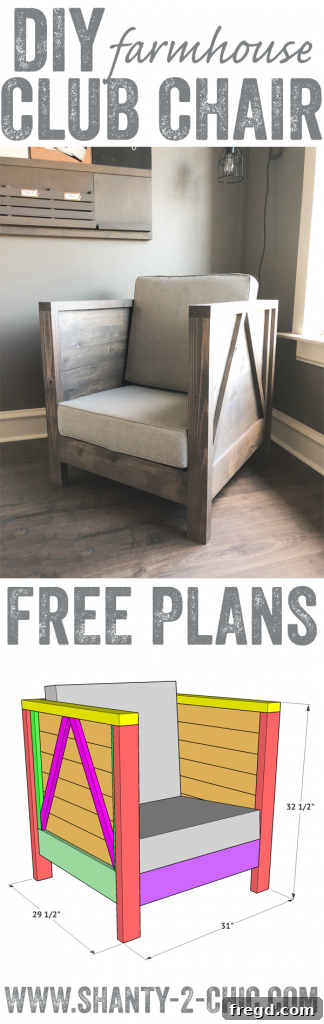
Thank you so much for stopping by and embarking on this creative journey with us. We hope you enjoy building and relaxing in your new Farmhouse Club Chair as much as we do!
Curious about the other beautiful items you spotted in this room? Here’s a quick guide to some of the elements that complete this inviting space:
- Paint on the walls: Seine by Valspar (a soothing, versatile shade that complements the rustic aesthetic)
- Trim Color: Ivory Lace by Valspar (a soft, warm white that provides a subtle contrast)
- Rustic Corbel Sconce Light: FREE Plans HERE (an elegant and easy-to-build lighting solution)
- Modular Memo Board: FREE Plans HERE (a practical and stylish way to keep your essentials organized)