
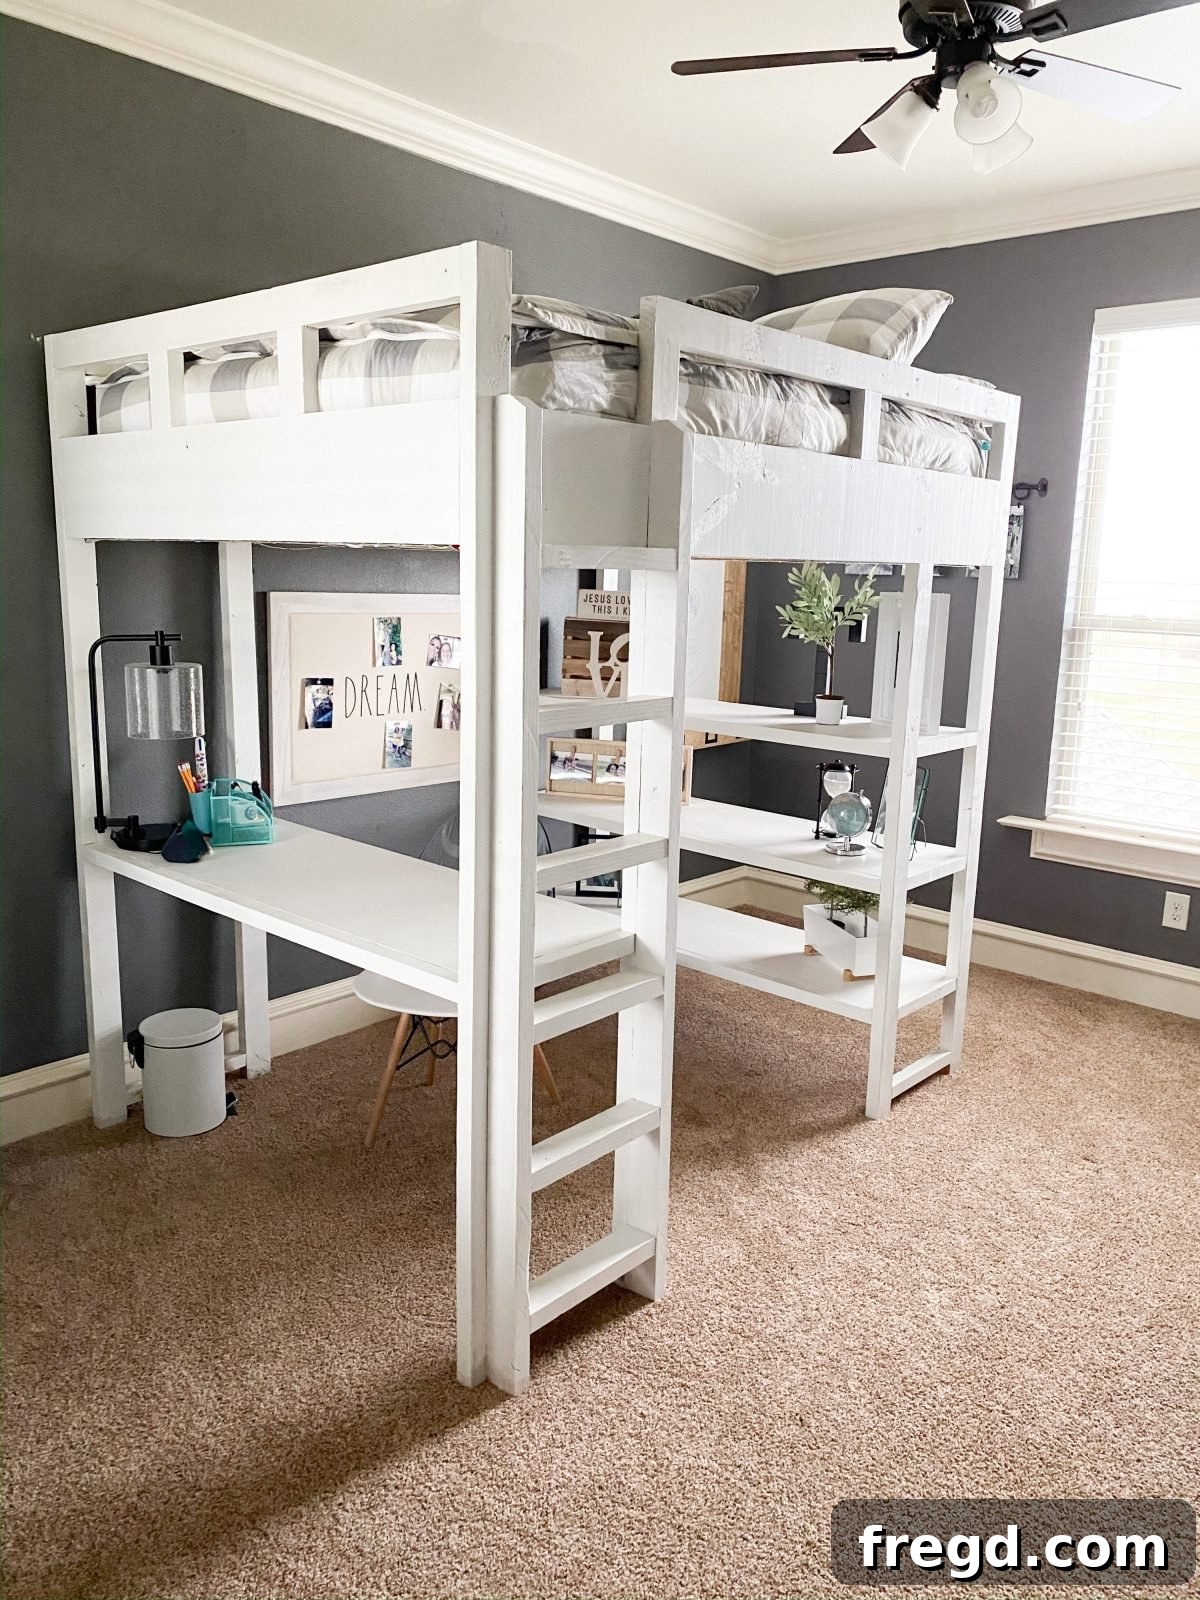
Welcome back to the second part of our exciting DIY Loft Bed project! If you’re looking to maximize space in a child’s bedroom while providing a dedicated area for study, creativity, or simply relaxation, then this loft bed with a built-in desk and shelves is the perfect solution. Designed with remote learning in mind, this project creates a multi-functional hub that kids will absolutely love, all while being a budget-friendly and rewarding build for any DIY enthusiast, even beginners.
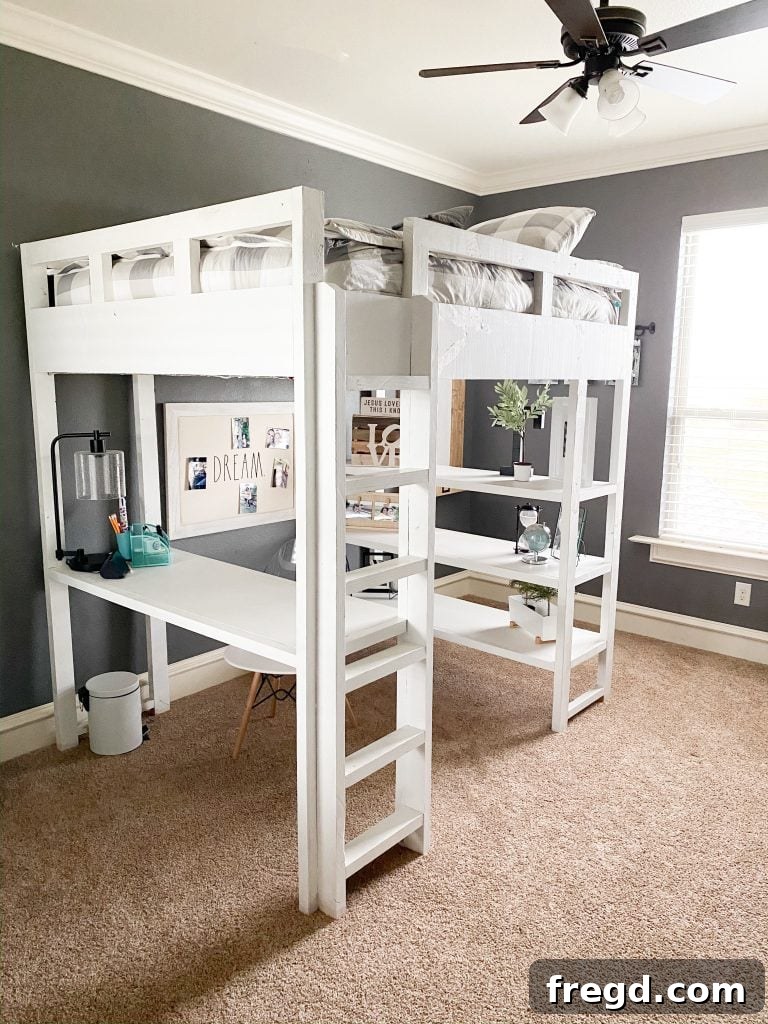
Last time, we laid the foundation for this incredible piece of furniture. In this second installment, we’ll dive into completing the desk and shelving units, assembling the sturdy ladder, and installing the mattress support slats. You’ll be amazed at how easily this project comes together with just a few essential tools and our comprehensive, free printable plans. For around $300 in lumber, you can create three essential pieces of furniture – a bed, a desk, and shelving – transforming a room with both style and practicality.
Ready to turn those piles of lumber into a functional masterpiece? Let’s get building!
For those who missed the initial steps, you can find Part 1 of this DIY Loft Bed build here, detailing the primary frame construction. And to make your building journey even smoother, grab your free printable plans for Part 2 by clicking here!
See just how straightforward this build is by watching our step-by-step video guide below!
Introduction to Part Two: Completing Your DIY Loft Bed with Desk
Welcome back to our woodworking workshop! In Part One, we successfully constructed the robust main frame of our loft bed. Now, in Part Two, we’re ready to add the crucial elements that make this bed a true multi-functional marvel: the integrated desk, practical shelving, a safe and sturdy ladder, and the essential mattress support system. This section is all about bringing the vision of a compact study and sleep station to life. With careful attention to detail and a little patience, you’ll see your project rapidly transform into a finished product that’s not only beautiful but incredibly useful.
Why Build a DIY Loft Bed? Maximizing Space and Functionality
In today’s homes, especially with the rise of remote learning and compact living spaces, optimizing every square foot is more important than ever. A DIY loft bed with a built-in desk offers an ingenious solution, particularly for children’s bedrooms or small studios. Here’s why this project is a game-changer:
- Space Efficiency: Loft beds elevate the sleeping area, freeing up valuable floor space underneath. This allows for a dedicated study zone, a cozy reading nook, or extra storage, without needing a larger room footprint.
- Dedicated Study Area: The integrated desk provides a quiet, organized space for homework, remote classes, or creative projects. Having a designated workstation can significantly boost focus and productivity.
- Cost-Effective: Building your own loft bed can be significantly more affordable than purchasing a pre-made unit, especially one with a built-in desk and shelves. Our project cost around $300 for lumber, delivering incredible value.
- Customizable Design: When you DIY, you have full control over the finish – choose paint colors, stains, or decorative elements that perfectly match your existing decor or your child’s personality.
- Skill Development: For beginners, this project is an excellent way to learn fundamental woodworking techniques like using a miter saw, drilling pocket holes with a Kreg Jig, and assembling sturdy joints.
- Durability and Quality: By selecting quality lumber and assembling it yourself, you ensure a solid, long-lasting piece of furniture that can withstand years of use.
This loft bed isn’t just a place to sleep; it’s a strategic investment in your home’s functionality and your child’s comfort and success.
Essential Tools for Your Build: Getting Started with Confidence
Even for a project of this scale, you don’t need a workshop full of expensive equipment. We’ve designed this DIY loft bed to be accessible to beginners, requiring only a handful of fundamental tools. Having the right tools makes the process smoother, safer, and yields more precise results.
- Table Saw (Optional): While not strictly necessary, a table saw is incredibly useful for ripping wider boards (like 2x4s into 2x2s) or achieving highly precise cuts. If you don’t have one, many lumber yards offer cutting services, or you can use a circular saw with a straight edge guide.
- Miter Saw: This is your go-to tool for making accurate crosscuts. It’s essential for cutting all your lumber pieces to their specific lengths, ensuring everything fits together perfectly.
- Drill: An electric drill (corded or cordless) is indispensable for driving screws, pre-drilling holes, and making pocket holes. Make sure to have a good set of drill bits and driver bits.
- Kreg Jig: This innovative tool is key to creating strong, concealed pocket-hole joints. It simplifies joining wood pieces at angles or flat against each other, giving your furniture a clean, professional finish without visible screws. We’ll be using it extensively for the desk, shelves, and ladder.
- Tape Measure and Pencil: For accurate measurements and markings – remember the old adage: “measure twice, cut once!”
- Safety Glasses and Hearing Protection: Always prioritize safety when working with power tools.
Materials List for a Sturdy Loft Bed: Selecting Quality Lumber and Hardware
Choosing the right materials is fundamental to the durability and appearance of your loft bed. We’ve selected readily available and cost-effective lumber, ensuring a robust structure. Remember to inspect each piece of lumber for straightness and knots before purchasing.
Lumber & Plywood:
- 4 – 2x10x8 Framing Lumber: These form the main structural components, providing incredible strength and stability. Look for straight, knot-free boards.
- 14 – 2x4x8 Framing Lumber: Versatile and widely used for many parts of the bed frame, ladder, and supports.
- 11 – 2x2x8 Framing Lumber (I ripped from 2x4s): These smaller dimensions are perfect for cleats and minor supports. Ripping them from 2x4s with a table saw is cost-effective, or you can purchase them directly.
- 12 – 1x4x8 Pine or Common Boards: Ideal for the bed slats, providing solid mattress support. Pine is generally easy to work with and takes finishes well.
- 2 – 3/4″x48″x96″ Hardwood Plywood (Birch recommended): This will form the desk surface and shelves. Hardwood plywood like birch offers a smooth finish, excellent durability, and can be stained or painted beautifully.
Fasteners & Adhesives:
- 1 1/4″ Pocket Hole Screws: Used for attaching the plywood surfaces to the trim, designed for thinner material.
- 2 1/2″ Pocket Hole Screws: The primary screws for joining structural pieces with the Kreg Jig, ensuring strong, hidden connections.
- 1 1/4″ Brad Nails (Optional): Useful for temporarily holding pieces in place or for small decorative trims. (Though not explicitly used in the steps, good to have on hand for minor adjustments.)
- 3″ Wood Screws: For securing larger components like the ladder to the bed frame, where robust strength is paramount.
- 1 1/4″ Wood Screws: Used for attaching the bed slats to the cleats, providing secure mattress support.
- Wood Glue: Always use wood glue in conjunction with screws for the strongest possible joints. It creates a bond stronger than the wood itself.
Preparation and Cut Lists: Precision is Key
Before you start any assembly, precise cutting is paramount. Refer to your free printable plans for detailed cut lists and diagrams. It’s always a good practice to cut one piece, measure it against the plan, and then use that cut piece as a template for identical cuts. This minimizes errors and ensures consistency.
Take your time with each cut. A miter saw will provide the cleanest, most accurate cuts for your lumber. For the plywood, a circular saw with a guide or a table saw will yield straight edges necessary for the desk and shelf surfaces.
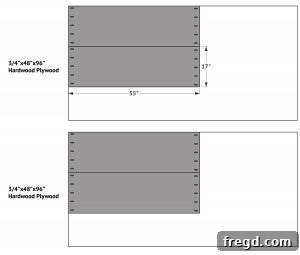
Here’s a visual reference for your cut lists (refer to the full plans for exact dimensions):



Assembling the Integrated Desk and Shelves
This section details how to build the crucial desk and shelving unit that will fit snugly under your loft bed, transforming the space into a functional workstation and storage area. Using a Kreg Jig for pocket holes will ensure clean, strong joints.
Step 1: Attach Front Shelf Trim
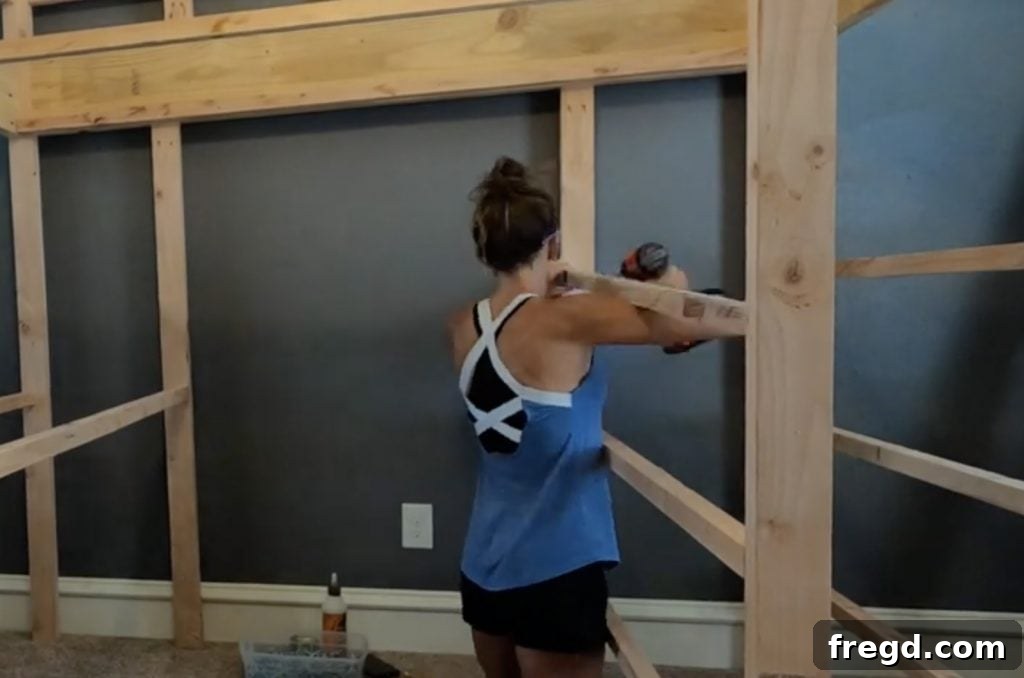
Begin by cutting your front shelf trim pieces according to the dimensions in your plans. Using your Kreg Jig, drill 1 1/2-inch pocket holes on each end of these trim pieces. Apply a generous amount of wood glue to the mating surfaces, then align and attach them to the leg supports of your bed frame using 2 1/2-inch pocket hole screws. Ensure they are level and flush with the desired shelf height.
Step 2: Install Front Desk Trim
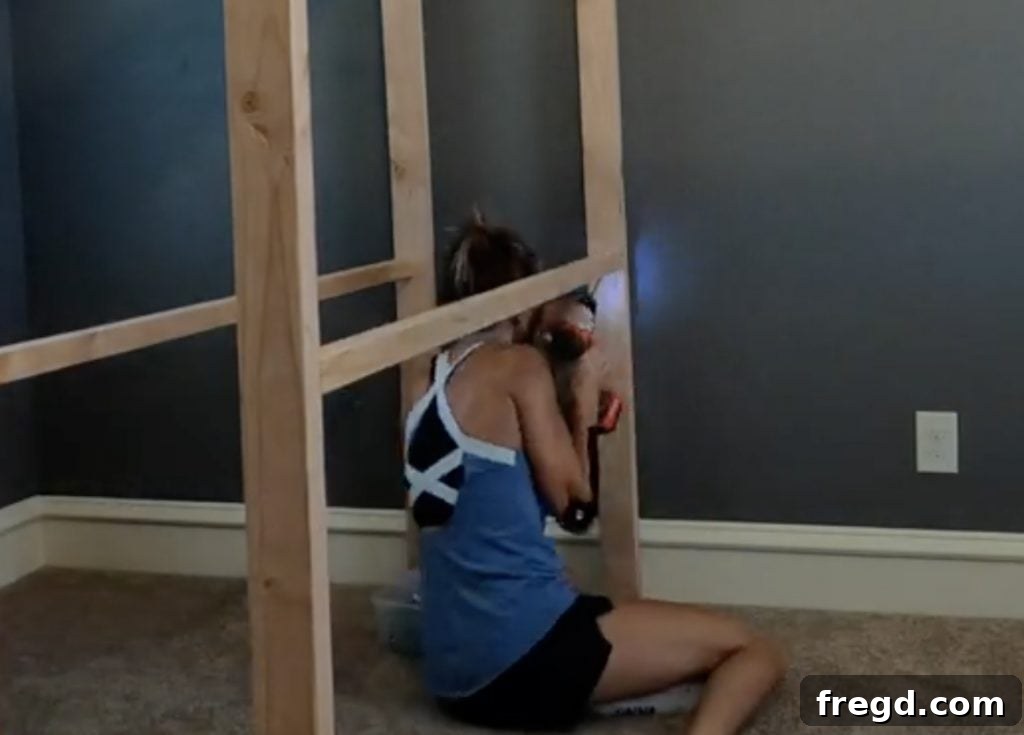
Next, cut the front desk trim piece to its specified length. Drill 1 1/2-inch pocket holes into each end of this piece. Apply wood glue, then securely attach this trim to the leg supports using 2 1/2-inch pocket hole screws. This piece will define the front edge of your desk surface, so ensure it’s perfectly level and robustly secured.
Step 3: Add Short Shelf Pieces
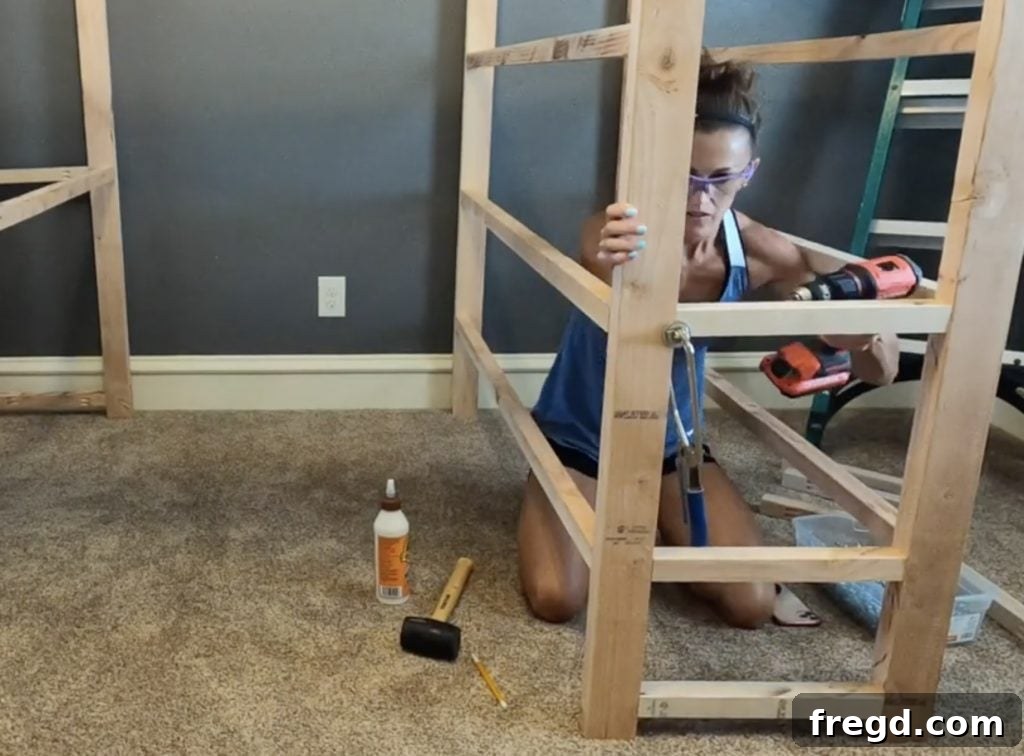
Measure and cut your short shelf pieces. For each piece, drill 1 1/2-inch pocket holes into both ends. When attaching these to the leg supports with 2 1/2-inch pocket hole screws and wood glue, pay close attention to the orientation of the pocket holes. The pocket holes on the bottom shelf pieces should face inwards (towards the center of the shelf), while those on the upper shelf pieces should face downwards, ensuring they are concealed once the plywood is attached.
Step 4: Secure Short Desk Pieces
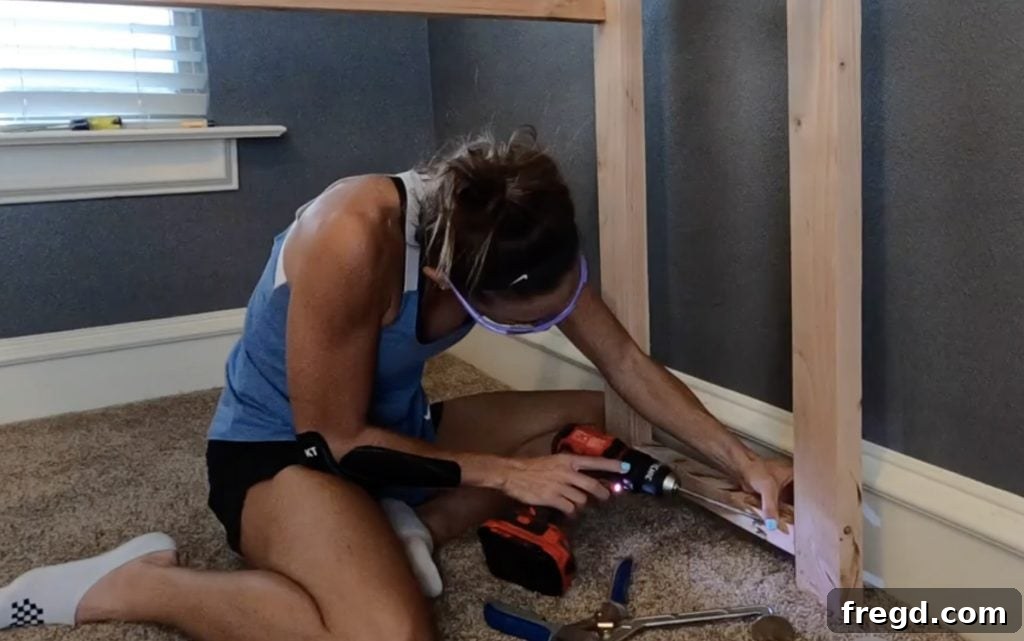
Similar to the shelves, cut your short desk pieces to size. Drill 1 1/2-inch pocket holes on both ends of each piece. Using wood glue and 2 1/2-inch pocket hole screws, attach them to the leg supports. Again, the pocket holes on the bottom desk pieces should face inwards, while any others supporting upper structures should face downwards to remain hidden.
Step 5: Install Plywood for Shelves
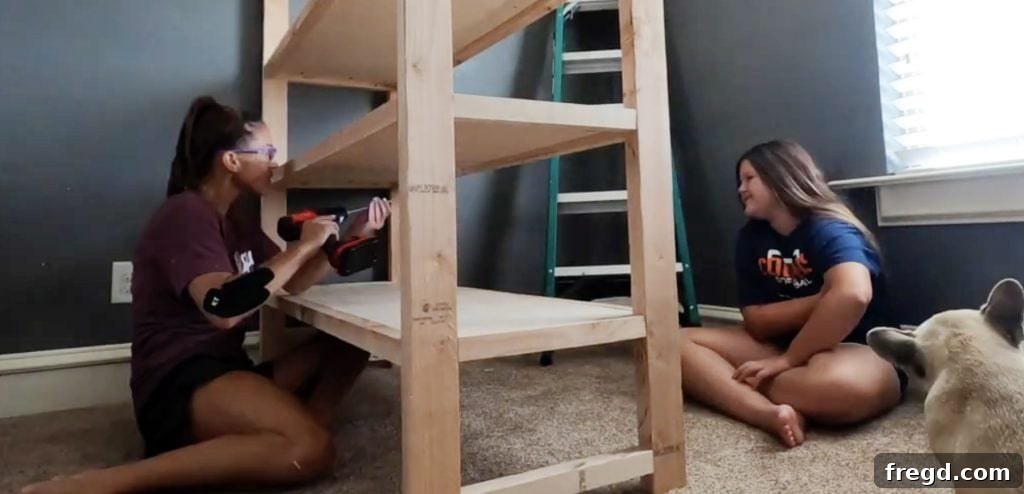
Now it’s time to add the actual surfaces for your shelves. Precisely measure and cut the 3/4-inch hardwood plywood pieces to fit snugly atop your shelf framework. Around all edges of each plywood piece, drill 3/4-inch pocket holes. Apply wood glue to the top edges of your shelf trim, then position the plywood. Secure it using 1 1/4-inch pocket hole screws, ensuring the plywood is perfectly flush with the top of the trim for a seamless finish.
Step 6: Attach Plywood for Desk Surface
Just like with the shelves, measure and cut the 3/4-inch hardwood plywood for your desk surface. This surface will bear the most weight and use, so precise cutting and secure attachment are crucial. Drill 3/4-inch pocket holes around all edges of the desk plywood. Apply wood glue to the top edges of the desk trim and supports, then carefully place the plywood. Attach it with 1 1/4-inch pocket hole screws, making sure the surface is flush and perfectly level. This completes your integrated workstation!
Constructing and Attaching the Ladder
Safety and stability are paramount when building a ladder for a loft bed. This section guides you through creating a strong, secure ladder that integrates seamlessly with your bed frame.
Step 1: Ladder Rung Assembly
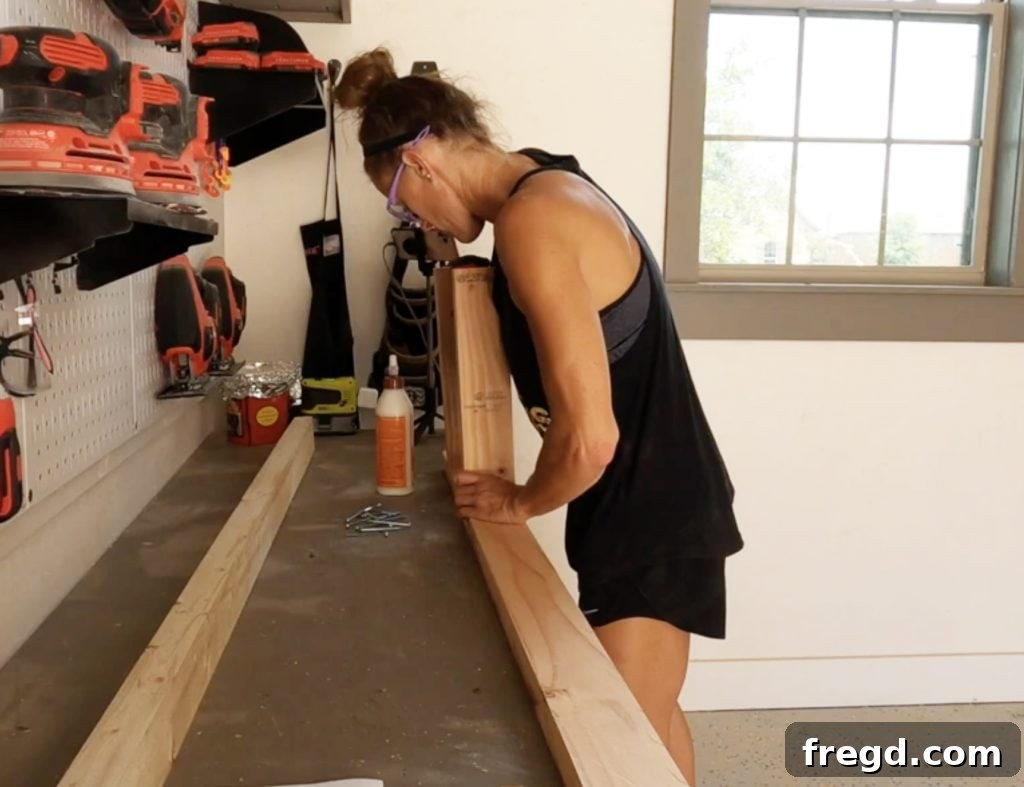
First, cut all your ladder pieces (the two long legs and the rungs) to the exact sizes specified in your plans. On both ends of each ladder rung, drill 1 1/2-inch pocket holes. Apply wood glue to the ends of the rungs, then attach them to the inside faces of the ladder legs using 2 1/2-inch pocket hole screws. Ensure the rungs are evenly spaced and perfectly level. Use clamps to hold the pieces steady during assembly to achieve strong, square joints.
Step 2: Securing the Ladder to the Loft Bed
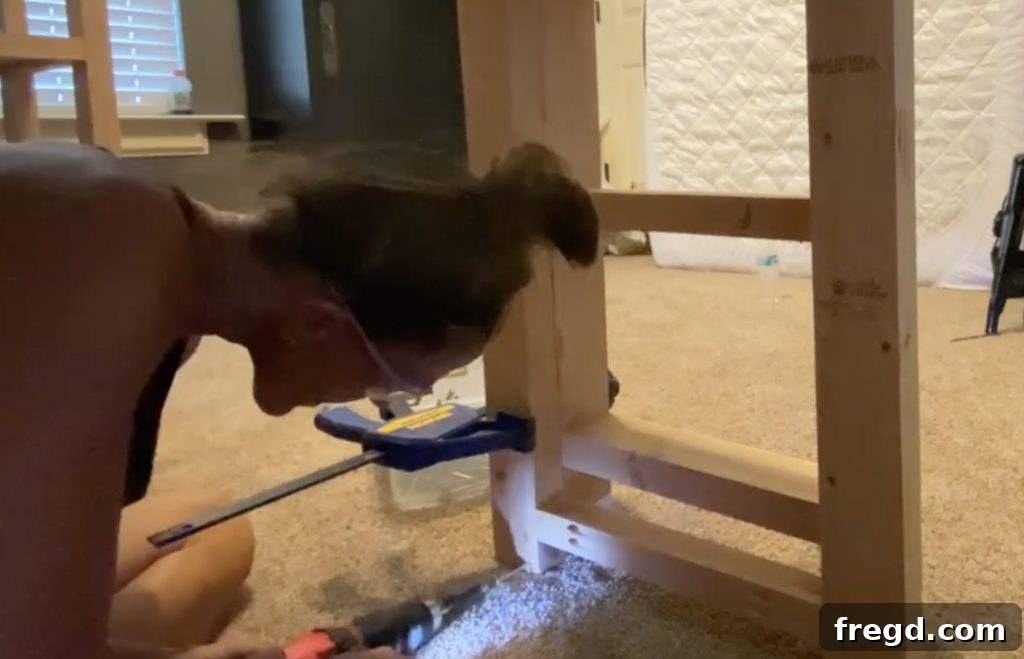
Once the ladder is fully assembled and the glue has dried, it’s time to attach it to the main loft bed structure. Position the ladder against the bed frame where you intend it to be permanently. From the back of the bed’s leg supports, drive 3-inch wood screws directly into the ladder legs. Use at least two screws per leg, spaced vertically, to ensure a rock-solid connection. Double-check that the ladder is plumb and securely fastened before allowing anyone to use it.
Installing the Bed Slats for Mattress Support
The bed slats provide essential support for your mattress, ensuring comfort and longevity. This section details how to install the cleats and then the slats themselves, creating a robust base for a good night’s sleep.
Step 1: Installing Support Cleats
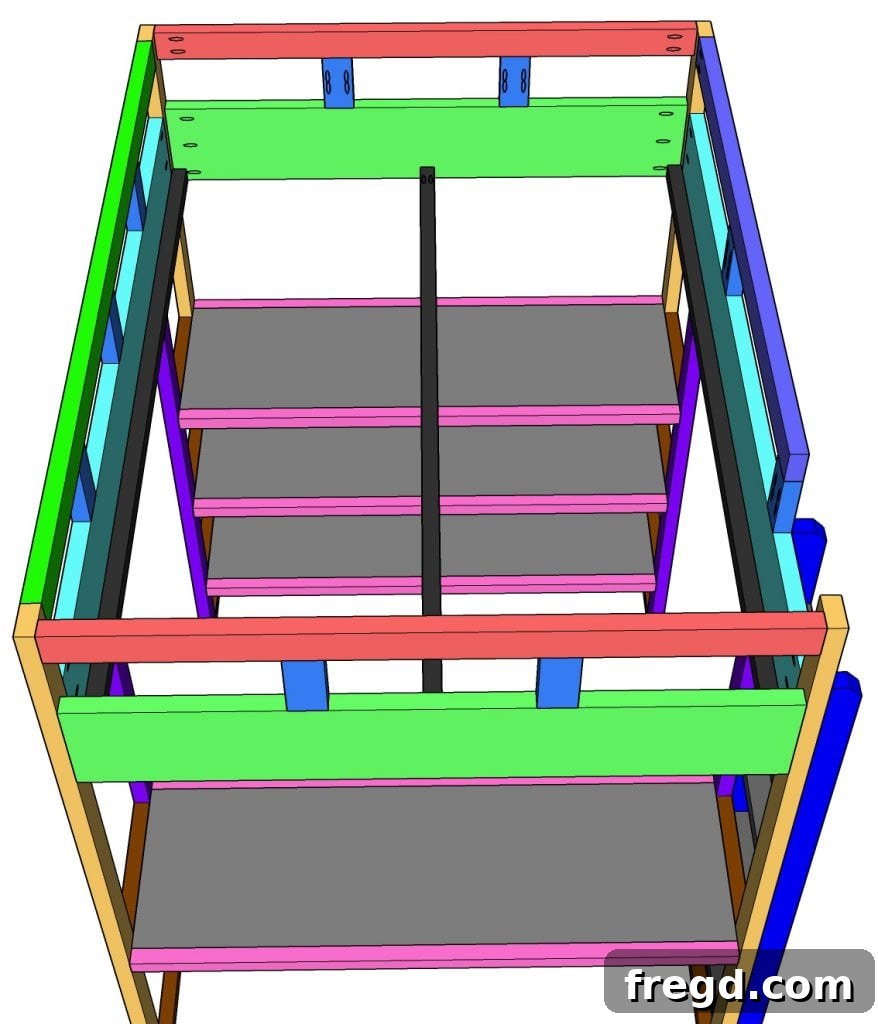
Cut your cleat pieces to the specified size from your plans. Drill 1 1/2-inch pocket holes at both ends of each cleat. Apply wood glue, then attach one cleat to each side of the bed frame’s interior, flush with the bottom edge of the top frame rail. Use a combination of 2 1/2-inch wood screws and 2 1/2-inch pocket hole screws for maximum strength. Additionally, attach a center cleat across the width of the bed, also secured with 2 1/2-inch pocket hole screws and wood glue. These cleats will bear the weight of the mattress and sleeper, so ensure they are perfectly level and exceptionally secure.
Step 2: Attaching the Slats
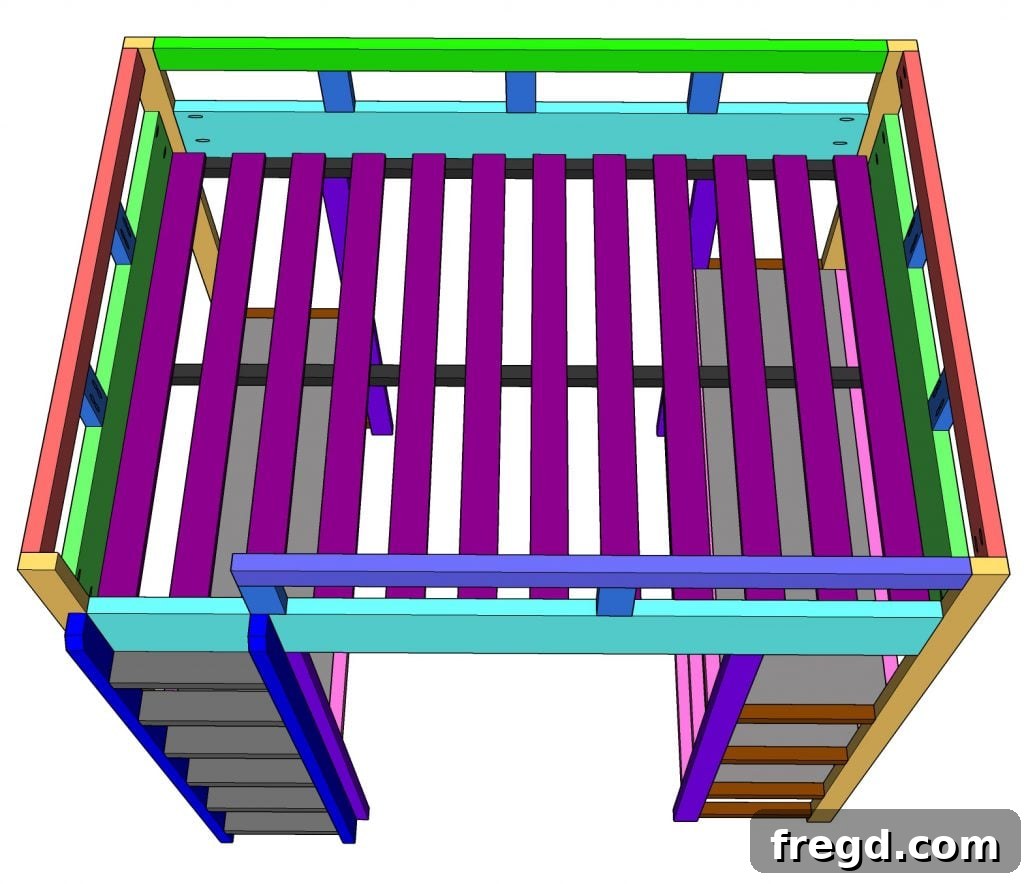
Once your cleats are firmly in place, cut all your slat pieces to size. These 1x4x8 pine boards will form the surface on which the mattress rests. Evenly space the slats across the installed cleats, typically leaving about 2-3 inches between each slat for proper mattress ventilation and support. For a queen size or larger, more slats might be needed, or you might opt for plywood for a solid surface. Attach each slat to the cleats using 1 1/4-inch wood screws, driving one screw through each end of the slat into the cleat below. This ensures the slats remain firmly in position and provides a stable, sag-free foundation for your mattress.
The Final Touches: Sanding and Finishing Your Loft Bed
With all the structural components assembled, it’s time to prepare your loft bed for its finishing treatment. This stage is crucial for both aesthetics and durability, turning raw lumber into a smooth, refined piece of furniture.
Step 1: Sanding, Filling, and Applying a Finish
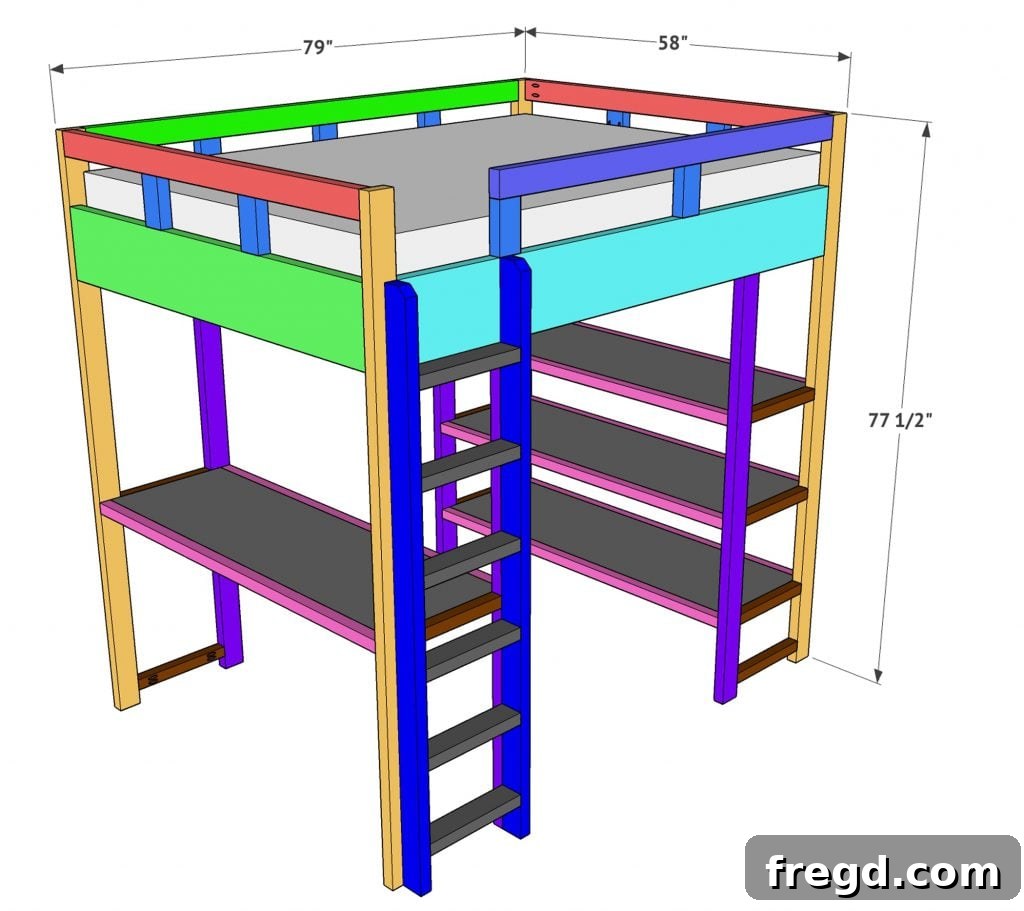
Start by filling any exposed pocket holes or nail holes with wood filler. Allow the filler to dry completely, then sand it flush with the surrounding wood. Next, meticulously sand the entire loft bed. Begin with a medium-grit sandpaper (around 100-120 grit) to smooth out any rough spots or imperfections from cutting and assembly. Progress to a finer grit (180-220 grit) for a silky-smooth finish. Proper sanding is key to how well your chosen finish will adhere and look.
Once sanded and wiped clean of all dust, you can apply your desired finish. This could be a rich wood stain to highlight the grain, a vibrant paint color to match your decor, or a clear protective sealant. Consider the room’s overall aesthetic and your child’s preferences. A durable, low-VOC (Volatile Organic Compound) finish is recommended for children’s furniture. Apply multiple thin coats, sanding lightly between each coat (if recommended by the product) for the best results. Allow adequate drying and curing time before heavy use.
Transforming the Space: Decor and Bedding Inspiration
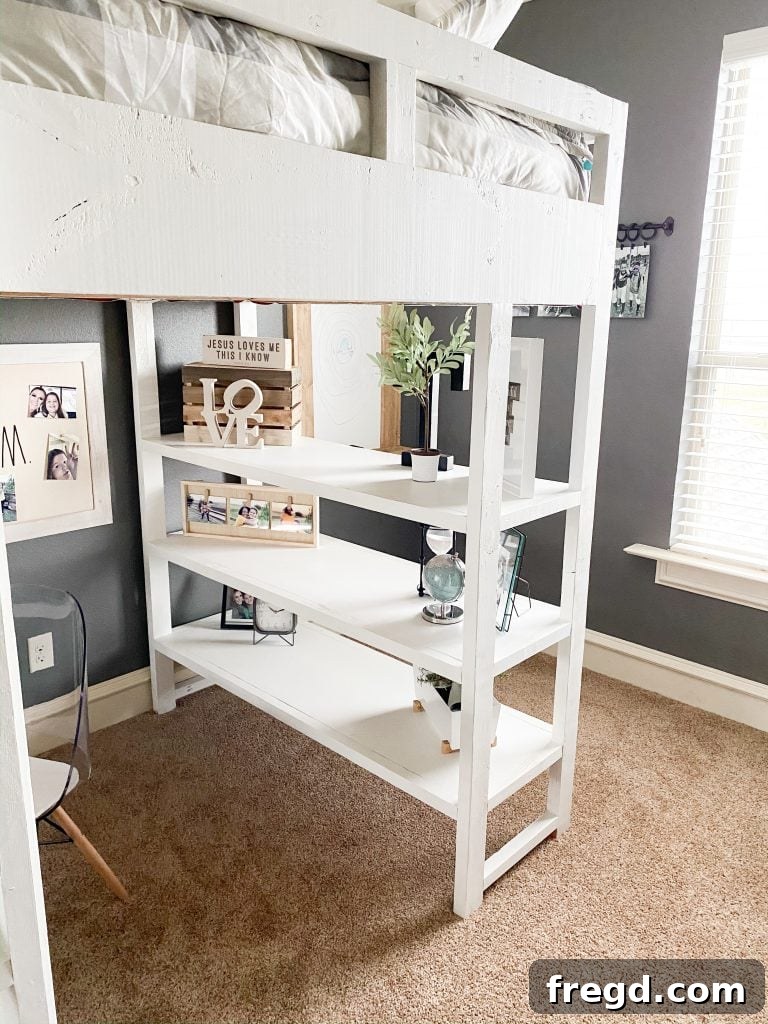
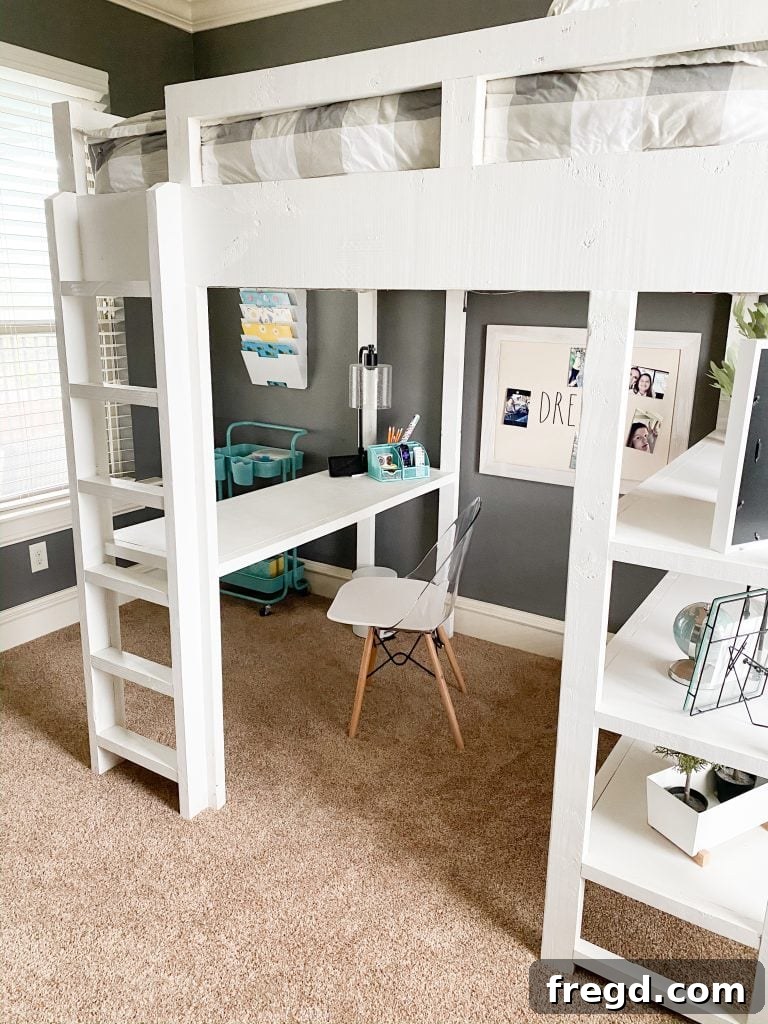
After all your hard work, it’s time for the fun part: making this new loft bed a truly inviting and personal space! The blank canvas of your finished bed allows for endless possibilities to reflect your child’s personality and make their room a dream haven. My daughter is absolutely loving her new setup, especially for remote learning, and yours will too!
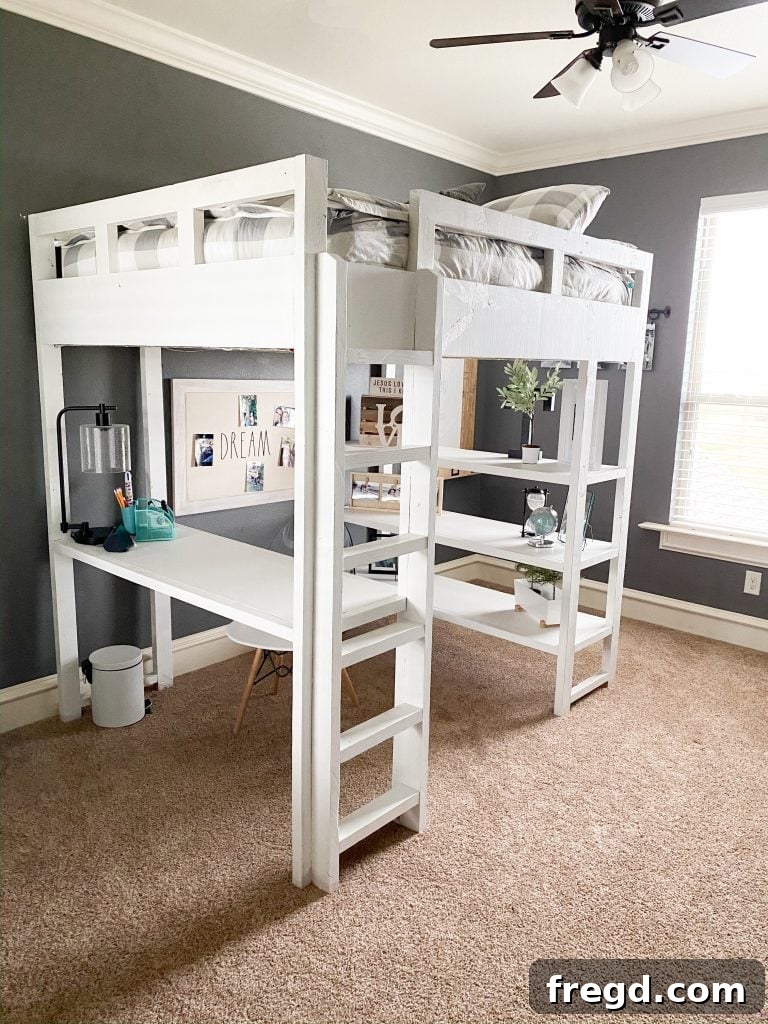
Beyond the structure, thoughtful decor and smart bedding choices can elevate the entire space. Consider adding decorative lighting, such as LED strip lights under the loft or a clip-on lamp for the desk. Organize the shelves with fun bins, books, and display cherished items. A comfortable chair for the desk is also a must for long study sessions.
For the bedding, I found the perfect solution from Beddy’s! Their innovative bedding design is a game-changer for loft and bunk beds, making bed-making incredibly easy for kids. The comforter zips around the mattress like a fitted sheet, and it includes a cozy minky blanket that zips from the top. This clever design means no more messy sheets or struggling to tuck in blankets on a high bed – a huge win for both parents and children!
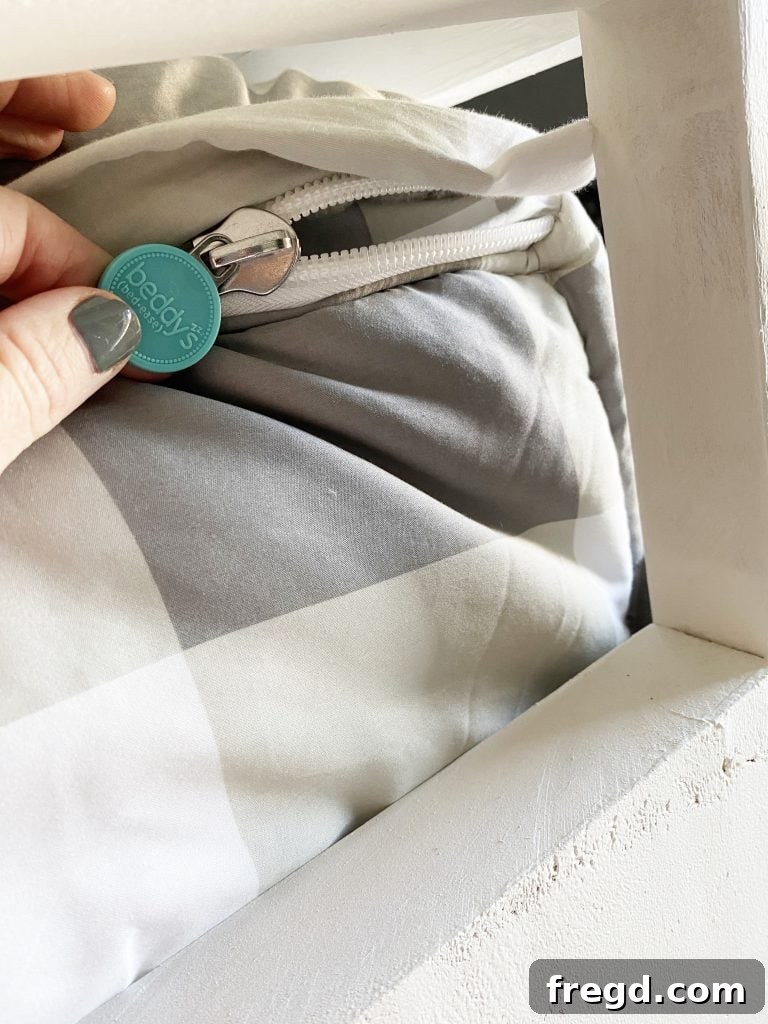
Beddy’s offers a fantastic range of patterns and color options to suit any room aesthetic, from minimalist to playful. And their adorable throw pillow covers add that extra touch of charm and comfort.
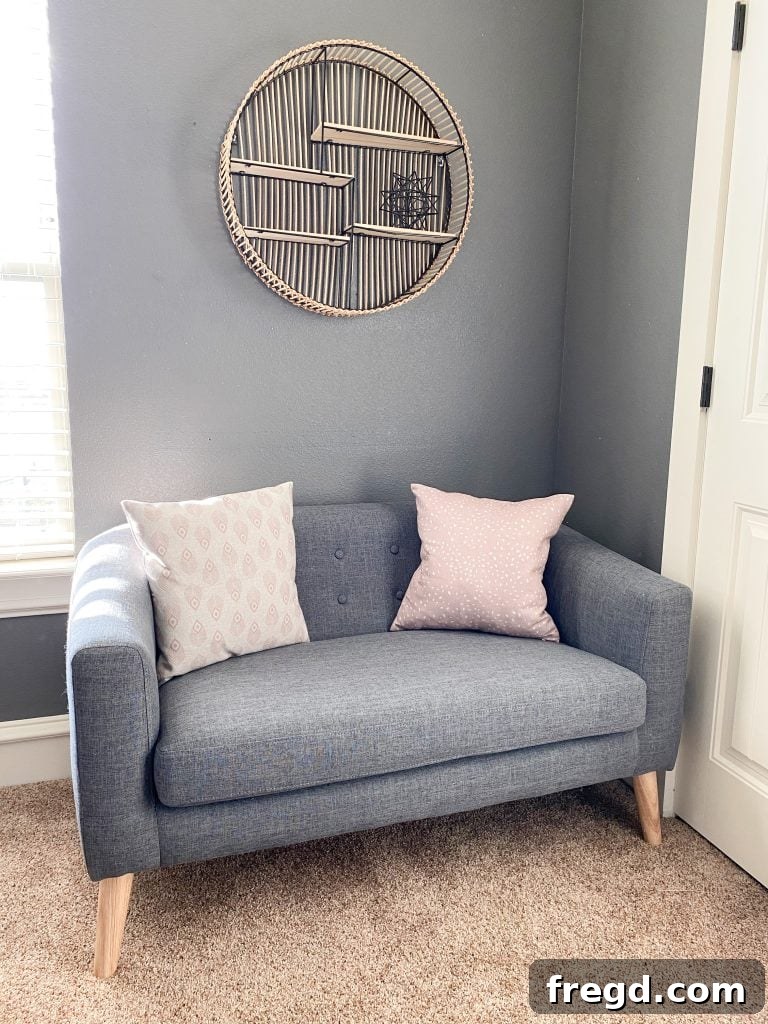
- You can explore the entire line of amazing Beddy’s products and find the perfect set for your new loft bed right here! Don’t forget to use the special discount code SHANTY2CHIC at checkout to get 20% off your purchase!
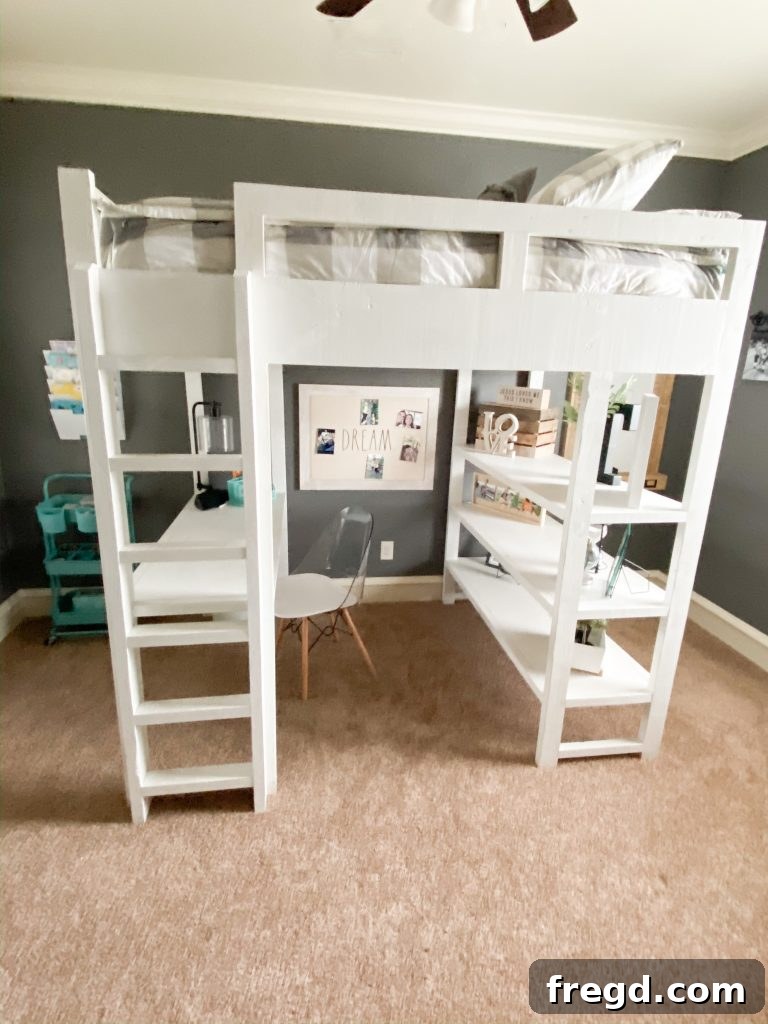
Share Your DIY Success!
We absolutely love seeing your completed projects! Once you’ve finished building and decorating your DIY loft bed, make sure to share your incredible work with us on social media. Use the hashtag #shanty2chic so we can easily find and feature your creations! Your success stories inspire others to pick up their tools and start building their own dream spaces.
Happy Building, and enjoy your new, custom-built loft bed!