
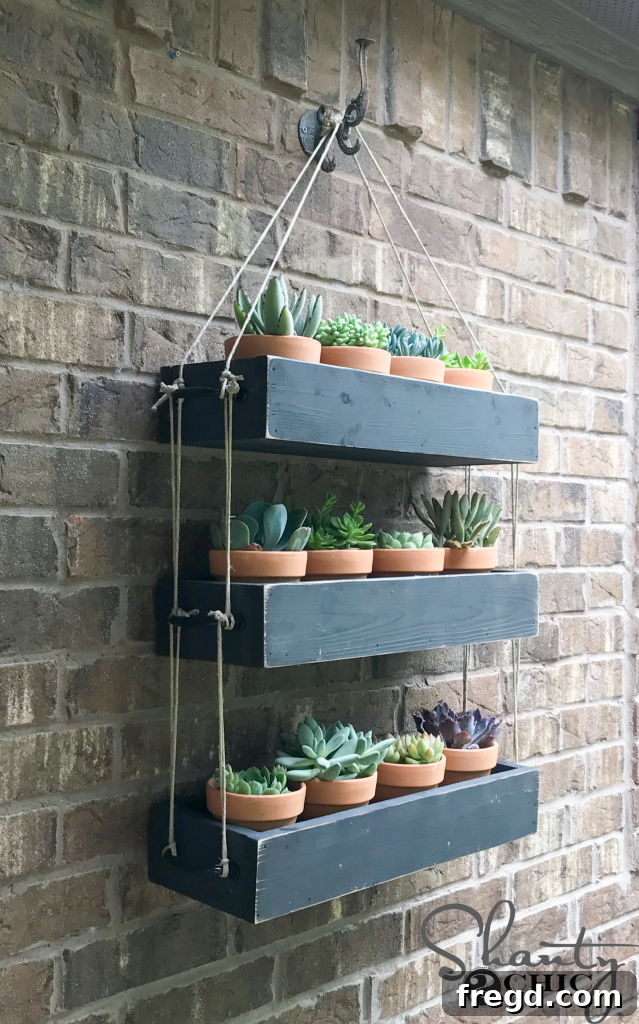
Create Your Own Stunning DIY Hanging Planter for Under $30: A Complete Guide
Summer is synonymous with outdoor entertaining, and there’s nothing quite like a beautifully decorated patio to set the scene. While a sturdy patio table, comfortable chairs, and a relaxing swing form the foundation of any great outdoor oasis, it’s the smaller, thoughtful details that truly elevate the space. Imagine adding a touch of natural elegance and vibrant greenery without breaking the bank. This is where our incredible DIY Hanging Planter comes into play – a simple yet impactful project you can complete for an astonishingly low cost of just $30!
This isn’t just another craft project; it’s an opportunity to inject genuine warmth, life, and personalized charm into your home, whether you’re enhancing your patio, balcony, or even an indoor wall. And the best part? It’s incredibly easy to build, even for novice DIY enthusiasts. We’ve laid out every step, providing you with all the guidance you need to create a stunning focal point that will have guests asking, “Where did you buy that?” Prepare to transform your space with a custom piece that speaks volumes about your style and ingenuity.
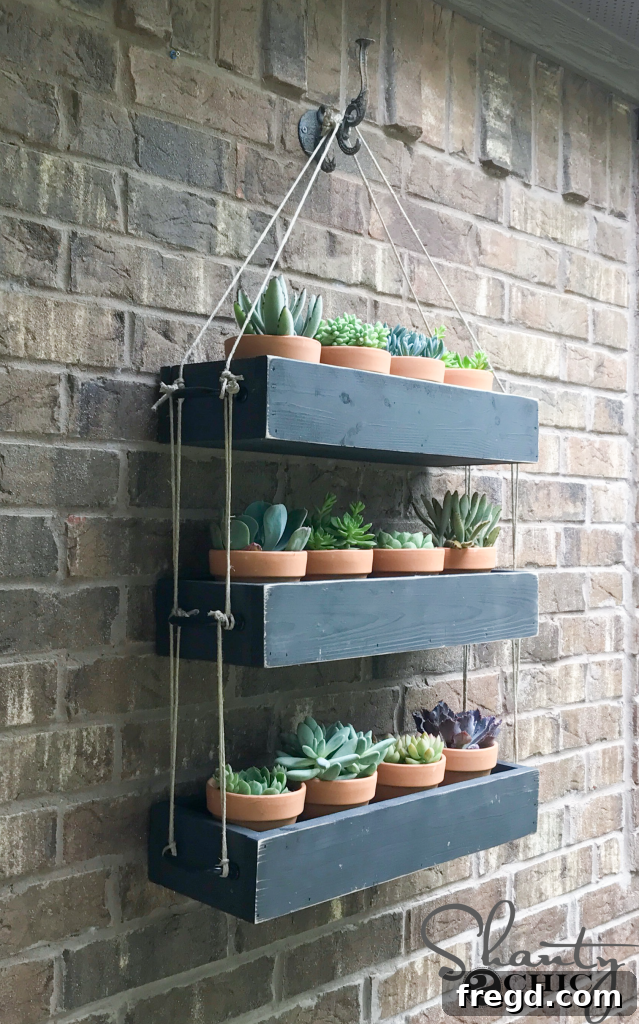
Why a DIY Hanging Planter is a Must-Have for Your Space
In today’s world of mass-produced decor, a handmade piece offers unparalleled character and authenticity. A DIY hanging planter brings numerous benefits to your living environment, making it a truly worthwhile endeavor:
- Aesthetic Appeal: Introduce lush greenery and vibrant colors to any wall, transforming bland surfaces into lively focal points. Vertical gardening is not only trendy but incredibly effective for enhancing visual appeal.
- Space Optimization: For smaller patios, balconies, or indoor areas, hanging planters are a game-changer. They utilize vertical space, freeing up valuable floor area while still allowing you to enjoy an abundance of plants.
- Budget-Friendly Decor: Purchasing unique, large-scale planters can be surprisingly expensive. Our DIY approach allows you to achieve a high-end look for a fraction of the cost, proving that style doesn’t have to come with a hefty price tag.
- Personalization: From the choice of wood finish to the types of plants you select, every aspect of this project can be customized to match your specific taste and existing decor theme.
- Enhanced Ambiance: Plants are known to boost mood, reduce stress, and improve air quality. Integrating them into your home or patio creates a more serene, inviting, and vibrant atmosphere.
This project is more than just building; it’s about crafting an experience and a beautiful addition to your home that reflects your personal touch.
Get Started: Watch Our Video Tutorial & Download Free Plans!
Ready to roll up your sleeves? We’ve made it incredibly easy to follow along. Our comprehensive video tutorial walks you through each step of the building process, offering visual guidance and expert tips that complement these written instructions. You can join us in our workshop by clicking the link below or watching the embedded video directly!
For precise measurements and detailed diagrams, don’t forget to download our FREE printable plans. These plans are your blueprint to success, ensuring accuracy and making the assembly process smooth and straightforward.
Just click HERE for the video tutorial or watch the video below to begin your DIY journey!
And grab your FREE Printable Plans HERE to ensure every cut and connection is perfect!
Step-by-Step Guide to Crafting Your $30 Hanging Planter
Let’s dive into the hands-on part! This project is designed to be simple, but paying attention to detail will ensure a sturdy and beautiful end product. Here’s how you’ll bring your hanging planter to life:
1. Constructing the Planter Boxes: The Foundation
The first crucial step involves assembling the individual planter boxes that will house your beautiful plants. You’ll need to create three identical boxes for a balanced and visually appealing final piece. Precision here is key for a seamless finish.
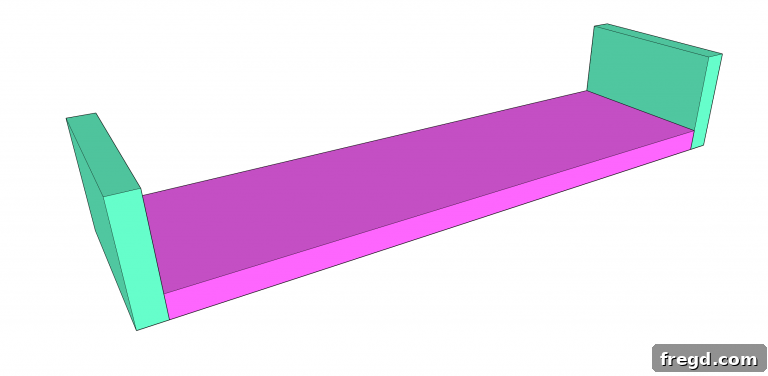
To begin, take two side pieces and attach them to the bottom piece. We recommend using both 1 1/4″ brad nails and wood glue for maximum durability and strength. The wood glue provides a strong, lasting bond, while the brad nails offer immediate holding power, allowing the glue to cure properly. For efficiency, we used our Ryobi 18-Volt Airstrike Brad Nailer, which makes quick work of this task. However, if you don’t have a power nailer, a hammer and traditional finish nails will work just as well – just ensure you’re accurate with your strikes to avoid splitting the wood.
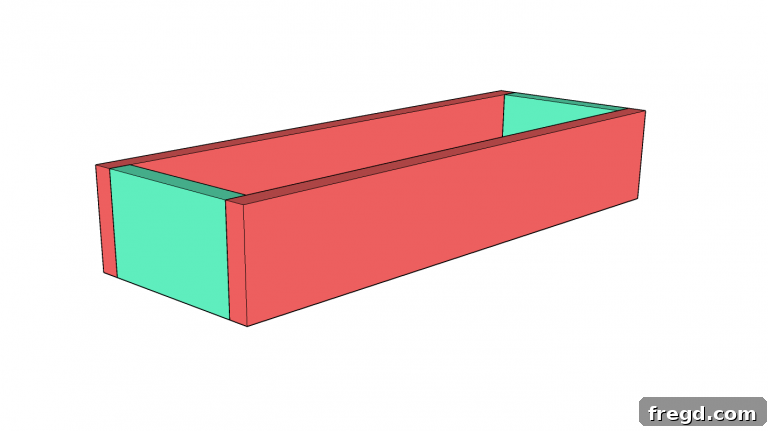
Once the sides are securely attached to the bottom, proceed to attach the front and back pieces of the box. Again, use a combination of 1 1/4″ brad nails and wood glue to ensure a robust connection. Apply a bead of wood glue along the edges where the pieces will meet before nailing them into place. Wipe away any excess glue that squeezes out immediately with a damp cloth for a clean finish.
Repeat this process until you have successfully constructed all three planter boxes. Take your time with each box, ensuring all joints are flush and secure. These individual boxes form the core of your hanging planter, so a solid build here is paramount.
2. DIY Hanging Planter – Finishing Touches: Painting and Protection
With your three sturdy planter boxes assembled, it’s time to add character and protect them from the elements. This stage truly transforms the raw wood into a decorative piece.
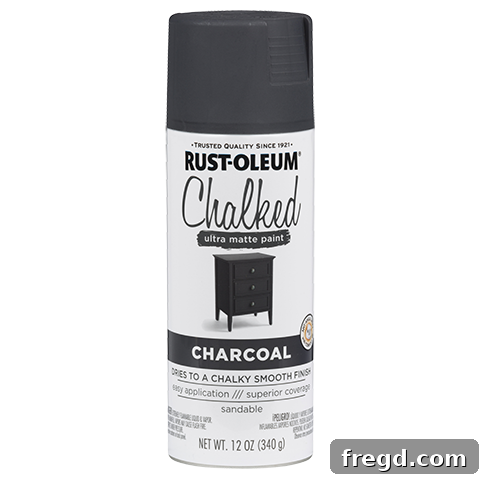
We opted for Rust-Oleum’s Chalked Spray Paint, and for good reason. Chalked paint provides a beautiful, ultra-matte finish that offers a rustic, vintage, or farmhouse aesthetic. It’s also incredibly easy to apply, especially in spray form, ensuring even coverage. Apply two thin coats all over each box, allowing adequate drying time between coats as recommended on the product label. This prevents drips and ensures a smooth, durable finish. Remember to work in a well-ventilated area and wear appropriate personal protective equipment, such as gloves and a mask.
Once the paint has thoroughly dried, you can add a touch of charming distress to the edges using a sander. We used our Corner Cat Sanders, which are perfect for reaching tight spots and creating a natural, worn look. Lightly sand the corners and edges to expose a hint of the bare wood underneath, giving the planter an authentic, aged appearance. This step is entirely optional but adds significant character to the finished piece.
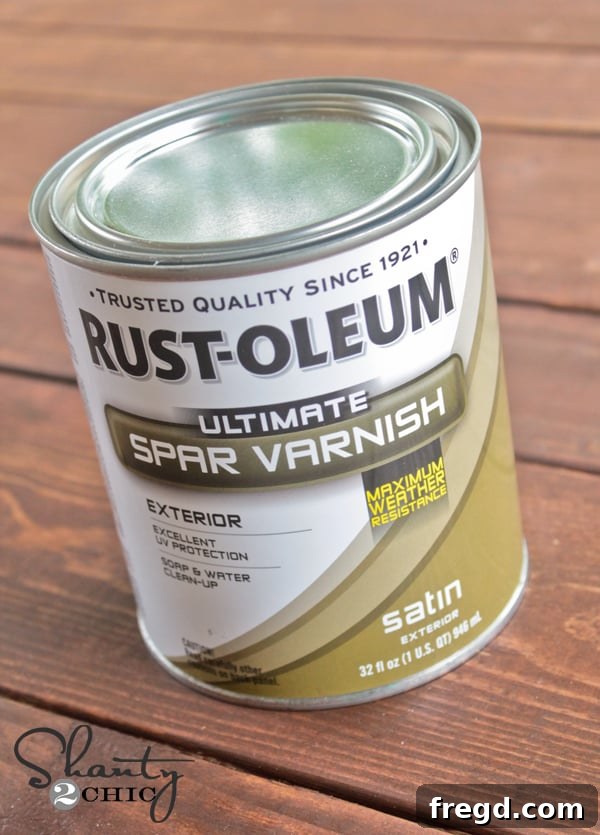
Crucial Step for Outdoor Use: Outdoor Protectant! If your beautiful new hanging planter is destined for the great outdoors, adding a protective layer is non-negotiable. Exposure to sun, rain, and humidity can quickly degrade untreated wood and paint. We highly recommend using an outdoor protectant like Rust-Oleum’s Spar Varnish. Spar Varnish is specifically designed for marine and outdoor applications, offering superior protection against UV rays, moisture, and temperature fluctuations. Apply one generous coat to all surfaces of your planter boxes, ensuring complete coverage. This will significantly extend the life and beauty of your DIY hanging planter, allowing you to enjoy it for many seasons to come.
3. DIY Hanging Planter – Hardware Time: Securing Your Boxes
Now that your boxes are beautifully finished and protected, it’s time for the hardware that will hold them together and allow them to hang. This step is where the structure truly comes to life.
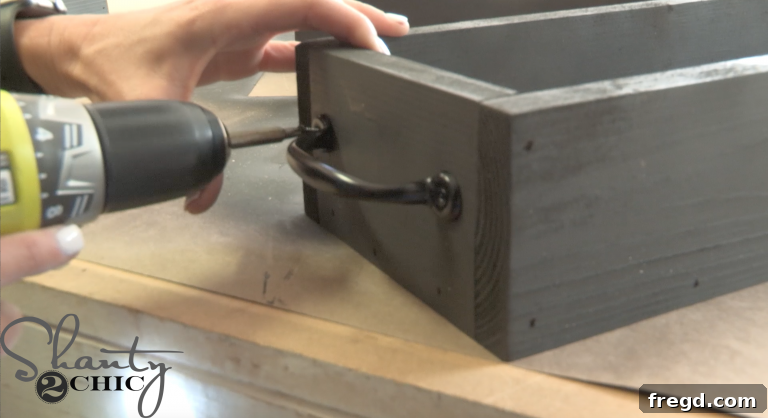
We opted for gate pulls, which we found in the gate hardware section at Home Depot. These robust pulls aren’t just for gates; their sturdy construction and appealing design make them perfect for adding a rustic, functional element to our planter. Wait until the Spar Varnish has completely dried and cured before attaching the hardware to prevent any adhesion issues or damage to your finish. Carefully measure and mark the placement for each gate pull on the sides of your planter boxes to ensure they are evenly spaced and aligned. Use screws appropriate for the gate pulls to securely fasten them to the boxes. These pulls will act as anchors for the twine, connecting your boxes vertically.
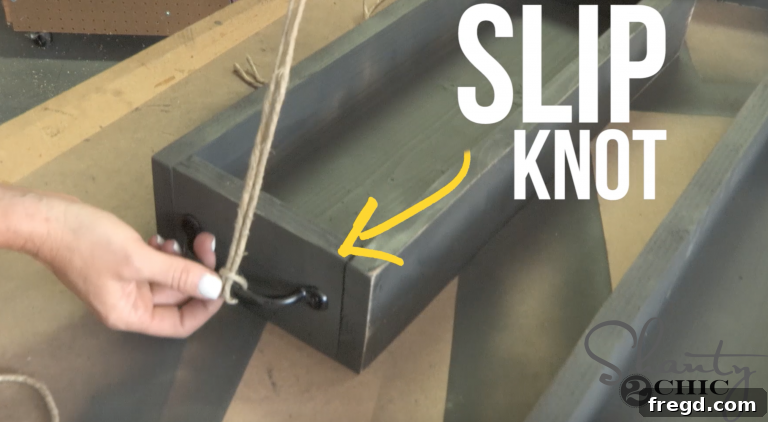
Once all the hardware is securely attached, it’s time to thread the twine. The twine is what gives the planter its “hanging” capability and adds to its charming, rustic aesthetic. While the basic idea is straightforward, precise threading and knotting are important for stability and appearance. We highly recommend watching our video tutorial for the detailed steps on how to effectively thread the twine through the gate pulls and secure the boxes together. The video will demonstrate the best techniques for creating strong knots and ensuring your planter hangs straight and securely.
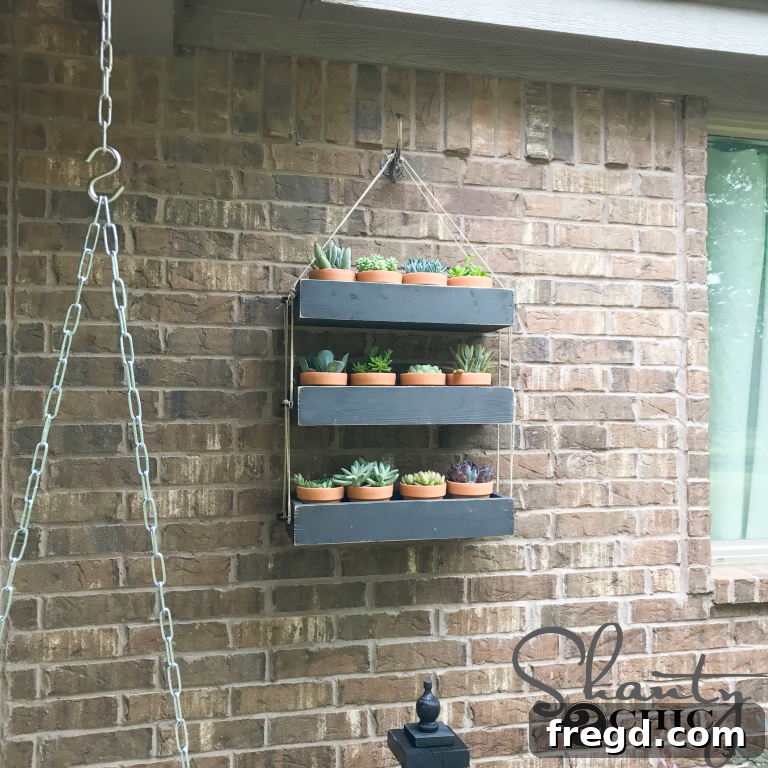
4. The Grand Finale: Hanging and Styling Your Planter
With your DIY Hanging Planter fully assembled and the twine meticulously threaded, the moment of truth has arrived! Now you just need to hang it in its chosen spot, add your favorite potted plants, and admire your handiwork.
Choose a sturdy hook or bracket capable of supporting the weight of your planter once it’s filled with soil and plants. This is crucial for safety and longevity. Position your planter in a location that receives the appropriate amount of light for the plants you’ve chosen. Once hung, it’s time for the fun part: adding the greenery! We found a wonderful selection of pots and vibrant succulents at Home Depot, which perfectly complement the rustic charm of the wooden boxes. Succulents are a fantastic choice due to their low-maintenance nature, but feel free to experiment with small herbs, cascading flowers, or any other small potted plants that thrive in your chosen environment.
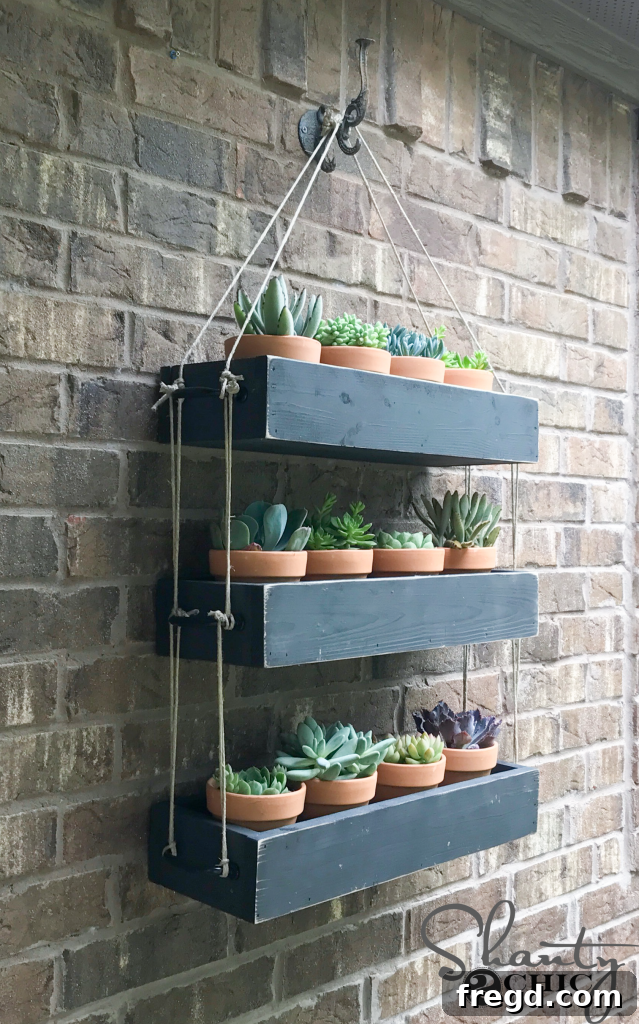
The impact of this simple DIY project is truly remarkable. We absolutely adore how this hanging planter instantly adds a splash of color, intriguing dimension, and an undeniable sense of warmth to our patio. It transforms an ordinary wall into a living work of art. While it’s perfect for outdoor spaces, imagine it indoors – in a sunny kitchen, a cozy living room, or even a brightly lit hallway. Its versatility knows no bounds!
Maintenance Tips for Your DIY Hanging Planter
To keep your beautiful planter looking its best for years to come, a little maintenance goes a long way. Regularly check the twine for any signs of wear or fraying, especially if exposed to harsh weather. Depending on the plants you choose, ensure they receive adequate water and sunlight. For outdoor planters, consider reapplying the Spar Varnish every few years to maintain its protective barrier against the elements. A quick wipe-down with a damp cloth will keep the wooden boxes clean and vibrant.
Share Your Creative Masterpiece!
We absolutely love seeing how you customize our DIY projects! Unleash your creativity with this hanging planter – perhaps you’ll choose different paint colors, unique hardware, or a vibrant array of plants. Once you’ve completed your stunning creation, please make sure to share it with us and our community on social media! Tag us using #shanty2chic so we can admire your work, share it with our followers, and celebrate your DIY success!
Thank you so much for stopping by and embarking on this exciting DIY journey with us. We hope you enjoy building and styling your very own budget-friendly, beautiful hanging planter as much as we did!
Happy Building!