
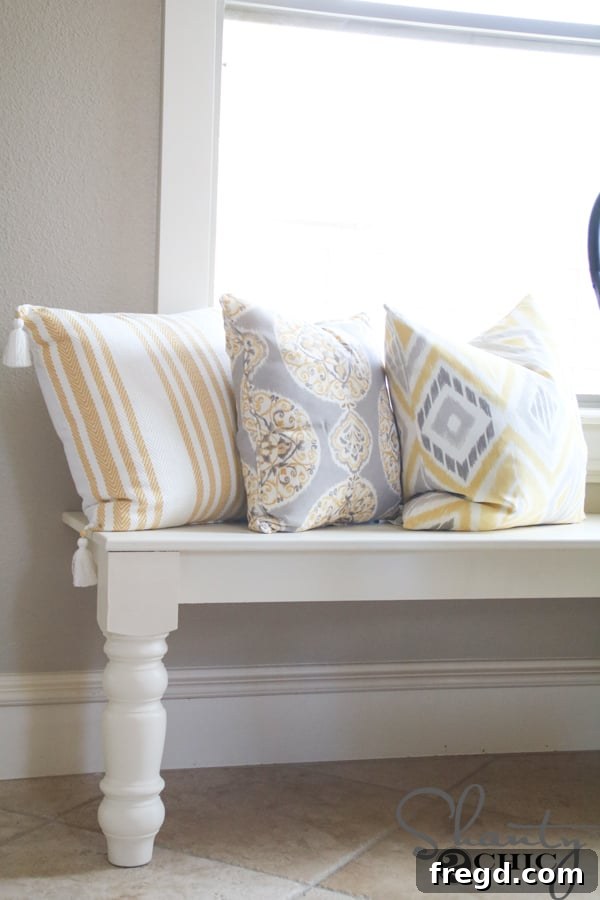
Transform Your Kitchen: Building a Custom DIY Bay Window Bench Seat
Welcome back, DIY enthusiasts! Today, we’re diving into an exciting project that promises to revolutionize your kitchen space: a custom-built window bench seat designed specifically for a bay window. This elegant addition perfectly complements our recently completed kitchen table (if you missed those plans, you can find them HERE!), creating a cohesive and inviting dining area. We’re thrilled to partner with Sherwin-Williams for this endeavor, ensuring a flawless finish that ties everything together. And to celebrate, we’re giving away a $200 Sherwin-Williams Gift Card – find details at the end of this post!
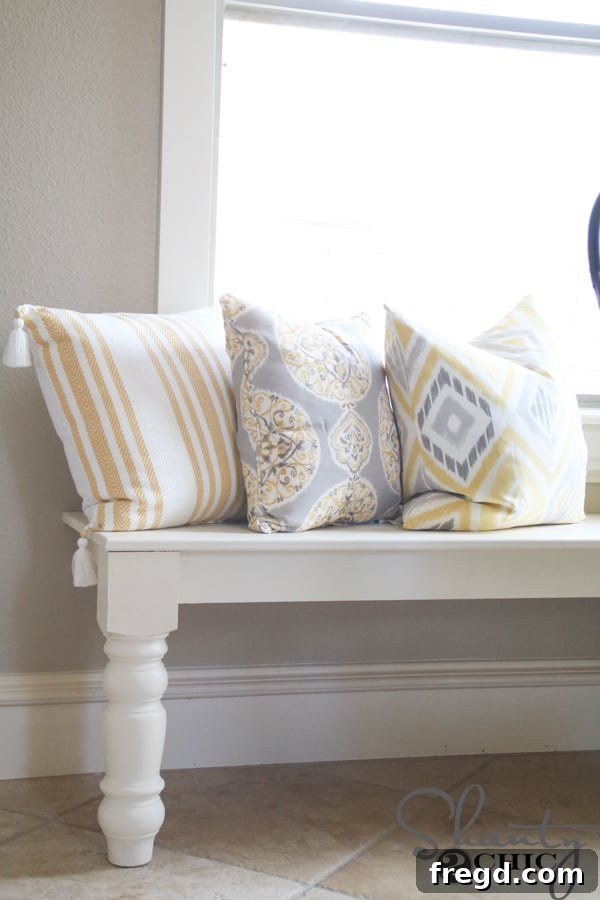
Why a Built-In Bay Window Bench is a Game Changer for Your Kitchen
I absolutely adore the transformation of my new kitchen dining area. My primary goal was to accentuate the beautiful bay window and create a more open, spacious feel in the kitchen. A built-in window bench proved to be the ideal solution. By attaching it directly to the wall, we achieve several key benefits:
- Space Optimization: Built-in seating cleverly utilizes often-overlooked wall space, especially in a bay window, allowing for more seating without cluttering the floor plan. This is particularly beneficial in smaller kitchens where every inch counts.
- Stability and Durability: A bench attached to the wall means no more wobbly seats or constant readjustments. It stays firmly in place, offering a robust and long-lasting seating option for daily use.
- Seamless Aesthetics: A custom bench provides a clean, integrated look, making the space feel larger and more intentional. It transforms a simple dining area into a cozy, custom-designed nook.
- Enhanced Comfort: With the right cushions and pillows, a window bench becomes a comfortable, inviting spot for meals, homework, or simply enjoying the view.
This project might seem ambitious, but it’s surprisingly straightforward. While it involves a few miter cuts, these are fundamental and not overly complex. The design is also incredibly versatile; it can be easily customized to fit any space. Even if you don’t have a bay window, you can adapt these plans to create a stylish straight bench, adding valuable seating and charm to any room.
Ready to get started? You can access the free printable plans HERE, and then follow along with our detailed, step-by-step guide below!
Step-by-Step Guide to Building Your DIY Window Bench
1. Planning and Initial Measurements
The success of any custom build hinges on precise planning. Begin by thoroughly measuring the space where your window seat will reside. Most bay windows feature a 45-degree angle, just like mine. I carefully determined how far out I wanted the seat to extend on each side, ensuring ample space for comfort and functionality, before heading to the workshop to begin the cuts.
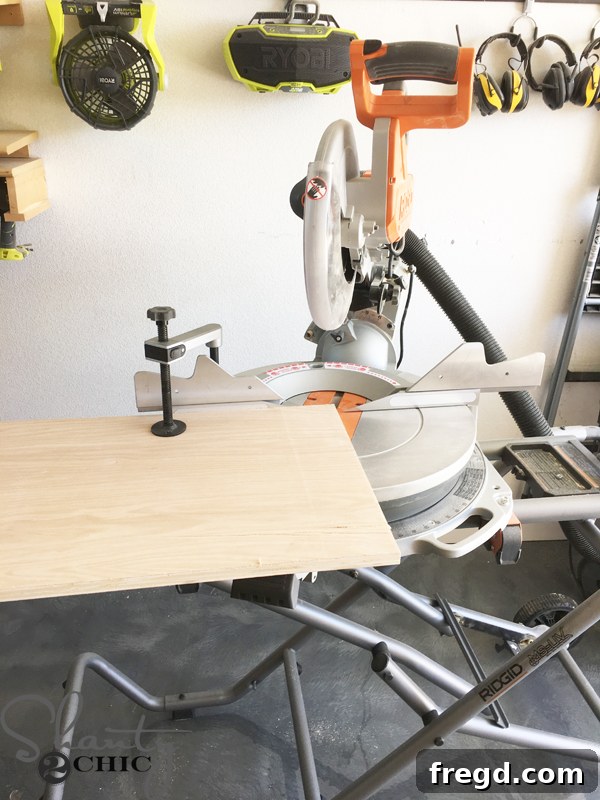
2. Cutting the Plywood for the Bench Top
The foundation of your built-in window bench begins with meticulously cutting the plywood for the bench top. This crucial first step sets the stage for the entire project, ensuring a stable and aesthetically pleasing surface.
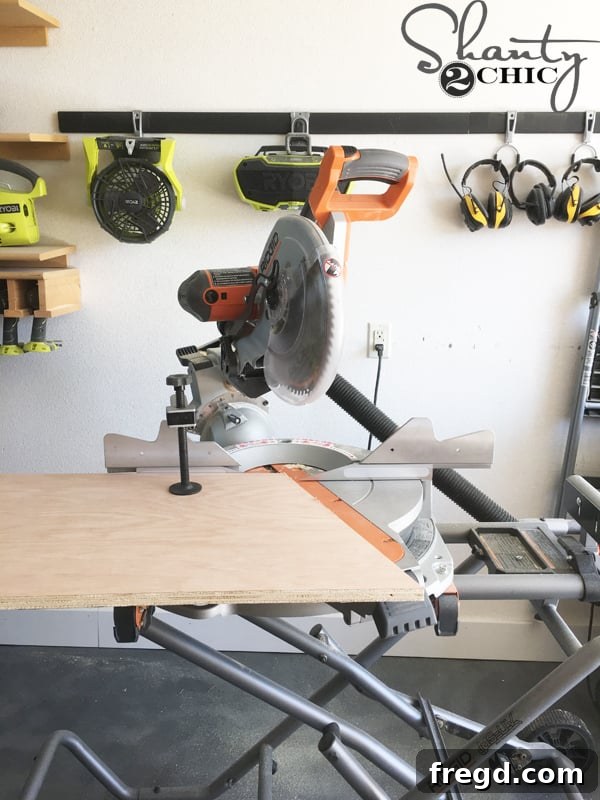
For my 45-degree bay window corner, I cut one end of the plywood pieces at a 22.5-degree angle. This is a common requirement for bay windows – you always need to halve the total bay window angle to achieve the correct miter cut for each individual piece that forms the corner. This precision ensures a snug, professional-looking joint.
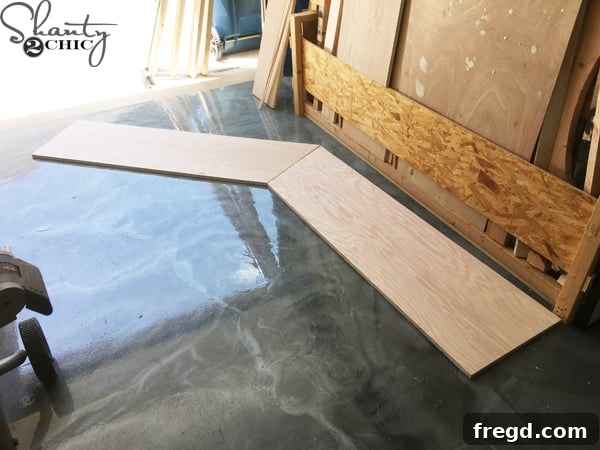
Once the bench top pieces are cut, lay them together as they will ultimately connect. This allows you to accurately measure and cut your apron pieces to fit perfectly along the edges, forming the supportive frame beneath the seat.
3. Selecting and Positioning the Bench Legs
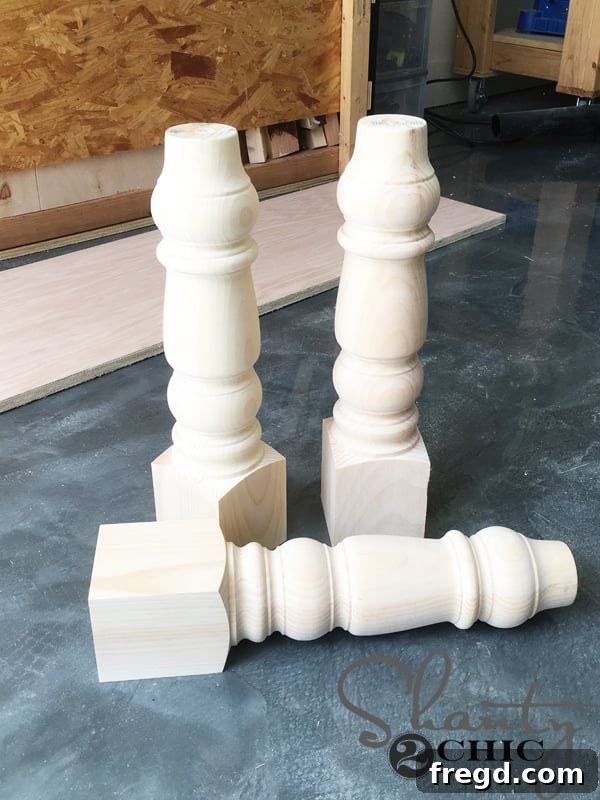
Choosing the right bench legs is essential for both structural integrity and aesthetic appeal. For this bench, I found the perfect tapered legs from Osborne Wood Products, offering both stability and a classic look. You can purchase these exact legs by clicking here. I ordered three for this specific design.
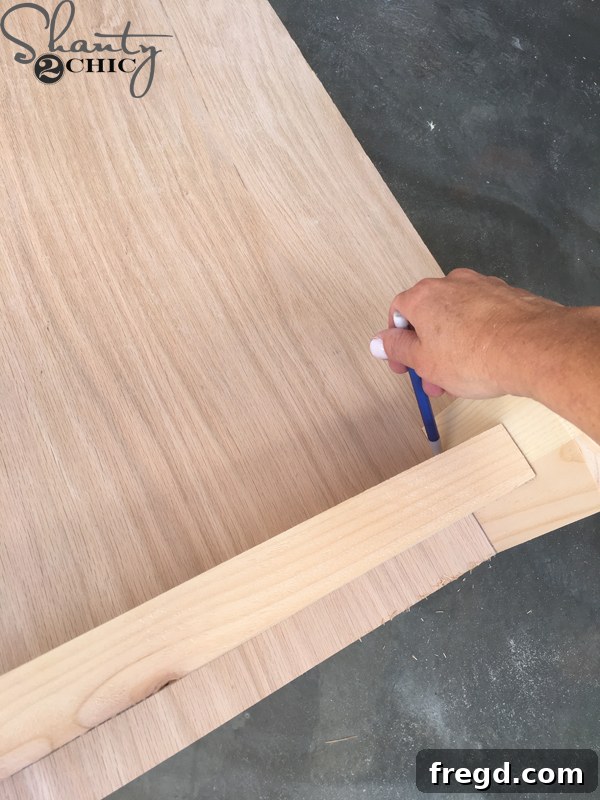
To ensure precise placement of the apron pieces, I first positioned the bench legs at the intended corners on the underside of the bench top. This allowed me to accurately mark where the side apron pieces would attach, ensuring they would be perfectly centered with the legs.
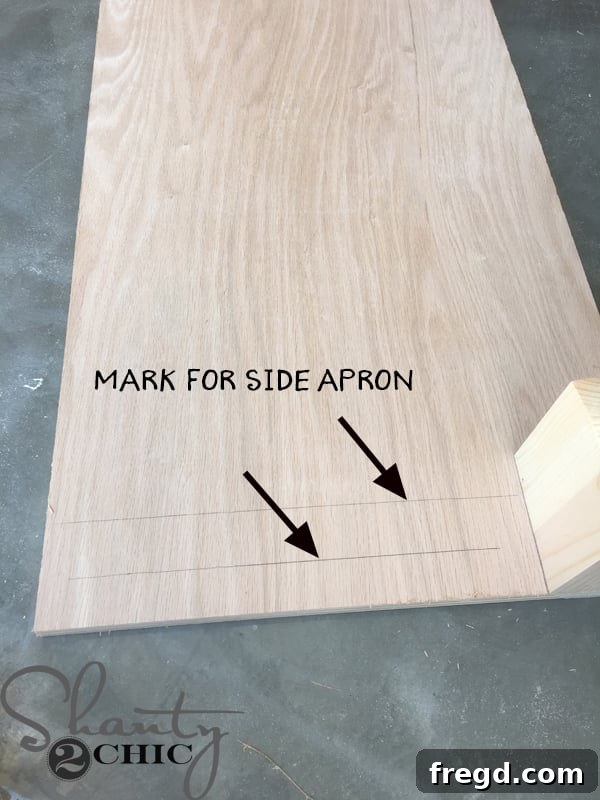
With these crucial marks in place, I now had a clear guide for measuring and cutting the back and front apron pieces, ensuring a seamless and sturdy frame.
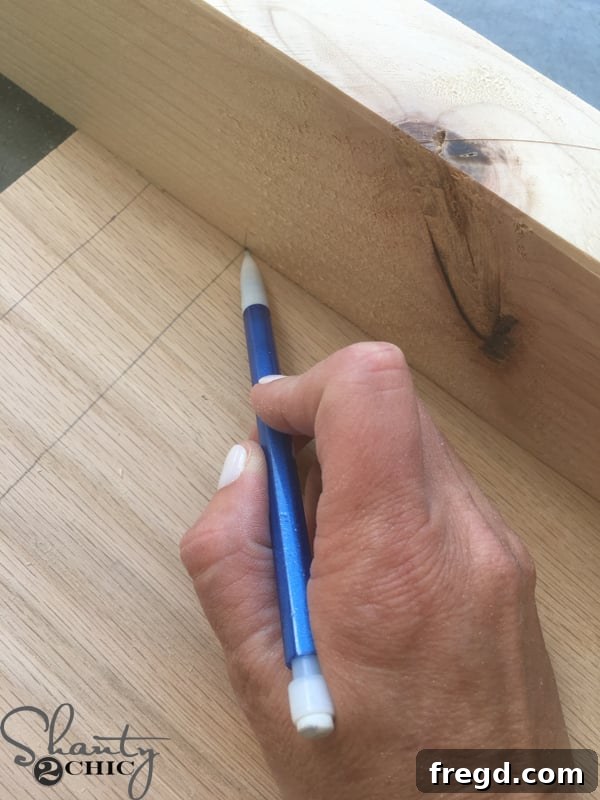
Next, carefully mark the dimensions for the back apron pieces, taking into account the angles required for the bay window design.
4. Assembling the Bench Frame
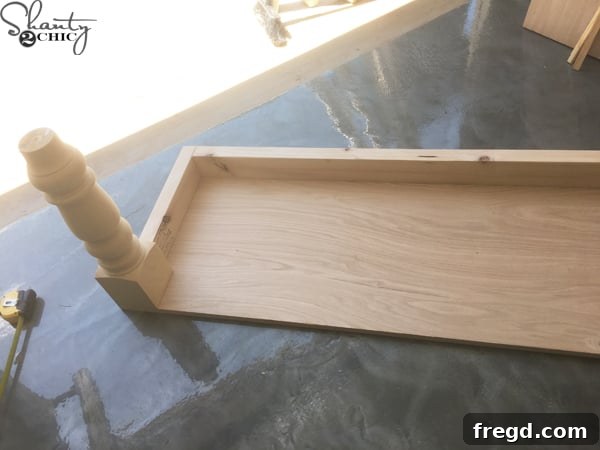
My bench seat was too large to fit through the doorway fully assembled, so I opted to cut all the boards to size in my workshop and then bring them inside for assembly. This image shows the back and side aprons of one half of the bench beginning to take shape.
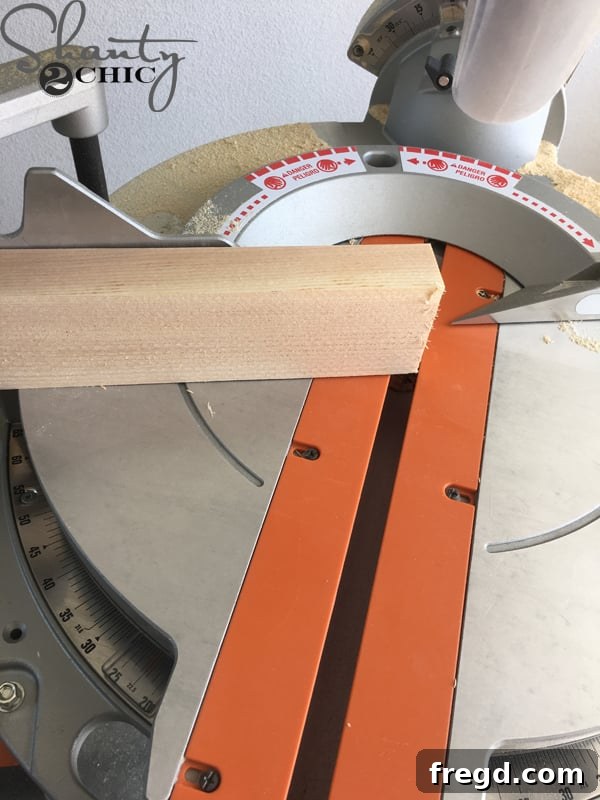
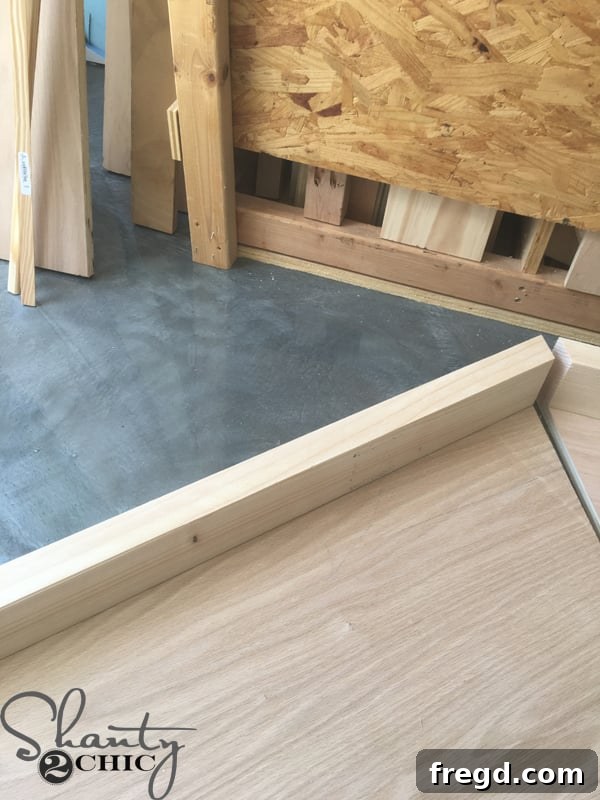
I precisely measured and cut the angles on the back apron pieces to ensure a snug, gap-free fit, particularly at the bay window’s corner. Achieving these precise miter cuts is crucial for a professional finish.
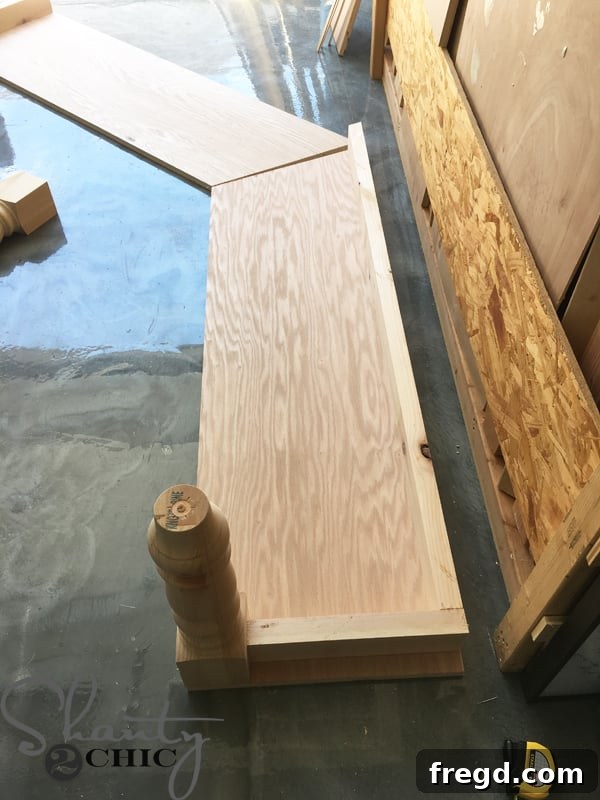
Continue cutting and test-fitting all apron pieces until every section aligns perfectly, ready for joinery.
5. Drilling Pocket Holes with the Kreg Jig
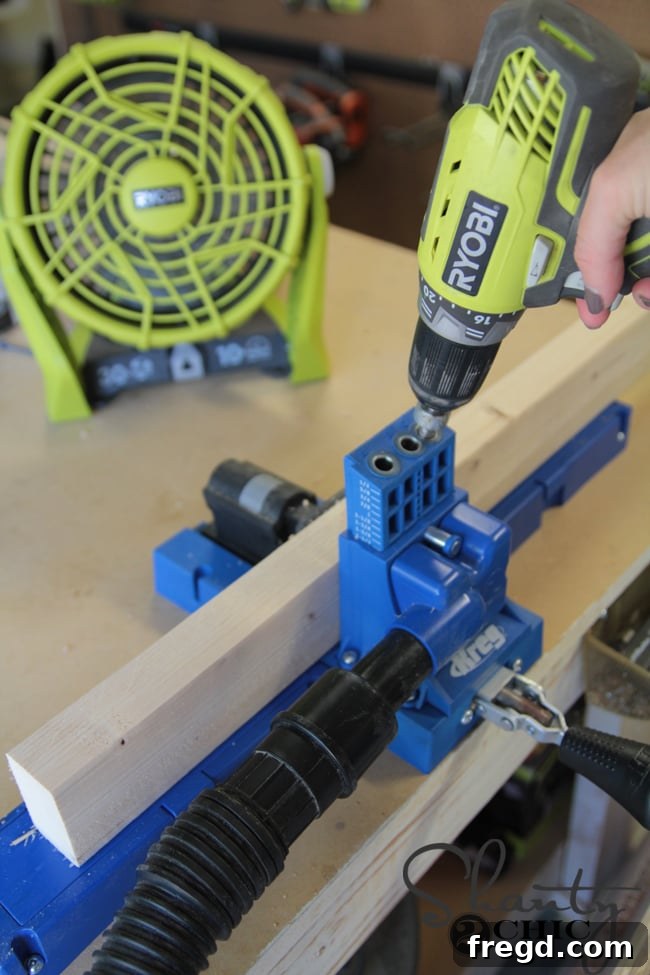
Once all the individual pieces were meticulously cut to their exact dimensions, I employed my trusty Kreg K5 Pocket-Hole Jig to drill the necessary pocket holes into the boards. Pocket holes create incredibly strong, hidden joints, essential for the stability and clean appearance of your bench. Refer to the detailed printable plans for precise pocket hole placement on each component. If you’re looking for a reliable pocket-hole jig, the Kreg Jig model that we highly recommend can be found HERE on Amazon!
6. Attaching the Bench Top Pieces
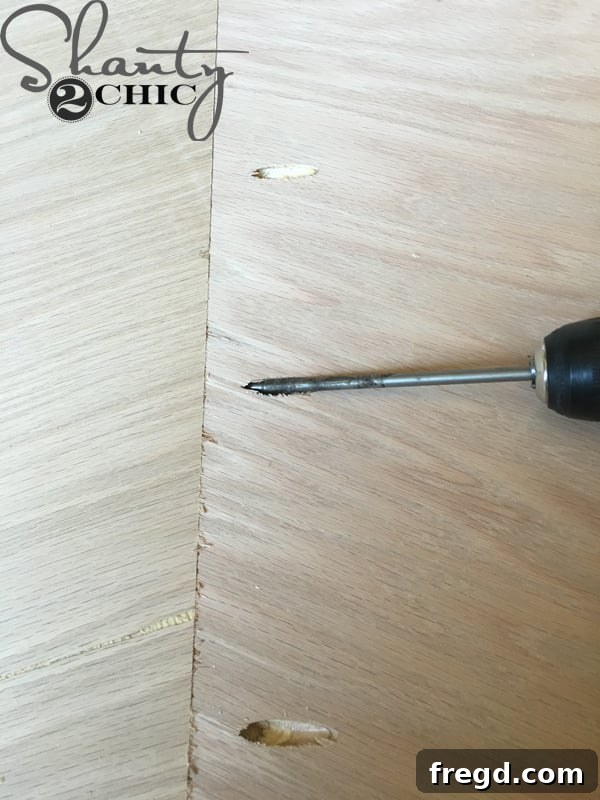
With the pieces brought inside, I began the primary assembly by attaching the various bench top sections together. Using 1 1/4″ pocket hole screws, I secured these pieces, creating a robust and unified seat surface. Always apply wood glue alongside pocket hole screws for maximum strength and durability.
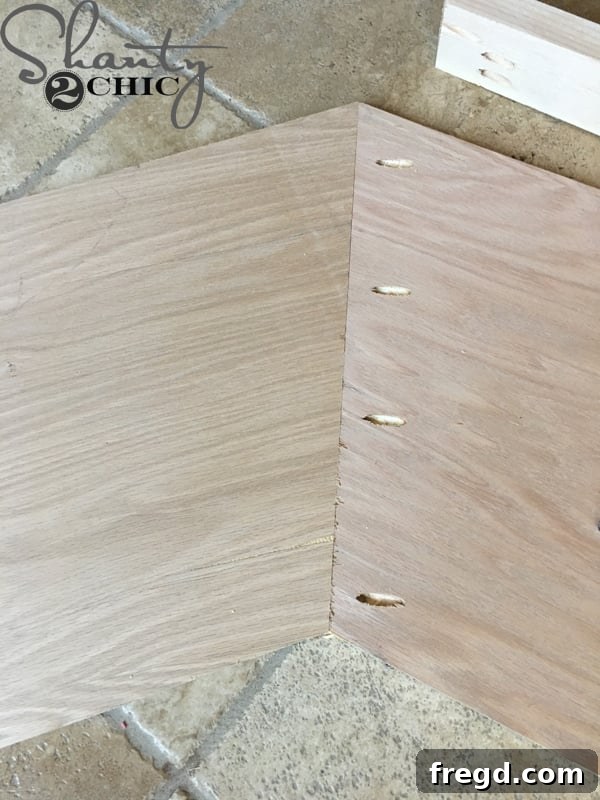
This image provides a clear view of the underside of the assembled bench top, showcasing the strategically placed pocket holes that contribute to its structural integrity.
7. Assembling the Apron Frame and Attaching to Legs
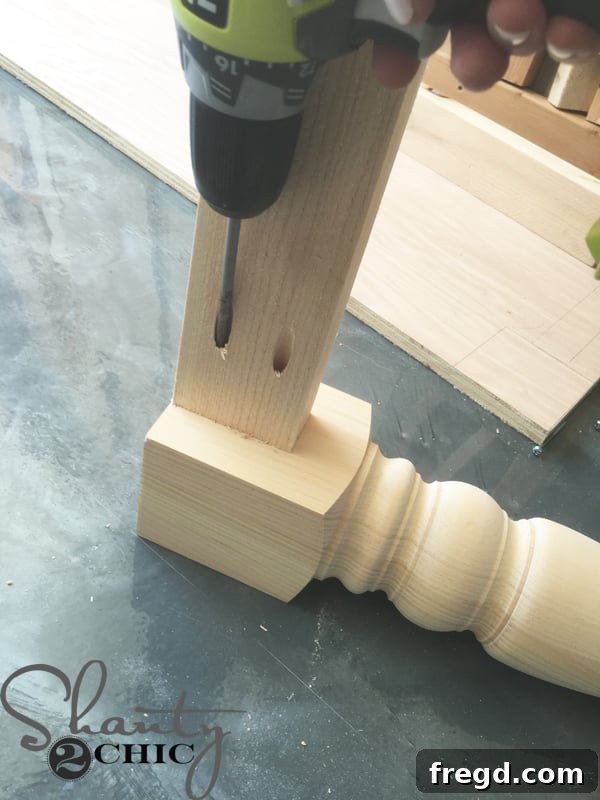
To construct the main frame, I first attached the side apron pieces directly to the bench legs. This was achieved using a combination of pocket hole screws and strong wood glue, ensuring a solid and lasting bond.
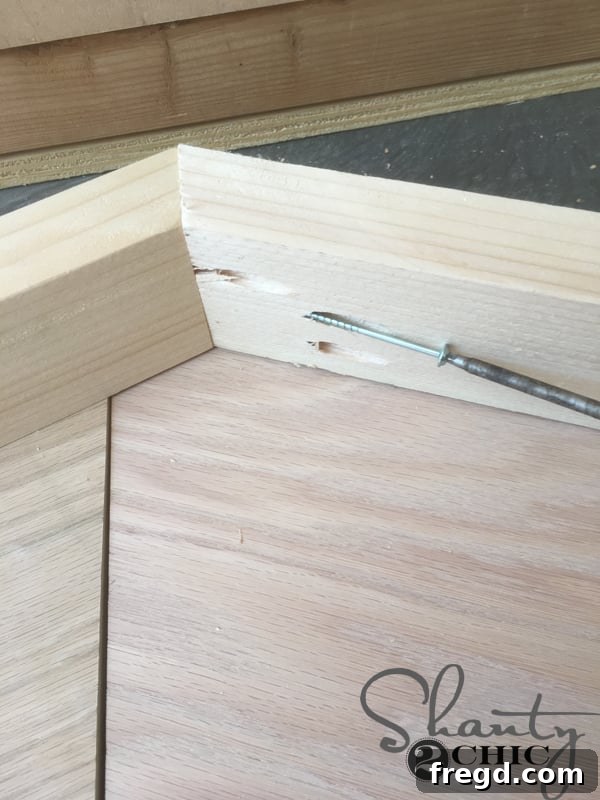
Next, I meticulously joined the back apron pieces together at their precisely cut angles. Again, pocket hole screws and wood glue were used to create strong, seamless corner joints.
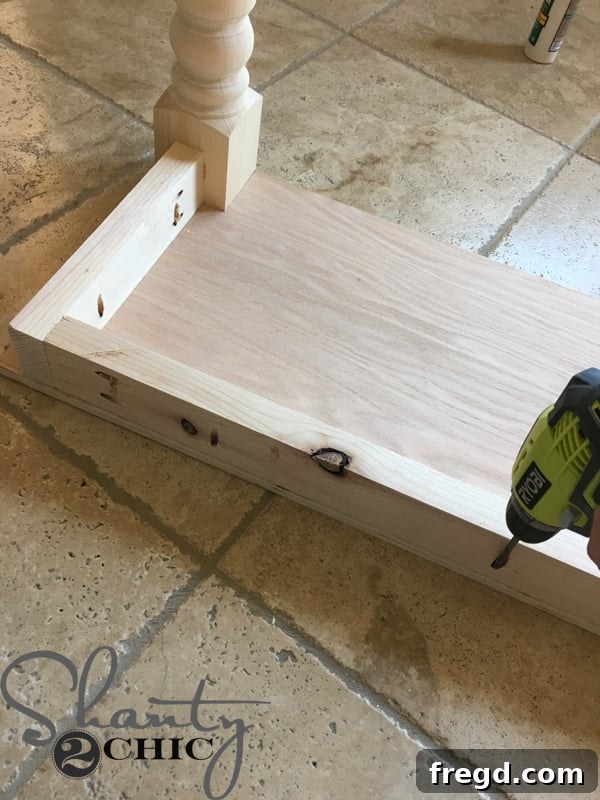
Now, it’s time to connect the apron frame and bench legs to the bench top. Use 1 1/4″ pocket hole screws, drilling up from the apron into the underside of the bench top. For added security while the glue dries, you can also consider adding a few finish nails through the top of the bench into the legs; the glue will provide the primary long-term hold.
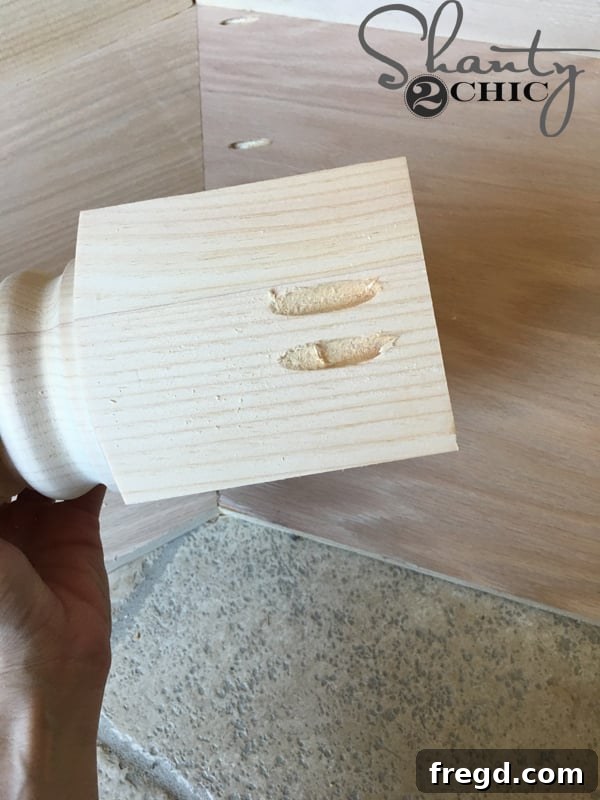
For attaching the middle bench leg, I applied wood glue for a strong bond and then drilled 3/4″ pocket holes into the inside face of the leg. This placement ensures the screws are hidden from view, maintaining a clean aesthetic.
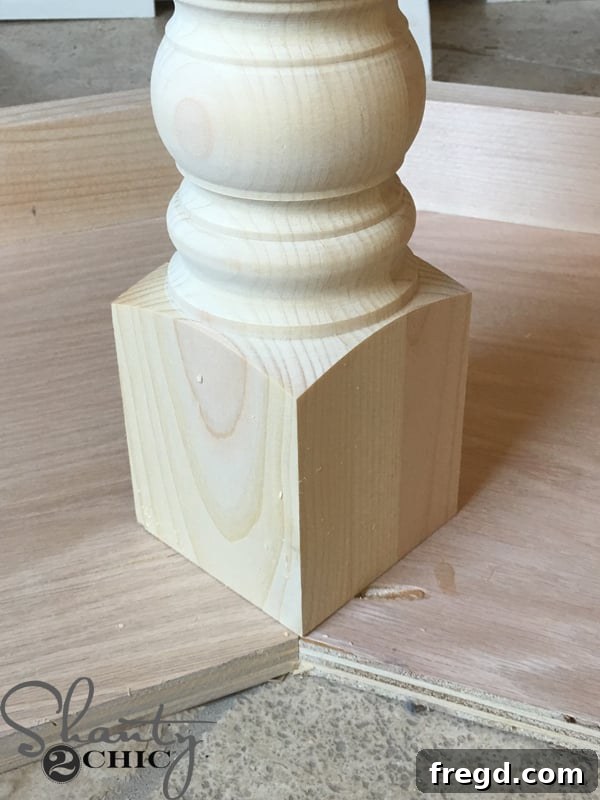
Carefully center this middle leg precisely on the central angle of the joined bench tops, securing it firmly to provide additional support in the middle section of the bench.
8. Installing the Front Apron
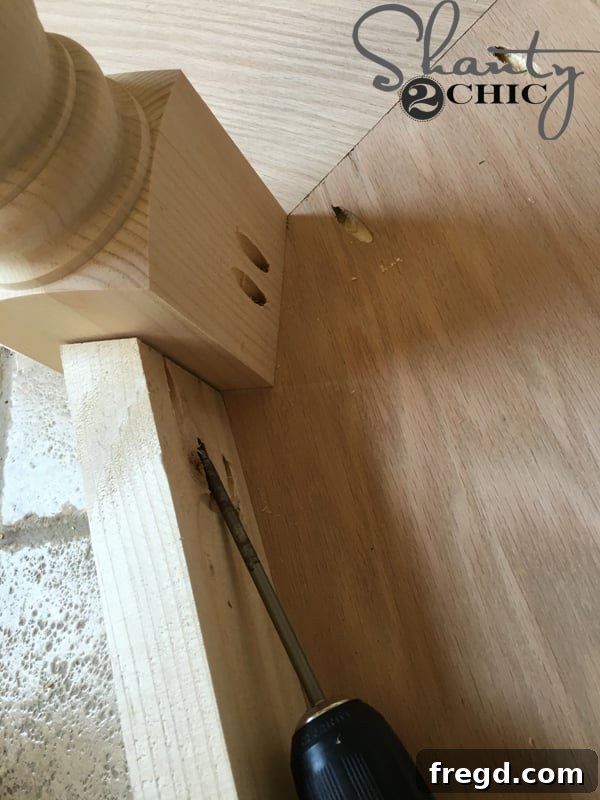
Next, I cut the 22.5-degree angles required for the front apron pieces to match the bay window’s curve, then measured and made the straight cuts on their ends. I initially used pocket holes on one side to temporarily hold the leg in place, allowing for easy cutting and fitting of the front aprons. Once the bench was flipped over, I reinforced the joint with finish nails to secure it while the wood glue dried, ensuring maximum stability.
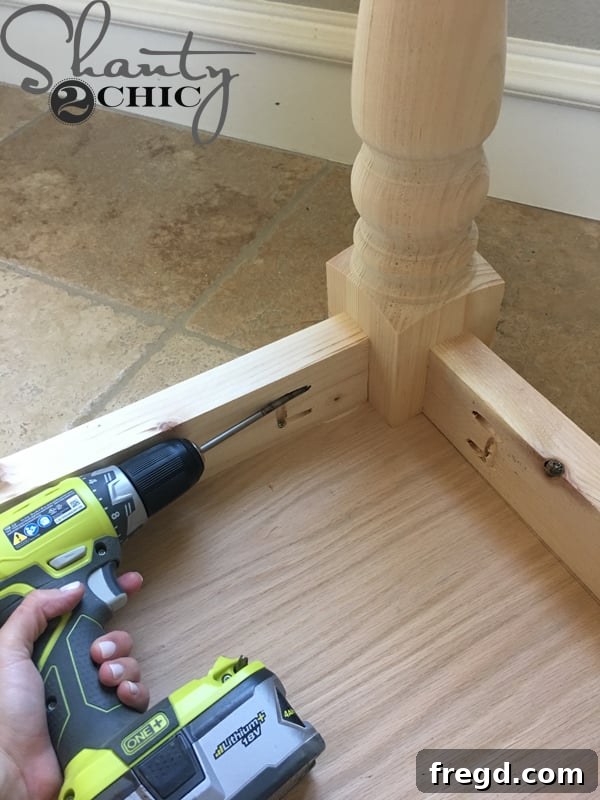
Now, securely attach the straight ends of the front aprons to the bench legs using pocket hole screws and a generous application of wood glue.
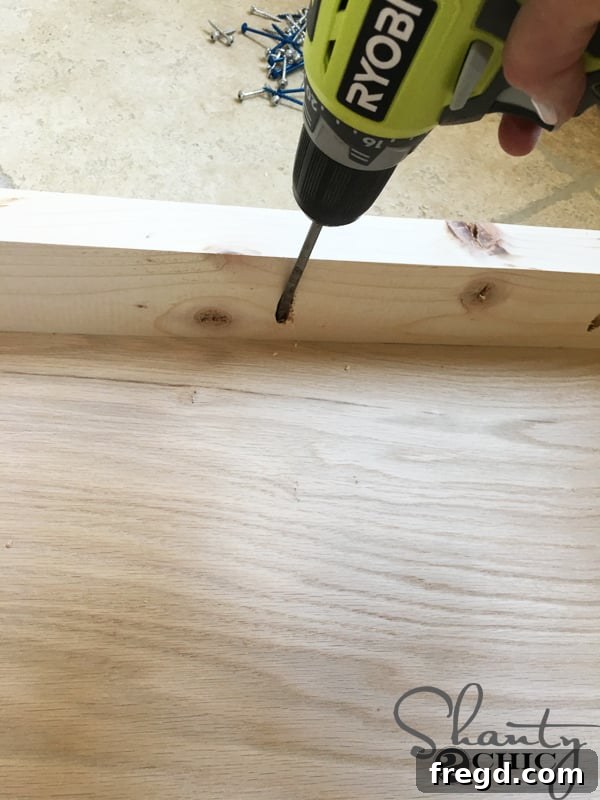
Finally, attach the front aprons to the underside of the bench top using pocket hole screws, completing the perimeter of the frame.
9. Adding Seat Supports
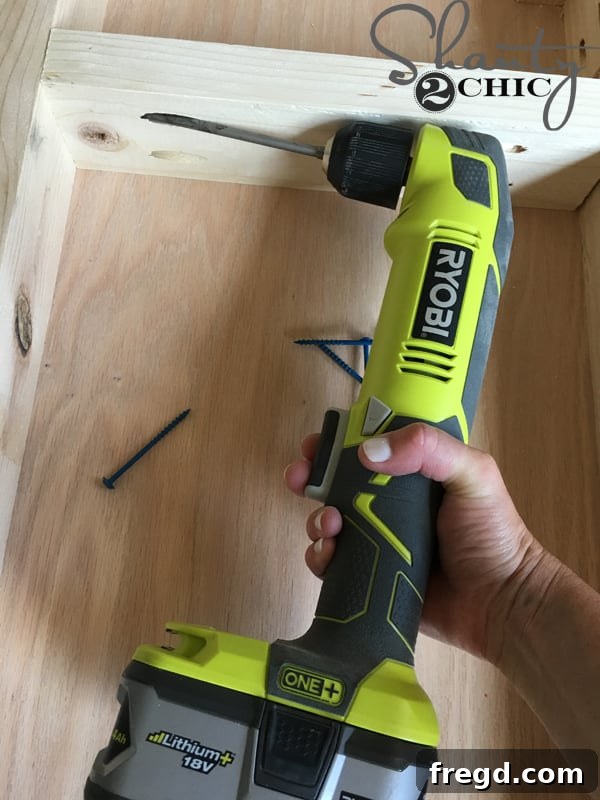
I measured and cut additional support pieces to fit snugly within the frame. These supports are vital for preventing any sagging of the seat over time and enhancing overall durability. This can be a tight squeeze, so I found my Ryobi right-angle drill invaluable for maneuvering between the apron pieces. If you don’t have a right-angle drill, you can still attach these supports effectively using wood glue and wood screws driven from the front and back faces of the apron. Remember to fill any visible screw holes before proceeding to the finishing stages for a smooth, professional look.
The Power of Paint: A Sherwin-Williams Partnership
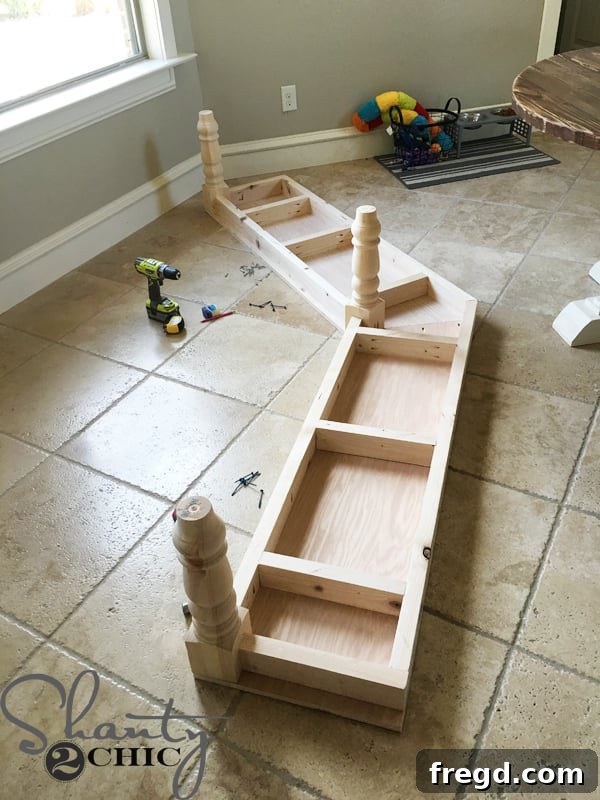
With the entire bench frame now robustly assembled, it should resemble the image above. At this stage, while the bench was still upside down, I made the strategic decision to go ahead and paint the bench legs. This proved to be a smart move, as painting them after attachment to the wall would have been considerably more challenging and less precise.
For the paint, I chose Sherwin-Williams’ “Antique White” to perfectly match the base of my kitchen table, creating a harmonious and elegant aesthetic. The entire process of selecting the ideal paint was incredibly simple and enjoyable. I utilized the intuitive store locator feature on the Sherwin-Williams website, quickly finding the most convenient location near me.
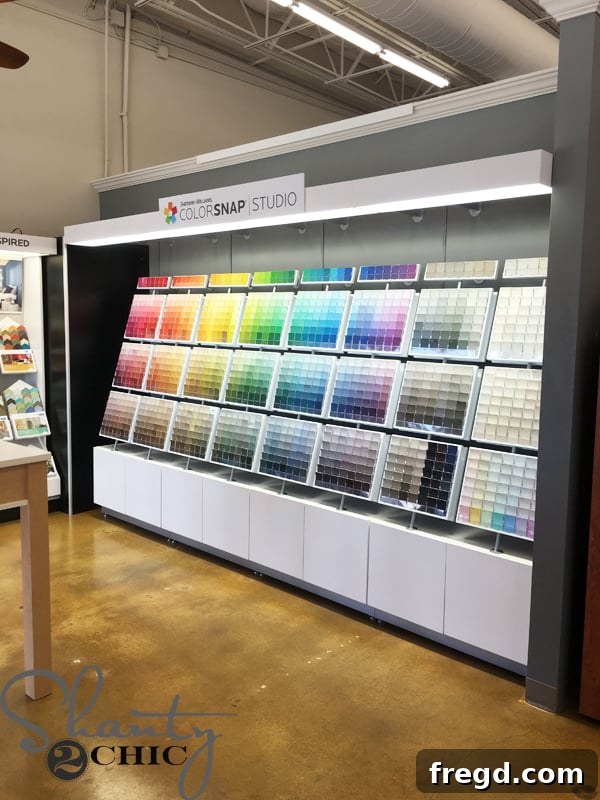
Upon entering the store, I was immediately greeted by an impressive display of paint chips, making the color selection process straightforward and inspiring.

I quickly found “Antique White,” a creamy, inviting shade that perfectly complemented my kitchen’s aesthetic. I purchased a gallon of their premium Emerald paint in a satin sheen. The Sherwin-Williams store employees were exceptionally friendly, knowledgeable, and patiently answered all my questions, ensuring I felt confident in my choice.
Discover the ColorSnap® App

While at the store, I also discovered their incredible ColorSnap® App – a fantastic tool for any DIY painter! You can easily download it HERE.

This innovative app allows you to match colors from any photo or even a physical object to a perfect Sherwin-Williams paint color. Imagine seeing a beautiful shade in a magazine or a piece of decor and instantly finding its paint match!

The app’s intuitive toolbar makes exploring colors, saving your favorite swatches, and locating the nearest Sherwin-Williams store incredibly easy. It’s an indispensable tool that simplifies the often-daunting task of color selection for any home improvement project.
10. Painting and Attaching to the Wall
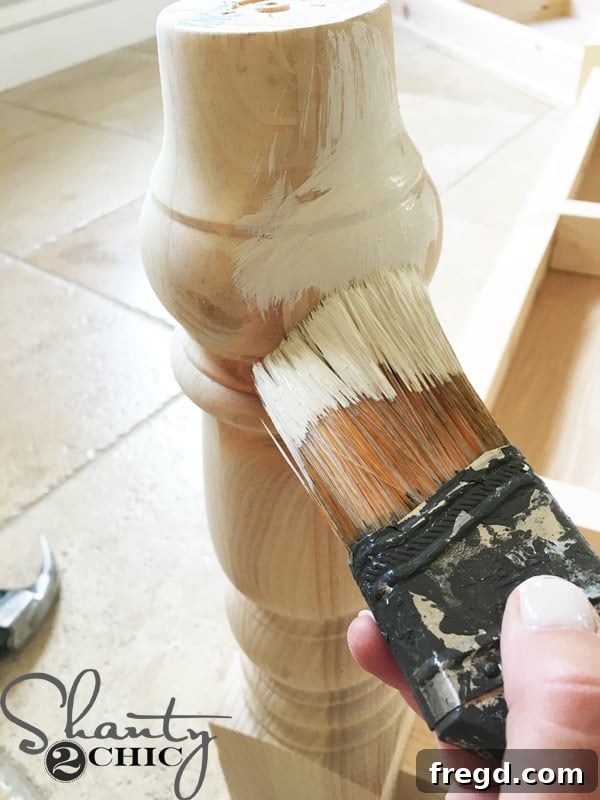
Back home, I meticulously painted the entire bench with the beautiful Sherwin-Williams Antique White. As mentioned, painting the legs before the bench was affixed to the wall significantly streamlined the process and ensured an even, professional coat.

While the paint on the bench legs dried, I located the wall studs. This step is critical, as the bench’s back apron needs to be securely attached to these studs for maximum stability and safety. If you’re in need of a reliable stud finder, the model we trust can be found HERE on Amazon!
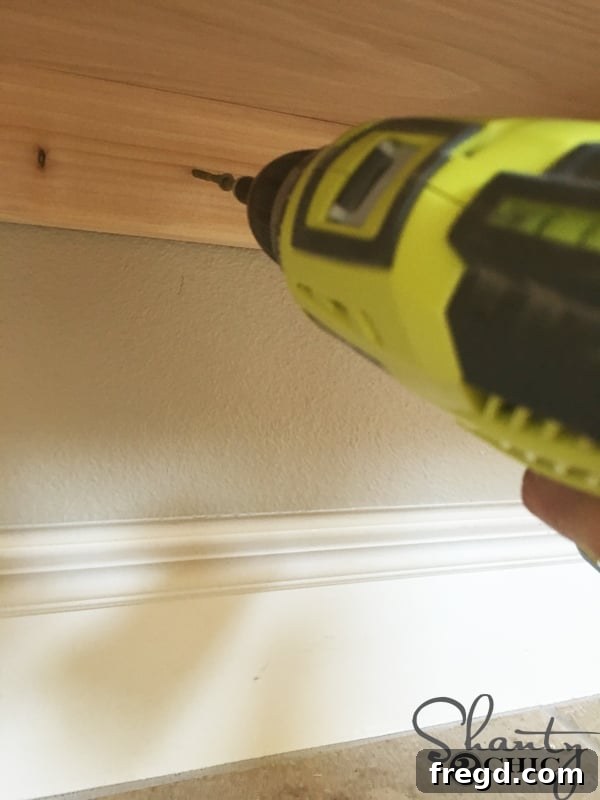
Using robust 3 1/2″ wood screws, I then securely attached the bench to the wall. The screws were strategically driven from underneath the bench, through the inside of the apron, and firmly into the wall studs. This method ensures that the fasteners are hidden, maintaining the clean lines of the design, while providing exceptional strength.
11. Adding the Screen Molding
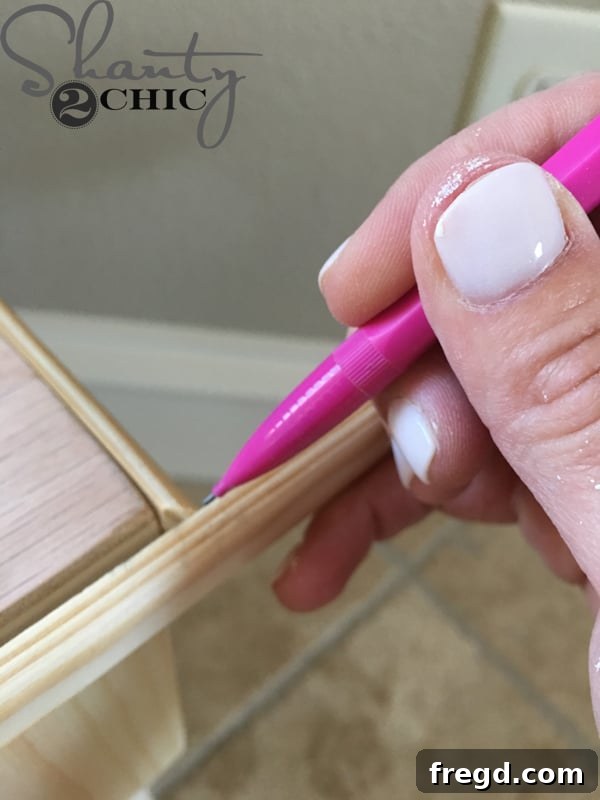
To give the bench a polished, finished look, I measured and cut screen molding to fit precisely around the base. I find it easiest to cut the side pieces first, carefully determining the angle cuts, and then making the straight cuts on the opposite ends to ensure a perfect fit before moving on to the front pieces.
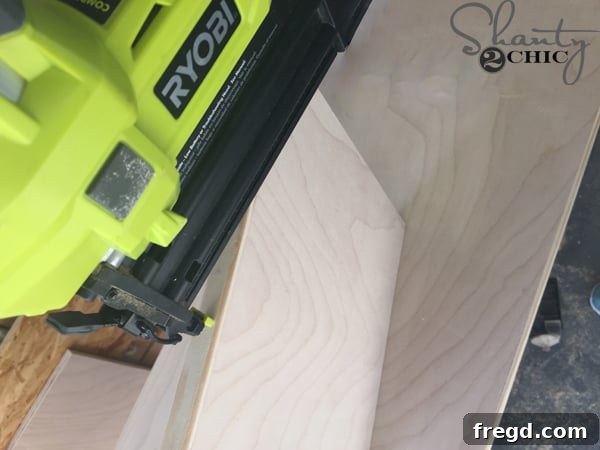
I attached the screen molding using my 18-gauge brad nailer and a strong wood glue. The brad nailer provides quick, secure fastening with minimal visible holes, while the glue ensures a long-lasting bond.
12. Filling and Finishing
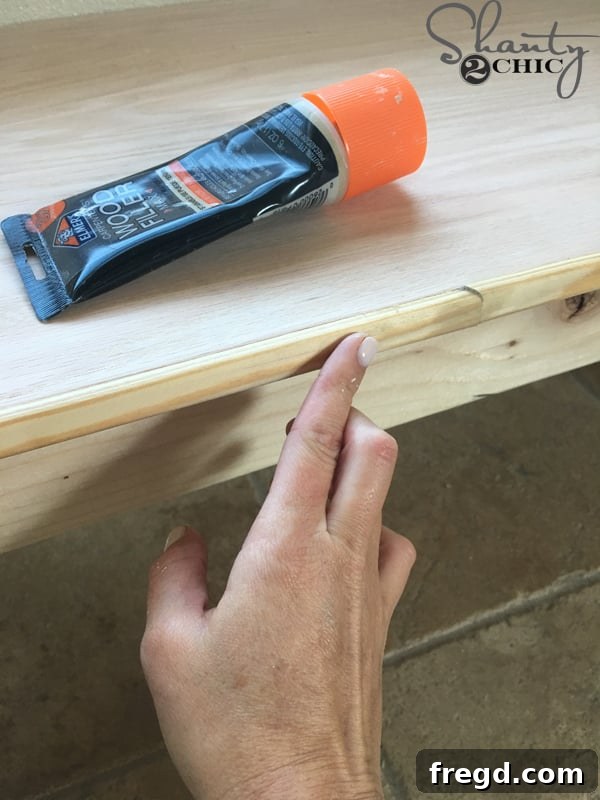
After attaching all the molding, I meticulously filled any nail holes, imperfections, or gaps with Elmer’s Wood Filler. This step is crucial for achieving a smooth, professional-grade finish that will truly make your paint job shine. You can find the wood filler that works wonders HERE on Amazon.
The Grand Reveal: Enjoy Your Custom Bay Window Bench!
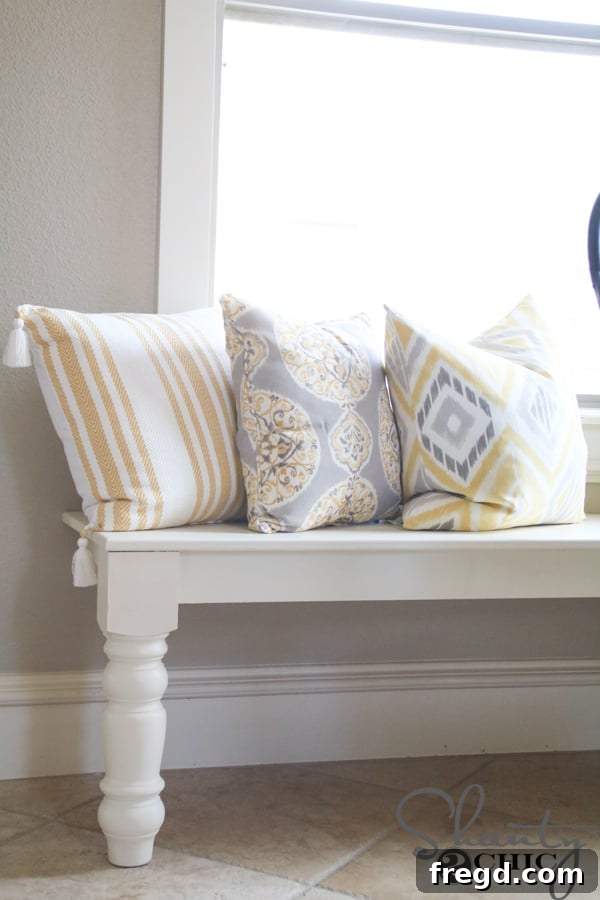
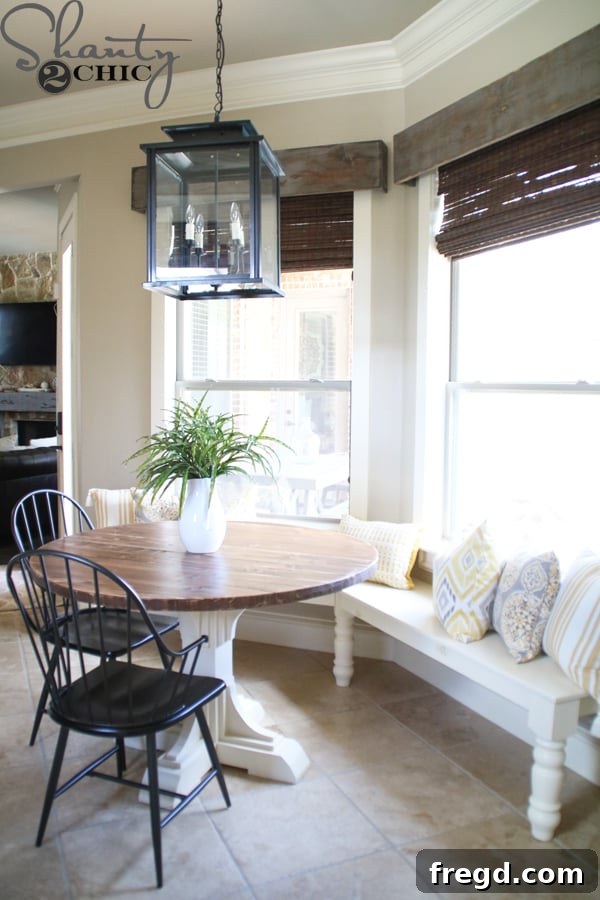
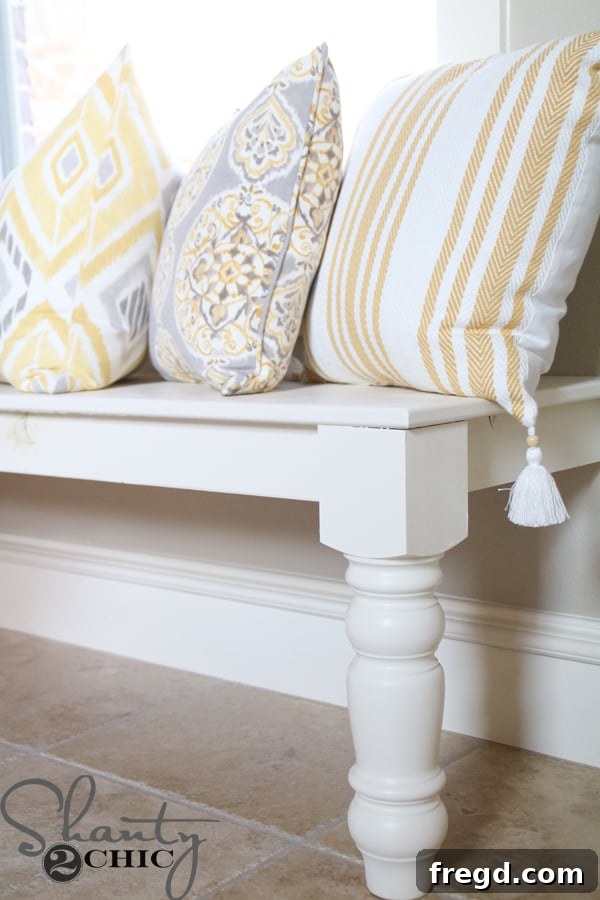
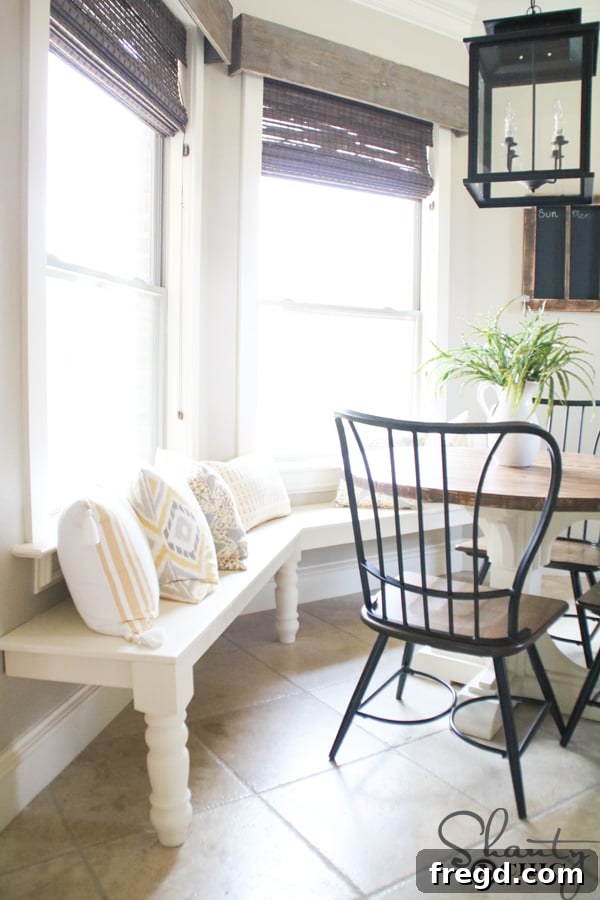
With the final coat of Sherwin-Williams paint applied and dried, the custom bay window bench was complete! Adding a selection of plush pillows instantly transformed it into an inviting and comfortable seating area. This DIY project truly elevates the functionality and aesthetic of the kitchen, providing a beautiful and practical space for years to come. I couldn’t be happier with how this custom built-in window bench turned out!
Sherwin-Williams Gift Card Giveaway & Special Sale!
To celebrate our amazing partnership and the beautiful transformation of this kitchen space, we’re giving away a $200 Sherwin-Williams Gift Card! To enter, simply use the Sherwin-Williams store locator page HERE to find your closest store, and then tell us its location in the comments section below!
Don’t miss out on the incredible Sherwin-Williams in-store Love For Color sale! It runs from August 12-15 and features an amazing 35 percent off all paints and stains! This is the perfect opportunity to kickstart your next home project.
Shop the Look: Resources for Your Kitchen Space
Here’s a comprehensive list of resources for other items featured in this beautifully updated kitchen:
- Tassel Pillow – HERE
- Other pillows – HomeGoods
- Chairs – HERE
- Chalkboard Calendar – HERE
- Stools – HomeGoods
- Tile – HERE
- Chandelier – HERE
- Window Box Cornices – HERE
- White Pitcher – HERE
- Paint Colors (Other Areas) – HERE
- Window Shades – HERE