Transform Your Space: Easy & Affordable DIY Wall Shelves for Under $15!
Hey there, fellow DIY enthusiasts and budget-conscious decorators!
Are you feeling the pinch of today’s lumber prices? We certainly are! It feels like every trip to the hardware store comes with a new sticker shock. That’s why I’ve been channeling my creative energy into projects that are not only practical but also incredibly affordable – often using up my scrap pile or requiring just one or two boards. This recent project is a testament to that philosophy, and I couldn’t be more thrilled with the results!
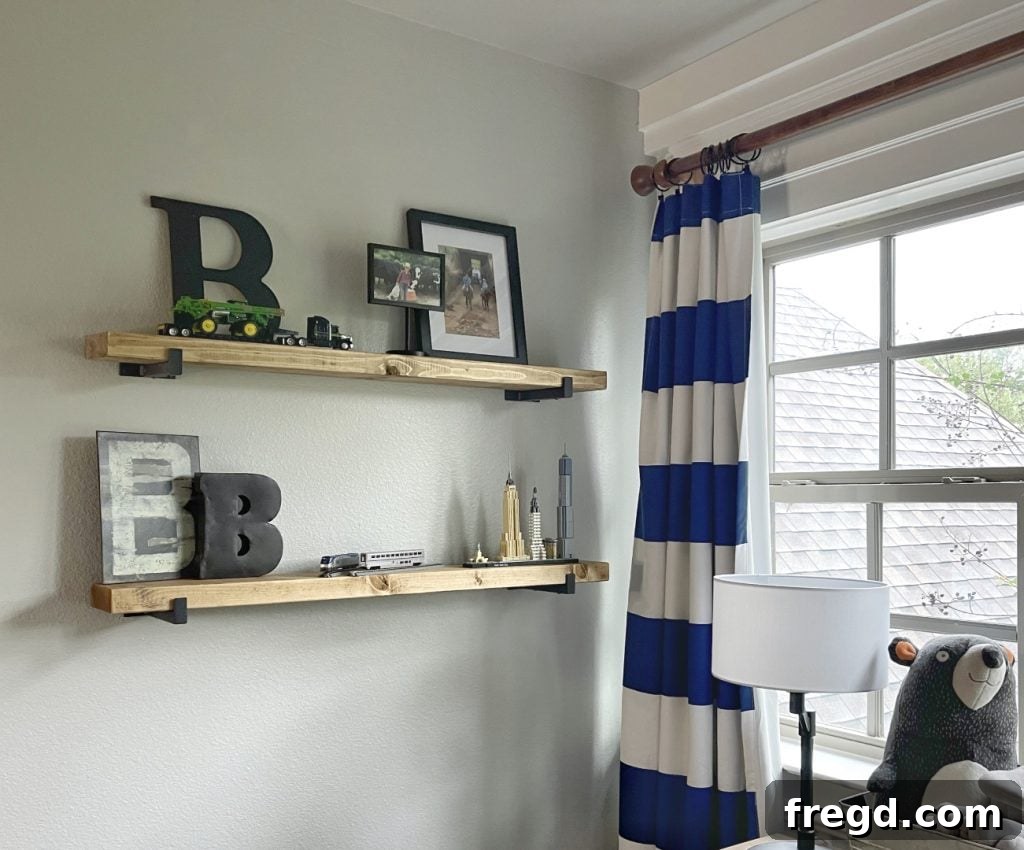
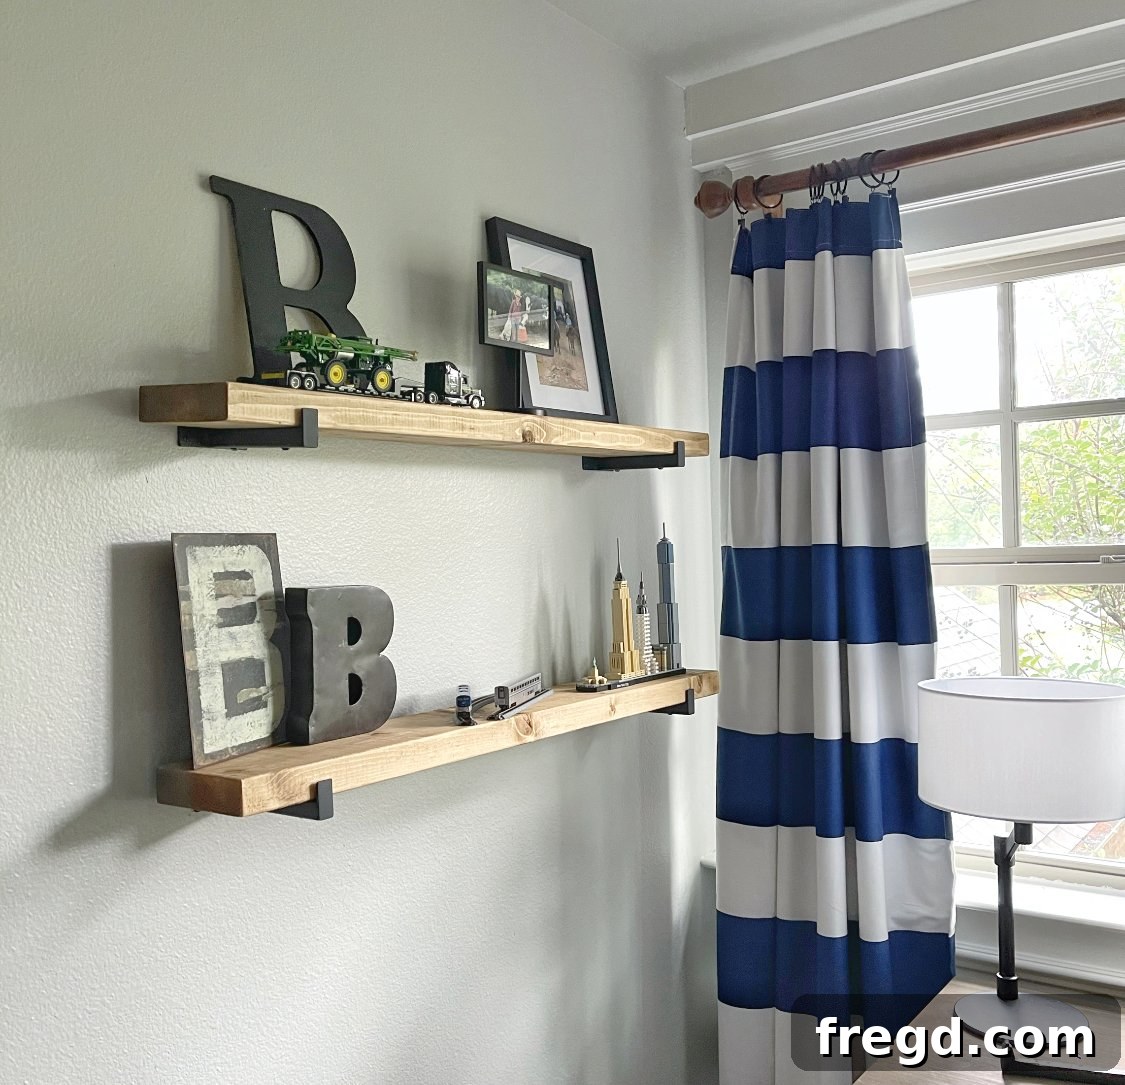
My kids recently engaged in one of their favorite pastimes: musical rooms! As a result, my son’s new space needed some serious organizational help, specifically shelving. Inspired by the challenge, I set out to create functional and stylish wall shelves without breaking the bank. And guess what? I managed to build these fantastic shelves for an astonishing $15 apiece! They transformed his room, adding much-needed storage and a touch of custom charm. I absolutely love how they turned out, and I’m excited to share the step-by-step process with you.
Watch the Step-by-Step Tutorial!
For those who prefer a visual guide, I’ve put together a comprehensive how-to video demonstrating every step of this easy DIY project. It walks you through selecting materials, preparing your wood, and installing the shelves securely. Watch it below to get started on your own affordable wall shelves!
DIY $15 Wall Shelves! These shelves are so easy and even more affordable to build!
Gathering Your Materials: Smart Choices for Budget-Friendly Shelving
Building these charming and practical wall shelves requires only a few key materials, making it a perfect project for beginners and seasoned DIYers alike. The secret to keeping the cost so low lies in selecting the right components without compromising on style or functionality. Here’s a closer look at what you’ll need and why these choices are fantastic for your budget and your home:
Sturdy and Stylish Brackets
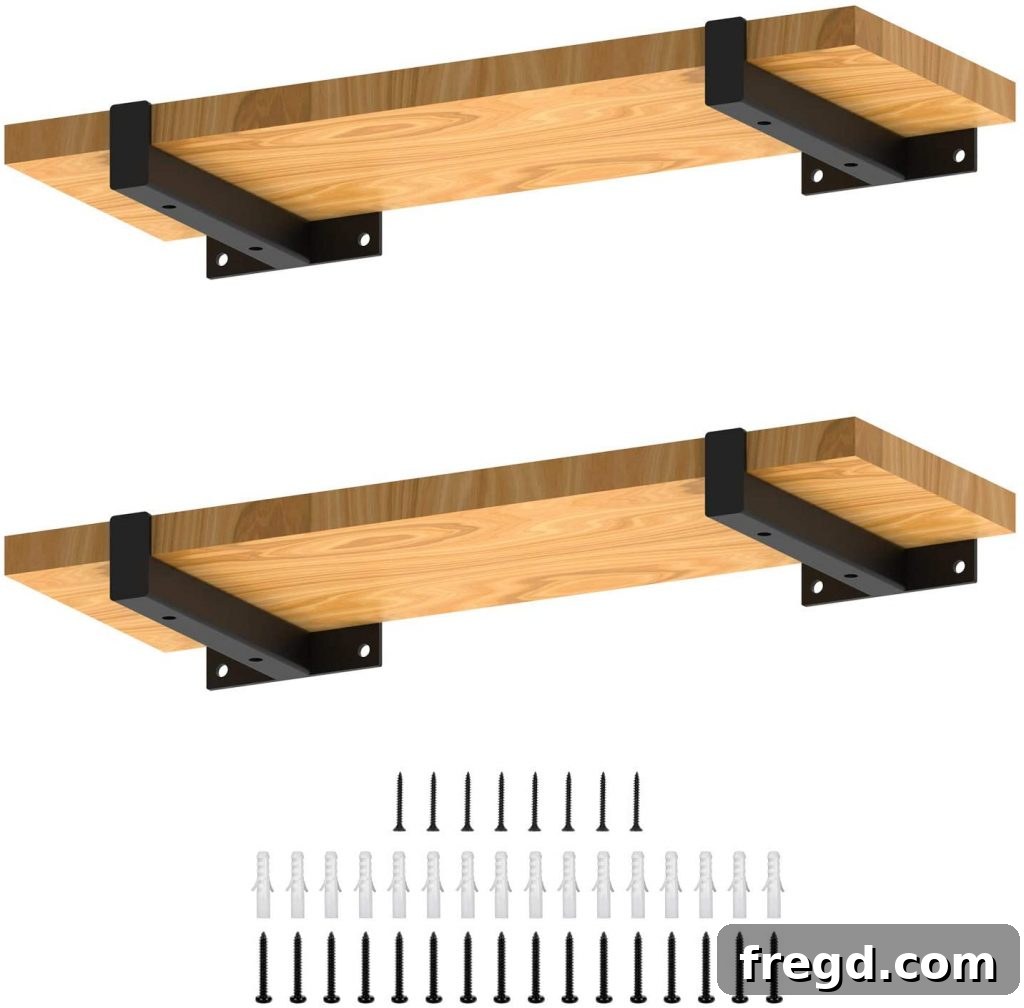
The foundation of any good wall shelf is its brackets, and finding the right balance between strength, aesthetics, and cost is crucial. I was absolutely delighted when I discovered THESE BRACKETS on Amazon. They are not only incredibly cute but also surprisingly robust for their price point. I opted for the 6-inch size, which provides ample support for the depth of our chosen lumber and gives the shelves a substantial, custom-built look. The best part? A set of four brackets will only set you back $15.99, including free shipping! This means you can build two beautiful shelves for this one low price, making them an unbeatable value. Their clean lines and minimalist design integrate seamlessly into almost any decor style, from modern farmhouse to industrial chic.
Economical and Versatile Lumber
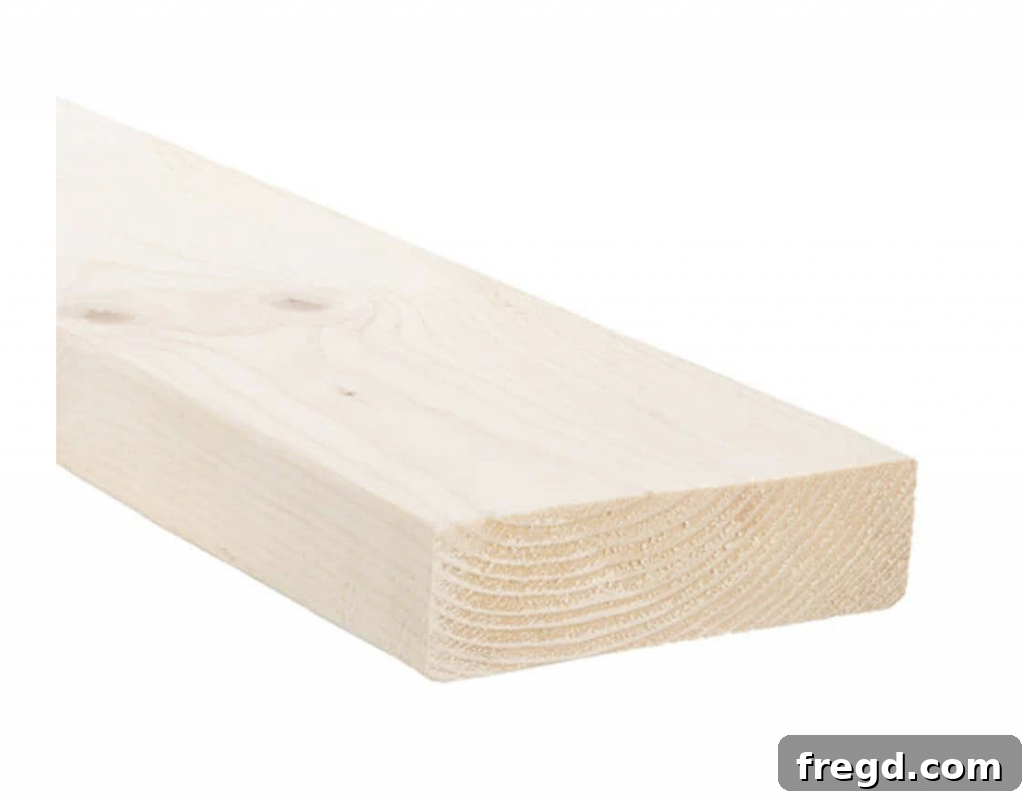
For the shelf itself, I used this 2x6x8 common board. Now, I know what you might be thinking – lumber prices have indeed soared, and a 2×6 might cost three times what it used to. However, this is where smart planning comes in! One single 8-foot 2×6 board is enough to create two generously sized shelves for this project. This makes it an incredibly cost-effective choice, especially when compared to buying pre-made shelves or more expensive cuts of wood. A 2×6 board offers excellent depth and stability, providing a robust surface for books, decor, and other items. Pine common board is also very easy to work with, readily available, and takes stain beautifully, allowing you to customize the finish to match your home’s aesthetic. Plus, the slightly rustic look of a common board perfectly complements the simplicity of the brackets.
Essential Tools for a Secure Installation
While this project is designed to be simple, using the right tools will make the installation process smoother, safer, and ensure your shelves are mounted securely for years to come. Don’t skip these crucial steps and tools!
The Indispensable Stud Finder
Before attaching any brackets to your wall, it is absolutely paramount to use a reliable stud finder. This tiny device is a DIY superhero, helping you locate the wooden studs behind your drywall. Mounting shelves directly into studs provides the strongest and most secure hold, especially for heavier items. My trusty stud finder is an older model that’s no longer available, but I highly recommend THIS ONE as a fantastic alternative. It’s super affordable, boasts excellent reviews, and will give you the confidence that your shelves are anchored properly. Always check your walls thoroughly; even if you plan to use anchors, knowing where studs are can influence your bracket placement for maximum stability.

Reliable Drywall Anchors
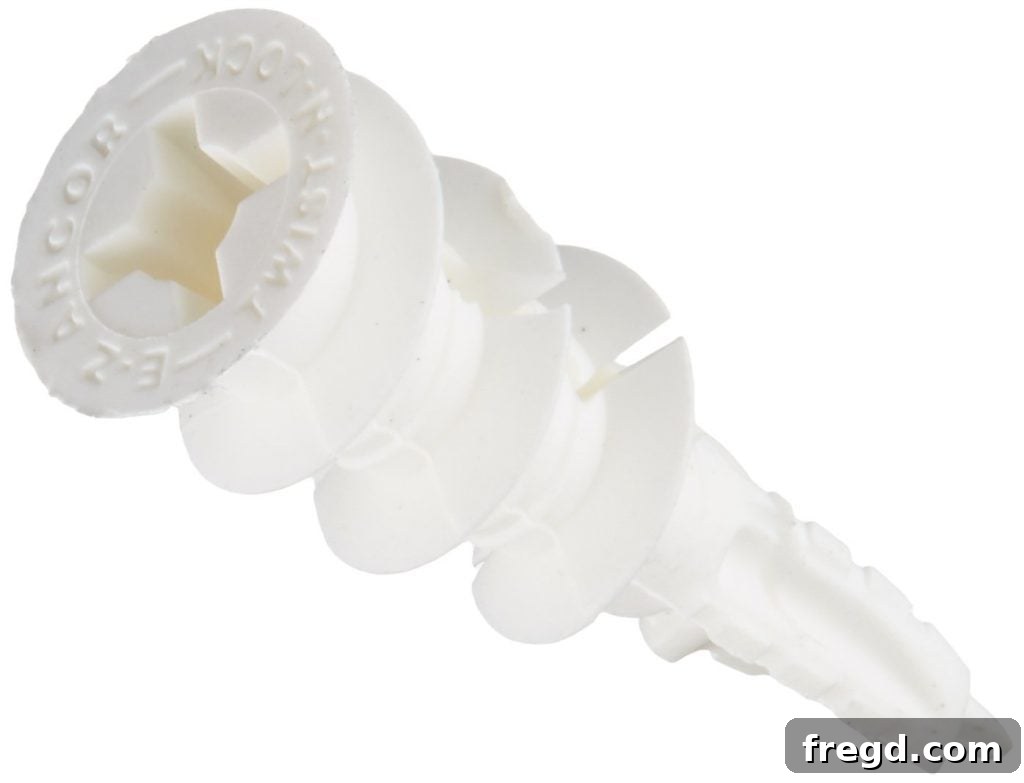
Even with a stud finder, sometimes your ideal shelf placement just doesn’t line up perfectly with a stud. Or perhaps you’re mounting into plaster walls where studs are less frequent. In such cases, high-quality drywall anchors are your best friend! If you’re mounting into drywall like I did, you absolutely need dependable anchors to ensure your shelves can hold weight without pulling away from the wall. My absolute favorite anchors EVER are these speed anchors! I use them constantly for various home projects because they are incredibly simple to install and provide exceptional strength. Unlike traditional plastic anchors that can strip or pull out, these self-drilling anchors create a secure, expanded hold within the drywall, making them perfect for supporting your new shelves and any treasures you plan to display on them.
Choosing Your Finish: Rustic Golden Oak
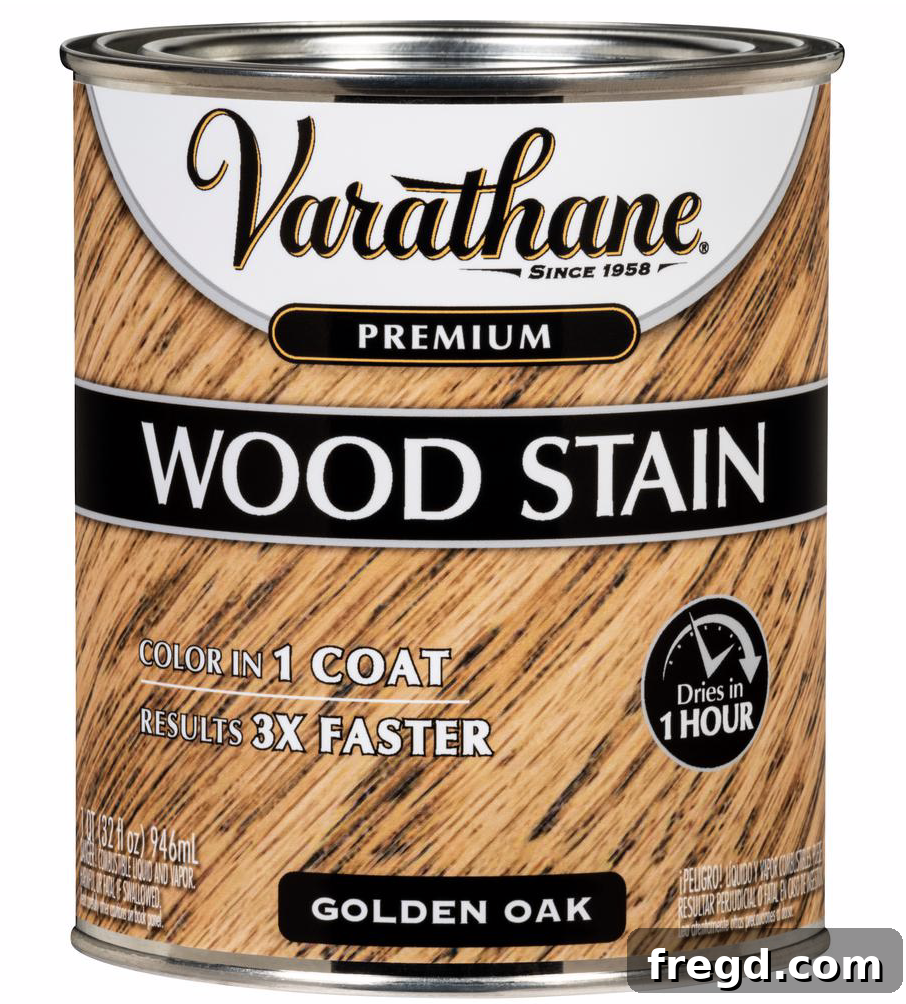
The finish you choose for your wood shelves can dramatically impact their overall look and feel. For this project, I wanted a warm, classic, and slightly rustic aesthetic that would complement the modern farmhouse vibe I was going for in my son’s room. I opted for Golden Oak stain by Rustoleum. I’ve been absolutely loving this stain color recently because it brings out the natural grain of the wood beautifully without being too dark or overwhelming. It offers a timeless appeal that blends well with various color palettes. Another fantastic feature of this particular stain is how quickly it dries, allowing you to move through the project efficiently. Applying a stain not only enhances the wood’s beauty but also provides a layer of protection, making your shelves more durable and easier to clean. Remember to sand your wood lightly before staining to ensure an even absorption and a smooth finish!
Step-by-Step Installation Guide: Building Your Affordable Wall Shelves
Now that you’ve gathered all your materials and tools, it’s time to bring your vision to life! Building these shelves is a straightforward process that can be completed in just a few simple steps. Take your time, measure twice, and enjoy the satisfaction of creating something beautiful and functional with your own hands.
Step 1: Mark Your Bracket Placement and Anchor Points
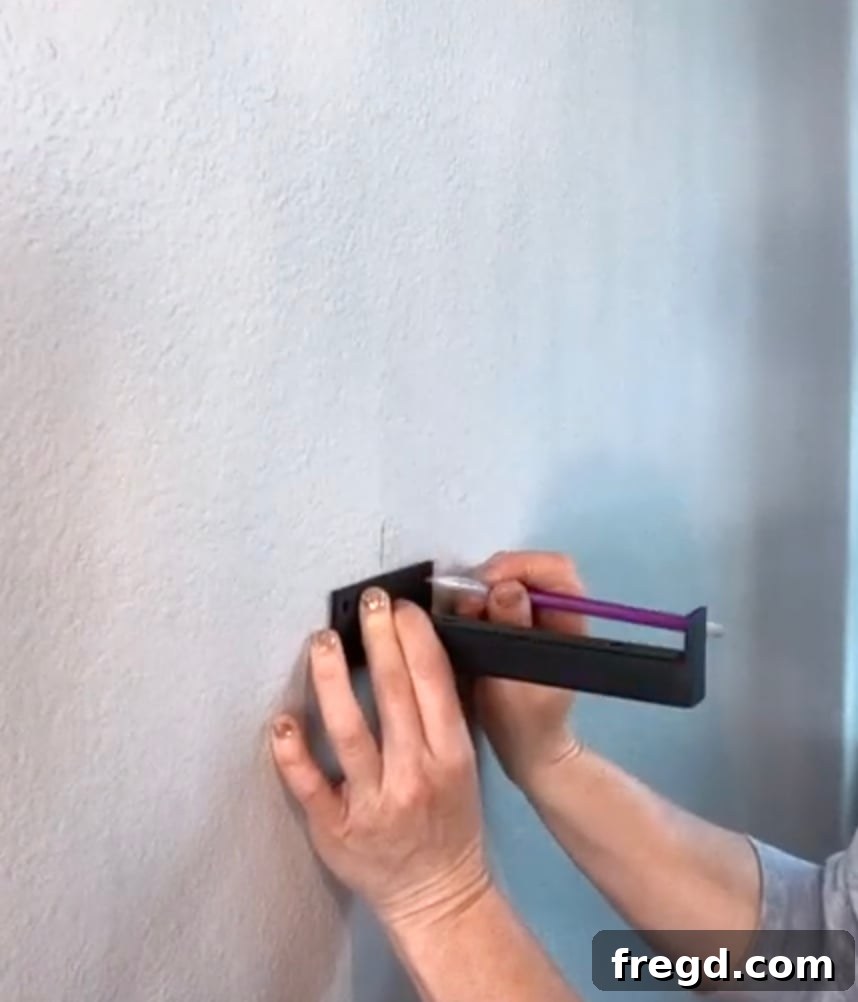
Begin by deciding where you want your first shelf to be positioned. Use your stud finder to check the wall for any studs. Even if you plan to use drywall anchors, knowing where studs are can help you avoid them or plan your spacing. Once you’ve determined the ideal height, hold one of your brackets against the wall. Using a pencil, carefully mark through each of the screw holes on the bracket. These marks will serve as your guides for drilling or installing anchors. Precision here is key for level and secure shelves, so take your time to align the bracket exactly where you want it.
Step 2: Ensure Levelness for Your Second Bracket
With your first set of marks in place, it’s time to determine the position for your second bracket. This step is crucial for ensuring your shelf is perfectly level. Place a level tool across the wall, aligning it with the marked top screw hole of your first bracket. Carefully extend a level line across to where your second bracket will go. Once you’ve established this level line, hold your second bracket against the wall, aligning its top edge with the level line. Mark through the screw holes of this second bracket with your pencil. Taking the extra minute to use a level will prevent your shelves from looking crooked and ensure everything you place on them stays put.
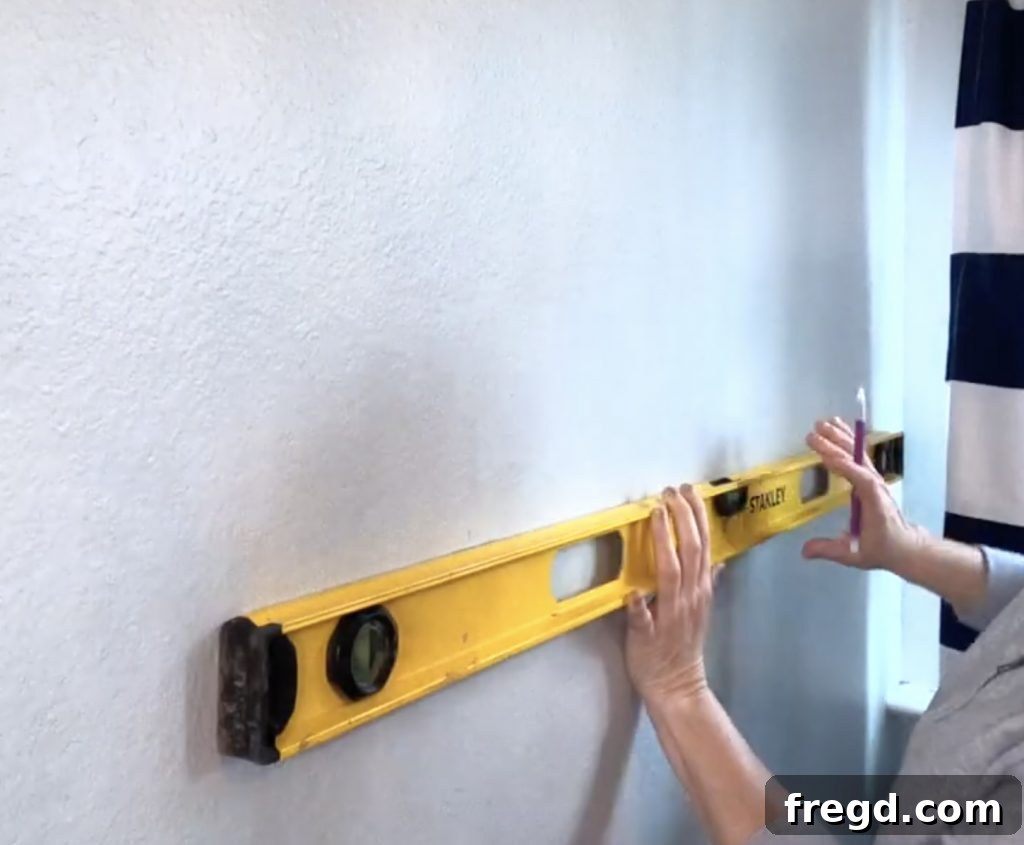
Step 3: Install Your Speed Anchors
Now, it’s time to install those robust speed anchors into the marks you’ve made on the wall. If you’re working with drywall, these anchors are incredibly user-friendly. Simply take each speed anchor and, using a screwdriver or a drill with the appropriate bit, twist it directly into the wall at each marked point. The sharp tip of the anchor will penetrate the drywall, and as you turn, it will bore itself in, creating a secure threaded cavity. Continue turning until the flange of the anchor is flush with the wall surface. Do this for all four marks for each shelf – two for each bracket. These anchors will provide a rock-solid foundation for your brackets, ensuring your shelves can handle a good amount of weight.
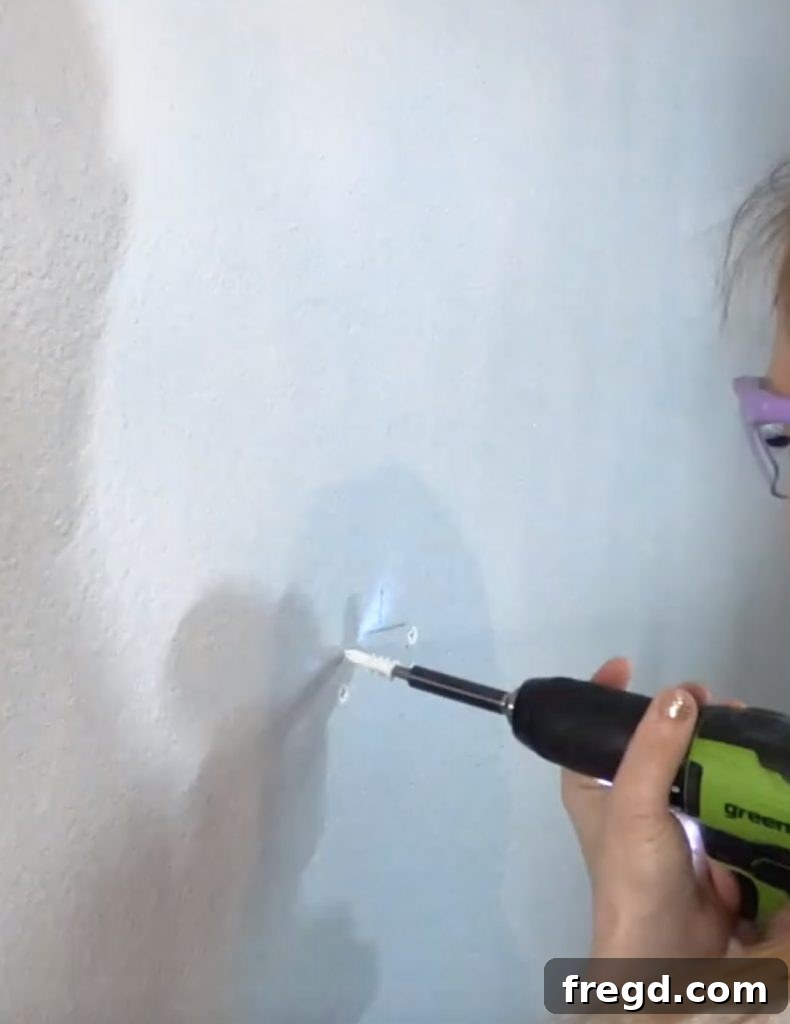
Step 4: Securely Attach the Brackets to the Wall
With your anchors firmly in place, it’s time to attach the decorative brackets. Line up each bracket over the corresponding four anchors in the wall, making sure the screw holes on the bracket perfectly align with the center of the anchors. Once aligned, insert screws (typically provided with your anchors or brackets, or ensure you use screws that are compatible with the anchors) through the bracket holes and into the installed anchors. Use a drill or screwdriver to drive the screws in until the brackets are snug and flush against the wall. Do not overtighten, but ensure they are secure and show no wobble. Repeat this process for both brackets for each shelf. This step is where your shelves really start to take shape!
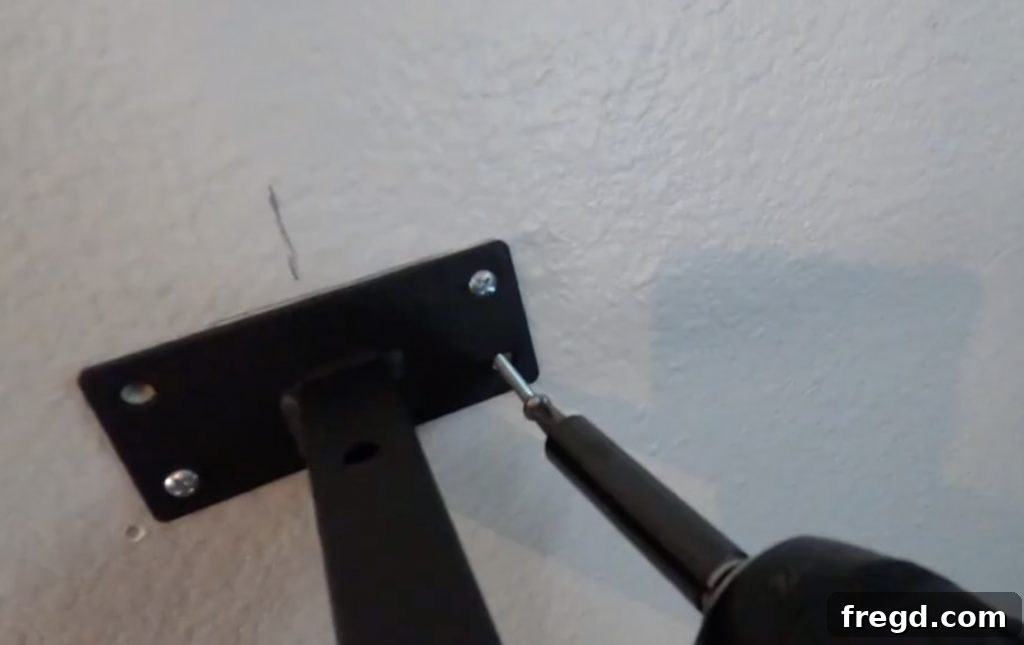
Step 5: Prepare Your Lumber – Cut, Sand, and Stain
Once all your brackets are securely attached to the wall, it’s time to prepare your wood boards. Remember that 2x6x8 board we talked about? Now’s the time to cut it to your desired length. For my son’s shelves, I cut the 8-foot board into two 40-inch sections, yielding two identical shelves. You can adjust the length to suit your space. After cutting, it’s essential to lightly sand all surfaces and edges of your wood boards to remove any splinters or rough patches. This creates a smooth surface for staining and handling. Once sanded, apply your chosen stain (I used Rustoleum Golden Oak, remember?). Follow the manufacturer’s instructions for application, usually applying with a rag or brush and wiping off excess. I typically do two coats for a richer, more durable finish. Allow sufficient drying time according to the stain’s instructions before proceeding.
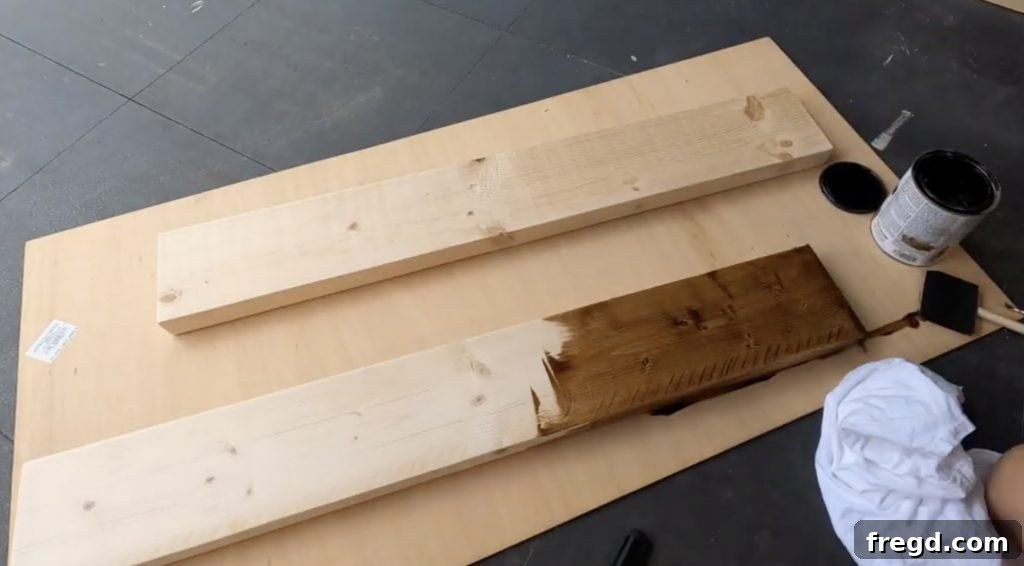
Step 6: Attach the Wood Boards to the Brackets
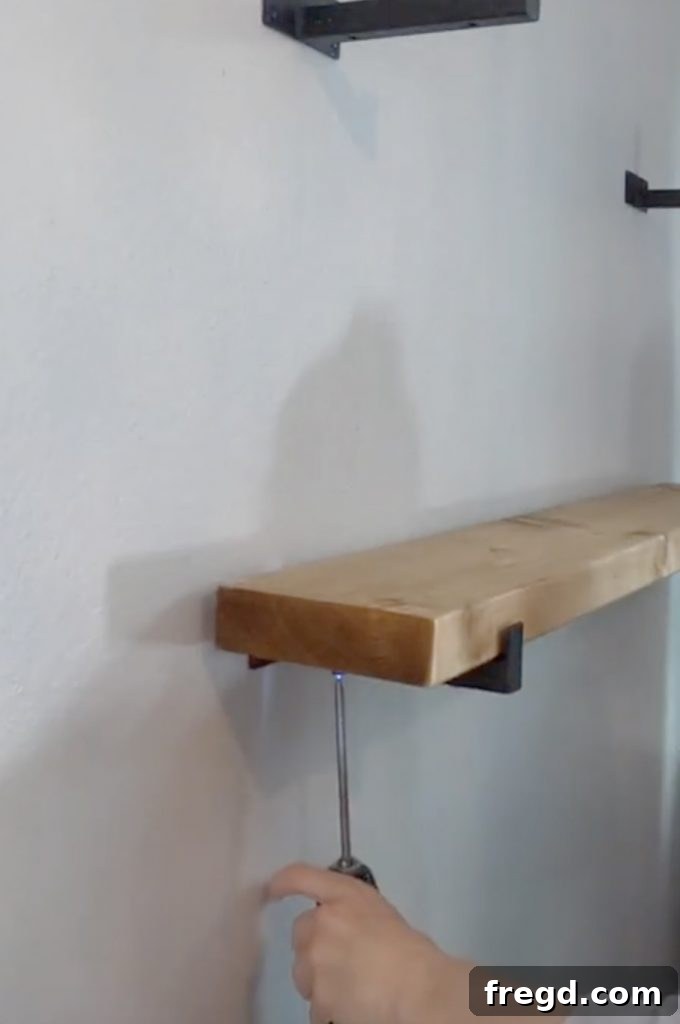
You’re almost there! With your brackets mounted and your wood stained and dried, the final step is to attach the beautiful wooden shelf boards to the brackets. Carefully place your stained wood board onto the installed brackets, centering it evenly. The brackets I used have small holes on their top surface, designed specifically for securing the shelf in place. Using short wood screws (make sure they are not too long and won’t go through the top of your shelf!), drive them through these holes and into the underside of your wood board. This final fastening step ensures the wood is firmly held by the brackets, preventing any accidental shifting or tipping. Once secured, give your new shelves a gentle test to ensure they are stable and ready for use.
A Stylish and Functional Success!
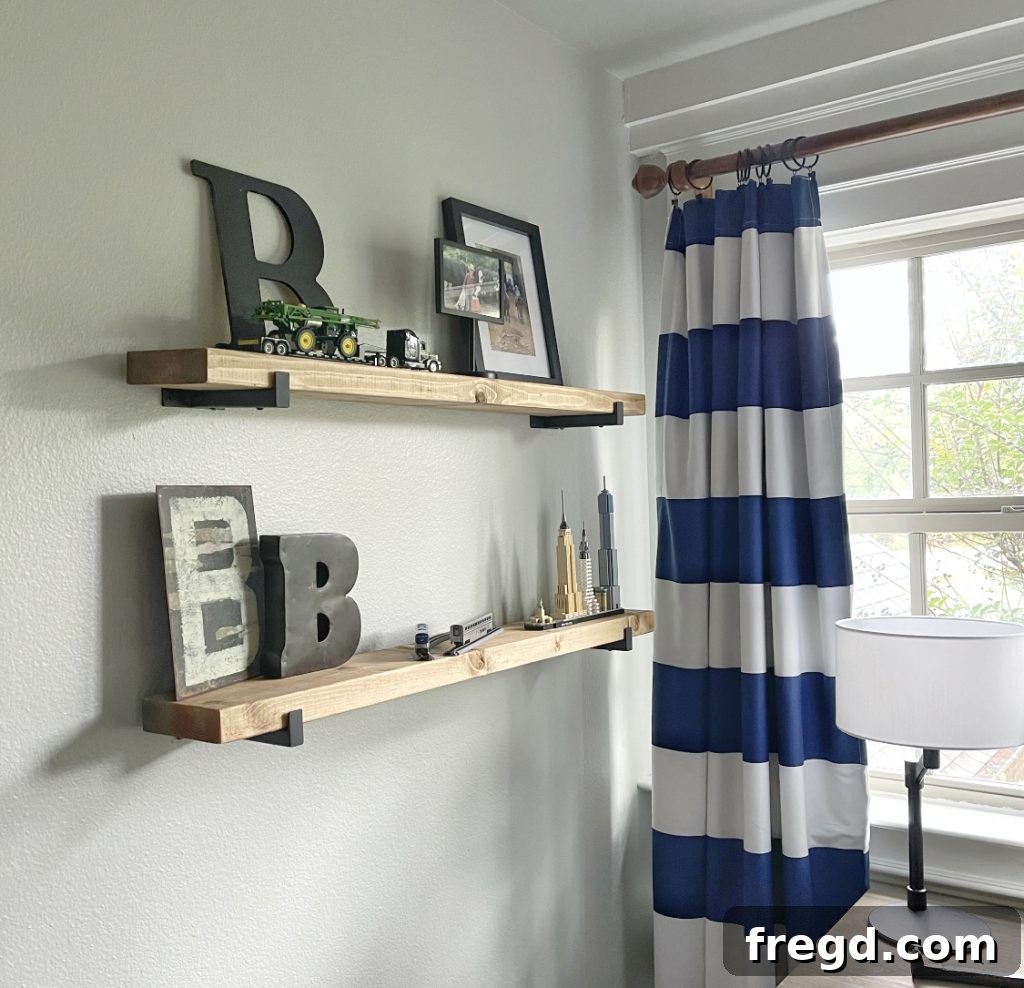
I am absolutely overjoyed with how these DIY wall shelves turned out! Not only were they incredibly affordable to build, costing less than $15 per shelf, but they also added immense character and much-needed storage to my son’s room. The Golden Oak stain provides a warm, inviting feel, and the sleek brackets perfectly complement the rustic simplicity of the wood. The best part? My son loved helping me pick out all the “goodies” – books, toys, and personal treasures – that now proudly adorn his new custom-built storage. It’s truly rewarding to create something functional and beautiful with your own hands, especially when it solves a practical need and brings joy to your family.
This project is a perfect example of how clever material choices and a bit of DIY spirit can lead to stunning results without draining your wallet. Whether you need extra storage in a bedroom, a display area in your living room, or a functional spot in your home office, these easy and budget-friendly wall shelves are an ideal solution. I encourage you to give this project a try; you’ll be amazed at what you can achieve!