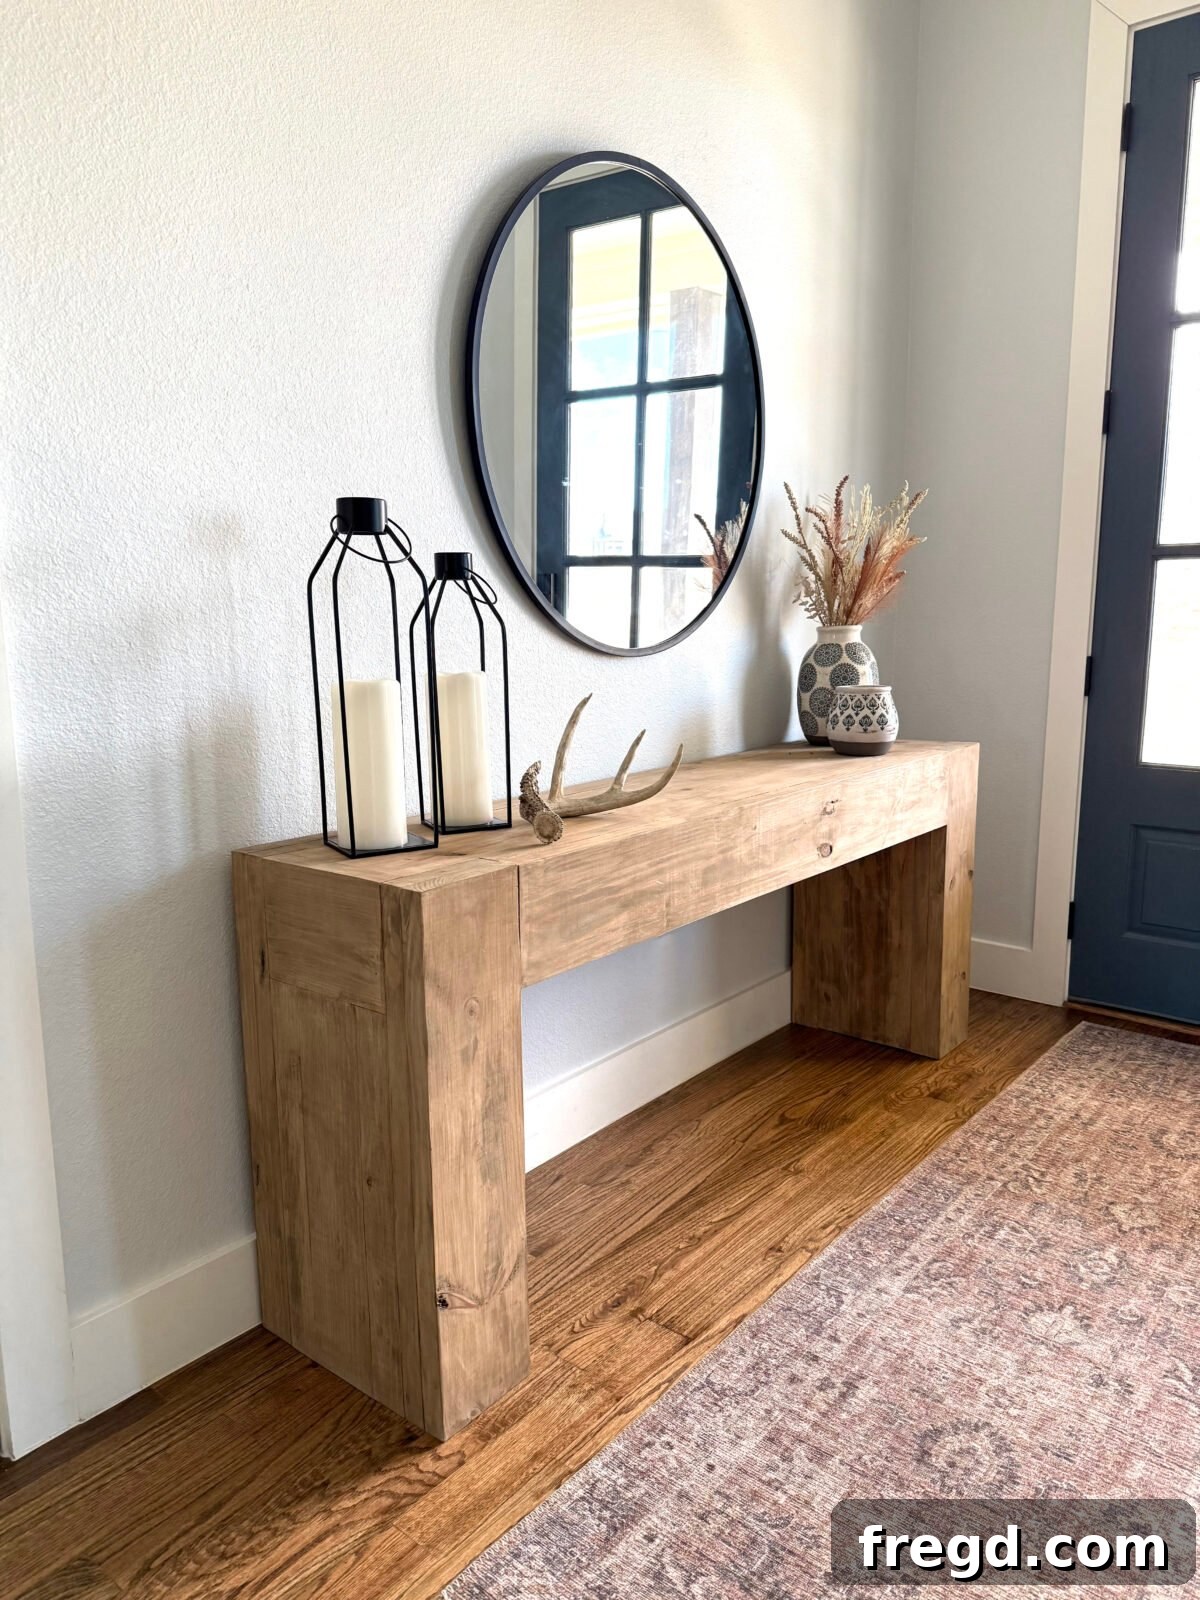
Unlock the secret to beautiful, custom home decor without breaking the bank! Join us as we guide you through building a gorgeous, chunky DIY Wood Console Table. This project comes with free plans, requires only a few essential tools, and promises a result that looks far more expensive than its actual cost. Say goodbye to mass-produced furniture and hello to personalized craftsmanship!
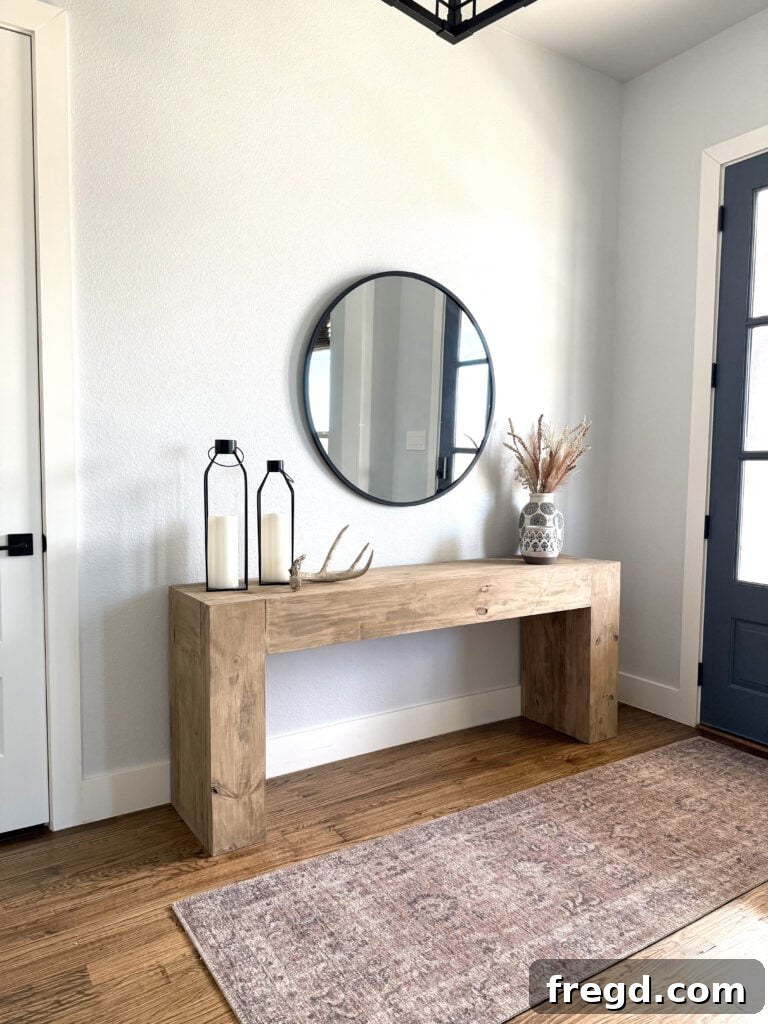
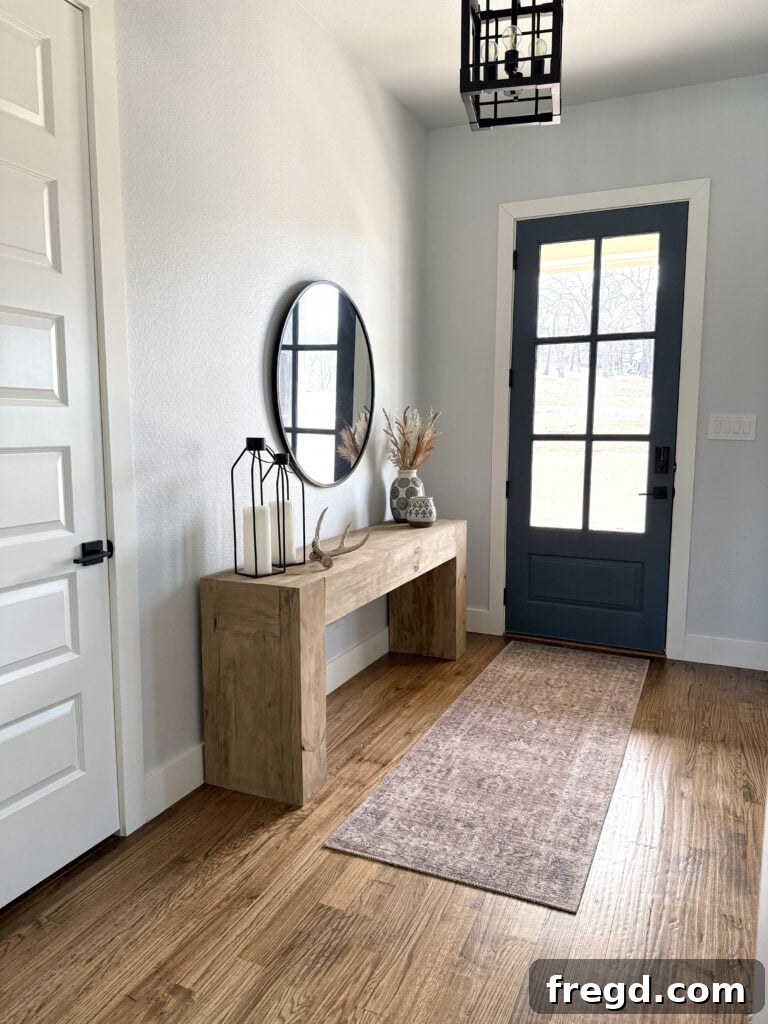
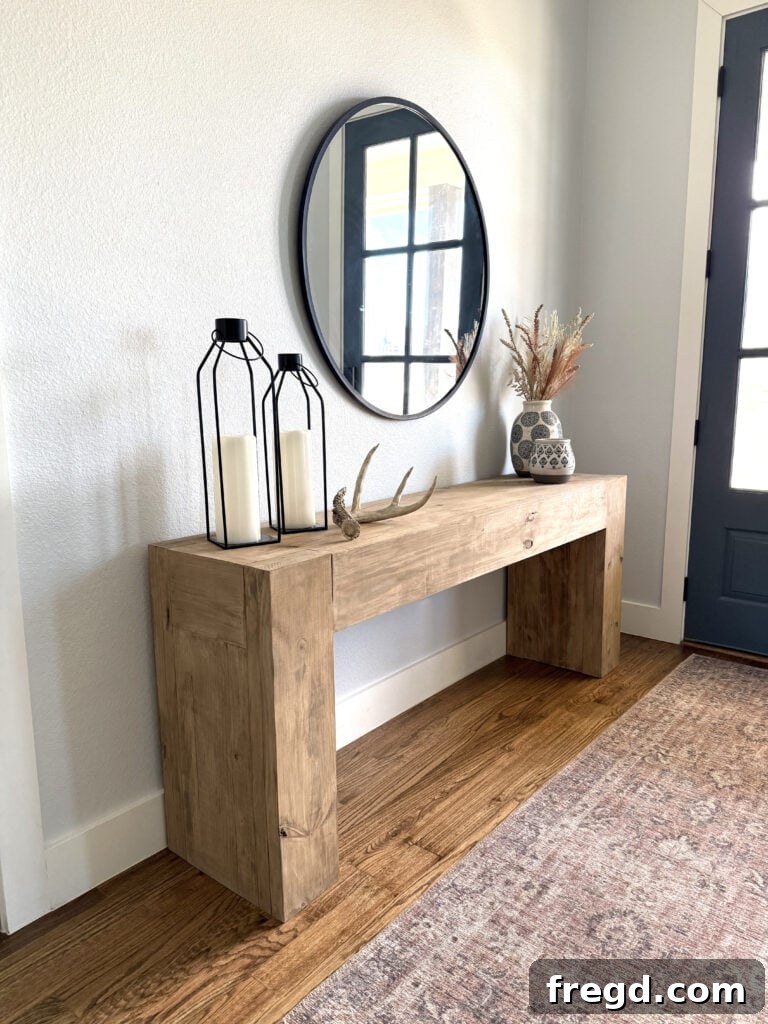
We are absolutely thrilled to share this new build! Our new home features a wonderfully open entryway, a design element we instantly fell in love with. Unlike our previous house, which offered minimal space for entryway tables, this home presented the perfect opportunity to bring a long-held vision to life. We dreamed of a substantial, chunky wood console table gracing that expansive wall, serving as a warm and inviting focal point.
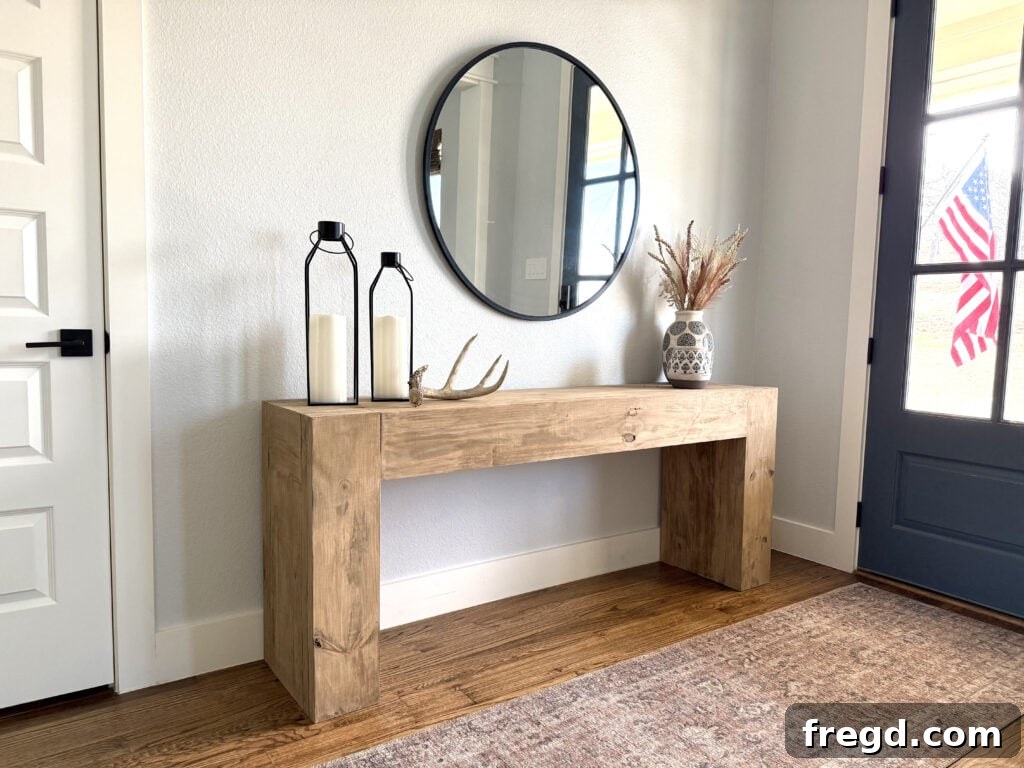
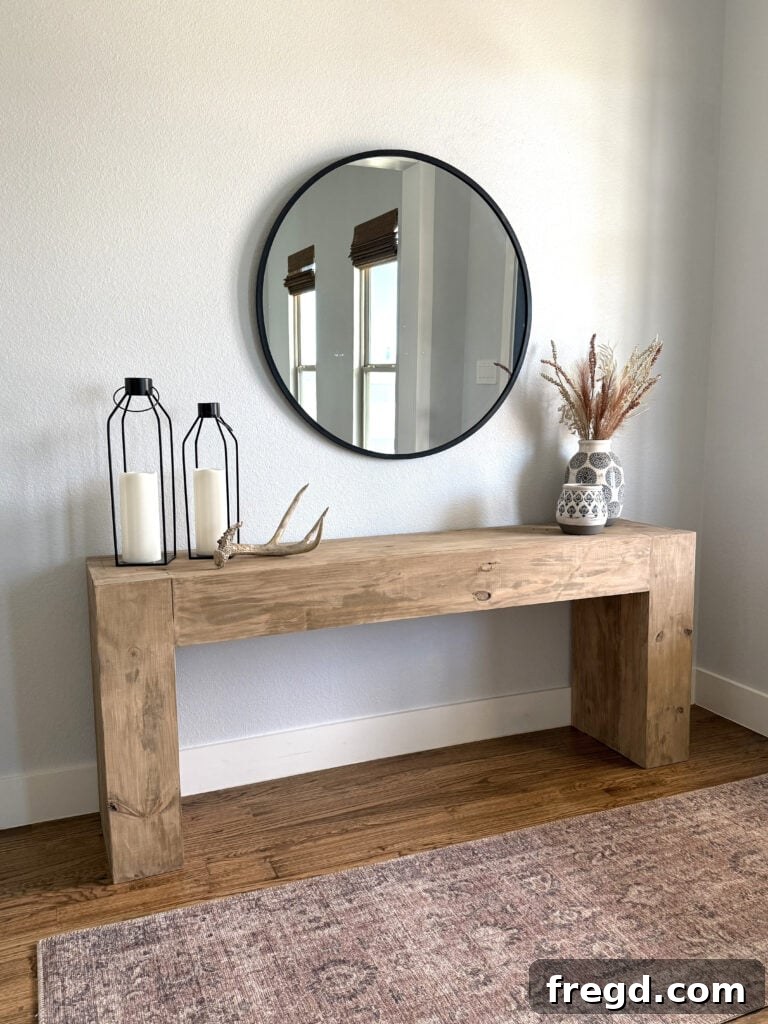
The inspiration struck after browsing online, where similar console tables caught our eye. However, the price tags — ranging from $2,000 to a staggering $3,000 — were simply out of reach. It was then we realized: why buy when we can build? With a clear vision and a determination to create something comparable, we embarked on the design process. The culmination of this effort is this magnificent 7-foot chunky console, constructed from just 8 boards, bringing the total lumber cost to under $60! This project is a testament to the power of DIY, proving that custom, high-quality furniture doesn’t require a premium price.
You can find a detailed video tutorial below, showcasing every step of the building process.
This project proved to be incredibly enjoyable, surprisingly straightforward, and an unbeatable value for our investment!
Now, let’s dive into the building process! Follow our comprehensive, step-by-step tutorial below to construct your very own chunky wood console table.
Click here to jump to the free printable plans!
DIY Console Table: Project Overview
Welcome to your next favorite woodworking project! This DIY chunky console table is designed not just to be functional but also to be a statement piece in your home. Perfect for entryways, hallways, or even behind a sofa, its robust design and customizable finish will elevate any space. We’ll guide you through every cut, joint, and coat of finish, empowering you to create a piece that reflects your personal style and craftsmanship. This build is suitable for intermediate DIYers but is also approachable for motivated beginners looking to expand their skills. The strategic use of pocket hole joinery and simple framing lumber makes this a cost-effective and structurally sound project.
Materials List
Before you begin, gather all your tools and supplies. Having everything ready will ensure a smooth and efficient building process. Investing in quality tools will not only make this project easier but also serve you well for many future DIY endeavors.
Essential Tools:
- Drill: Crucial for pre-drilling and driving screws.
- Miter Saw: For precise and accurate crosscuts on your lumber.
- Kreg Jig: Essential for creating strong, hidden pocket hole joints. We used the Kreg Jig 720Pro for this project.
- 16 Gauge Nailer: For attaching larger pieces with strong finish nails.
- 18 Gauge Nailer (optional): Useful for smaller trim pieces and speed, but not strictly necessary if you have a 16 gauge.
- Table Saw (optional): Can be used for ripping boards to custom widths if desired, but not required for this design.
- Kreg Jig 720Pro: Our preferred model for its versatility and ease of use.
- Kreg Quick-Flip: A handy tool for quickly switching between drilling pilot holes and driving screws.
Required Supplies:
We opted for framing lumber for its affordability and rustic appeal, keeping the total cost incredibly low.
- 2 – 2x12x8 Framing Lumber: These larger boards will form the substantial legs and main structural elements.
- 5 – 2x8x8 Framing Lumber: Used for various panels and supports throughout the table.
- 1 – 2x4x8 Framing Lumber: For smaller spacers and structural details.
- 2″ Brad or Finish Nails: For securing laminated pieces and panels.
- 2 1/2″ Pocket Hole Screws: The backbone of our joinery, creating strong and invisible connections.
- 2 1/2″ 16 Gauge Finish Nails: For robust connections where pocket holes aren’t feasible or for added strength.
- Wood Glue: Essential for permanent, strong bonds in all joints.
- Wood Stain: Choose a stain that complements your home decor. We share our unique blend later!
- Protective Finish: To seal and protect your console table for years to come.
- Kreg Project Blocks: Invaluable for elevating your project during finishing, preventing sticking and ensuring even coats.
Building the Legs
Step 1: Laminating the Legs
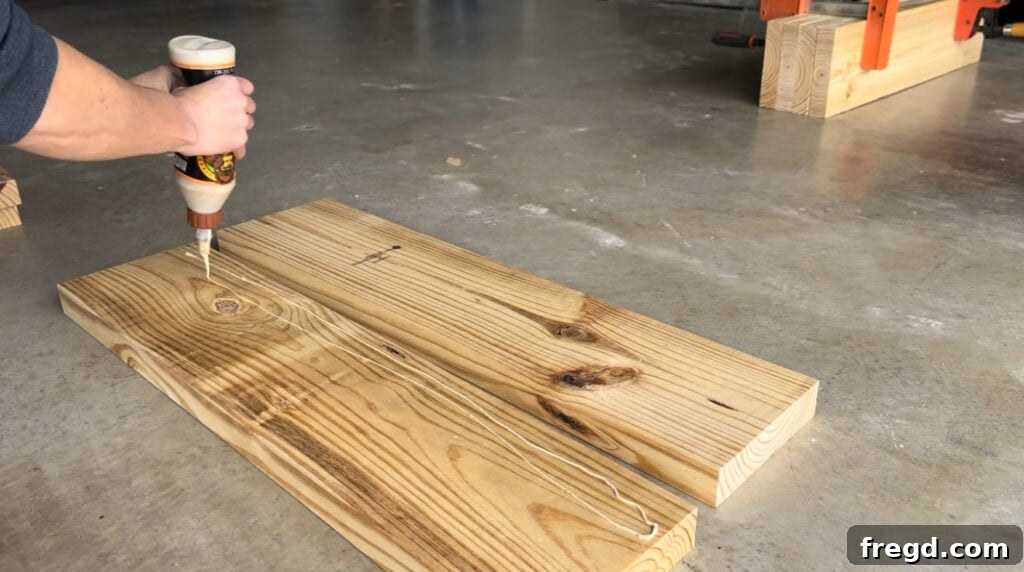
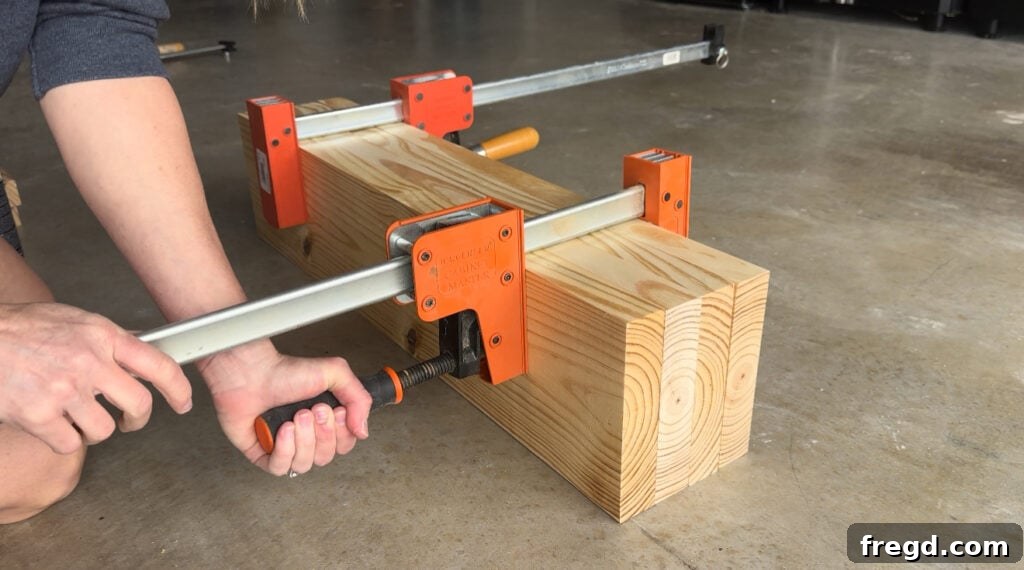
The console’s chunky aesthetic begins with its substantial legs. Start by cutting your leg pieces to the specified size from your 2×12 lumber. To achieve the desired thickness and strength, you will laminate two leg pieces together using generous amounts of wood glue. Align the edges perfectly before clamping them securely. Allow ample drying time for the glue to set completely. You will need to build four identical leg assemblies for your console table. For a faster process, you can also use 2″ brad or finish nails along with the wood glue to hold the pieces together while the glue dries, allowing you to remove clamps sooner.
Step 2: Adding the Spacers
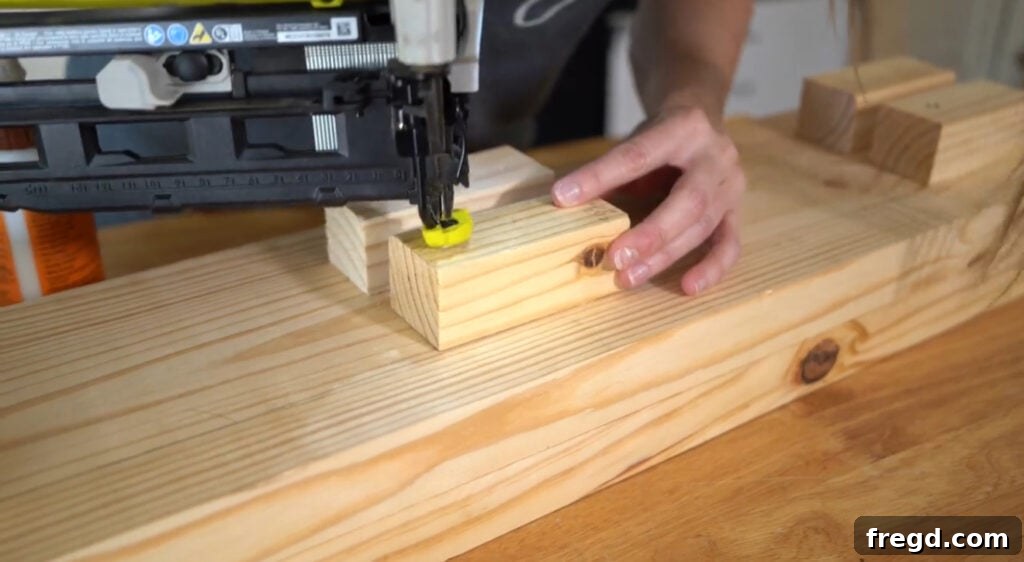
Next, cut the spacer pieces to their correct dimensions. These spacers will provide crucial support and give depth to the leg assemblies. Attach one spacer to one side of each laminated leg assembly. Use 2″ brad or finish nails in combination with wood glue for a strong, lasting bond. Ensure the spacers are flush with the edges of the leg assemblies.
Constructing the Outside Panels
Step 3: Creating the Outside Panel
For the outside panels, begin by cutting the top square trim piece to size. This piece will give the illusion of a solid beam running through the side panels, adding to the chunky, custom look without the need for complex joinery like chiseling. On one end of this board, drill 1 1/2″ pocket holes using your Kreg Jig. We highly recommend the Kreg Jig 720Pro for its efficiency and robust clamping mechanism. These pocket holes will allow for a strong, concealed connection. Attach this trim piece to the outside panels using 2 1/2″ pocket hole screws and wood glue, ensuring a tight and secure joint.
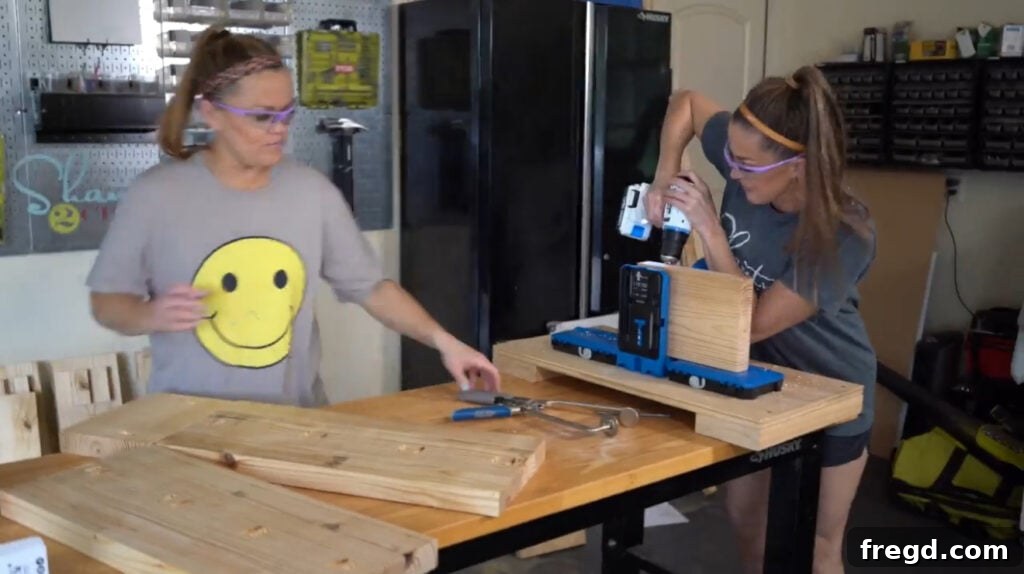
The Kreg Jig 720Pro makes creating strong and precise pocket holes a breeze, ensuring your console table is built to last.
- You can find the Kreg Jig 720Pro here
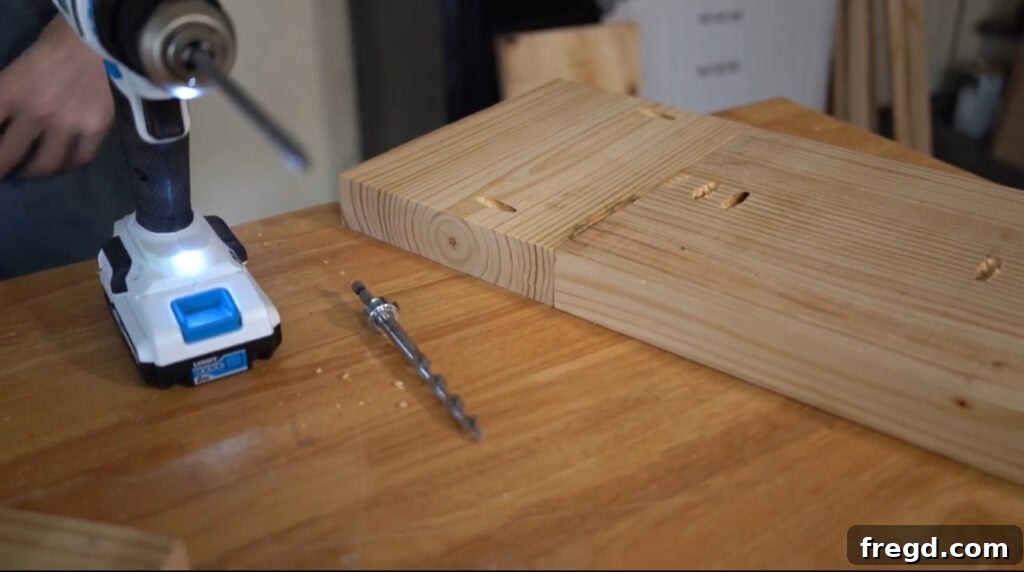
This clever technique makes the console appear as if it has a solid, continuous beam running through the center of the side panels at the end joints, achieving a high-end look without any complex chiseling or joinery.
Step 4: Attaching the Outside Panels
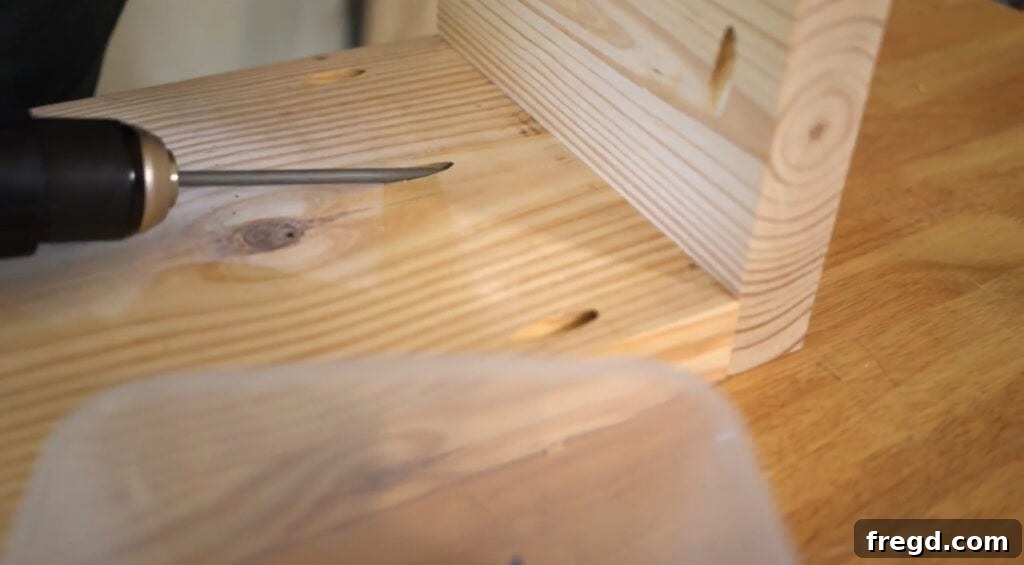
Now, prepare the top middle plank by cutting it to size. Drill 1 1/2″ pocket holes at both ends of this plank. Take one of your assembled outside panels and attach it to each end of the top middle plank. Secure these connections using 2 1/2″ pocket hole screws and wood glue. It’s important to orient the outside panels so that the pocket holes you previously drilled on them face inwards, maintaining a clean exterior finish.
Attaching the Leg Assemblies
Step 5: Attaching the Leg Assemblies
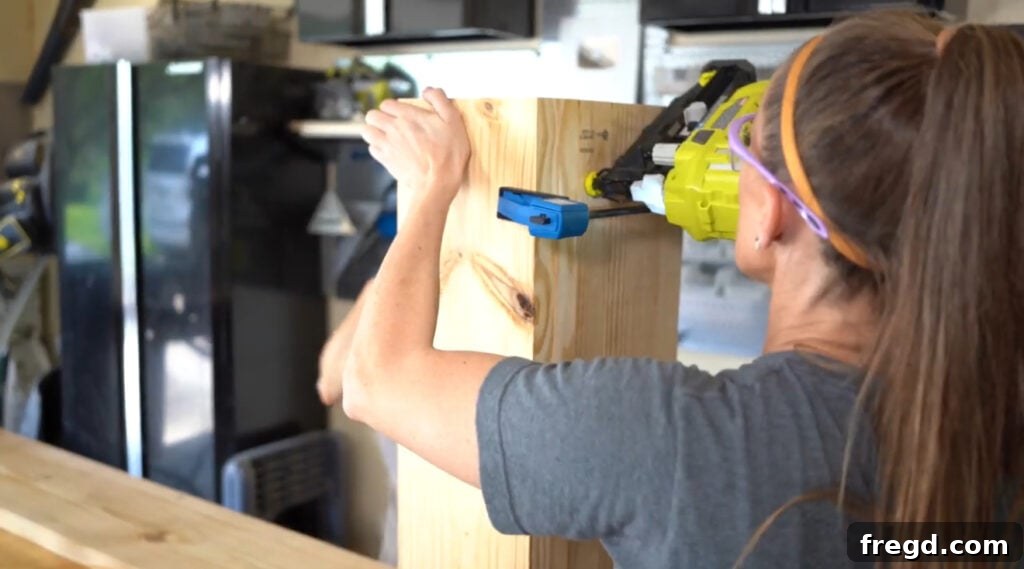
With the outside panels and top plank assembled, it’s time to integrate the sturdy leg assemblies. Carefully position one leg assembly to each side of the outside panels. Ensure they are properly aligned and flush. Securely attach each leg assembly using wood glue and 2 1/2″ finish nails. Drive these nails from the outside of the panels directly into the spacers on the leg assemblies. This method provides a strong, reliable connection that will support the entire table.
Adding the Top Trim
Step 6: Adding the Top Trim Pieces
Now, focus on creating the console’s top surface. Measure and cut the narrow planks for the front and back trim pieces. These pieces will frame the top plank, adding definition and a finished look. Before attaching, drill several pilot holes down one side of each trim piece. For this task, we find the Kreg Quick-Flip incredibly efficient. This ingenious tool allows you to pre-drill pilot holes and then, with a simple flip, drive the screws without changing bits.
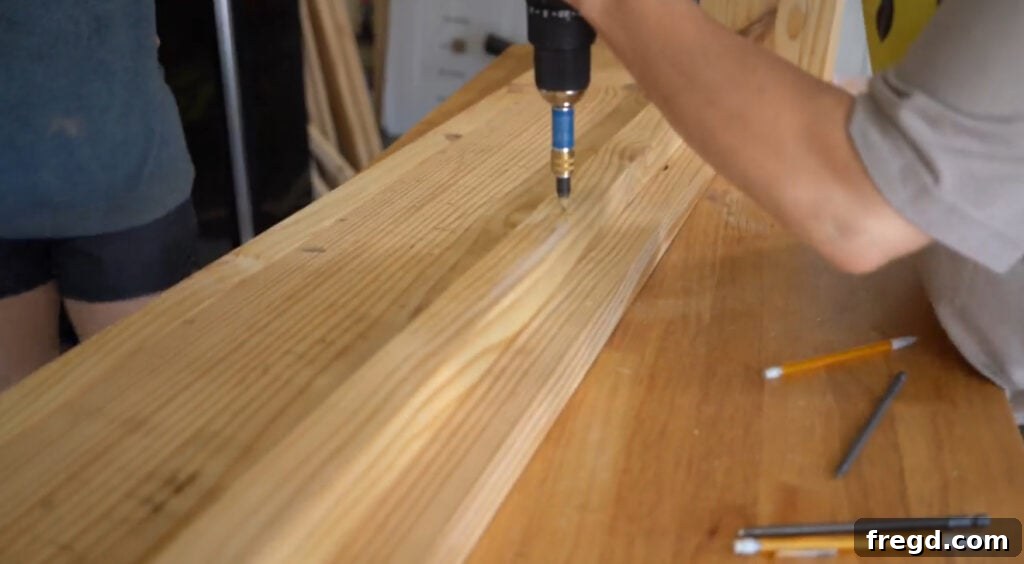
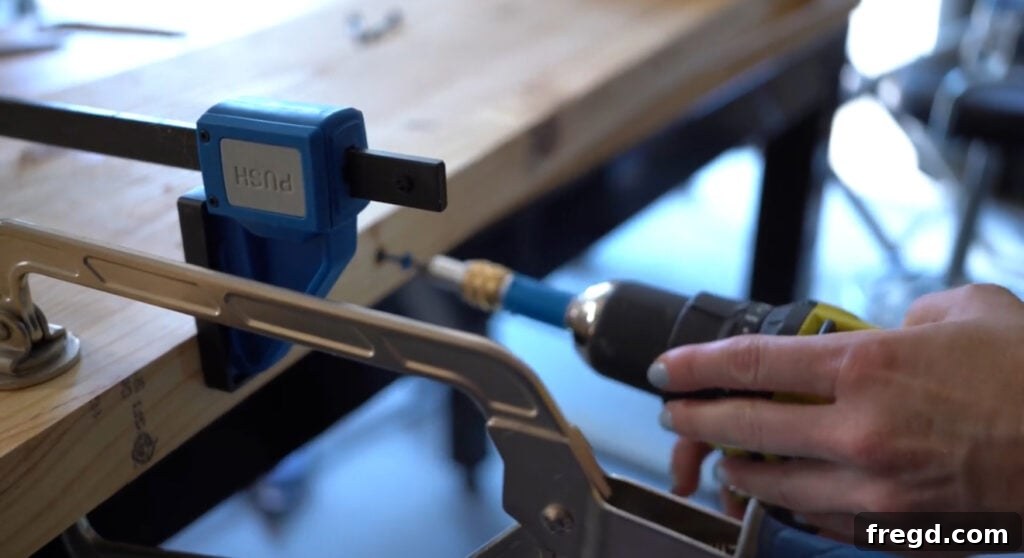
Attach these narrow planks to each side of the middle top plank using 2 1/2″ wood screws and wood glue. The beauty of the Kreg Quick-Flip is how seamlessly it transitions from drilling to driving, ensuring the screw head sits neatly within the wood without any splitting. This creates a professional and clean finish on your console top.
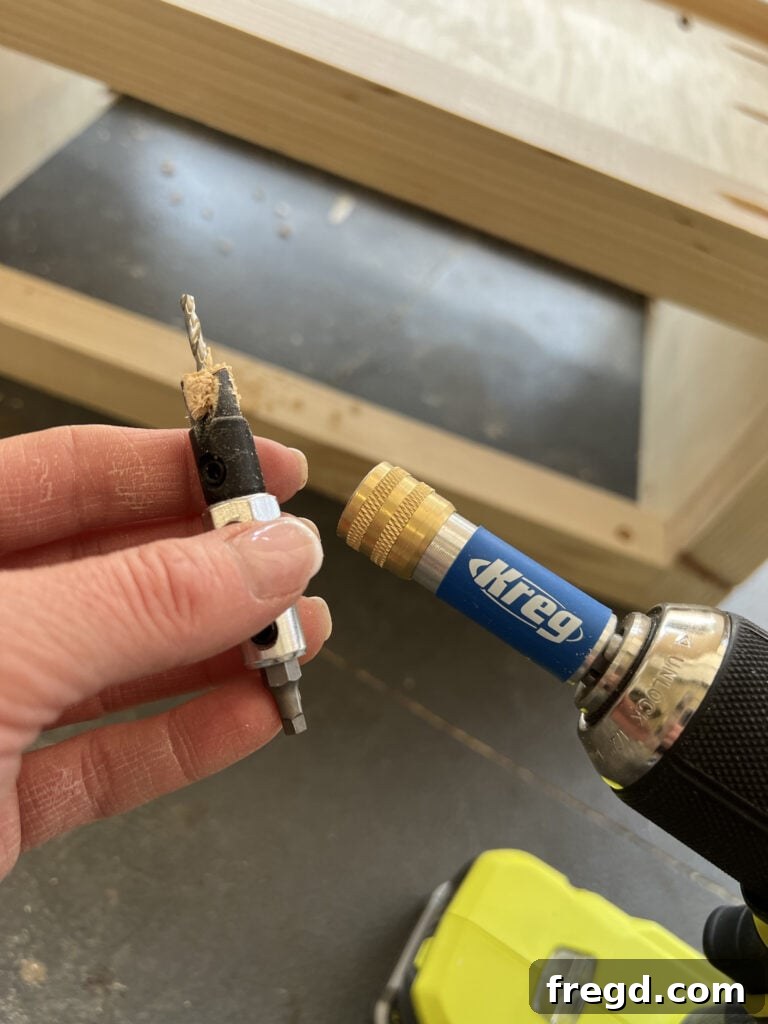
- Find the Kreg Quick-Flip here
Installing the Inside Panels
Step 7: Installing the Inside Panels
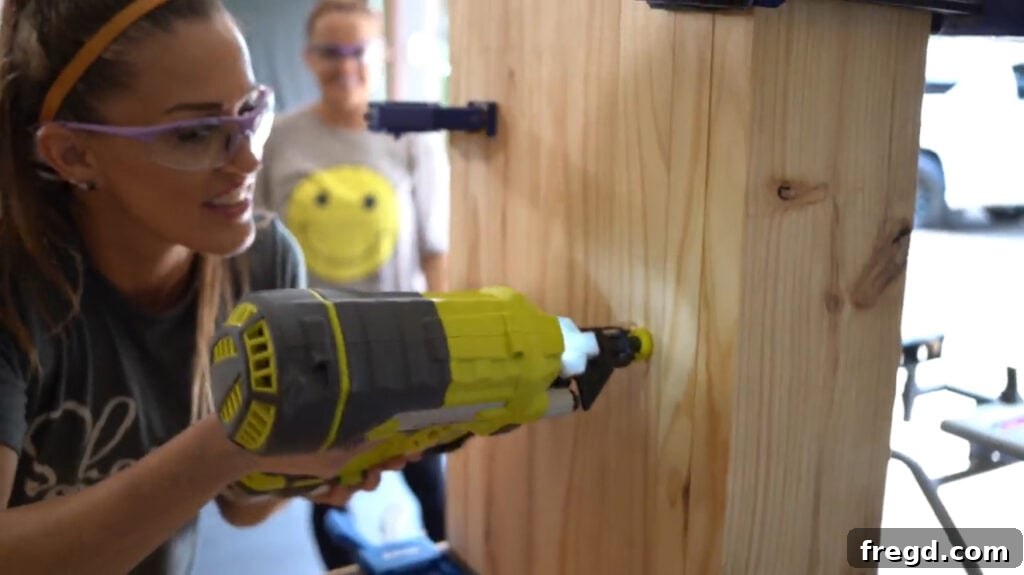
With the outer structure in place, it’s time to add the inside panels, which will further reinforce the console and contribute to its solid appearance. Take each inside panel and attach it to a leg assembly. Use 2 1/2″ finish nails and wood glue, driving the nails from the outside of the inside panel into the spacers positioned behind the panel. This method ensures a strong, hidden connection and a clean, finished look from the front.
Integrating the Aprons
Step 8: Add the Apron Pieces
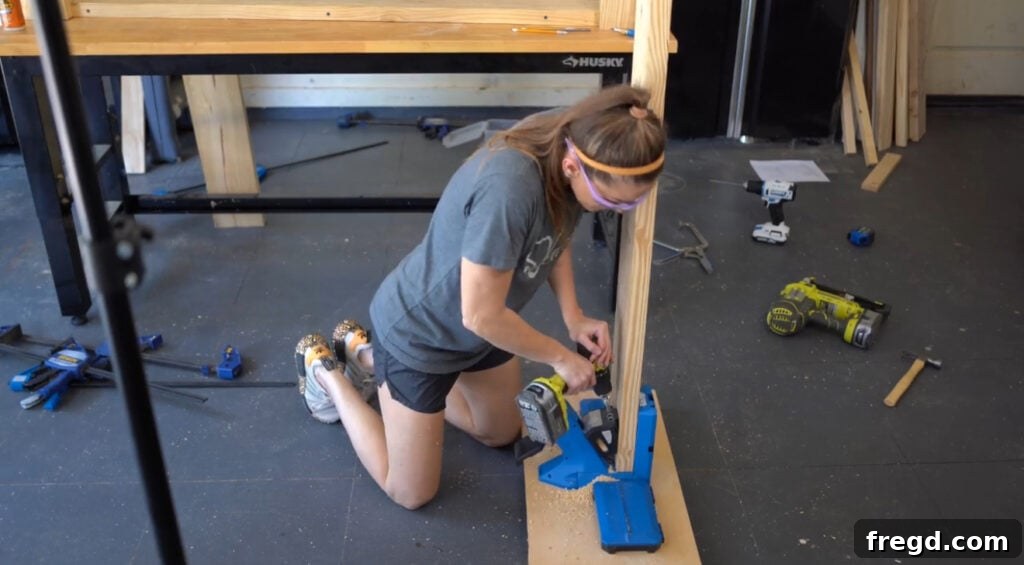
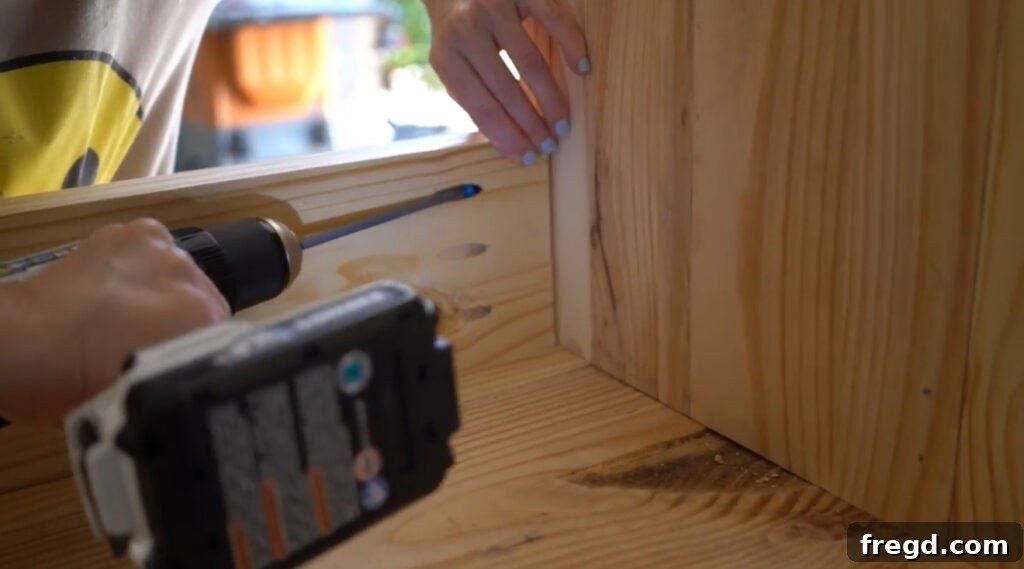
The aprons provide structural integrity and a finished look beneath the tabletop. Measure and cut your apron pieces to their exact size. On both ends of each apron piece, drill 1 1/2″ pocket holes. These strategic pocket holes will allow you to securely attach the aprons to the leg assemblies, creating robust, hidden joints. Using 2 1/2″ pocket hole screws and wood glue, firmly attach the aprons to the leg assemblies. Ensure the apron is flush and square with the rest of the structure for a professional finish.
The Finishing Touches
The finish is where your console table truly comes to life and where you can infuse your personal style. Take your time with these steps for a result you’ll love.
Step 9: Wood Filler Application
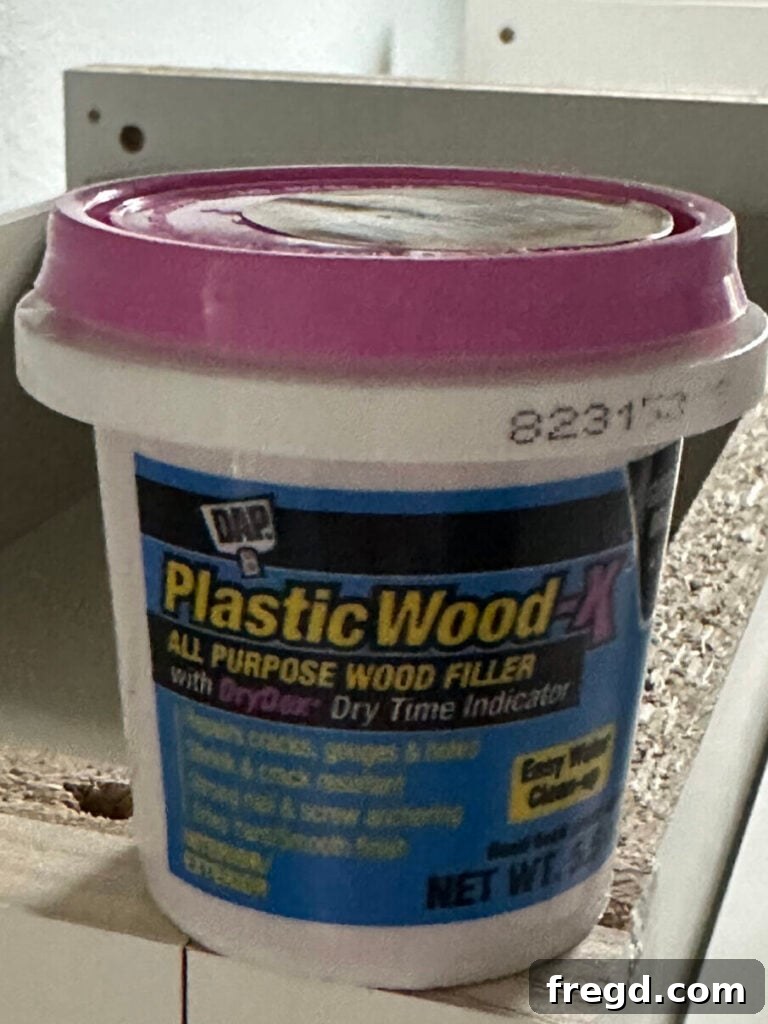
Once all structural components are assembled, it’s time to prepare the surface for finishing. Carefully inspect your console table for any exposed nail holes, minor gaps, or imperfections. Apply a high-quality wood filler to these areas. Overfill slightly, as wood filler can shrink as it dries. Allow the filler to dry completely according to the manufacturer’s instructions before moving on to sanding.
Step 10: Thorough Sanding
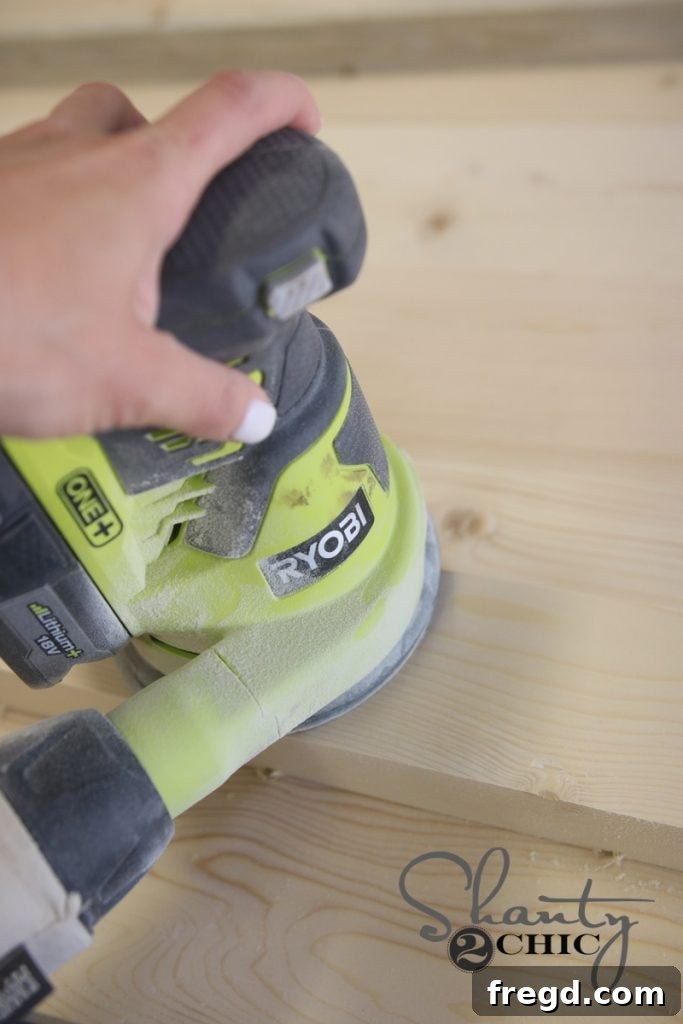
Proper sanding is crucial for a professional-looking finish. Begin by sanding the entire console with 80-grit sandpaper to remove any rough spots, dried wood filler, or major imperfections. Next, move to 120-grit sandpaper to smooth out the scratches left by the 80-grit. Finish with 220-grit sandpaper for a silky-smooth surface, perfect for stain absorption. We used an orbital sander for efficiency, but hand sanding is also effective. Remember to wipe off all sanding dust thoroughly before staining.
Step 11: Applying the Perfect Stain
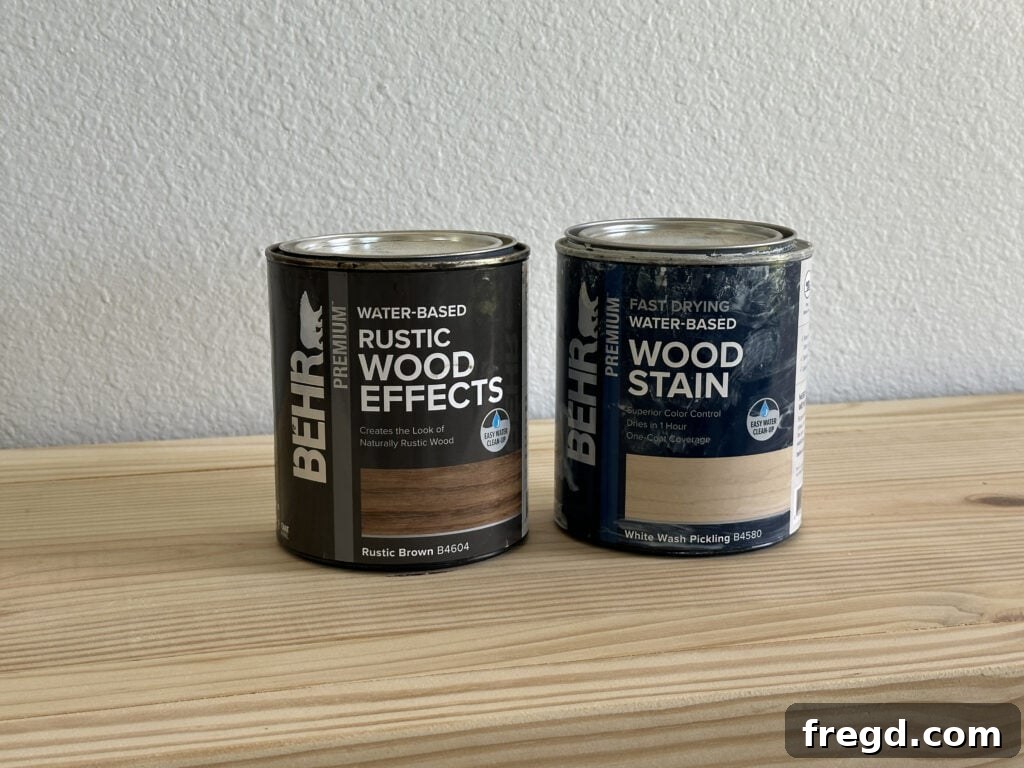
This is truly the fun part – watching your raw wood transform! For this console, we used our current favorite custom finish: a unique blend of Behr White Wash Pickling and Behr Rustic Brown. This combination achieves a muted, sophisticated tone that beautifully highlights the wood grain.
For any finishing project, Kreg Project Blocks are an absolute must-have in our workshop! As you can tell by their appearance, they get a lot of use. They feature retractable painting points that elevate your project off the work surface, preventing sticking and allowing you to finish all sides without waiting for one side to dry. This saves a tremendous amount of time and hassle.
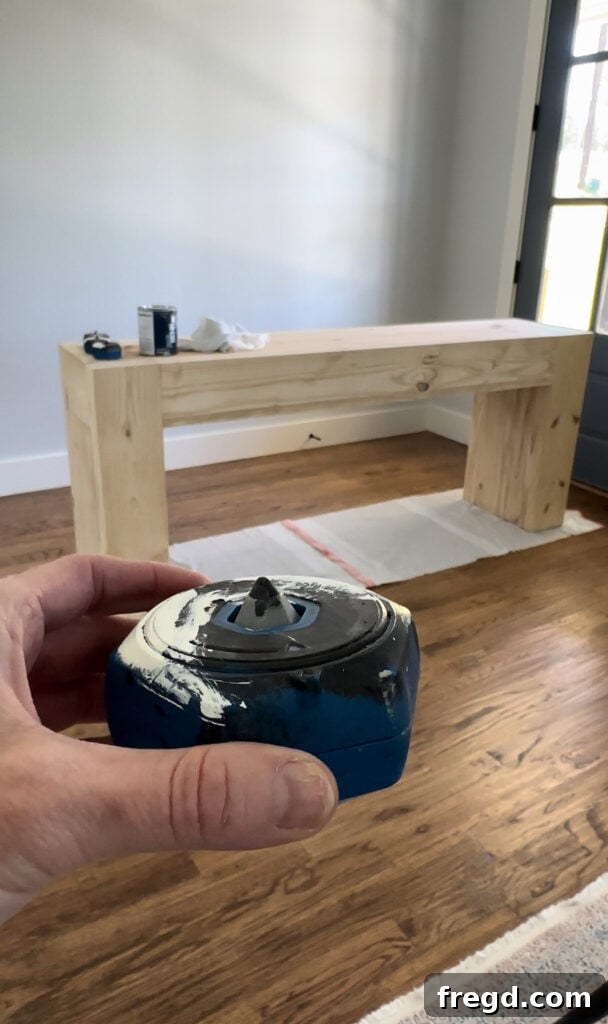
- You can find the Kreg Project Blocks here
Using staining rags, apply one even coat of the white wash pickling over the entire console. Work in sections, wiping off excess as you go. Allow this first coat to dry completely for about an hour. It’s crucial for the initial layer to be thoroughly dry before applying the next stain to achieve the desired layered effect.
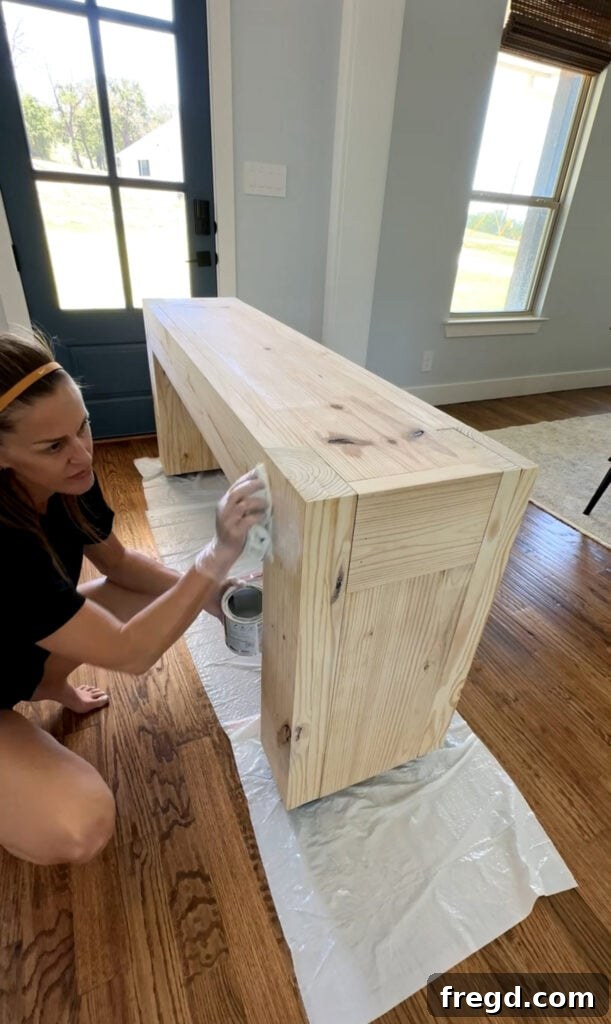
- You can find the Behr White Wash Pickling here
Once the white wash layer is dry, apply one coat of the rustic brown stain using clean staining rags. You’ll notice how the underlying white wash pickling mutes the rustic brown, creating a beautifully nuanced and custom tone that we absolutely adore. This layering technique adds depth and character that a single stain color simply can’t achieve.
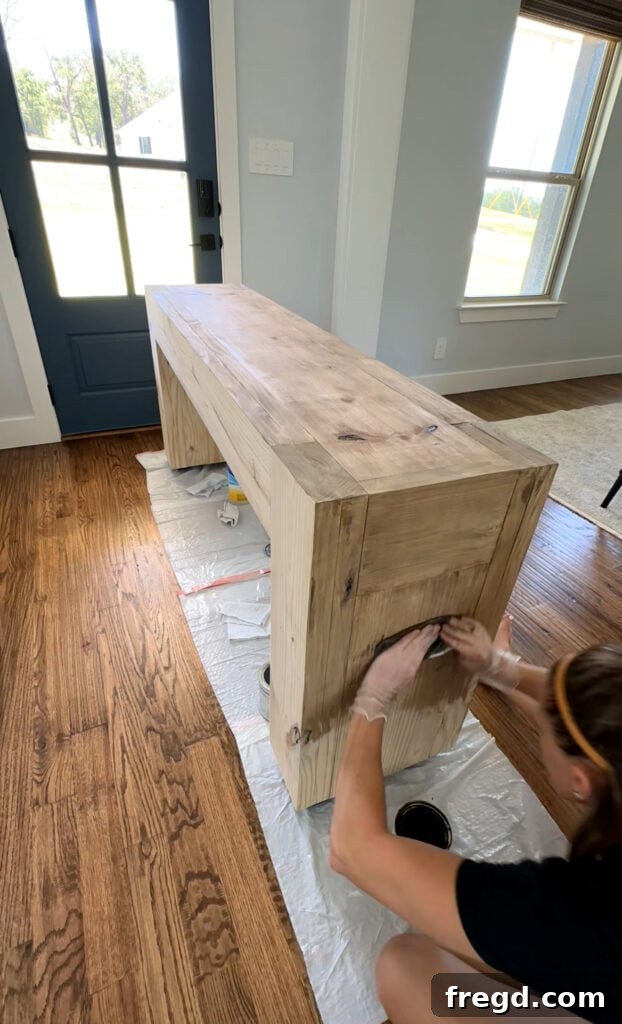
- You can find the Behr Rustic Brown here
Step 12: Durable Protective Finish
To ensure your beautifully stained console table is protected from daily wear and tear, apply a durable protective finish. We used one of our very favorite finishes: Varathane Triple Thick Polyurethane in a Satin finish. This product provides excellent protection with fewer coats. Apply 2 coats using a good quality bristle brush. Apply it evenly, making sure to avoid drips and bubbles. The finish will appear white when wet but dries to a clear, satin sheen. Always allow each coat to dry completely before applying the next, ensuring maximum durability and a flawless result.
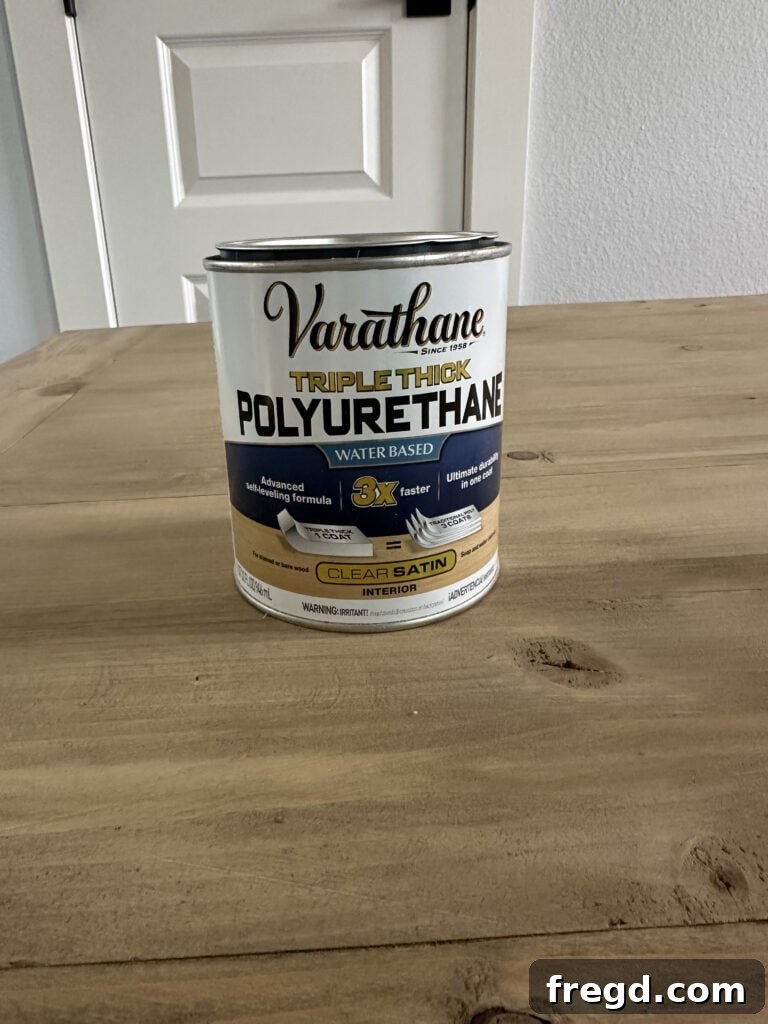
- You can find the Varathane Triple Thick here
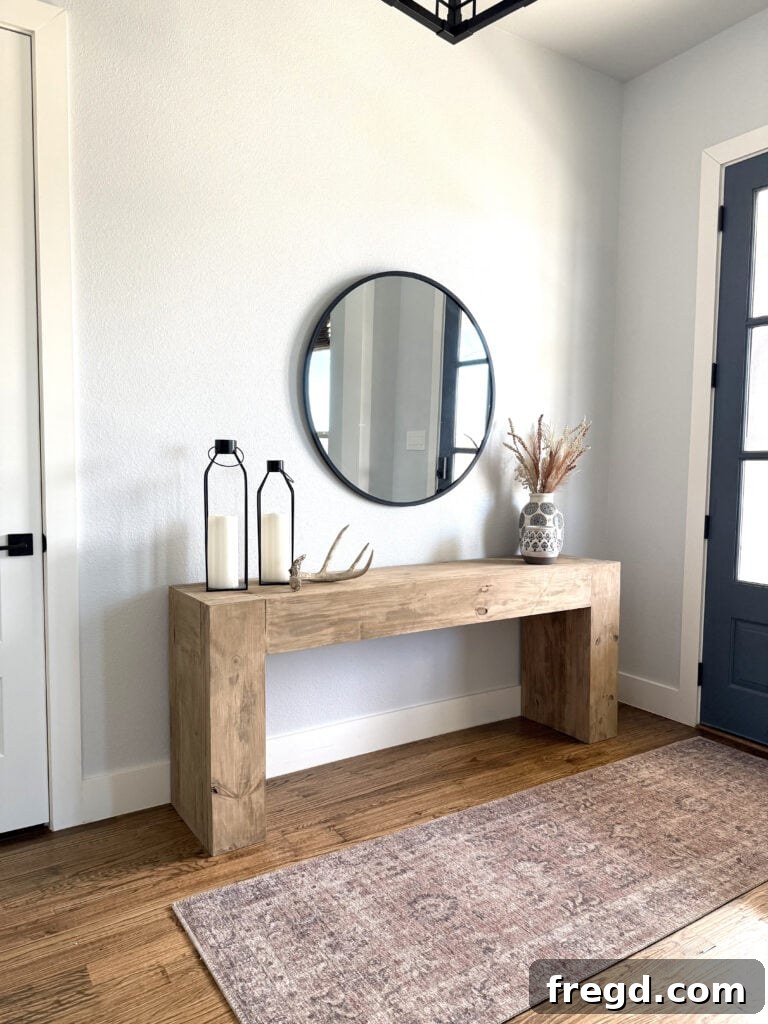
And just like that, it’s done! We are absolutely in love with our new, beefy console table in the entryway. It radiates a custom, high-end feel and serves as the perfect foundation for creating our dream entryway. Its robust design and versatile aesthetic also make it an excellent candidate for a sofa table behind a couch, and modifying its dimensions to suit different spaces would be incredibly simple. This project truly embodies the spirit of DIY – creating exactly what you envision for a fraction of the cost.
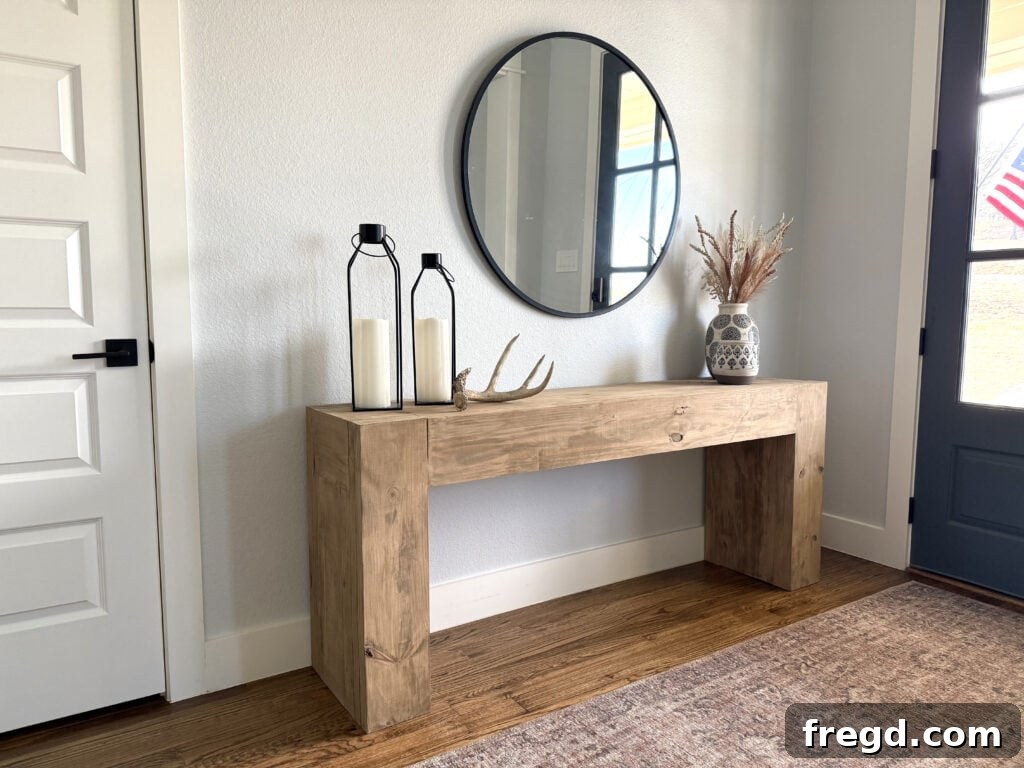
This is precisely why we adore DIY home decor! We found similar console tables online retailing for upwards of $2,000. Yet, by choosing to build our own, we achieved a custom version with the exact size and color we desired, all for under $60 in lumber. The satisfaction of creating something so beautiful and functional with your own hands, while saving a substantial amount of money, is truly unmatched.
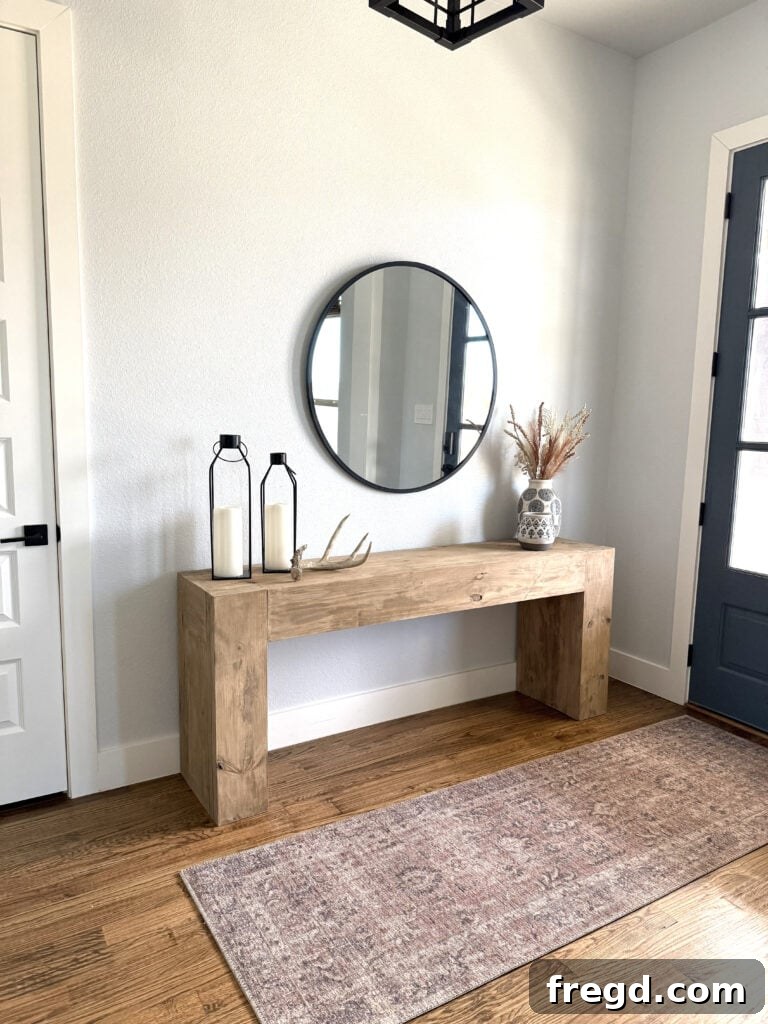
Links to Decor Items in This Space
Elevate your space with coordinating decor! Check out all the beautiful products we used to style our entryway below:
- Find the elegant wall mirror here
- Discover the perfect rug here
- Browse these charming lanterns here
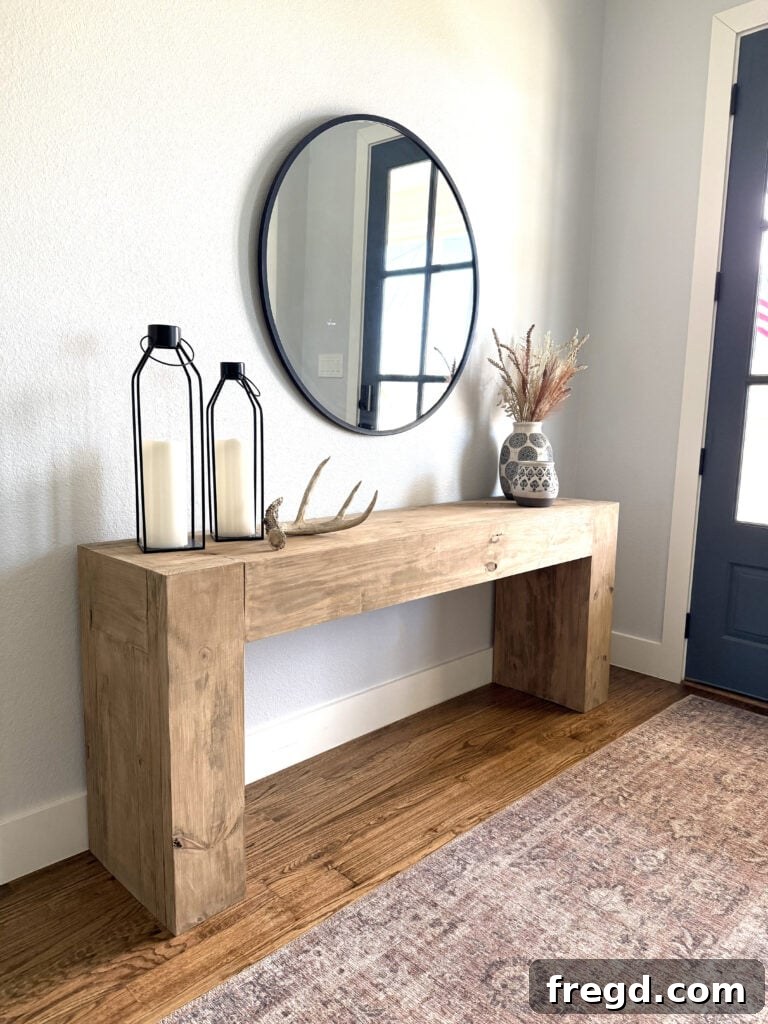
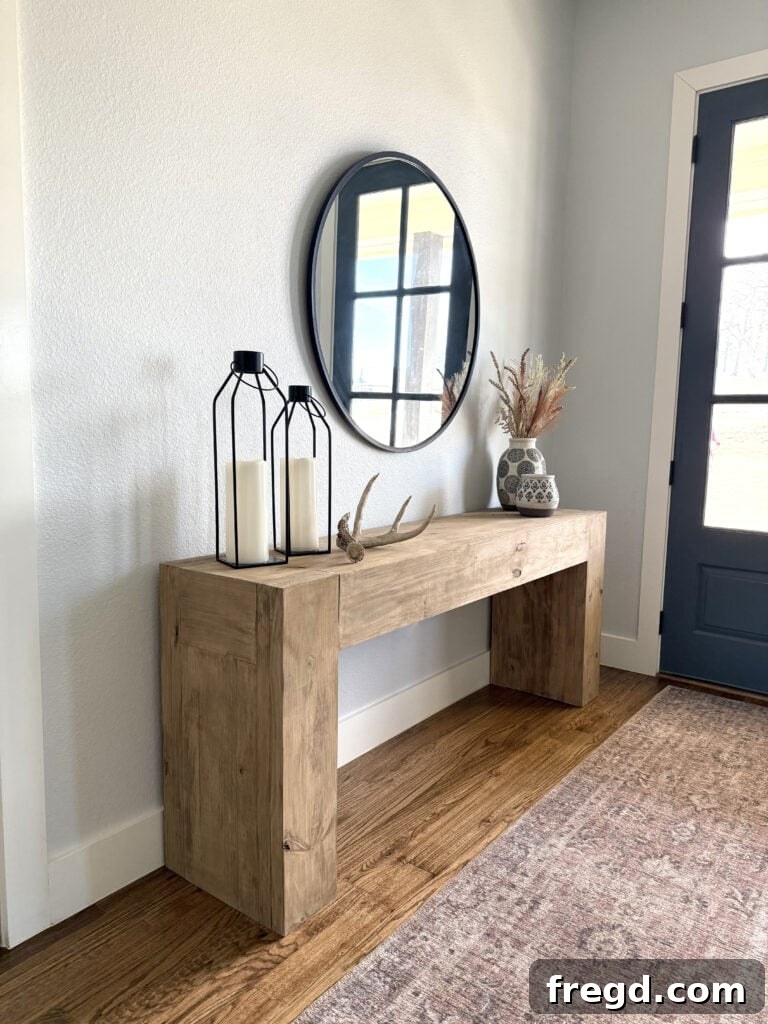
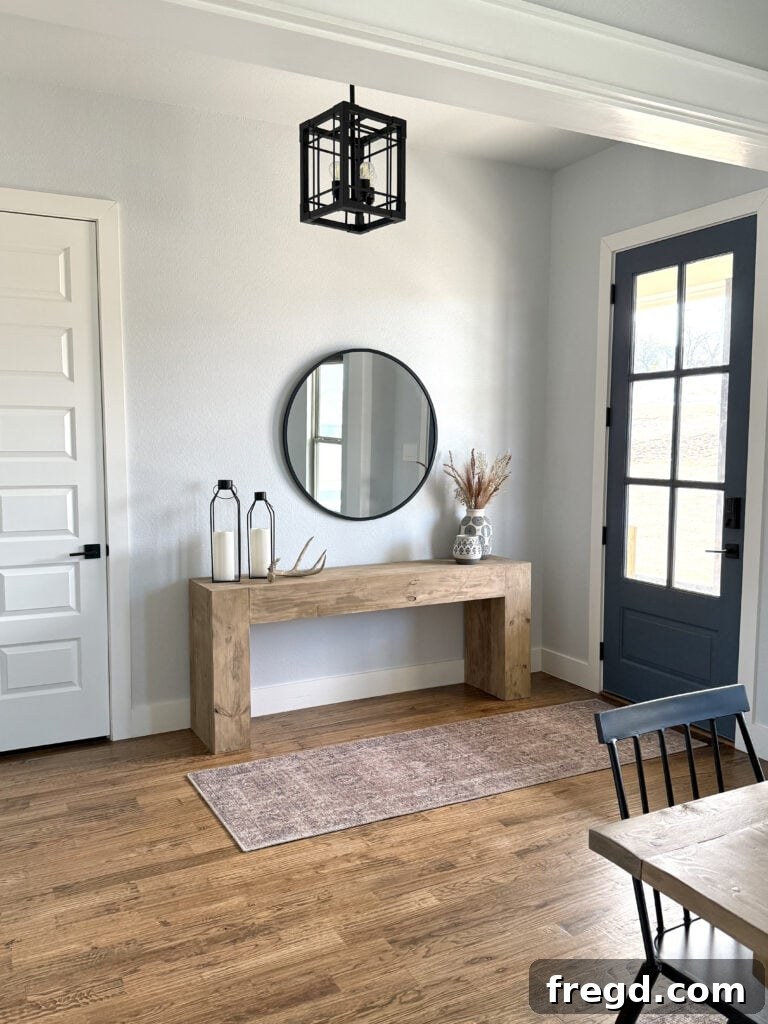
Don’t forget to share your amazing console table builds with us on social media! Tag us and use #shanty2chic so we can celebrate and share your creations with our community!
Happy Building!
Explore Our Other DIY Console Table Builds
Looking for more inspiration or a different style? Check out these other fantastic DIY console table projects from our archives:
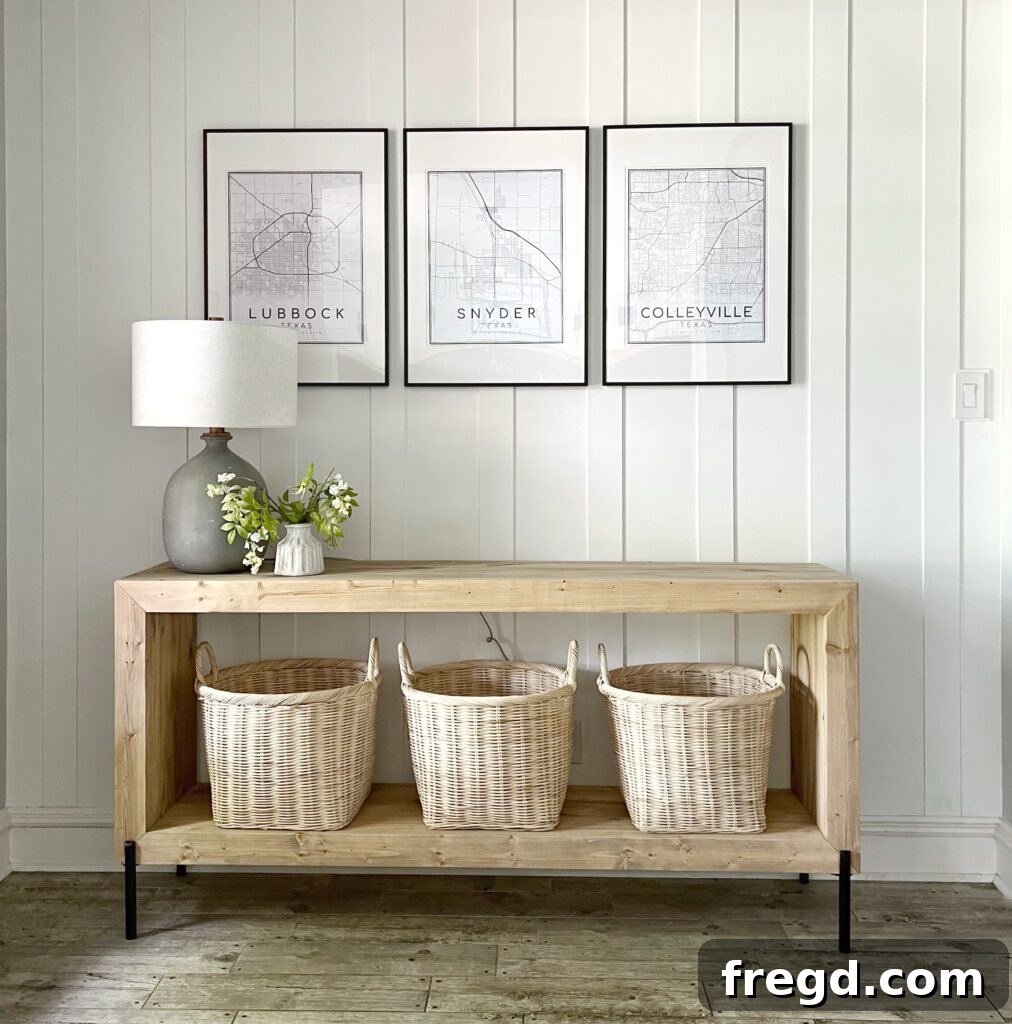
Modern Waterfall Console Table
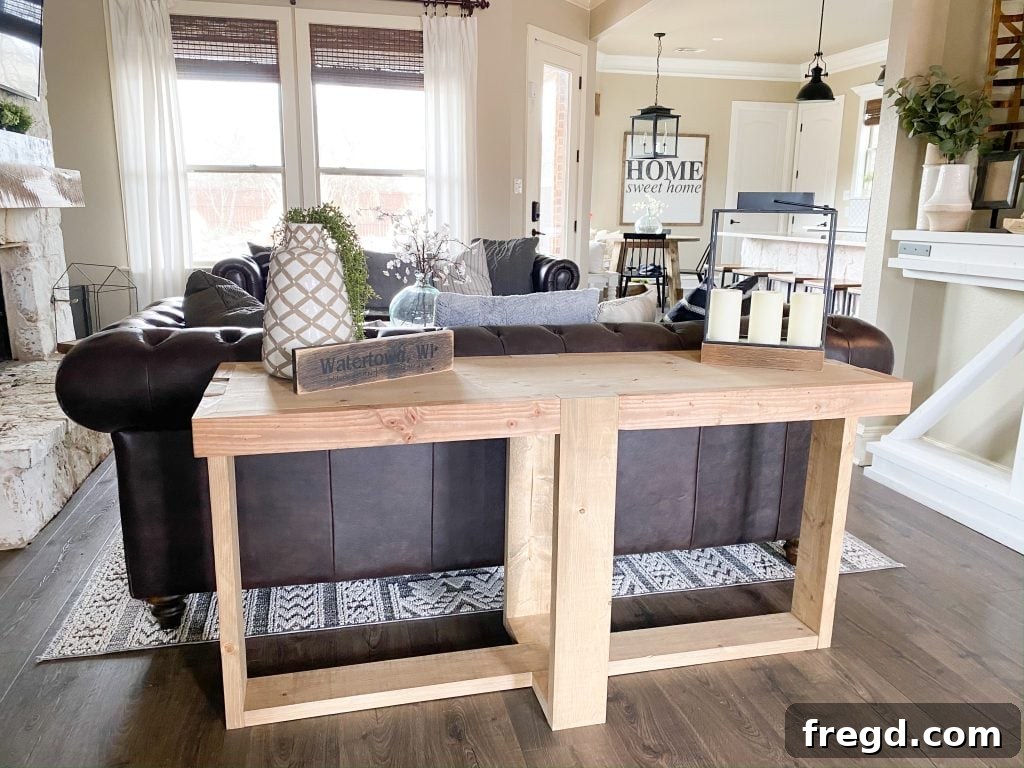
Modern Farmhouse Console Table
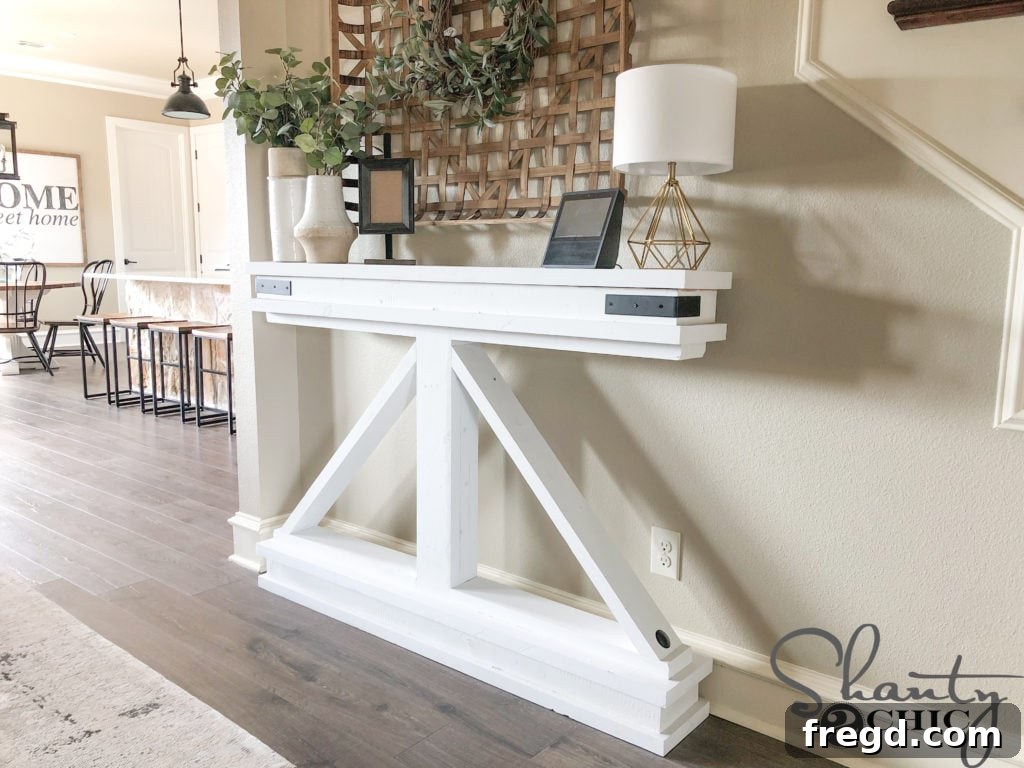
DIY Narrow Console Table
DIY Wood Console Table Printable Plans
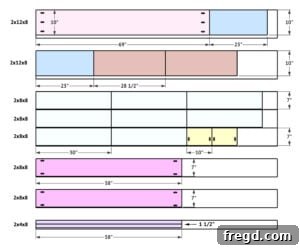
Ready to build? Download our comprehensive, free printable plans for this DIY Wood Console Table. These plans include a detailed shopping list, cut list, and step-by-step diagrams to guide you through the entire project. This resource is perfect for keeping all your measurements and instructions handy as you build.

Click here for the full set of printable plans, including the shopping list and detailed cut list!
Cut List Diagram
For a quick reference during your build, here’s a visual representation of the cut list. Remember to consult the full printable plans for precise dimensions and quantities.