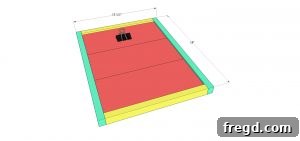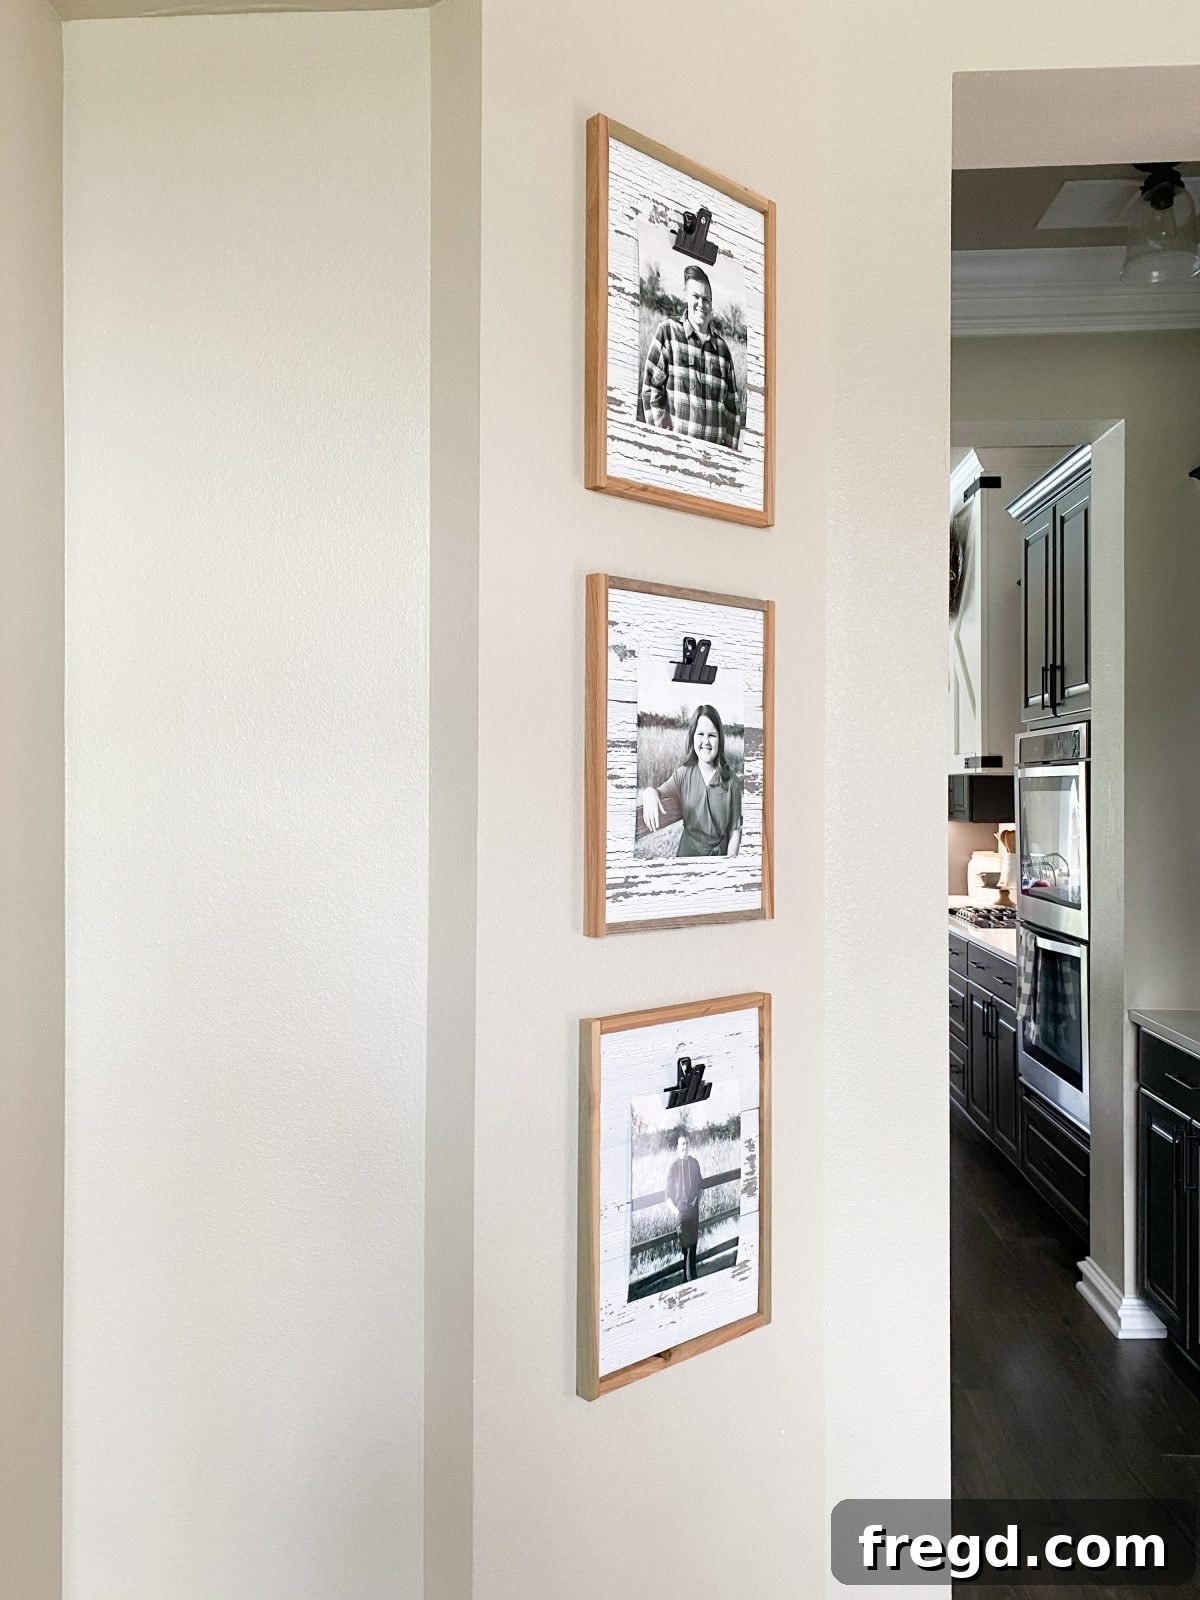
Craft Your Own Rustic Charm: An Easy DIY Clip Frame Tutorial with Free Plans
Are you looking for a simple yet stylish way to display your cherished memories or favorite artwork? Look no further! This comprehensive guide will walk you through building your very own DIY Clip Frame, complete with free plans and an insightful video tutorial from Shanty2chic. Perfect for adding a touch of rustic elegance or minimalist charm to any room, this project is as rewarding as it is straightforward.
Spending more time at home recently has inspired countless home decor transformations, and picture framing often takes a backseat in our busy lives. If you’re like us, you probably have a stack of beautiful photographs just waiting for their moment in the spotlight. This week, we decided to tackle that very challenge! Utilizing some leftover barn wood scraps, we designed a charming and incredibly easy DIY Clip Frame that will beautifully showcase your prints without the hassle of traditional framing.
Ready to get started? Grab your favorite beverage, settle in, and watch our detailed how-to video. It breaks down each step, making the building process clear and enjoyable!
This project embodies everything we love about DIY: it’s incredibly cute, budget-friendly, and simple enough for beginners. Let’s dive into the details!
Click here to access the Free Printable Plans!
Table of Contents
Why Choose a Clip Frame?
Clip frames offer a fantastic alternative to traditional picture frames, providing a versatile and minimalist way to display photos, prints, postcards, or even children’s artwork. Their charm lies in their simplicity and functionality. With a clip frame, you can effortlessly swap out images, keeping your decor fresh and dynamic without the need for multiple frames or complex mounting systems. This particular design, crafted from reclaimed barn wood, brings an authentic rustic farmhouse aesthetic, adding character and warmth to any space. The natural imperfections and weathered patina of barn wood tell a story, making each frame truly unique.
Beyond aesthetics, DIY clip frames are incredibly cost-effective. By utilizing readily available materials, like the barn wood scraps we used, you can create stunning pieces of home decor for a fraction of the cost of store-bought frames. This project is not only an opportunity to get creative but also a sustainable choice, giving new life to materials that might otherwise go unused. The ease of construction makes it an ideal project for DIY enthusiasts of all skill levels, offering immediate gratification as you watch your vision come to life.
Essential Supply List
Gathering your materials before you begin is key to a smooth and enjoyable building process. For this rustic DIY clip frame, we’ll be focusing on barn wood, but don’t hesitate to substitute with other types of wood if barn wood isn’t readily available or if you prefer a different aesthetic. Ensure all wood pieces are straight and free of major defects for the best results. Here’s a detailed list of what you’ll need:
- 1/2″ x 5 1/2″ x 48″ Barnwood Plank: This will form the main display surface of your frame. If you’re not using reclaimed barn wood, any plank of similar dimensions made from pine, oak, or a decorative plywood can work. The rustic texture of barn wood adds immense character, but new wood can be stained or painted to achieve your desired look.
- 3/4″ x 1″ x 65″ Barnwood Scrap Board: These thinner pieces will serve as the structural back supports and the outer trim for your frame. The exact length is generous, allowing for precise cuts. Again, feel free to use new wood here.
- 1/4″ x 1 1/2″ x 36″ Scrap Wood: This piece is for additional structural support on the back. Its thinner profile helps keep the frame lightweight.
- 1 1/4″ Brad Nails: These longer nails are crucial for securely attaching the frame’s trim pieces. Their small heads create minimal visual impact.
- 5/8″ Brad Nails: Shorter brad nails are ideal for securing the back support pieces without penetrating through the front of the main plank.
- Wood Glue: A strong wood glue is essential for reinforcing all joints, ensuring the longevity and durability of your frame. It provides a superior bond that nails alone cannot achieve.
- Hot Glue Gun and Glue Sticks: Perfect for quickly attaching the bulldog clip to the frame. Hot glue provides an instant bond, making this final step quick and easy.
- Bulldog Clip (or similar photo clip): This is the heart of the “clip frame.” Its robust grip will securely hold your photos. Consider different sizes or finishes to match your frame.
Tools for Success
Having the right tools makes any DIY project safer, easier, and more enjoyable. For this DIY clip frame, you’ll need a couple of essential woodworking tools:
- Miter Saw: A miter saw is invaluable for making precise, straight, and angled cuts, ensuring all your frame pieces fit together snugly. If you don’t have one, a circular saw with a guide or even a hand saw with a miter box can work, though it may require more effort and attention to detail. Always wear safety glasses when operating power tools.
- Brad Nailer (preferably cordless): A brad nailer significantly speeds up the assembly process and creates cleaner joints than traditional hammering. The small gauge of brad nails means minimal puttying is needed. A cordless option offers great mobility. If you don’t have a brad nailer, a hammer and small finishing nails can be used, but practice careful technique to avoid splitting the wood and ensure nails are flush.
Safety Note: Always prioritize safety when working with tools. Wear appropriate personal protective equipment, including safety glasses and hearing protection. Read and understand the operating manuals for all your power tools before use. If you’re new to woodworking, consider watching a few instructional videos on tool safety and basic cutting techniques.
Step-by-Step Guide: How to Build Your DIY Clip Frame
Now, let’s get into the exciting part – building your beautiful barn wood clip frame! Follow these detailed steps for a successful and satisfying project. Remember, patience and precision are your best tools.
Step 1 – Preparing and Attaching the Planks
The foundation of your clip frame starts with the main display planks and their back supports. Accurate cuts here are crucial for a professional-looking finish.
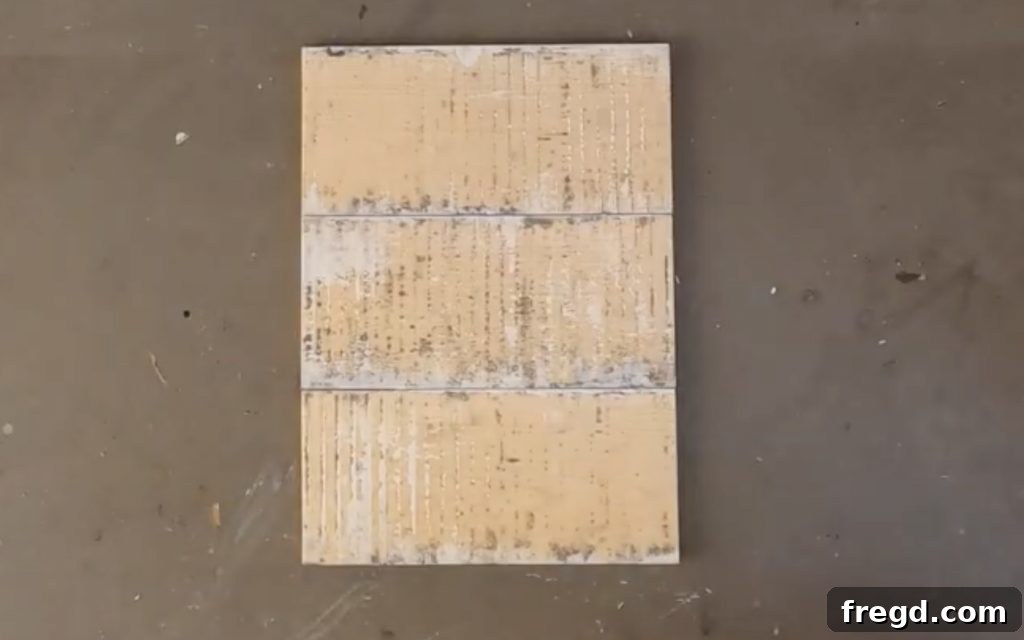
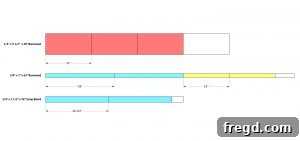
Begin by using your miter saw to cut your main barn wood planks to the desired length for your frame. These will be the front-facing pieces. Once cut, flip these planks upside down. Next, measure and cut your back support pieces (from the 3/4″ x 1″ x 65″ barnwood scrap board) to span across the width of your main planks. These supports provide rigidity and a surface for mounting the trim.
- For our project, we repurposed this specific barn wood which was leftover from a previous endeavor. Remarkably, one full board was enough to construct an entire frame, making it super efficient!
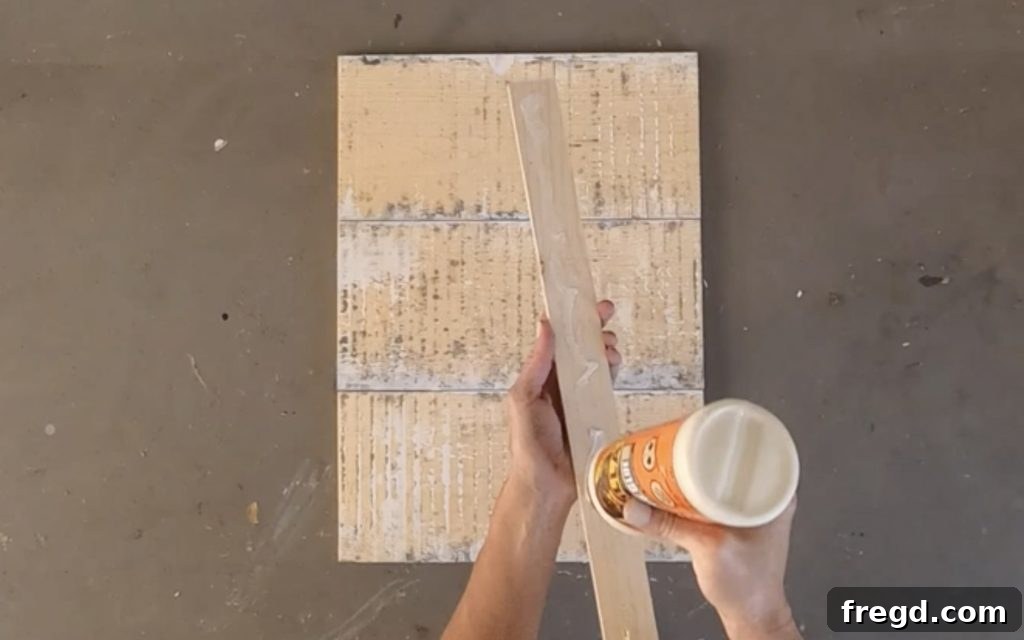
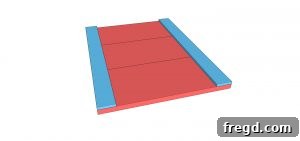
Apply a generous, continuous line of wood glue down the length of each back support piece. Ensure the glue is evenly spread to maximize contact and bonding strength. This is the primary bond for durability.
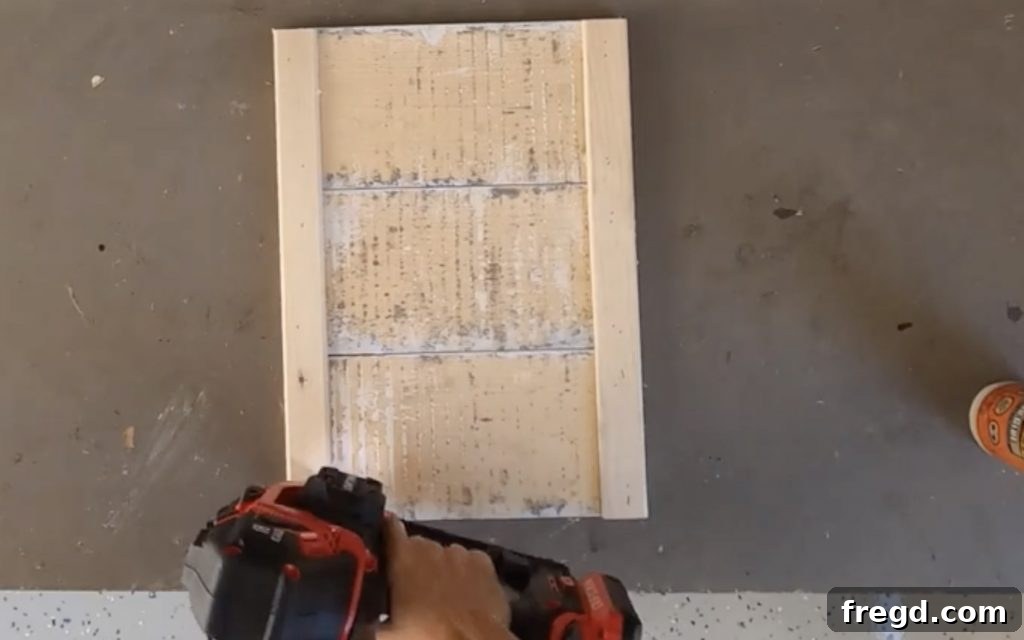
Carefully align the glued back supports onto the back of the main barn wood planks. Use your brad nailer and 5/8″ brad nails to secure them in place. Space your nails approximately every 6-8 inches, ensuring they penetrate both the support piece and the main plank without going through to the front. The combination of wood glue and brad nails creates an incredibly strong and lasting bond.
- We absolutely adore our new Craftsman 20Volt Brad Nailer for its efficiency and reliability in projects like this!
Step 2 – Attaching the Trim Pieces
The trim pieces are what give your frame its defined edges and finished look, while also providing additional structural integrity. Take your time to measure accurately for perfectly flush edges.
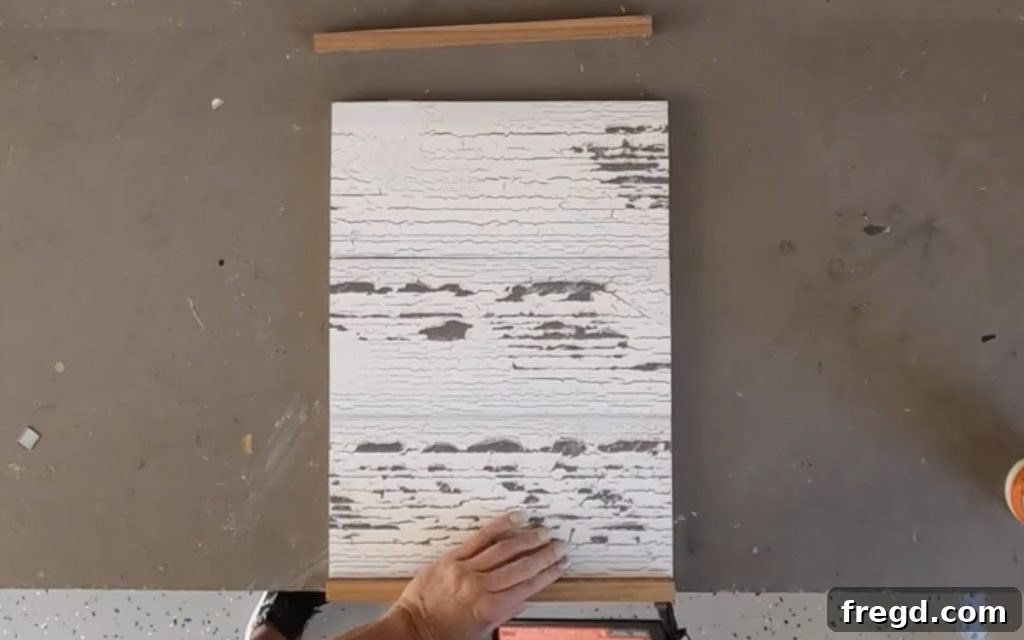
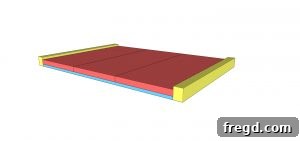
Flip the assembled frame right-side-up. Measure the exact length for your top and bottom trim pieces (from the 3/4″ x 1″ x 65″ scrap board) to fit snugly across the ends of your frame. Apply wood glue to the edges where the trim will meet the main planks, then attach the trim with 1 1/4″ brad nails. It’s crucial that the bottom of these trim pieces are flush with the back support pieces, creating a consistent thickness around the frame’s perimeter.
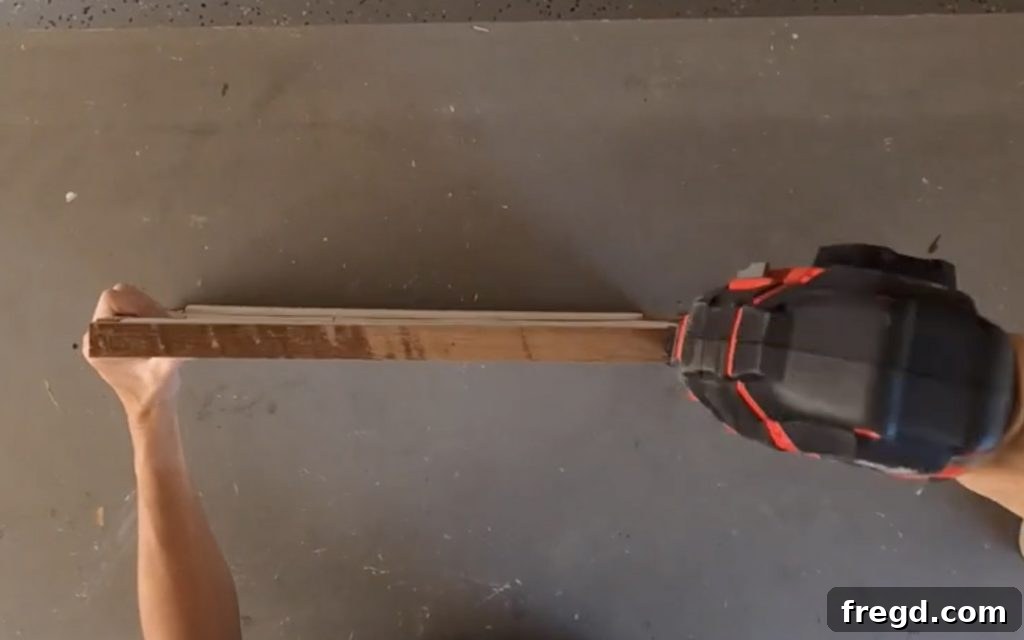
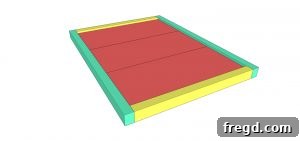
Next, measure and cut the side trim pieces to size, ensuring they fit precisely between the top and bottom trim you just installed. Apply wood glue to their edges and secure them with 1 1/4″ brad nails. Pay attention to keeping the corners square and the edges flush for a clean, professional finish. This step essentially boxes in your main barn wood planks, framing them beautifully.
Step 3 – Attaching the Clip and Finishing Touches
The final step brings the “clip” functionality to your frame and prepares it for displaying your cherished items.
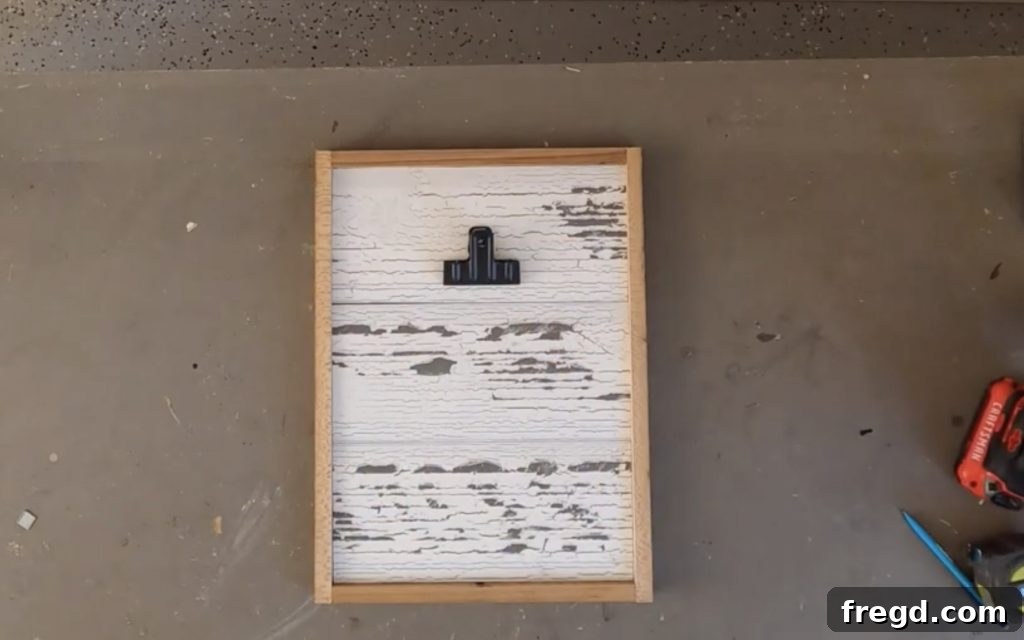
Carefully center your bulldog clip approximately 2 inches down from the top edge of the frame. Use a hot glue gun to firmly attach it. Hot glue provides a quick and strong bond for lighter items like photos. Ensure the clip is straight before the glue sets. Since we used beautiful, naturally weathered barn wood, no additional finish was required, preserving its authentic rustic appeal. If you’ve opted for new wood, this would be the stage to sand, stain, or paint your frame to achieve your desired look (see customization tips below).
- For convenience, you can easily find the specific Bulldog Clips we used online here!
And just like that, your stunning DIY Clip Frame is complete! Ready to showcase your favorite photos, postcards, or even small pieces of art. The beauty of this design is its simplicity and the ability to change out your display items with ease.
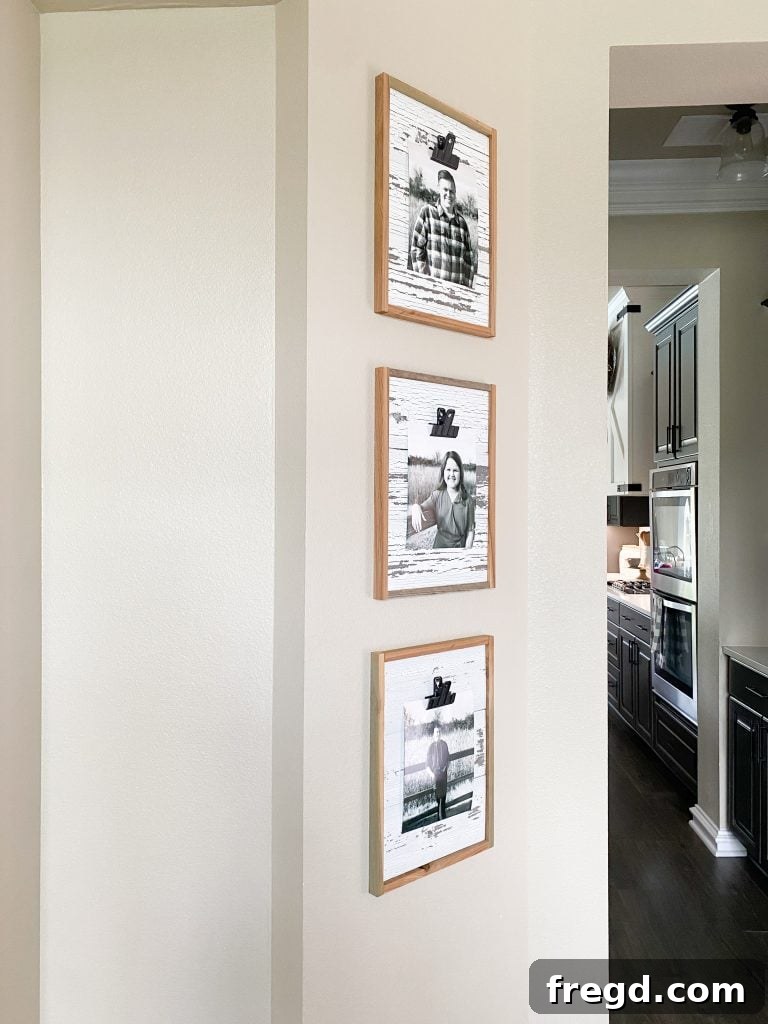
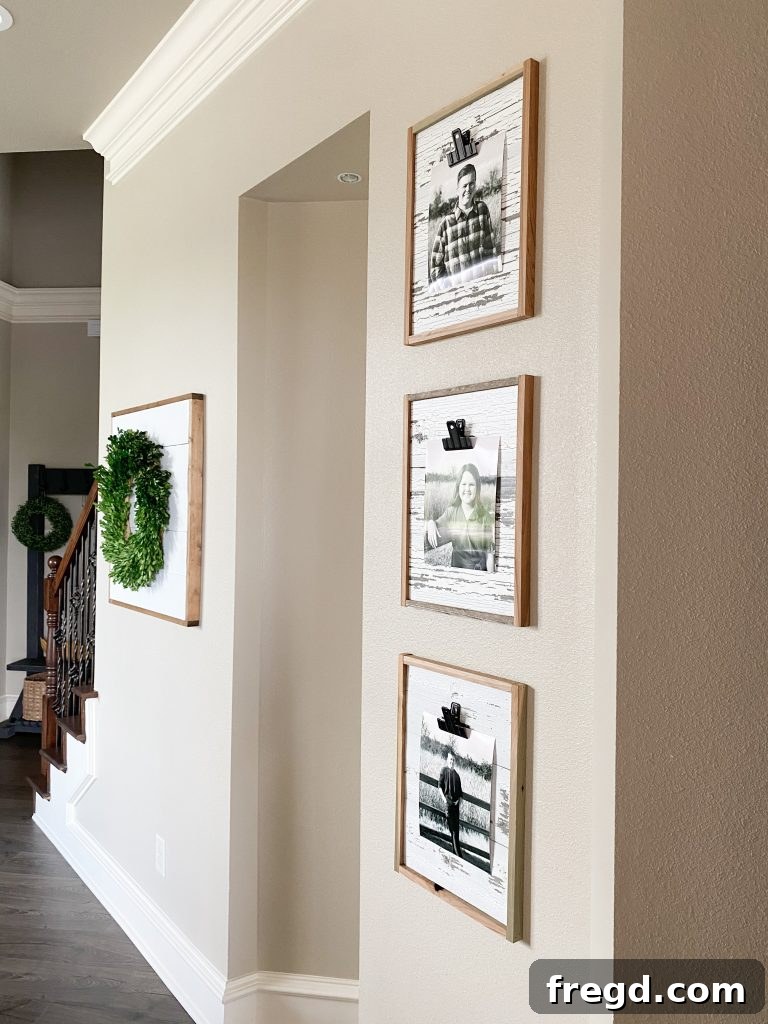
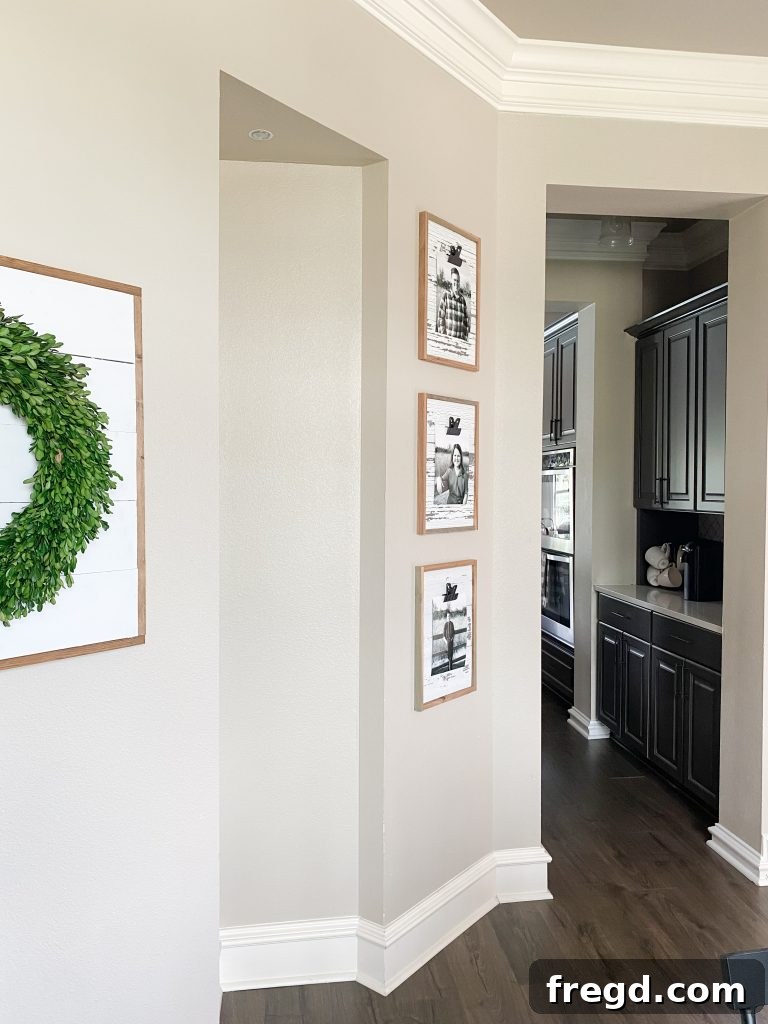
Customization Tips for Your Clip Frame
While the barn wood look is inherently charming, this DIY clip frame offers endless possibilities for personalization. Here are a few ideas to make your frame truly unique:
- Wood Choice: Instead of barn wood, consider new lumber like pine, cedar, or even hardwood for a different aesthetic. Pine can be easily stained to mimic various wood types, while cedar offers a unique aroma and grain.
- Finishing Touches:
- Stain: If using new wood, apply a wood stain to achieve your desired color – from dark espresso to light oak. Always pre-condition pine for an even stain.
- Paint: Paint your frame to match your room’s decor. Distressing techniques (sanding edges after painting) can add a shabby chic or vintage feel.
- Sealing: A clear coat of polyurethane or lacquer will protect your frame from moisture and wear, especially if it’s in a high-traffic area.
- Clip Alternatives: While a bulldog clip offers a classic look, experiment with other types of clips like clothes pins (for a more casual vibe), smaller decorative clips, or even magnetic clips for a modern touch.
- Multiple Clips: For larger frames, consider adding two or three bulldog clips to display a collage of smaller photos or a series of cards.
- Embellishments: Add small decorative elements like metal corner protectors, stenciled designs, or even a small rope hanger for a nautical or rustic twist.
- Size Variations: Don’t limit yourself to one size! Build several frames in varying dimensions to create a dynamic gallery wall. A larger frame might hold a single striking print, while smaller ones showcase favorite snapshots.
Conclusion
Building your own DIY Clip Frame is an incredibly satisfying project that yields a beautiful, functional, and customizable piece of home decor. Whether you’re a seasoned woodworker or just starting your DIY journey, the simplicity and charm of this barn wood frame make it an ideal choice. It’s a wonderful way to bring personality to your living spaces, display cherished memories, and even create thoughtful, handmade gifts for loved ones. The minimal cost and ability to use reclaimed materials also make this a budget-friendly and sustainable craft.
We hope this detailed guide has inspired you to grab your tools and get building! There’s immense satisfaction in creating something with your own hands, and this clip frame is a testament to that. Once you’ve completed your masterpiece, don’t forget to share your creations with us on social media! Use the hashtag #shanty2chic so we can admire and share your beautiful builds with our community too!
Happy Building!
DIY Clip Frame
You can download the full set of FREE Printable Plans including the supply list HERE!
Tools
-
Miter Saw
-
Brad Nailer
Supply List
- 1 1/2″ x 5 1/2″ x 48″ Barnwood Plank
- 1 3/4″ x 1″ x 65″ Scrap Board
- 1 1/4″ x 1 1/2″ x 36″ Scrap Board
- 1 1/4″ Brad Nails
- 5/8″ Brad Nails
- Wood Glue
- Bulldog Clip
Instructions
-
Prepare your wood: Cut barnwood planks and back support pieces to size as per the detailed guide above.

-
Assemble the base: Apply wood glue to the back supports and attach them to the back of the main planks using 5/8″ brad nails for a sturdy foundation.
-
Add top and bottom trim: Cut and glue the top and bottom trim pieces to the ends of the frame, securing them with 1 1/4″ brad nails. Ensure they are flush with the back supports.
-
Complete side trim: Measure and cut the side trim pieces, then attach them to the sides of the frame using wood glue and 1 1/4″ brad nails for a finished edge.
-
Attach the clip: Center a bulldog clip 2″ from the top of the frame and secure it with hot glue. No finish is needed for barnwood! Share your completed frame using #shanty2chic. Happy Building!