
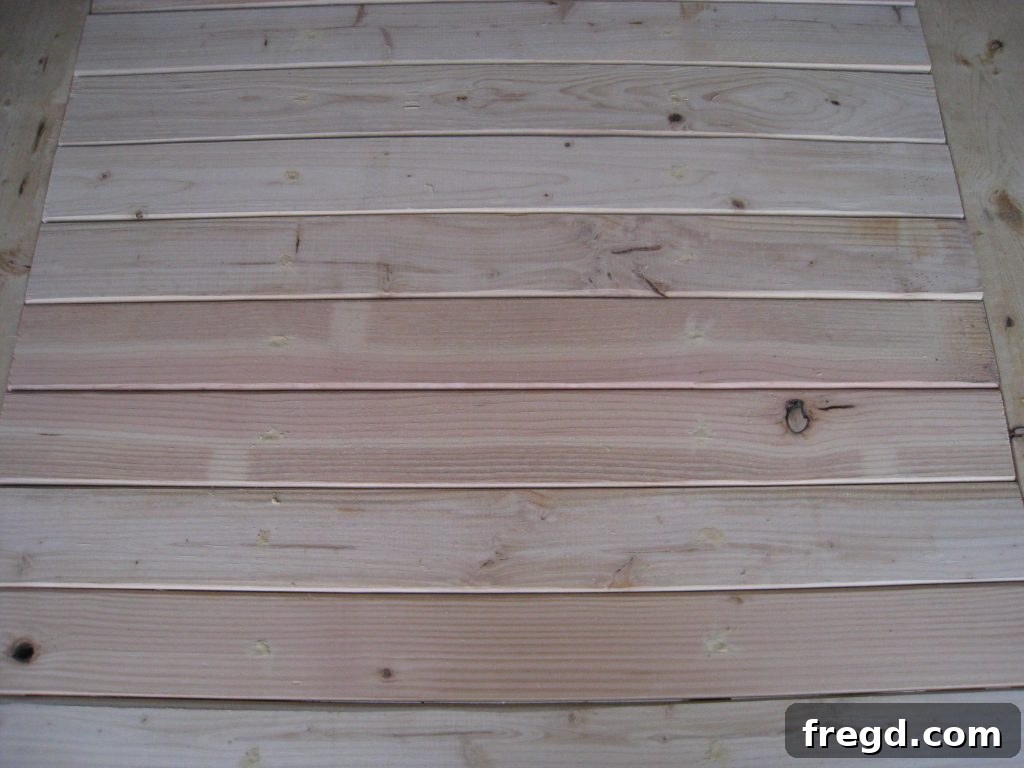
The quest for the perfect coffee table is a universal design challenge, particularly when you’re furnishing a unique space like a sectional sofa setup. After a recent home project saw my vintage trunk repurposed into a stylish storage solution, I found myself without that essential centerpiece – a coffee table. For someone who relies on having a dedicated spot for their morning coffee and laptop, this was a gap that needed to be filled, and quickly! What better way to achieve the ideal blend of functionality and style than to build one myself?
My journey began with a vision: a coffee table that wasn’t just functional but perfectly complemented my home’s aesthetic and my sectional sofa. The challenge, as many sectional owners can attest, is finding a square coffee table that fits just right. Most standard plans are for rectangular tables, which often look awkward with an equally-sided sectional. This meant I couldn’t just follow existing blueprints blindly; I needed to adapt. I turned to Ana White’s renowned woodworking plans, specifically her Tryde Coffee Table design, but with a crucial modification: transforming it from a rectangle into a perfect square.
This customization required careful calculations and a bit of creative engineering, but the result was a piece that feels truly bespoke. The process, while initially daunting, proved to be an incredibly rewarding experience, demonstrating that with a little ingenuity and some basic woodworking skills, anyone can create furniture that truly fits their space and needs. Let’s dive into how I achieved this custom look, and how you can, too, build a coffee table that not only serves its purpose but also acts as a proud testament to your DIY spirit.
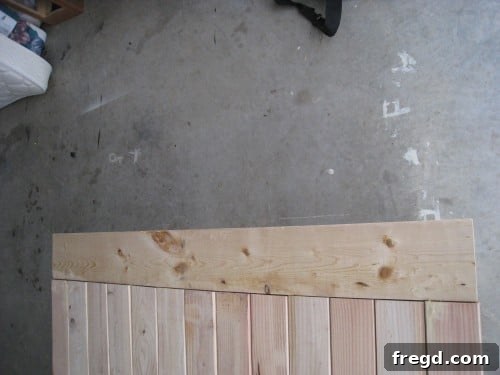
Why Choose to Build Your Own Coffee Table?
In a world full of mass-produced furniture, building your own coffee table offers an array of undeniable advantages. Beyond the obvious cost savings, a DIY project allows for unparalleled customization. You dictate the dimensions, the type of wood, the finish, and every other detail to ensure it perfectly integrates with your existing decor and meets your specific functional requirements. For me, the primary motivation was finding a square table to fit my sectional, a task that proved surprisingly difficult in retail stores. This project empowered me to create a piece that wasn’t just “good enough” but truly ideal.
Furthermore, there’s an immense sense of satisfaction that comes with crafting something with your own hands. Each time you set your coffee mug down or place your laptop on your custom-built table, you’re reminded of your skill, patience, and dedication. It’s a functional piece of art, imbued with personal meaning, and a conversation starter for guests. This journey into woodworking can also be incredibly empowering, building confidence for future home improvement projects and expanding your skill set.
Planning Your Perfect Square Coffee Table: Adapting Existing Designs
The initial step for any successful DIY project is meticulous planning. When working with existing plans, such as Ana White’s, the key is understanding how to adapt them to your specific needs. For my square coffee table, this involved a bit of mathematical calculation. I measured the available space in front of my sectional, considering comfortable walking paths and the reachability from all seating positions. Since the original plans were for a rectangle, I had to adjust the length and width of the primary components to make them equal, ensuring a harmonious square shape. This might mean shortening longer pieces or extending shorter ones, always keeping the structural integrity in mind.
Before cutting any wood, it’s highly recommended to sketch out your modified plans, or even create a simple scaled drawing. This visual representation helps to identify potential issues and ensure all dimensions are correct. Consider the thickness of your chosen lumber, as this will impact overall dimensions and joinery. Think about the height of your sofa and other seating to ensure your coffee table is at an ergonomically comfortable level. This planning phase, though it may seem tedious, is crucial for preventing costly mistakes and ensuring a smooth building process.
Essential Tools and Materials for Your Coffee Table Project
Before you start cutting and assembling, gather all the necessary tools and materials. Having everything on hand will streamline the process and prevent interruptions. While the exact list may vary slightly based on your chosen design and modifications, here’s a comprehensive set you’ll likely need:
Tools:
- Measuring Tape and Pencil: For precise marking and cutting.
- Safety Glasses and Gloves: Always prioritize safety when working with power tools and wood.
- Miter Saw or Circular Saw: For accurately cutting lumber to size. A miter saw is ideal for precise crosscuts.
- Electric Drill: Essential for pre-drilling holes and driving screws.
- Countersink Bit: To create a recess for screw heads, ensuring a flush finish.
- Clamps: Various sizes of wood clamps are invaluable for holding pieces together while glue dries and during assembly.
- Woodworking Square: To ensure all corners are truly square.
- Orbital Sander or Sanding Block: For smoothing rough edges and preparing surfaces for finishing.
- Shop Vacuum or Dust Collection: For keeping your workspace clean and safe.
Materials:
- Lumber: Choose your preferred wood type and dimensions. For a sturdy coffee table, common choices include pine, oak, or poplar. Ensure all pieces are straight and free from major defects.
- Wood Screws: Appropriate length and gauge for joining your chosen lumber. Consider Kreg pocket hole screws if using pocket hole joinery.
- Wood Glue: High-quality wood glue, such as Gorilla Glue Wood Glue, is crucial for strong, lasting joints.
- Wood Filler/Putty: Elmer’s Stainable Wood Filler or similar product, to fill screw holes and imperfections.
- Sandpaper: A variety of grits (e.g., 80-grit, 120-grit, 220-grit) for progressive sanding.
- Wood Conditioner, Stain, Paint, or Sealer: For the final protective and aesthetic finish (details to be covered in a separate finishing tutorial).
Step-by-Step Guide to Building Your Custom Coffee Table
With your plans refined and materials gathered, it’s time to bring your vision to life. Follow these steps for a sturdy and beautiful coffee table.
Step 1: Preparing Your Lumber and Initial Cuts
Begin by carefully cutting all your lumber pieces according to your modified plans. Precision is paramount here, as even slight inaccuracies can affect the final fit and squareness of your table. Use a miter saw or circular saw with a guide for clean, straight cuts. Double-check each piece against your measurements before making the cut. Labeling each piece as you cut it can also help immensely during assembly, especially for more complex designs.
Step 2: Pre-Drilling for Strong, Split-Free Joins
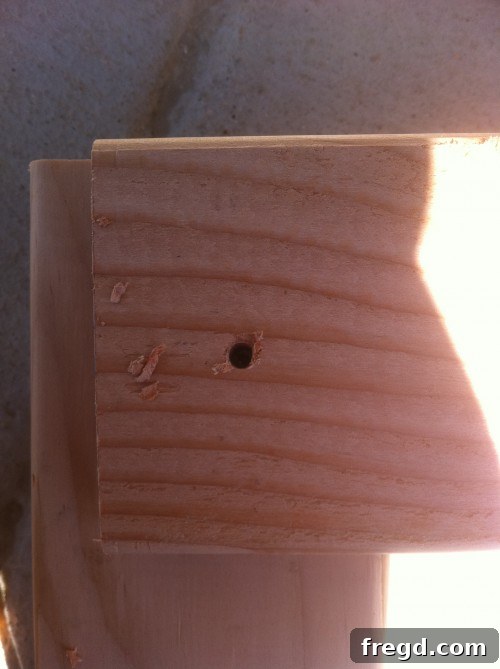
One of the most critical steps, often overlooked by beginners, is pre-drilling all screw holes. Wood, especially softer varieties like pine, can easily split when screws are driven directly into it, especially near edges or ends. Pre-drilling creates a pilot hole that guides the screw, preventing splits and ensuring a much stronger, cleaner joint. Use a drill bit that is slightly smaller than the shank of your screw, and a countersink bit to allow the screw head to sit flush or slightly below the surface of the wood, making it easier to fill later.
Step 3: Assembling the Frame with Wood Glue and Screws
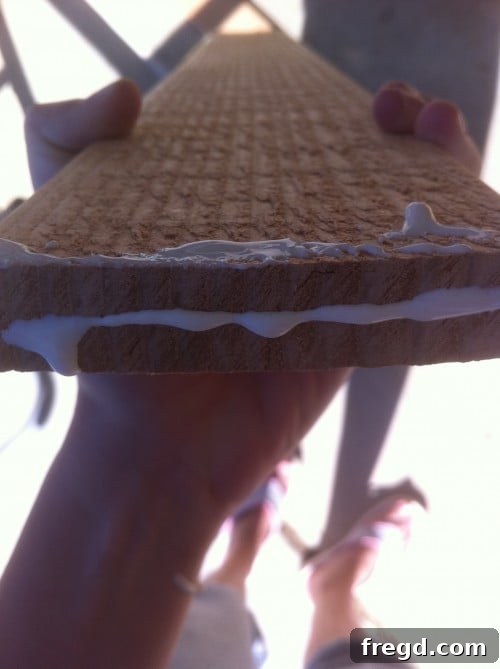
With all pieces cut and pre-drilled, it’s time for assembly. Apply a generous, even layer of wood glue to all mating surfaces before joining them. Wood glue provides incredible strength, often making the glued joint stronger than the wood itself. Then, align the pieces and secure them with screws. For added stability, use clamps to hold the pieces tightly together while the glue sets and you drive the screws. Wipe away any excess glue with a damp cloth immediately, as dried glue can prevent stain absorption later.
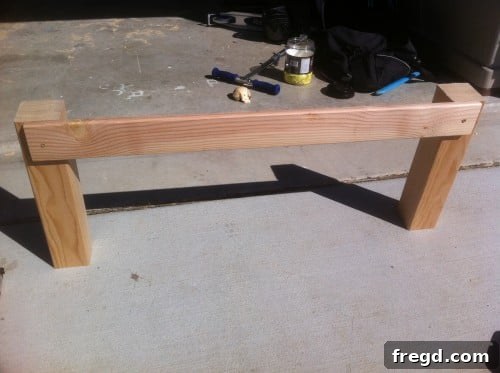
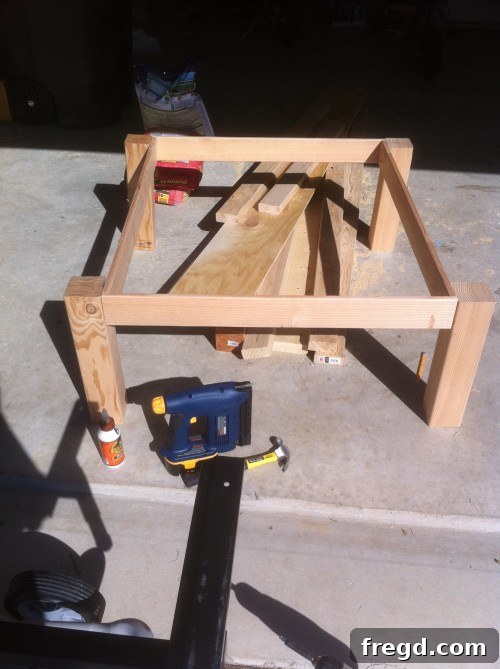
Step 4: Watch Your Table Take Shape!
As you continue to join the pieces, you’ll see the structure of your coffee table rapidly emerge. This is often the most exciting part of the building process, as your flat lumber transforms into a three-dimensional piece of furniture. Take a moment to appreciate how your precise cuts and careful assembly are coming together to form the main frame of your table. It’s truly “lookin’ like a table now!”
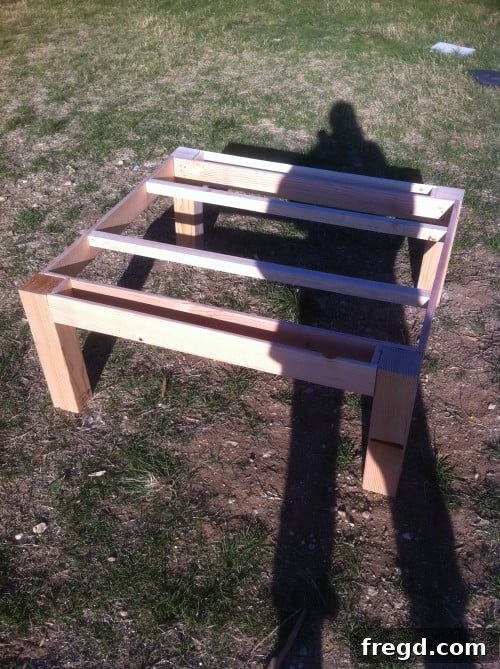
Step 5: Adding Essential Supports for Stability
Supports are crucial for the long-term stability and durability of your coffee table. Depending on your design, these might include crossbeams underneath the tabletop, corner braces, or additional vertical supports in the legs. These elements prevent sagging, wobbling, and ensure your table can withstand daily use. Attach them using the same pre-drilling, gluing, and screwing method for maximum strength. Ensure all supports are level and square to avoid any unevenness in the tabletop.
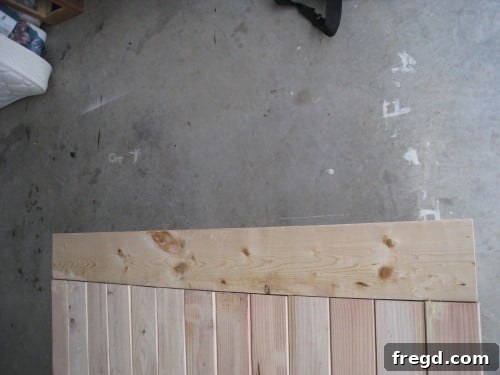
Step 6: Attaching Trim Pieces for a Refined Look
Trim pieces are often added to enhance the aesthetic appeal of the table, covering raw edges or creating decorative details. They can also serve a functional purpose, such as reinforcing edges or providing a lip to prevent items from rolling off. Measure and cut these pieces precisely, then attach them with wood glue and small finish nails or screws, counter-sinking them for a seamless look.
Step 7: Perfecting the Surface with Wood Putty
Once the main construction is complete, it’s time to prepare the surface for finishing. Use a good quality wood putty or filler, like Elmer’s Stainable Wood Filler, to fill all visible screw holes, nail holes, and any minor imperfections or gaps in the wood. Apply the putty with a putty knife, pressing it firmly into the holes and smoothing it flush with the surface. Allow it to dry completely according to the manufacturer’s instructions. This step is crucial for achieving a professional, smooth finish.
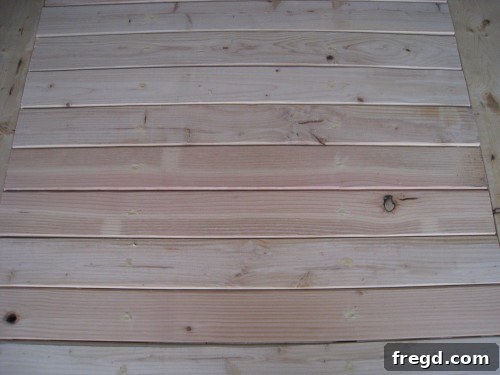
Step 8: The All-Important Sanding Process
Sanding is arguably the most critical step in preparing your coffee table for a beautiful finish. Start with a coarser grit sandpaper (e.g., 80-100 grit) to remove any major rough spots, glue squeeze-out, and excess wood putty. Work your way up through finer grits (120-150, then 220 grit) to achieve an incredibly smooth surface. Always sand with the grain of the wood. After each grit, wipe down the surface thoroughly with a tack cloth or a damp cloth to remove all dust before moving to the next finer grit. A perfectly sanded surface is key to a flawless stain or paint job.

The Next Step: Finishing Your Masterpiece
And just like that, the building phase is complete! It’s incredible how quickly you can transform raw lumber into a functional piece of furniture in a single afternoon. The construction itself was not overly difficult, proving that even custom projects are accessible to diligent DIYers. However, the journey isn’t quite over. The way you finish your coffee table – whether with a rich stain, a vibrant paint, or a durable sealant – is what truly brings out its character and protects it for years to come. This finishing process is a detailed art in itself, and I’m excited to share a dedicated tutorial on that very soon, covering everything from wood conditioning to applying the perfect topcoat. So, keep an eye out for that!
Tips for a Successful DIY Coffee Table Project
- Measure Twice, Cut Once: This age-old woodworking adage cannot be stressed enough. Small errors in measurement can lead to significant problems during assembly.
- Prioritize Safety: Always wear safety glasses, and use ear protection when operating loud machinery. Familiarize yourself with your tools before use.
- Patience is Key: Don’t rush any step. Allow glue to dry properly, and take your time with sanding for the best results.
- Invest in Quality Materials: Good lumber, strong glue, and reliable screws will make a significant difference in the final product’s durability and appearance.
- Don’t Be Afraid to Ask for Help: If you get stuck, online communities, local hardware store experts, or experienced friends can offer valuable advice.
Join the DIY Community!
The satisfaction of completing a project like this is truly immense. There’s something incredibly empowering about creating something beautiful and functional for your home, especially when you conquer a challenge like building a custom piece to perfectly fit your space. This project is a testament to what can be achieved with a bit of determination, a clear plan, and the right tools.
I encourage all you talented DIY enthusiasts out there to share your own creations. Whether it’s a project you tackled solo or with a little help, the “I Made it Without My Hubby” (or “With My Own Hands”!) spirit is contagious, and we love being inspired by your ingenuity and craftsmanship. Thank you so much for stopping by, and I can’t wait to share the finishing tutorial with you all very soon!
~Ashley