
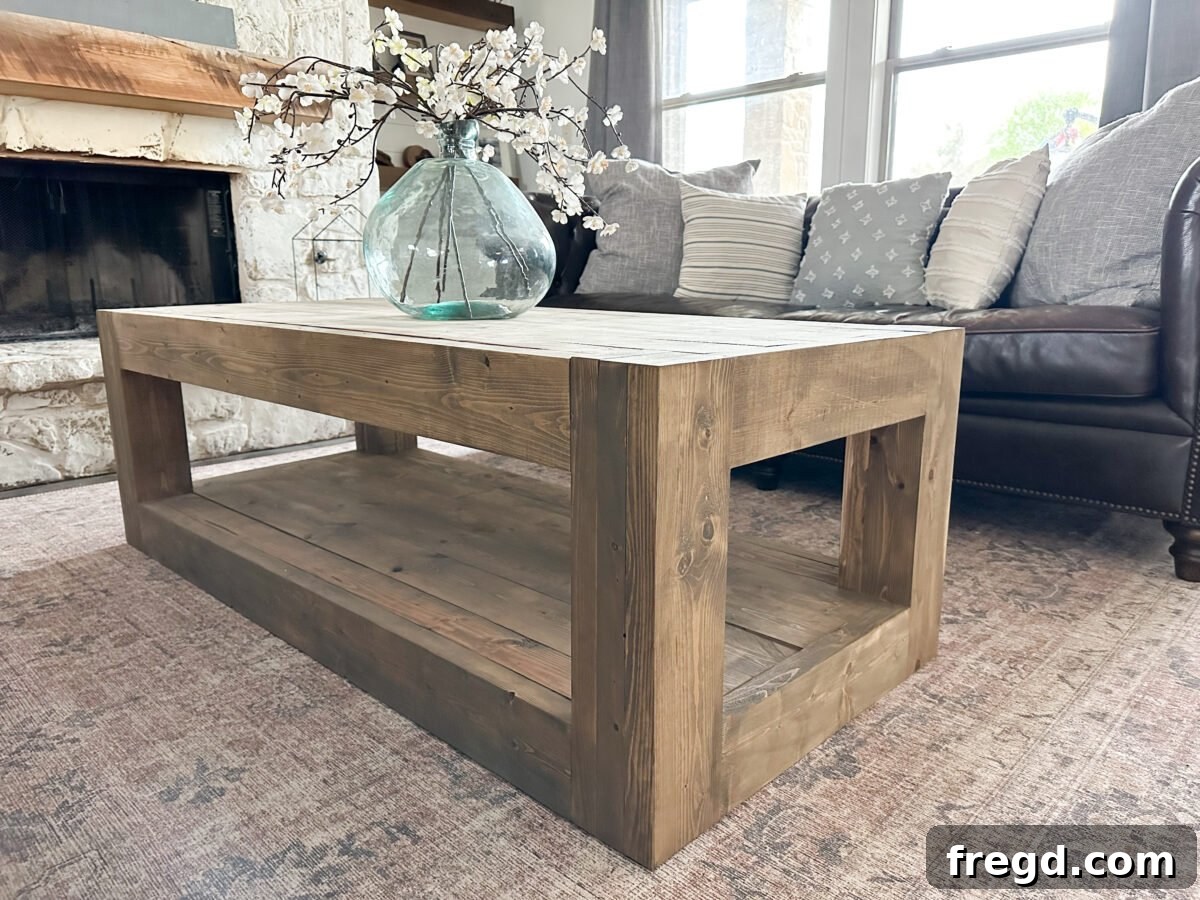
Build Your Own Modern Wood Coffee Table: A Comprehensive DIY Guide
Embark on an exciting woodworking journey to create a stunning DIY Modern Wood Coffee Table that combines contemporary style with robust functionality. This in-depth guide, inspired by the creative minds at Shanty2Chic, provides everything you need to know – from selecting the right lumber to applying the perfect finish. Whether you’re a seasoned woodworker or taking on your first major project, these free plans and detailed steps will empower you to build a beautiful, long-lasting piece for your home, all while keeping costs surprisingly low.
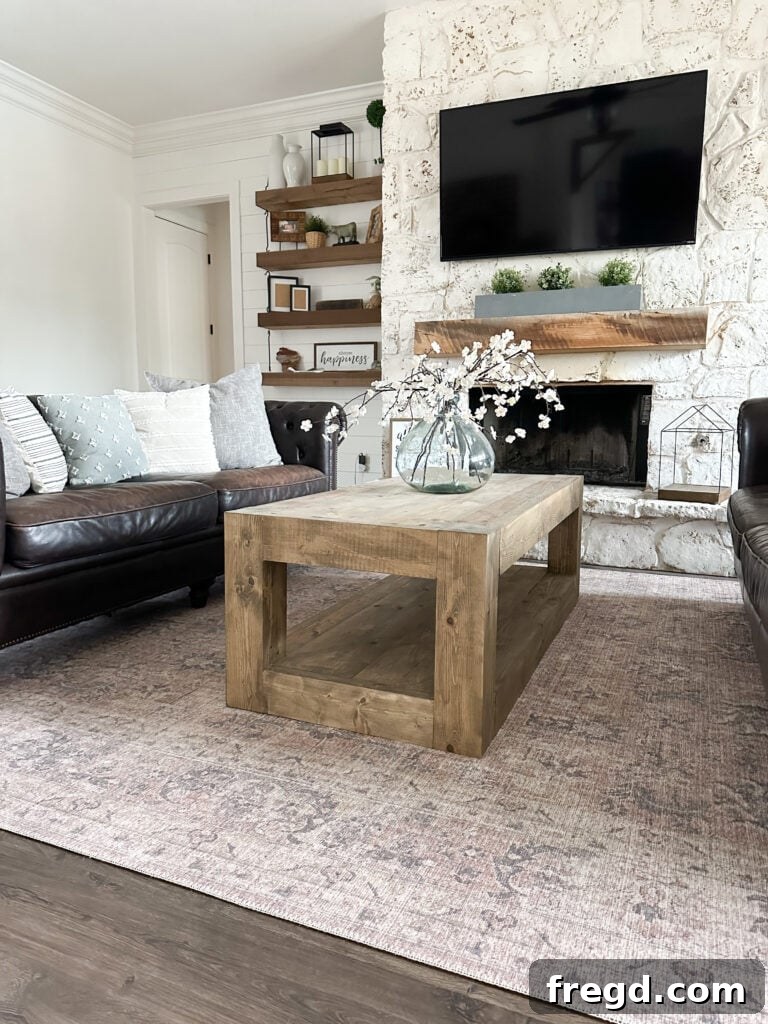
The allure of DIY furniture lies in its blend of personalization, cost-effectiveness, and the immense satisfaction of bringing a design to life with your own hands. Coffee tables, in particular, are fantastic projects for woodworkers of all skill levels. They offer a significant impact on a room’s aesthetic and can be tailored to perfectly suit your space and needs. Given the daily wear and tear from kids and pets, building your own ensures a sturdy, custom piece that you can repair or refinish as needed, extending its longevity far beyond many store-bought alternatives.
This Modern Chunky Coffee Table is a prime example of a high-impact, low-cost build. Constructed primarily from readily available and inexpensive framing lumber – just twelve 2×6 boards and four 2×4 boards – the total material cost comes in at under $100. This project is not only budget-friendly but also designed to be approachable for beginners, with clear instructions and a step-by-step approach.
Planning Your Project: Essential Preparations for Success
Before you make your first cut, meticulous planning is key to a smooth and enjoyable building experience. Taking the time to prepare your workspace, gather your materials, and understand the process will save you time and frustration in the long run.
Gather Your Free Plans
Your journey begins with the complete, free printable plans. These detailed blueprints will guide you through every measurement and cut, ensuring accuracy and efficiency. Make sure to download and print them, as they include a comprehensive shopping list and cutting list that will be indispensable throughout the project.
Click here to download the free printable plans for your DIY Modern Wood Coffee Table!
Having the plans handy will allow you to follow along with this step-by-step tutorial seamlessly. It’s always a good practice to review the entire plan before starting to get a full overview of the build.
The Right Lumber for the Job: Answering “Why Rip Your Boards?”
For this project, we utilize standard framing lumber (2x6s and 2x4s), which is an excellent choice for budget-conscious DIYers. While these boards are cost-effective, they typically come with rounded edges that can give a “construction-grade” appearance. To elevate the aesthetic and achieve a cleaner, more finished look—making your furniture appear much more expensive than it actually is—we highly recommend an optional step: ripping your boards.
Using a table saw, you can carefully rip off these rounded edges. For this specific coffee table, we ripped the 2×6 boards down to 4 1/2 inches wide and the 2×4 boards to 3 inches wide. This process creates crisp, straight edges, allowing the pieces to join together more tightly and seamlessly. This is particularly beneficial for components like the legs, where multiple boards are stacked. Ripping them down gives the stacked boards a solid, monolithic look, as if they were crafted from a single, substantial piece of wood.
While this step is optional, it significantly enhances the final appearance. If you choose not to rip your boards, remember to adjust your cutting list and measurements accordingly, as the dimensions of your finished pieces will be slightly different.
Essential Tools and Supplies
Having the right tools and materials on hand will make the building process much smoother. Here’s a list of what you’ll need:
Tools:
- Miter Saw: Essential for making precise cross-cuts and angle cuts.
- Kreg Jig (Pocket Hole Jig): Your best friend for creating strong, hidden joints quickly and easily.
- Drill: For drilling pilot holes and driving screws.
- Table Saw (optional): Highly recommended for ripping boards to achieve clean, square edges and custom widths.
- Wood Clamps: Crucial for holding pieces securely during gluing and assembly.
- Orbital Sander: For smoothing surfaces and preparing for finishing.
Supplies:
- 4 – 2x4x8 Framing Lumber
- 12 – 2x6x8 Framing Lumber
- 2 1/2″ Pocket Hole Screws: The primary fastener for this project.
- Wood Glue: Essential for strong, long-lasting joints when combined with screws.
- Wood Filler: For filling any gaps or imperfections before sanding.
- Sandpaper (80-grit and 220-grit): For preparing your surface for finishing.
- Paint or Stain: To achieve your desired aesthetic.
- Protective Finish: To seal and protect your coffee table from daily use.
Step-by-Step Construction: Bringing Your Coffee Table to Life
Now that you have your plans, tools, and materials ready, it’s time to start building! Follow these detailed steps carefully, paying attention to measurements and proper assembly techniques. Remember to always prioritize safety when operating power tools.
Step 1: Crafting the Sturdy Leg Assemblies
Begin by cutting all the individual leg pieces according to the dimensions provided in your free plans. For each of the four legs, you will stack three pieces together. Apply a generous amount of wood glue between each piece before clamping them firmly. It’s crucial to allow these assemblies to dry for a full 24 hours to ensure maximum strength and stability. This creates the substantial, chunky look for the table’s foundation.
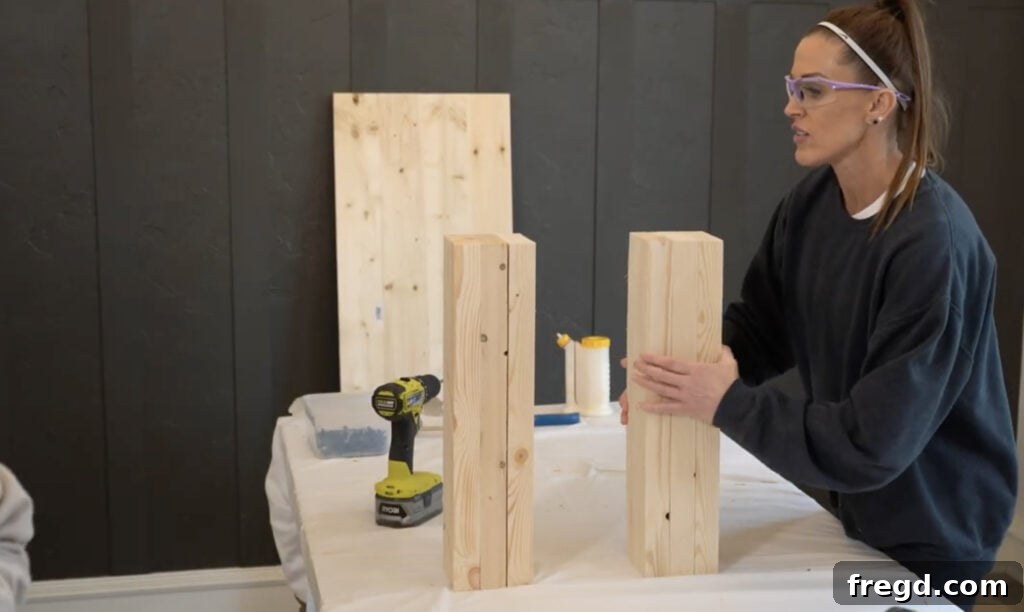
Step 2: Assembling the Planked Tabletop Sections
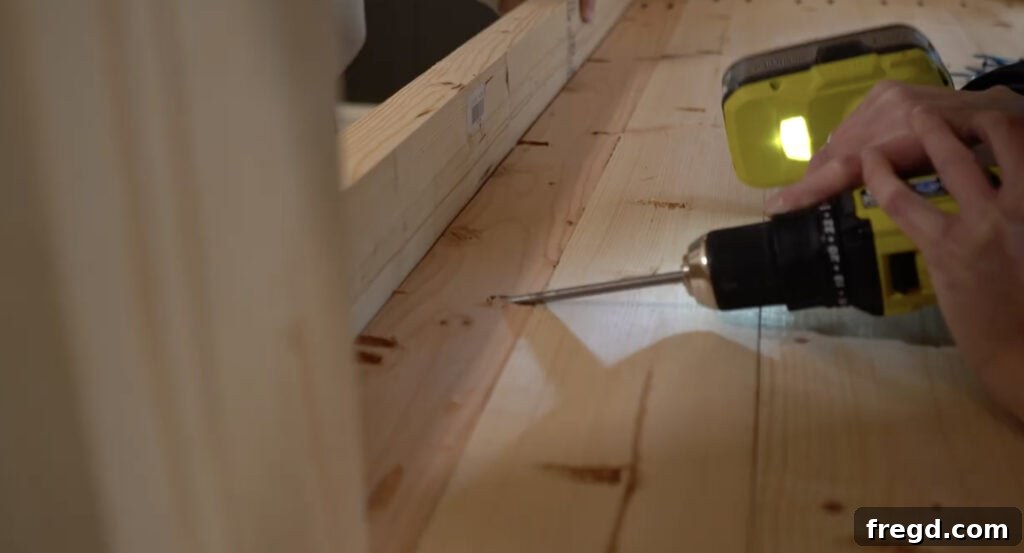
Next, cut the planks that will form the main tabletop and the bottom shelf. Using your Kreg Jig, drill 1 1/2-inch pocket holes along one edge and on both ends of each plank. This ensures strong, concealed joints. If you need a reliable jig, you can find our favorite Kreg Jig model here.
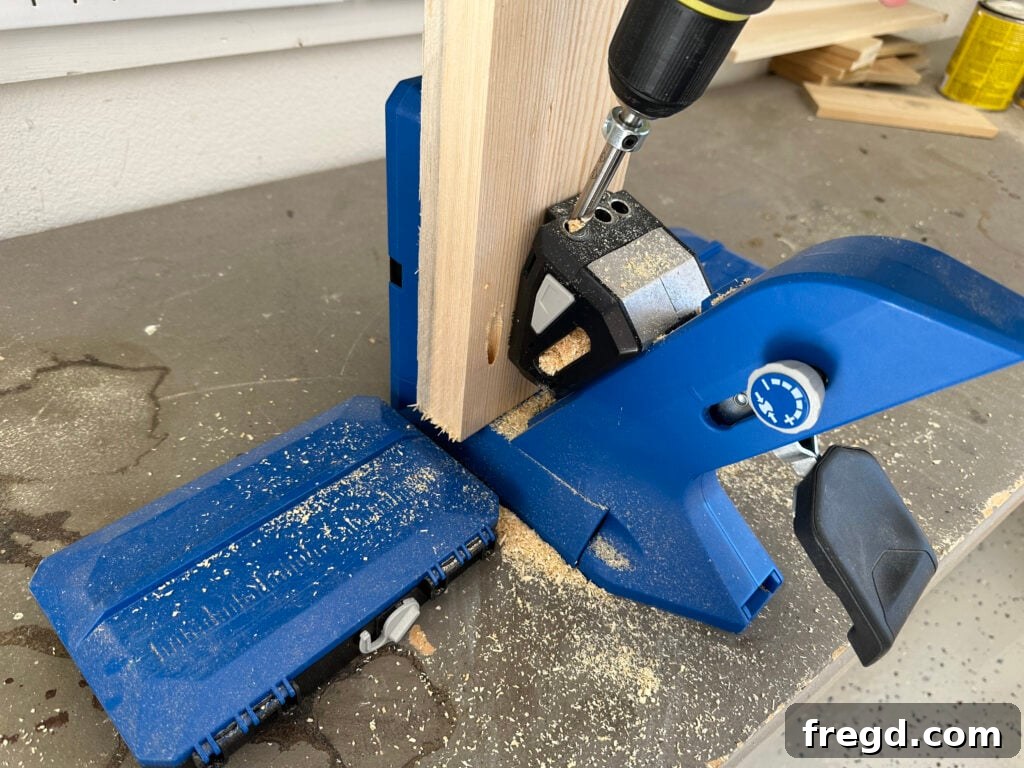
Once the pocket holes are drilled, apply wood glue to the edges of the planks and connect them together using 2 1/2-inch pocket hole screws. For a perfectly smooth and flush surface on your planked tops, we highly recommend using Kreg Face Clamps. These clamps hold the joint tightly together as you drive the screws, preventing any shifting or unevenness.
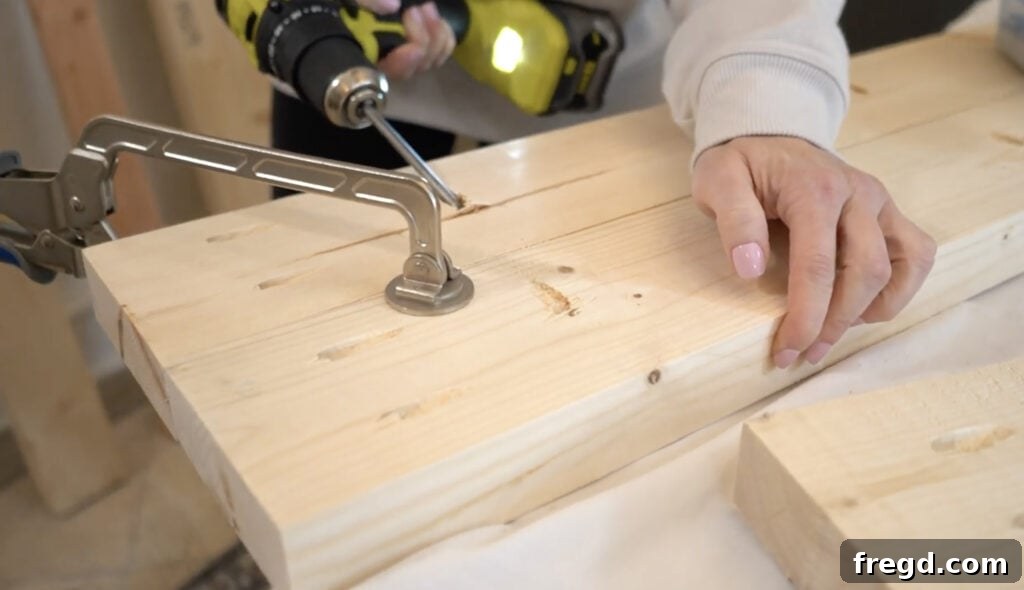
You can find the Kreg Face Clamps we use for superior joint results here.
Step 3: Connecting the Tabletop to the Legs
Now, cut the outside planks to their specified size. For these pieces, you’ll drill 3/4-inch pocket holes on one edge and 1 1/2-inch pocket holes on both ends. The smaller 3/4-inch pocket holes on the edge are a clever trick to ensure the screws are not visible on the outside edges of your finished table, maintaining a clean aesthetic. Despite the shallower hole, you will still use 2 1/2-inch pocket hole screws for strong attachment.
Attach two of these planks to two of your completed leg assemblies using wood glue and 2 1/2-inch pocket hole screws. Repeat this process for the other two leg assemblies and planks, effectively creating two side panels of your coffee table.
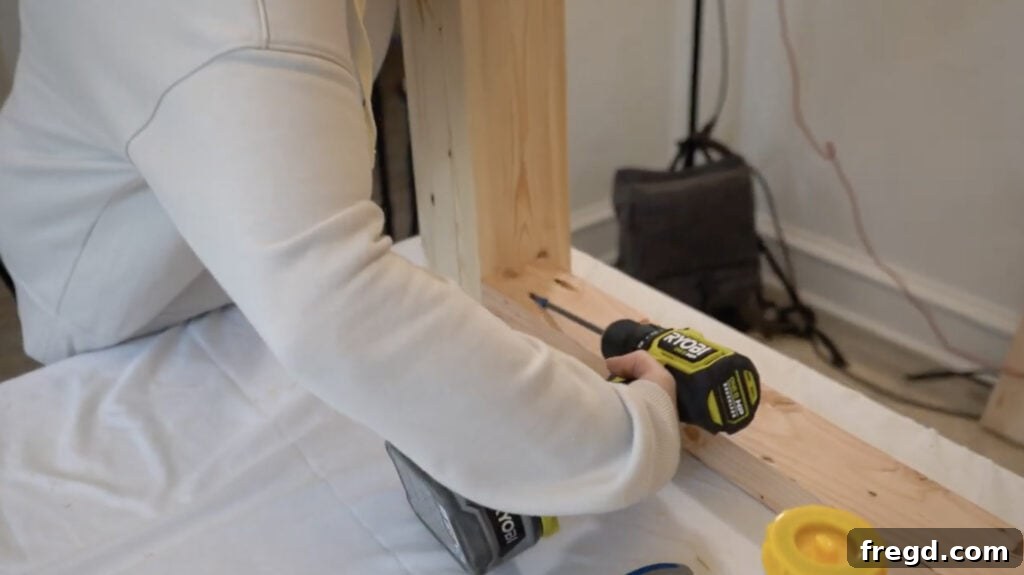
Step 4: Building the Apron Framework
Cut the short apron pieces to their required length. Drill 1 1/2-inch pocket holes on both ends of each apron piece. These aprons will connect your side assemblies. Apply wood glue to the ends and attach them to the ends of both plank assemblies using 2 1/2-inch pocket hole screws. This step starts to bring the overall tabletop structure together.
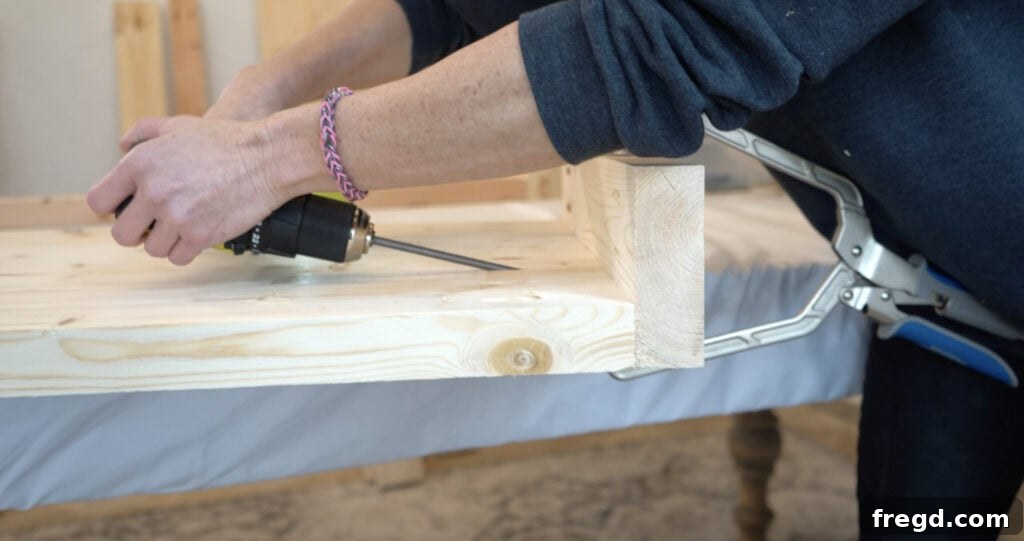
Step 5: Securing the Leg Assemblies to the Top
With the apron framework in place, it’s time to fully integrate the leg assemblies with the top plank assembly. Apply wood glue to the joining surfaces and secure the leg assemblies by driving 2 1/2-inch pocket hole screws through the side aprons and into the legs. This creates a strong, stable connection for the entire upper structure of your coffee table.
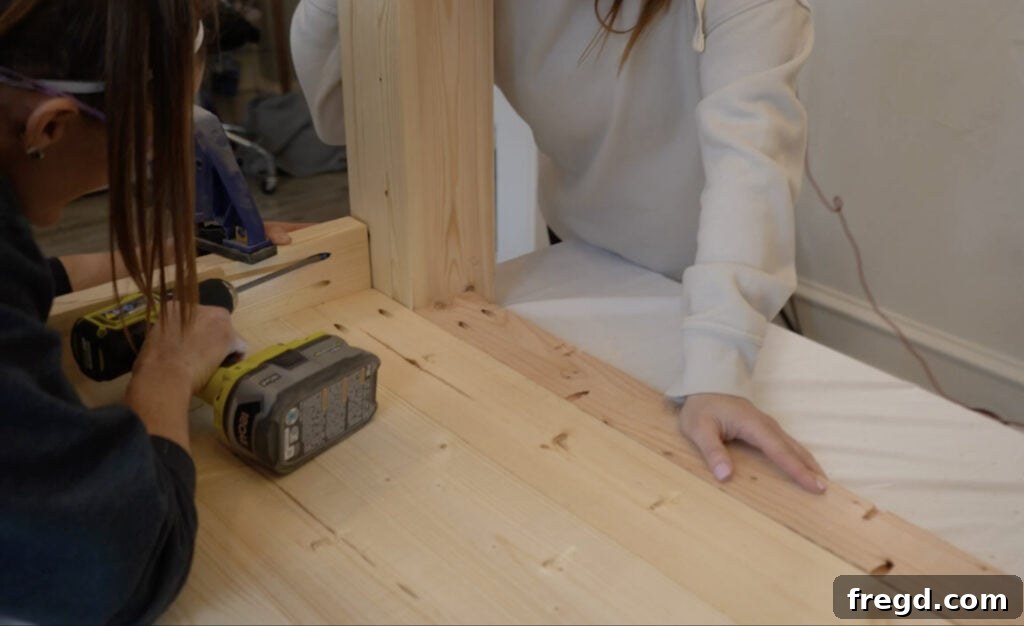
Step 6: Constructing the Bottom Shelf
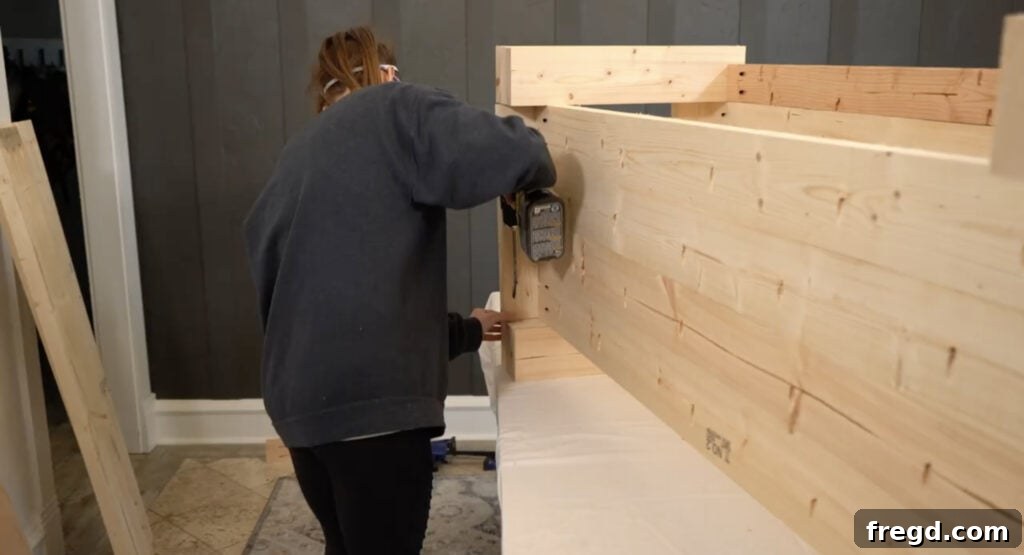
Now, shift your focus to the bottom shelf. Take the plank assembly you prepared for the bottom shelf and position it between the legs at the designated height (as per your plans). Apply wood glue to the points where the bottom plank assembly meets the legs, then attach it securely using 2 1/2-inch pocket hole screws. This forms the base for your functional storage shelf.
Step 7: Adding Side Support to the Shelf
Take the two remaining side planks, which will complete the structure of your bottom shelf. Apply wood glue to the ends where they will meet the legs, and attach them to the bottom plank assembly using 2 1/2-inch pocket hole screws. This step further reinforces the bottom shelf and creates a cohesive look with the upper section of the table.
Step 8: Integrating Long Apron Pieces
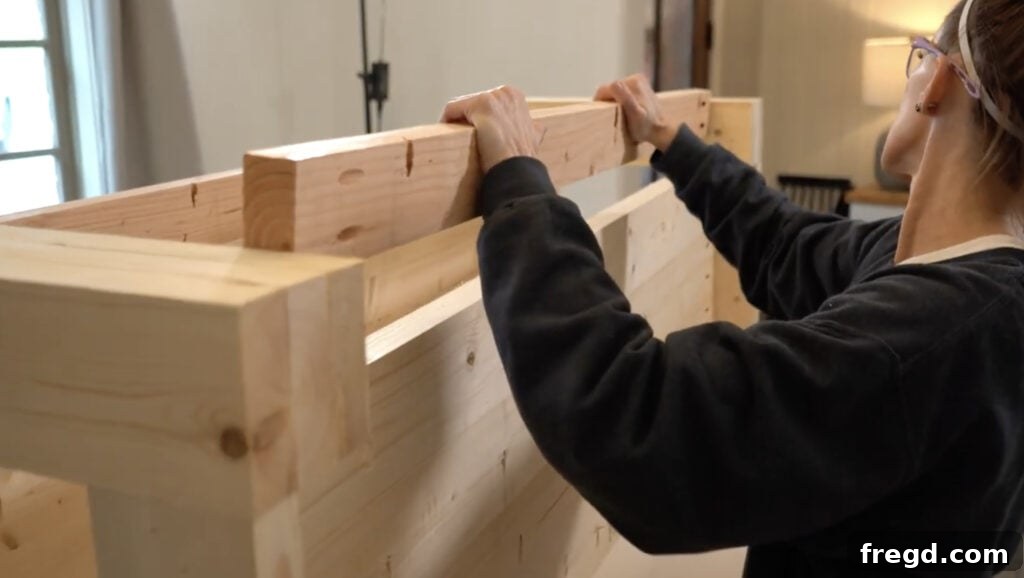
Cut the long apron pieces to the correct dimensions. Drill 1 1/2-inch pocket holes at both ends of each piece. These aprons will run along the longer sides of the table, connecting the top and bottom plank assemblies and further bracing the leg structure. Apply wood glue and attach them to the plank assemblies and legs using 2 1/2-inch pocket hole screws.
Step 9: Finalizing Structural Support
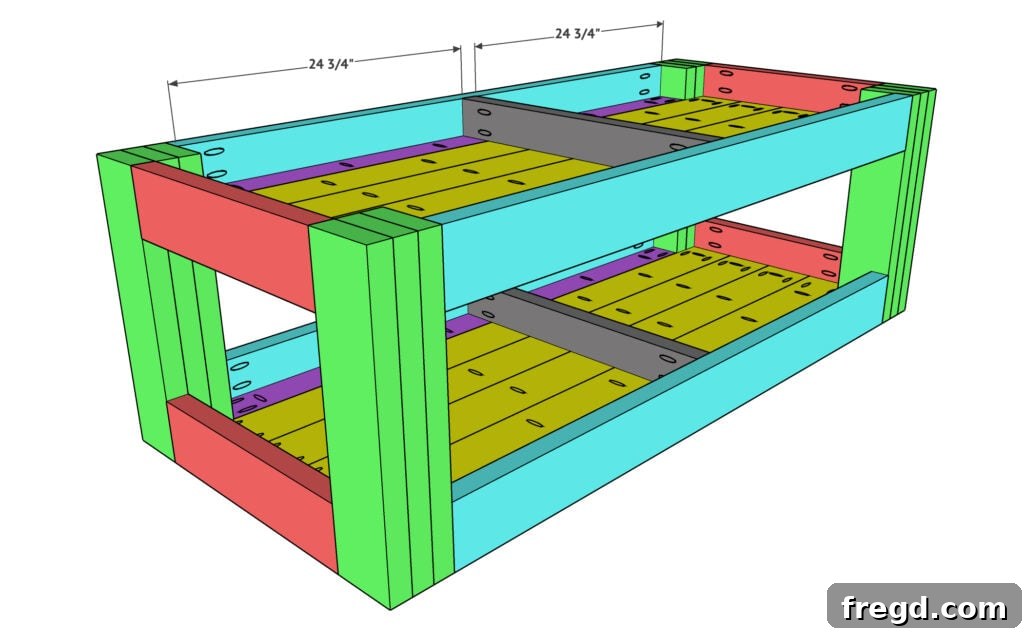
The final structural step involves adding support pieces to the underside of both the top and bottom plank assemblies. Cut these support pieces to size and drill 1 1/2-inch pocket holes at both ends. Center these pieces precisely under both plank assemblies. Apply wood glue and attach them to the long aprons using 2 1/2-inch pocket hole screws. These supports add crucial strength and prevent any potential sagging over time, ensuring your coffee table remains rock-solid.
The Grand Finish: Sanding, Staining, and Protection
With the construction complete, it’s time to bring out the true beauty of your woodworking. The finishing process is where your coffee table transforms from a raw build into a polished piece of furniture that reflects your style.
Step 10: Perfecting the Surface with Sanding
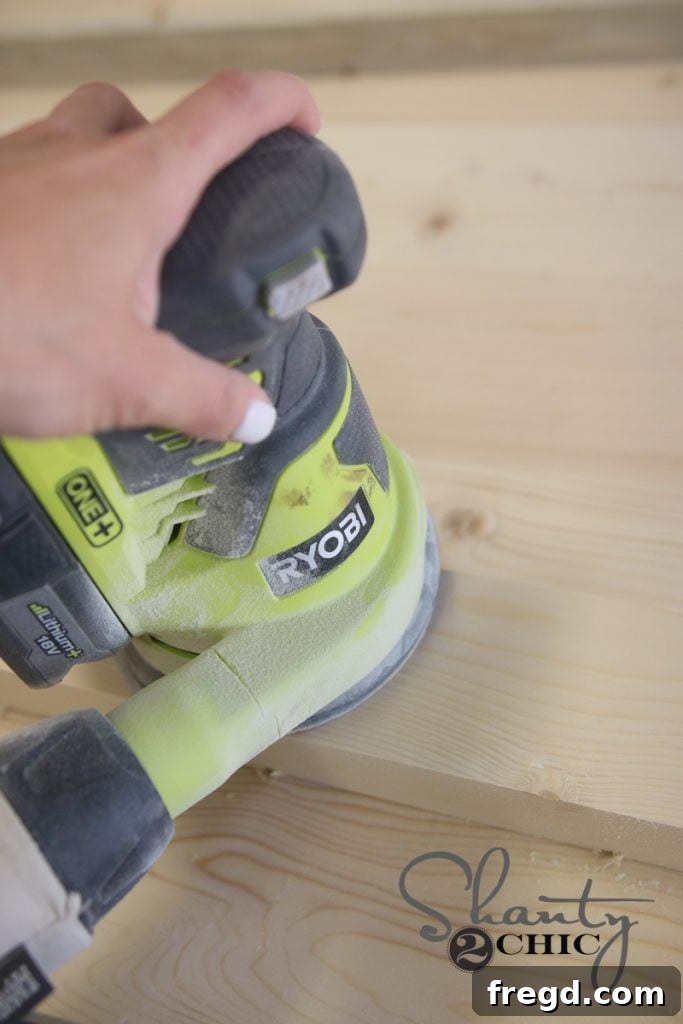
Once all the glue has dried and the assembly is complete, meticulously inspect your entire coffee table for any visible holes, uneven spots, or rough patches. Fill any imperfections with wood filler and allow it to dry completely. Then, using an orbital sander, begin sanding the entire table. Start with 80-grit sandpaper to smooth out any major rough spots and level the surface. Follow this with a finer 220-grit sandpaper to achieve a silky-smooth finish, ready for stain or paint. Take your time with this step, as proper sanding is crucial for a professional-looking finish.
Step 11: Applying Your Chosen Stain or Paint
After thorough sanding and cleaning off all dust, it’s time for the aesthetic transformation. For this modern wood coffee table, we opted for a rich stain to highlight the natural grain of the wood. Apply one coat of your chosen stain color evenly, following the manufacturer’s instructions. If you prefer a painted look, apply your chosen paint color in thin, even coats, allowing sufficient drying time between each. The choice of finish allows you to truly customize the table to match your existing decor.
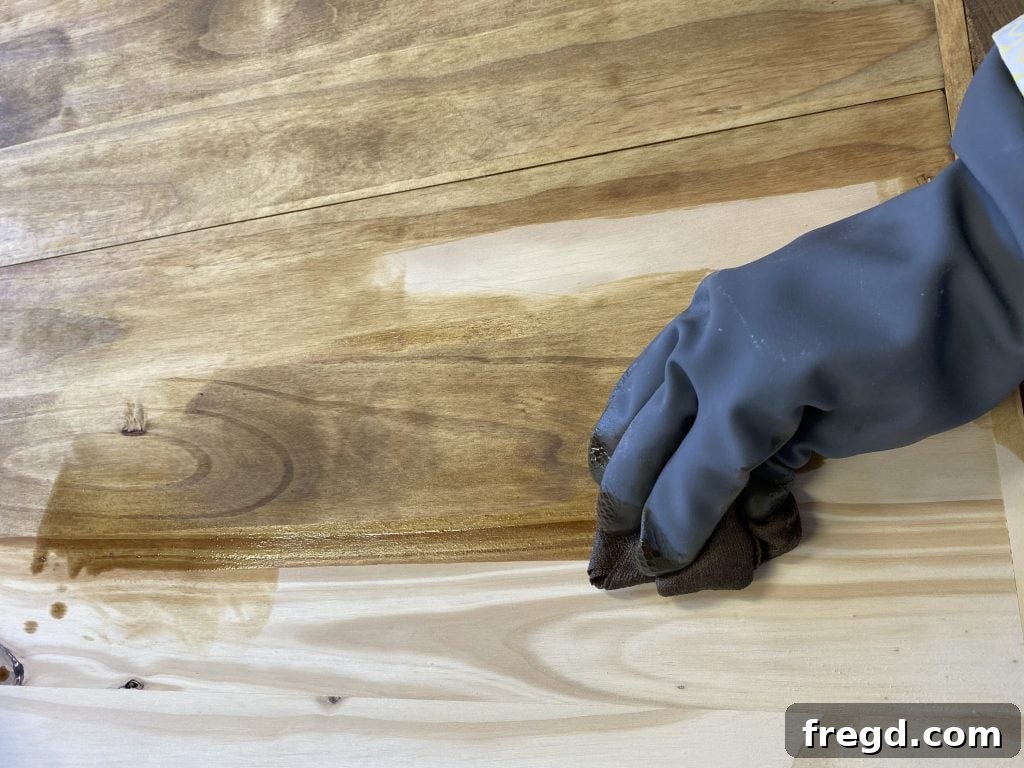
You can find the specific stain color we used here to achieve this look.
Step 12: Long-Lasting Protection
The final, vital step is to apply a protective finish. This layer will shield your coffee table from spills, scratches, and daily wear, ensuring its beauty endures for years to come. We used a favorite polyurethane, Triple Thick, in a matte finish for its exceptional durability and non-glossy appearance. Apply the protective finish according to the product’s instructions, ensuring even coverage. Allow it to cure completely before putting your coffee table into use.

You can find the Triple Thick Polyurethane we recommend here.
Your New Modern Wood Coffee Table Awaits!
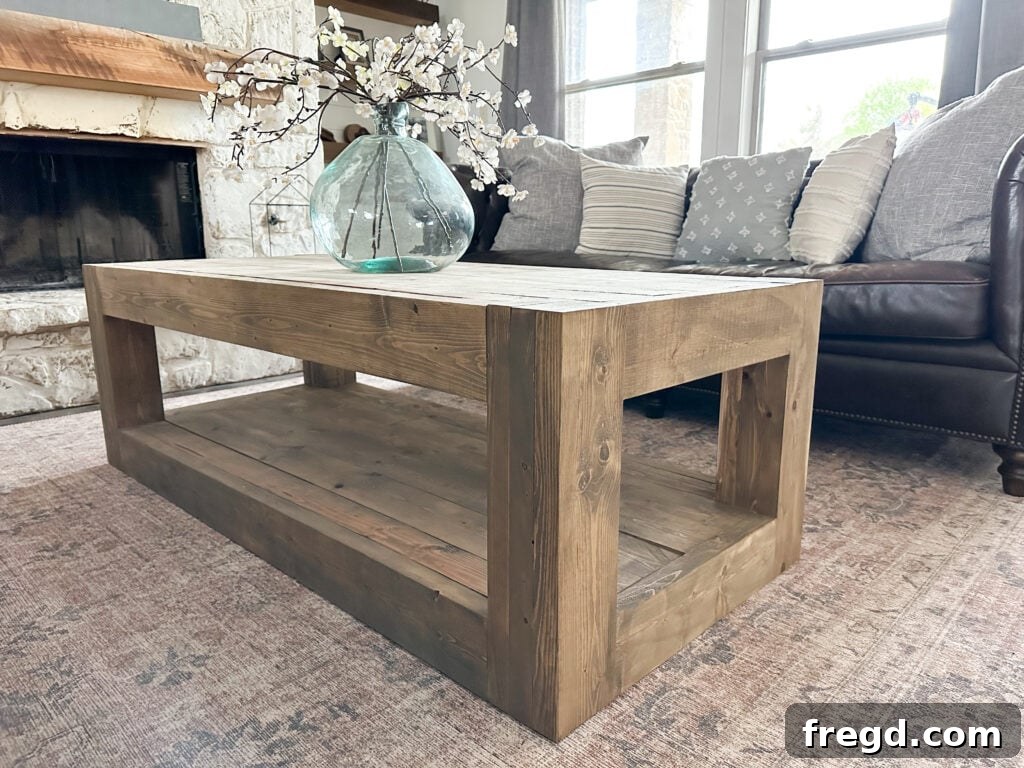
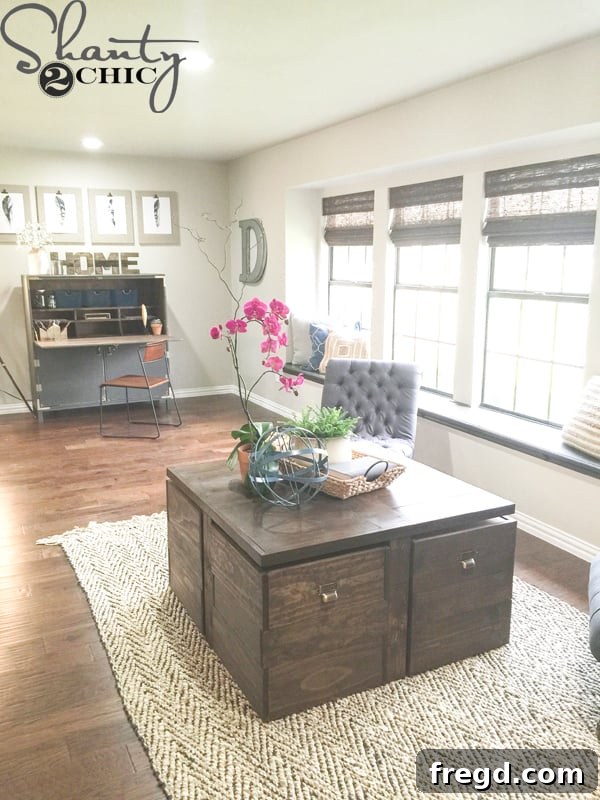
And just like that, you’ve built a substantial, modern wood coffee table perfect for any living space! We adore the blend of modern design with a touch of rustic charm that this piece exudes. The chunky aesthetic makes a bold statement, while the added bottom shelf provides invaluable storage space—perfect for tucking away baskets filled with cozy blankets, magazines, or simply serving as a decorative platform for your favorite accents.
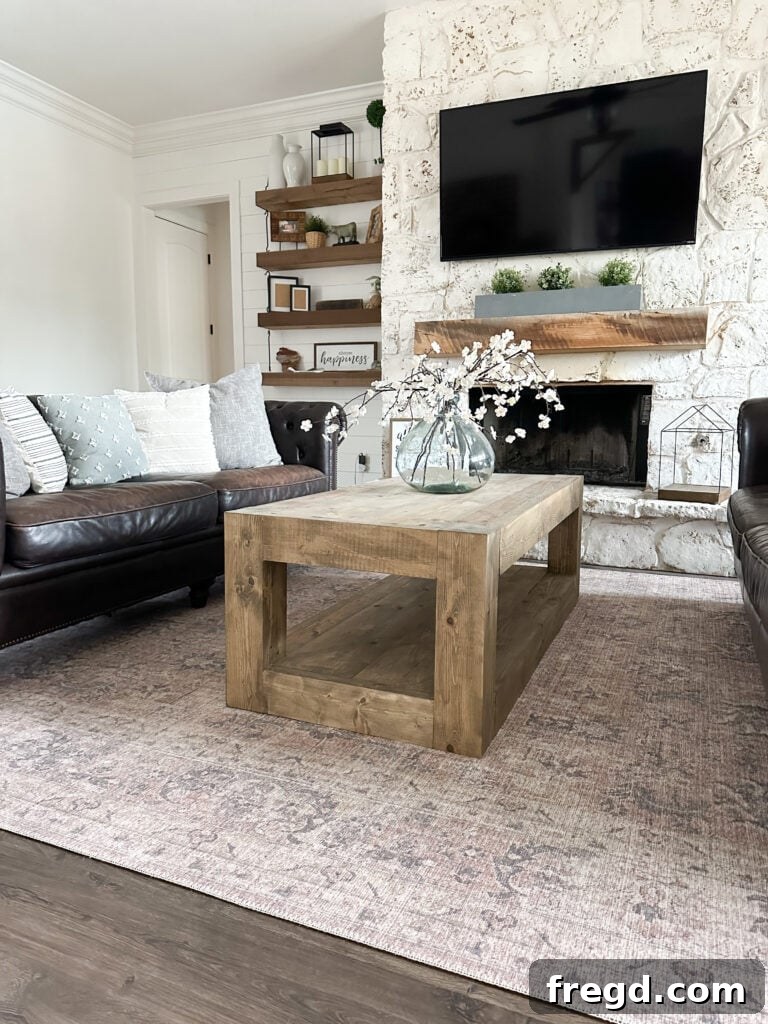
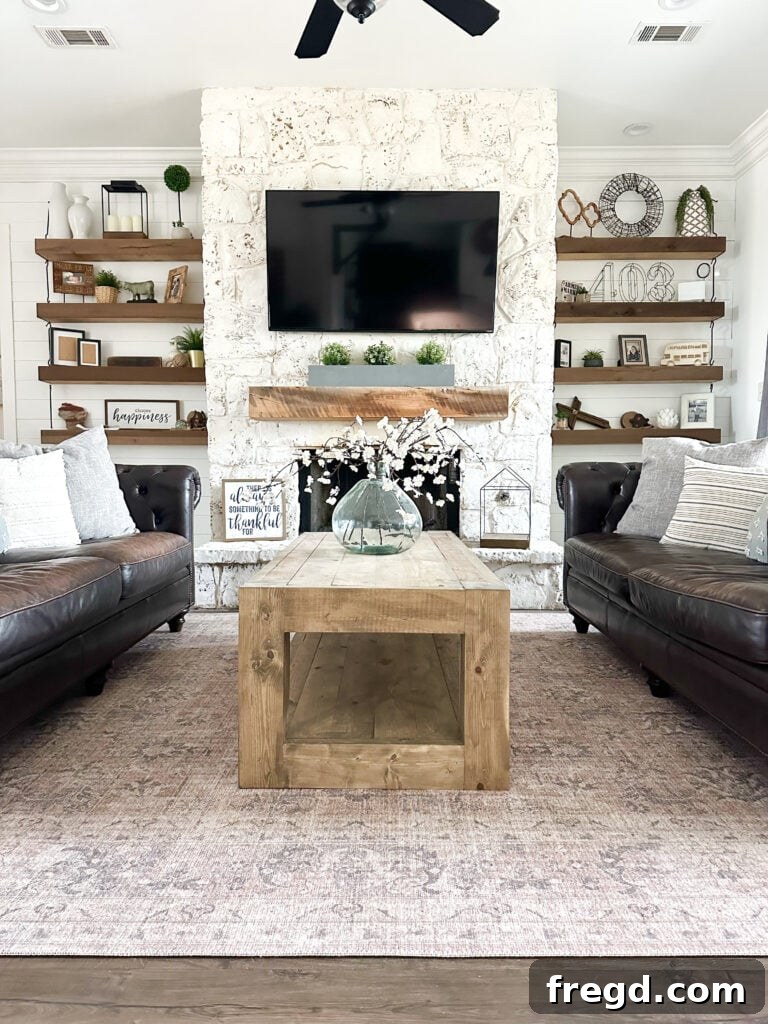
For those curious about the styling, you can find the rug we chose for our living room here to complete the look!
We absolutely love seeing your completed projects! Be sure to share your magnificent builds with us on social media using the hashtag #shanty2chic. We’d be thrilled to feature your creations and inspire other DIY enthusiasts. Happy Building!
Discover More Shanty Woodworking Projects!
Loved building this coffee table? We have a treasure trove of other DIY projects waiting for you. Dive into our extensive collection of free woodworking plans and continue to transform your home with handmade furniture.
Explore Our Collection of DIY Coffee Table Ideas with Free Plans:
If you’re looking for different styles or unique features, check out these other popular coffee table builds:
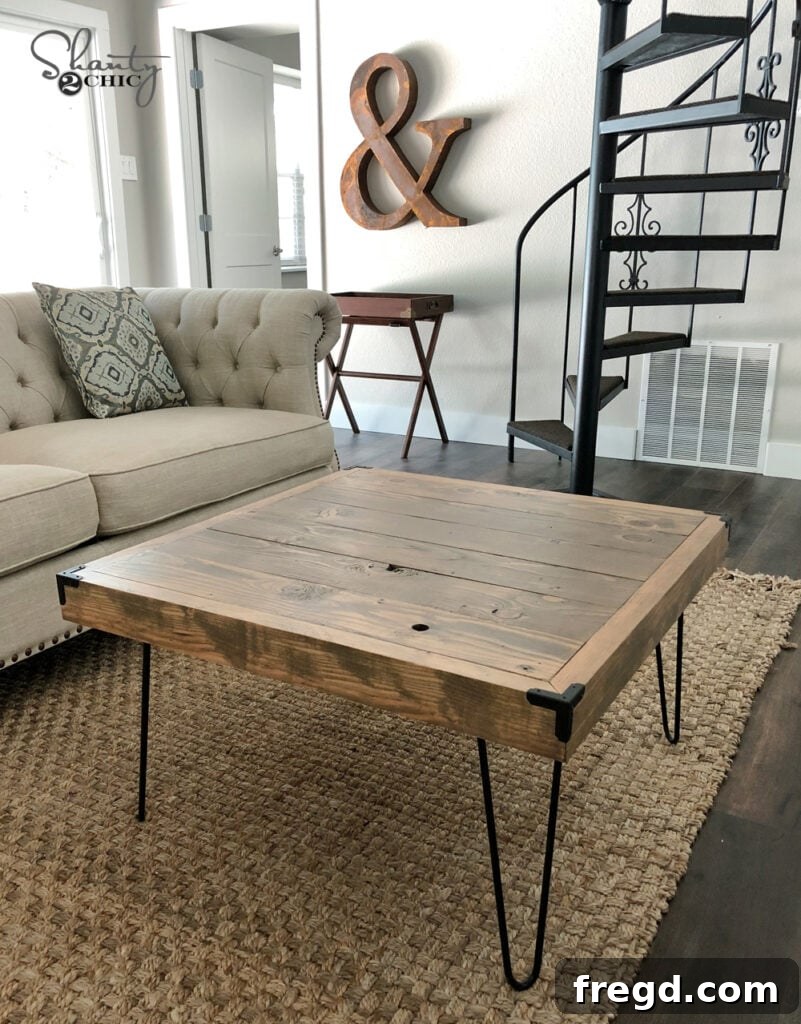
Hairpin Leg Coffee Table:A sleek, minimalist design perfect for modern spaces.
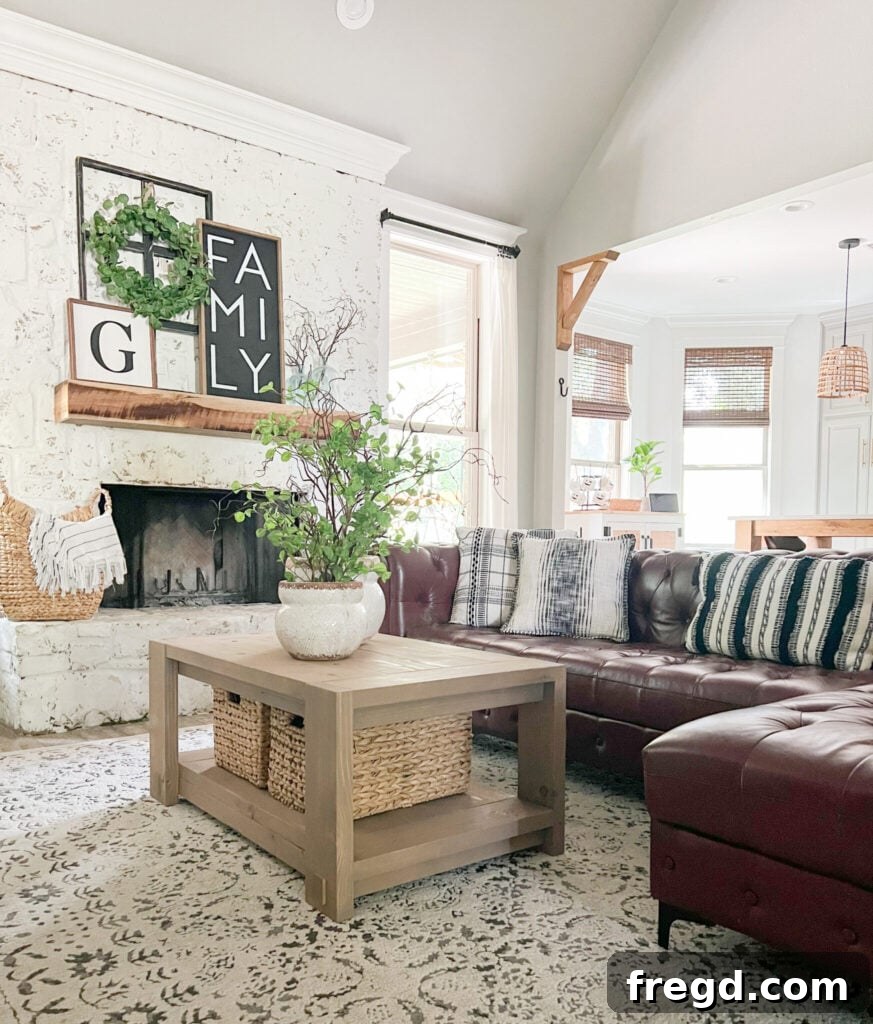
Classic Farmhouse Coffee Table:Embrace rustic charm with this timeless design.
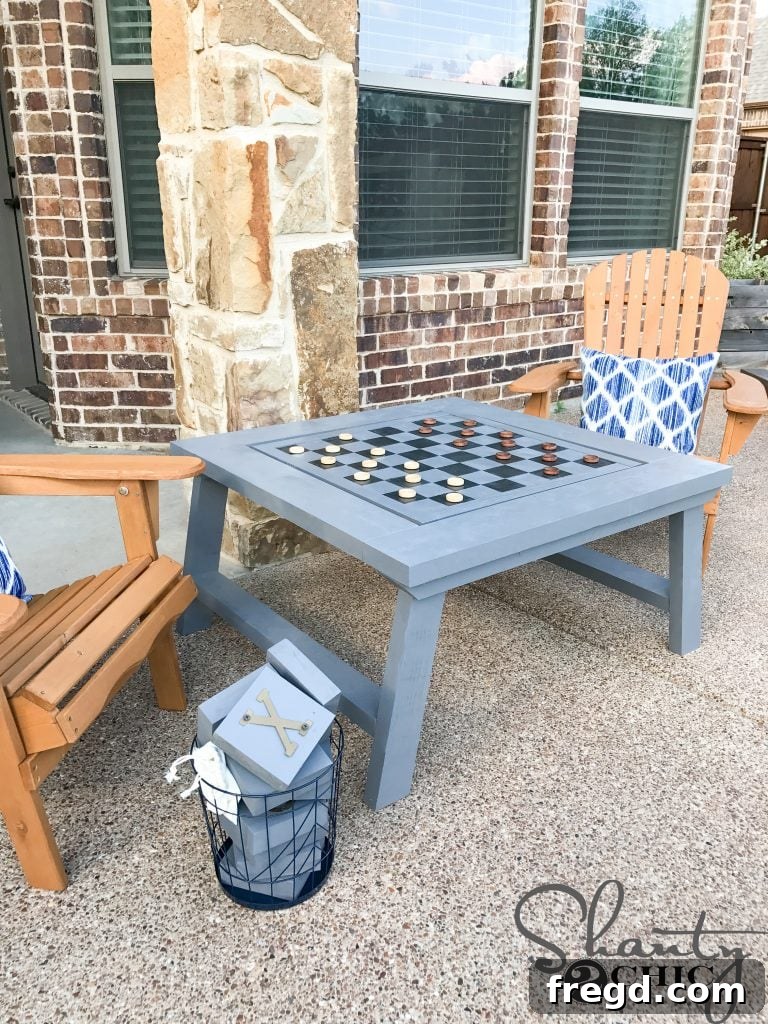
Outdoor Coffee Table / Game Table:Perfect for your patio or deck.
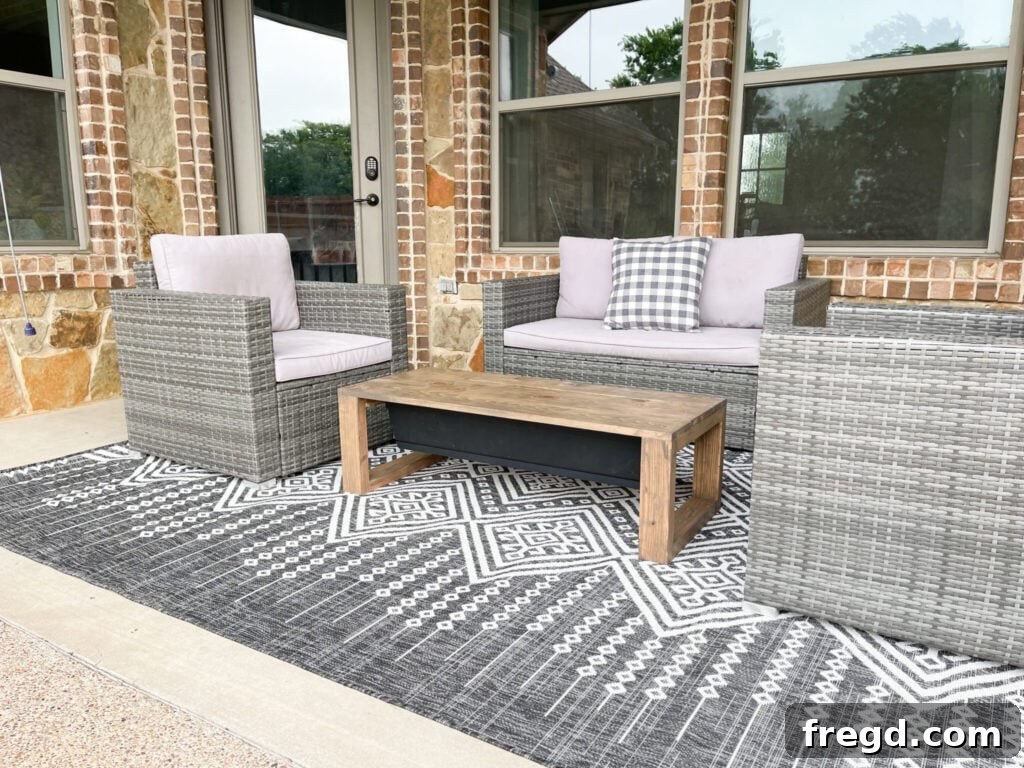
Patio Coffee Table with Cooler:Keep your drinks cold while entertaining outdoors.
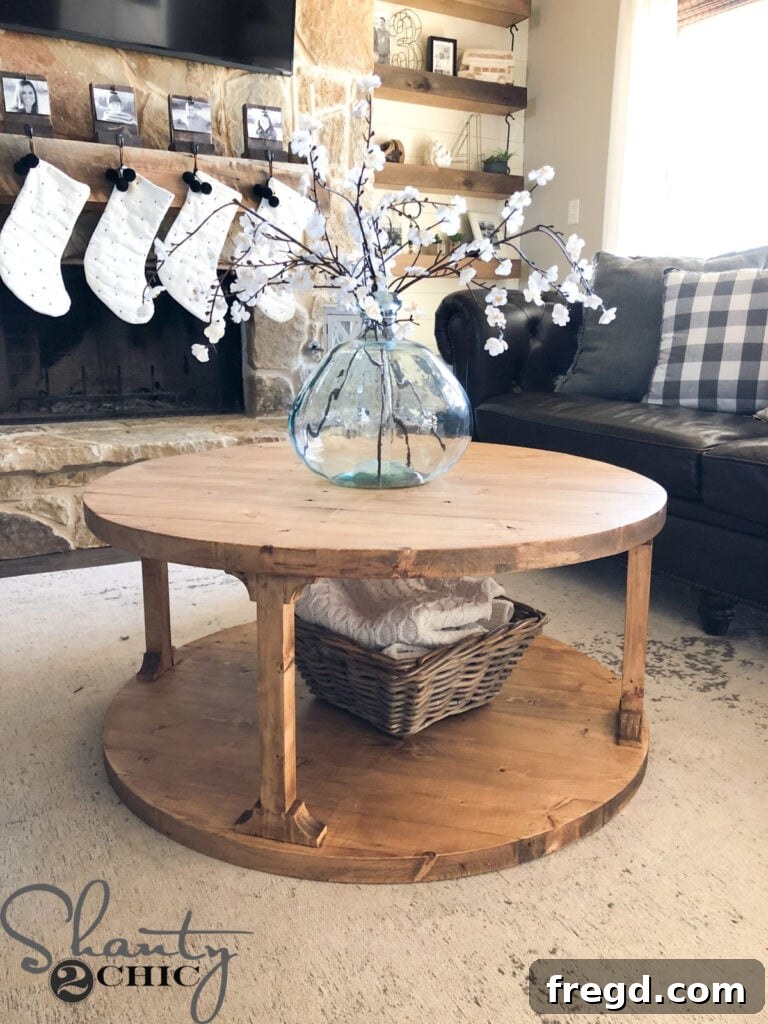
Elegant Round Coffee Table:A softer, sophisticated option for your living room.
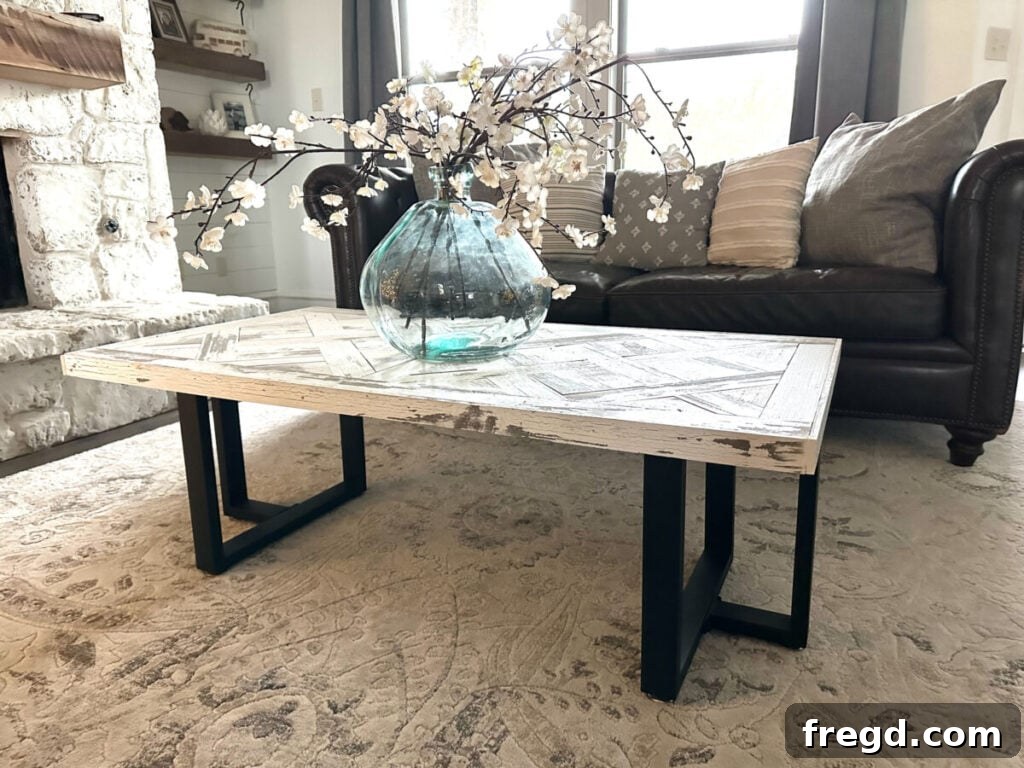
Industrial Coffee Table (Three Tools Build):A minimalist project with an industrial edge.
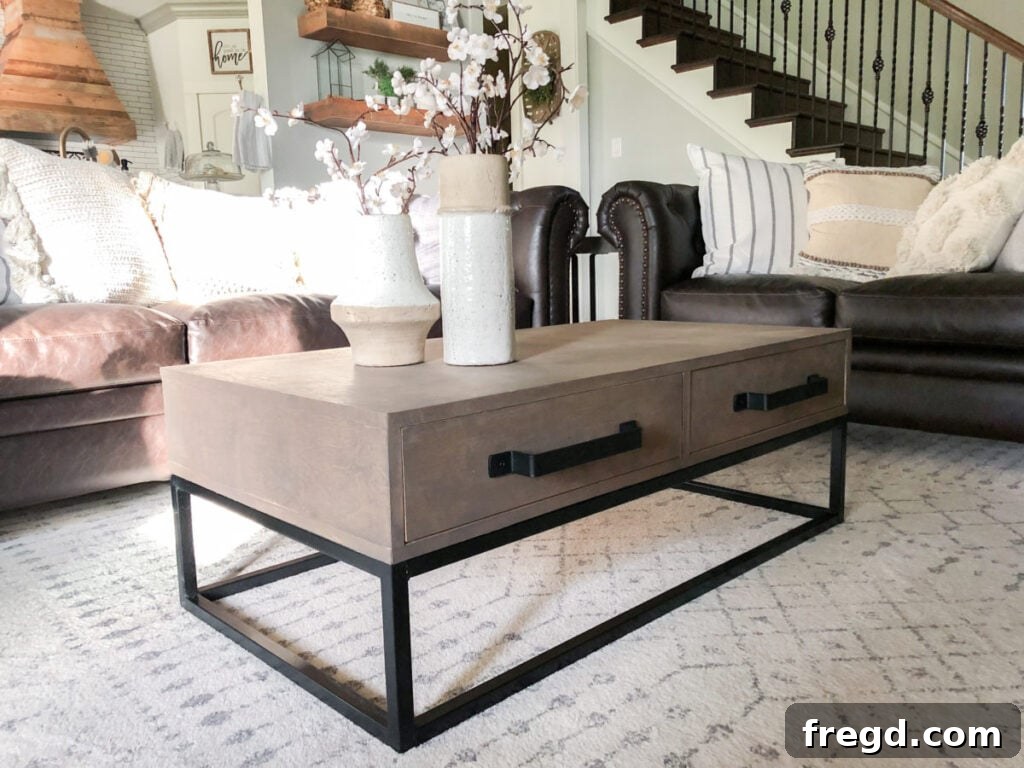
Coffee Table with Drawers:Maximize storage with this practical design.
Rolling Storage Ottoman Coffee Table:A versatile piece that offers both seating and storage.
We’re passionate about helping you create beautiful, functional pieces for your home. Keep building, keep creating, and enjoy the satisfaction of DIY!