
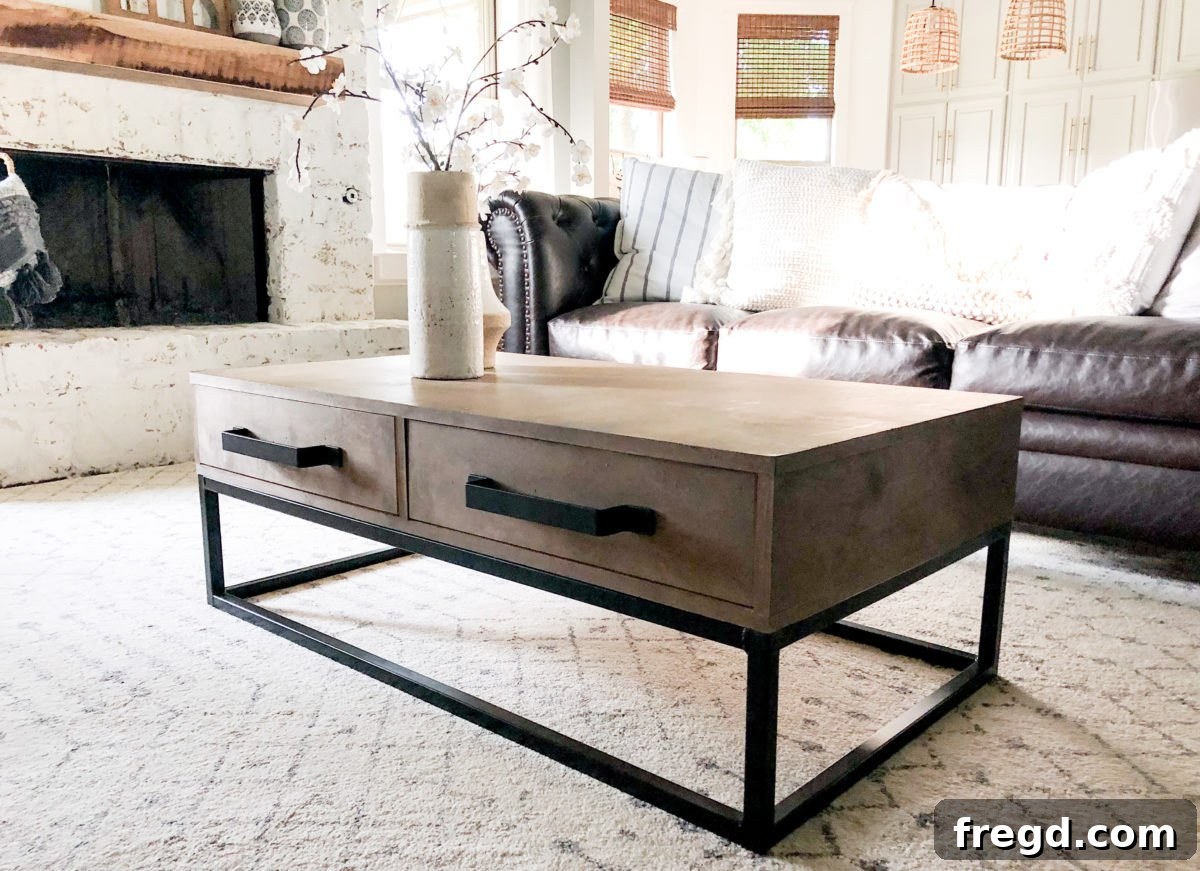
Embark on an exciting journey to create your very own stunning DIY wood and metal coffee table! This project brings together the best of both worlds: the warmth and beauty of wood with the sturdy, modern appeal of metal. We had the incredible opportunity to collaborate with our exceptionally talented friend, Jen Woodhouse from The House of Wood, who not only shared invaluable tips and tricks for TIG welding but also masterfully designed this show-stopping centerpiece. Our adventure was further supported by Lincoln Electric, as we put their innovative 140 MP Multi-Process Welding Machine to the test, capturing every moment on camera for an earlier video. Today, we’re thrilled to guide you through the complete woodworking build for this exceptional coffee table, a piece that promises to elevate any living space with its unique blend of industrial chic and rustic charm.
What makes this particular coffee table truly stand out? For starters, its beautiful and durable top is crafted from just a single sheet of PureBond Plywood – a testament to smart design and quality materials. Furthermore, the versatile base design can be easily adapted, making it an accessible project even if you’re not experienced with metalwork. Whether you’re a seasoned DIYer or just starting your woodworking journey, this comprehensive guide, paired with Jen Woodhouse’s expert design, will empower you to construct a custom coffee table that’s both functional and breathtakingly beautiful.
Table of Contents
The Marvel of Modern Plywood: Crafting with PureBond
The idea of constructing beautiful, durable furniture from plywood might initially sound unconventional, even a little strange. Many DIY enthusiasts and seasoned woodworkers alike often gravitate towards solid hardwood, associating it with superior quality and aesthetics. However, this perception rapidly changes once you discover the remarkable capabilities of PureBond Plywood. It was a game-changer for us, transforming our approach to woodworking and opening up a world of possibilities for crafting high-end pieces on a budget.

One of the most appealing aspects of PureBond Plywood is its accessibility. You can find this exceptional product readily available at any Home Depot store, making it incredibly convenient for your next project. Our initial skepticism quickly vanished years ago when we first learned about PureBond’s unique benefits, and these very advantages continue to be why it remains our preferred choice today:
- Formaldehyde-Free Glue: This is a massive selling point. Traditional plywood often uses glues that off-gas harmful formaldehyde, impacting indoor air quality and posing health concerns. PureBond eliminates this worry, ensuring a safer environment for both the builder and the end-user. It’s truly comforting to know you’re not breathing in toxic chemicals while working on or living with your creations.
- Made in America: We are proud supporters of American manufacturing, and PureBond Plywood fits perfectly into that philosophy. This commitment to domestic production often translates to higher quality control and supports local economies – a win-win for everyone involved.
- Sustainable Sourcing: Environmental responsibility is increasingly important, and PureBond addresses this by sourcing its wood from sustainable North American forests. Choosing PureBond means you’re making an eco-conscious decision, contributing to responsible forestry practices.
- Extremely Easy to Work With: For DIYers, ease of use is paramount. PureBond Plywood cuts cleanly, accepts fasteners well, and offers excellent stability, minimizing warping or splitting. Its consistent quality makes the building process smoother and more enjoyable, even for those new to woodworking.
- Stunning Aesthetics: Perhaps the biggest selling point for many is its sheer beauty. PureBond provides the luxurious look and feel of real hardwood veneers for a fraction of the cost. Home Depot typically stocks popular species like birch and oak, but you can also order specialized veneers such as hickory, maple, and many more, directly to your local store. This flexibility allows for incredible customization to match any decor style, from classic to contemporary. The beautiful grain patterns truly shine through any finish.
Once you experience the numerous benefits of PureBond Plywood, it becomes an obvious choice that you’ll likely never want to go back from. It combines health and environmental responsibility with superior workability and exquisite beauty, all while fitting quite nicely into even the most modest DIY budgets. It truly allows us to create shanty-chic pieces without compromising on quality or style.
A Creative Partnership: Designing Your Dream Coffee Table
Every great project often begins with a spark of inspiration and a collaborative spirit. For this remarkable wood and metal coffee table, we had the distinct pleasure of partnering with the incredibly talented Jen Woodhouse. Jen, a renowned designer and builder behind “The House of Wood,” graciously made the trip to our workshop, bringing her expertise and vision to life. It was a truly enriching experience to work alongside her, especially as she guided us through the intricate process of constructing the robust metal base for this table – a segment we eagerly shared in a previous video showcasing the welding aspect.
Jen wasn’t just a guest; she was the brilliant mind behind the very design of this coffee table, meticulously crafting plans that seamlessly blend industrial aesthetics with practical functionality. While she helped us lay the foundation with the metal base, she entrusted us with her detailed blueprints and creative insights to meticulously build the wooden top and integrated drawers. After an incredibly productive and fun collaboration, we sent her back home, armed with her exceptional plans, and immediately got to work, transforming her vision into a tangible piece of furniture. This partnership truly embodies the spirit of DIY – sharing knowledge, combining skills, and creating something truly special together.

Precision Cuts and Strong Joints: Building the Coffee Table Frame
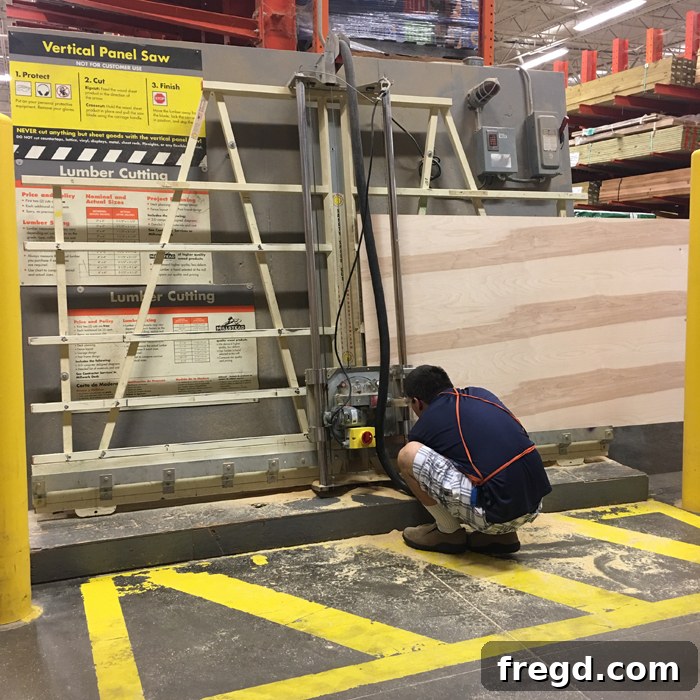
The foundation of any successful woodworking project lies in accurate cuts and sturdy joints. Our journey began with preparing the PureBond Plywood, the heart of our coffee table’s wooden structure. To manage the large 4×8 foot sheets, a common practice for many DIYers is to have the lumber professionals at Home Depot make initial “rough cuts” or “rips” to break down the sheet into more manageable long boards. This makes transportation easier and safer, especially if you don’t have a large vehicle or extensive workshop space.
Once back in the workshop, precision becomes paramount. We used a reliable table saw for all our long, straight cuts, ensuring perfectly parallel edges for the main components of the table. For crosscuts and any angled pieces, a miter saw proved invaluable, offering consistent accuracy. Remember, measure twice, cut once – this adage is your best friend in woodworking, preventing costly mistakes and wasted material.
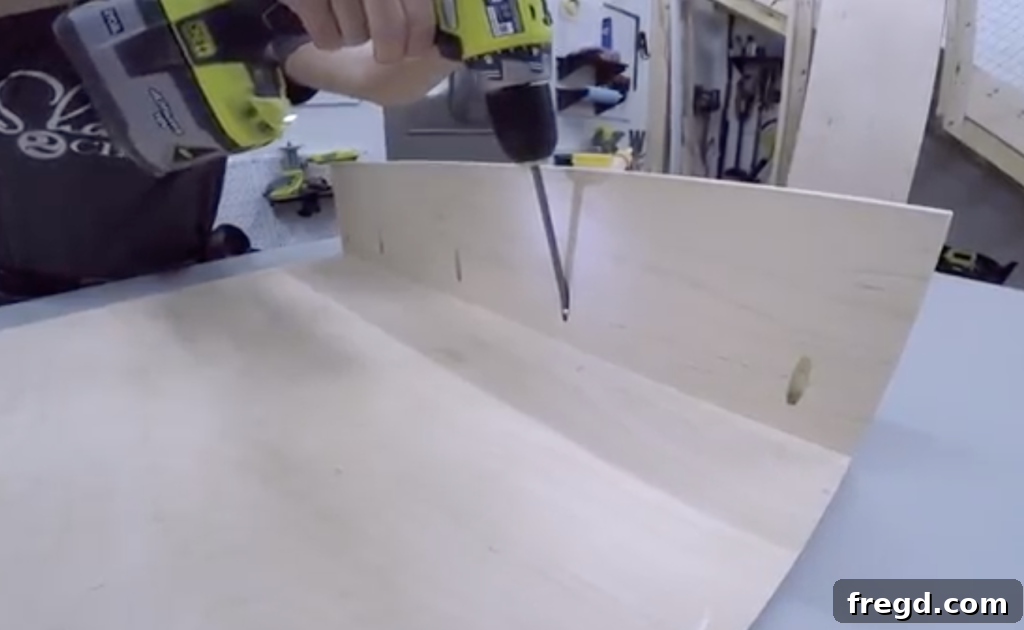
For creating strong, concealed joints, the Kreg Jig K5 model is an absolute must-have in any woodworking arsenal. This pocket-hole system allows you to drill angled holes into one piece of wood, which then connects to another piece with specialized screws, creating incredibly strong and discreet joints. The Kreg Jig K5 is known for its ease of use, making pocket hole joinery accessible even for beginners, and delivering professional-looking results every time.
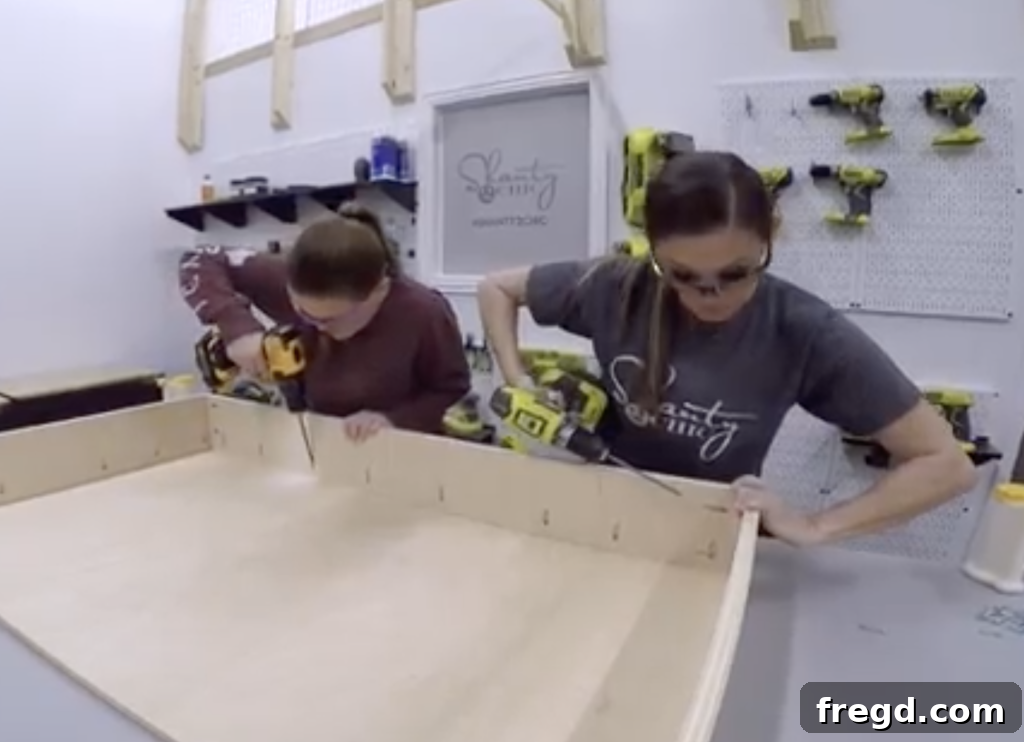
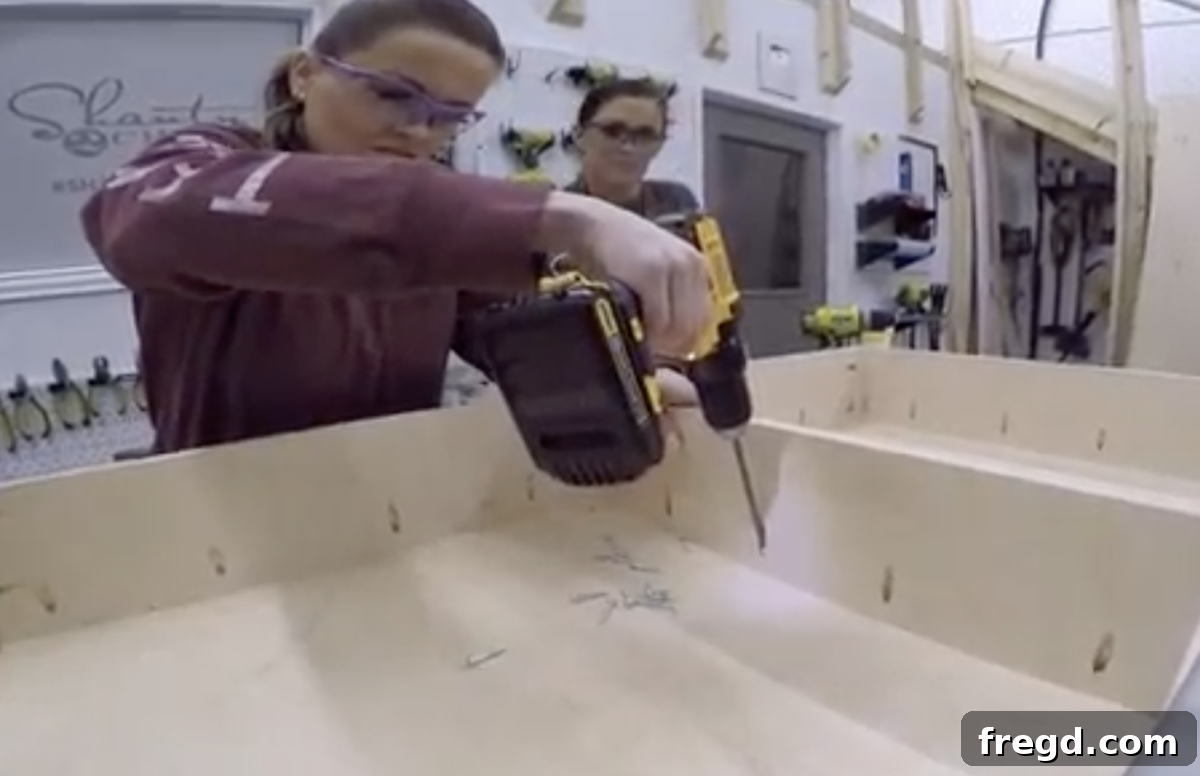
Once all our pieces were precisely cut and pocket holes drilled where necessary, the assembly process began. The key to a robust and long-lasting piece of furniture is the combination of quality wood glue and appropriate fasteners. We liberally applied wood glue to all mating surfaces before securing them with 1.25-inch pocket hole screws. This combination ensures maximum strength and stability. We started by attaching the side panels and the central divider to the underside of what would become the top of the coffee table, carefully aligning each piece and clamping them securely while the glue set. It’s crucial during this stage to ensure all angles are square and all pieces are flush, creating a solid and balanced foundation for your table.
Crafting Functional Storage: Building and Installing the Drawers
Once the main framework of your coffee table is coming together, it’s the perfect time to focus on building the drawers. This strategic timing is crucial because it allows for much easier installation of the drawer slides, as you haven’t yet attached the bottom base piece of the coffee table box. Working with an open frame provides better access and visibility, which can save you a lot of frustration later on, especially for those intricate slide placements.
The drawers themselves are constructed as simple, sturdy boxes. We used 3/4-inch plywood for the drawer sides, front, and back, providing ample strength and stability for holding various items. For the drawer bases, thinner 1/4-inch plywood is ideal, offering sufficient support without adding unnecessary weight. The combination of these thicknesses creates durable drawers that will stand the test of time.
Begin by assembling the drawer boxes. Apply a generous amount of wood glue to all mating edges before joining the corners. Then, secure these joints with 1.25-inch brad nails. Brad nails are excellent for this purpose as they offer immediate holding power, allowing the glue to set without clamps, and leave minimal holes that are easy to fill later. Ensure your drawer boxes are perfectly square; this is vital for smooth drawer operation. A quick check with a carpenter’s square after each assembly step can prevent issues down the line.
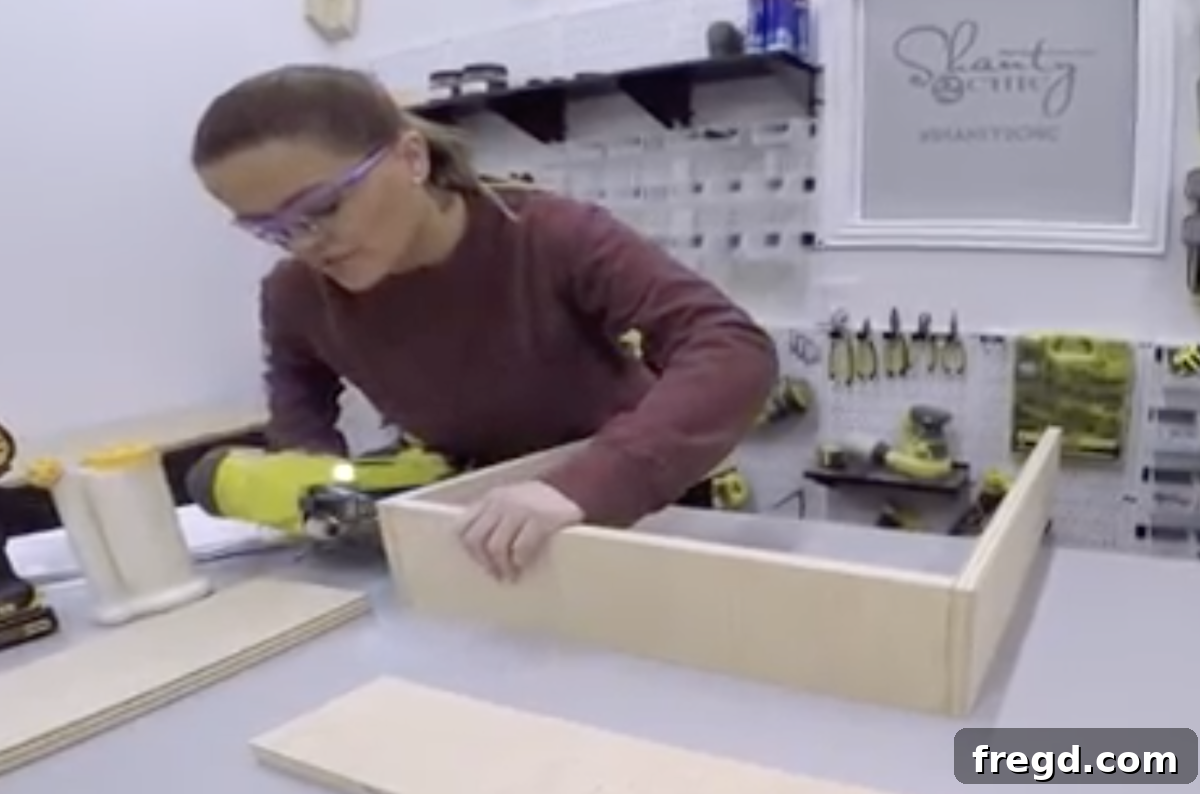
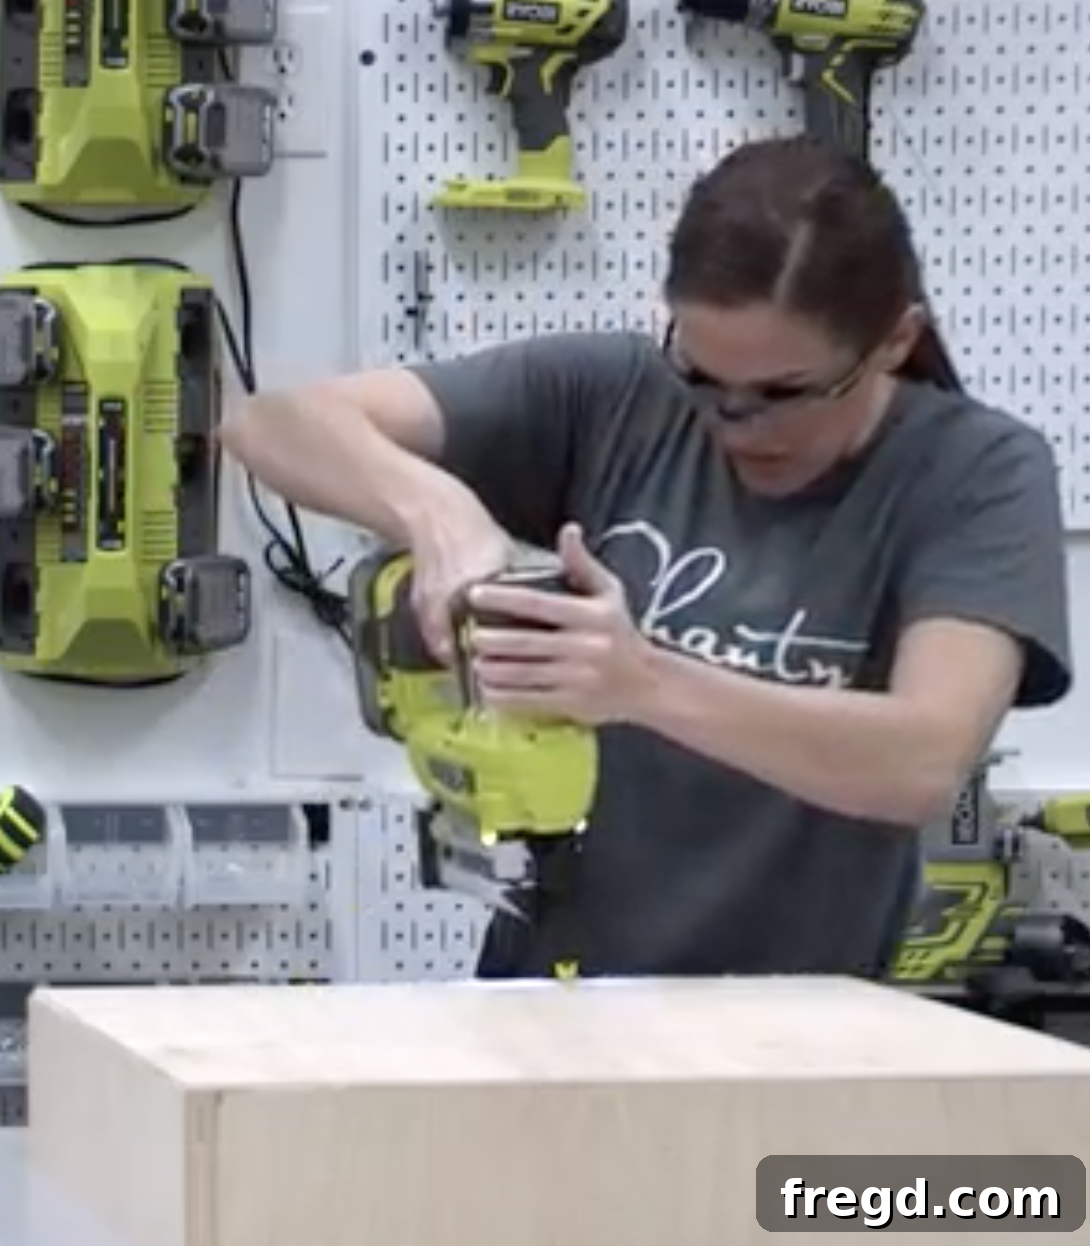
With the drawer boxes complete, it’s time to attach their bases. Slide the 1/4-inch plywood into the bottom groove (if you routed one) or simply place it flush with the bottom edges of the drawer box. Secure the bases using a stapler or a brad nailer, combined with wood glue. The glue provides long-term strength, while the staples or nails hold the base firmly in place during the curing process, ensuring the bottom won’t sag or detach with use.
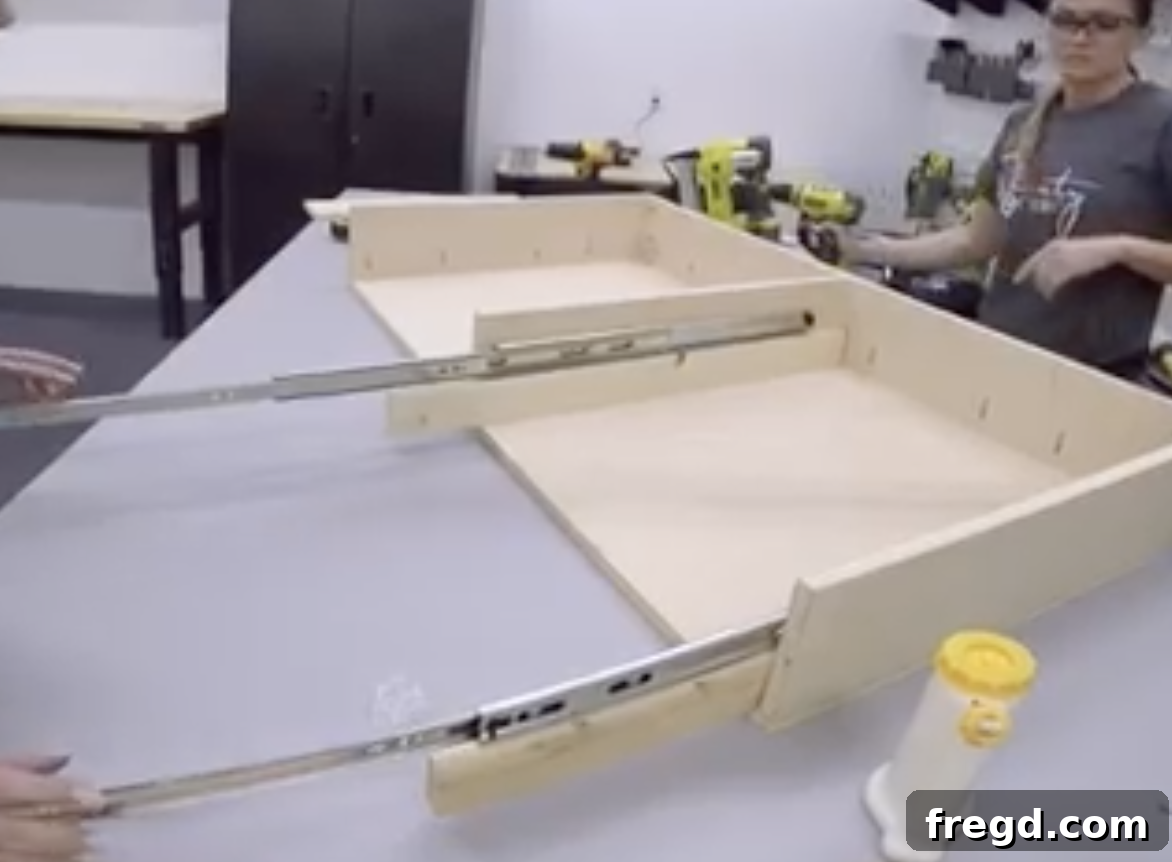
Now, for a crucial step: attaching your drawer slides. We highly recommend watching our companion video for detailed tips and tricks that make this process incredibly easy and ensure smooth operation. Proper alignment of the slides is key. We utilized THESE DRAWER SLIDES, known for their reliability and ease of installation. Mark your guide lines carefully, making sure the slides are level and parallel to each other. Even a slight misalignment can cause the drawers to stick or bind, so take your time with this step. Precise measurements and pre-drilling pilot holes will make fastening much simpler and prevent wood splitting.
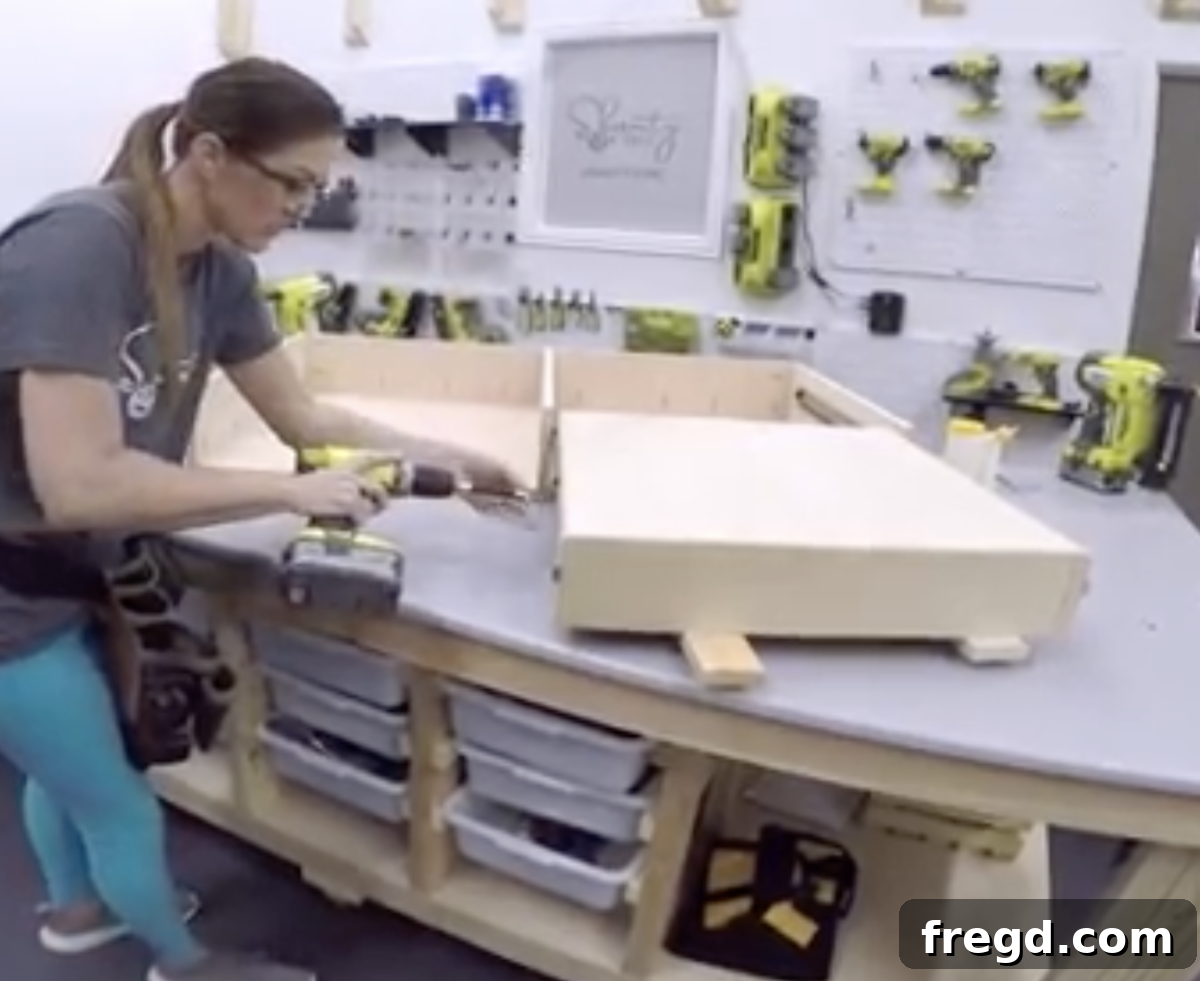
Once your drawers are smoothly gliding into place, it’s time to integrate the coffee table’s base. This could be the metal base designed by Jen Woodhouse or a custom wooden base you’ve crafted. The base is attached to the underside of the table top using strong wood glue and 1.25-inch Spax or other high-quality wood screws. Ensure proper alignment and firmly secure the base, as it provides the primary structural support and stability for the entire table. Countersink your screws for a flush finish if desired, or simply ensure they are driven in securely.
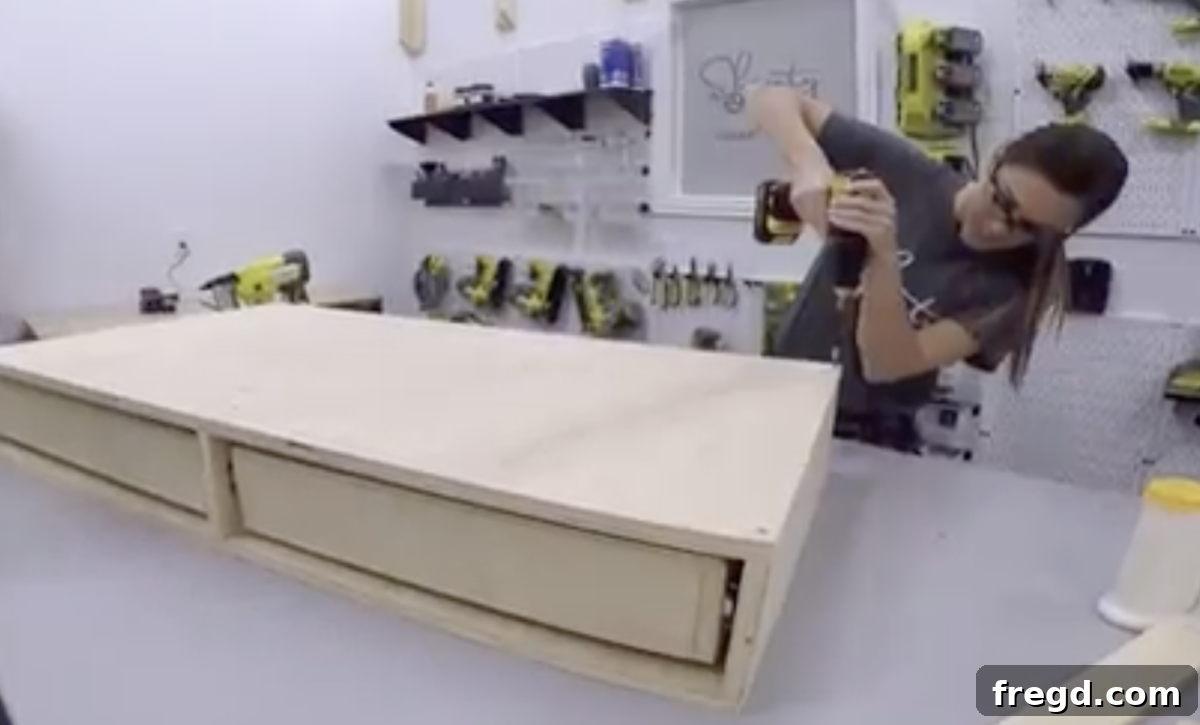
Finally, add the drawer faces. These are the visible front panels of your drawers and play a significant role in the table’s overall aesthetic. Cut them precisely to size, ensuring they fit perfectly within their openings with even gaps all around. Attach them using wood glue and a few strategically placed nails. A clever trick to minimize visible nail holes on the front is to use just a couple of brad nails to hold the face in position temporarily, then open the drawer and add more screws or nails from the inside of the drawer box. This provides a clean, professional finish to your custom coffee table.
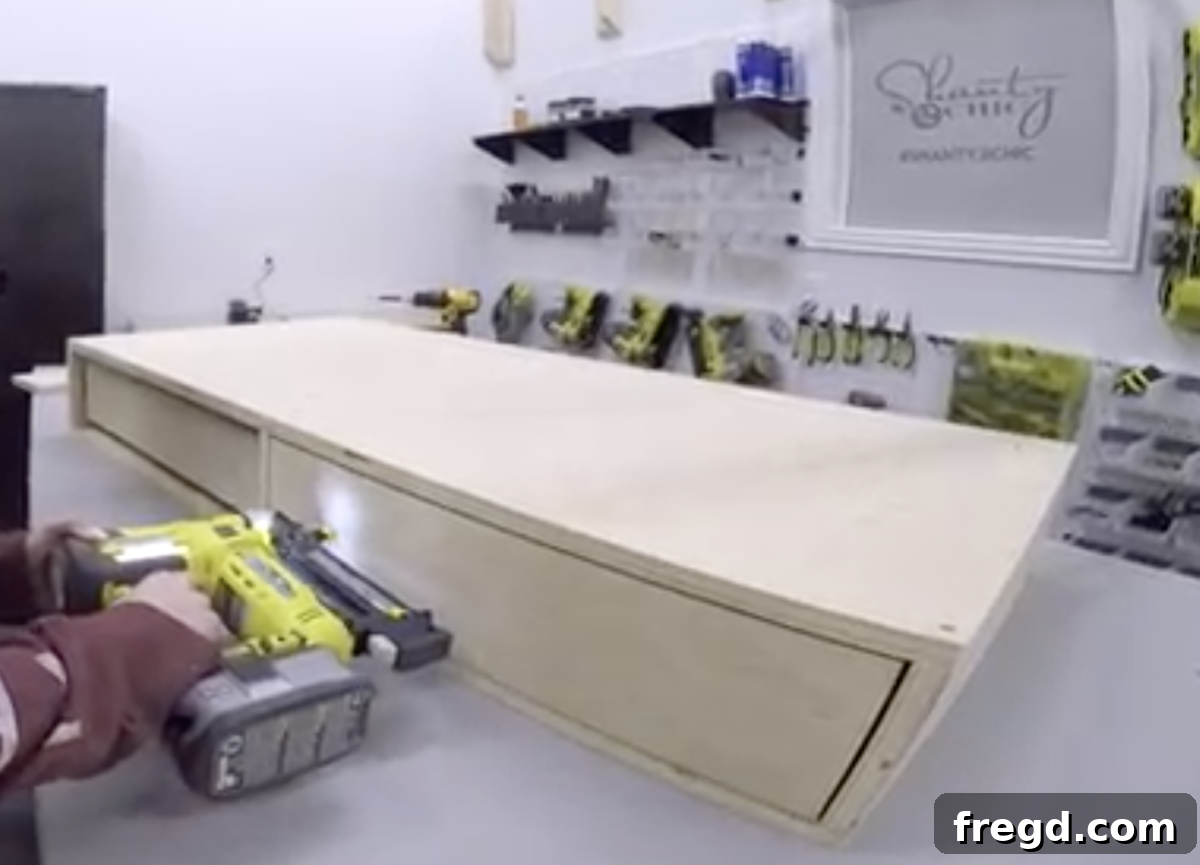
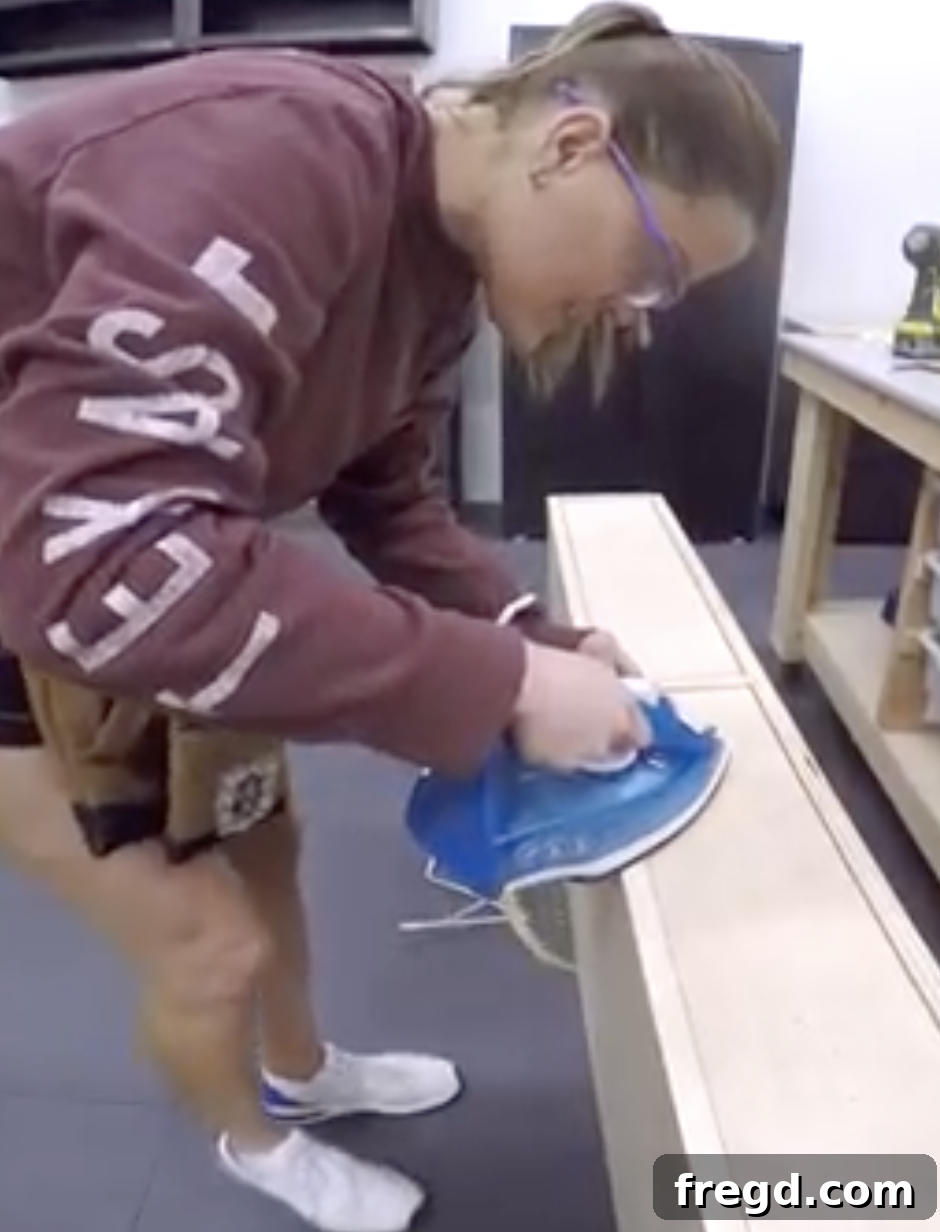
To give the exposed plywood edges of the table a refined, solid wood appearance and hide the characteristic layers, we applied edge banding material. This simple yet effective technique elevates the entire piece. You can acquire high-quality edge banding HERE. It adheres easily using a standard hot iron, bonding the veneer strip to the plywood edge. After applying, trim any excess with a sharp utility knife or a dedicated edge banding trimmer, and lightly sand for a perfectly smooth, clean, and professional finished look that truly transforms the plywood into a furniture-grade surface.
The Finishing Touches: Edge Banding, Staining, and Hardware
The final steps in building your DIY wood and metal coffee table are arguably the most transformative, bringing out the inherent beauty of the wood and adding those personalized elements that make the piece truly yours. A thoughtfully applied finish not only protects the wood but also dramatically enhances its aesthetic appeal, creating a warm, inviting focal point for your living space. We meticulously finished the entire wooden portion of our table using this rich stain. Choosing the right stain is crucial; it allows the natural grain of the PureBond plywood to shine through, providing depth and character that complements the industrial edge of the metal base. When applying stain, ensure an even coat by wiping it on with a cloth and then wiping off any excess before it dries, working in sections to avoid lap marks. Always test your stain on a scrap piece of wood first to ensure you achieve the desired color.
Beyond staining, consider applying a protective topcoat, such as polyurethane or a clear varnish, to shield the wood from spills, scratches, and daily wear and tear. This step is vital for ensuring the longevity and durability of your coffee table, especially in a high-traffic area of your home. Apply several thin coats, sanding lightly between each, for a smooth, resilient finish.
To complete the functional elegance of the drawers, we selected these stylish drawer pulls for the front of the table. Hardware choice is often underestimated, but the right pulls can significantly impact the overall look and feel of your furniture. They serve as both a practical element, allowing easy access to your stored items, and a decorative accent that ties the design together. Consider the style and finish of your pulls to ensure they harmonize with both the stained wood and the metal elements of your table. Matte black pulls, for instance, often complement an industrial-modern aesthetic beautifully.
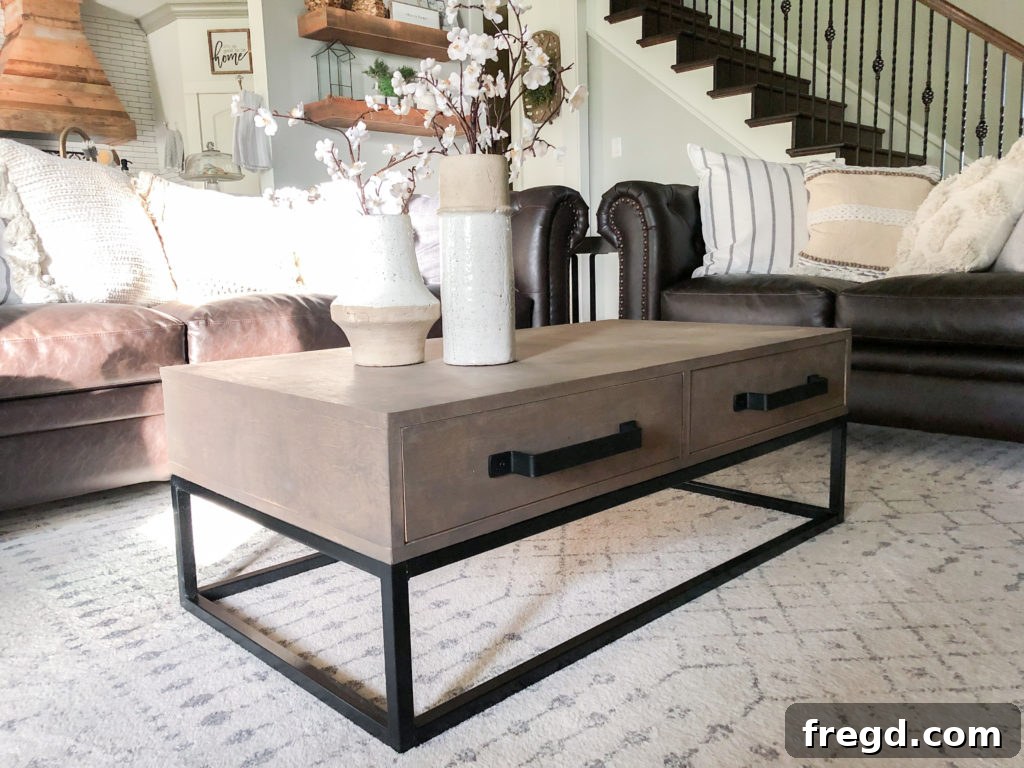
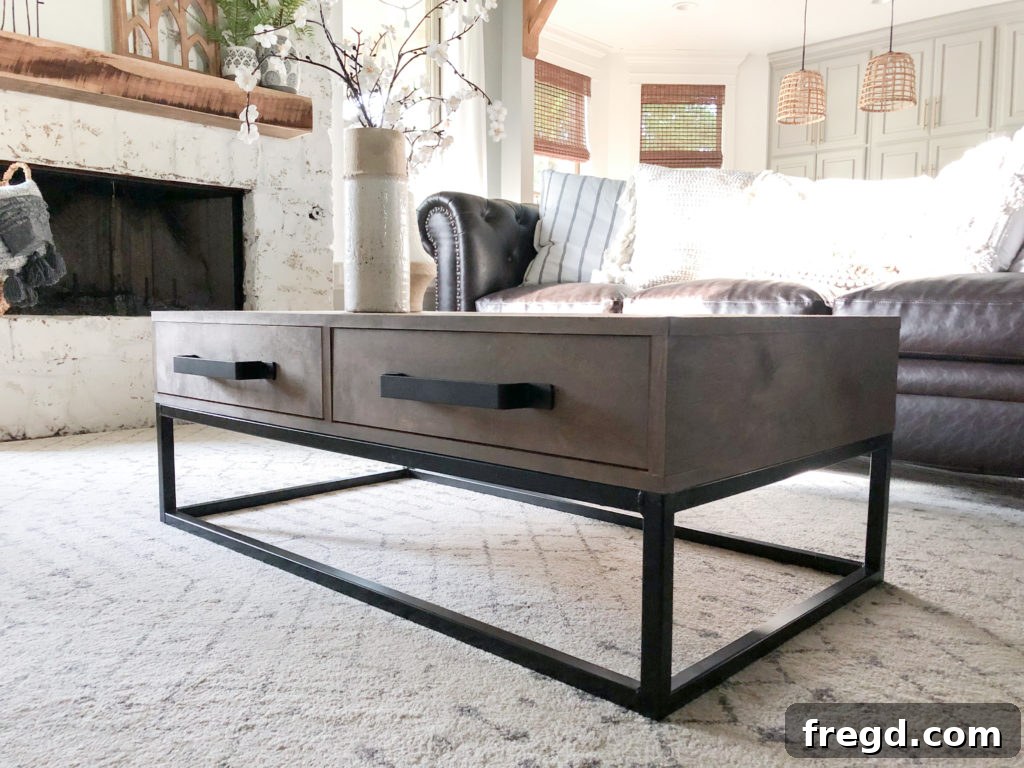
And now, after all your hard work, precision, and creative effort, here she is – looking absolutely stunning and ready to become the focal point of your living room! This DIY wood and metal coffee table isn’t just a piece of furniture; it’s a testament to your craftsmanship, a custom creation that reflects your unique style and dedication. Bask in the satisfaction of building something beautiful and functional with your own hands, knowing that every cut, joint, and finish was carefully executed to bring this dream table to life.
Unlock Your Next Project: Free Plans & More DIY Inspiration
Congratulations on reaching the culmination of your DIY wood and metal coffee table project! The journey from raw materials to a beautiful, functional piece of furniture is incredibly rewarding, and we hope this detailed guide has empowered you every step of the way. What’s even better than a custom-built coffee table? Having access to the precise, expert-designed blueprints that made it possible!
You can effortlessly take on this project yourself or inspire your next build by getting the comprehensive, free plans that Jen Woodhouse meticulously created for this very cute and sturdy table. Her designs are renowned for their clarity and detail, making complex projects approachable for all skill levels. Don’t miss out on this fantastic resource – grab your FREE PLANS HERE!
But the DIY inspiration doesn’t stop there. If you’re eager to continue honing your woodworking skills or simply looking for your next captivating project, we invite you to explore our extensive collection. Discover the perfect DIY Coffee Table Plans from our complete assortment of over 15 unique and free designs! Whether you prefer rustic, modern, traditional, or industrial styles, you’re sure to find a plan that sparks your creativity and fits perfectly into your home decor vision. Happy building!