
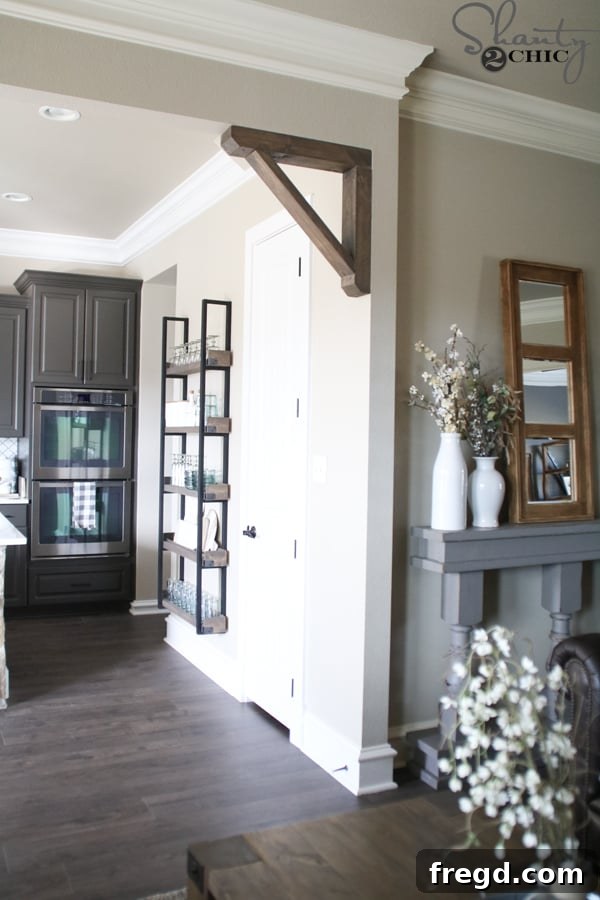
DIY Rustic Corbel: Craft a Custom Architectural Accent for Under $10
Welcome to our latest DIY project, where we’re showing you exactly how to craft a beautiful, rustic corbel that adds instant character to any space without breaking the bank. This stunning architectural detail, often seen in high-end homes and charming farmhouses, can be yours for approximately $7! It’s an incredibly simple woodworking project, perfect for beginners and seasoned DIYers alike, and easily customizable to perfectly match your home’s aesthetic. Whether you’re looking to enhance a plain doorway, add support and style beneath a shelf, or create a unique decorative element, this DIY corbel offers endless possibilities.
Corbels are more than just structural supports; they are artistic elements that bring depth, texture, and a touch of timeless elegance to interiors. Our design focuses on a rustic, chunky aesthetic that provides a substantial feel, reminiscent of reclaimed wood or vintage craftsmanship. The best part? You get to hand-pick your wood, choose your finish, and enjoy the satisfaction of building something beautiful with your own hands. Get ready to elevate your home décor with a custom piece that reflects your personal style!
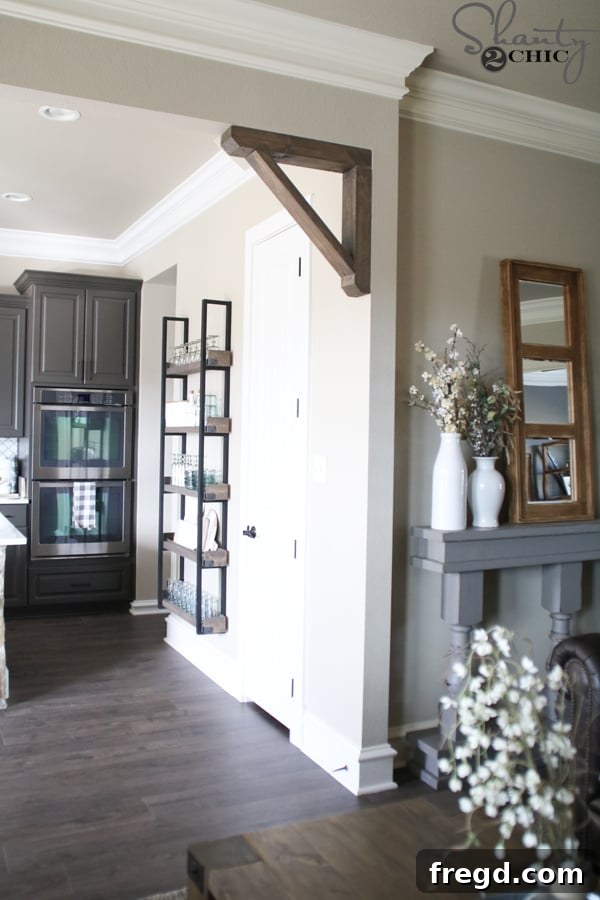
Ready to dive in? Watch our comprehensive video tutorial below for a visual guide through every step of building your own rustic corbel. It’s like having us right there with you in your workshop!
To make your building process as smooth as possible, we’ve prepared free, printable plans that include all the necessary measurements and detailed diagrams. Simply click HERE to download them instantly. These plans, combined with our video and step-by-step written instructions, ensure you have all the resources needed for a successful build.
Essential Materials for Your Rustic Corbel Project
Building this striking corbel is surprisingly affordable, primarily utilizing standard lumber and a few common woodworking supplies. Here’s what you’ll need to gather:
- 2×6 Lumber: This will be the foundation of your corbel. We recommend selecting a straight piece without significant knots or warps for the best results. The 2×6 dimensions give our corbel its desirable “chunky” appearance.
- Wood Glue: High-quality wood glue is crucial for creating strong, lasting joints. It works in conjunction with fasteners to ensure your corbel remains sturdy.
- 2″ Brad Nails: These fine nails are perfect for temporarily holding pieces together while the wood glue dries, providing additional strength to your joints without being overtly visible.
- 2 1/2″ Pocket Hole Screws: These specialized screws are designed to be used with pocket holes, creating incredibly strong, concealed joints that are essential for the main structural connections of the corbel.
- Wood Stain (e.g., Varathane Briarsmoke): Your choice of stain will define the final look of your corbel. Briarsmoke provides a beautiful, deep rustic tone, but feel free to experiment with other shades to match your décor.
- Clean Cloths: Essential for applying and wiping off stain cleanly. Have several on hand.
- Wood Filler (Optional): For concealing screw holes or minor imperfections before staining.
Tools You’ll Need for Corbel Construction
A few standard woodworking tools will make this project a breeze. If you don’t own all of them, consider borrowing from a friend or checking out tool rental options at your local hardware store.
- Table Saw (Optional but Recommended): While not strictly essential, a table saw allows you to rip the rounded edges off the 2×6 lumber, creating perfectly flush seams when boards are stacked. This results in a much cleaner, more professional finish.
- Miter Saw (or Circular Saw/Hand Saw): For making precise angled and straight cuts according to the plans. Accuracy here is key for a well-fitting corbel.
- Kreg Jig: An invaluable tool for drilling strong, angled pocket holes. We use this for creating concealed joints that significantly enhance the corbel’s structural integrity. You can find our favorite Kreg Jig model HERE on Amazon.
- Drill/Driver: For drilling pilot holes (if needed) and driving pocket hole screws.
- Brad Nailer (or Hammer): For quickly and securely fastening pieces with brad nails. A hammer and nails can also work, though a brad nailer is faster and leaves smaller holes.
- Measuring Tape and Pencil: For accurate measurements and marking cuts.
- Safety Glasses and Hearing Protection: Always prioritize safety when working with power tools.
Step-by-Step Guide to Building Your Rustic Corbel
Step 1: Preparing Your Lumber – Achieving a Seamless Look
Before making any cuts, we recommend a crucial preparatory step for a refined finish. Using your table saw, carefully rip the rounded edges off your 2×6 lumber. This might seem like an extra step, but it ensures a perfectly smooth, almost seamless transition between the boards when they are stacked. Without this step, you will notice a distinct seam where the rounded edges meet, which some prefer for an even more rustic look. If you decide to skip this, or if you don’t have a table saw, you can still achieve a fantastic corbel. Another option is to simply build the corbel without stacking the boards, which results in a less “chunky” profile but remains visually appealing.
Pro Tip: When ripping lumber, always ensure your fence is perfectly parallel to the blade and use push sticks for safety. Take your time for clean, straight cuts.
Step 2: Making Precise Cuts
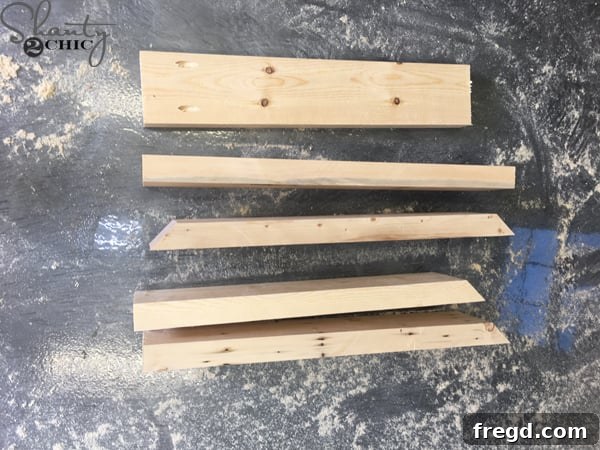
Now it’s time to transform your lumber into the individual components of the corbel. Refer to your free printable plans for exact dimensions and angles. You will be making five distinct pieces:
- Two pieces that are mitered (cut at an angle, typically 45 degrees) on one end and straight on the other. These will form the angled brace sections.
- Two pieces with straight cuts on both ends. These will form the top and back stacking layers.
- One piece that is mitered on both ends. This will be the crucial support piece connecting the top and back sections.
Accuracy is Key: Double-check your measurements and miter angles before cutting. Even slight inaccuracies can affect the fit and overall appearance of your finished corbel. Use a miter saw for clean, precise angle cuts.
Step 3: Drilling Pocket Holes for Strong Joints
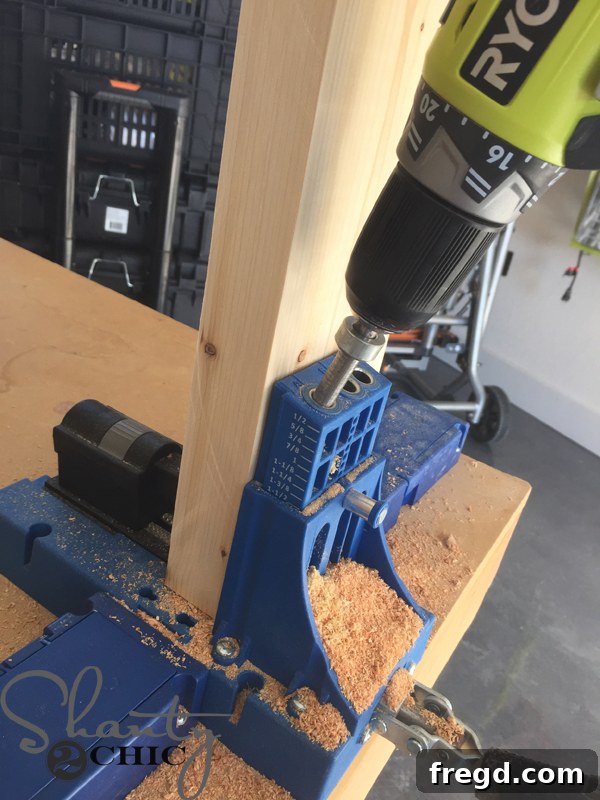
With your pieces cut, it’s time to prepare for assembly using pocket holes – a fantastic technique for strong, concealed joints. Take the piece that will serve as the back board (one of the two pieces with straight cuts on both ends). Using your Kreg Jig, drill 1 1/2″ pocket holes into one end of this board. Ensure the pocket holes are positioned correctly to allow for a strong connection to the top piece later.
Kreg Jig Best Practices: Set your Kreg Jig to the appropriate depth for 1 1/2″ material (most 2x lumber is actually 1.5″ thick). Clamp your workpiece securely to prevent movement during drilling. Drill slowly and steadily for clean holes.
Step 4: Building the “Chunky” Layers
This step brings the desired “chunky” aesthetic to life. We will be stacking two of the straight-cut pieces to create a thicker profile for the top and back sections of the corbel. This is where the pre-ripped edges (from Step 1) truly shine, ensuring a tight, clean bond.
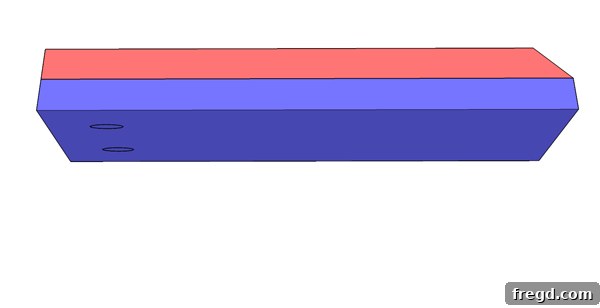
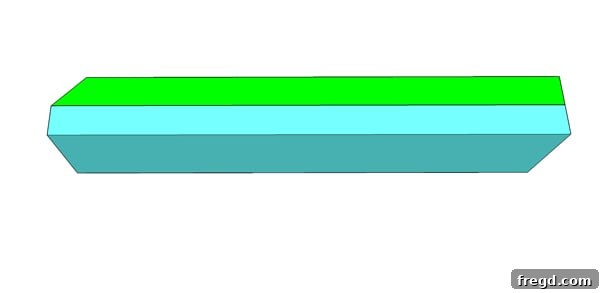
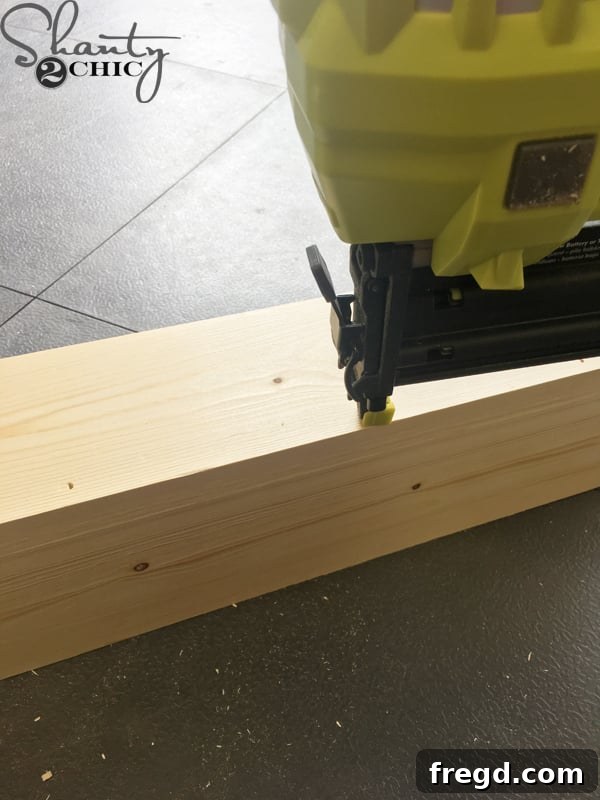
Begin by taking the back mitered piece and place it directly on top of the board that you just drilled pocket holes into. Crucially, make sure the pocket holes are facing downwards and are located on the end *opposite* of the mitered cut. This ensures they will be hidden and accessible for later assembly. Apply a generous, even layer of wood glue between these two surfaces before clamping them together. Secure them further with 2″ brad nails, spacing them along the joint for robust hold while the glue cures. Repeat this exact process for the two top pieces, creating a similarly thick and sturdy top section for your corbel.
Step 5: Connecting the Main Structure – Back to Top
Now it’s time to bring the main back and top sections together. Take the assembled “chunky” back piece and align it squarely with the assembled “chunky” top piece. Ensure that the mitered ends of both pieces align perfectly, forming the classic corbel shape. Apply wood glue generously along the joint where these two pieces meet. Then, using your drill and 2 1/2″ pocket hole screws, fasten the back piece to the top piece. Drive the screws into the pocket holes you drilled earlier, pulling the two sections tightly together for a powerful and stable connection.
Proper Alignment: Use clamps to hold the pieces in perfect alignment while you drive the screws. This prevents shifting and ensures a clean, tight joint.
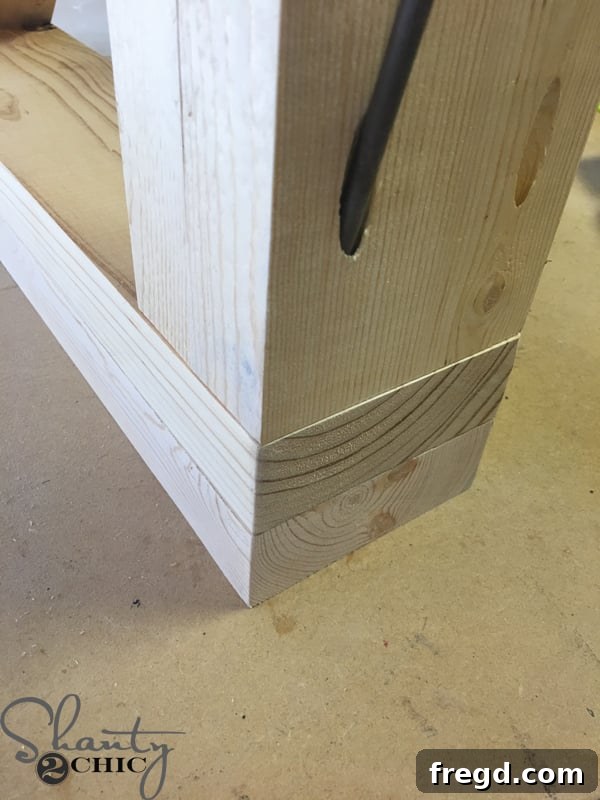
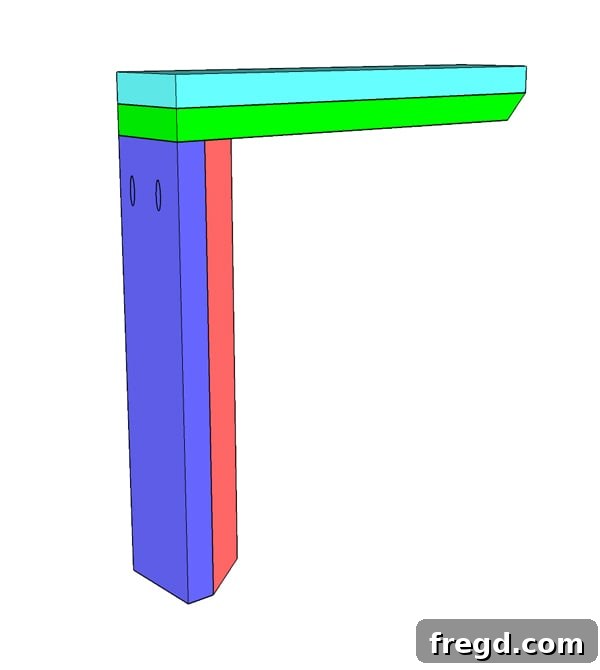
At this stage, your corbel should clearly resemble its final form, with the substantial back and top sections firmly joined. It’s truly taking shape!
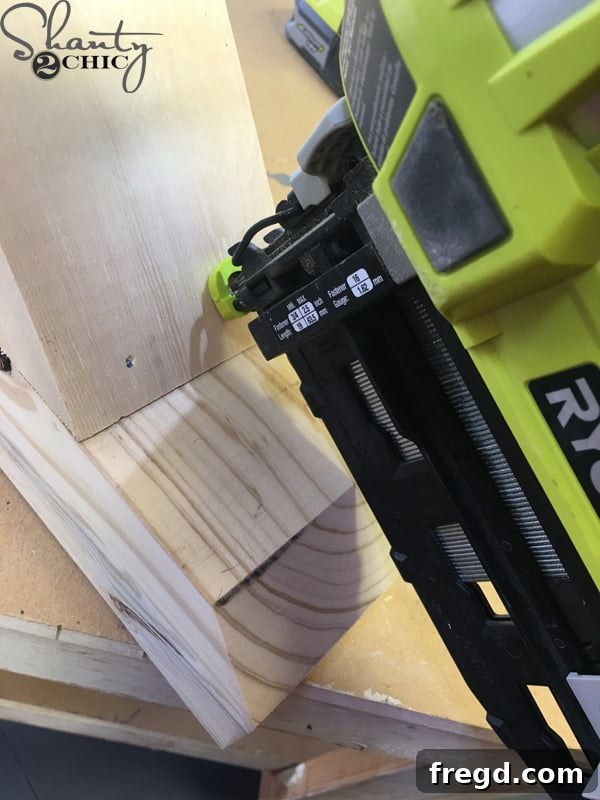
Step 6: Adding the Angled Brace
The final structural piece to add is the angled brace, which connects the underside of the top section to the face of the back section. This piece provides both structural support and the characteristic aesthetic of a corbel. Carefully lay the final mitered piece (mitered on both ends) between the top and back sections. Ensure it fits snugly. Apply wood glue to all contact surfaces, then secure it in place with 2″ brad nails. Drive the nails through the angled brace into both the top and back sections, ensuring a firm attachment.
Flush Fit: Take your time to achieve a flush fit for this piece. Any gaps will be visible, so a little extra effort here makes a big difference in the final appearance.
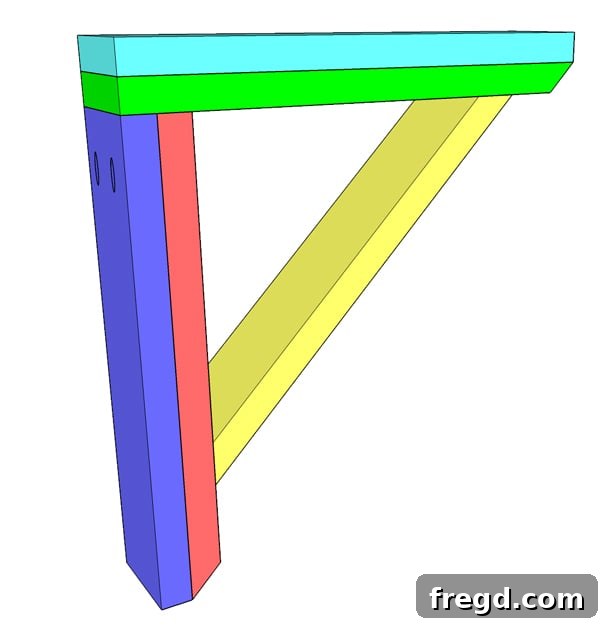
Congratulations! All the woodworking steps are complete. Your rustic corbel is now fully assembled and ready for its finishing touches!
Step 7: Applying the Perfect Finish – Staining Your Corbel
The finish you choose can dramatically alter the character of your corbel. For this project, we opted for a rich, deep hue that enhances its rustic appeal. We applied one coat of Varathane Briarsmoke stain, which provides a beautiful, aged look.
Staining Process:
- Prepare the Surface: Ensure your corbel is clean, dry, and free of any sawdust. Lightly sand the entire piece with fine-grit sandpaper (e.g., 220-grit) to open the wood grain for better stain absorption. Wipe away all dust with a tack cloth or slightly damp cloth.
- Apply the Stain: Dip a clean, lint-free cloth into the Briarsmoke stain. Apply the stain generously to all surfaces of the corbel, working in the direction of the wood grain. Ensure even coverage.
- Allow to Penetrate: Let the stain sit on the wood for approximately 5 minutes. This allows the pigment to soak into the wood fibers, achieving a deeper color. For a lighter shade, you can wipe it off sooner; for a darker shade, let it sit longer (but test on scrap wood first!).
- Wipe Off Excess: Using a fresh, clean cloth, wipe off all excess stain in the direction of the grain. This prevents sticky residue and uneven drying. Continue wiping until no more stain comes off on your cloth.
- Cure Time: Allow the stain to dry completely according to the manufacturer’s instructions, typically 24-48 hours.
- Optional: Top Coat: For added durability and protection, especially if the corbel will be in a high-traffic area or exposed to moisture, consider applying a clear top coat such such as polyurethane or a clear wax. This will seal the finish and provide a protective layer.
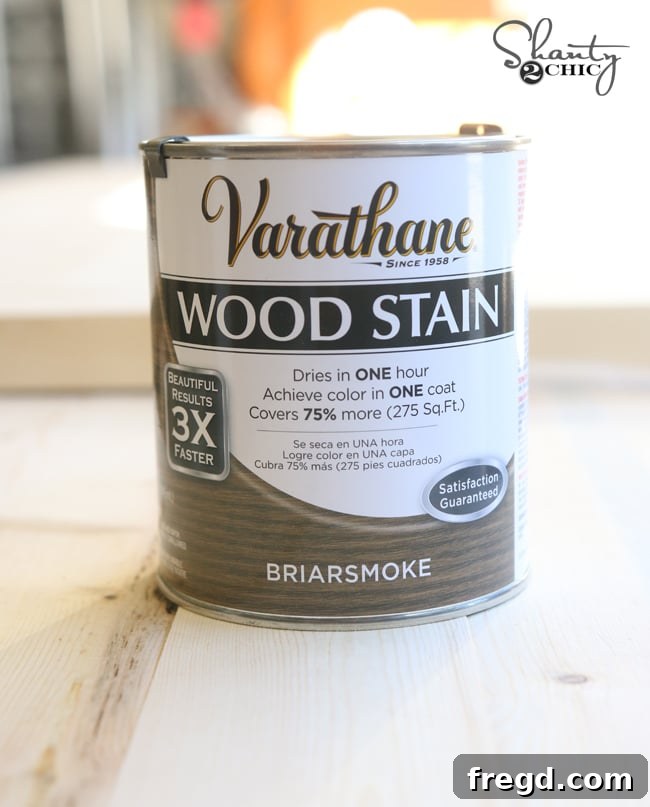
Step 8: Hanging Your Rustic Corbel
Once your corbel is beautifully stained and fully dry, it’s time to install it in its chosen place. Corbels are incredibly versatile and can enhance various areas of your home, from framing a large doorway to supporting a mantel or open shelving. Here’s how to securely hang it:
- Choose Your Location: Decide where you want to place your corbel. Common locations include decorative enhancements above doorframes, at the corners of wall openings, or as decorative supports under shelves.
- Locate Studs (if applicable): For maximum security, always try to anchor your corbel into wall studs or structural framing. In most cases, wall corners and doorframes have robust wood framing that you can drill into directly. Use a stud finder to confirm.
- Position and Mark: Hold the corbel in place and use a level to ensure it’s perfectly straight. Mark the precise locations where you will drive your screws from the top and bottom edges of the corbel into the wall.
- Drill Pilot Holes (Recommended): To prevent wood splitting and make driving screws easier, drill small pilot holes through the corbel and into the wall studs/framing.
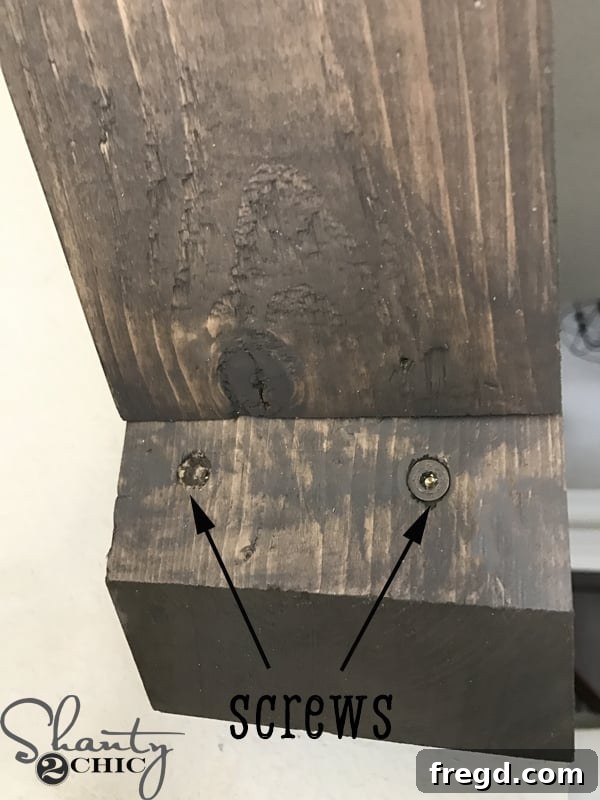
- Secure with Screws: We recommend using 3 1/2″ wood screws for a strong, reliable hold. Drive these screws from the top and bottom edges of the corbel, angling them slightly if necessary, directly into the wall’s structural support. Because you’re likely drilling into studs or corner framing, anchors typically won’t be necessary.
- Conceal Screws (Optional but Recommended): For a flawless finish, fill the screw heads with a small amount of wood filler. Once dry, sand smooth and touch up with your chosen stain to make the fasteners virtually disappear.
With these steps, your stunning, custom-built rustic corbel will be securely in place, ready to add charm and character to your home!
The Impact of Your DIY Corbel: Affordability Meets Style
Wasn’t that incredibly straightforward? In just a few easy steps, and for a minimal investment of time and money, you’ve created a piece of custom home decor that looks like it cost a fortune. This DIY rustic corbel is not just an accent; it’s a testament to the power of thoughtful design and hands-on craftsmanship. It proves that you don’t need a massive budget to achieve a high-end, custom look in your home.
Beyond the cost savings, building your own corbel offers immense satisfaction. You have full control over the dimensions, the type of wood, and the finish, allowing for unparalleled customization to match your existing decor or inspire a new aesthetic. Imagine matching several corbels for a cohesive look in multiple rooms, or even scaling up the design for larger architectural features. The skills you gain from a project like this are invaluable for future DIY endeavors, empowering you to tackle even more ambitious home improvement tasks.
Thank you so much for joining us on this creative journey! We hope you feel inspired and confident to build your own rustic corbel and bring a touch of handcrafted elegance into your living space. Share your creations with us – we love seeing how you customize your projects!
Happy Building!