
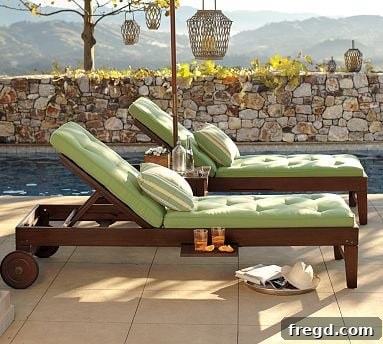
DIY Outdoor Chaise Lounge: Build Luxury for Less Than $50
Hello, summer! As the sun shines brighter and temperatures rise, many of us dream of relaxing outdoors in ultimate comfort. Imagine lounging by the pool, on your patio, or in your backyard, soaking up the rays on a stylish chaise lounge. Sounds idyllic, doesn’t it? However, this dream often comes with a hefty price tag, especially when browsing high-end retailers. Like many, I’ve admired the beautiful outdoor furniture sets from places like Pottery Barn, only to be deterred by the exorbitant cost. A single chaise lounge can easily run hundreds of dollars, making it an inaccessible luxury for many budget-conscious homeowners. But what if I told you that you could achieve that same level of style and comfort for a fraction of the cost? Get ready to transform your outdoor living space without breaking the bank!
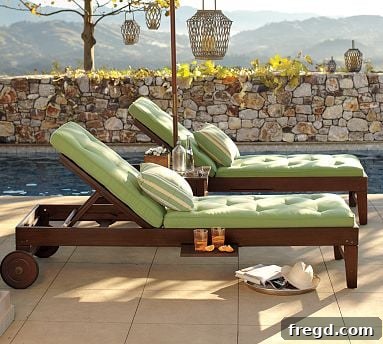
This project began out of a pure desire to escape the intense heat of the Lone Star State and create a personal oasis. I quickly realized that store-bought options simply weren’t feasible for my wallet. That’s when I discovered the incredible world of DIY, and specifically, the power of free, detailed woodworking plans. My inspiration, a gorgeous set of chaise lounges from Pottery Barn, was priced at a staggering $600 – and that was even the “marked-down” price! While I’m sure they offer unparalleled quality, my budget simply wouldn’t allow for such an indulgence. Instead of giving up on my dream, I decided to roll up my sleeves and build my own. The result? A stunning, durable, and comfortable chaise lounge that cost me a mere $25 in materials! Thanks to the fantastic free plans I found on Ana White’s site, this seemingly daunting project became an exciting, achievable reality.
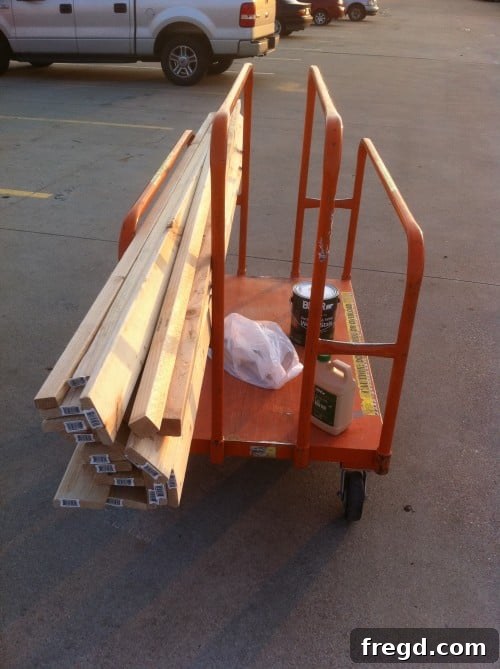
The journey to building your own outdoor retreat begins with a crucial step: gathering your materials. My first mission was a trip to Home Depot. For anyone with a busy household, a supply run without children is a luxury in itself, and I must extend a huge thank you to my husband for making that possible! A focused trip allows for careful selection of lumber and a calm review of the shopping list. For this project, quality lumber is essential for durability against the elements. While the original plans often suggest common lumber like pine, consider options like cedar or pressure-treated wood for enhanced weather resistance and longevity, especially if you plan to keep your furniture outdoors year-round. Always select straight boards, free from significant knots or warps, as this will make assembly much smoother and ensure a more professional-looking finished product.
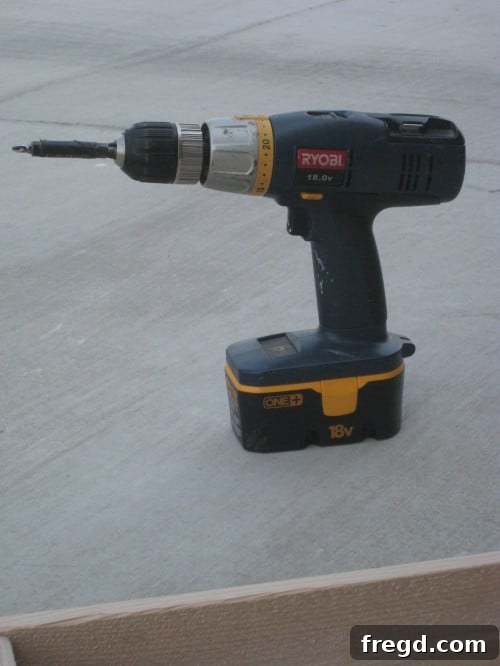
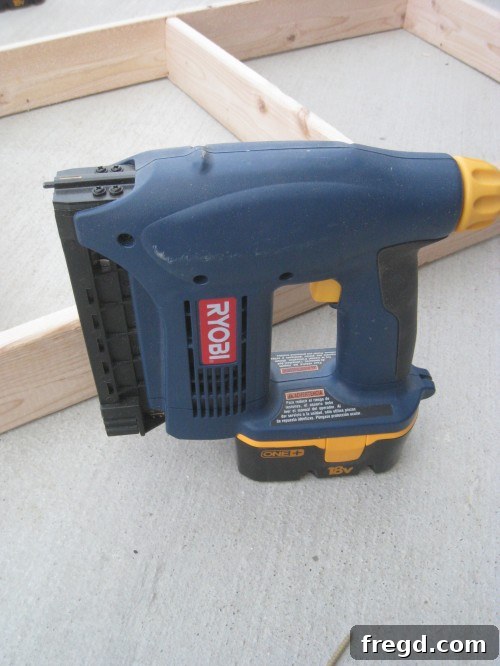
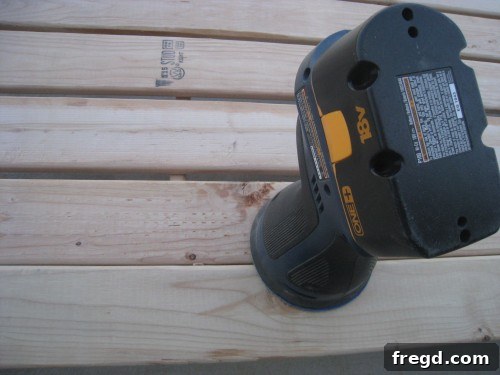
Beyond the lumber, you’ll need a few key tools and supplies. My trusty battery-powered drill and nailer were indispensable for quick and efficient assembly. These power tools significantly cut down on construction time and effort compared to manual alternatives. Of course, no woodworking project is complete without a reliable wood glue, and I swear by Gorilla Glue Wood Glue for its incredible strength and waterproof properties, ensuring your joints hold up against outdoor conditions. In addition to these, make sure you have a tape measure, a pencil for marking cuts, safety glasses, and a good saw (a miter saw will provide precise cuts, which are vital for a sturdy build). Having all your tools and materials laid out and ready before you begin will streamline the entire process.
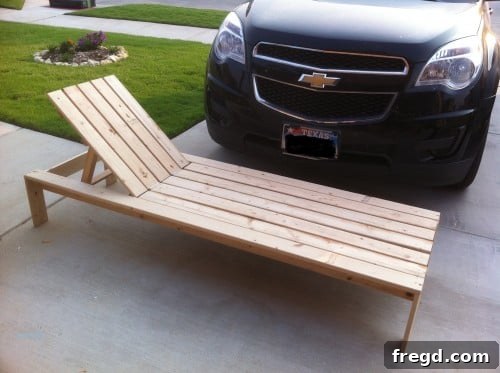
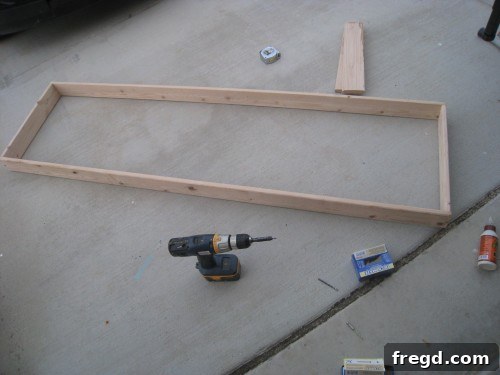
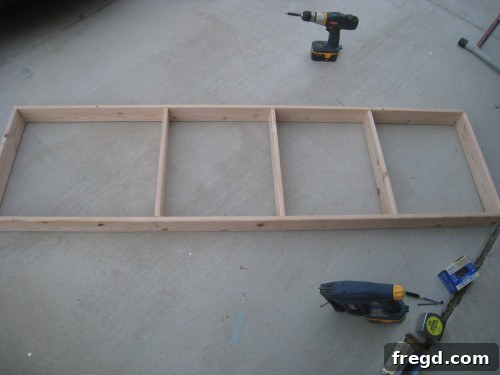
With materials in hand, the real fun begins! Following Ana White’s detailed plans, I started the assembly process. The clarity of the plans makes this project accessible even for those new to woodworking. It’s always a good idea to lay out all your cut pieces and visualize the structure before you start fastening anything permanently. This helps catch any errors in cutting or planning. The initial steps involve building the main frame of the chaise lounge, ensuring all connections are secure and square. Precision in these early stages pays off immensely, as it sets the foundation for the entire piece. I used a combination of wood glue on all joints, followed by nails from my battery-powered nailer, creating a robust and stable structure designed to withstand years of outdoor use.
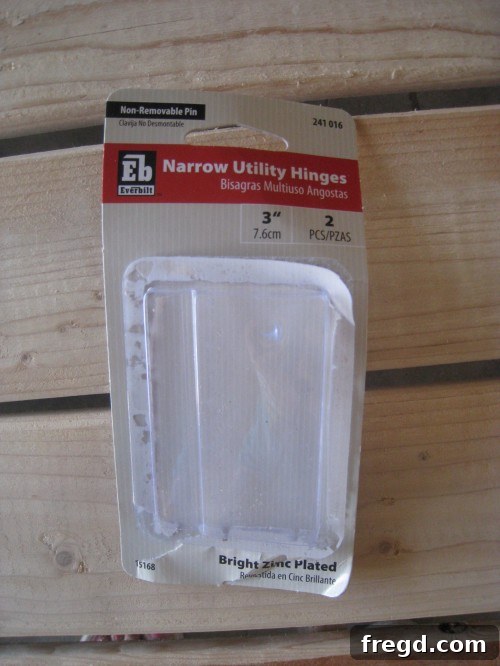
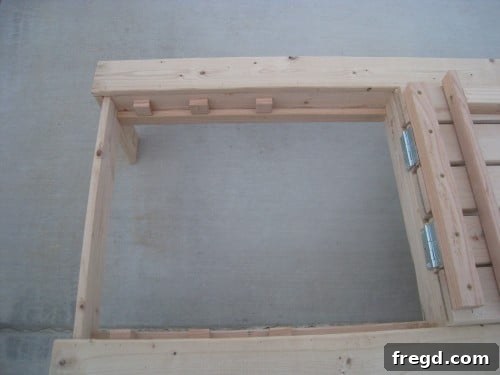
Constructing the backrest requires careful alignment. I found it easiest to use the base of the chaise as a guide, aligning each board on top of the other. This ensures a perfect match and seamless integration when the backrest is finally attached. This method helps maintain symmetry and squareness, which is crucial for both aesthetics and functionality. Once the backrest frame was assembled, it was time to attach it to the main base using hinges. This step, while seemingly simple, taught me a valuable lesson: the importance of choosing the right hardware. I initially tried using standard-width utility hinges, only to find them too wide and cumbersome. They protruded awkwardly and didn’t allow for smooth operation.
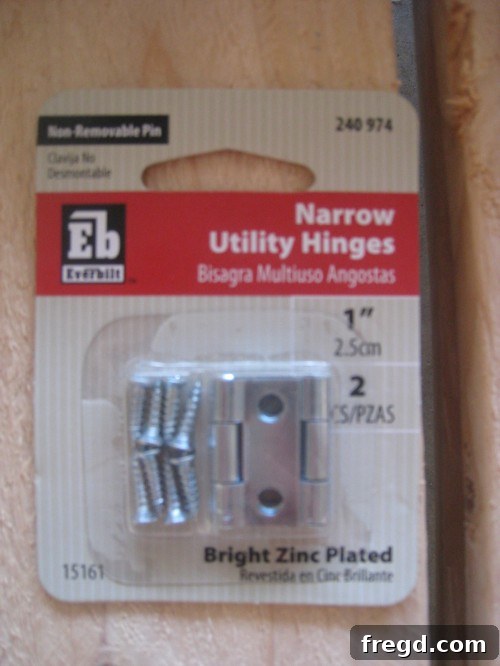
The solution? Narrow utility hinges. These proved to be the perfect fit, sitting flush with the wood and allowing the backrest to pivot freely and smoothly. It’s a small detail, but it significantly impacts both the look and usability of the chaise lounge. Always pre-drill pilot holes before screwing in hinges to prevent the wood from splitting and ensure a secure attachment. With the backrest in place, the next step was to build the adjustable prop, the ingenious mechanism that allows you to recline the chaise to various comfortable angles. This simple yet effective design is key to customizing your lounging experience.
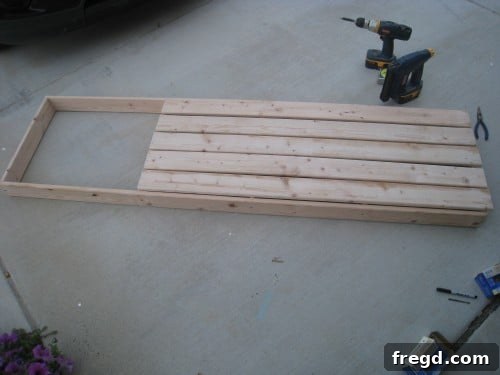
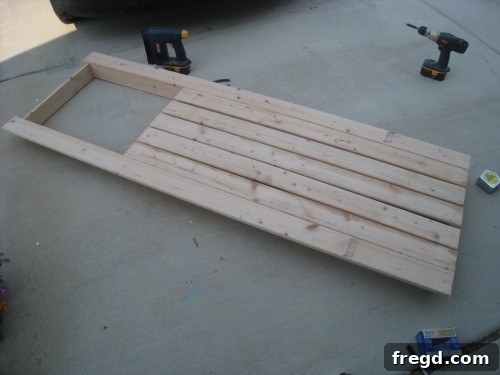
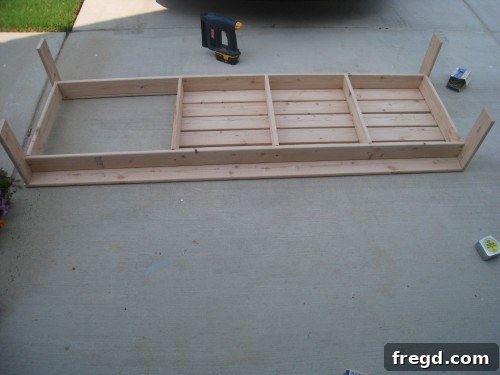
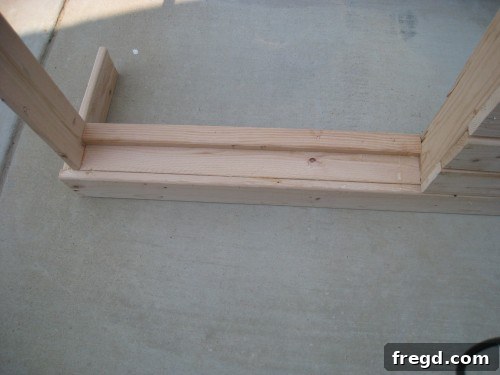
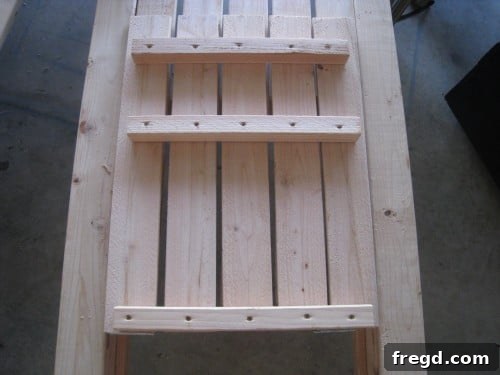
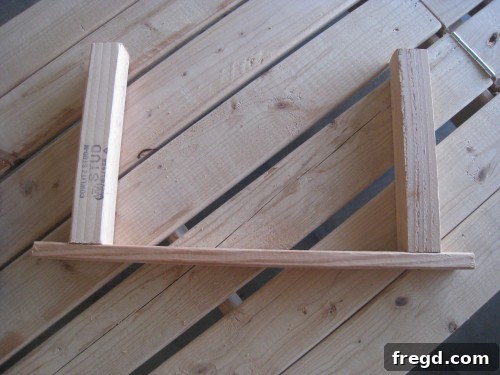
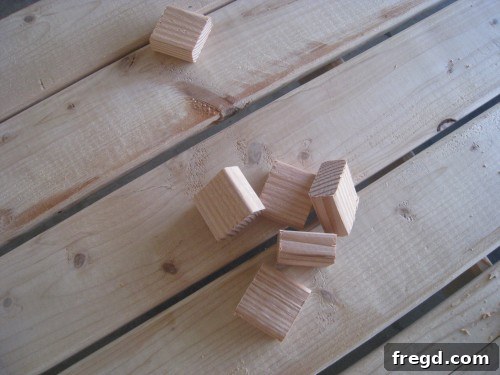
Once the prop was built, it also needed to be attached to the backrest with those trusty narrow hinges. The beauty of this design lies in its simplicity and effectiveness. But the absolute best part, my personal favorite step, involved those seemingly insignificant wood scraps that accumulate during any woodworking project. Instead of discarding them, these scraps were repurposed to create the adjustable stoppers for the backrest. This is where the customization truly comes into play!
You simply position the backrest at your desired recline angles – whether you prefer a slight incline for reading or a full recline for napping – and then attach the scrap wood pieces as stoppers along the base. This ingenious method allows for complete personalization of your chaise lounge, making it perfectly suited to your comfort preferences. It’s a prime example of how clever design and resourcefulness can elevate a DIY project from functional to truly exceptional. Plus, it’s incredibly satisfying to use every last bit of material!
With the construction complete, the final steps involved finishing the wood for both aesthetics and protection. I used Elmer’s Wood Filler to seamlessly cover any nail holes or minor imperfections, creating a smooth, professional surface. Following that, a thorough sanding with my battery-powered sander was essential. Sanding not only smooths out the wood, preventing splinters and enhancing comfort, but it also prepares the surface for a protective finish. Depending on your chosen aesthetic and the type of wood you used, you might opt for a weather-resistant stain to highlight the natural grain, or a durable outdoor paint to add a pop of color. Don’t forget to apply a sealant to protect against moisture, UV rays, and general wear and tear, ensuring your hard work lasts for many seasons to come.
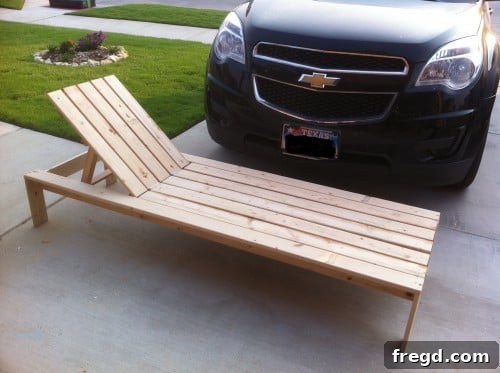
This project proved to be incredibly rewarding. The total time invested was remarkably efficient: approximately 1.5 hours to measure and cut all the lumber for two chairs, and then another 1.5 hours to assemble each individual chair. So, in just about 4.5 hours, I had two functional, stylish chaise lounges ready for their finishing touches. The financial investment was even more impressive – just $50 for all the lumber needed to build both chairs, bringing the cost per chaise down to an incredible $25. Compare that to the $600 price tag of a single store-bought equivalent, and the savings are truly phenomenal!
While the hinge installation presented a slight annoyance initially, once I got past the first set, the rest was smooth sailing. Every DIY project has its minor challenges, but overcoming them only adds to the satisfaction of the finished product. I was so pleased with the first two that I’m already contemplating building a third! Although I can’t share the fully finished chaise lounges just yet – they still need their protective coating and perhaps some comfortable cushions – I promise to return very soon with an update. The thought of finally relaxing on these custom-built pieces fills me with immense joy. It’s a true testament to the fact that with a little effort, some basic tools, and excellent plans, you can create beautiful, high-quality outdoor furniture that perfectly suits your style and budget.
The satisfaction of crafting something with your own hands, especially a piece of furniture that brings so much comfort and joy, is unparalleled. Not only did I save a significant amount of money, but I also gained a functional, customizable piece of outdoor decor that I can proudly say I built myself. So, if you’ve been dreaming of enhancing your outdoor living space but are constrained by budget, I wholeheartedly encourage you to give a DIY project like this a try. You might be surprised at what you can achieve!
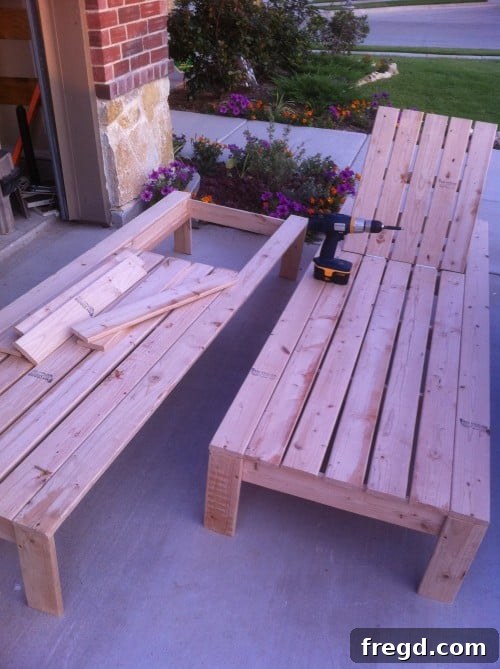
I am one happy girl right now, and I’ll be even happier when I can finally kick back and enjoy these beauties! I hope you all have a fantastic week, and maybe this inspires you to tackle your own home improvement project. Happy building!
~Ashley