
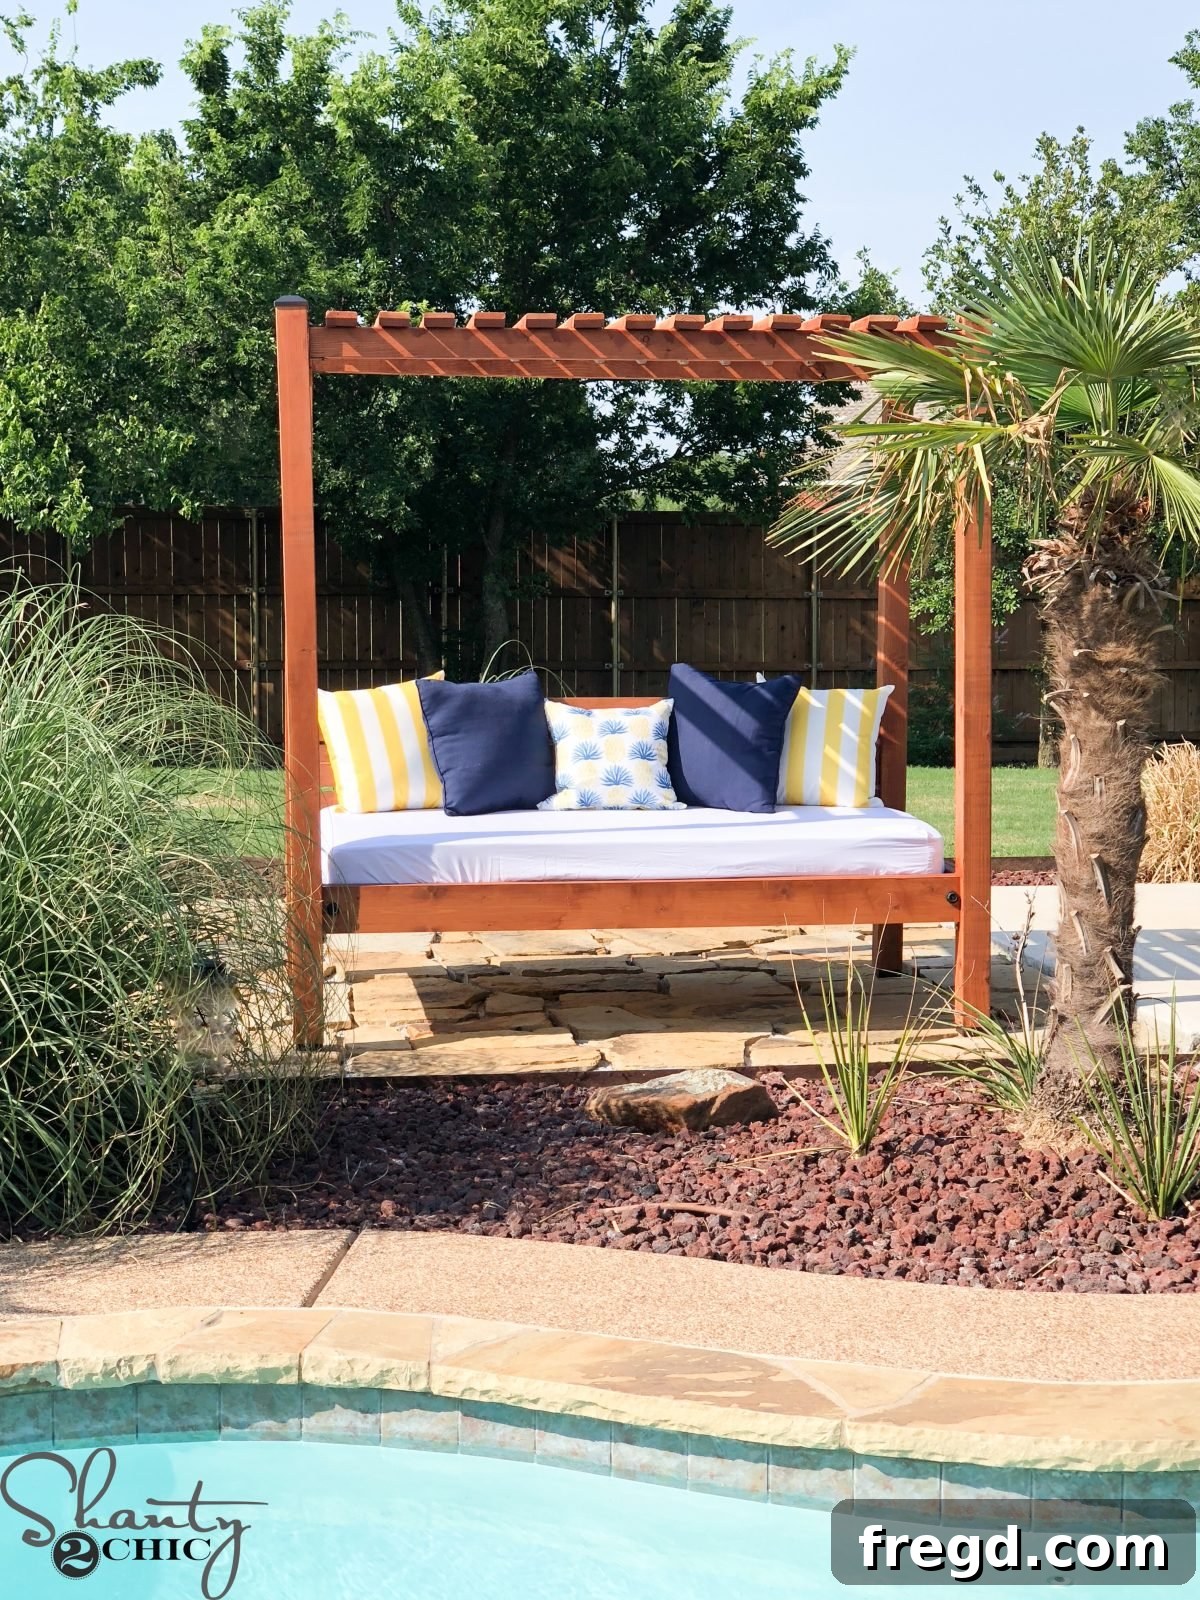
DIY Outdoor Day Bed: Build Your Dream Backyard Retreat for Under $200!
Imagine basking in the warm sunshine or relaxing under a canopy of stars, nestled comfortably on your very own outdoor day bed. For years, I dreamt of having such a luxurious piece in my backyard, but every time I browsed magazines or online stores, the price tags were simply jaw-dropping – often soaring past the $4,000 mark for even moderately sized options. This past summer, fueled by a desire to create an elegant yet affordable outdoor oasis, I finally took the plunge. I designed, built, and now absolutely adore my DIY Outdoor Day Bed! The best part? I constructed a spacious day bed, large enough to comfortably fit a twin mattress, for approximately $200 – and that even includes the optional, stylish pergola top!
Are you ready to transform your outdoor space without breaking the bank? Grab your favorite cup of coffee and join us as we embark on this exciting DIY journey. This project is not only incredibly rewarding but also surprisingly straightforward. To give you a visual guide and make the process even smoother, we’ve prepared a detailed video tutorial. You can click HERE or on the video box below to watch us build it step-by-step.
Unlock Your DIY Potential: Free Plans and Comprehensive Tutorial
Watching the video gives you a fantastic overview, but for the precise measurements, cut lists, and detailed diagrams, you’ll want our FREE PRINTABLE PLANS HERE. These plans are your essential companion, ensuring accuracy and confidence throughout the build. Together with the comprehensive tutorial below, you’ll have everything you need to construct a sturdy and beautiful outdoor day bed that will be the envy of your neighborhood.
One of the first crucial steps in designing any bed is determining the mattress size. We meticulously designed and built this day bed to perfectly accommodate THIS MATTRESS. Having the mattress dimensions in mind from the outset ensures a snug and comfortable fit for your finished project.
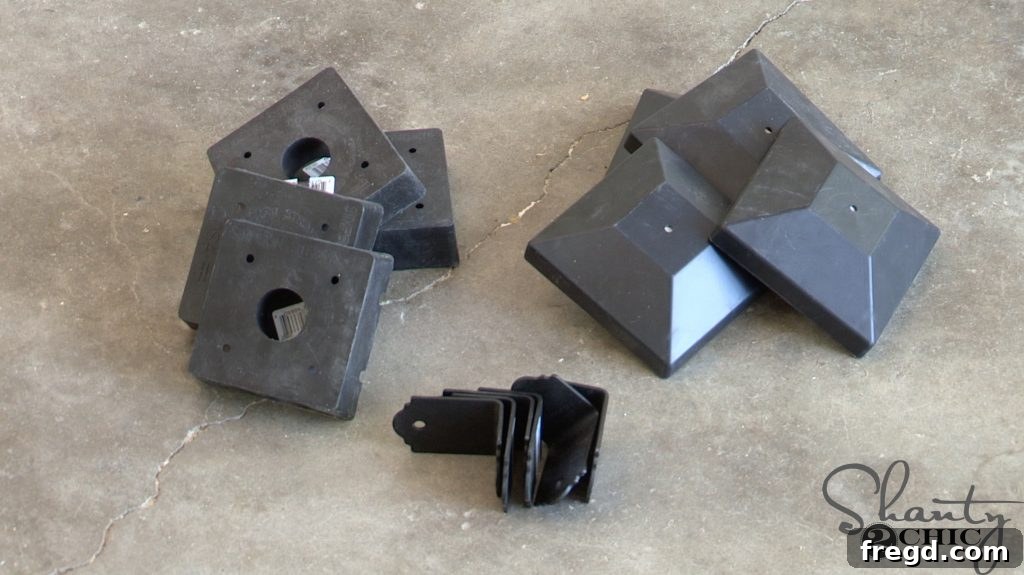
Enhanced Durability and Style: Optional Post Caps and Bases
To give your outdoor day bed a professional finish and significantly extend its lifespan, consider adding optional caps and bases for the 4×4 posts. I chose to incorporate these elements for both their aesthetic appeal and practical benefits. The bases are designed to elevate the posts slightly off the ground, effectively preventing moisture from wicking up into the wood and causing rot. Meanwhile, the caps provide a neat, finished look to the top of each post, adding a touch of elegance to the overall design. While entirely optional, these small additions make a big difference in both durability and visual appeal.
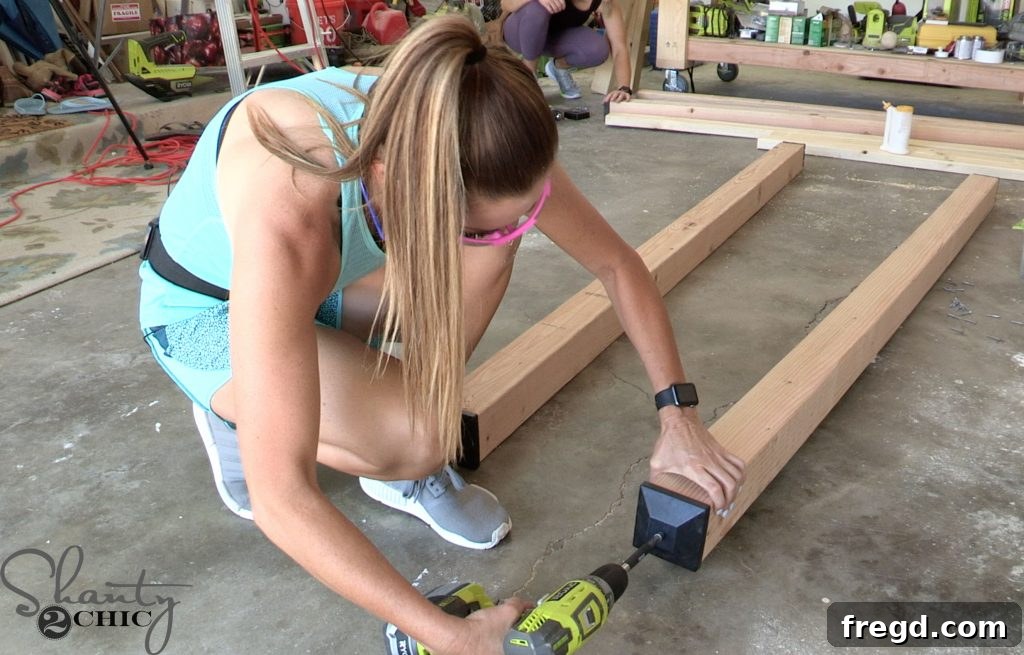
If you decide to purchase the caps and bases, it’s crucial to attach them to your 4×4 posts after cutting the posts to their final size, but before you begin the main assembly of the day bed. This ensures proper fit and allows for easier installation without other components getting in the way. Preparing these foundational elements early on sets a strong precedent for the rest of your build.
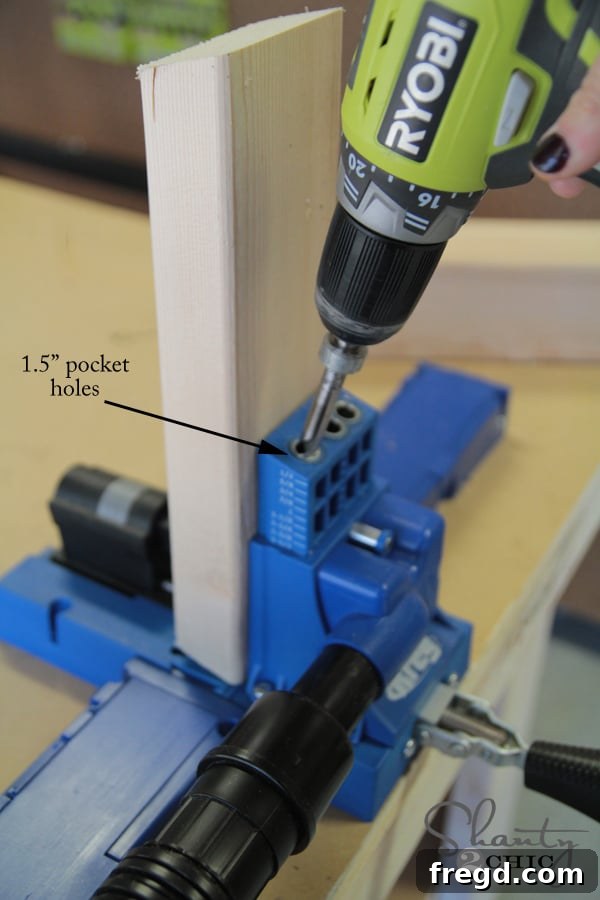
Precision Joinery: Mastering Pocket Holes with a Kreg Jig
With the post caps and bases securely in place, the exciting phase of assembly begins. This project heavily utilizes pocket hole joinery, a remarkably strong and straightforward method, especially when using a Kreg Jig. If you’re new to pocket holes, you’ll quickly discover how they simplify woodworking and create robust joints that are ideal for outdoor furniture. We started by cutting the side frame pieces to the specified dimensions. Then, we used our favorite Kreg Jig model HERE to drill 1 1/2-inch pocket holes into the ends of the bottom side frames. The Kreg Jig makes this process incredibly precise and efficient, ensuring consistent and strong connections.
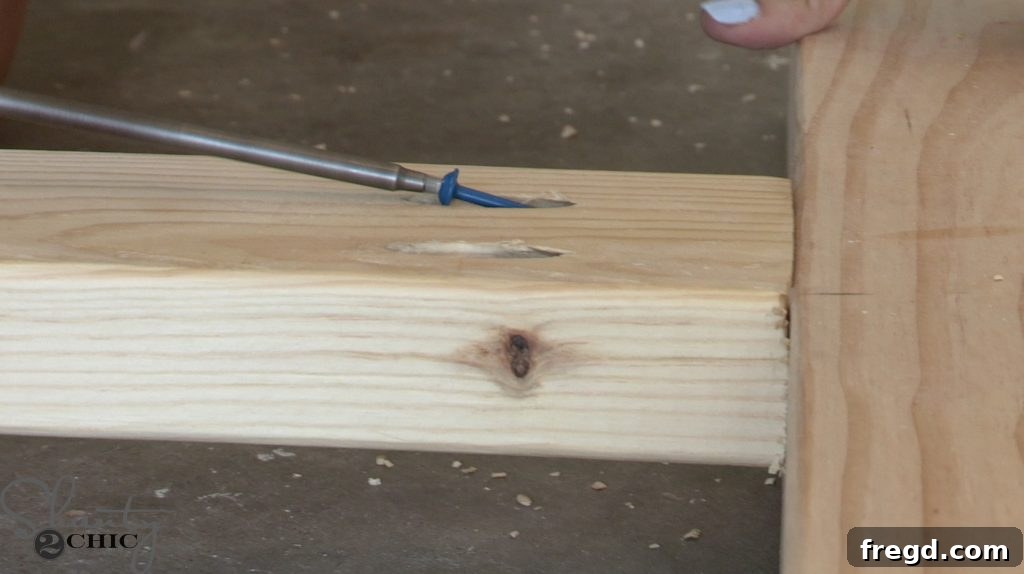
Once the pocket holes were ready, we securely attached these side frames to the main posts using 2 1/2-inch pocket hole screws and a generous application of wood glue. The wood glue provides an extra layer of strength and durability, crucial for outdoor furniture exposed to varying weather conditions. It’s important to ensure that the pocket hole side of these apron pieces sits flush with the inside edge of the posts. This attention to detail creates a clean, professional look and a strong, square frame.
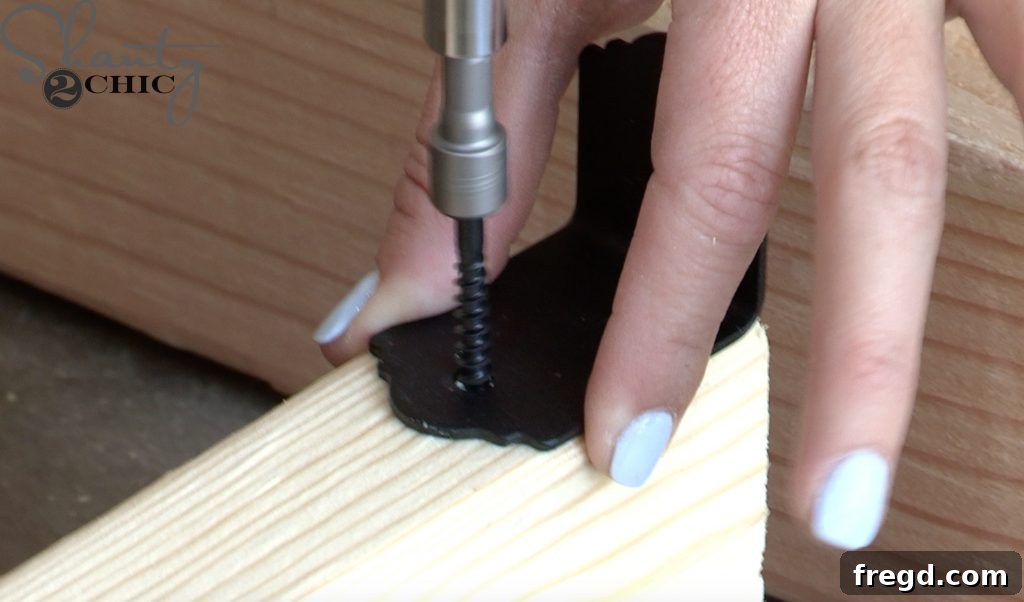
Next, we focused on the top side frames. We attached four metal angles to the ends of these top pieces. These metal angles serve as robust connectors, adding significant structural integrity to the upper part of the day bed. With the angles in place, we then secured the top side frames to the posts using 1 1/2-inch wood screws and wood glue. This multi-point attachment ensures that the frame is incredibly stable and capable of withstanding the elements and regular use.
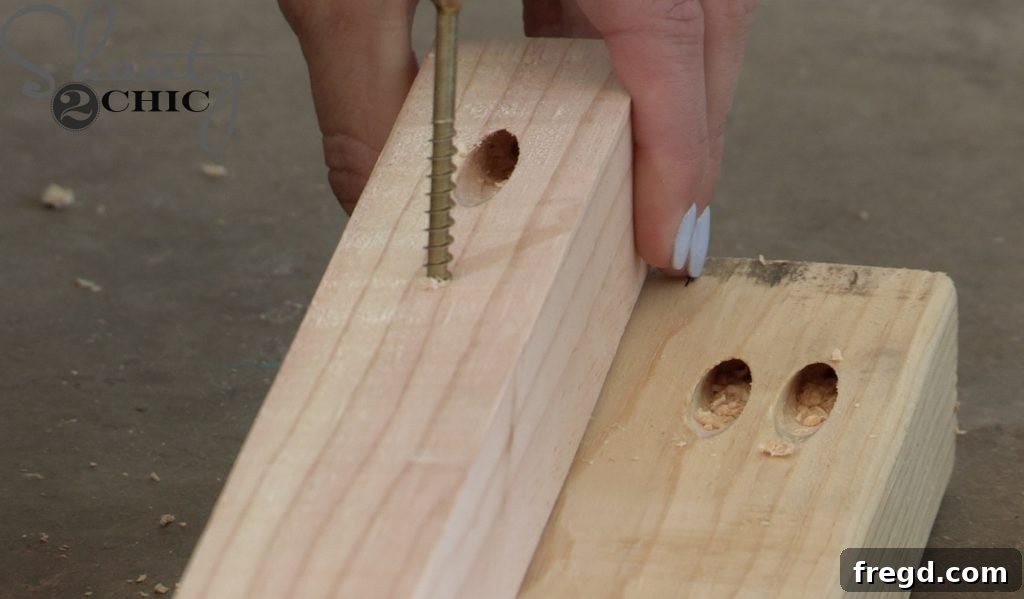
Constructing the Front, Back, and Support Structure
The next phase involved preparing the front and back frames, along with their corresponding cleats. These components are vital for supporting the mattress and defining the day bed’s overall shape. We cut all the front and back frame pieces and cleats to their precise sizes according to the plans. Then, utilizing our Kreg Jig once more, we drilled 1 1/2-inch pocket holes into the top half of the front and back frames, as well as into the ends of the cleats. These strategically placed pocket holes will allow for hidden, strong connections.
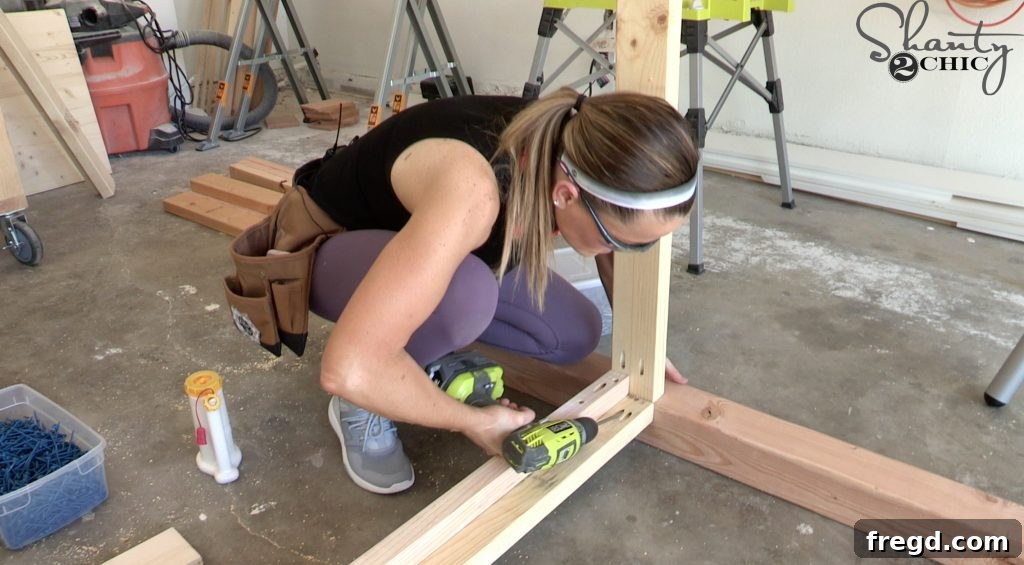
After drilling, we attached each cleat to its respective frame piece using 2 1/2-inch wood screws and wood glue. The cleats provide crucial support for the bed slats, ensuring the mattress has a solid and stable foundation. This two-part assembly for the front and back sections simplifies the overall construction process.
Once both the front and back cleat assemblies were built, we proceeded to attach them to the main post assemblies. This was done using 2 1/2-inch pocket hole screws and wood glue. For a seamless and professional finish, it’s essential that the inside face of the front and back frames aligns perfectly flush with the inside corners of the posts. This meticulous alignment creates a square and robust frame, critical for the stability and aesthetics of your day bed.
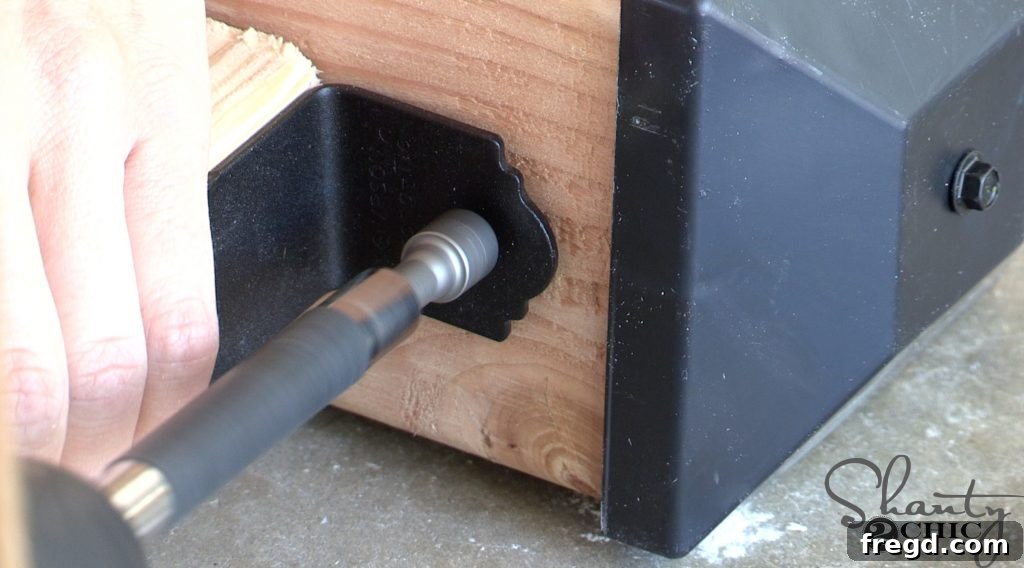
Continuing with the upper structure, we then attached four more metal angles to the ends of the top, back frame pieces. Similar to the side frames, these angles reinforce the connections. We secured this entire assembly to the top of the post assemblies using 1 1/2-inch wood screws and wood glue. At this stage, the main skeletal frame of your outdoor day bed is taking impressive shape, ready for the slat installation and finishing touches.
Adding Support and Style: Bed Slats and Aprons
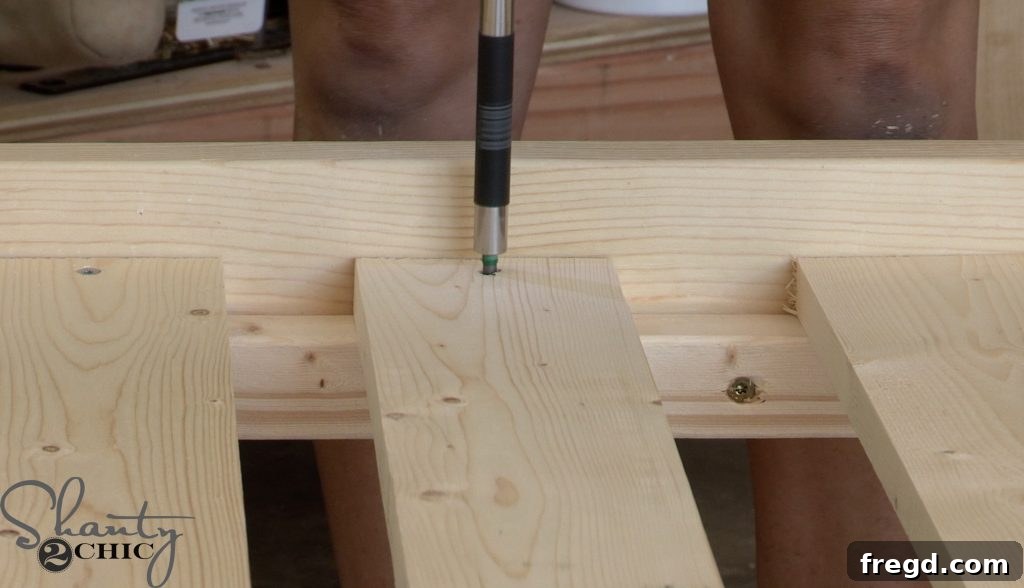
With the primary frame of the day bed fully assembled and standing upright, it was time to install the bed slats. These slats are crucial for providing robust support for your mattress and ensuring proper air circulation. We cut all the slat pieces to size, then carefully spaced them out evenly across the frame. Once satisfied with the spacing, we attached each slat securely with 1-inch wood screws. Consistent spacing is key here, both for mattress longevity and comfort.
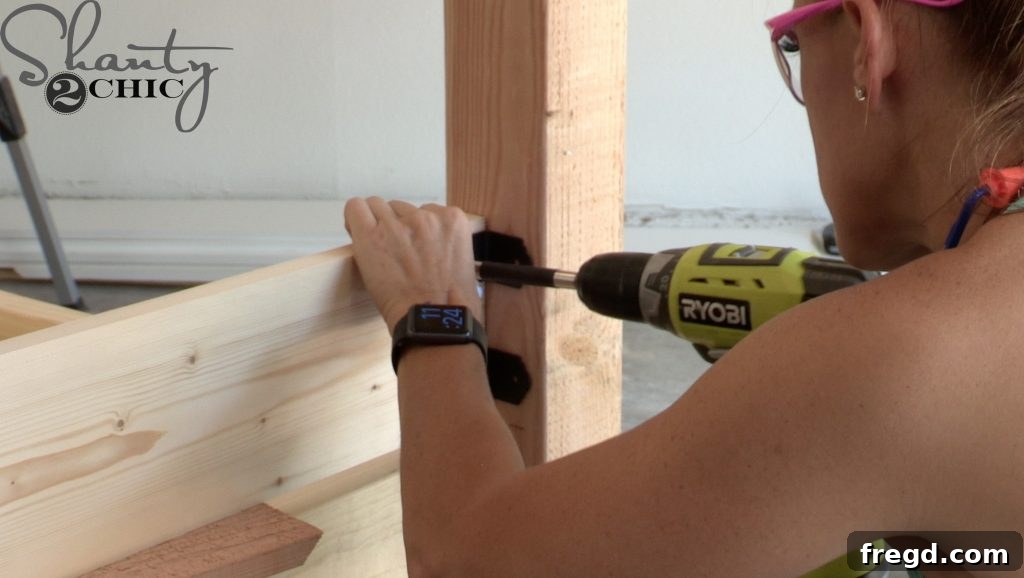
Next, we moved our attention to the back side of the day bed, preparing for the installation of the back slats – a feature that adds both comfort and a finished look, particularly if you opt for the pergola top. We cut these back slat pieces to size and then attached four metal angles to both ends of each slat using 1/2-inch wood screws. These angles will serve as sturdy connection points to the posts.
We then attached the first back slat. It was positioned 3/4-inch from the back frame, aligning with the inside of the posts, and secured with 1 1/2-inch wood screws. To ensure perfectly uniform spacing between the subsequent slats, we used a 3/4-inch wood scrap as a temporary spacer. This simple trick guarantees professional-looking results and a comfortable backrest.
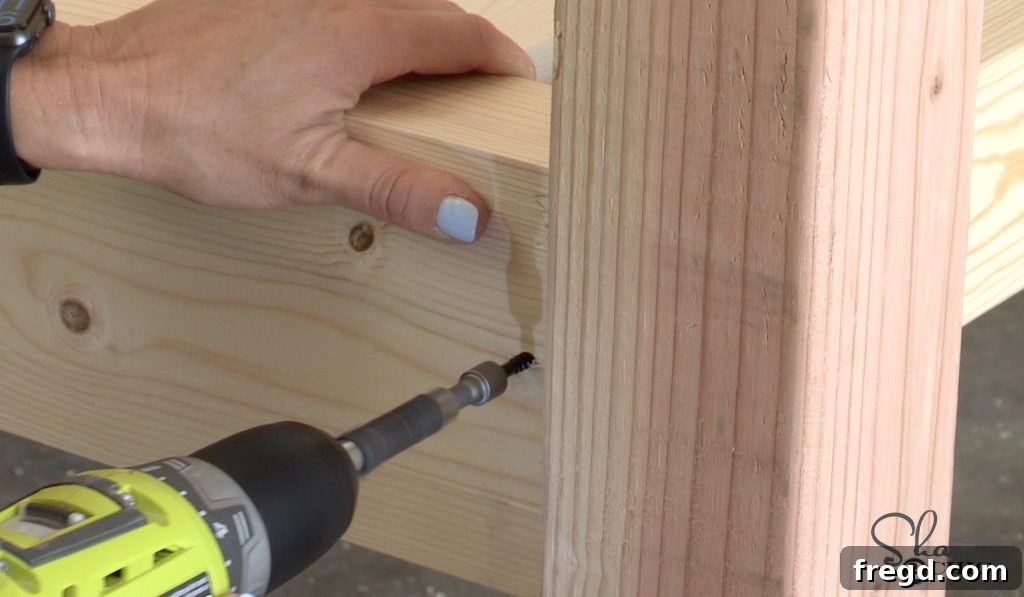
Once all three back slats were securely attached, we turned our attention to the front, back, and side aprons. These apron pieces not only enhance the aesthetic appeal of the day bed but also provide additional structural stability. We cut them to size and then attached them to the existing frame pieces using 2 1/2-inch wood screws and wood glue. A crucial detail here is to ensure that the top edge of these aprons sits perfectly flush with the top edge of the frames. This creates a clean, continuous line and a strong, cohesive structure.
At this point, your core outdoor day bed structure is complete! You could, if you wish, apply your chosen finish, add any desired hardware, lay down your mattress, and consider it done. However, for those seeking an extra touch of elegance and shade, I highly recommend continuing with the optional pergola top. The detailed steps, additional supply list, and cut list for the pergola can be found in the comprehensive plans.
The Grand Finale: Spray Stain & Seal and Stylish Accents
DIY Outdoor Day Bed – effortless spray stain & seal
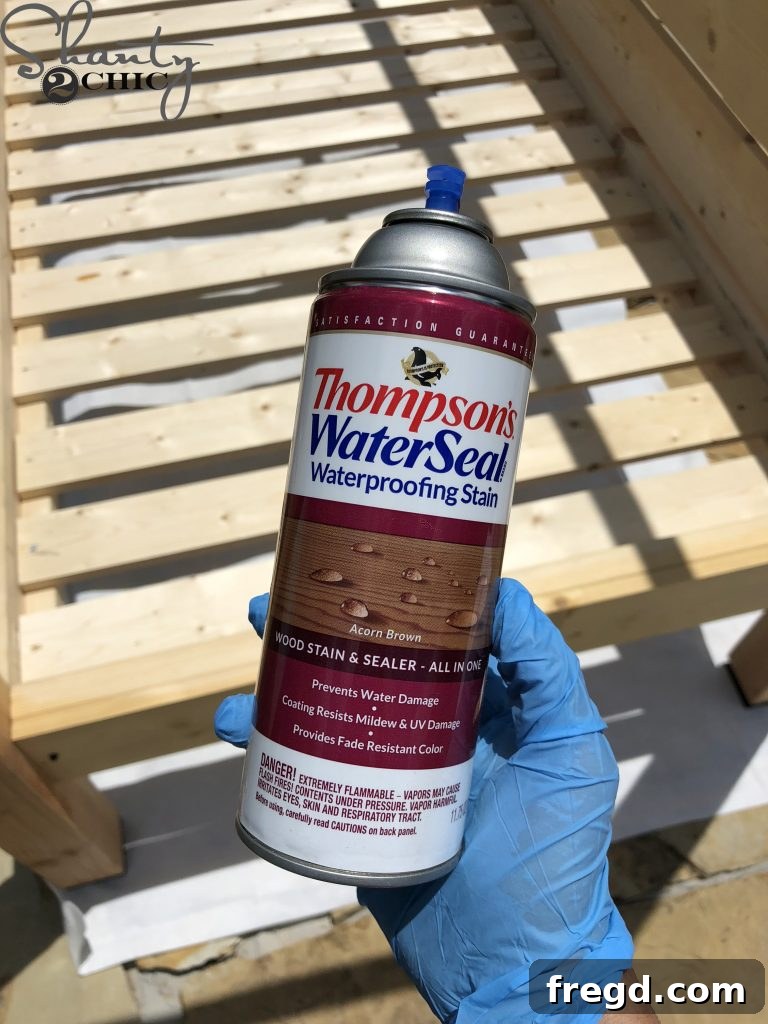
One of the final, yet most impactful, steps is applying a protective finish. To save both time and effort, I experimented with a fantastic new product: an outdoor stain and sealant spray in one! I absolutely loved the results and the ease of application. For the entire day bed, including the pergola top, I used approximately four cans of this product, and the whole process took me about 1.5 hours. For best results, I recommend choosing a day that isn’t too windy to minimize overspray. Two coats were sufficient to achieve a rich, even color and excellent weather protection. You can find the specific waterproof finish spray that I used HERE.
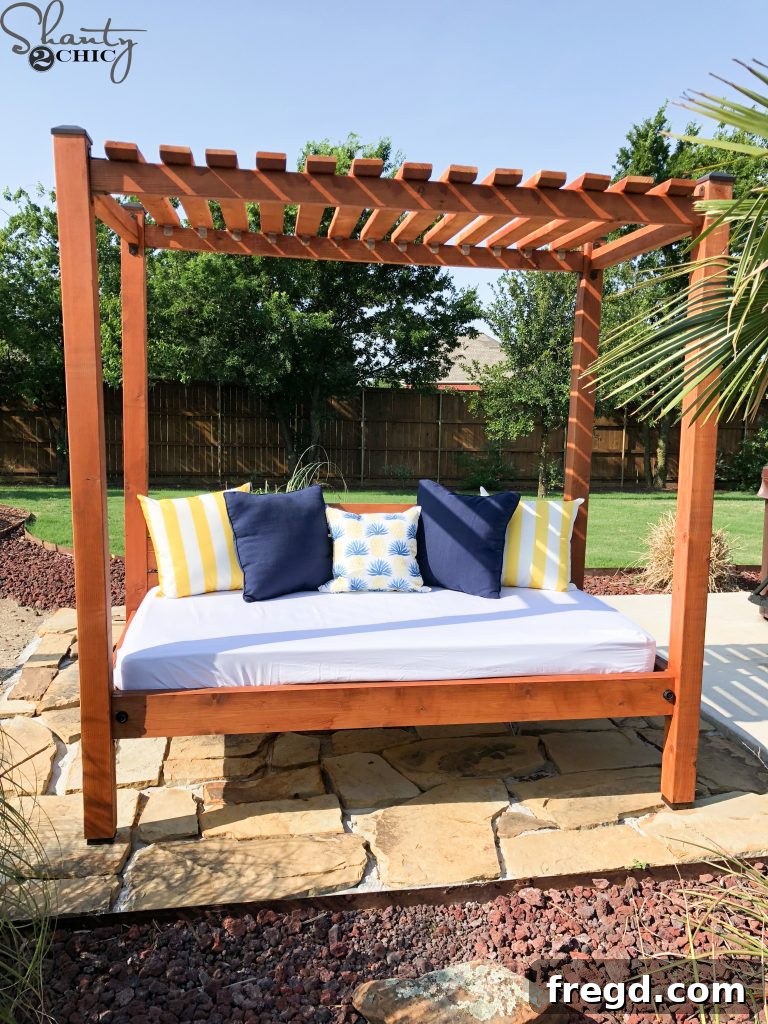
And that was it for the construction and finishing! Once the stain had completely dried and cured, it was time to add the personal touches that truly make this day bed shine. We enhanced the aprons with some stylish hex bolts, added the incredibly comfortable mattress, covered it with a waterproof mattress cover for ultimate protection against the elements, and finally, adorned it with some super cute and inviting pillows. The transformation was complete, turning a simple wood structure into a luxurious outdoor retreat.
For those eager to replicate this exact look, you’ll find links to all the specific product sources for the mattress, waterproof cover, and those adorable pillows at the very end of this post. These resources will help you complete your day bed with style and comfort.
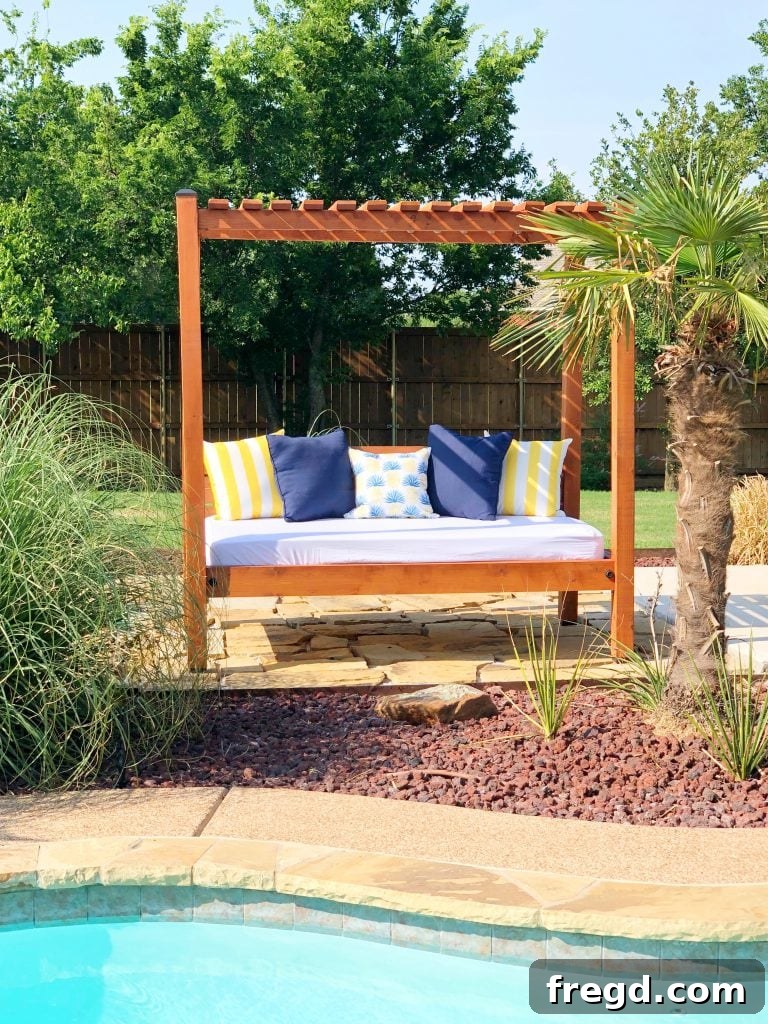
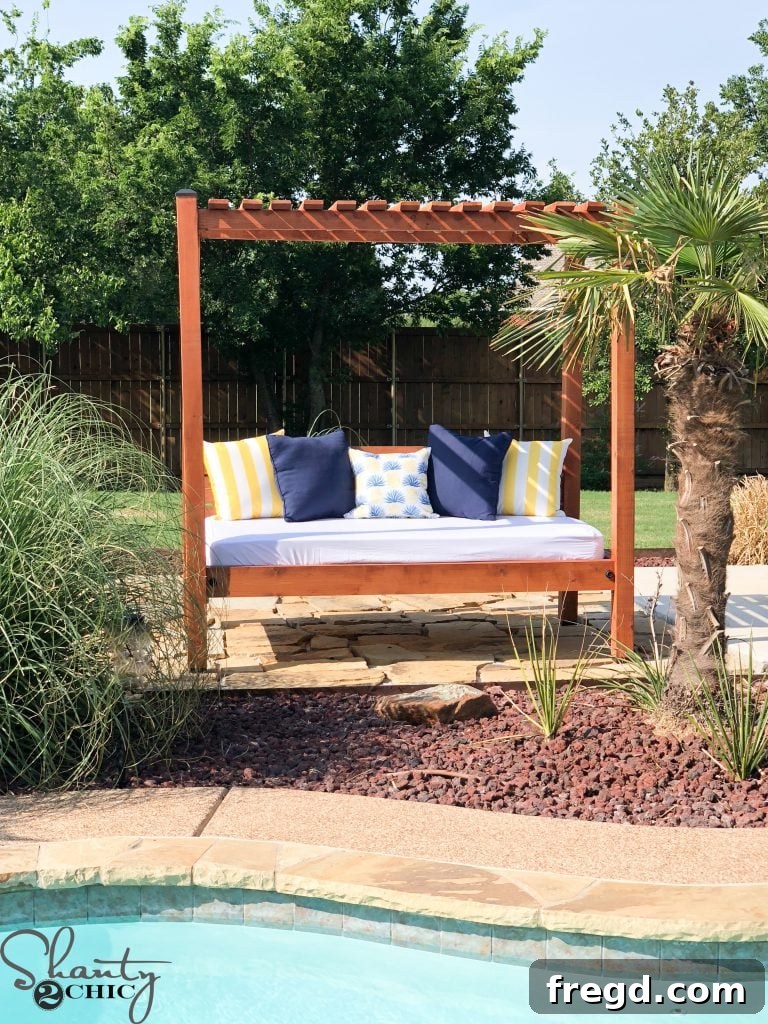
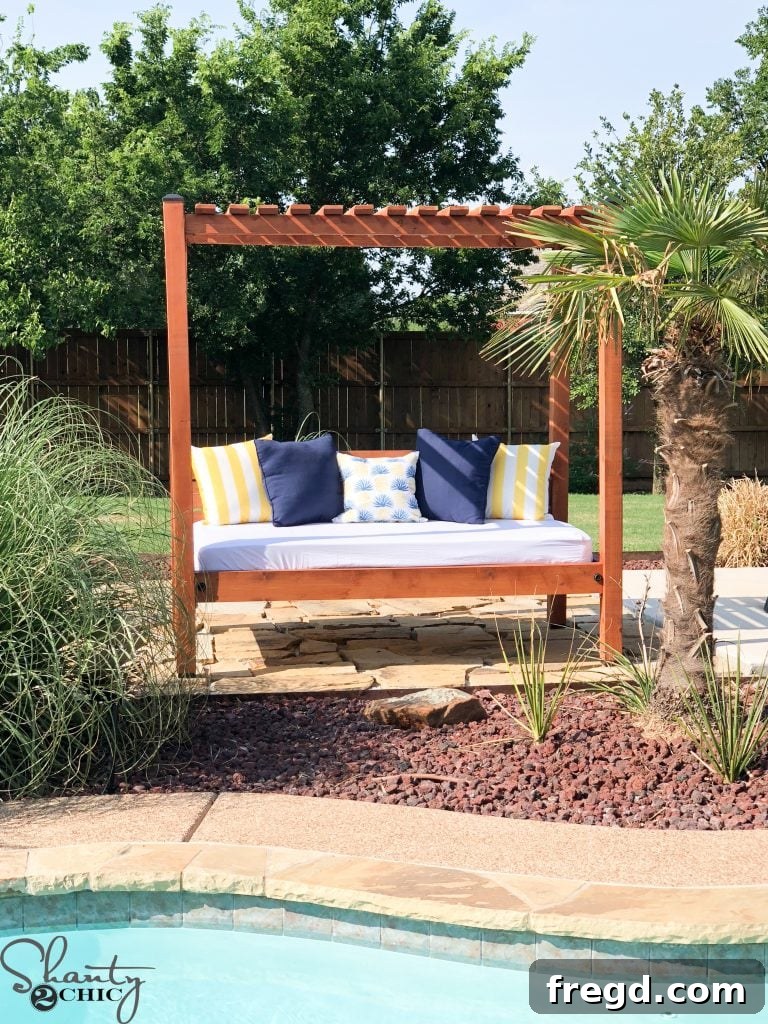
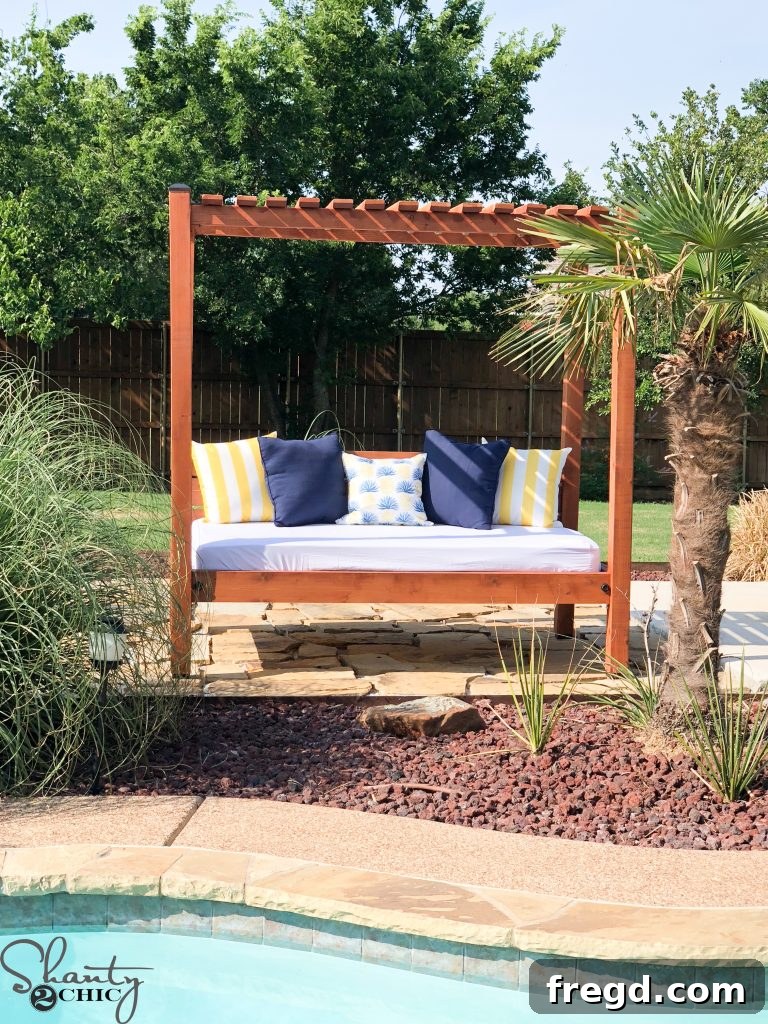
I am absolutely overjoyed that I finally have the outdoor day bed I’ve been longing for, and at such an incredible fraction of the retail cost! This significant saving meant I had more budget left over to invest in those irresistible, cute pillows that truly complete the look and feel of my new outdoor sanctuary.
Speaking of those adorable pillows and other essential items, here are the direct links to all the sources to help you create your own perfect outdoor escape:
- Pineapple Pillow
- Yellow Striped Pillow
- Navy Pillow
- Twin Mattress
- Water-proof Mattress Cover
- Fitted Sheet
- Kreg Jig
- Glue Bot
- Waterproof Finish Spray
Thank you so much for stopping by and exploring this exciting DIY project with us. We hope this detailed guide inspires you to create your own beautiful and budget-friendly outdoor day bed. The satisfaction of building something with your own hands, especially a piece that brings so much comfort and style to your home, is truly unmatched.
Happy Building!