
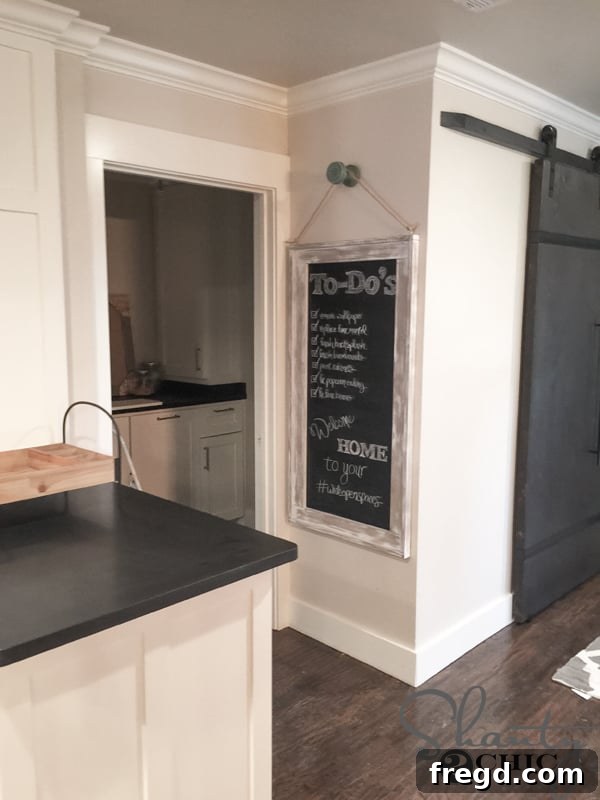
This DIY Hanging Chalkboard is the PERFECT project for a beginner! The steps are simple, it only requires a few tools AND it’s just so darn cute!
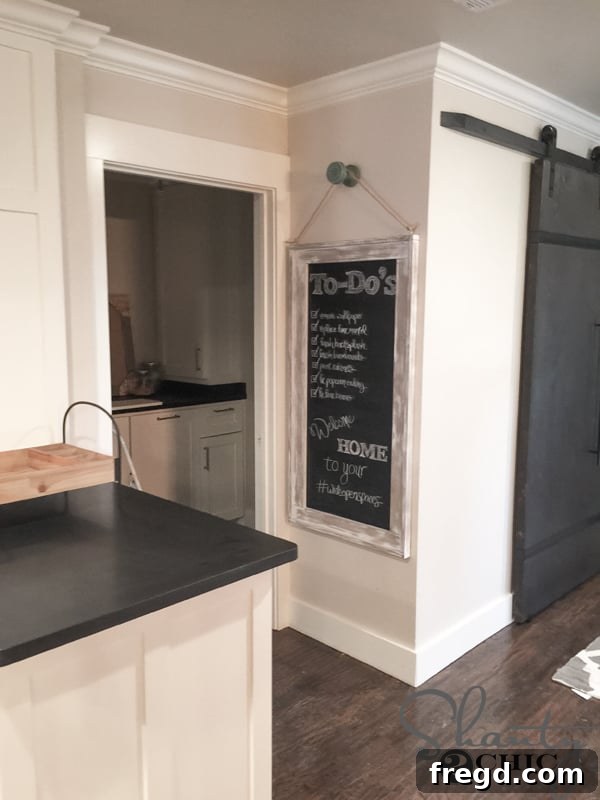
Craft Your Own Rustic Charm: The Easy DIY Hanging Chalkboard Project
Transform any blank wall into a functional and stylish focal point with this incredibly simple DIY hanging chalkboard project. Perfect for beginners and seasoned crafters alike, this guide will walk you through creating a beautiful, distressed chalkboard that adds personalized character to your home. Whether you’re looking to jot down grocery lists, leave inspiring messages, or simply display a rotating art piece, this project offers immense satisfaction and a fantastic return on your effort.
Why Build a DIY Hanging Chalkboard?
In today’s world of mass-produced decor, there’s nothing quite like the charm and unique story behind a handmade piece. A DIY hanging chalkboard offers a myriad of benefits:
- Beginner-Friendly: With straightforward steps and minimal specialized tools, this project is ideal for those new to woodworking and DIY.
- Cost-Effective: Save significantly compared to buying a pre-made chalkboard of this size and quality. Most materials are readily available at your local hardware store.
- Customizable Design: From the dimensions to the finish, you have complete control. We’ll show you how to achieve a popular distressed look, but the possibilities for personalization are endless.
- Versatile Functionality: Perfect for kitchens to manage menus and shopping lists, entryways for messages and reminders, kids’ rooms for creative expression, or even home offices for organization.
- Adds Rustic Appeal: The distressed finish technique we’ll explore lends a timeless, farmhouse, or shabby chic aesthetic that complements a wide range of interior styles.
If you were lucky enough to catch our pilot episode, “Open Concept,” on HGTV, you might have spotted this very chalkboard gracing one of our renovated spaces. Its ease of construction and the charm of its distressed finish made it an instant favorite, and it’s quickly become our go-to technique for adding character to projects!
Materials & Tools You’ll Need
Gathering your supplies before you begin ensures a smooth and enjoyable crafting experience. Here’s a detailed list of what you’ll need for your DIY hanging chalkboard:
Materials:
- Lumber:
- 1 – 1×3 @ 8ft. (This will be cut down for your main frame pieces)
- 1 – 1×3 @ 4ft. (Additional material for the frame, ensuring you have enough if mistakes happen)
- 2 – 1×2 @ 8ft. (These pieces will form the decorative trim that holds the chalkboard in place)
- Chalkboard Panel: 1 – 2’x4′ sheet of chalkboard material (commonly found at Home Depot or other home improvement stores). This is the star of your project!
- Hardware: 2 – Eye Hooks (Choose a size appropriate for hanging, typically 1.5 to 2 inches long)
- Fasteners:
- 1 1/4″ pocket hole screws (If using a Kreg Jig)
- 1 1/4″ brad nails (For attaching the trim, compatible with a nailer or for hand-nailing)
- 3/4″ staples (For attaching the chalkboard to the frame, compatible with a crown stapler) OR finish nails (If using a hammer)
- Finishing Supplies:
- Wood Stain (e.g., Varathane Dark Walnut, as used here)
- Chalk Paint (e.g., Rust-Oleum Chalked Paint, any color of your choice)
- 80-grit sandpaper (For distressing)
- Clean cloths (For applying/wiping stain)
- Paintbrush (For applying chalk paint)
Tools:
- Saw: A miter saw is ideal for precise cuts, but a circular saw or even a hand saw can work for this project.
- Kreg Jig: (Model K5 or similar recommended) Essential for creating strong, hidden pocket-hole joints for the frame.
- Drill: Necessary for driving screws, preparing pilot holes, and using the eye hook bolt driver bit.
- Nailer: (Brad nailer, e.g., Ryobi 18V Airstrike Brad Nailer) Speeds up attaching the trim. Alternatively, a hammer and finish nails will work.
- Stapler: (Crown stapler, e.g., Airstrike Crown Stapler) For attaching the chalkboard panel. Alternatively, a hammer and finish nails will work.
- Measuring Tape: For accurate measurements.
- Pencil: For marking cuts.
- Safety Gear: Safety glasses and gloves are always recommended when working with tools and finishes.
- Optional: Ryobi Eye Hook Bolt Driver bit (Makes screwing in eye hooks much easier).
With your materials and tools at the ready, let’s dive into building your beautiful new hanging chalkboard!
Step-by-Step Guide: Building Your DIY Hanging Chalkboard
Step 1: Prepare Your Chalkboard Panel
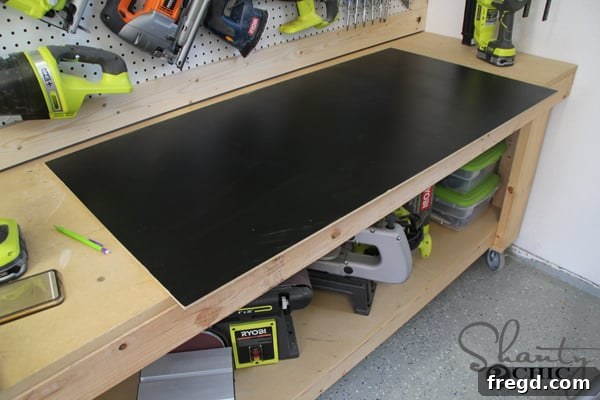
Begin by laying out your 2×4 sheet of chalkboard material. While it’s nominally 2×4 feet, slight variations can occur. It’s crucial to measure your specific chalkboard panel before making any cuts for the frame. This ensures your frame perfectly encases the chalkboard, providing a professional and snug fit.
Step 2: Cut the Frame Pieces
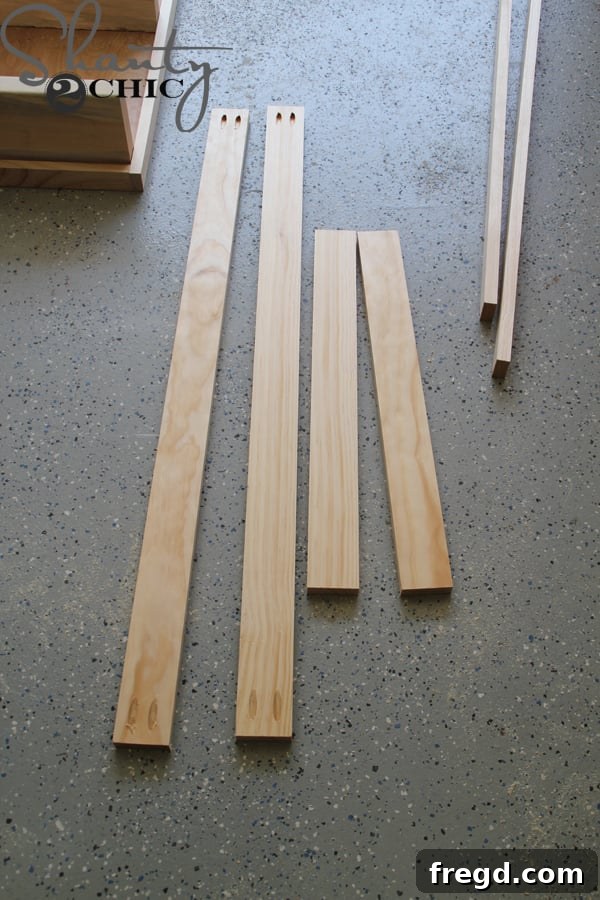
Based on your chalkboard’s precise measurements, you will cut the 1×3 lumber to form the main frame. For a standard 24″ x 48″ chalkboard, typical cuts would be:
- 2 pieces of 1×3 at 24″ each (These will be the top and bottom pieces of your frame, matching the short side of the chalkboard).
- 2 pieces of 1×3 at 43″ each (These will be the vertical side pieces of your frame. Note that these are cut slightly shorter than the chalkboard’s long side because they will fit *between* the 24″ pieces).
Remember, these are guidelines. Always double-check against your actual chalkboard dimensions. Precision here will make the assembly much smoother.
Step 3: Drill Pocket Holes with Your Kreg Jig
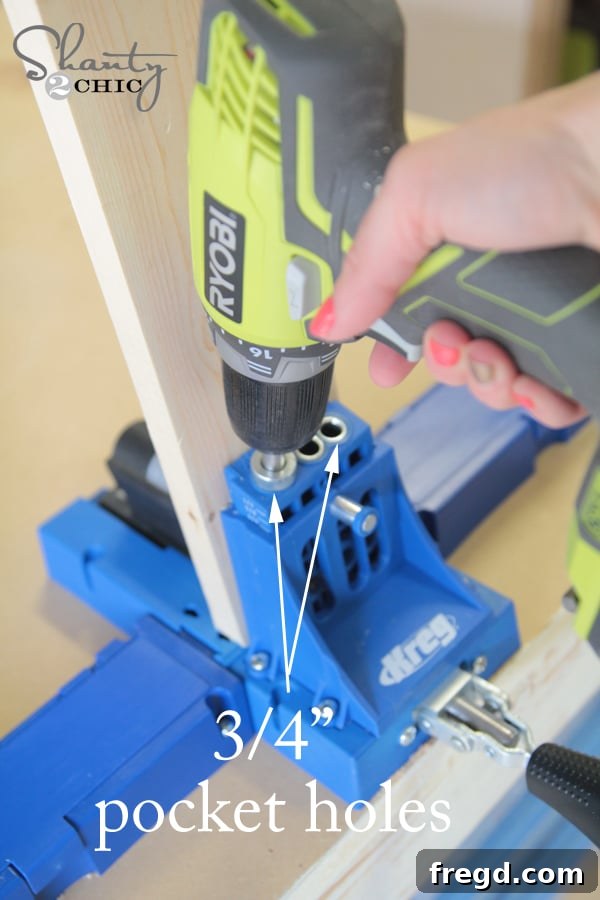
The Kreg Jig is an invaluable tool for creating strong, hidden joints. Using your Kreg K5 (or similar model), set it up for 3/4″ material thickness. Drill three pocket holes into both ends of the two 43″ boards. These holes will allow you to securely join the long sides of the frame to the shorter top and bottom pieces, creating a robust and clean frame structure.
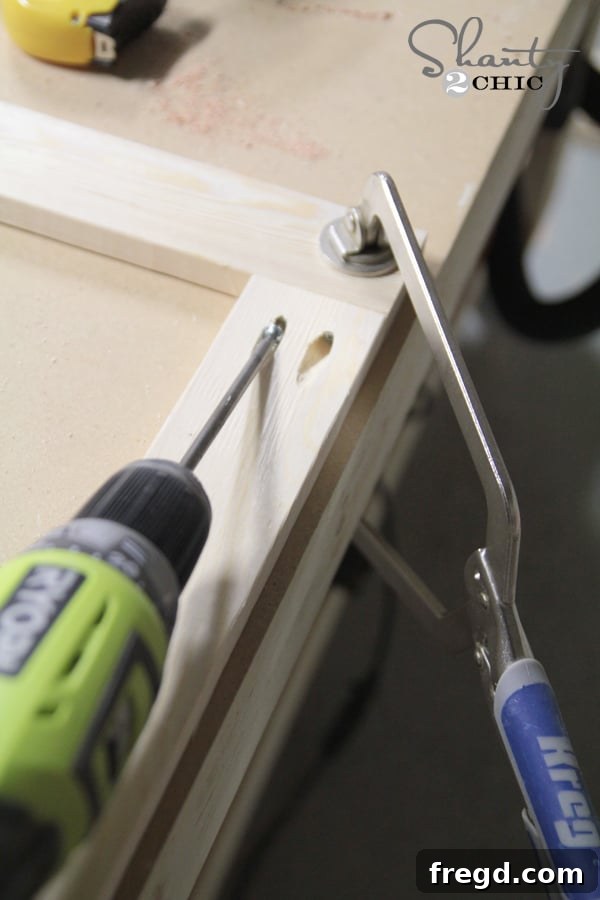
If you’re new to using a Kreg Jig, there are many excellent video tutorials available online that can guide you through the process, ensuring you get perfect pocket holes every time.
Step 4: Assemble the Main Frame
Once your pocket holes are drilled, it’s time to assemble the frame. Attach the 43″ boards (with pocket holes) to the 24″ boards using 1 1/4″ pocket hole screws. Make sure all edges are flush and square as you tighten the screws. This will form the sturdy rectangular foundation for your chalkboard.
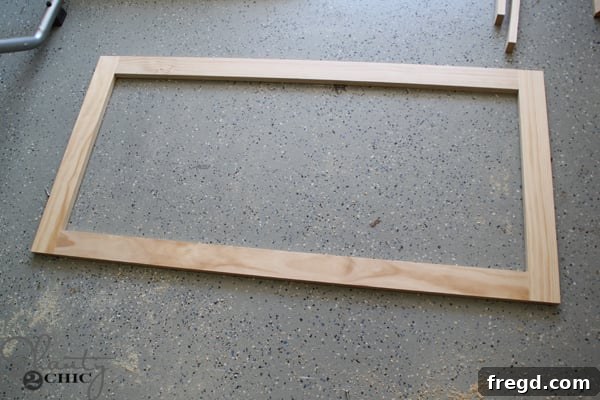
At this point, your frame should look like a neatly constructed rectangle, ready for the next steps.
Step 5: Attach the Decorative Trim (1x2s)
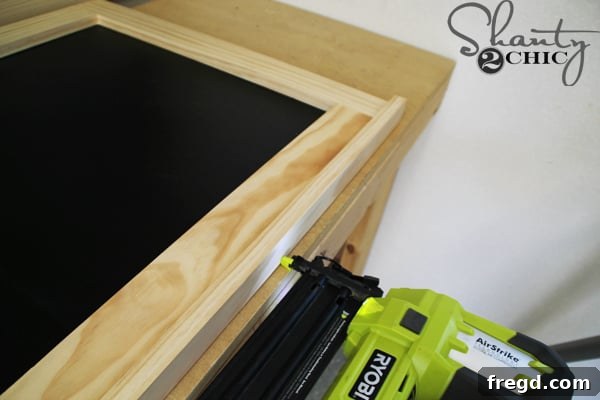
This trim serves two important purposes: it secures the chalkboard panel from the front and adds a decorative edge. First, lay your assembled 1×3 frame over the chalkboard, ensuring that the edges of the frame are flush with the edges of the chalkboard panel. This is a critical dry-fit step that ensures proper alignment.
Next, measure the length of the long sides of the frame (from end to end). Cut two pieces of 1×2 lumber to this exact length. Position these 1×2 pieces over the long sides of the chalkboard, ensuring they slightly overlap the chalkboard panel itself. Attach them securely using your Ryobi 18V Airstrike Brad Nailer with 1 1/4″ brad nails. If you don’t have a nailer, a hammer and finish nails will work perfectly well here. The goal is for the 1×2 trim to cover the sides of the chalkboard so that when it’s hanging, the raw edges of the chalkboard are hidden, giving it a clean, finished appearance.
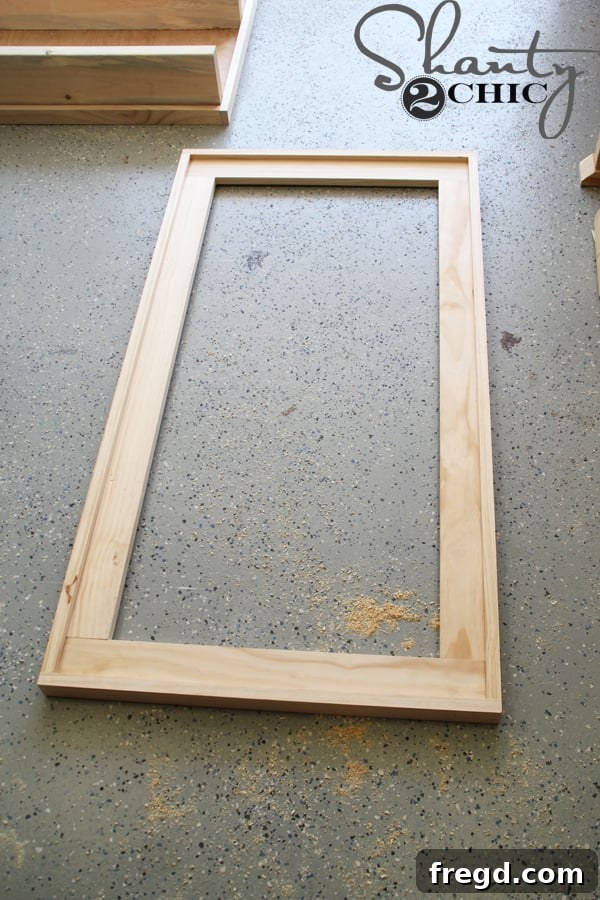
Repeat this process for the short ends of the frame. Measure the distance between the two attached long trim pieces, cut two 1×2 pieces to fit, and attach them using the same method. Your frame should now have a complete border of 1×2 trim, creating a recessed area for the chalkboard.
Important Note: Do NOT attach the chalkboard panel permanently yet! It is much easier to apply the finish to the frame without the chalkboard in place.
Achieving the Perfect Distressed Finish
The distressed finish is what truly gives this chalkboard its rustic charm. It’s a simple technique that yields beautiful results.
Step 6: Apply Wood Stain
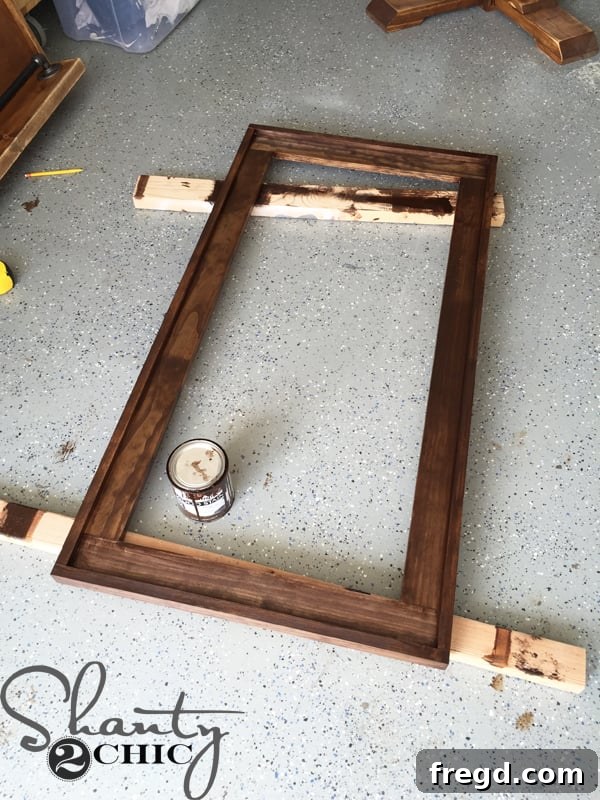
Using a clean cloth, apply one even coat of Varathane Dark Walnut stain to the entire wooden frame. This stain provides a rich, dark base color that will peek through the distressed chalk paint, adding depth and character. Allow the stain to sit for approximately 5 minutes, then wipe off any excess with a fresh, clean cloth. This blending action ensures an even absorption and prevents blotchiness. Let the stain dry completely according to the manufacturer’s instructions, typically a few hours.
Step 7: Apply Chalk Paint
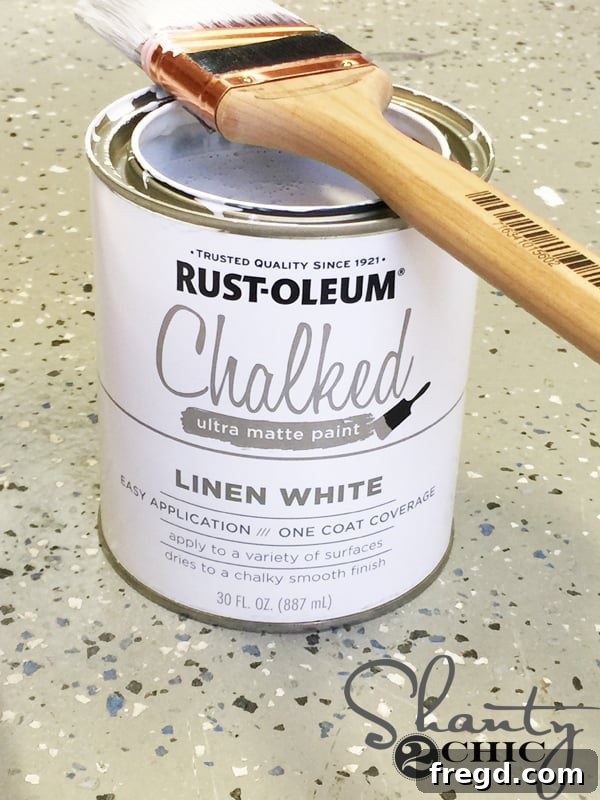
Once the stain is thoroughly dry, use a paintbrush to apply one thin coat of Rust-Oleum Chalked Paint to the entire frame. The key here is “one coat” and “thin.” As the paint dries, it will be a relatively light, somewhat translucent coat, which is exactly what you want for easy distressing. A thin layer will require less effort to sand through, making the distressing process quicker and more forgiving.
Step 8: Distress the Paint
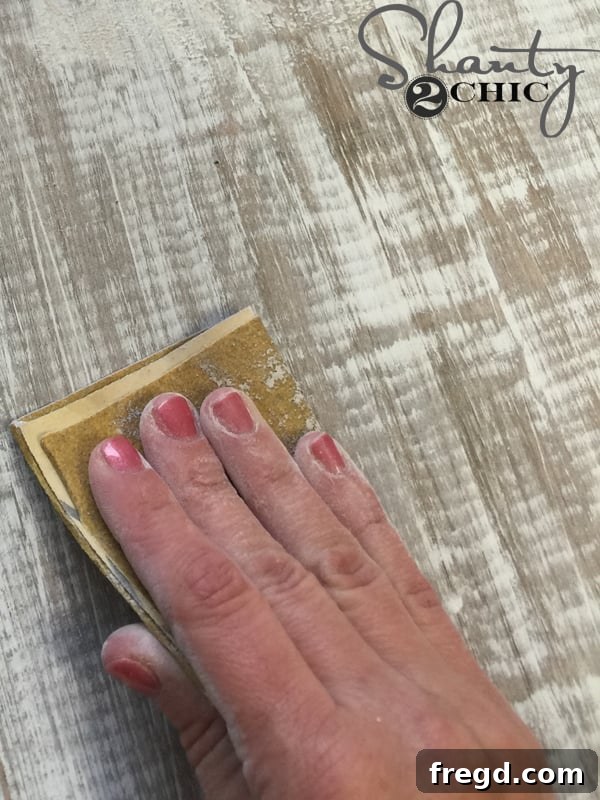
After the chalk paint is completely dry, grab a piece of 80-grit sandpaper. This coarser grit is perfect for quickly removing layers of paint. Gently rub the sandpaper back and forth along the edges, corners, and any raised areas of the frame. You’ll notice the paint beginning to powder off, revealing the dark stain underneath. Continue distressing until you achieve your desired level of wear and tear. Focus on areas that would naturally show wear over time for the most authentic look. This step is incredibly satisfying!
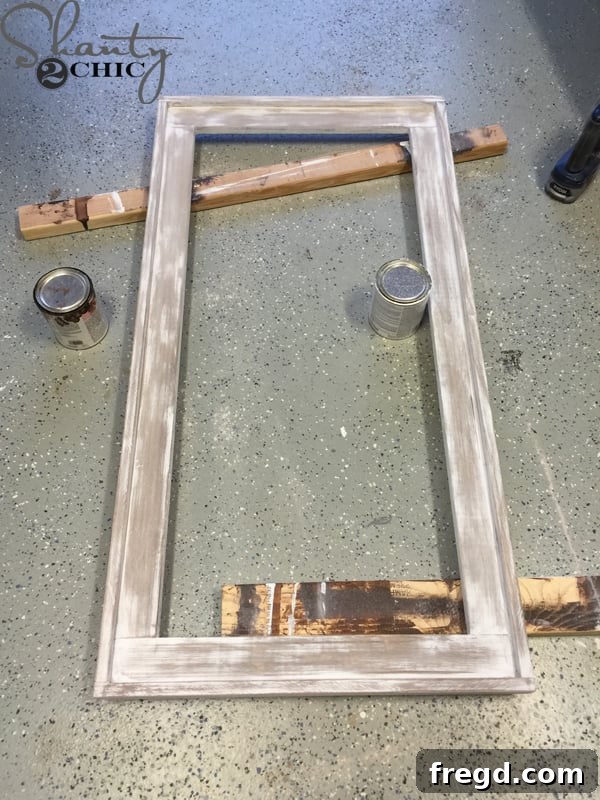
The beauty of this technique lies in its simplicity and the ability to customize the distressed look. You can go for a heavily weathered aesthetic or just a subtle hint of wear. Once you’re happy with the finish, wipe off any excess dust with a clean cloth.
Final Assembly and Hanging
Step 9: Attach the Chalkboard to the Frame
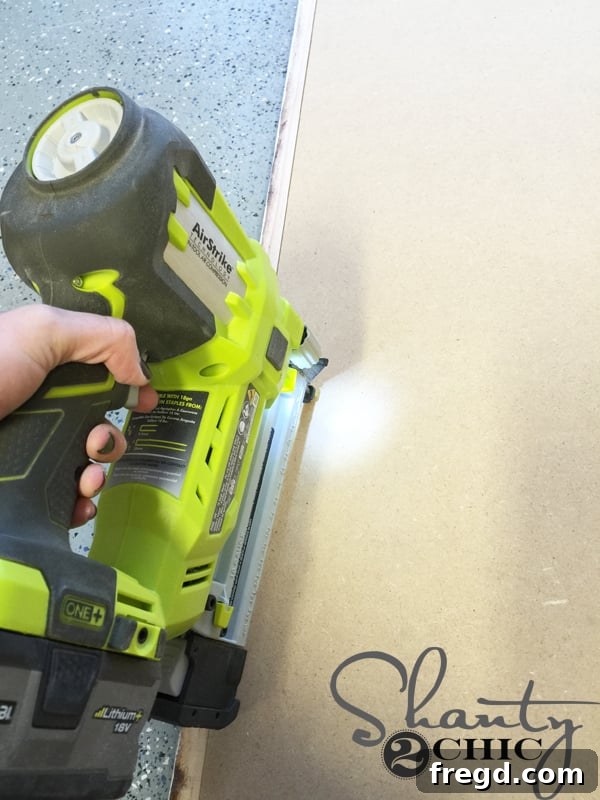
Now that your frame is beautifully finished, it’s time to secure the chalkboard panel. Flip the frame over so the back is facing up. Carefully place the chalkboard panel into the recessed area of the frame. Ensure it fits snugly and is centered. Using your Airstrike Crown Stapler with 3/4″ staples, secure the chalkboard to the back of the frame, spacing the staples evenly along all four sides. If you don’t have a stapler, finish nails and a hammer will work just as effectively to hold the chalkboard in place.
Step 10: Install Eye Hooks for Hanging
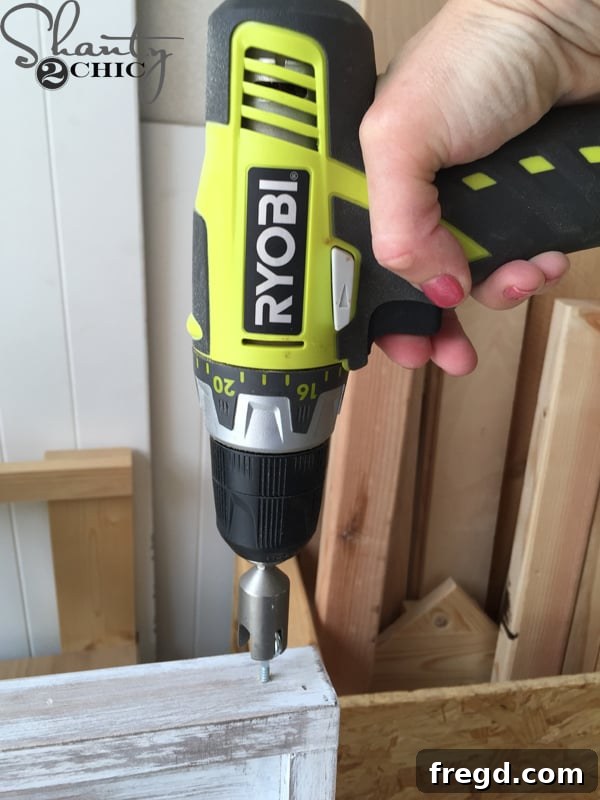
To prepare your chalkboard for hanging, screw an eye hook into the top ends of the chalkboard frame. Space them evenly, typically a few inches from each corner. If you have a Ryobi Eye Hook Bolt Driver bit, this process becomes incredibly easy and quick. Otherwise, you can pre-drill small pilot holes to make screwing in the eye hooks by hand much simpler and prevent wood splitting.
Step 11: Hang Your Masterpiece!
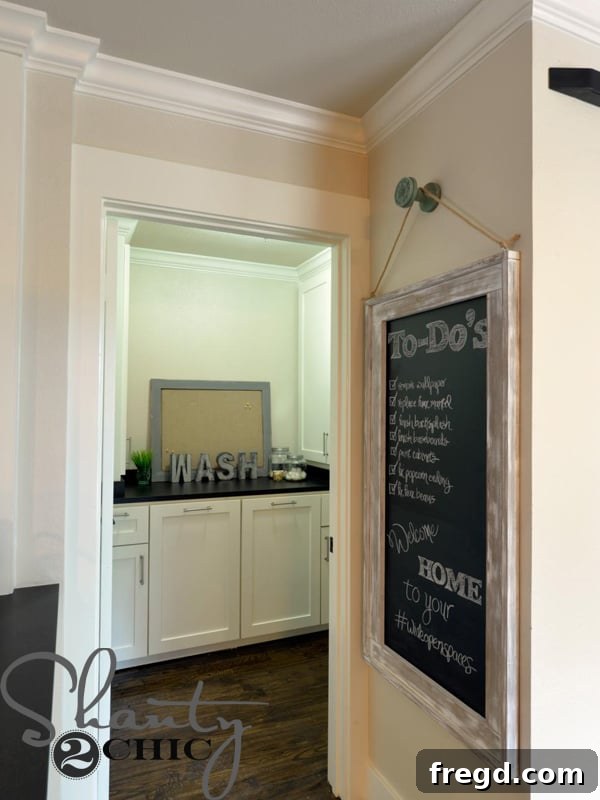
With the eye hooks in place, it’s time to hang your new chalkboard! We used a length of rustic jute rope, threaded through the eye hooks, and hung it from a charming wall knob sourced from Hobby Lobby. You can choose any hanging method that suits your style – chains, ribbons, or even direct mounting onto wall anchors. Be creative and make it truly your own!
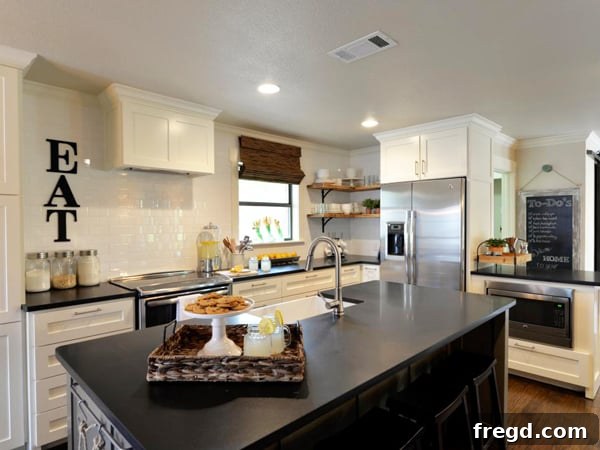
And there it is, beautifully integrated into our “Open Concept” kitchen, subtly peeking out and adding a touch of personalized flair!
Styling Your New Chalkboard & Beyond
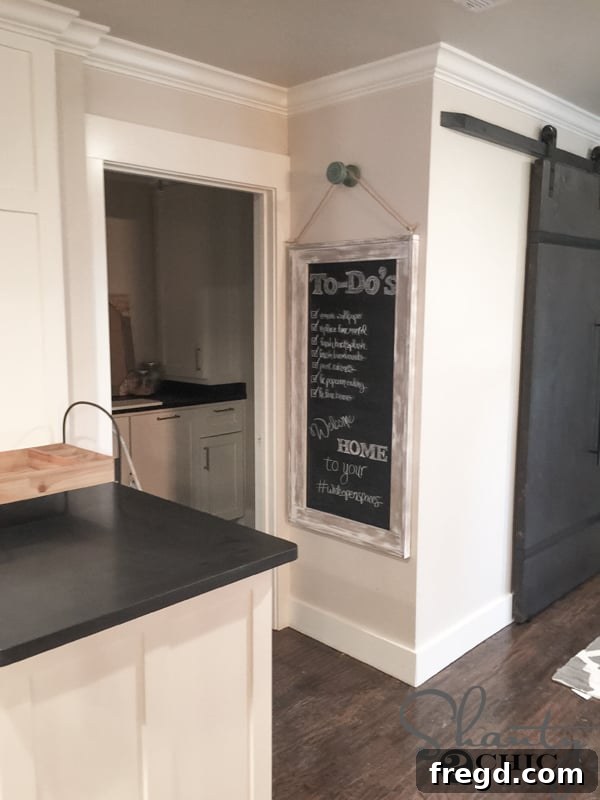
Your new DIY hanging chalkboard isn’t just a functional item; it’s a dynamic piece of wall art! Here are some ideas to make the most of it:
- Daily Messages: Use it to write inspiring quotes, daily affirmations, or welcome messages for guests.
- Meal Planning: Perfect for planning weekly menus or jotting down grocery lists in the kitchen.
- Artistic Expression: Let your inner artist shine! Change drawings seasonally or for special occasions. It’s also a fantastic outlet for kids’ creativity.
- Event Signage: Create custom signs for parties, holidays, or family gatherings.
- Photo Backdrop: Use it as a rustic backdrop for family photos, adding handwritten dates or fun captions.
This project proves that adding significant style to your home doesn’t have to break the bank. We spent approximately $30 on lumber for this 2’x4′ chalkboard, which effectively fills a substantial empty wall space with character and functionality. That’s incredible value for money!
Stay Tuned for More!
If you enjoyed seeing this chalkboard and are curious about the complete transformation from our HGTV pilot episode, “Open Concept,” you can find more captivating before and after pictures by visiting the HGTV website. We’re thrilled to announce that we are currently in the midst of filming more episodes of “Open Concept”! Get ready for more exciting furniture building projects, inspiring home renovations, and plenty of Shanty charm coming to HGTV. We’ll be sure to keep you updated on air dates as soon as they are released.
Thank you so much for joining us on this creative journey. We hope this guide inspires you to pick up your tools and create something beautiful for your home.
Happy Building!