
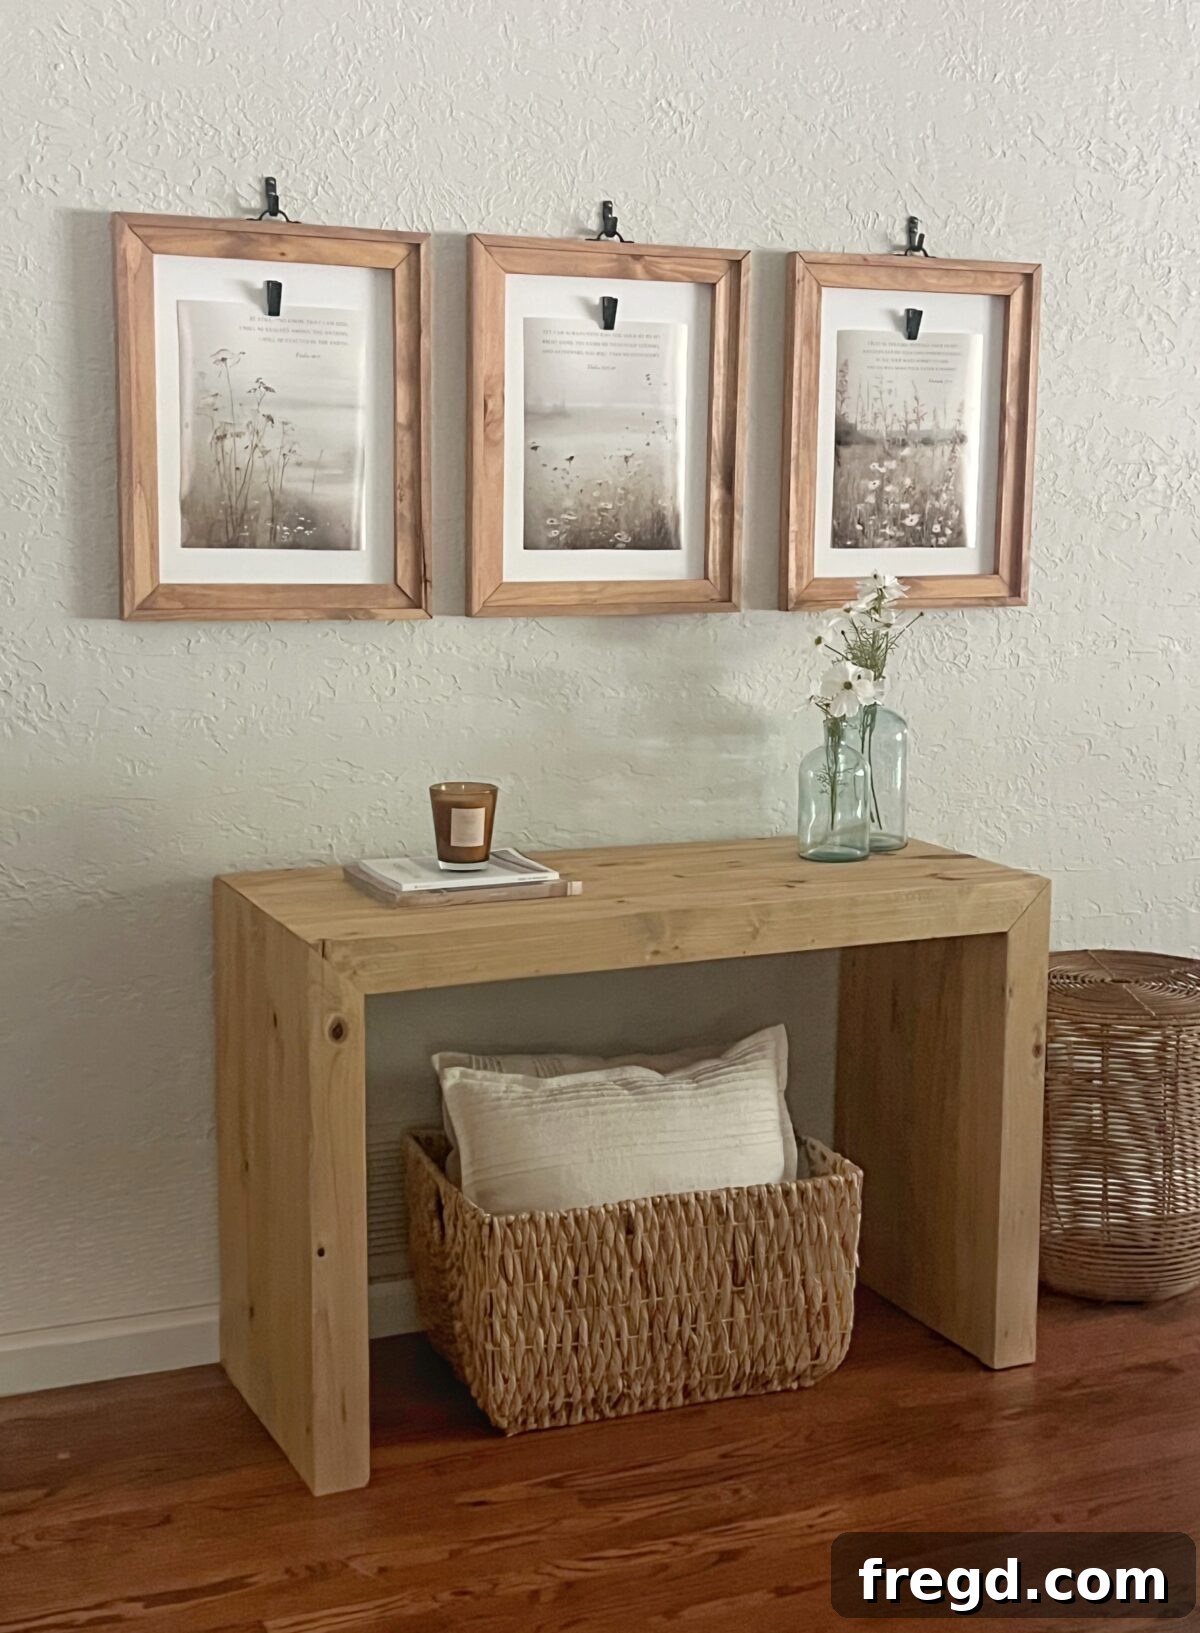
Transforming your home with custom furniture doesn’t have to be daunting or expensive. If you’re searching for a stylish, space-saving solution that delivers a big impact, look no further than this DIY Waterfall Console Table. With its sleek, clean lines, modern silhouette, and robust solid wood construction, this project is remarkably beginner-friendly and incredibly budget-conscious. You can build this entire stunning piece for under $100 in lumber alone, making it an accessible dream for any aspiring DIYer. Plus, we’re providing detailed, free printable plans to guide you every step of the way!
Whether you’re looking to elevate your entryway, add a functional yet elegant console behind your living room couch, or simply need a slim, versatile piece for a tight corner, this project has you covered. We’re excited to share a comprehensive, step-by-step tutorial, complete with complimentary printable plans and an accompanying YouTube video to visually walk you through the entire building process. Get ready to create a beautiful, custom piece that perfectly suits your space and style.
Table of Contents
Unveiling the Modern Appeal of the Waterfall Console Table
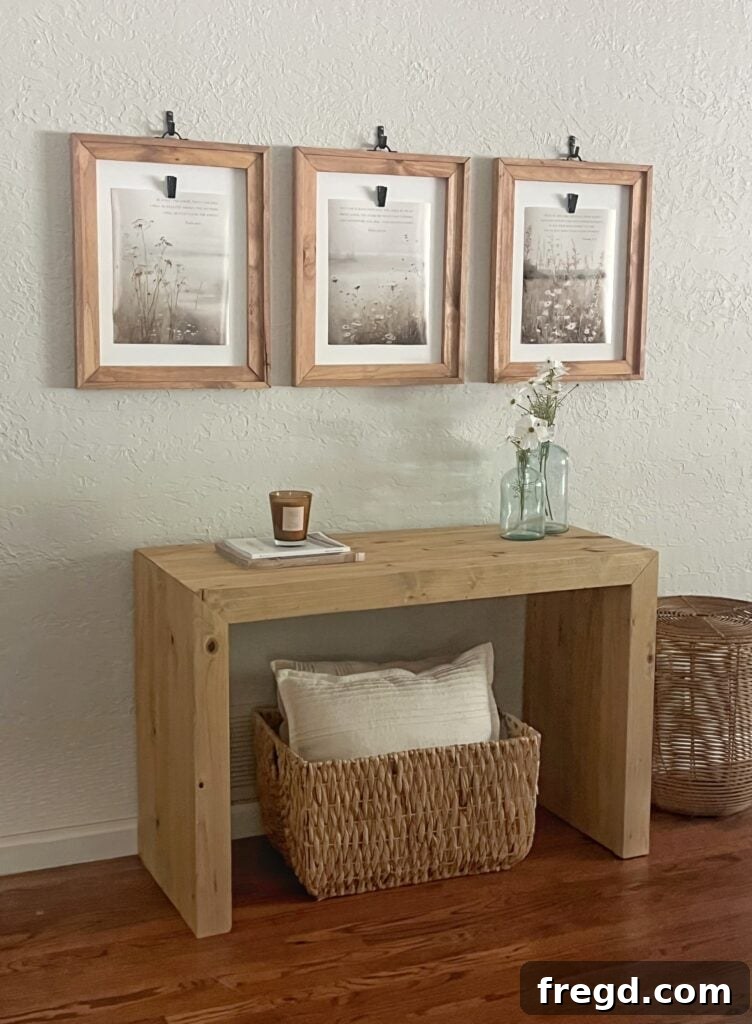
Initially conceived as a compact yet elegant writing desk for my college-aged daughter, this versatile piece quickly demonstrated its ability to perform double-duty and beyond. Its minimalist profile, characterized by the distinctive “waterfall” edge design, makes it an ideal modern console table for nearly any small space. The clean, continuous lines create an uninterrupted flow from the top surface down the sides, offering a sophisticated aesthetic that seamlessly blends with contemporary decor.
We’ve primarily showcased it as a waterfall console table here, and its adaptability is truly remarkable. Imagine it as a welcoming entryway table, a chic narrow hallway shelf, or even a stylish vanity setup in a bedroom or dressing area. The beauty of a DIY project like this is the complete freedom to customize its length, width, and finish to perfectly complement your specific space and personal style. And the best part? You can achieve this high-end look for less than $100, proving that exceptional design doesn’t have to come with an exorbitant price tag.
Why Choose a DIY Waterfall Console Table?
Opting to build your own waterfall console table offers a multitude of benefits, extending far beyond simple cost savings. This project empowers you to:
- Achieve Customization: Say goodbye to off-the-shelf limitations. You control every dimension, from height and width to length, ensuring your console fits your space like a glove.
- Embrace Modern Aesthetics: The waterfall design is a hallmark of contemporary interior design. Its flowing lines and minimalist form add an instant touch of sophistication to any room.
- Optimize Small Spaces: Console tables are inherently space-efficient, and the slim profile of this waterfall design makes it perfect for tight entryways, narrow hallways, or behind sofas where traditional furniture might feel bulky.
- Learn Valuable Woodworking Skills: This DIY console table is an excellent project for beginners to hone their skills in measuring, cutting, drilling pocket holes, and finishing.
- Save Money: Building it yourself with affordable lumber can save you hundreds, if not thousands, compared to purchasing a similar piece from a retail store.
- Create a Unique Piece: Your custom finish and personal touches will ensure your console table is truly one-of-a-kind, reflecting your individual taste and craftsmanship.
Watch the Build in Action: DIY Waterfall Console Table Video
Sometimes, seeing is believing, especially when it comes to woodworking projects. To provide you with the clearest understanding and maximum confidence, we’ve produced a detailed video tutorial showcasing every step of this build. While the video originally documented the creation of a writing desk, the fundamental design principles and construction techniques are identical and perfectly applicable to this sleek DIY waterfall console table. You can follow along with ease, simply adjusting the overall dimensions as needed to fit the specific requirements of your space.
Watching the build unfold visually can demystify complex steps, offer helpful tips for tool usage, and provide confidence as you embark on your own project. Make sure to pause, rewind, and rewatch sections as often as necessary to ensure you’re comfortable with each stage of the process. You can find the full step-by-step video tutorial here, ready to guide you from raw lumber to a finished, beautiful piece of furniture!
Essential Supplies & Tools Needed for Your Project
This DIY waterfall console table is designed to be accessible for both beginner woodworkers and seasoned weekend DIY enthusiasts. You don’t need an elaborate workshop filled with high-end machinery. Here’s a breakdown of the essential tools we utilized, along with a brief explanation of why each is beneficial for this project:
- Drill: Indispensable for pre-drilling holes and driving screws, ensuring strong and secure joints.
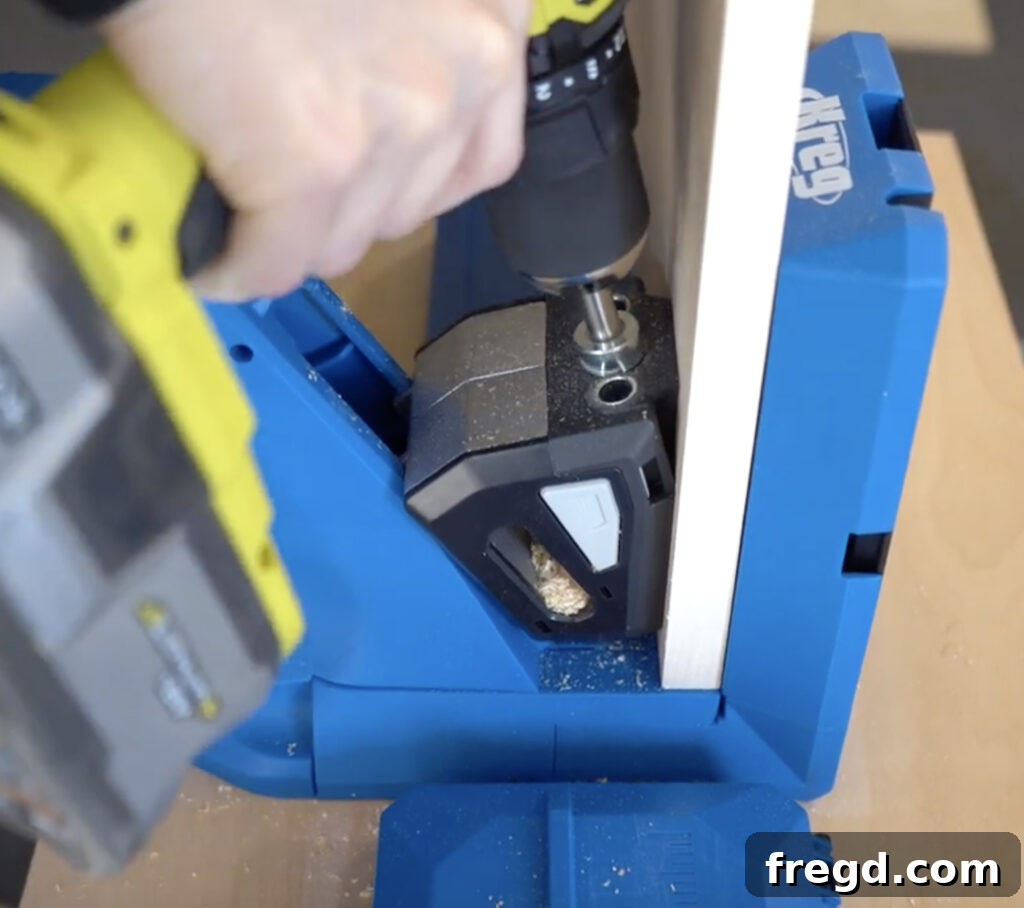
- Kreg Jig (we used the 720 PRO — love it!): A true game-changer for furniture building. This pocket-hole jig creates strong, concealed joints that are both durable and aesthetically pleasing.
- Miter Saw: Essential for making precise crosscuts and especially accurate 45-degree angle cuts required for the waterfall effect.
- Table Saw: Highly recommended for ripping boards to consistent widths, which is crucial for achieving clean edges and a professional finish.
- Brad Nailer: Perfect for temporarily securing pieces during glue-up and for attaching the decorative panels that hide pocket holes, providing a clean, almost invisible fastening method.
- Sander: Crucial for smoothing surfaces, preparing the wood for stain, and achieving a professional, touchable finish.
Curious about what a Kreg Jig is and why it’s so popular among DIYers? It’s a specialized pocket-hole joinery system that allows you to join boards with incredibly strong, clean, and hidden joints. Instead of traditional visible screws or complex joinery, the Kreg Jig creates angled holes where screws are driven, pulling the pieces tightly together for a robust connection. It’s a total game-changer for anyone serious about furniture building! You can explore our favorite Kreg model here and find a helpful tutorial on how to master its use here.
Decoding Your Lumber Choices for the Waterfall Console
For this specific DIY waterfall console table build, we strategically combined two types of readily available lumber to achieve both structural integrity and a refined finish:
- 2×4 boards for the internal frame: These common framing lumber pieces provide excellent strength and stability. To achieve a more refined, less bulky look, we ripped them down to a consistent 3 inches wide. This step is optional but significantly enhances the console’s modern aesthetic.
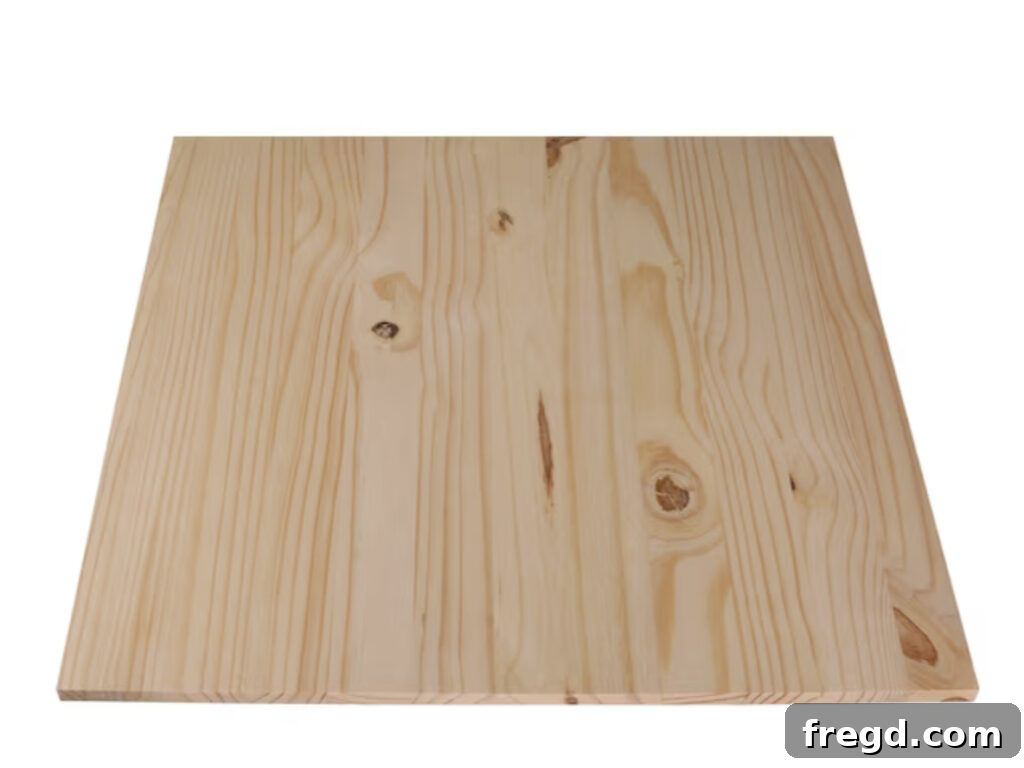
- Laminated pine panels for the top and sides: These project panels are perfect for creating the sleek, continuous surfaces of the waterfall design. We maintained their original 16-inch width for convenience, but you have the flexibility to adjust this dimension to perfectly suit your desired console depth.
Laminated pine panels are a fantastic choice for DIY furniture projects. They are widely available at major home improvement stores like Lowe’s or Home Depot, often shrink-wrapped and sold in various pre-cut sizes. Their consistent dimensions and smooth surfaces minimize the need for extensive milling, making them ideal for reducing scrap material and simplifying the building process. When selecting your lumber, look for straight boards with minimal knots or warping to ensure the best results for your modern console table.
Step-by-Step Guide: How to Build Your DIY Waterfall Console
Embark on the journey of crafting your own stunning DIY waterfall console table with this detailed, step-by-step guide. Remember to always prioritize safety by wearing appropriate protective gear and ensuring your tools are properly maintained.
Step 1: Precise Cuts and Initial Frame Assembly
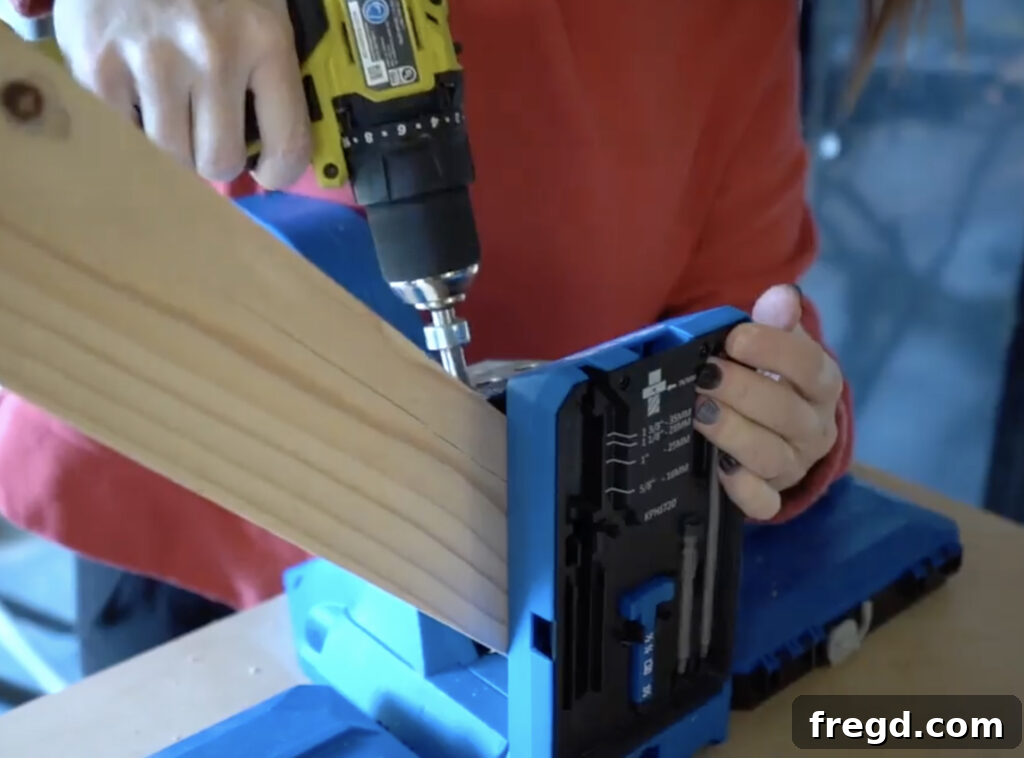
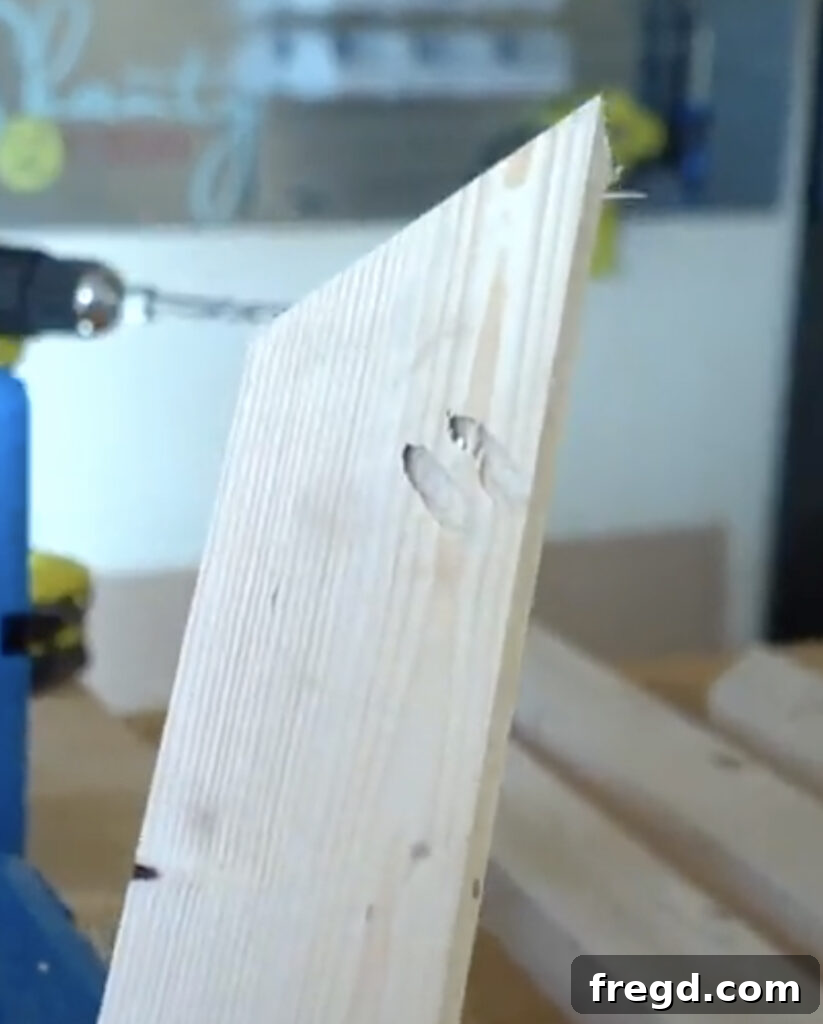
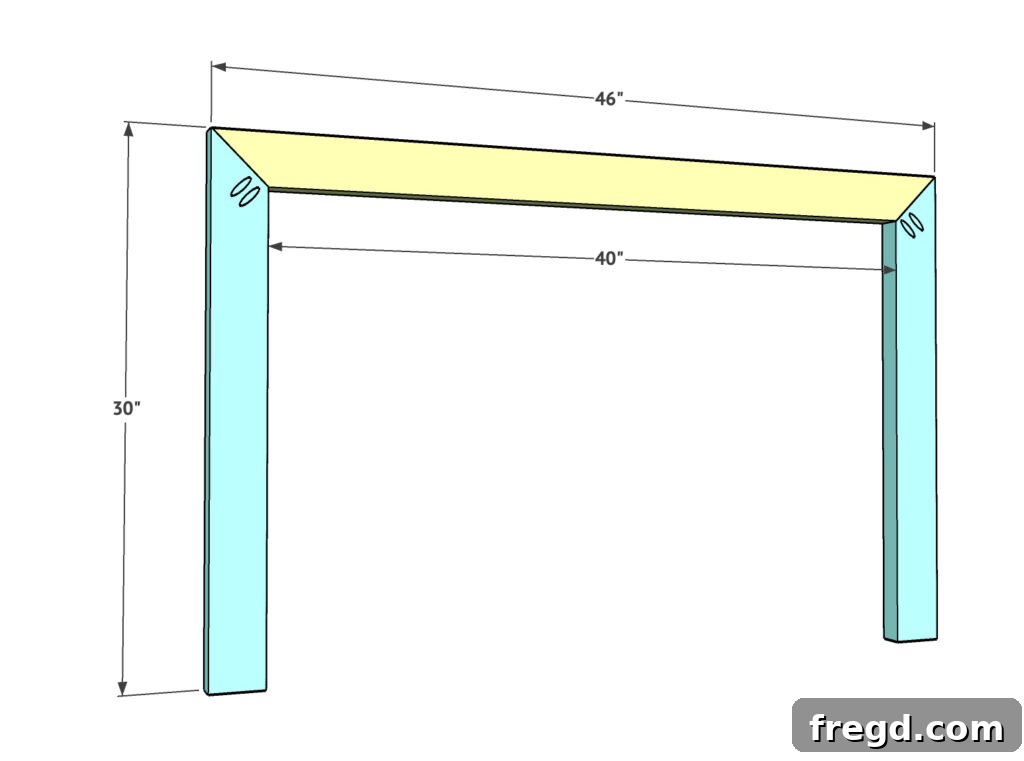
Begin by preparing your 2×4 boards. Using a table saw, carefully rip them down to a consistent 3 inches wide. This step, while optional, significantly refines the appearance of the internal frame, giving your console a more custom and modern feel. Next, with your miter saw, cut these boards to the specified lengths (refer to the free plans for exact dimensions). The key here is to cut the ends at precise 45-degree angles to create the mitered corners for your rectangular frames. Once cut, utilize your Kreg Jig to drill 1.5-inch pocket holes into these angled ends. These pocket holes will be crucial for creating strong, hidden joints. Apply a generous amount of wood glue to the mitered edges, then assemble two identical rectangular frames using 2.5-inch pocket hole screws. Ensure these frames are perfectly square before the glue sets, using a speed square or framing square for accuracy.
Step 2: Constructing the Waterfall Console Frame
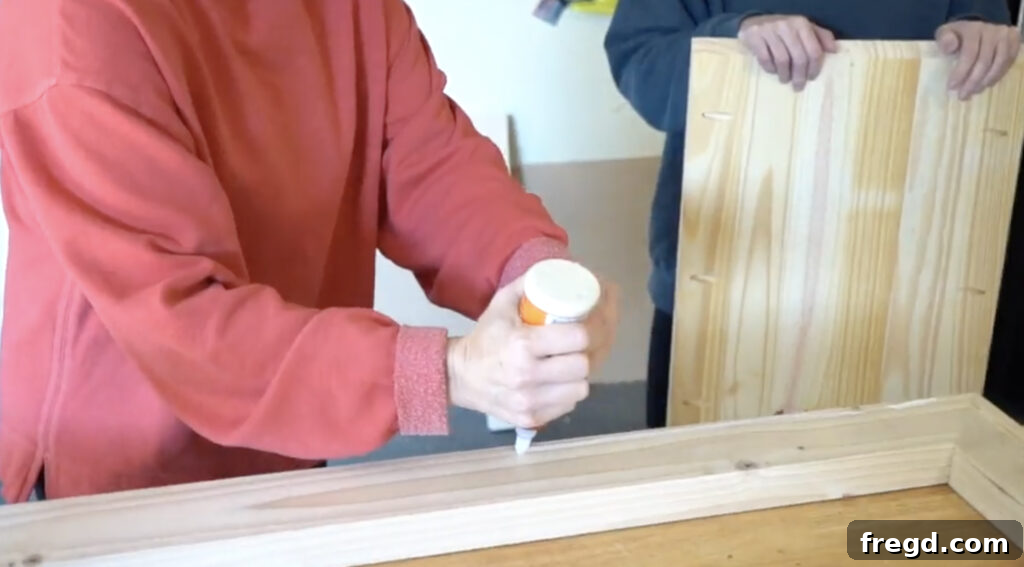
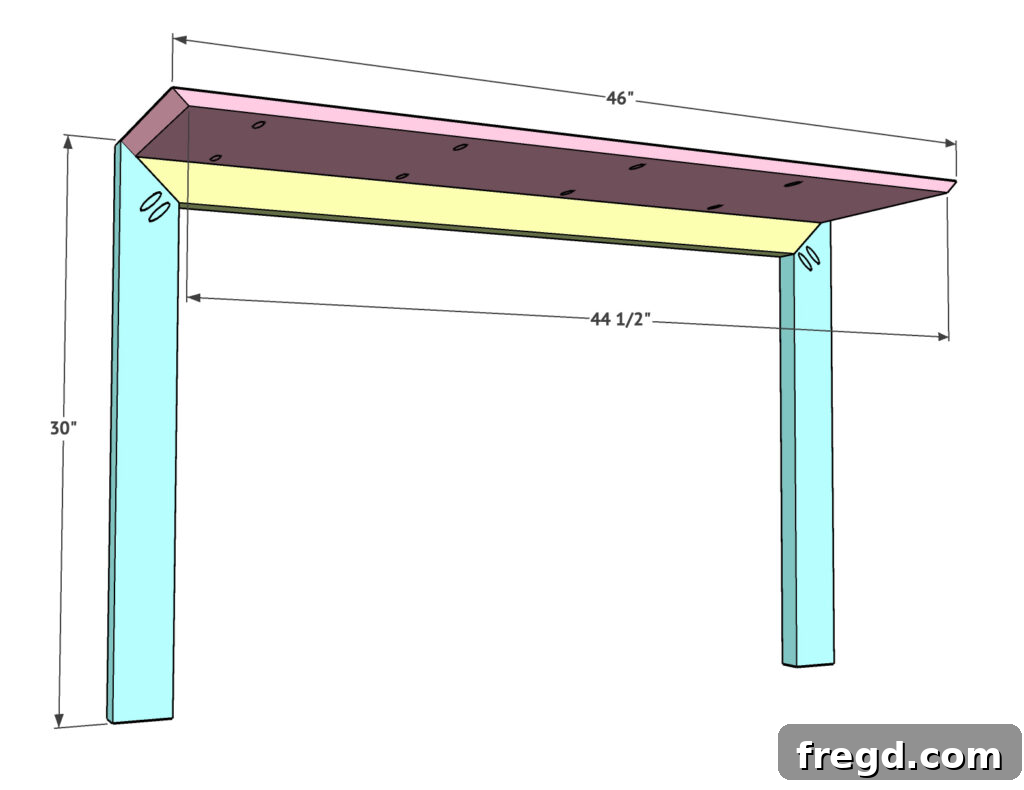
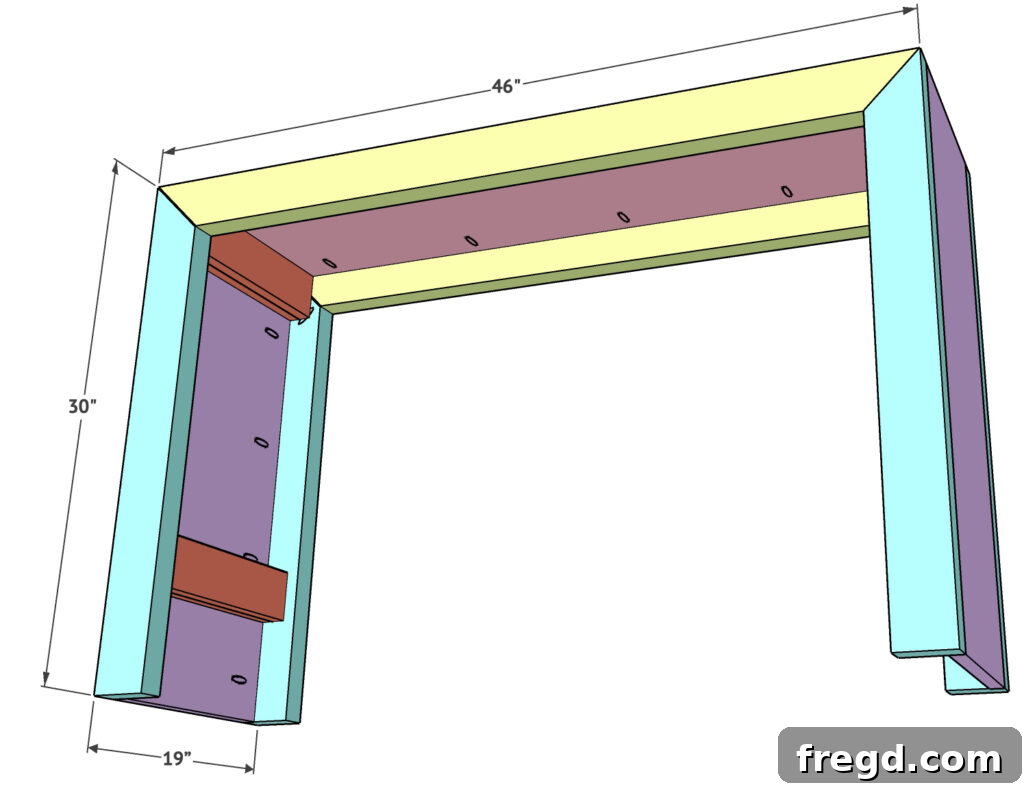
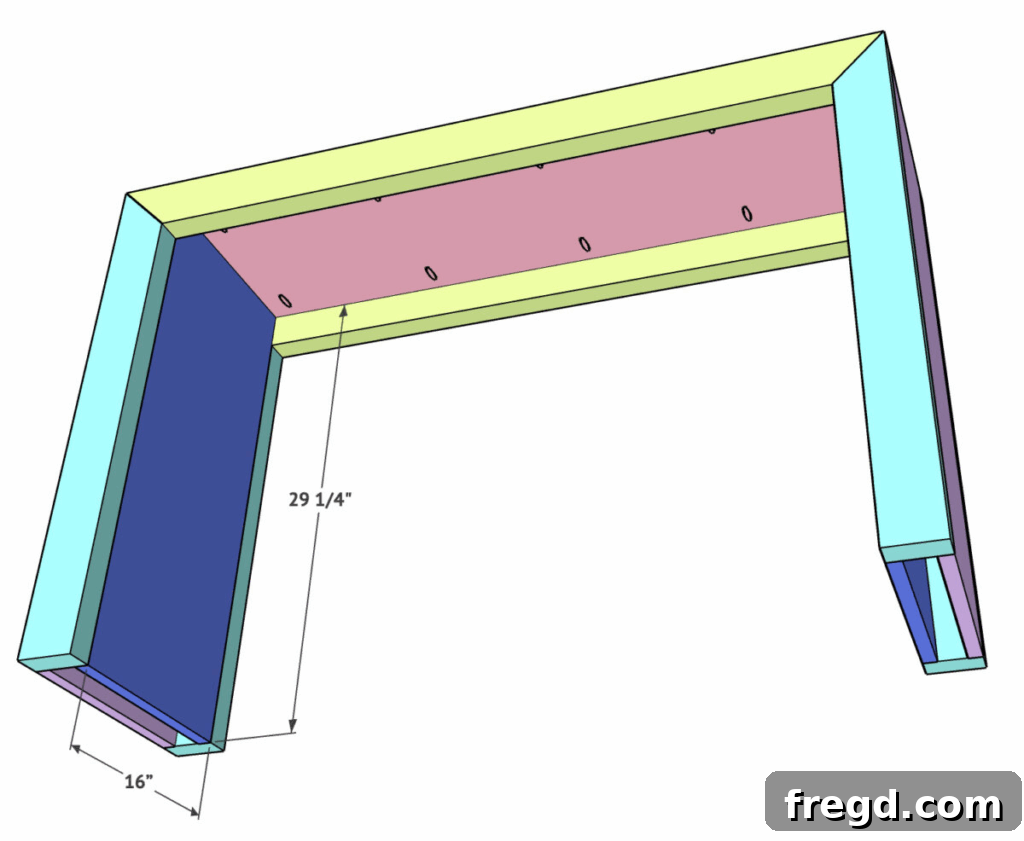
Now it’s time to begin forming the main structure of your waterfall console table. Take one of your laminated pine panels, which will serve as the console top. Along its bottom edges, drill 3/4-inch pocket holes. These holes should be strategically placed to ensure a strong connection to the frame. Apply wood glue to the top surface of one of your assembled rectangular frames. Carefully align the console top panel onto this frame, ensuring it is perfectly flush with the top and outer edges of the frame. Secure the console top to the frame using 1.25-inch pocket hole screws. Work slowly and methodically, clamping the pieces together if needed to prevent shifting and ensure a tight, flush joint. This forms the upper section of your waterfall design.
Step 3: Seamlessly Integrating Side Panels & Waterfall Edges
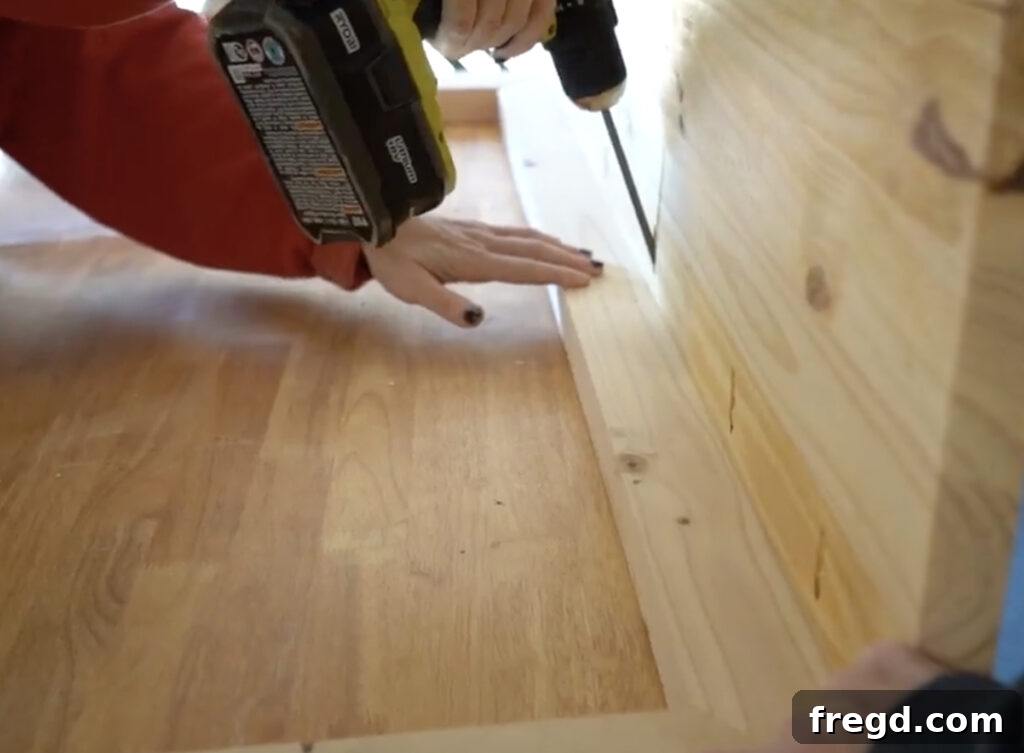
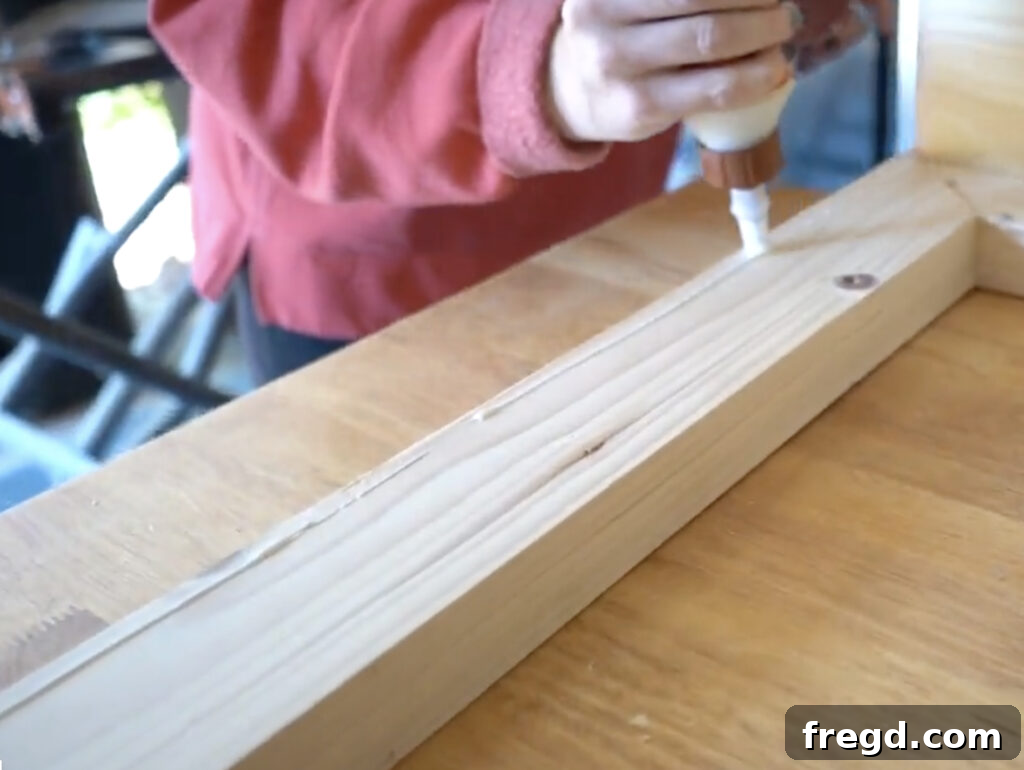
Now for the signature “waterfall” effect! Take your laminated pine side panels. The key to the continuous look is to cut the top edge of these side panels at a precise 45-degree angle. This angle will perfectly meet the 45-degree angle of the console top, creating that seamless, flowing appearance. With the angle cuts made, drill 3/4-inch pocket holes along the long inside edges of each side panel. These holes will be used to attach the panels to the frame from the inside, keeping them hidden. Apply wood glue to the corresponding edges of the console frame where the side panels will attach. Carefully position each side panel, ensuring the mitered top edge aligns perfectly with the console top. Secure them in place using 1.25-inch pocket hole screws. Clamps will be immensely helpful here to hold the pieces tightly together while you drive the screws, ensuring a clean and strong waterfall joint.
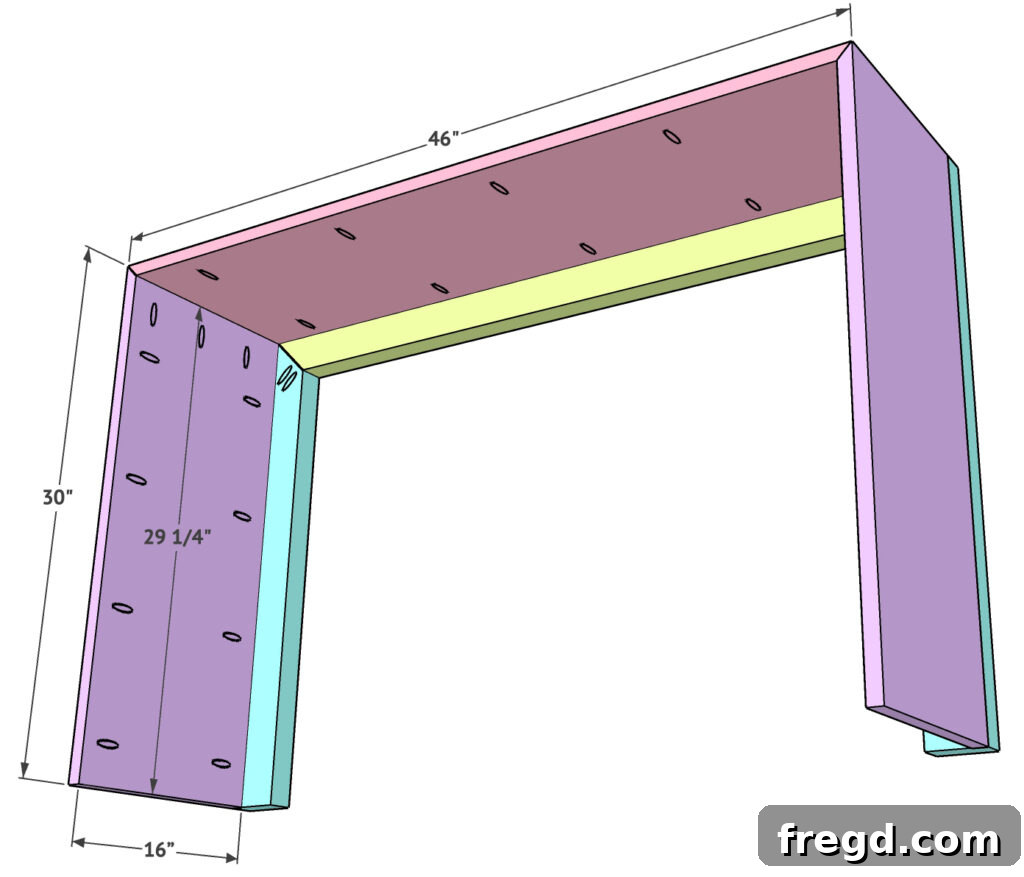
Step 4: Adding Robust Interior Support Strips
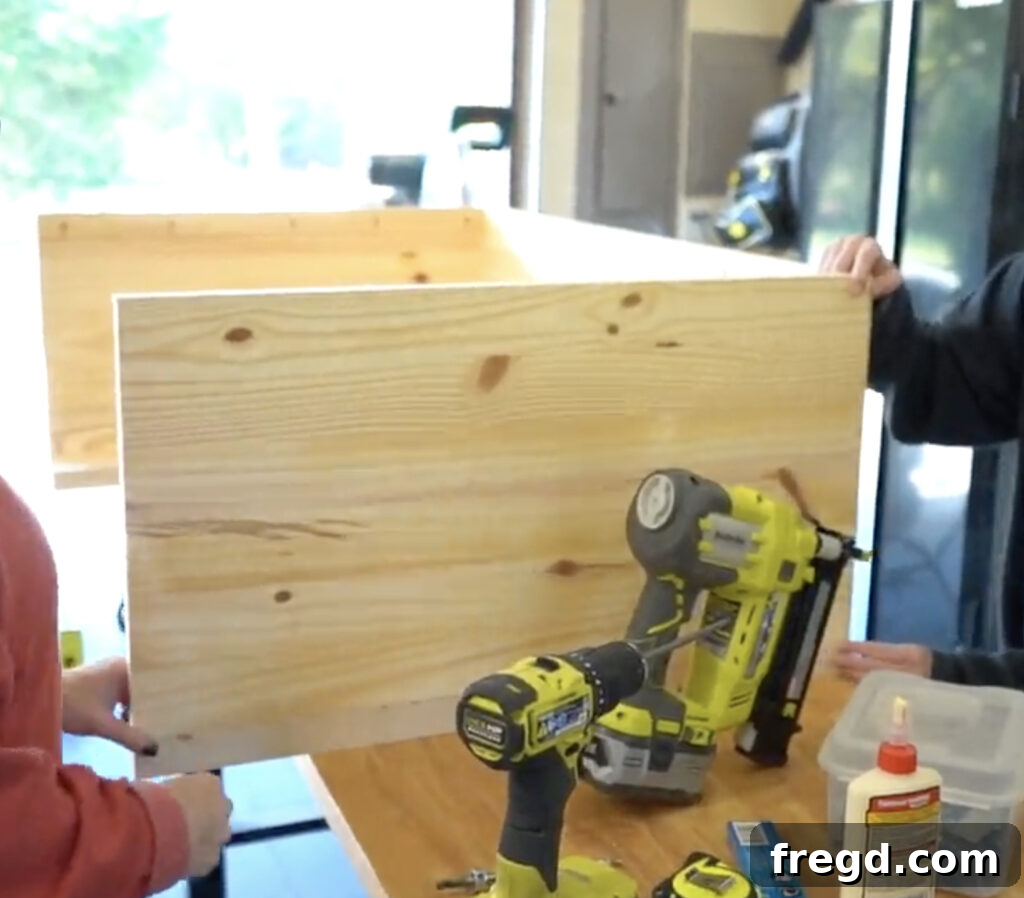
To enhance the console’s structural integrity and provide mounting points for the final decorative panels, you’ll add interior support strips. From your scrap laminated pine panels, cut 3-inch wide strips. You’ll need two for each side panel – one positioned closer to the top and another towards the bottom. These strips will run horizontally along the inside surface of the side panels. Apply wood glue to the back of each support strip and then secure them firmly in place using a brad nailer. The brad nails will hold the strips while the glue dries, creating a robust and stable internal structure. Ensure these strips are recessed slightly from the outer edge of the frame so that the covering panels in a later step will sit flush.
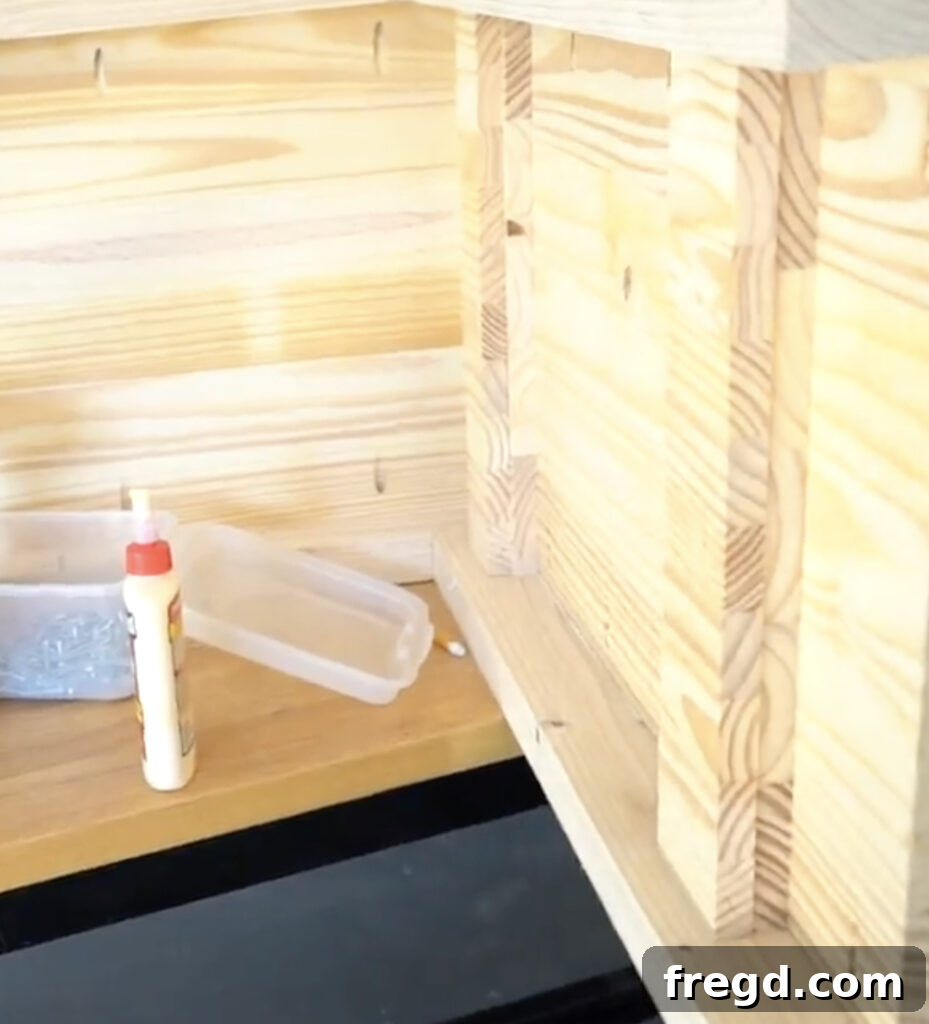
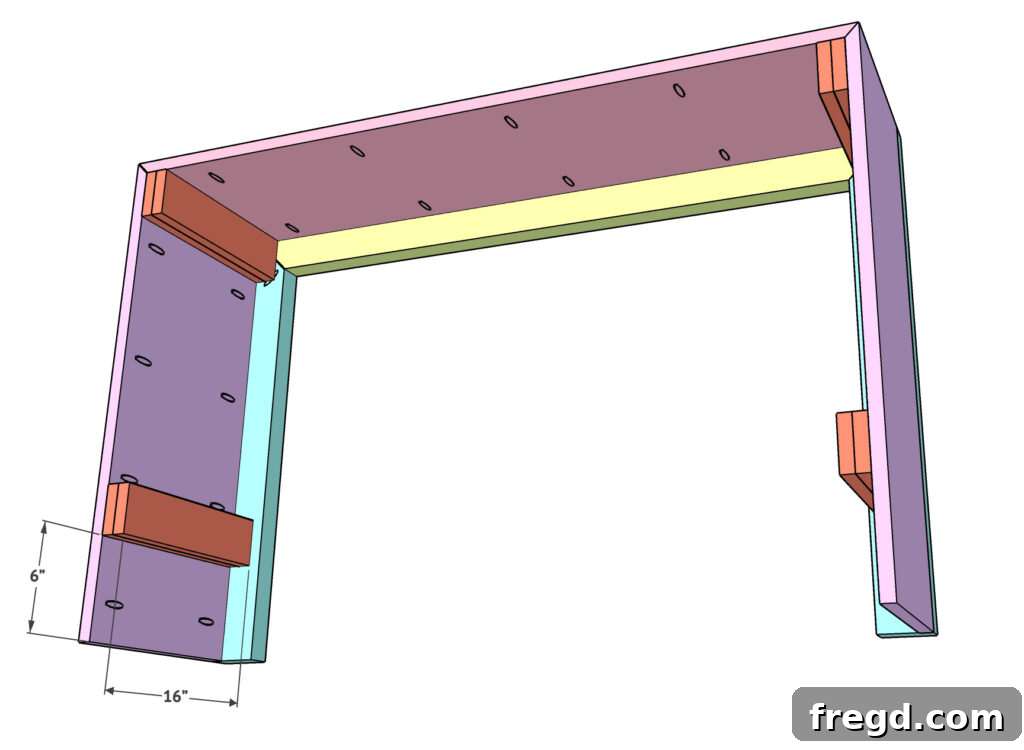
Step 5: Securing the Second Frame
With the console top and side panels in place, it’s time to complete the main body of your modern console table. Take the second rectangular frame you assembled in Step 1. Carefully line it up with the open, bottom side of the console body. This frame will form the base of your console. Apply wood glue to all contact points where the frame will meet the bottom edges of the side panels and the underside of the console top. Then, using 1.25-inch pocket hole screws, secure the second frame firmly in place. Double-check that all edges are perfectly flush, creating a clean, consistent line throughout the piece. This step adds significant stability and completes the core structure of your waterfall design.
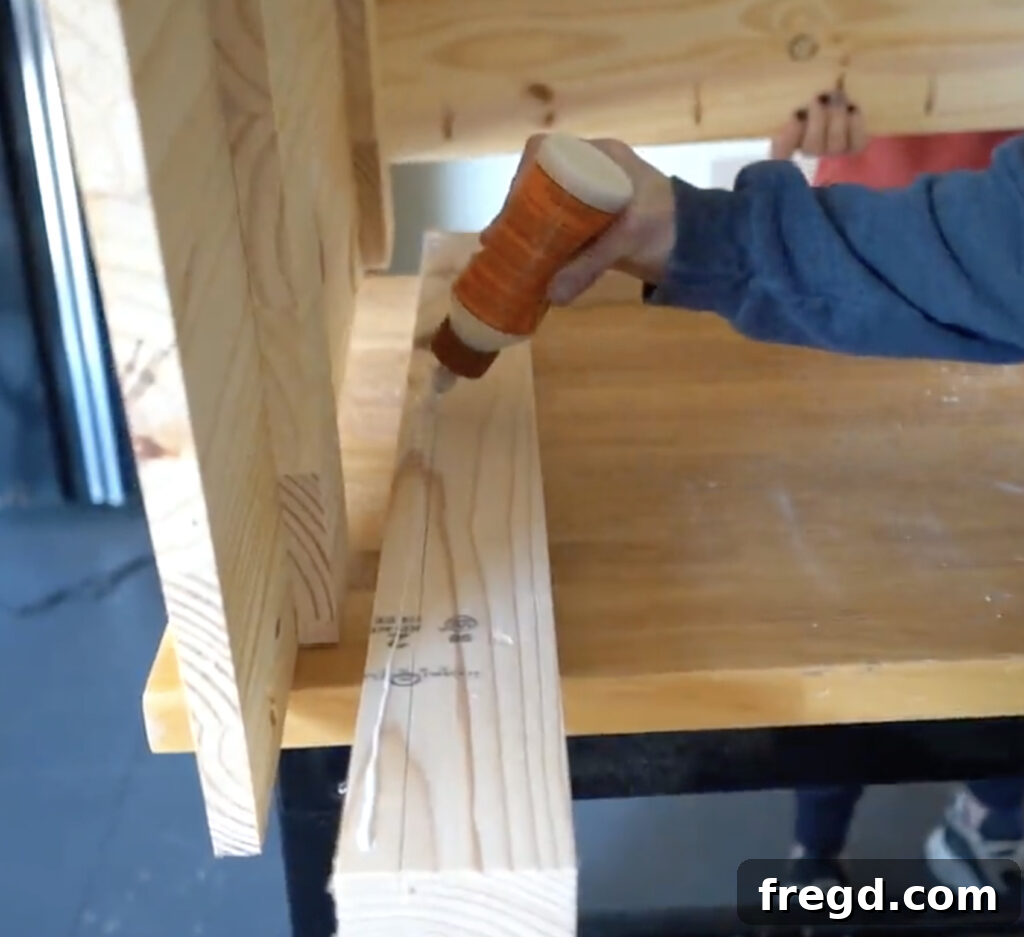
Step 6: Achieving a Flawless Finish – Hiding Pocket Holes
One of the hallmarks of a high-quality finish is the absence of visible fasteners. This step is crucial for achieving that seamless “waterfall” aesthetic and hiding all exposed pocket holes and internal supports. Cut additional pine panels to precisely fit the inside surfaces of the console sides and the underside of the top. These panels will act as decorative coverings, creating a clean, uninterrupted look. Carefully measure and cut each panel, ensuring a snug fit. Apply wood glue to the internal support strips and the edges of the frame where these panels will attach. Then, secure them with brad nails. The combination of glue and brad nails will create a strong bond while leaving minimal traces of fastening. Once these panels are in place, your DIY console table will begin to truly showcase its modern, clean design, ready for the final finishing touches.
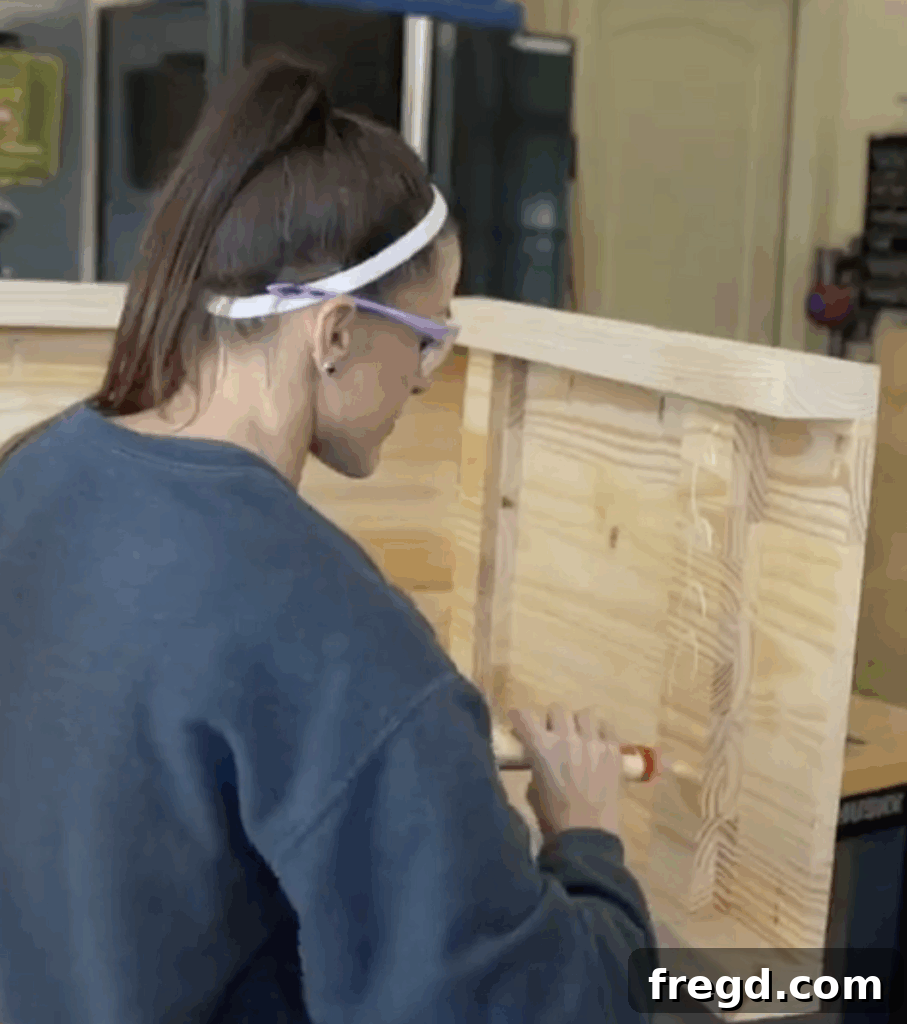
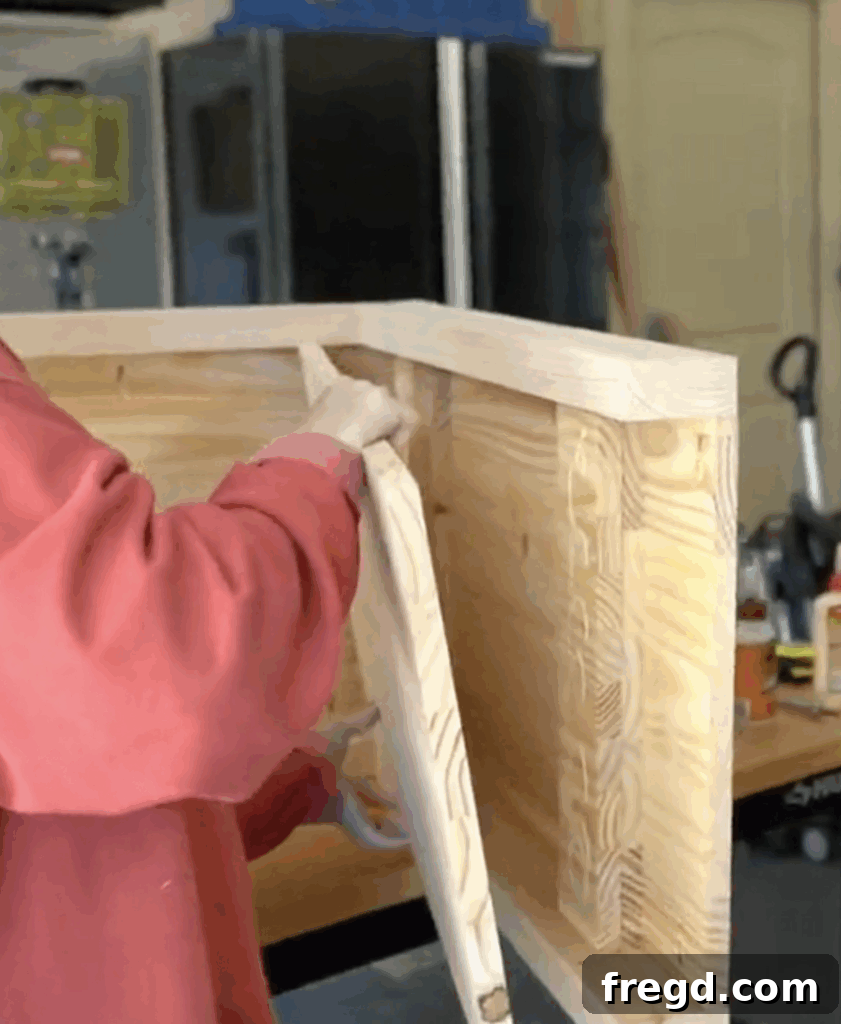
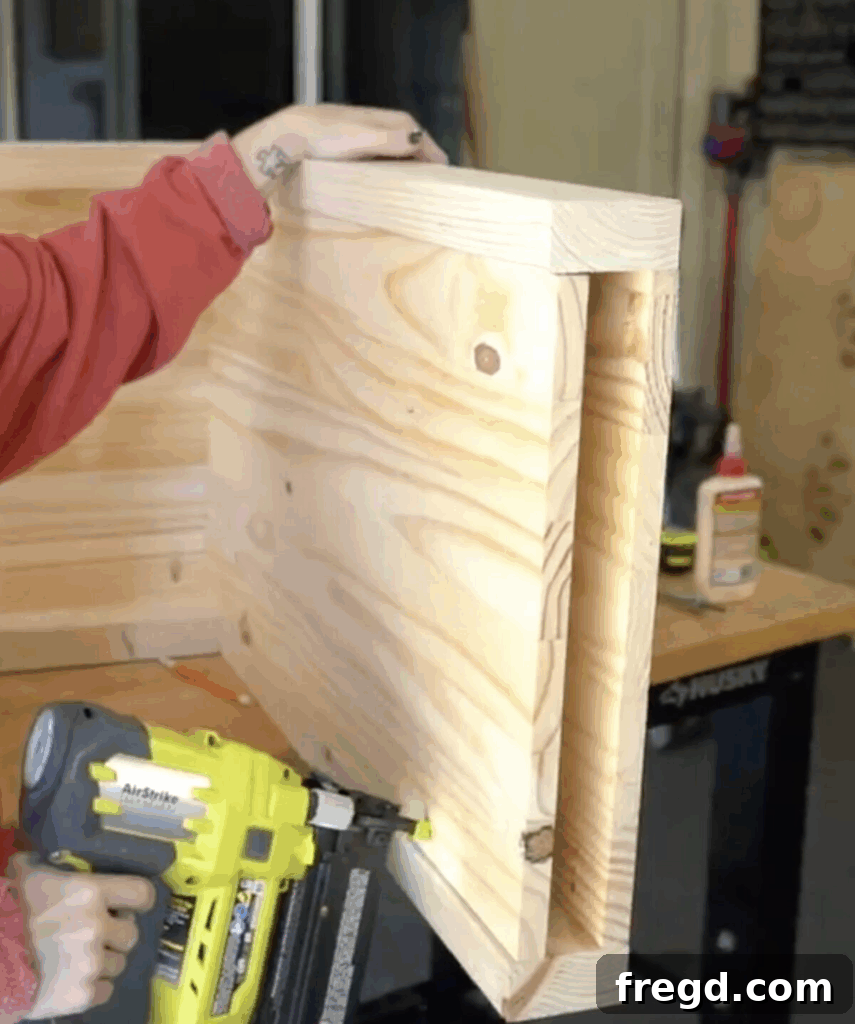
Step 7: The Art of Sanding, Staining & Finishing
The finishing process is where your DIY waterfall console table truly comes to life, allowing you to personalize its appearance. Before any stain or paint touches the wood, meticulous sanding is absolutely critical for a professional result. Start with a coarser grit sandpaper (e.g., 80 or 100) to remove any imperfections, glue squeeze-out, or rough spots. Gradually work your way up through finer grits (120, 150, 180, and finally 220 or even 320 for an extra smooth finish). I found my Ryobi Corner Cat Sander incredibly useful for reaching all the nooks and crannies, but any orbital or block sander will do the job. Remember to sand with the grain of the wood and thoroughly clean off all dust between grits.
For the stain, I created my own custom blend to achieve a unique, warm, and modern look that perfectly complements the design. My secret mix uses three Varathane colors:
- 2 parts Natural: Provides a light, foundational hue.
- 1 part Golden Oak: Adds a touch of classic warmth and depth.
- A splash of Weathered Gray: Introduces subtle cool undertones for a contemporary twist.
Combine these in a small bucket or tub, stirring thoroughly to ensure an even consistency. Apply the stain with a clean cloth or a foam brush, wiping off any excess after a few minutes to prevent a splotchy appearance. Always test your custom stain mix on a scrap piece of the same wood to ensure you achieve your desired color before applying it to your console table.
Once your stain has fully dried according to the manufacturer’s instructions, it’s time to apply a protective clear coat. This not only enhances the wood’s beauty but also shields it from daily wear and tear. My go-to choice is this polyurethane for its durability and beautiful finish. Apply several thin coats, allowing each coat to dry completely and lightly sanding with a very fine grit (like 320 or 400) between coats. This creates a smooth, glass-like surface. With these final steps, your bespoke DIY waterfall console table is complete and ready to elevate your home decor!

Access Your Free Printable Console Plans
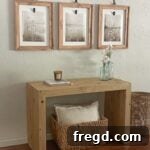
DIY Waterfall Console Table
Tools
-
Miter Saw
-
Kreg Jig (pocket hole system)
-
Drill/Driver
-
Orbital Sander
-
Clamps
-
Tape Measure & Square
-
Table Saw (recommended for ripping 2x4s)
-
Brad Nailer
Supply List
- 3 – 2×12 pine boards @ 8 ft (or similar laminated pine panels, adjust quantity based on dimensions)
- Wood Glue (Titebond or similar)
- 2 ½″ Pocket Hole Screws
- 1 ¼″ Pocket Hole Screws
- Brad Nails
- Wood Filler (if needed)
- Stain (Varathane custom mix recommended: 2 parts Natural, 1 part Golden Oak, splash of Weathered Gray)
- Polyurethane or Spar Varnish (for topcoat)
- Sandpaper (various grits from 80 to 220, and 320 for finishing)
Instructions
-
Preparation: Rip 2x4s to 3″ wide. Cut all 2x4s and pine panels to size according to free plans, paying close attention to 45º miter cuts for frames and waterfall edges.
-
Build Frames: Drill 1.5″ pocket holes into 45º ends of 2x4s. Assemble two identical rectangular frames using wood glue and 2.5″ pocket hole screws. Ensure they are square.
-
Attach Top Panel: Drill 3/4″ pocket holes along bottom edges of the console top. Attach it to one of the frames using wood glue and 1.25″ pocket hole screws, ensuring it’s flush.
-
Install Side Panels: Cut side panels with a 45º top edge. Add 3/4″ pocket holes along long inside edges. Attach them to the console sides with glue and 1.25″ pocket hole screws, aligning the waterfall edges.
-
Add Interior Supports: Cut 3″ wide strips from scrap panels. Attach two strips (top and bottom) to the inside of each side panel using brad nails and wood glue.
-
Secure Second Frame: Apply glue to contact points and attach the second frame to the open side of the console body using 1.25″ pocket hole screws. Ensure all edges are flush.
-
Hide Pocket Holes: Cut additional pine panels to fit the inside of the console sides and top. Attach these cover panels with glue and brad nails to achieve a seamless waterfall finish.
-
Sand and Finish: Sand thoroughly from coarse to fine grit. Apply your custom stain mix. Once dry, seal with multiple coats of polyurethane or spar varnish for protection and durability.
-
Style and Enjoy: Position your new modern DIY waterfall console table in your desired space and decorate it to complement your home decor.
Need the full cut list, precise dimensions, and detailed illustrations laid out step by step for effortless building?
Download the Free Printable Plans Here!
Explore More Small-Space Builds You’ll Love:
If you enjoyed crafting this DIY waterfall console table and are looking for more functional and stylish projects that optimize smaller living areas, check out these other popular builds:
- DIY Corner Desk: Maximize unused corner space with a custom-built desk that’s perfect for a home office or study nook.
- Modern Farmhouse Console Table: If you love a blend of rustic charm and contemporary design, this console offers a different aesthetic while maintaining excellent functionality.
- DIY Murphy Wall Desk: The ultimate space-saver, this desk folds away neatly when not in use, ideal for multi-purpose rooms.
Building a stunning, custom waterfall console table for under $100 is not only achievable but also incredibly rewarding with just a few essential tools and a dedicated weekend. We absolutely love seeing your creativity come to life, so don’t forget to tag us if you build one – share your projects and inspire others!
FAQ: Your Questions Answered About Building a Waterfall Console Table
Have more questions about tackling this exciting DIY project? Here are some frequently asked questions to help you confidently build your own waterfall console table:
Q: What exactly defines a waterfall console table?
A: A waterfall console table is characterized by its distinctive design where the top surface visually “flows” seamlessly down the sides, creating continuous, uninterrupted edges. This modern and minimalist aesthetic offers a clean, elegant look, making it a popular choice for contemporary interiors.
Q: How much should I budget for building this DIY waterfall console table?
A: This project is designed to be highly budget-friendly. Using readily available and affordable pine boards, the total material cost for this DIY build typically comes in under $100. Prices for lumber can vary by region and time, so it’s always a good idea to check local hardware store prices for the most accurate estimate.
Q: Can I modify the dimensions of the console table to fit my specific space?
A: Absolutely! One of the biggest advantages of DIY furniture is the complete freedom of customization. You can easily adjust the length, height, and even the depth of this waterfall console table to perfectly fit your entryway, living room, or any other area. Just be sure to scale all cuts proportionally and adjust your lumber shopping list accordingly.
Q: What types of finishes work best for a waterfall console table?
A: The beauty of wood furniture is its versatility in finishing. We used a custom mix of stains (Natural, Golden Oak, and Weathered Gray) to achieve a warm, modern aesthetic. However, you can personalize your console with any stain color that matches your decor, from dark walnuts to light natural wood tones. Alternatively, you could paint it a solid color to create a bold statement or a subtle accent piece. Just ensure you apply a durable clear coat like polyurethane to protect the finish.
Q: Is this project suitable for a beginner woodworker?
A: Yes, this DIY waterfall console table is an excellent project for beginner woodworkers! While it involves a few power tools and precise cuts, the techniques (like pocket-hole joinery and basic assembly) are straightforward and easy to master with our step-by-step instructions and video tutorial. It’s a fantastic way to build confidence and learn fundamental woodworking skills.
Q: How long does it typically take to build this console table?
A: For an average DIYer, this project can comfortably be completed over a weekend. The actual build time might be around 8-12 hours, with additional time needed for sanding, staining, and allowing finishes to dry properly between coats. Planning and preparation can also save significant time during the assembly phase.
Q: What if I don’t have a table saw to rip the 2x4s?
A: While a table saw is recommended for ripping 2x4s to a precise 3-inch width for a refined look, it’s not strictly essential. You can either use the 2x4s as is (though they will result in a slightly bulkier frame) or opt to purchase pre-cut 3-inch wide boards if available at your lumberyard. Alternatively, a circular saw with a straight edge guide can also achieve accurate rips, though it requires more careful setup.