
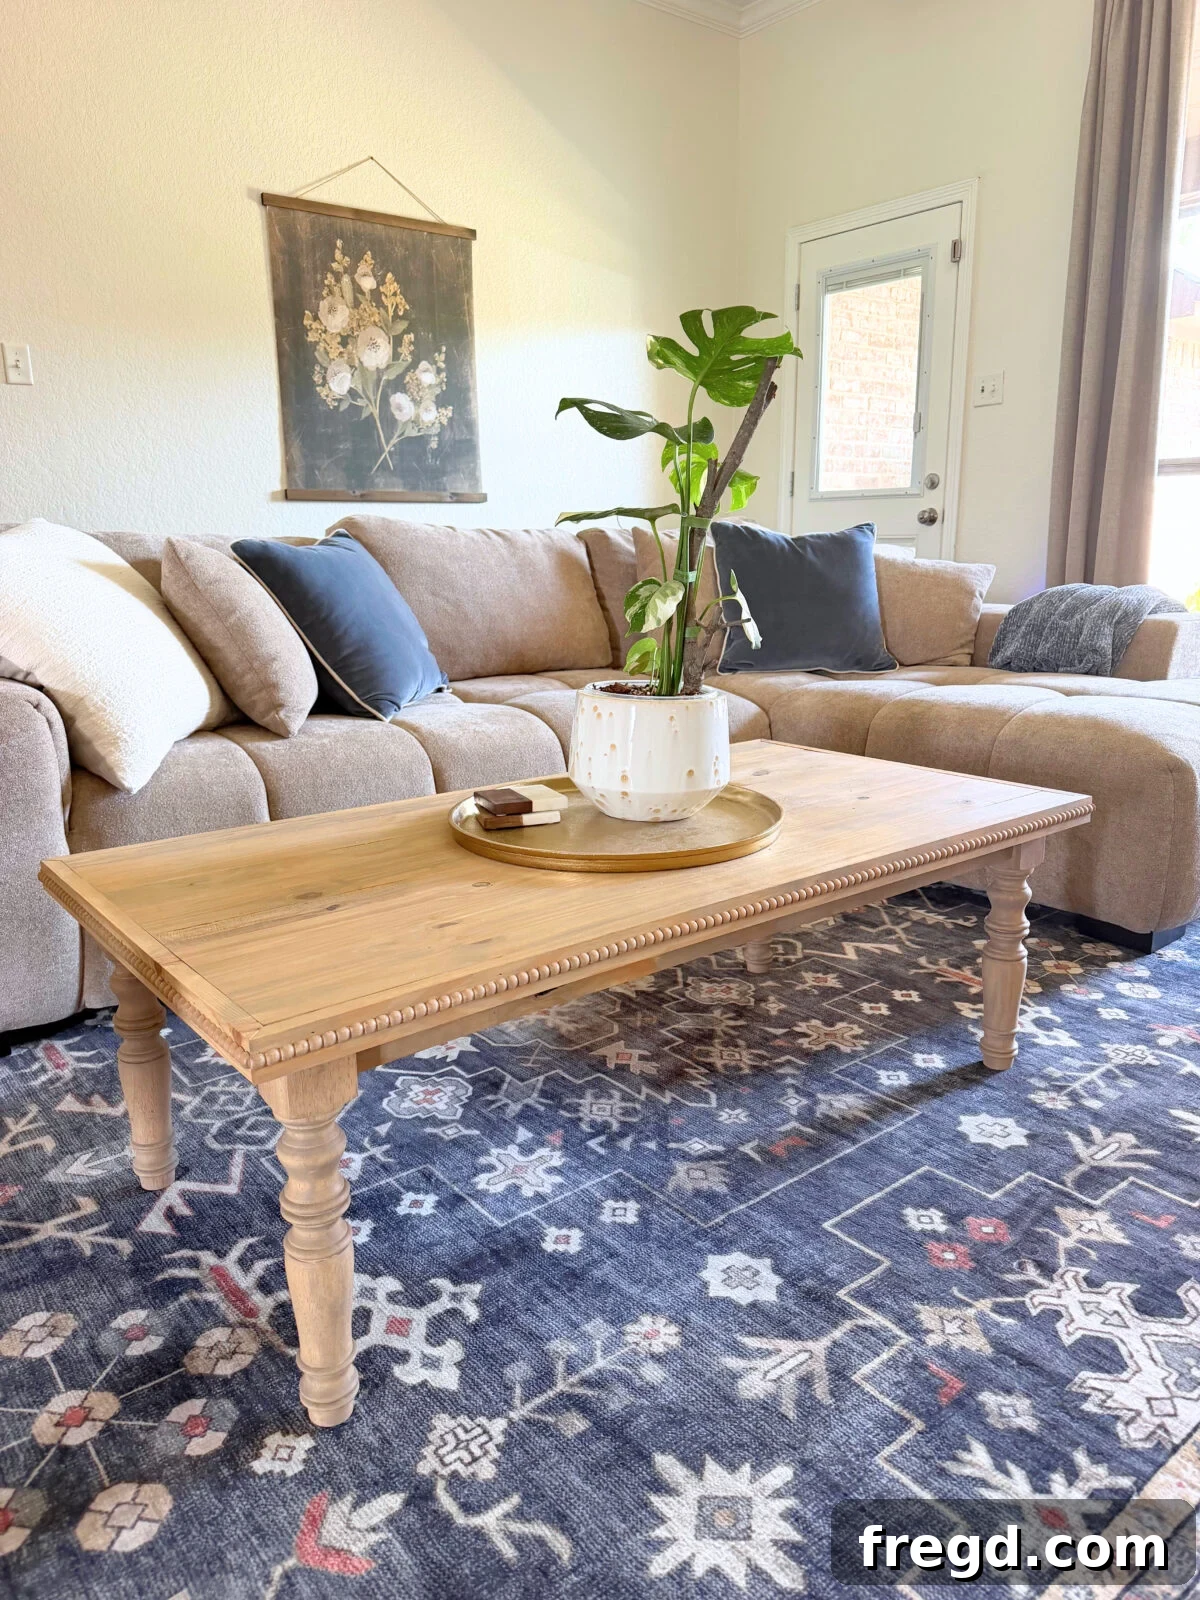
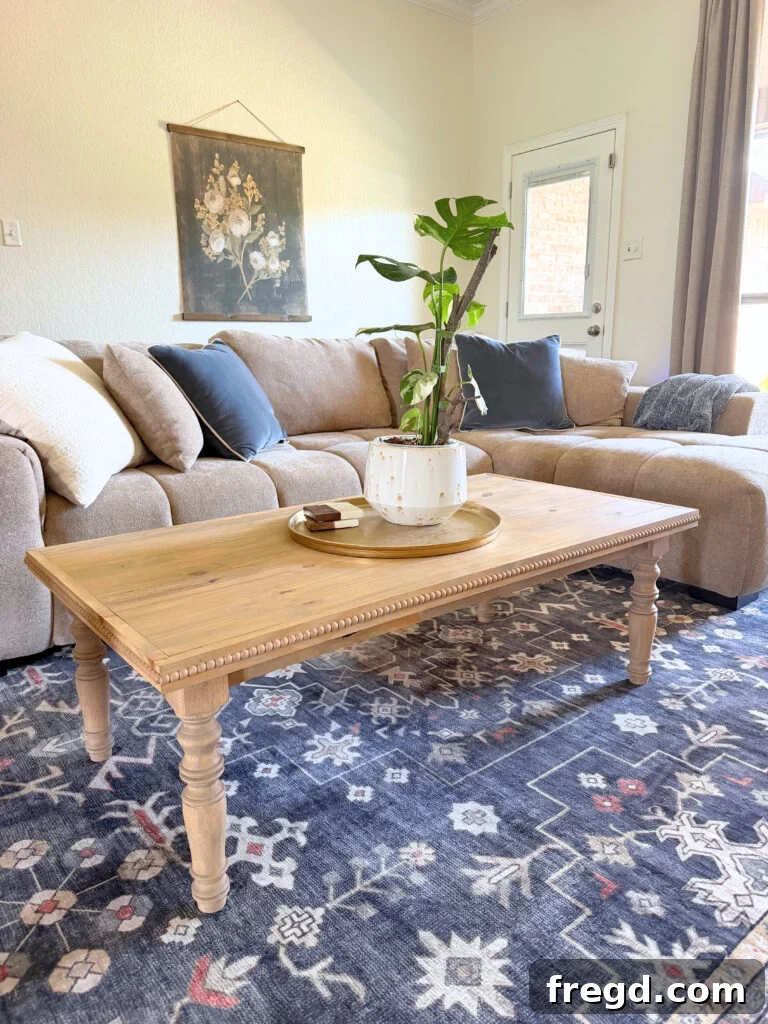
I’d wanted a coffee table with turned legs for a long time, but the ones I loved were all out of my budget. I decided to build my own and was thrilled with the result. This DIY turned-leg coffee table has a timeless profile, uses just a few common boards and parts, and cost under $100 to make.
The beaded trim adds subtle, elegant detail that makes the table look custom, while the turned legs instantly change the overall style without adding much extra work. If you want a high-end look on a modest budget, this project delivers a great balance of style, strength, and simplicity.
Why I Love This DIY Coffee Table
This table achieved the exact look I wanted for my living room without overspending. It combines classic details with straightforward construction so you get a durable, attractive piece without unnecessary complexity.
- Cost: under $100 to build.
- Requires only a few boards and simple joinery techniques.
- Turned legs create the appearance of a custom furniture piece.
- Beaded trim adds refined detail with minimal extra work.
- Top uses an affordable edge-glued wood panel for a clean surface and visible grain if stained.
- Finish is fully customizable with paint, stain, or a two-tone approach.
Key Supplies and Tools
Turned Coffee Table Legs
The turned legs are the defining styling element. You can source ready-made turned legs in many shop catalogs or hardware stores; choose legs that suit the scale of your room and the height you want for the table.
Pocket-Hole Jig (Recommended)
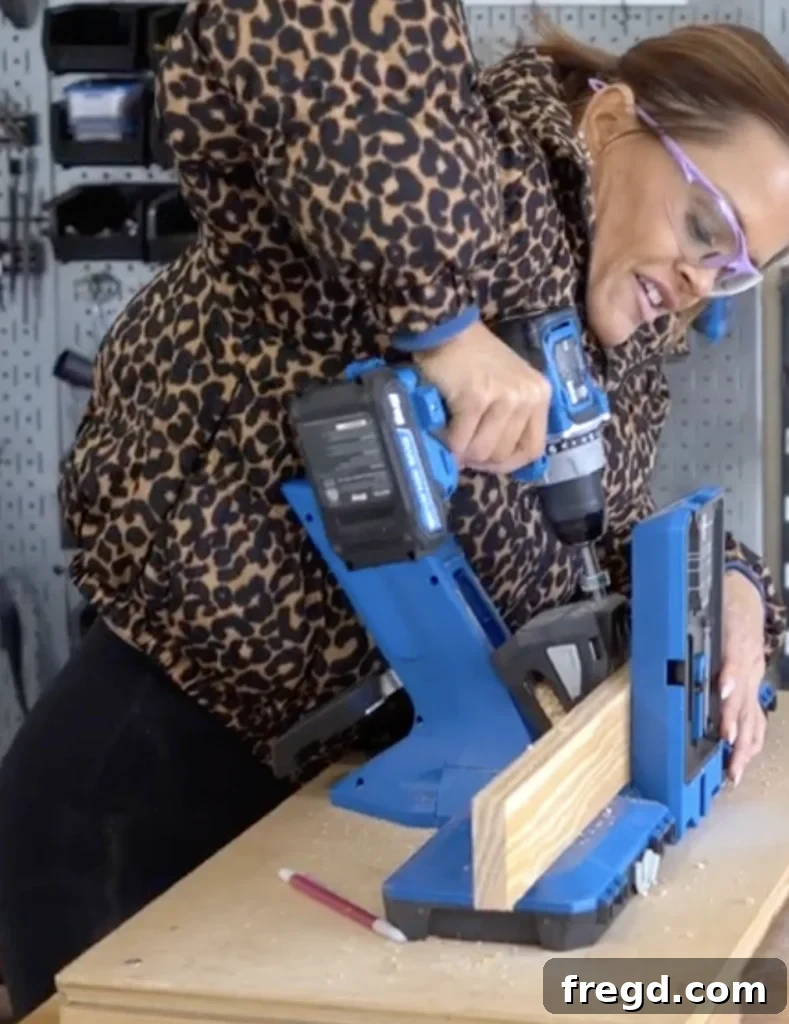
A pocket-hole jig makes assembly fast and creates strong, hidden joints for furniture. We used a bench-style jig for the apron and to secure the base to the tabletop. Pocket holes keep screws out of sight and speed up assembly, but they are not strictly required if you prefer alternative joinery.
- One-motion clamping or an adjustable bench-style jig speeds setup.
- Hidden, strong joints are ideal for tabletops and aprons.
- Beginner-friendly operation helps ensure consistent results.
Edge-Glued Wood Panel
A 24″ x 48″ edge-glued panel makes a ready tabletop that is inexpensive and has a uniform surface. It saves the time required to join multiple boards and produces a clean look for staining or painting.
How to Build a DIY Turned Leg Coffee Table
Below is an overview of the build process. Exact cut sizes, full supply lists, and printable plans are available in the Free Plans section at the end. Take your time on measurement and fit—the small details make a big difference in the finished piece.
Step 1: Cut the Apron Boards
Cut the 1×3 apron boards to length:
- Two short aprons: 17 inches
- Two long aprons: 41 inches
These form the rectangular frame that connects the legs and supports the tabletop.
Step 2: Drill the Pocket Holes
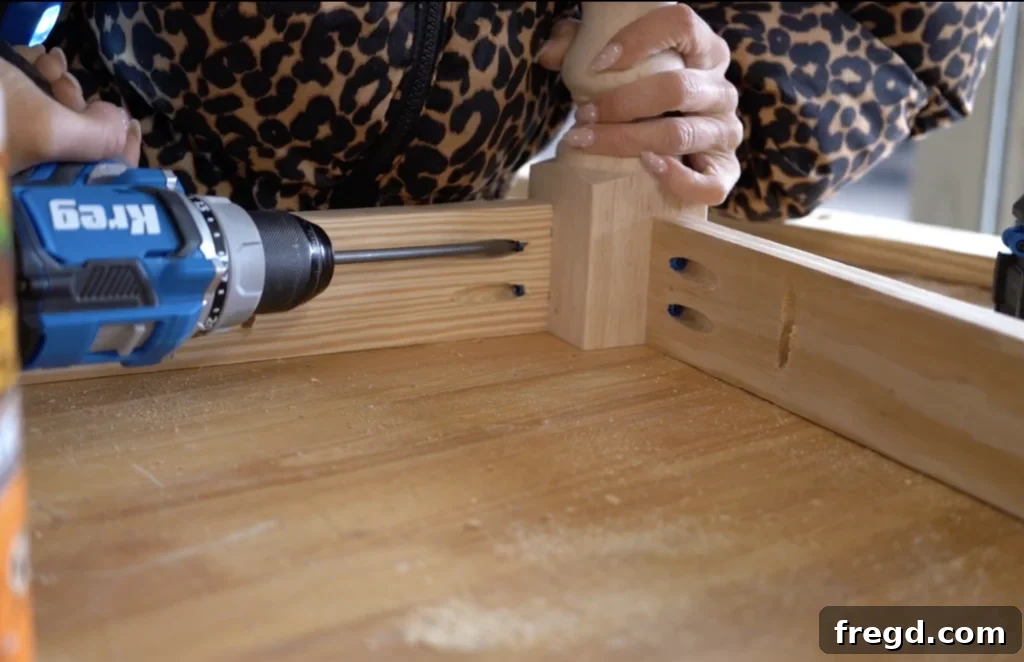
Set a pocket-hole jig for 3/4-inch material and drill two pocket holes in each end of the four apron boards. Also drill pocket holes along the top edge of the aprons that will be used later to secure the base to the underside of the tabletop. Make sure these top-edge pocket holes face upward so screws are hidden under the table once attached.
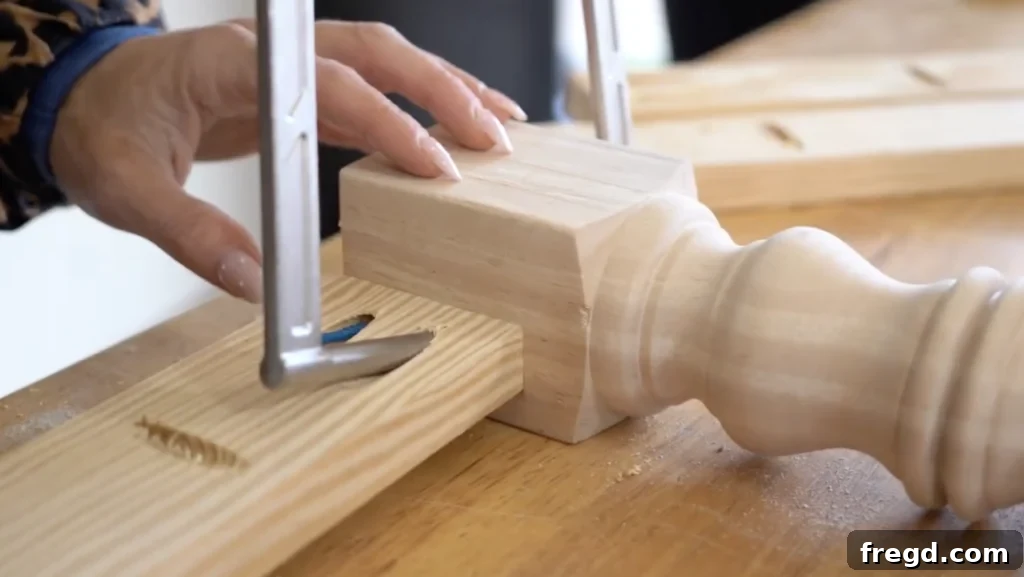
Step 3: Attach the Short Aprons to the Legs
Mark 1/2 inch in from the inside edge on each turned leg to set the apron back consistently. Apply wood glue to the apron end, clamp it in position, and attach through the pocket holes. Use a right-angle clamp or similar to hold pieces while driving the first screws. Build two matching short-leg assemblies.
Step 4: Finish Assembling the Table Base
Stand the two short assemblies upright and join them with the two 41-inch apron boards. Use wood glue and pocket-hole screws at each joint. Before tightening everything, verify the base is square by measuring diagonally corner to corner; the two diagonal measurements should match. Adjust if needed, then fully tighten.
Step 5: Position the Table Base on the Top
Place the 24″ x 48″ panel facedown on a protected surface. Choose which face will be the top, then apply wood glue along the top edges of the aprons. Turn the base upside-down, center it on the underside of the panel so there is roughly a 1-inch overhang on all sides, and clamp the assembly so nothing shifts while you fasten it.
Step 6: Attach the Tabletop
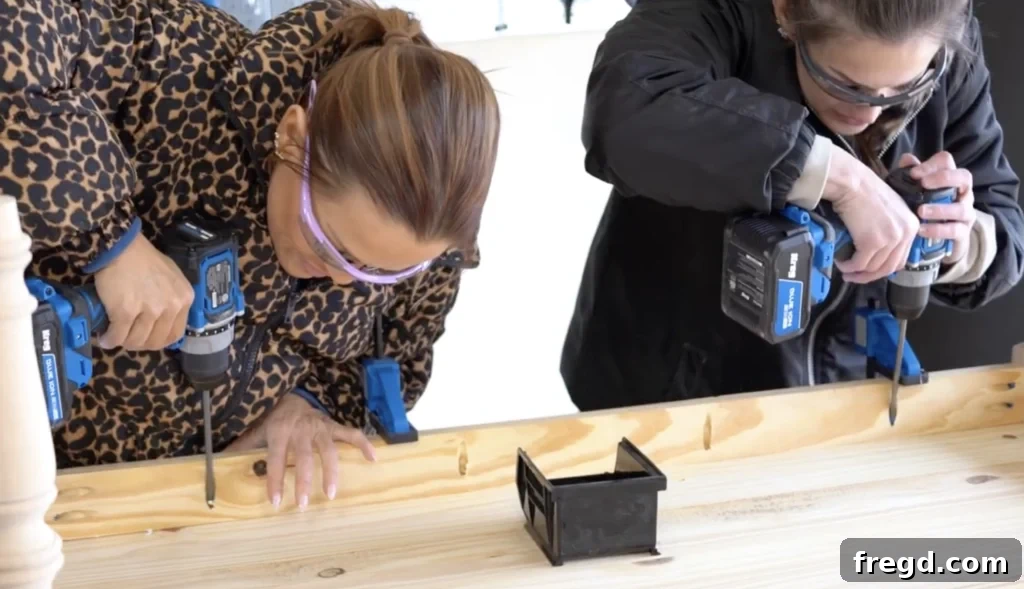
Use 1-1/4-inch pocket-hole screws to attach the apron top-edge pocket holes to the underside of the wood panel. Drive screws along all four sides until the top is fully secured. Reconfirm screw length so screws hold securely without penetrating the finished top surface.
Step 7: Measure and Cut the Trim
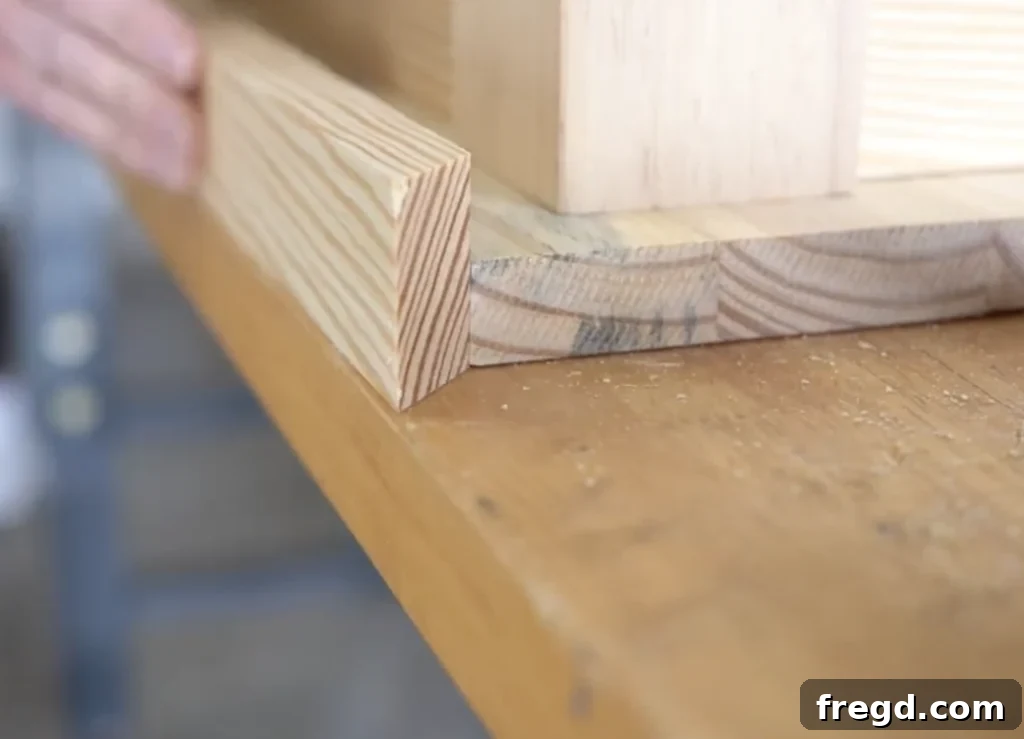
Wait until the table is assembled before cutting the 1×2 trim pieces—small variances can change final measurements. Measure each side and cut the long trim pieces with 45-degree miters on the ends for clean corners. The long pieces will be close to 48 inches from short point to short point but always measure your actual assembled table before cutting.
Step 8: Attach the Trim
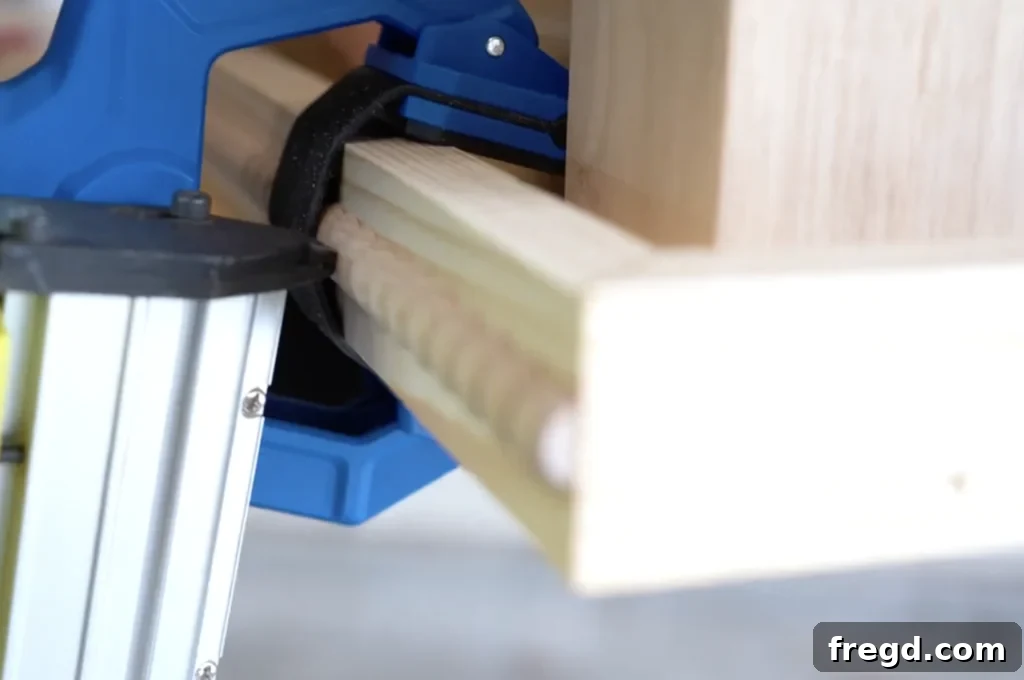
Apply a thin bead of wood glue along the upper edge of a trim piece, position it flush with the tabletop, and secure with 1-1/4-inch brad nails. Pre-glue miters for a tighter joint, then repeat around all sides. Next, fit and attach the beaded trim pieces with a small bead of glue and 3/4-inch brad nails. These small details elevate the final look and make the table feel custom-made.
Step 9: Fill, Sand, and Finish
Fill nail holes and small imperfections with wood filler and allow to dry. Sand the entire table progressively to the desired smoothness and remove all dust. Choose stain or paint depending on the look you want—stain highlights grain while paint can provide a crisp, modern finish. Finish with a durable protective topcoat suited to a frequently used surface like a coffee table.
Tips for the Best Fit and Finish
- Measure trim pieces after assembly for the most accurate fit.
- Ensure the tabletop pocket holes face upward so screws are hidden after assembly.
- Use wood glue at every joint for extra strength and longevity.
- Square the base before final screw installation to avoid a racking frame.
- Clamp the base securely while attaching it to the top to prevent shifting.
- Test screw length on scrap stock before driving into the finished top.
Ways to Customize the Coffee Table
This design is very adaptable—here are a few ideas to make it your own:
- Two-tone finish: Paint the base and stain the top for a designer look.
- Different wood species: Use oak, maple, or walnut for varied grain and color.
- Change the legs: Swap in a different turned-leg profile or choose a simpler leg for a modern aesthetic.
- Scale adjustments: Change length or width to suit your space; adjust apron and trim measurements accordingly.
Frequently Asked Questions
Can I build this without a pocket-hole jig?
Yes. You can use alternative joinery such as screws with pilot holes, dowels, or traditional mortise-and-tenon techniques, but the pocket-hole method shown is fast, strong, and keeps fasteners hidden under the tabletop.
Can I make the tabletop from individual boards?
Absolutely. An edge-glued panel is convenient and affordable, but joining individual boards is a fine option—just ensure the top is flat and allow for seasonal movement when planning joinery and trim.
Why cut trim after assembly?
Assembled dimensions can vary slightly due to glue-up and clamping. Cutting trim to the assembled tabletop yields tighter miters and a more professional fit.
DIY Turned Leg Coffee Table Free Plans
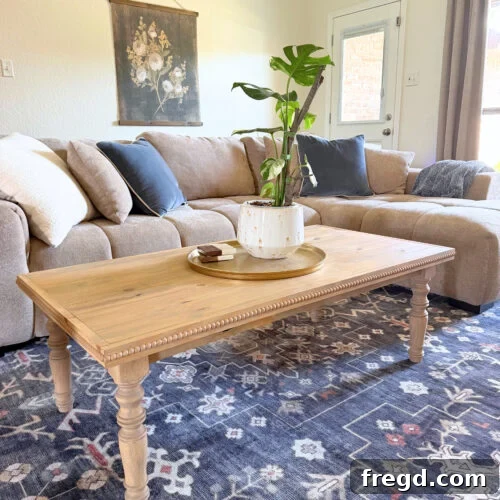
Title: DIY Turned Leg Coffee Table
Learn how to build this turned-leg coffee table for under $100. The project includes a simple frame with turned legs, a 24″ x 48″ tabletop panel, 1×2 trim and beaded trim details. Use the steps above plus the supply list below to complete the build.
Tools
- Miter saw
- Pocket-hole jig (recommended)
- Drill/driver
- Brad nailer
- Orbital sander
- Clamps
- Tape measure and speed square
Supplies
- 1 — 24″ x 48″ edge-glued wood panel
- 2 — 1×3 boards
- 2 — 1×2 boards
- 4 — turned legs (approx. 16″ high or your preferred height)
- ~8′ beaded wood trim
- 1-1/4″ pocket hole screws
- 1-1/4″ brad nails and 3/4″ brad nails
- Wood glue and wood filler
- Stain or paint plus protective topcoat
Instructions Summary
- Cut apron boards and drill 3/4″ pocket holes in ends and top edges.
- Attach short aprons to legs at 1/2″ setback using glue and pocket screws.
- Connect leg assemblies with long aprons; check for square.
- Center base on the underside of the tabletop with a 1″ overhang and clamp.
- Attach tabletop with 1-1/4″ pocket-hole screws.
- Measure and cut 1×2 trim with 45° miters, attach with glue and brad nails.
- Fit and attach beaded trim, fill holes, sand, and finish with stain or paint and a protective topcoat.
I’m really happy with how this table turned out—the turned legs and beaded trim give it a refined, custom feel while the build remains straightforward and budget-friendly. If you build one, share a photo with those who inspired you or keep the process for future projects.
Happy building!