
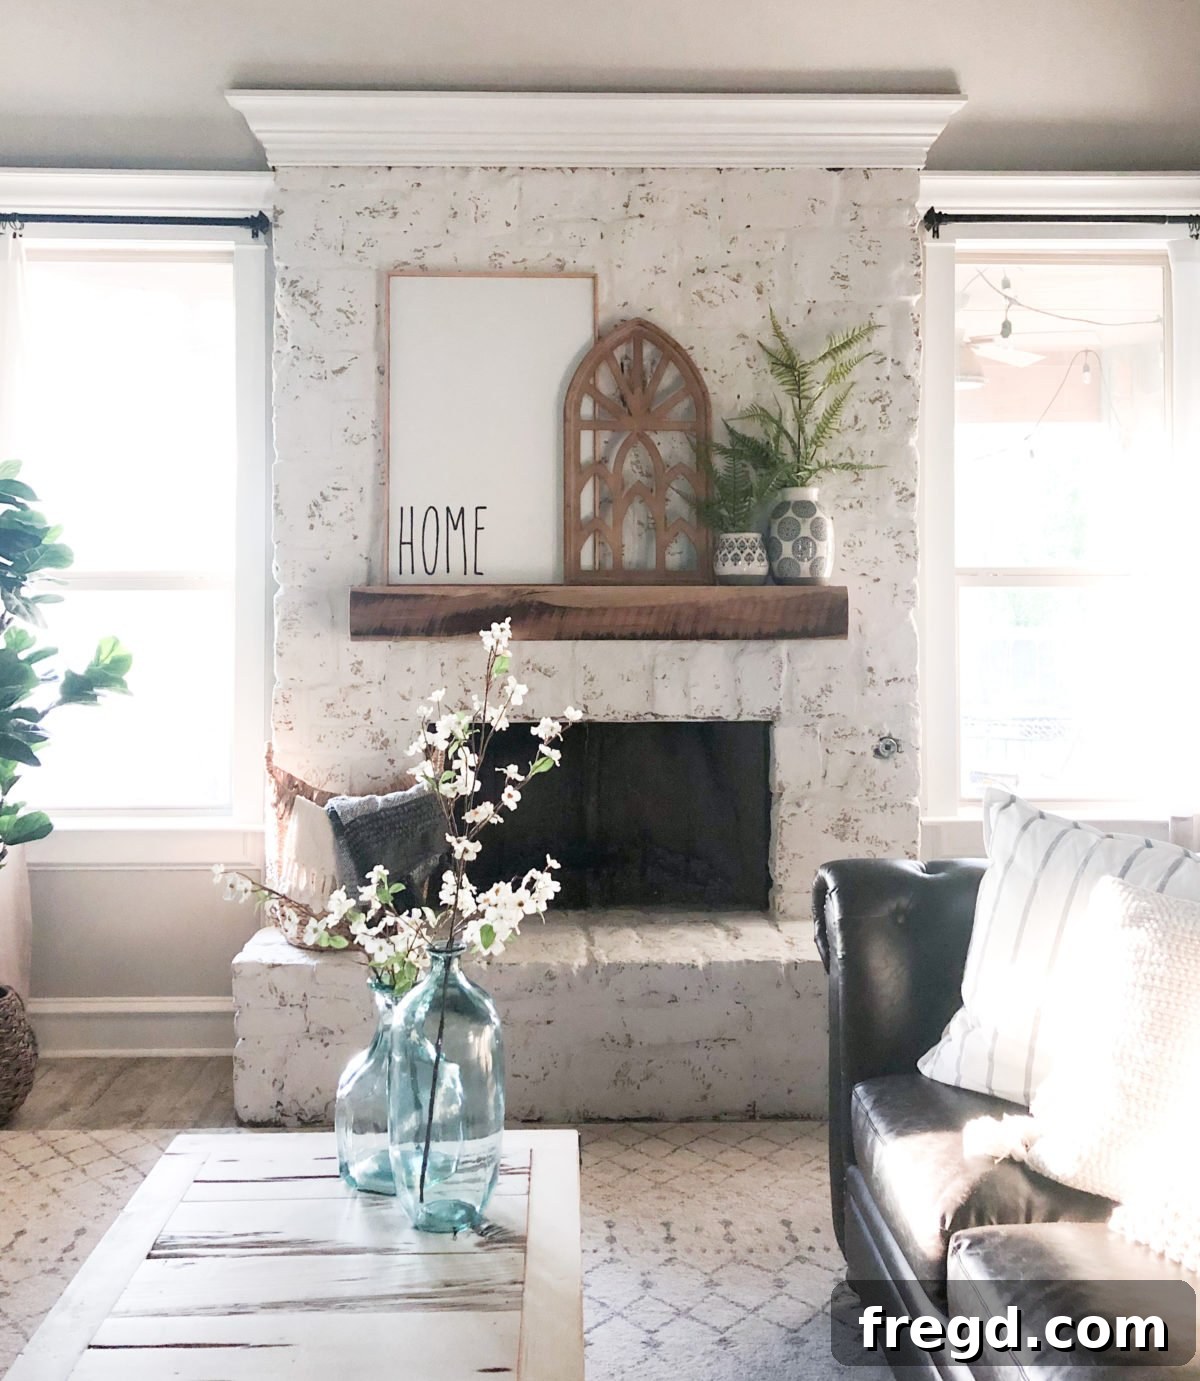
Over the past few weeks, I’ve found myself deeply immersed in a serious spring cleaning and nesting spree. A major step in this home refresh was finally painting all the trim and doors downstairs a crisp, bright white. When our house was built in 2008, I opted for a very creamy beige for the trim, a popular choice at the time. However, after more than a decade, I was more than ready to inject a fresh, brighter energy into our living spaces. About a year ago, I had the walls painted a beautiful, light gray called Dolphin Fin by Behr. At that point, to save on costs, I kept the original trim color. But, to my dismay, the subtle yellow undertones of the beige trim made my newly painted gray walls appear distinctly blue – it’s truly fascinating how colors can play such tricks on your perception! Fortunately, that visual conundrum is now a thing of the past.
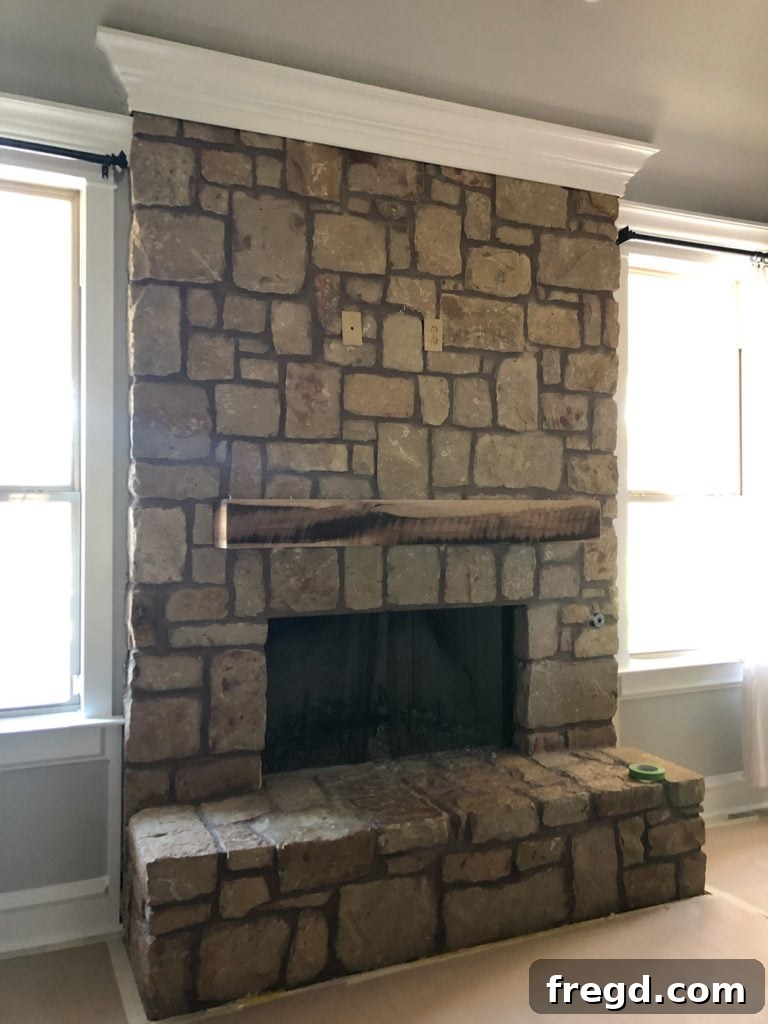
For the trim and doors, I chose Pure White by Sherwin-Williams, and the transformation was immediate and satisfying. Well, almost entirely satisfying. The remaining piece of the puzzle was our colossal stone fireplace in the living room. It’s an undeniable focal point, often the very first thing that captures your eye as you walk through the front door, defining the entire aesthetic of the interior. The stone is the same as on our home’s exterior, and while I do genuinely appreciate its natural beauty, I found myself craving a significant change. I explored numerous options: covering it with stylish new tiles, cladding it with wood, or even the drastic step of removing it altogether. Yet, none of these ideas aligned with my budget or simply felt like the right fit for our home’s character.
Then, during a routine browse on Pinterest, a photograph of a fireplace stopped me in my tracks. It appeared to be covered with some kind of white plaster, creating a stunning, softened effect. That single image was all the inspiration I needed! Despite lacking specific details or a step-by-step guide, it gave me the courage to embark on a DIY German Schmear project for our stone fireplace. I had seen this technique applied countless times to brick, and always admired its rustic yet refined charm, but I honestly questioned how it would translate onto the varied textures of natural stone. The curiosity was too strong to resist, and the budget was certainly appealing. So, I took the plunge, and I’m thrilled to share the incredible results!
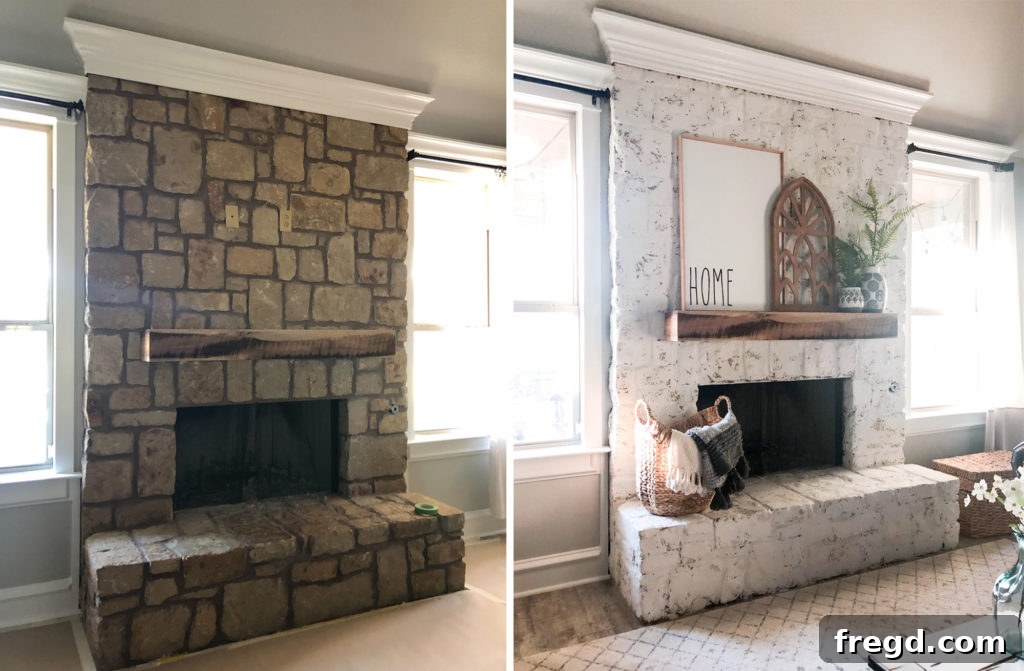
This is my fireplace before its dramatic transformation:
And here it is now, beautifully refreshed!
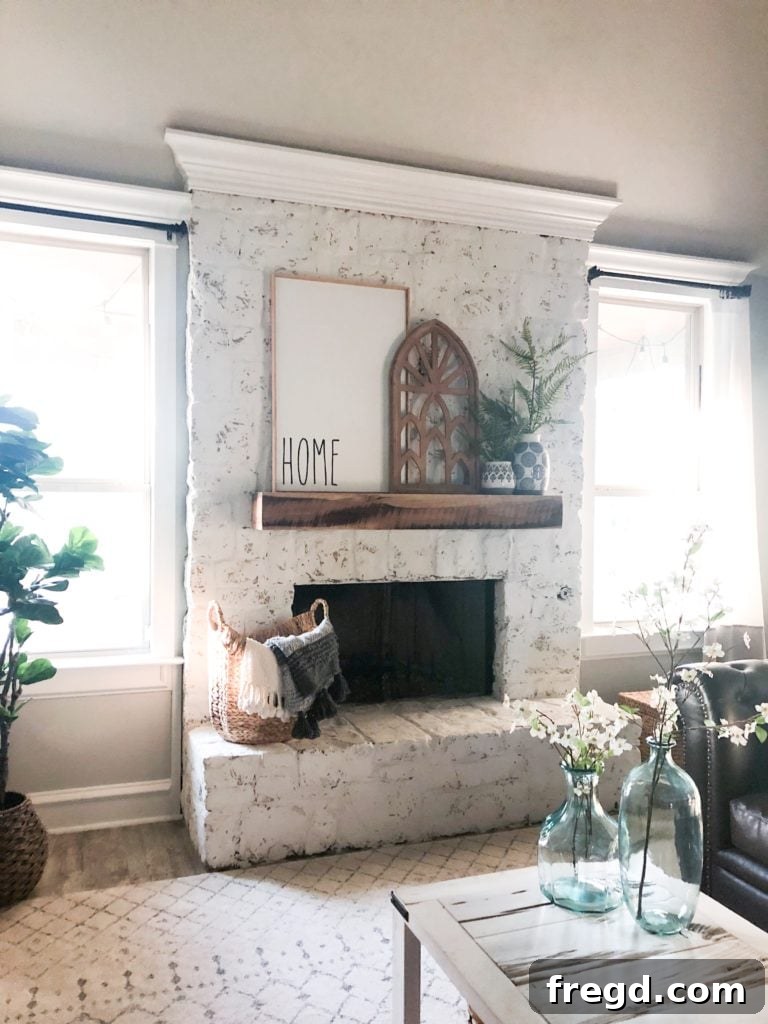
Table of Contents
Watch the Project Progress
Many of you might have followed along as I tackled this exciting project live on Instagram stories a few weeks ago! For those who missed the real-time updates, I’ve compiled all the clips into a convenient video, making it super easy for you to see the transformation unfold from start to finish. Simply click the play button below to watch the entire process and gain a deeper understanding of each step involved in bringing this vision to life.
(Video documenting the DIY German Schmear Stone Fireplace Renovation would be embedded here.)
Essential Supplies for Your Fireplace Makeover
One of the most rewarding aspects of this entire project is its incredible affordability. I managed to achieve this stunning fireplace makeover for a mere $63 in supplies, and that cost even includes the roll of protective paper I used for the floor! This truly makes it a budget-friendly renovation accessible to many homeowners looking for a significant impact without a hefty price tag. Here’s a detailed list of the specific items I used to achieve this beautiful German Schmear finish:
The first and most crucial item you’ll need is **WHITE tile mortar**. You can find this at any major hardware store, typically available in large bags of powder or pre-mixed tubs. I initially deliberated between the convenience of pre-mixed mortar and the cost-effectiveness and control offered by the powdered version. Ultimately, I opted for the powder because it significantly cut down on expenses, and more importantly, it allowed me to precisely control the consistency of my mortar mixture. This control is vital for achieving the perfect brushable texture for the German Schmear technique. Mixing it yourself is surprisingly simple! You can view the specific mortar I used HERE.
I decided to apply the mortar using a brush, a choice that proved to be highly effective. I felt that a brush would give me greater precision and allow me to achieve the authentic, slightly textured, yet softened look I was aiming for, far more easily than a trowel or sponge could. Furthermore, brushing is inherently less messy than other application methods, which was a huge bonus for an indoor project. I discovered a fantastic set of brushes on Amazon while I was painting my trim, and they turned out to be absolutely perfect for this fireplace transformation as well! You can find the excellent brush set I used HERE!
For mixing the mortar thoroughly and evenly, a drill is absolutely indispensable. It’s by far the easiest and most efficient way to ensure a smooth, lump-free consistency. I used a specialized mixing attachment designed for paints and compounds, paired with an inexpensive $3 bucket from the paint section of the hardware store. This combination makes quick work of preparing your mortar. My favorite mixing attachment, which I highly recommend for its effectiveness, can be found HERE on Amazon.
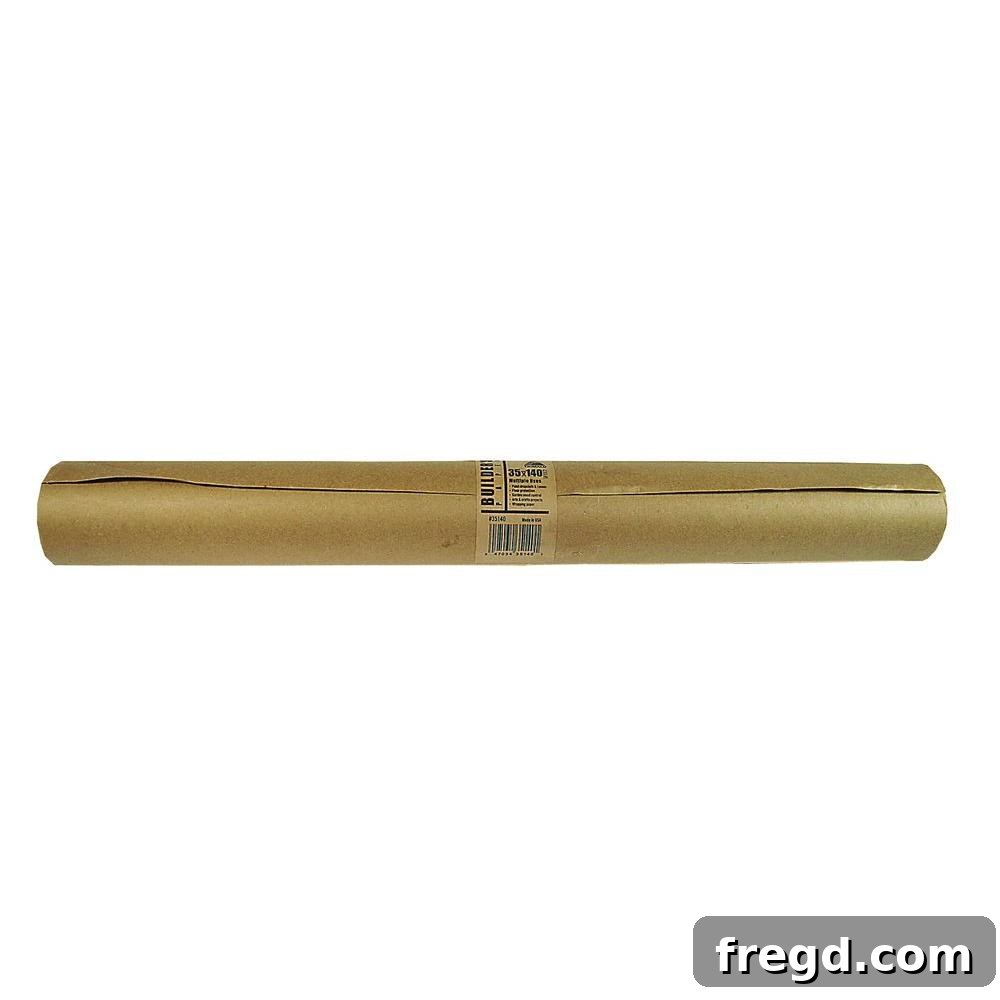
To protect my floors from any accidental drips or spills, I used contractor’s paper. This material is incredibly inexpensive and, in my opinion, an absolute garage staple for a multitude of DIY projects. It’s robust, provides excellent coverage, and can be easily disposed of once your project is complete. You can typically find a large roll HERE online, or if you prefer to pick it up locally, it’s also readily available HERE at Home Depot.
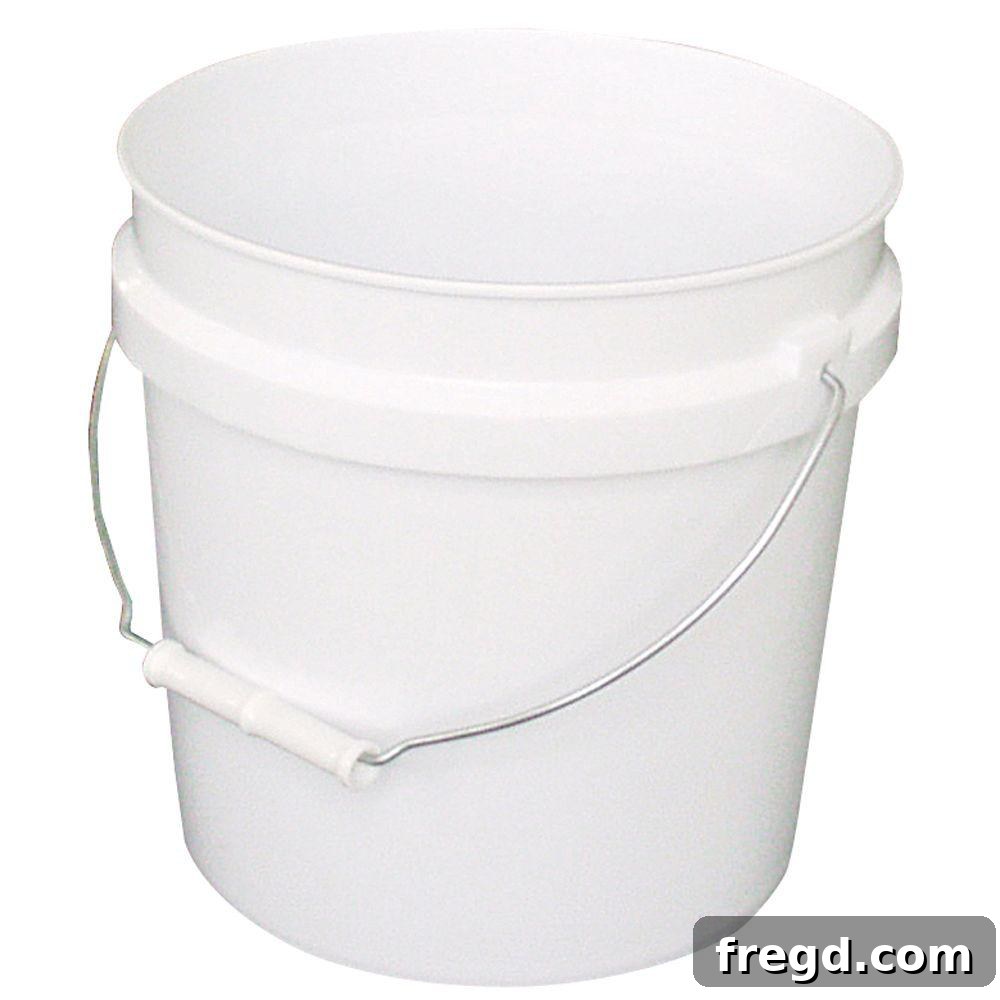
Finally, a sturdy bucket for mixing your mortar is essential. I deliberately chose to mix small portions at a time, primarily because wet mortar can become surprisingly heavy, and I knew I’d be frequently moving up and down a ladder. This approach made the process much more manageable and less physically demanding. I purchased THIS BUCKET from Home Depot. It was super cheap, incredibly practical, and perfectly served its purpose for the duration of the project!
DIY Fireplace Transformation Steps: Achieving the German Schmear Look
Now, for the most exciting part – let me walk you through the step-by-step process of how I achieved this stunning German Schmear fireplace transformation! It’s a surprisingly straightforward process once you get the hang of it, and the results are truly rewarding.
1. Preparation is Key: My first step was to remove the mantel. This simply eliminated the need for meticulous taping around it, making the process significantly easier and cleaner. If your mantel isn’t removable, don’t worry! Simply cover it thoroughly with a plastic drop cloth and secure it with painter’s tape to keep it pristine. After removing the mantel, I laid down my contractor’s paper across the floor, extending a generous distance from the fireplace. Then, I carefully taped around the entire edge of the fireplace, ensuring my walls and fresh paint were completely protected from any stray mortar. This protective groundwork is crucial for a clean finish.
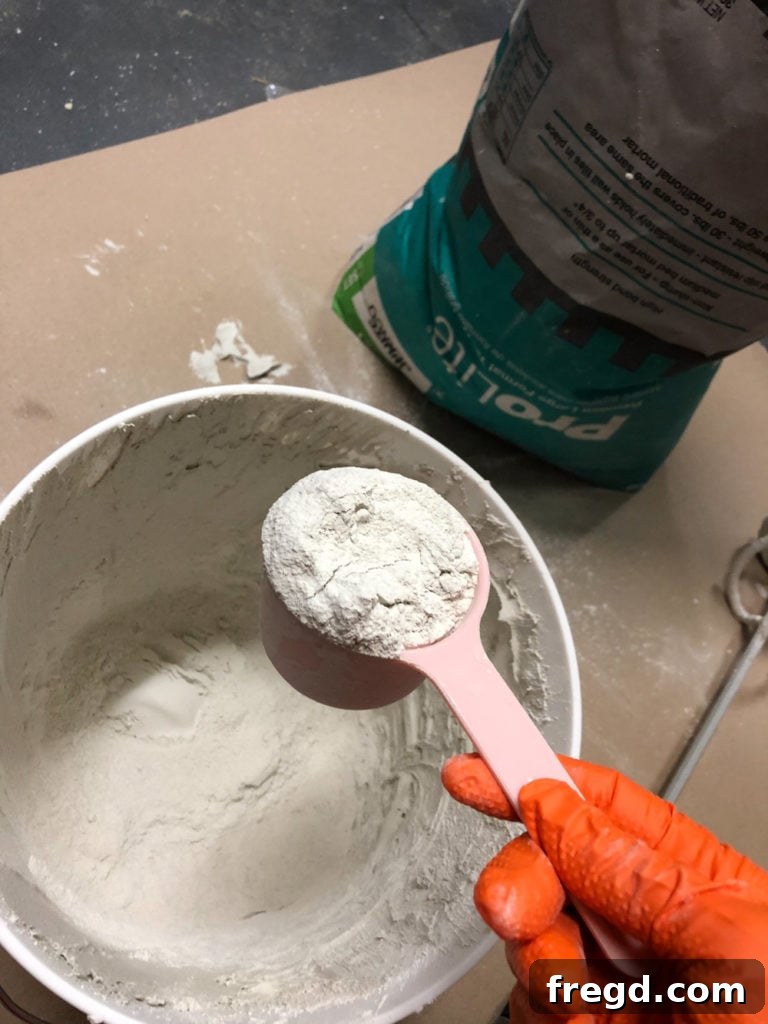
2. Mixing Your Mortar: With the area prepped, it was time to mix the first batch of mortar. Using a standard measuring cup from my kitchen (roughly a cup in size), I added about three scoops of powdered mortar to my mixing bucket. To this, I then gradually added approximately two cups of water. It’s important to remember that these measurements don’t need to be exact at all. The key is to achieve the right consistency, which you’ll fine-tune as you mix.
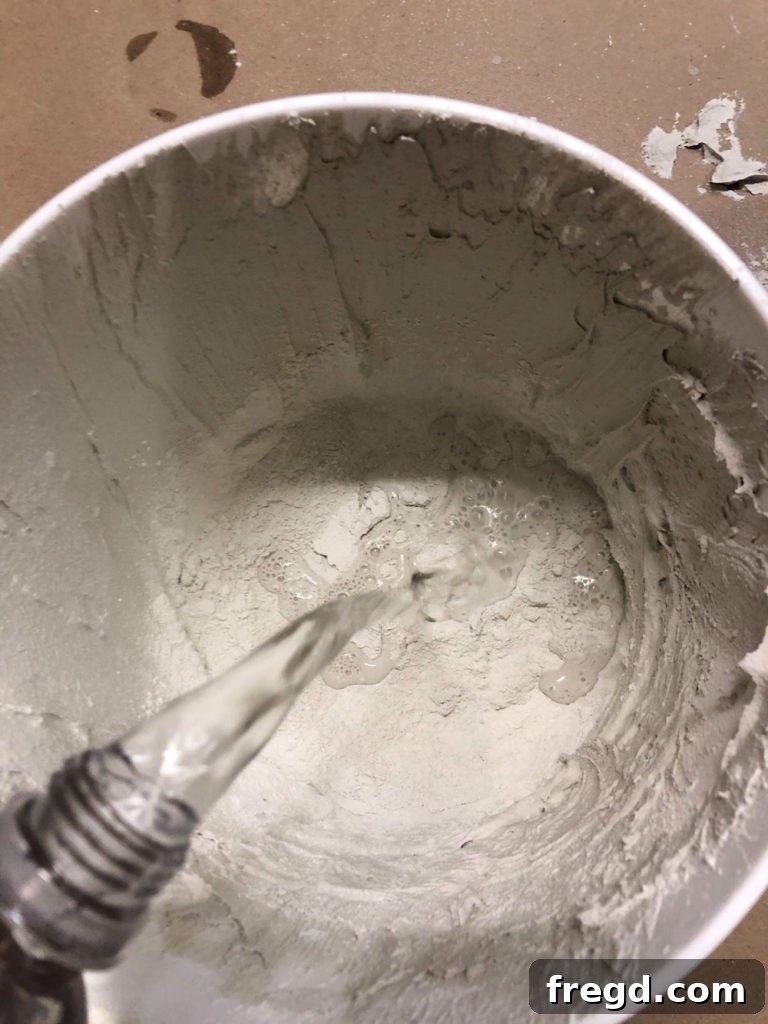
Begin by mixing this initial amount thoroughly with your drill and mixing attachment, then pause to check its consistency. For brushing, you’re aiming for a texture similar to thick peanut butter or a rich, slightly firm icing. This consistency allows the mortar to adhere well to the stone without being too runny or too stiff to spread. If it’s too thick, add water sparingly; if too thin, add more powder. You’ll quickly get a feel for the ideal texture.
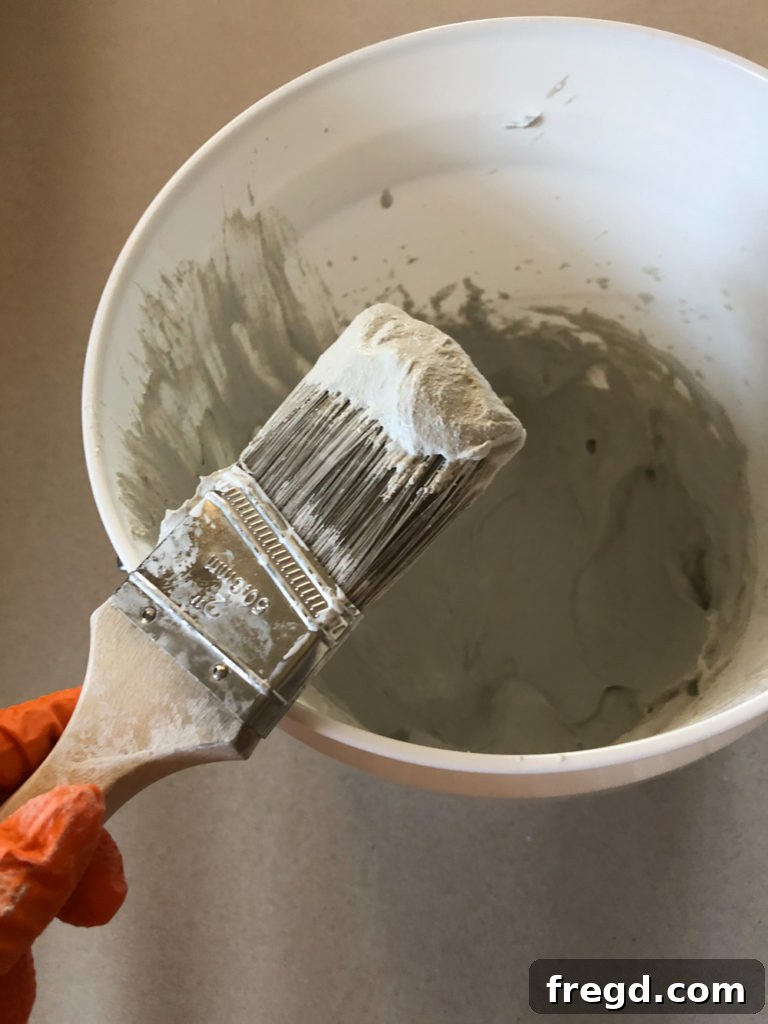
A crucial detail to note: the white mortar you purchase will appear grey when first mixed with water. Do not be alarmed by this! This is entirely normal, and the mixture will dry to a beautiful, bright white. As my fireplace dried, I watched it gradually lighten and become more opaque, revealing its true white hue.
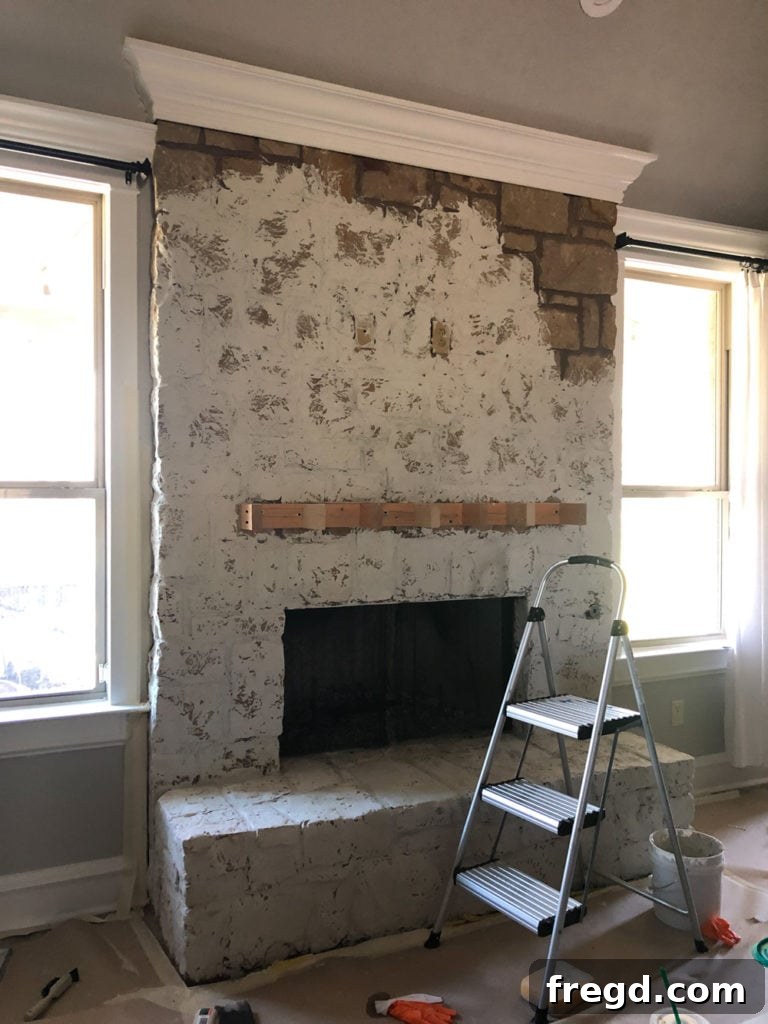
3. The Application Process: I decided to start my application on the side of the hearth, an area that is less visible. This “practice” spot allowed me to get a good feel for the technique, consistency, and coverage before moving on to the more prominent parts of the fireplace. I simply brushed the mortar directly onto the stone.
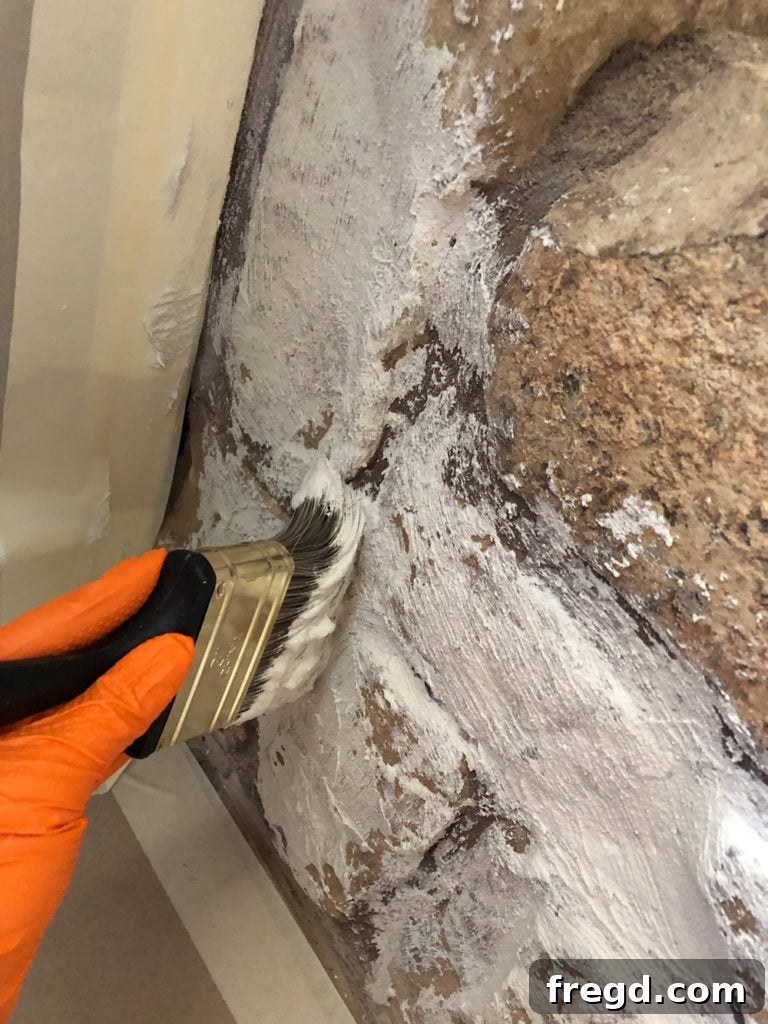
You might notice some brush strokes in the initial image above. I initially experimented with a brush I had stiffened by cutting its bristles, thinking it would be necessary for applying the thick mortar. However, I quickly realized this created undesirable brush marks. I swiftly switched to a normal paintbrush, specifically one from the versatile set I linked previously, which provided a much smoother and more even application.
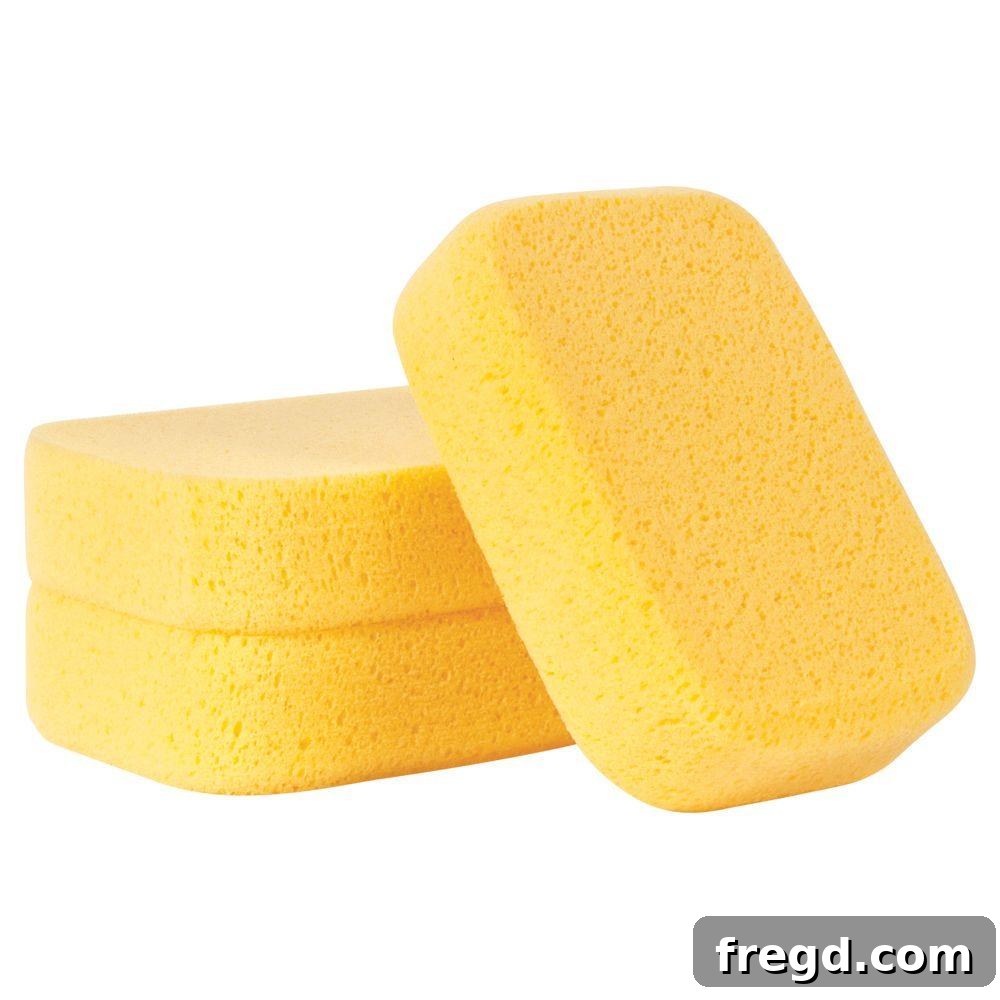
From this point, I systematically worked my way around the fireplace. This is where your personal aesthetic truly comes into play. You have complete control over the final look: apply more mortar for a more opaque, whiter finish, or use less to allow more of the original stone’s character and texture to show through. Another useful tool is a sponge; you can use it to wipe away excess mortar or to smooth out areas. THESE are the sponges I used. My goal was “all the white,” so I primarily used the sponge to smooth out any unwanted brush strokes or rough edges, rather than significantly removing mortar.
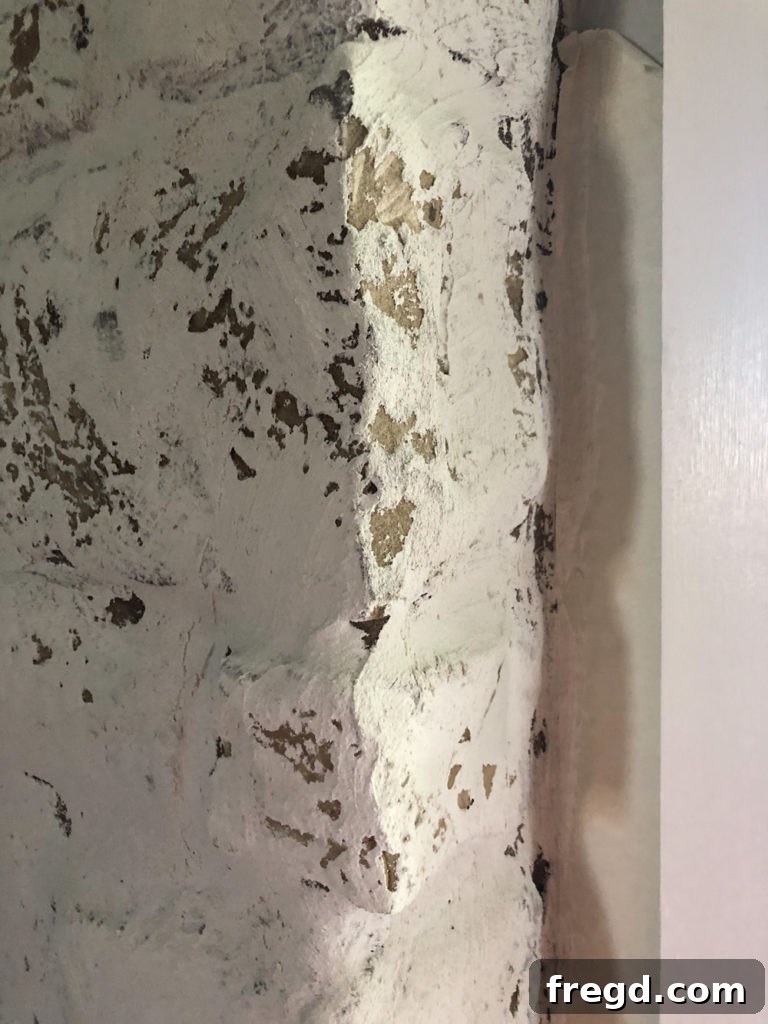
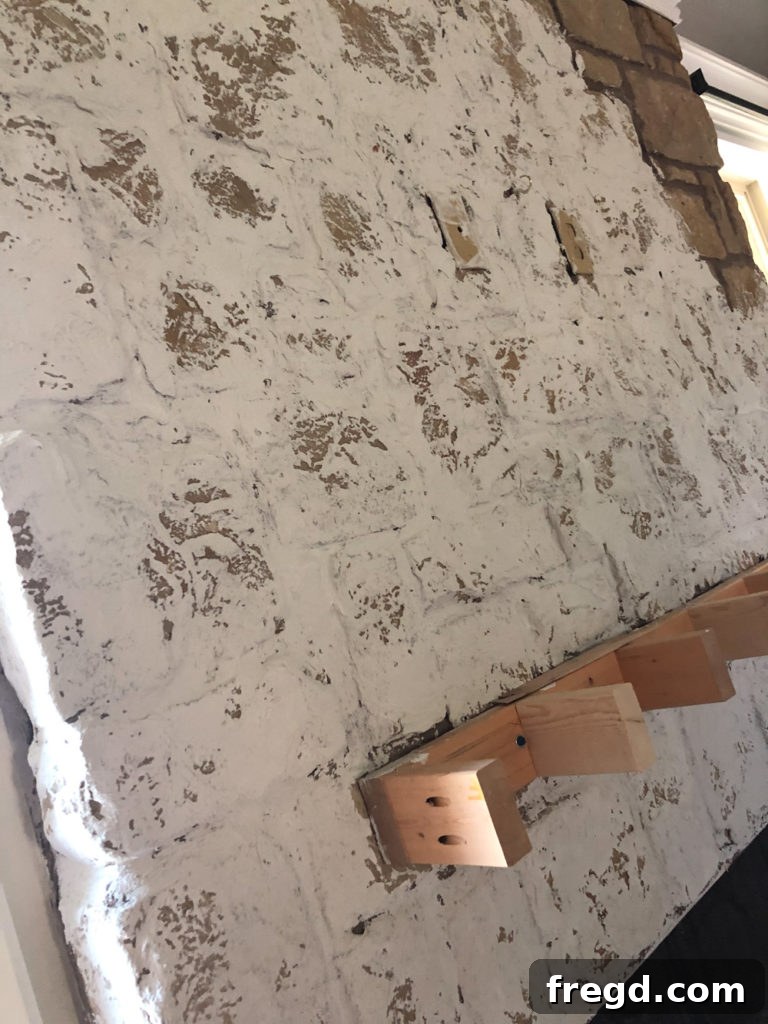
In this spot, you can observe some of the rougher edges of the mortar and initial brush strokes before refinement.
4. Smoothing and Refining: To achieve a seamless finish, I used a wet sponge to gently smooth out these areas. After allowing the freshly applied mortar to set for approximately 30-45 minutes – enough time for it to firm up slightly but still be workable – I lightly dampened a sponge with water and used it to soften any rough spots, visible brush strokes, or harsh lines. This step is key to blending the mortar into a cohesive, natural-looking finish.
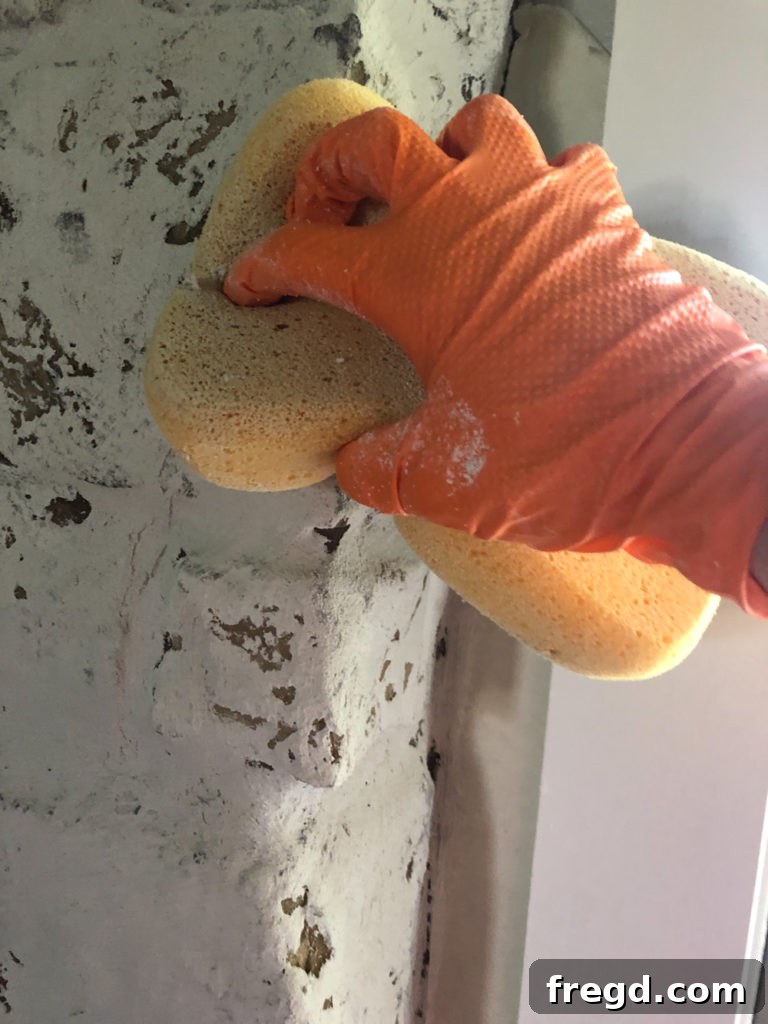
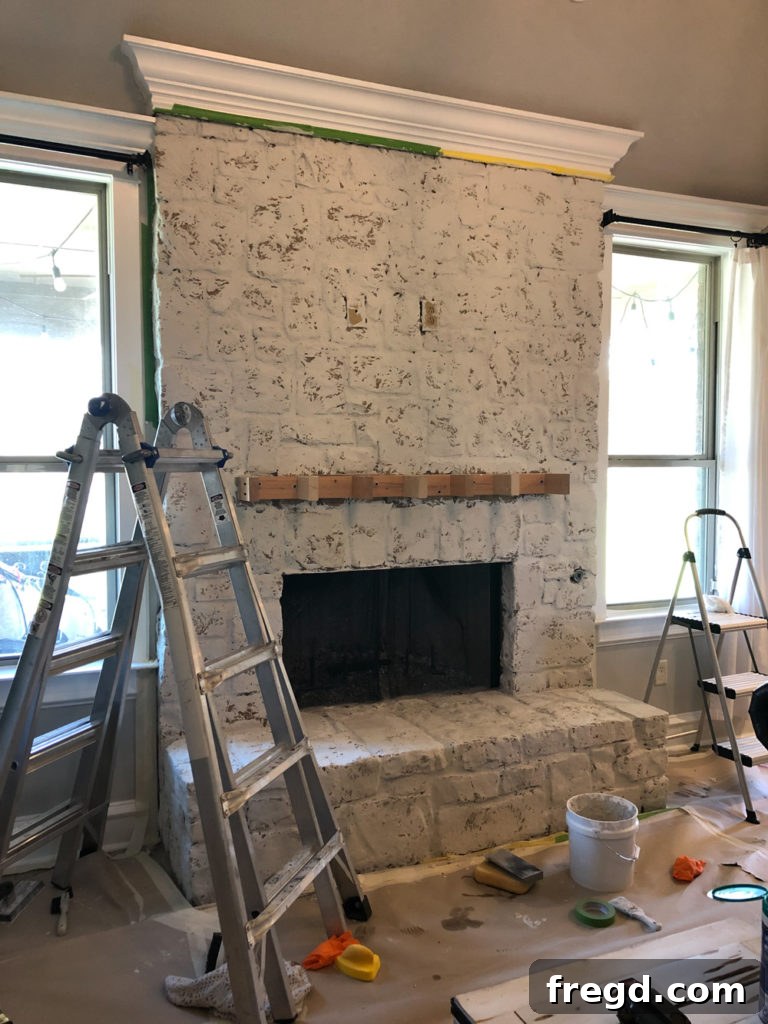
You can see the steady progress I made below. Again, the rhythm I found most effective was to apply mortar to an area, allow it to sit and begin setting for 30-45 minutes, and then return to smooth it out before moving to the next section. This method ensures optimal workability and consistent results across the entire fireplace surface.
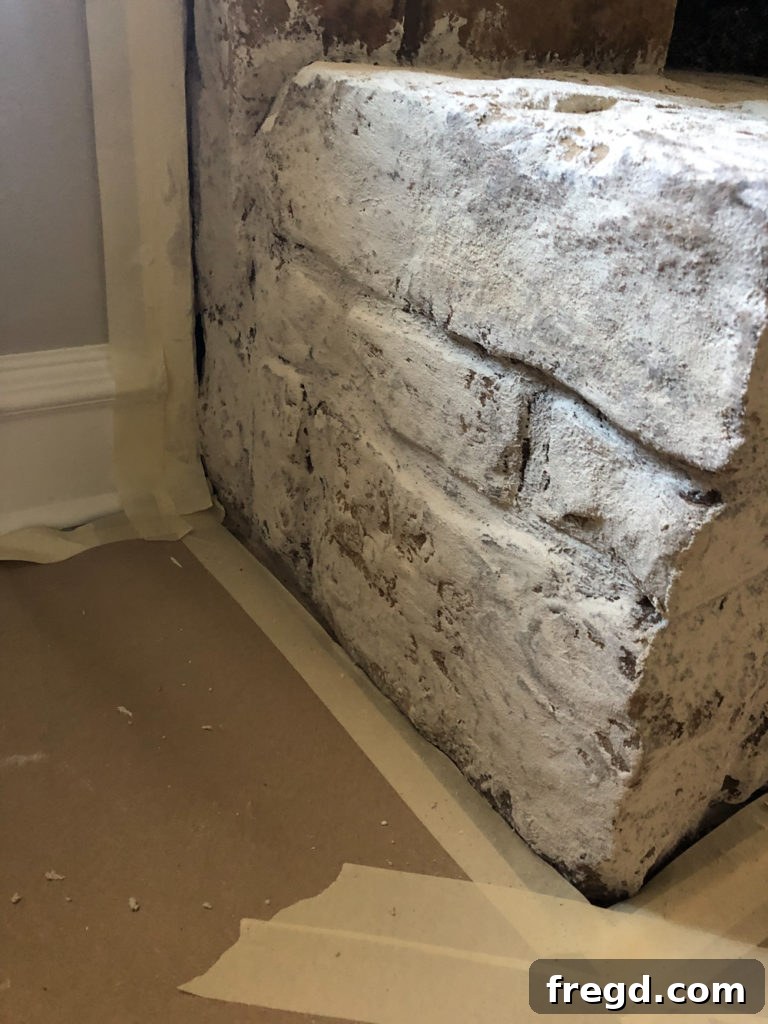
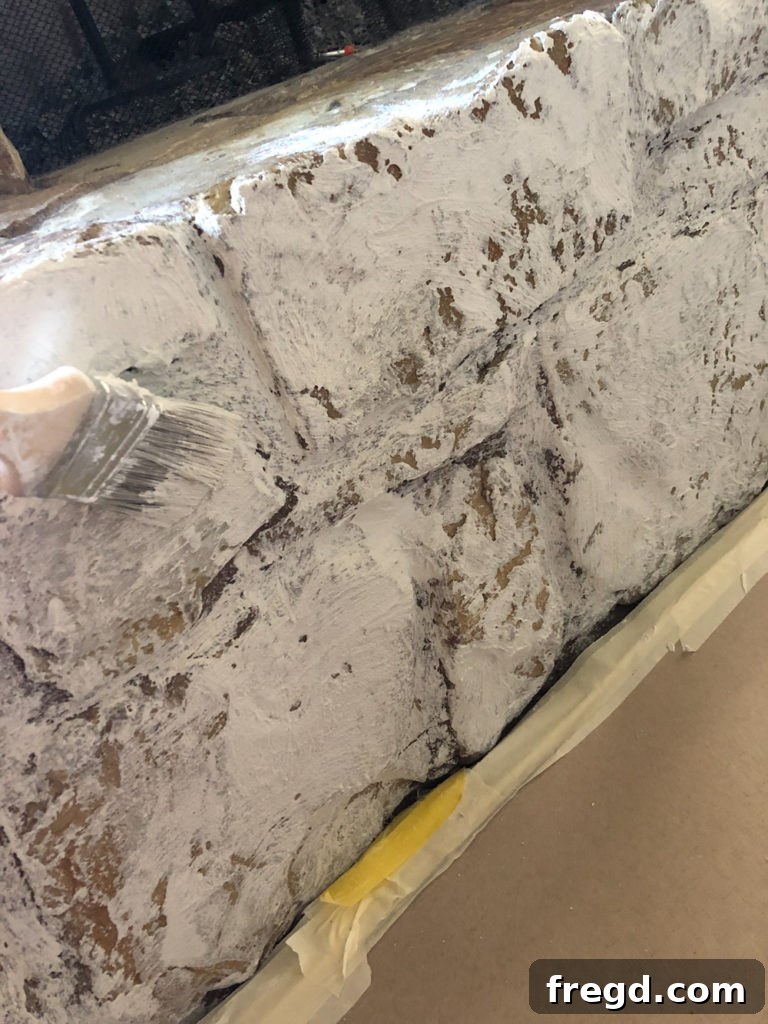
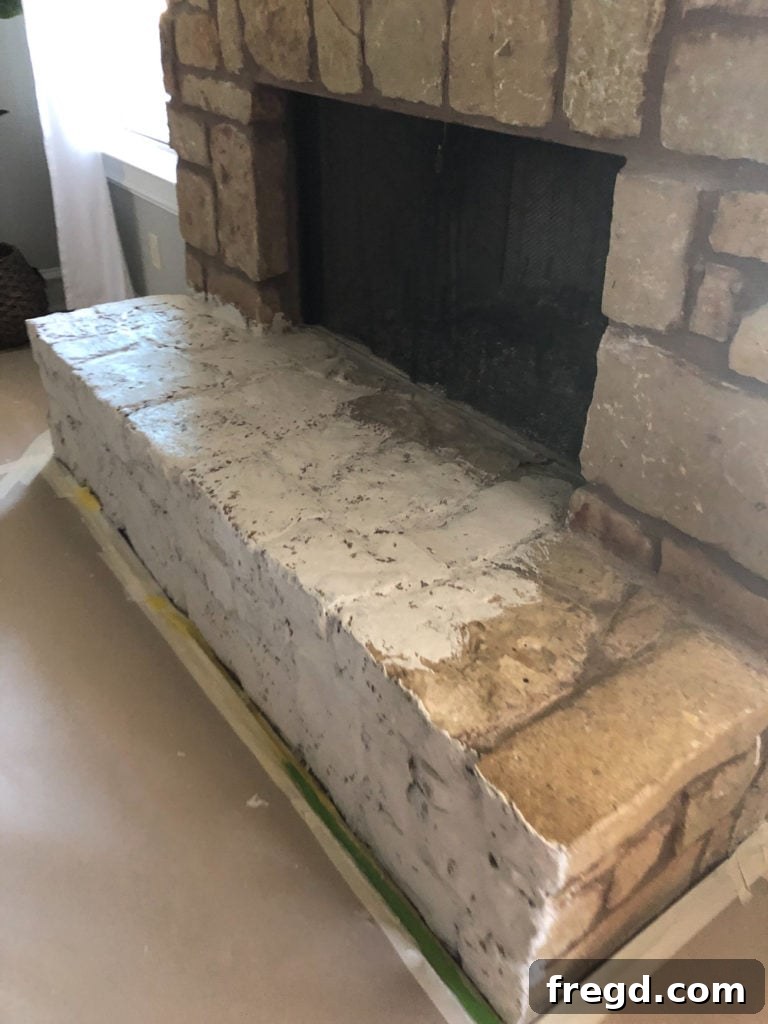
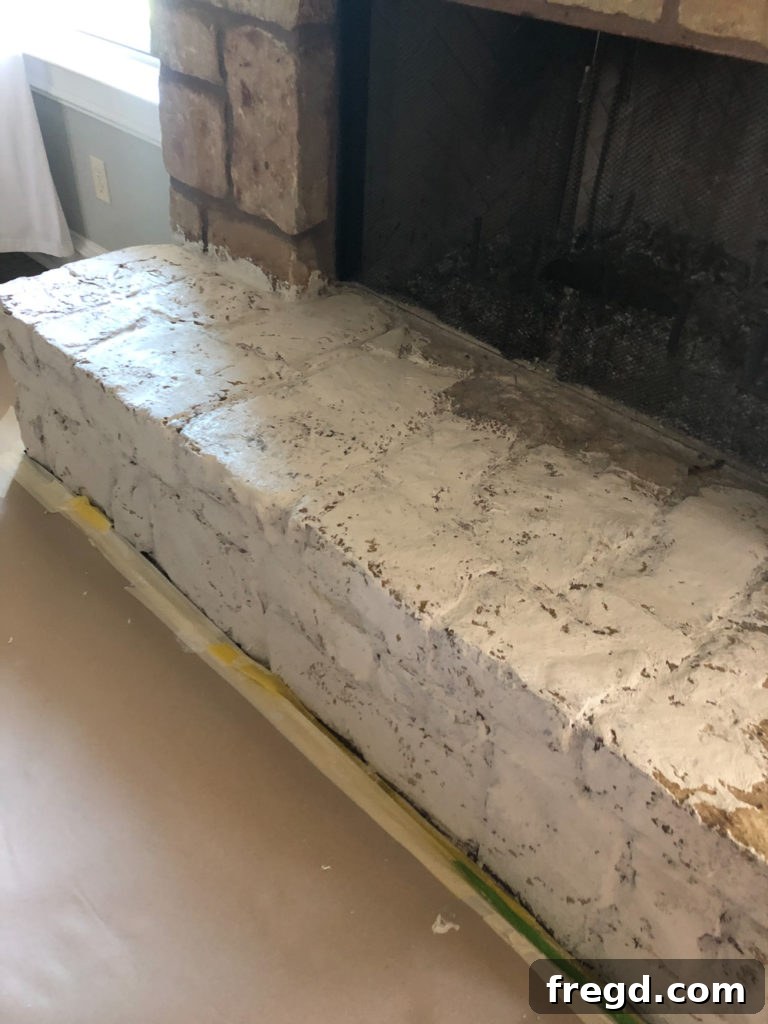
Once the hearth was completed and looking fantastic, I methodically worked my way up the entire stone wall of the fireplace, applying the same technique, section by section, until the entire surface was covered to my desired finish. The consistency of the mortar and the smoothing action of the sponge were critical in maintaining a uniform, yet naturally textured, appearance across the large stone surface.
Revealing the Finished German Schmear Fireplace
So, you might be wondering, how long did this entire transformation take? I’m delighted to report that this is an incredibly efficient DIY project! I started my day by heading to Home Depot around 9 AM after dropping the kids off at school. I was back home and began the preparation and taping by approximately 10 AM. Despite pausing to take care of the baby and handle school pickup duties, I miraculously managed to complete the entire job before 5 PM on that very same day. Depending on the size and complexity of your fireplace, this is easily a one-day project for most! Moreover, the mortar dries surprisingly fast, which means you won’t have to wait long to see the final results. I even took a quick photo with some decor that evening, though I removed it shortly after to allow the mortar to fully cure overnight before truly dressing it up the next morning. For me, this $63 investment has been, without a doubt, the best money I’ve spent on a home project in a very long time.
I understand that there will inevitably be some who prefer the natural, original stone, and that is perfectly alright! Just like painting and decorating, home aesthetics are deeply personal, and we all have our unique tastes and opinions. However, on this particular transformation, there’s no changing my mind – I absolutely, unequivocally LOVE IT! The German Schmear technique has completely brightened our living room, transforming the once heavy and rustic stone into a light, airy, and textured focal point that perfectly complements our refreshed white trim and light gray walls. It retains the character of the stone while giving it a modern, farmhouse-chic sensibility that truly elevates the entire space. Shall we take another look at its stunning details?
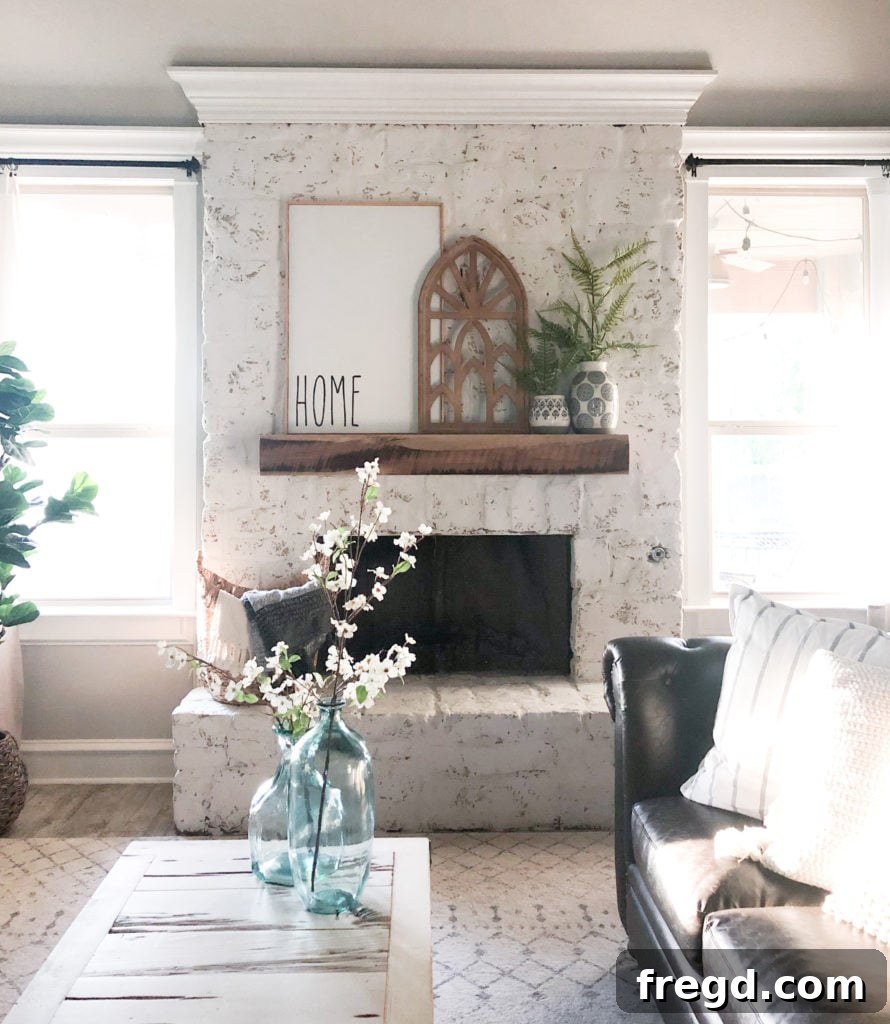
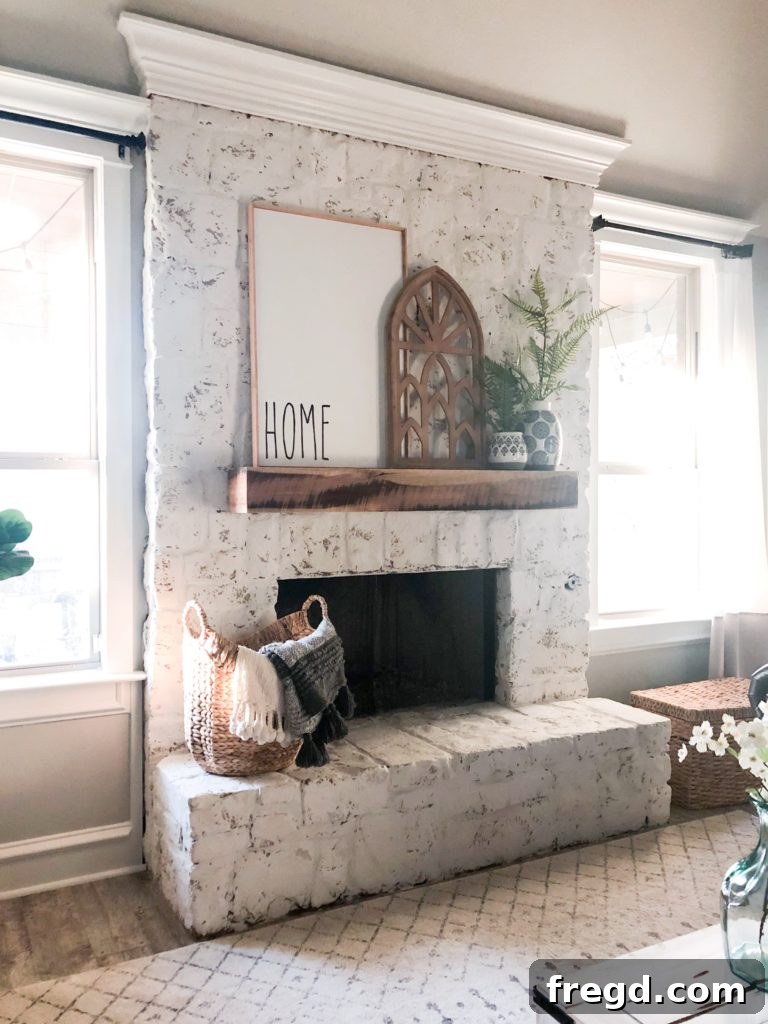
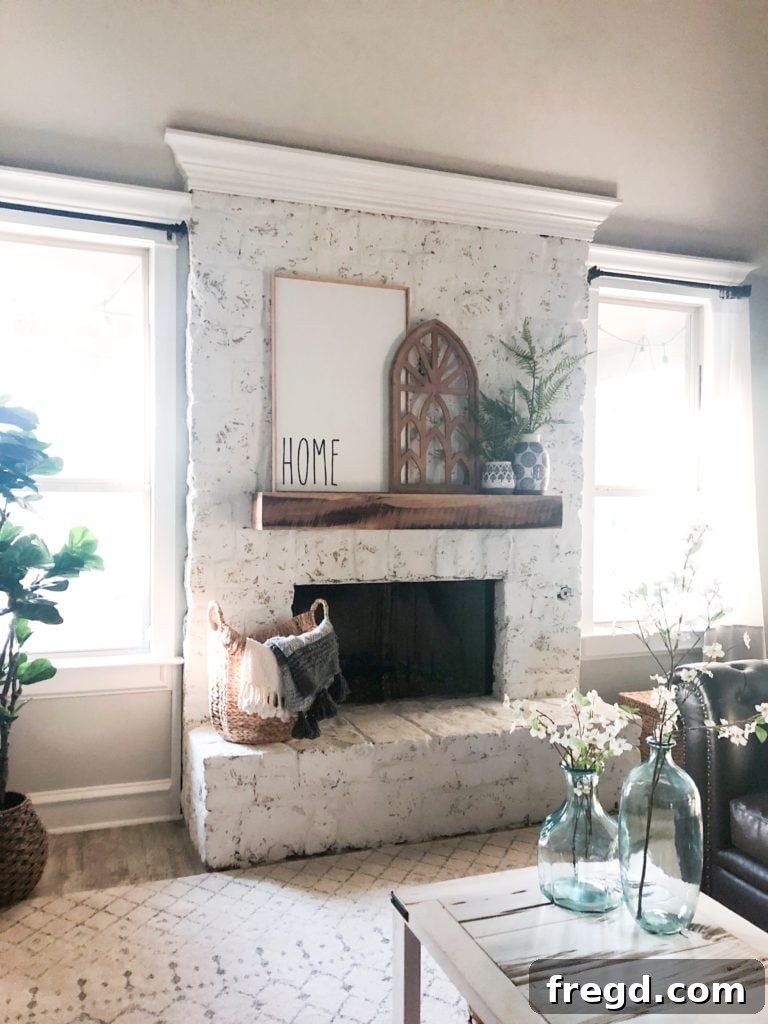
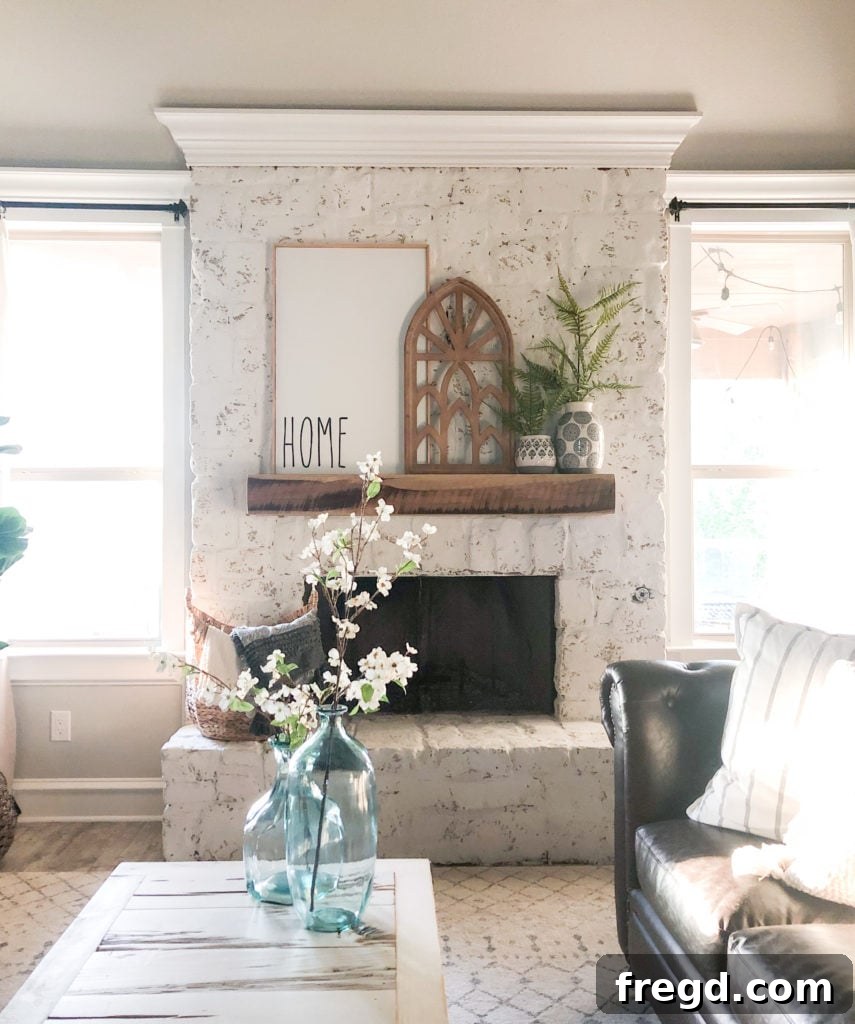
This fireplace makeover not only brightened our home but also perfectly aligned with our desire for a fresh, updated look on a budget. The German Schmear technique proved to be an incredibly effective way to modernize a rustic stone feature, making it feel current and cohesive with our overall interior design. If you’re considering a similar transformation for your own fireplace, I highly encourage you to give this accessible and rewarding DIY project a try!
Links to all the decor used to style the finished fireplace:
Wood wall arch
Small Vase
Large Vase
Rug
Fern Stems