
Build Your Dream Home Office: Free Plans for a Custom Floating Desk
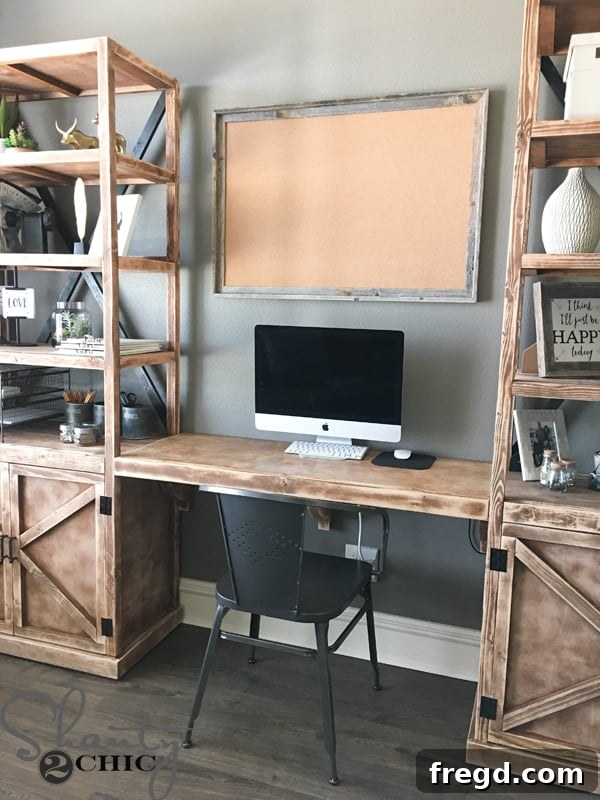
Welcome back, DIY enthusiasts! Today, I’m thrilled to share the highly anticipated free plans for the custom floating desk designed to perfectly complement the office storage towers we previously built. If you’re looking to create a functional, stylish, and incredibly organized workspace, this project is for you. This floating desk isn’t just an addition; it’s the centerpiece that ties your entire home office system together, offering a seamless and integrated look that will elevate your productivity and aesthetic.
The Perfect Home Office Solution: Why a Floating Desk?
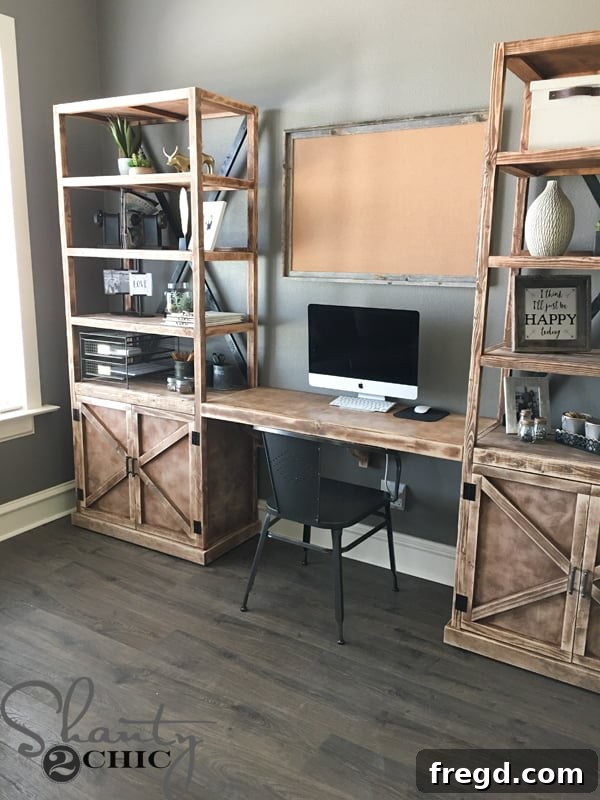
A floating desk offers an unparalleled blend of modern design and practical functionality, making it an ideal choice for any home office, big or small. Its wall-mounted design creates an illusion of spaciousness, keeping your floor area clear and making the room feel larger and less cluttered. This particular desk is designed to look like a natural extension of your storage towers, providing a cohesive and built-in feel without the hefty price tag of custom cabinetry. However, its versatile design also means it can stand alone as a beautiful floating shelf, allowing you to build just the desk portion if that’s all you need. The best part? It’s incredibly easy to customize the length, ensuring it fits your unique space and specific requirements perfectly.
Seamless Integration with Your Storage Towers
This floating desk was specifically designed to bridge the gap between our popular DIY office storage towers. This creates a powerful, unified desk system that looks professionally built. If you haven’t yet tackled the storage towers, or simply need a refresher, you can easily access their plans. Just click HERE to view the detailed instructions and print out the plans. Building both elements together truly transforms any room into a highly organized and inspiring work environment.
Customization for Your Unique Space
One of the greatest advantages of this DIY project is its adaptability. Unlike off-the-shelf furniture, you have complete control over the dimensions. Whether you have a compact nook or a sprawling wall, you can tailor the length of this floating desk to precisely fit your needs. This freedom ensures that your new workspace is not only beautiful but also optimally suited for your lifestyle and the layout of your home.
Access Your Free Floating Desk Plans Today!
Ready to get started on building your very own custom floating desk? We’ve made it incredibly easy to access the detailed, step-by-step plans. These printable instructions will guide you through every cut and joint, making this project achievable for even novice builders. Don’t delay – transform your office space with these comprehensive, free plans!
Simply click on the image above or use the direct link HERE to download your free plans instantly. Once you have your plans, follow along with our comprehensive step-by-step guide below for a smooth and successful build!
Tools and Materials You’ll Need for This Project
Before you dive into construction, gather all your necessary tools and materials. Having everything on hand will ensure a seamless and efficient building process. Below is a list of what you’ll need to create your custom floating desk:
Essential Tools:
- Measuring Tape
- Pencil
- Level (a long one is very helpful for marking straight lines)
- Stud Finder
- Drill/Impact Driver (Ryobi Impact Driver recommended)
- Circular Saw (with Kreg Rip Cut for easier cuts)
- Orbital Sander (Ryobi 18-volt orbital sander recommended)
- Safety Glasses and Hearing Protection
- Brad Nailer or Finish Nailer (Ryobi 16 gauge Airstrike or 18 gauge brad nailer recommended)
- Hammer (if using finish nails manually)
Specific Tools for This Project:
- Kreg K5 Pocket Hole Jig: Essential for creating strong, hidden joints in your cleat assembly.
- Kreg Rip Cut: An invaluable attachment for your circular saw that ensures straight, accurate cuts on plywood, especially useful if you don’t have a table saw. Learn more about it on our Tools page.
- Stud Finder: Crucial for securely anchoring your desk to the wall.
Materials List:
- 3/4″ Plywood (for the desk top)
- 2×3 Lumber (for the cleat and front trim)
- Osborne Wood Products Knotty Pine Corbels (Qty: 3, or more depending on desk length)
- Wood Glue
- 2″ Pocket Hole Screws
- 2″ Spax Wood Screws
- 3″ Spax Screws
- Wall Anchors (if studs are not available at corbel/cleat locations)
- Finish Nails (1 1/2″ or 2″ length)
- 80-grit Sanding Pads
- Varathane Early American Stain
- Lamb’s Wool Applicator (for stain)
- Clean Rags or Cloths (for wiping stain)
- Varathane Triple Thick Polyurethane in Satin
- Bristle Brush (for polyurethane application)
- Painter’s Tape
Step-by-Step Guide: Building Your DIY Floating Desk
Now that you have all your materials and tools ready, let’s walk through the construction process. Each step is detailed to ensure you build a sturdy and beautiful floating desk.
Step 1: Planning and Desk Length Determination
Before making any cuts, it’s crucial to determine the exact length of your desk. If you’re integrating it with the storage towers, build and position them first in your desired office location. Once the towers are set, accurately measure the space between them. This measurement will be the ideal length for your floating desk. For this project, I opted for a 60-inch desk, a versatile size that offers ample workspace without overpowering the room.
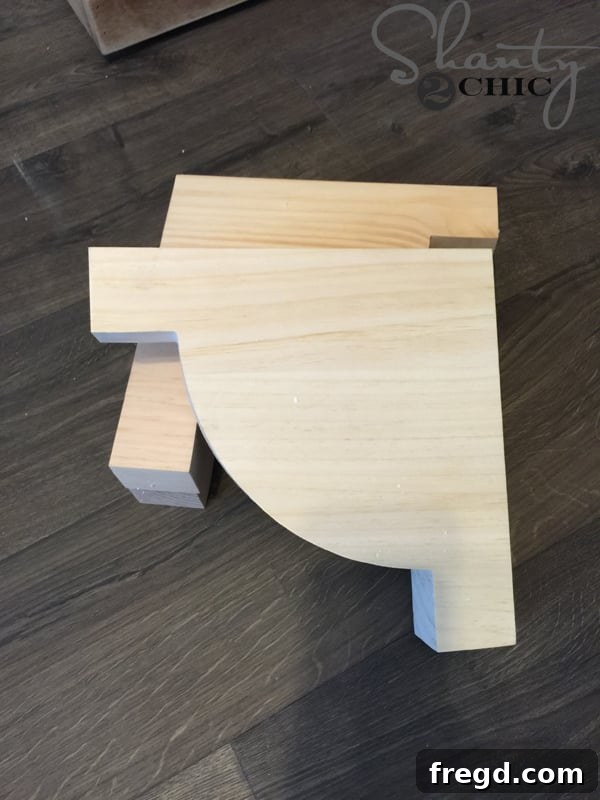
For support, I used three elegant knotty pine corbels from Osborne Wood Products. These decorative elements not only provide crucial structural support but also add a touch of classic charm to the desk’s design. The number of corbels you’ll need may vary depending on the overall length of your desk; for a 60-inch desk, three provides excellent stability.
Step 2: Preparing the Wall and Marking Layout
Accurate marking is key to a perfectly level and stable desk. Begin by determining where the desk top will sit. I aligned the top of my desk with the bottom shelf of the adjacent storage towers for a seamless look. Using a long level, draw a clear, straight line across the wall where the *top surface* of your desk will ultimately be located. This is your primary reference line.
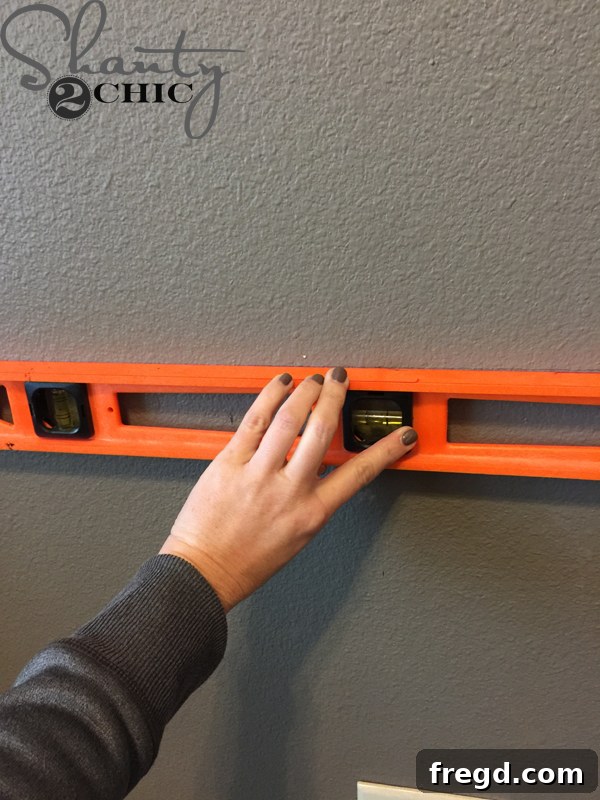
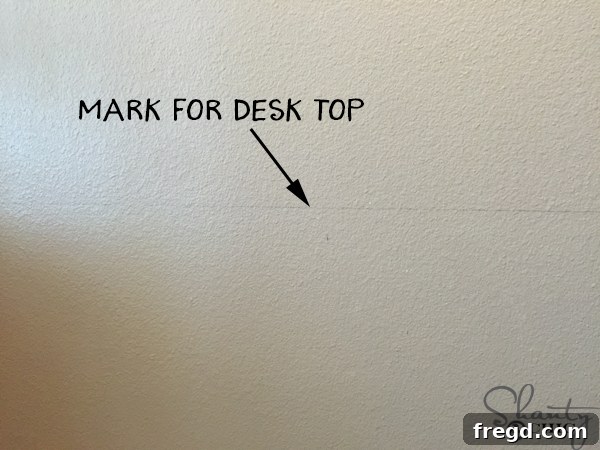
Next, you need to mark for the support cleat. Since your desk top is 3/4″ thick and will sit directly on top of the cleat, measure 3/4″ *below* your primary desk top line and draw another level line. This second line indicates the *top* of your wall-mounted cleat. Finally, measure an additional 1 1/2″ *below* that second line (to account for the 1 1/2″ thickness of the 2×3 cleat lumber). This lowest line marks where the *top edge* of your corbels should align when installed. These precise measurements ensure your desk sits at the desired height.
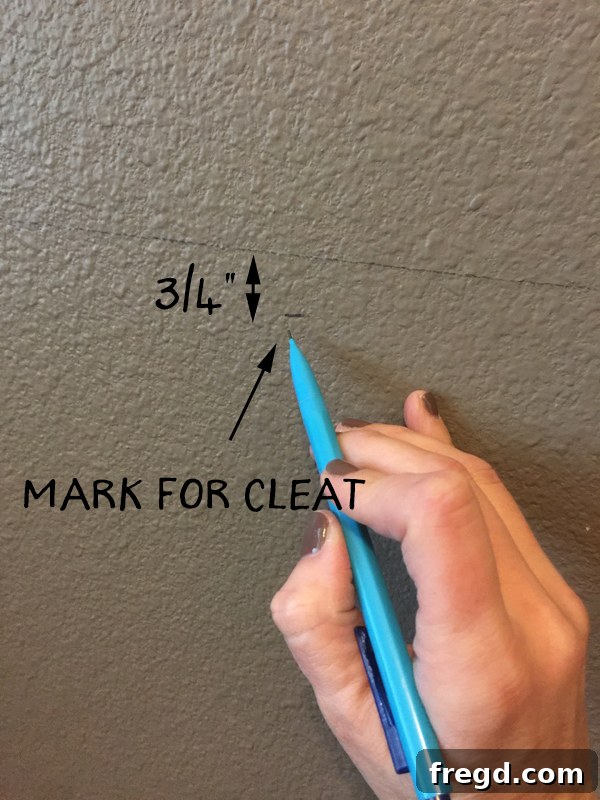
Step 3: Installing the Decorative Corbels
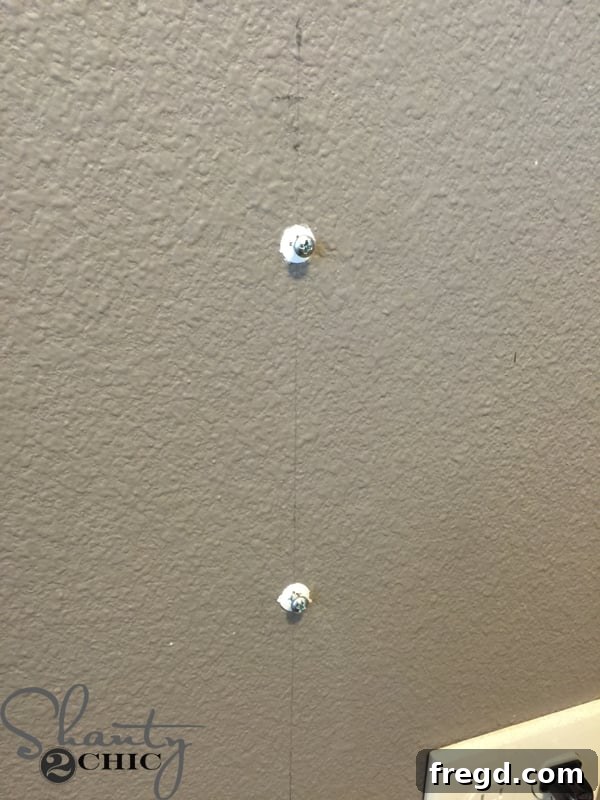
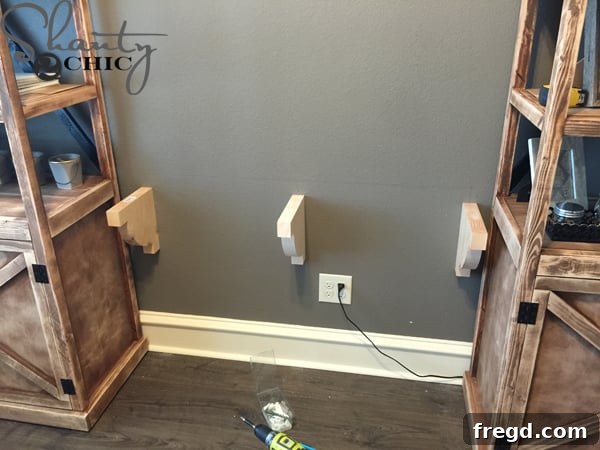
With your lines clearly marked, it’s time to install the corbels. Refer to your lowest marked line (the one 2.25″ below your initial desk top line) as the alignment point for the top of each corbel. Measure the distance from the top of each corbel to the center of its installation brackets (both top and bottom). Transfer these measurements onto your wall, marking the exact spots where your screws will go. Use a stud finder to locate any wall studs. If you’re lucky enough to hit a stud, drill directly into it for maximum strength. More often than not, you’ll need to use appropriate wall anchors to ensure your corbels are securely mounted. Once the anchors are in place, hang your corbels, making sure they are level and spaced evenly. I placed one corbel in the center and the other two towards the ends, aligned with where the desk will terminate.
Step 4: Constructing the Support Cleat
The cleat forms the primary support structure for your floating desk. Cut your 2×3 lumber according to the dimensions provided in the printable plans. Remember, the length of the *long* 2×3 piece will correspond directly to the custom length of your desk, while the *short* 2×3 pieces will match the plans. Once your cuts are made, use your Kreg K5 Pocket Hole Jig to drill 1 1/2″ pocket holes into one end of each of the short 2×3 pieces. Pocket holes create incredibly strong and discreet joints, perfect for this application. If you’re new to using a Kreg Jig, watch our helpful video tutorial HERE.
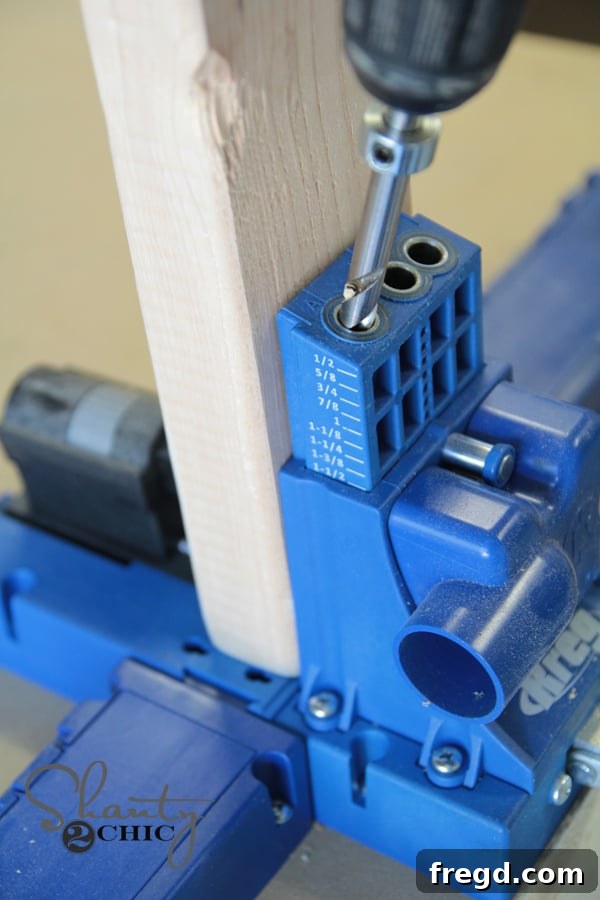
Now, assemble the cleat by attaching the short 2×3 pieces to the long 2×3 piece. Use 2″ pocket hole screws and a generous amount of wood glue for a durable bond. For precise placement of the short pieces, measure the distance between your installed corbels on the wall – these short 2x3s will sit directly on top of the corbels, providing crucial support.
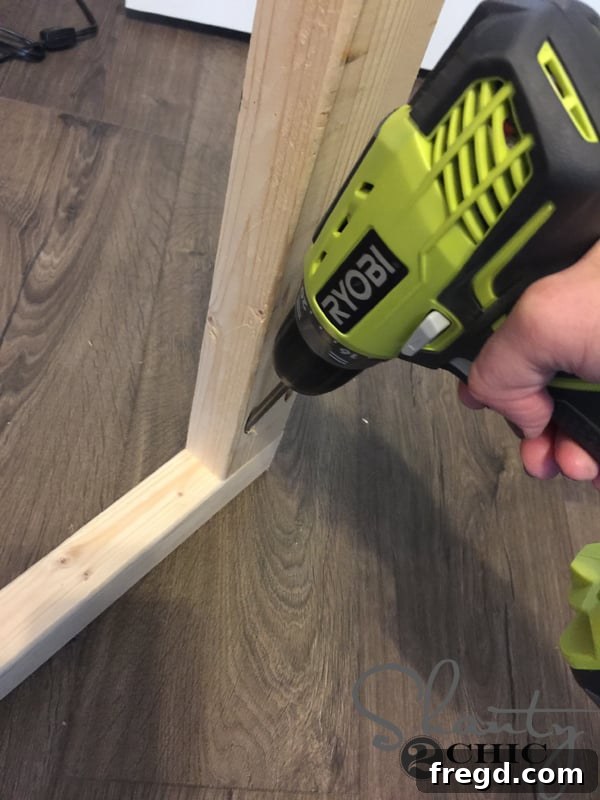
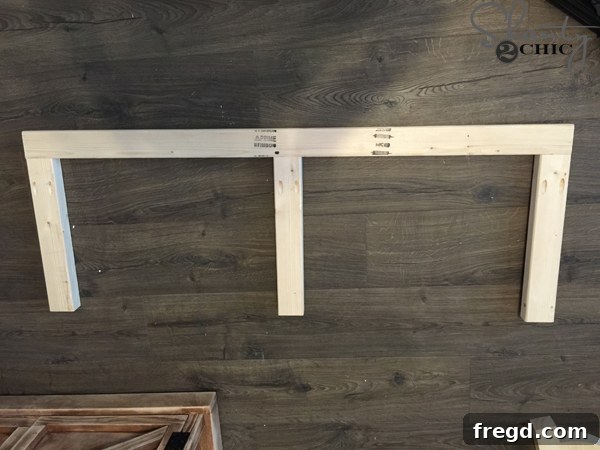
Step 5: Securing the Cleat to the Wall
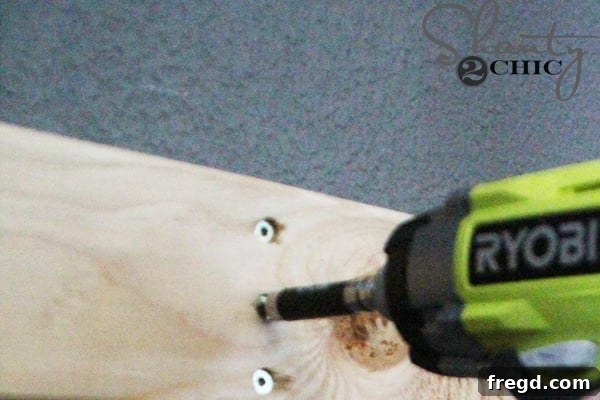
Once your cleat is assembled, carefully lift and lay it on top of the installed corbels. Ensure it’s level and aligned correctly. Now, use your stud finder to locate the wall studs behind the cleat. Mark these locations clearly. Using your Ryobi Impact Driver, drive 3″ Spax screws through the cleat and securely into the wall studs. This provides the primary structural attachment for your desk. To further enhance stability, attach the front of the corbels to the underside of the cleat using 2″ Spax screws. This creates a rigid and unyielding support system for your desk.
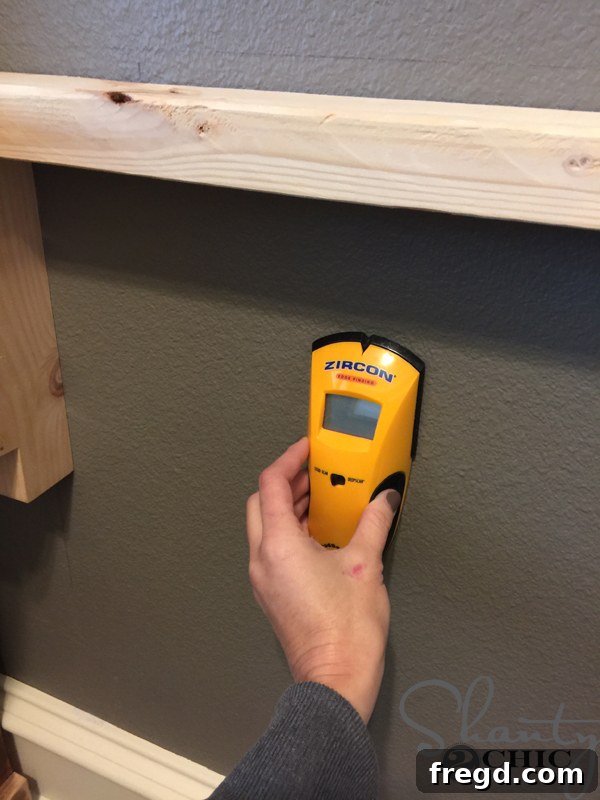
Step 6: Cutting and Attaching the Desk Top
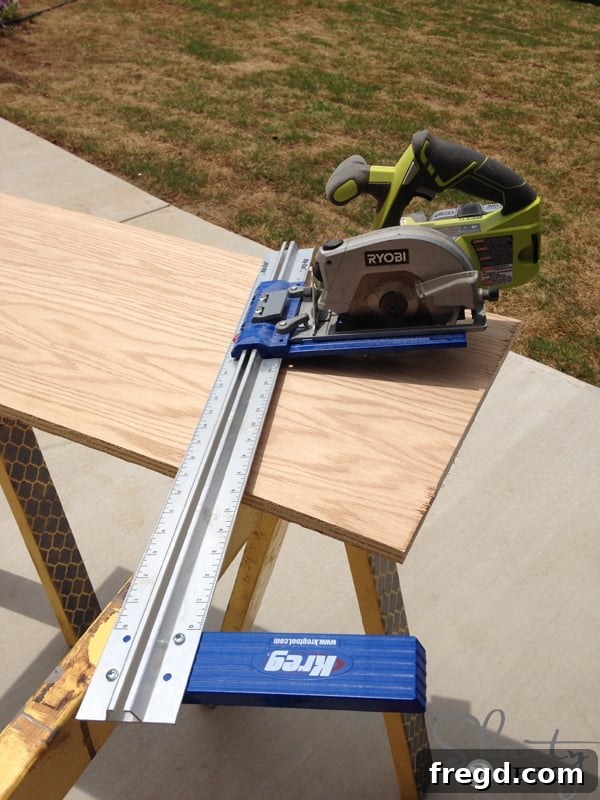
It’s time to create the smooth, functional surface of your desk. *Measure twice, cut once!* Double-check the exact distance between your storage towers or the desired length for your desk top. This precision ensures a perfect fit. For cutting the 3/4″ plywood to size, I highly recommend the Kreg Rip Cut. This tool is a game-changer for making straight, accurate cuts with a circular saw, especially on large sheets of plywood. It’s an affordable and effective alternative to a table saw, and it’s fantastic for small workshops or those with limited storage space.
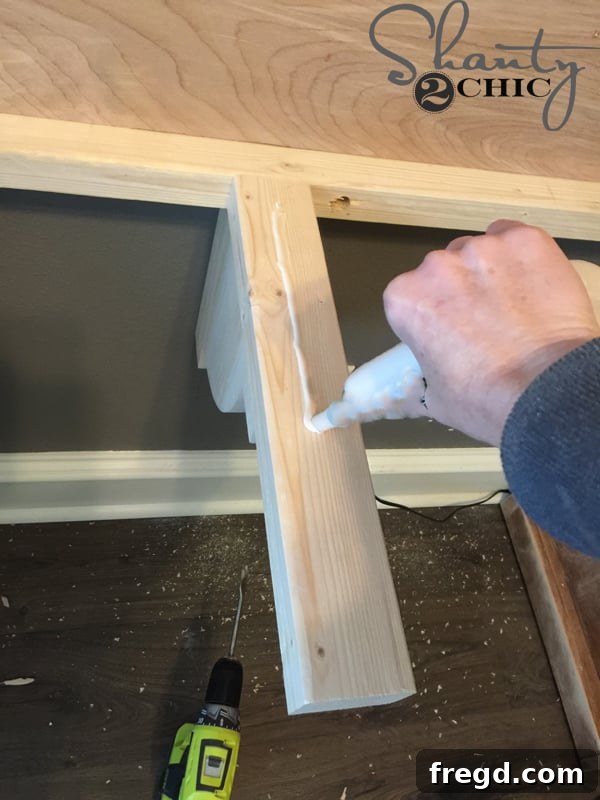
With your desk top cut, it’s time to attach it to the cleat. Begin by applying a generous bead of wood glue along the entire top surface of the cleat. This glue will provide a strong initial bond and prevent any squeaks down the line.
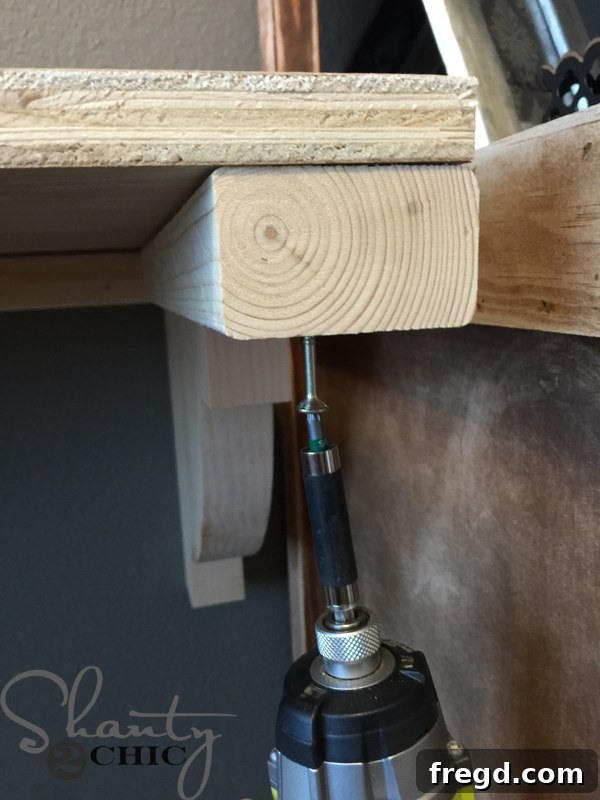
Carefully lay your plywood desk top onto the glued cleat, ensuring it’s perfectly aligned. From the underside of the cleat, drive 2″ Spax wood screws up into the desk top. This secures the top without visible fasteners on the desk surface.
For additional rigidity and to prevent any warping, I also added several 2″ Spax screws directly into the back edge of the desk top, driving them into the wall behind the cleat if possible, or into the cleat itself for extra hold.
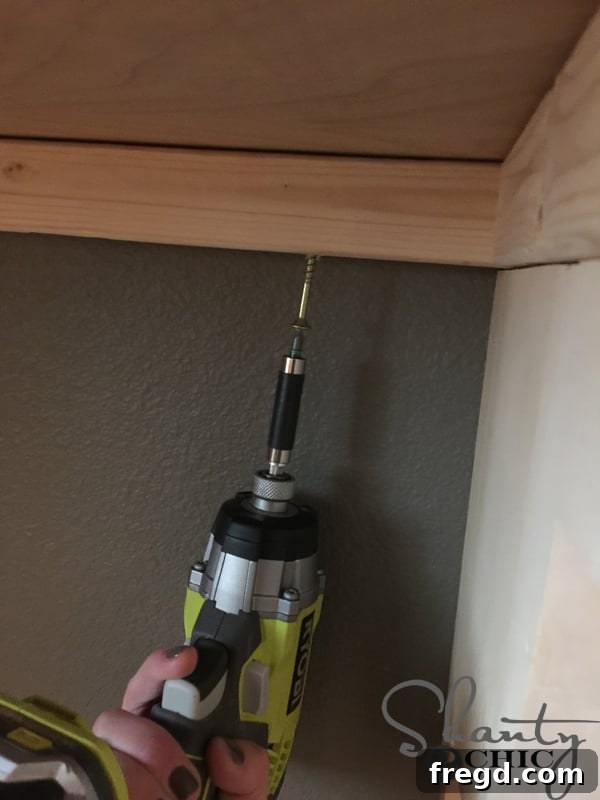
Step 7: Finishing the Edges with Front Trim
To give your floating desk a clean, finished appearance and conceal the edge of the plywood and the cleat, attach the front 2×3 trim piece. Apply wood glue to the front face of the cleat and then position your 2×3 trim. Secure it firmly with finish nails. I used my 16 gauge Ryobi Airstrike finish nailer for speed and precision, but an 18 gauge brad nailer or even a hammer and finish nails will work perfectly well. This trim piece not only enhances the aesthetic but also adds another layer of structural integrity.
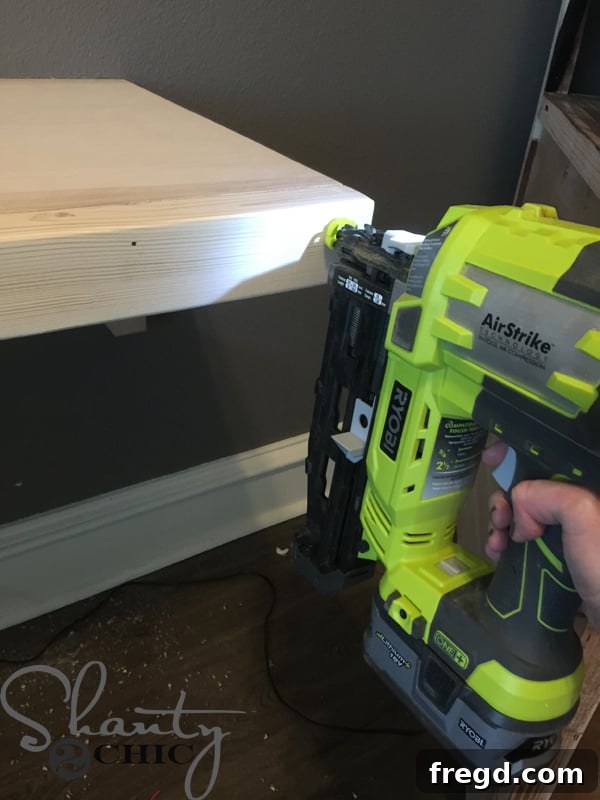
Step 8: Sanding for a Smooth Finish
With all the structural components in place, it’s time to prepare your desk for finishing. Use your 18-volt Ryobi orbital sander fitted with an 80-grit sanding pad to thoroughly sand the entire desk surface, edges, and trim. This coarser grit will effectively remove any imperfections, glue residue, or rough spots, creating a perfectly smooth canvas for your stain and polyurethane. Pay extra attention to any joints or areas where different wood pieces meet, ensuring a flush and even surface.
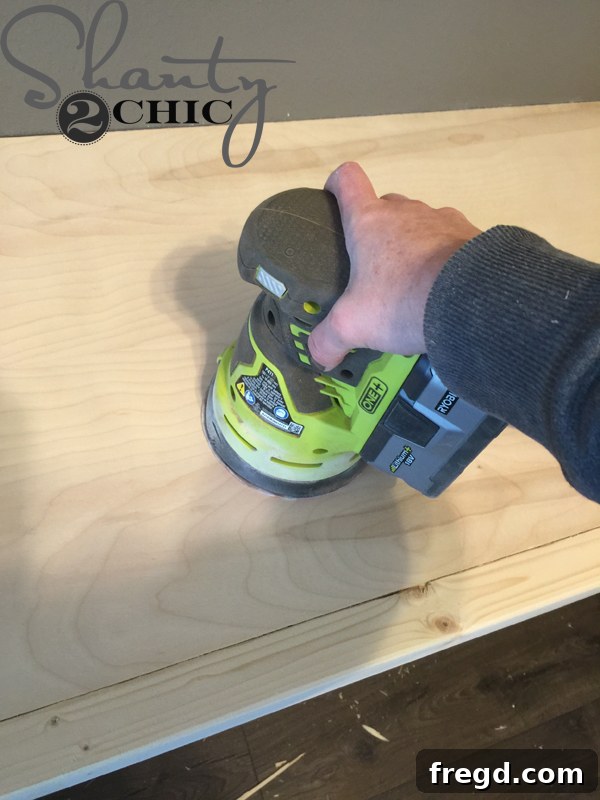
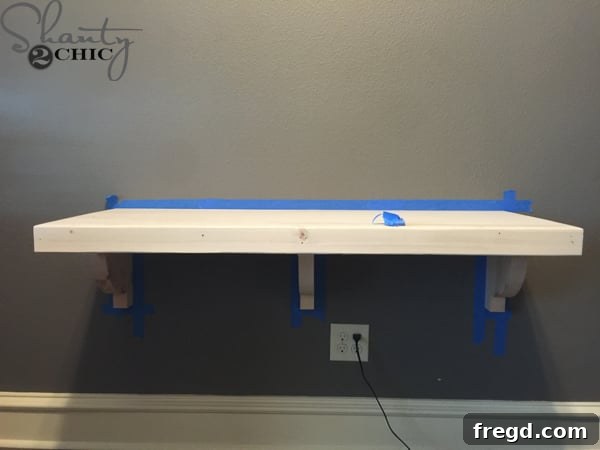
Here it is, with the desk top and front trim attached, ready for the beautiful finishing touches!
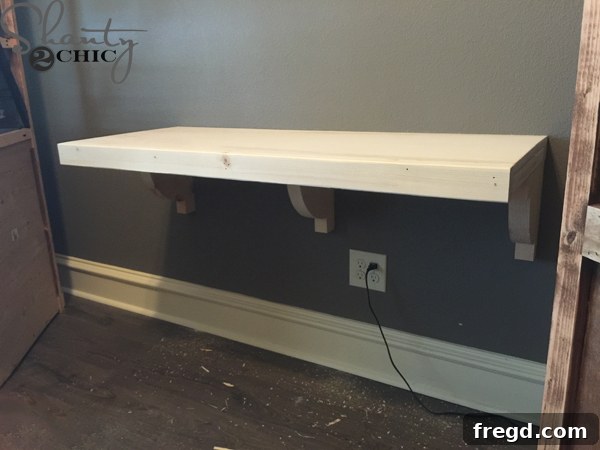
Step 9: Staining Your Floating Desk
To protect your walls from stain, meticulously tape off the area around your newly built desk using painter’s tape. This simple step ensures a clean, professional finish and saves you from accidental spills or drips.
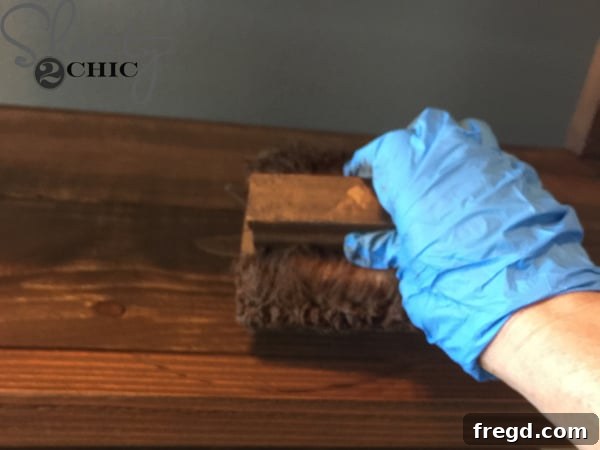
Next, apply a single coat of Varathane Early American Stain to the entire desk surface. For large pieces like this, a Lamb’s Wool Applicator is a fantastic tool; it ensures an even, smooth application and covers wide areas quickly. These applicators can typically be found near the stain products at your local Home Depot.
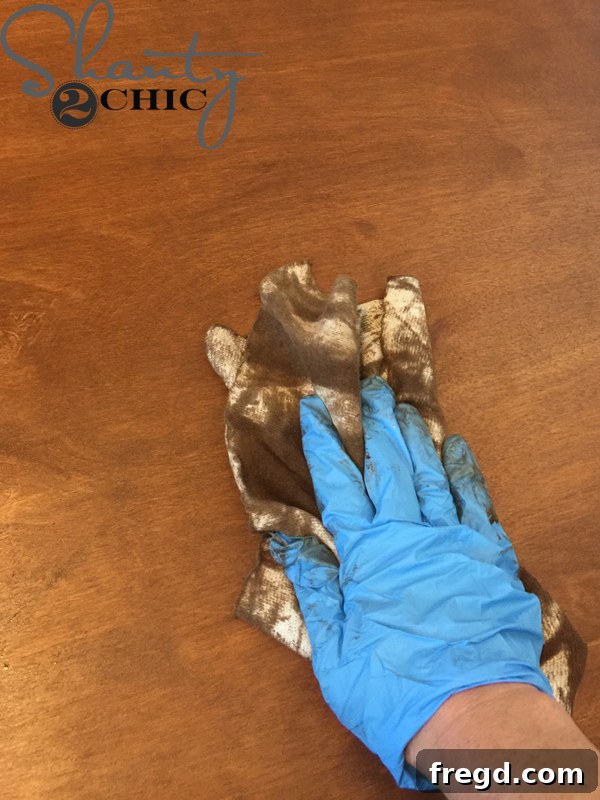
Allow the stain to penetrate the wood for approximately 5 minutes. After this brief absorption period, use a clean, dry cloth to carefully wipe the stain evenly across the desk. This technique ensures a consistent color and removes any excess stain that might otherwise become tacky or uneven.
Step 10: Applying Protective Polyurethane
Once the stain has completely dried (refer to the stain manufacturer’s recommendations for drying times), it’s time to apply a protective topcoat. I used one coat of Varathane Triple Thick Polyurethane in a satin finish. This product is incredible because a single coat offers the protection equivalent to three coats of regular polyurethane, saving you significant time and effort. Apply it with a good quality bristle brush. Don’t be alarmed if it appears thick and white, almost like glue, upon application; it dries to a beautifully clear, smooth, and silky finish that will protect your desk for years to come.
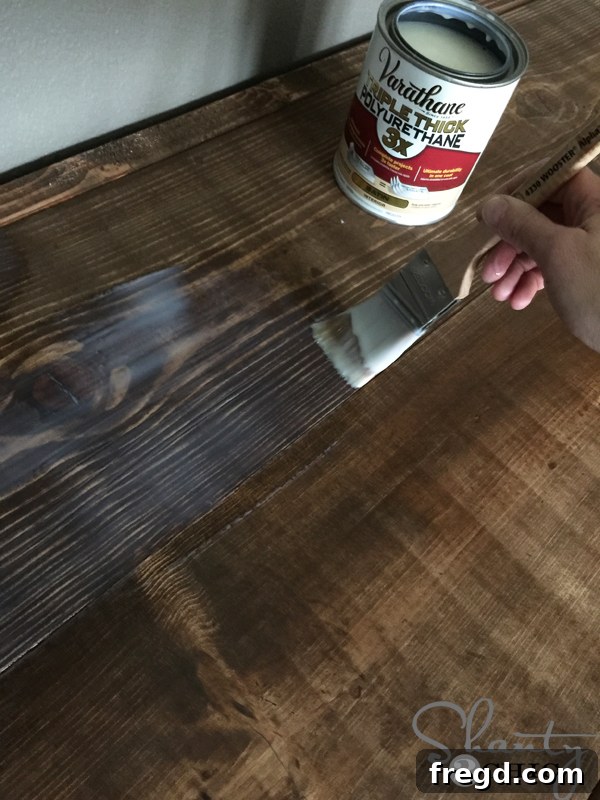
That’s all there is to it! Allow the polyurethane to cure fully before placing heavy items on your new desk.
Your Beautiful New Workspace Revealed!
And just like that, your custom-built floating desk is complete! Stand back and admire the transformation of your home office. This workspace is not only highly functional and incredibly sturdy but also a beautiful addition that looks far more expensive than its actual cost. The integrated design with the storage towers creates a cohesive and professional environment, proving that you don’t need to spend a fortune to achieve a high-end look.
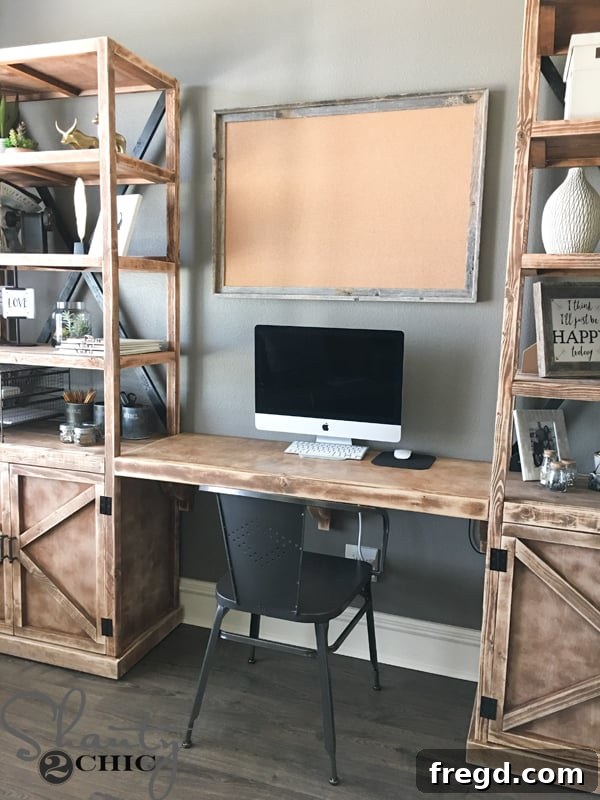
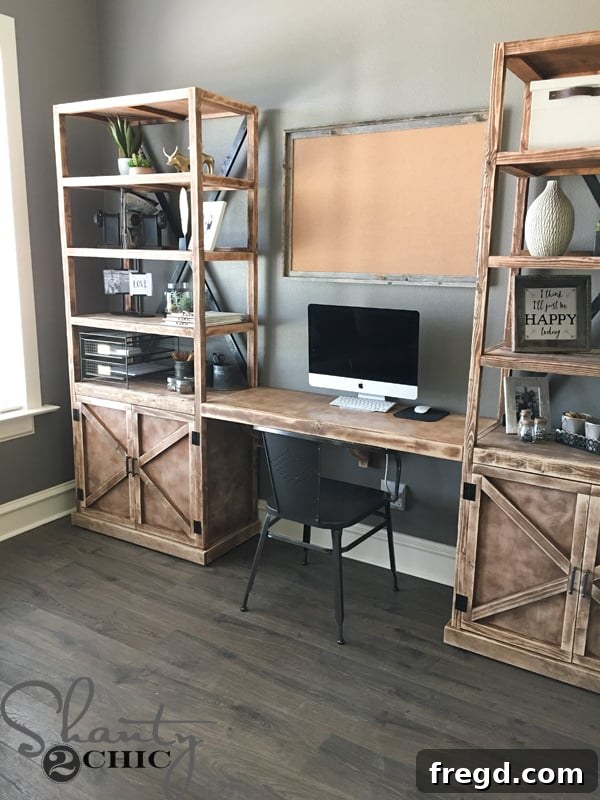
I absolutely adore this new work area. It provides a dedicated space for creativity and productivity, and the satisfaction of building it myself makes it even more special. The sleek design and integrated storage solutions make it a dream office setup.
Thank you so much for following along with this DIY journey. I hope these free plans and detailed instructions empower you to create your own amazing workspace. Happy building!
~Ashley