DIY Outdoor Plant Stand with Free Plans
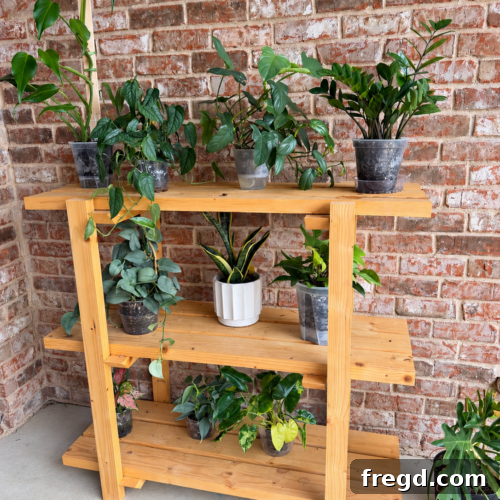
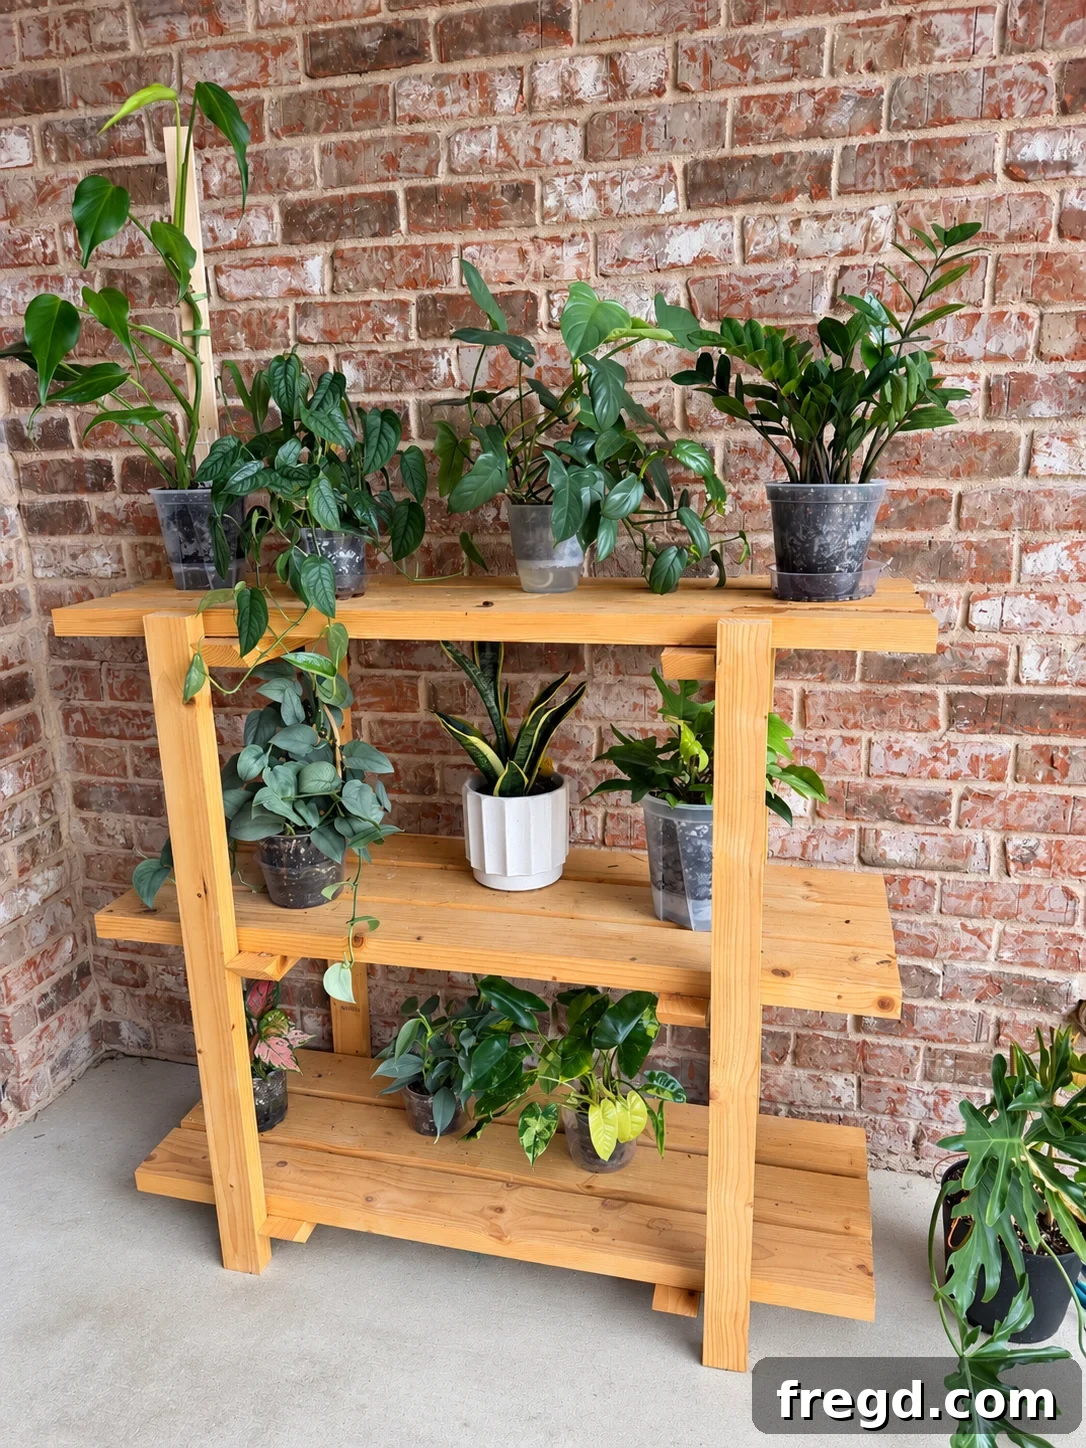
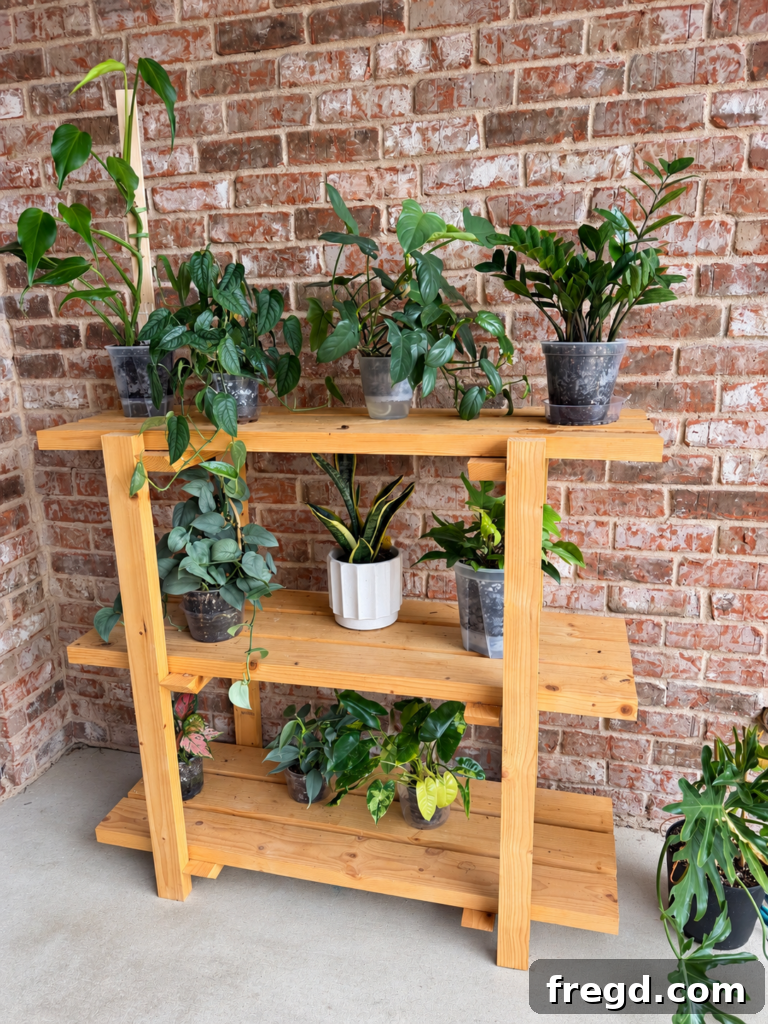
Our home slowly shifted from building furniture for the kids to making pieces for our plant collection. When indoor space ran out, the solution was obvious: build a sturdy, attractive outdoor plant stand. This design uses only seven 2×6 boards, cost under $65 in lumber, and gives three large slatted shelves that handle drainage and heavy pots. It’s durable outside and stylish enough to bring indoors when needed.
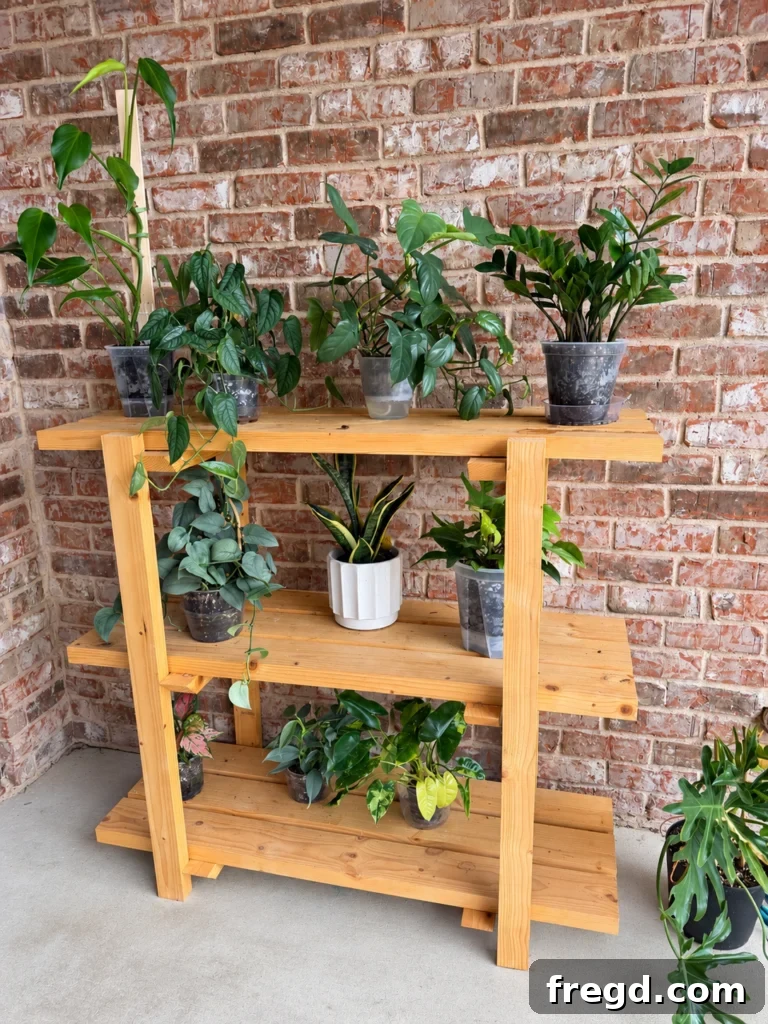
A full build video accompanies this project, and printable plans are available at the end of this post for reference.
Why I Love This DIY Plant Stand
I wanted a compact, functional piece that maximizes plant display without occupying too much floor space.
- Affordable: about $65 in lumber.
- Efficient material use: built from seven 2×6 boards ripped to size.
- Three large slatted shelves to fit plants of varying heights.
- Slatted design prevents water from pooling on the shelves.
- Attractive enough for indoor use as well as outside.
- Versatile: can hold potting supplies, baskets, or pantry items.
- Frees up indoor floor space for more plants.
Tools and Supplies
The printable plans include a complete materials list and cut list. Below are the primary tools and supplies used:
- Seven 2×6 boards
- Pocket-hole jig (for example a 720PRO-style jig)
- Pocket-hole screws (exterior-rated recommended)
- Drill/driver
- Miter saw
- Table saw or ripping tool for resizing boards
- Wood glue
- Countersink or combination bit
- Exterior sealant or finish if used outdoors
How to Build a DIY Outdoor Plant Stand
Below is an overview of the build process. Refer to the printable plans for exact measurements and the full cut list.
Step 1: Rip the 2×6 Boards
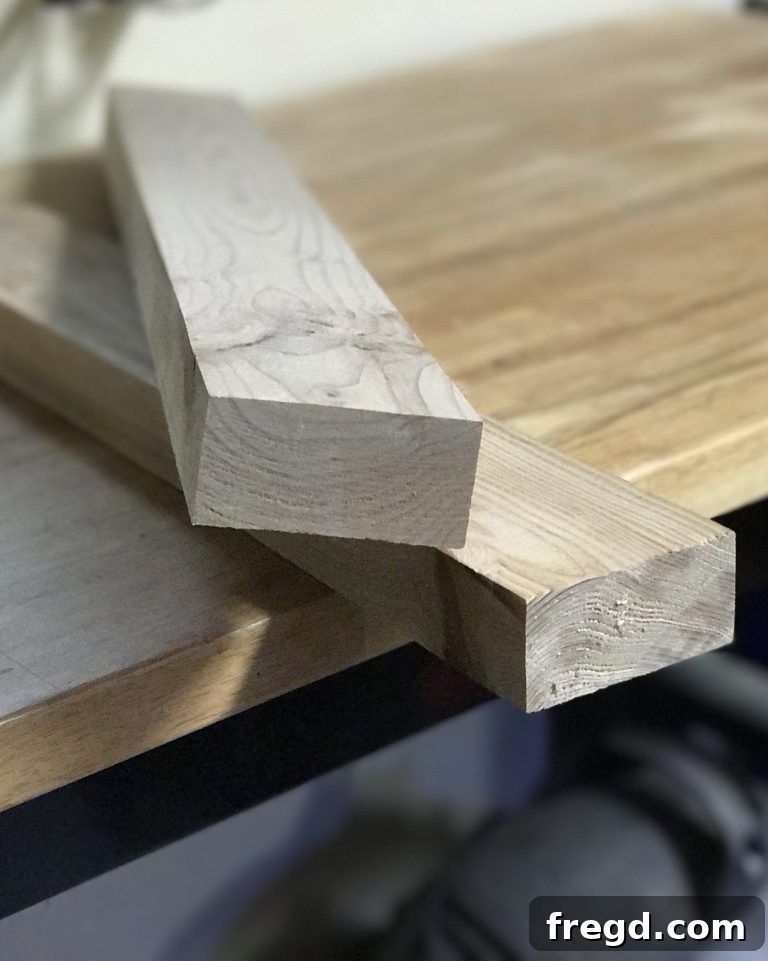
Start by ripping the seven 2×6 boards to the widths specified in the plans. Using 2×6 stock keeps the build economical while providing enough material for legs, rungs, shelf slats, and supports.
Step 2: Drill the Pocket Holes
Drill pocket holes into the ends of each rung. For this design we used 1 1/2″ pocket holes to join the rungs to the legs. Mark the rung locations on each leg to ensure consistent placement when assembling the sides.
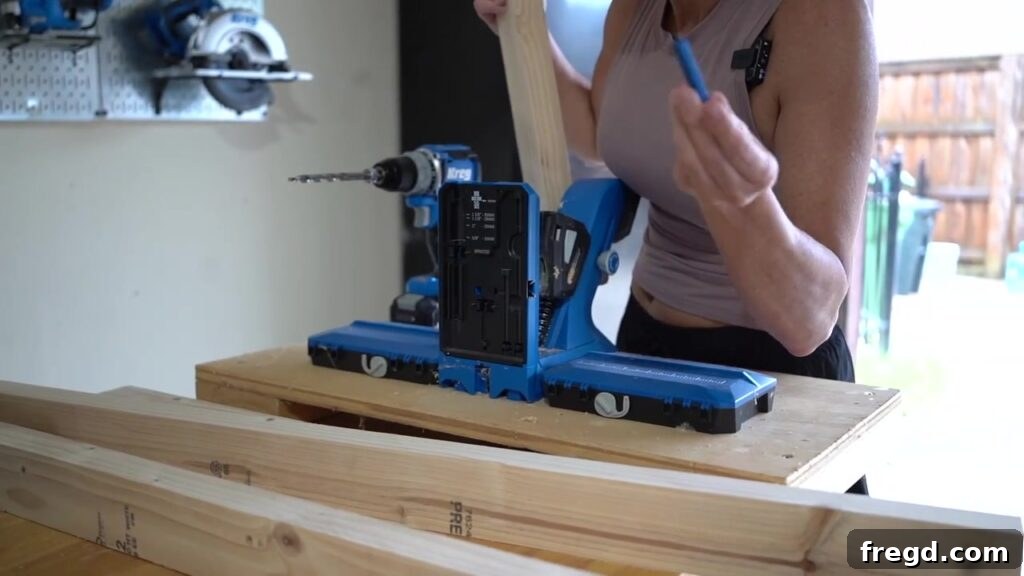
Step 3: Build the Two Side Assemblies
Assemble the two ladder-style side frames by attaching the rungs between the legs. Use wood glue and exterior-rated pocket-hole screws for durability. Build two identical sides and set them aside while you prepare the shelves.
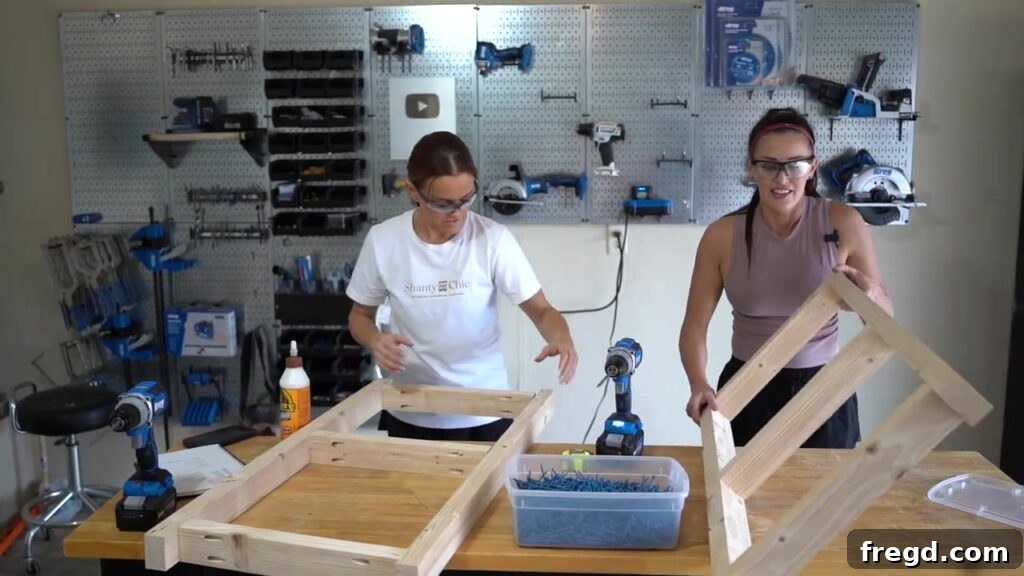
Step 4: Cut the Angled Shelf Supports
Each shelf has two angled supports for strength and visual detail. Cut these from the ripped 2×6 material. Supports measure 18 1/2″ long point to point with 45° angles on each end. Use the first cut support as a template for the rest.
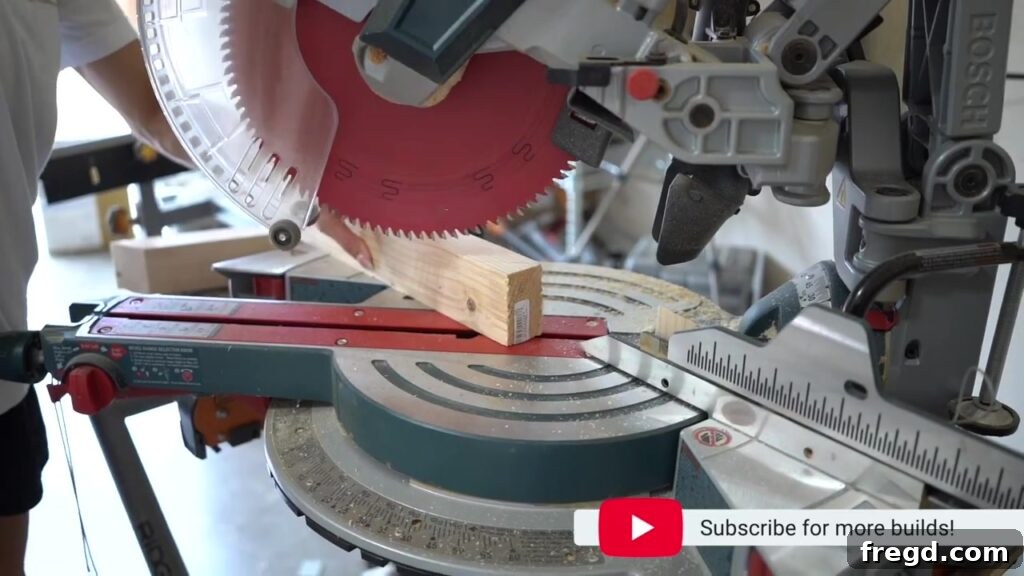
Step 5: Build the Three Slatted Shelves
Construct three identical slatted shelves. Slats allow water to drain through and prevent puddling. Space the slats approximately 3/4″ apart—consistency across each shelf matters more than the exact gap. A scrap spacer helps keep spacing even.
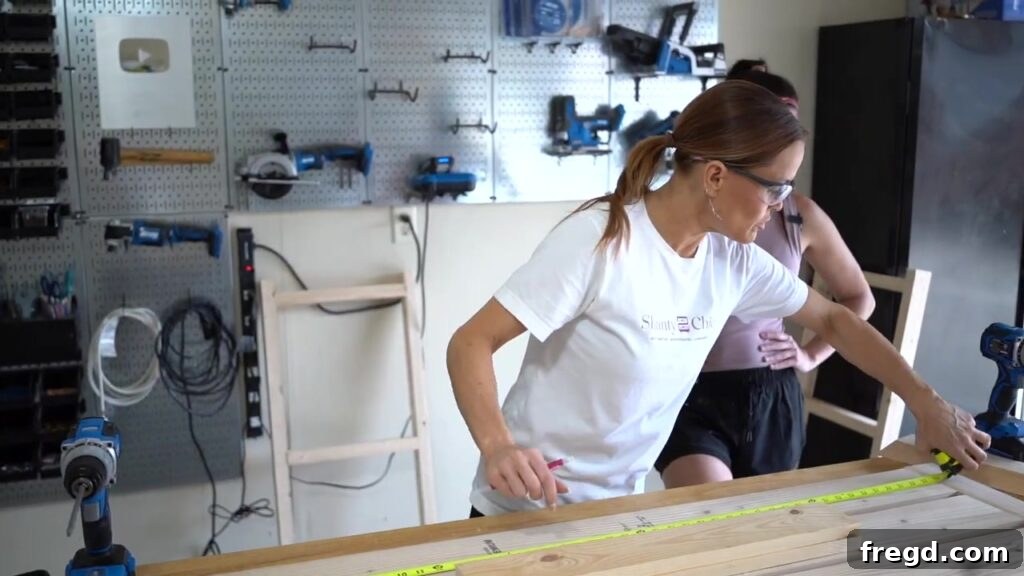
Step 6: Attach the Shelf Supports
Center the shelf supports under the slats and secure them with wood glue and 2 1/2″ screws. Predrill and countersink the holes so fasteners sit below the top surface and remain hidden. Repeat for all three shelves.
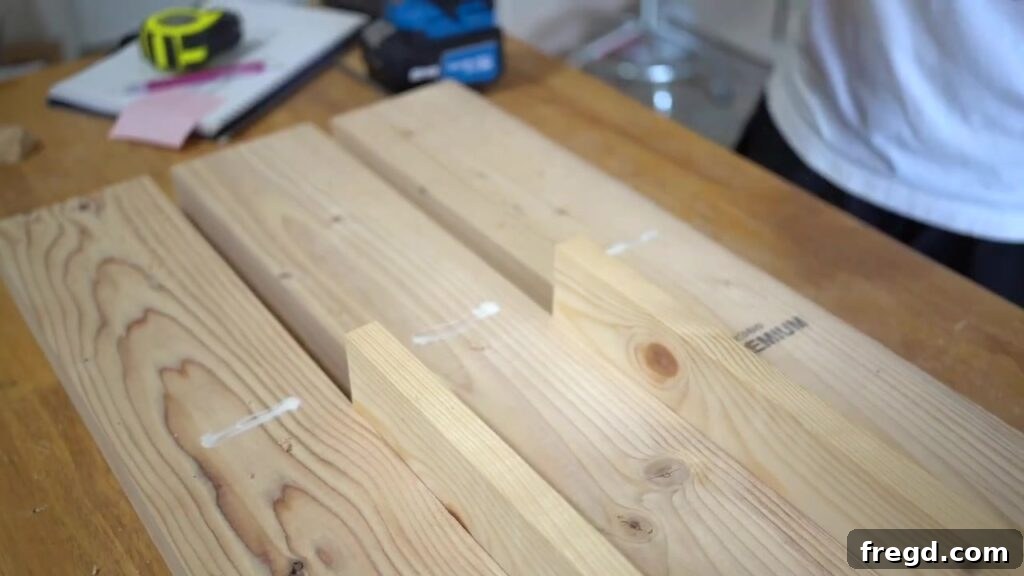
Step 7: Attach the Top Shelf
Apply glue to contact points, position the top shelf between the side assemblies, and fasten with countersunk 2 1/2″ screws. Keep the shelf centered and square before tightening screws.
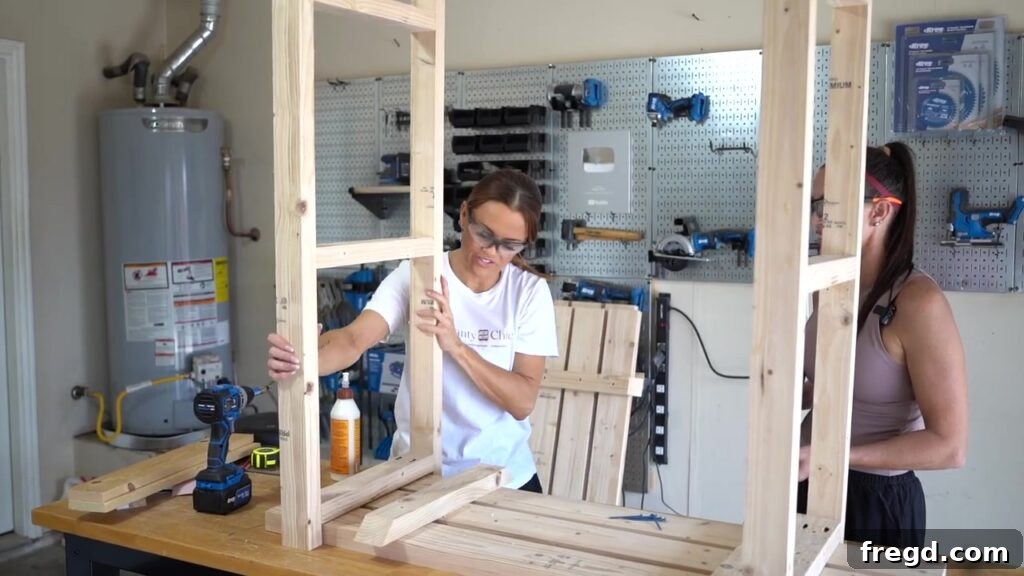
Step 8: Attach the Middle Shelf
Flip the stand as needed, add glue, slide the middle shelf into place, verify alignment, then secure it the same way as the top shelf. Check level and clearance for taller plants before final fastening.
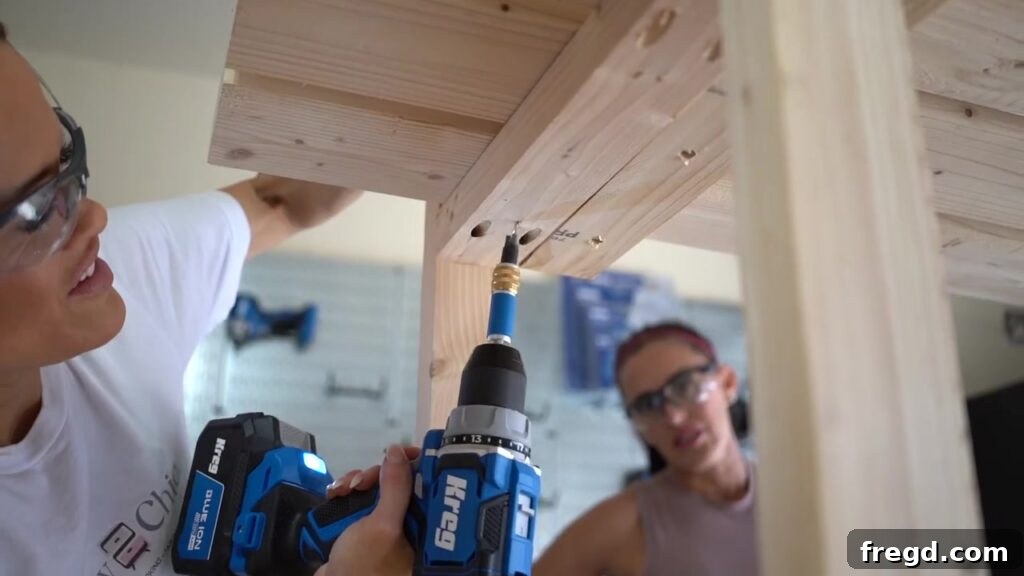
Step 9: Attach the Bottom Shelf
Attach the bottom shelf using glue and screws, aligning it with the bottom rungs per the plans. With the final shelf in place the stand is complete and ready for finishing.
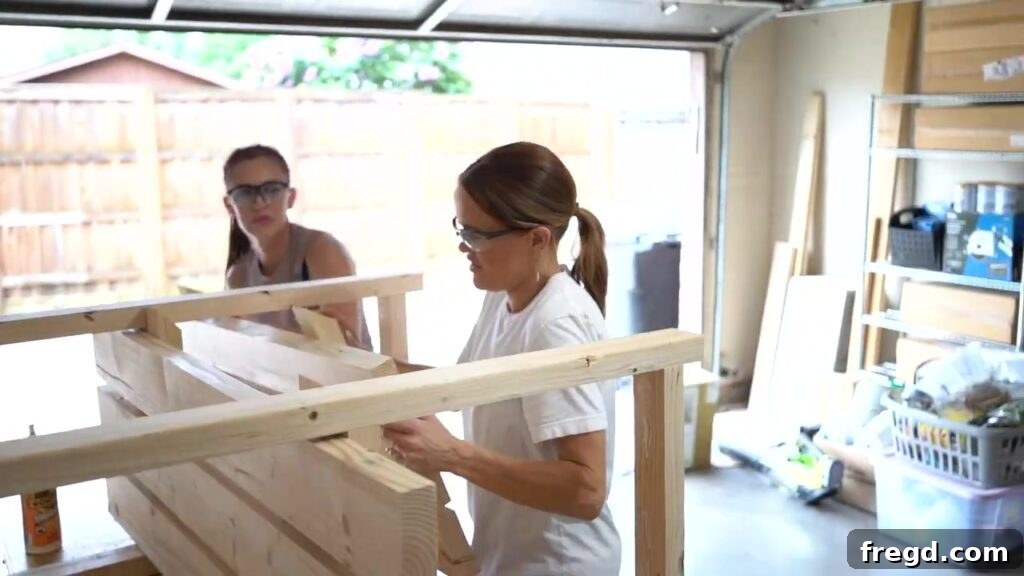
Finishing the Plant Stand
I kept the natural wood look for this build to allow the grain to warm over time, but if the stand will live outdoors use an exterior-rated sealant or finish to protect against moisture and UV. For indoor use you can stain, paint, or leave the wood natural depending on your style.
A Few Tips Before You Build
- Keep spacing consistent: use a spacer to maintain even gaps between slats.
- Match the side assemblies: mark rung locations on both legs before assembly.
- Use exterior-rated fasteners: important for outdoor durability.
- Always use wood glue: glue plus screws gives a stronger joint.
- Countersink screws: it improves the finished look and hides hardware.
Other Ways to Use This Stand
Beyond plants, this stand makes a great potting bench for supplies, extra storage in a garage or mudroom, or a pantry shelf for larger items. The differing shelf heights accommodate taller objects on lower shelves.
Frequently Asked Questions
Can I use this plant stand indoors?
Yes. It’s designed to be attractive enough for indoor use. Choose a finish appropriate to the intended location.
Why slatted shelves?
Slats allow excess water to drain away so water won’t pool on the shelf surface when you water plants.
Do I need specialty tools?
A pocket-hole jig and countersinking tool speed the build, but you can complete this project with standard tools if you predrill and take care with joinery.
Can I resize the stand?
Yes. Changing dimensions will affect shelf and support measurements. Follow the printable plans first unless you’re comfortable modifying the cut list.
FREE DIY Outdoor Plant Stand Plans
Printable plans include the full supply list, cut list, measurements, and step-by-step assembly instructions. Download and print the plans to follow exact dimensions and spacing for a successful build.
This build gained me a lot of new plant real estate and made watering much easier. Happy building—and happy planting!