
DIY Plant Shelf with Free Plans
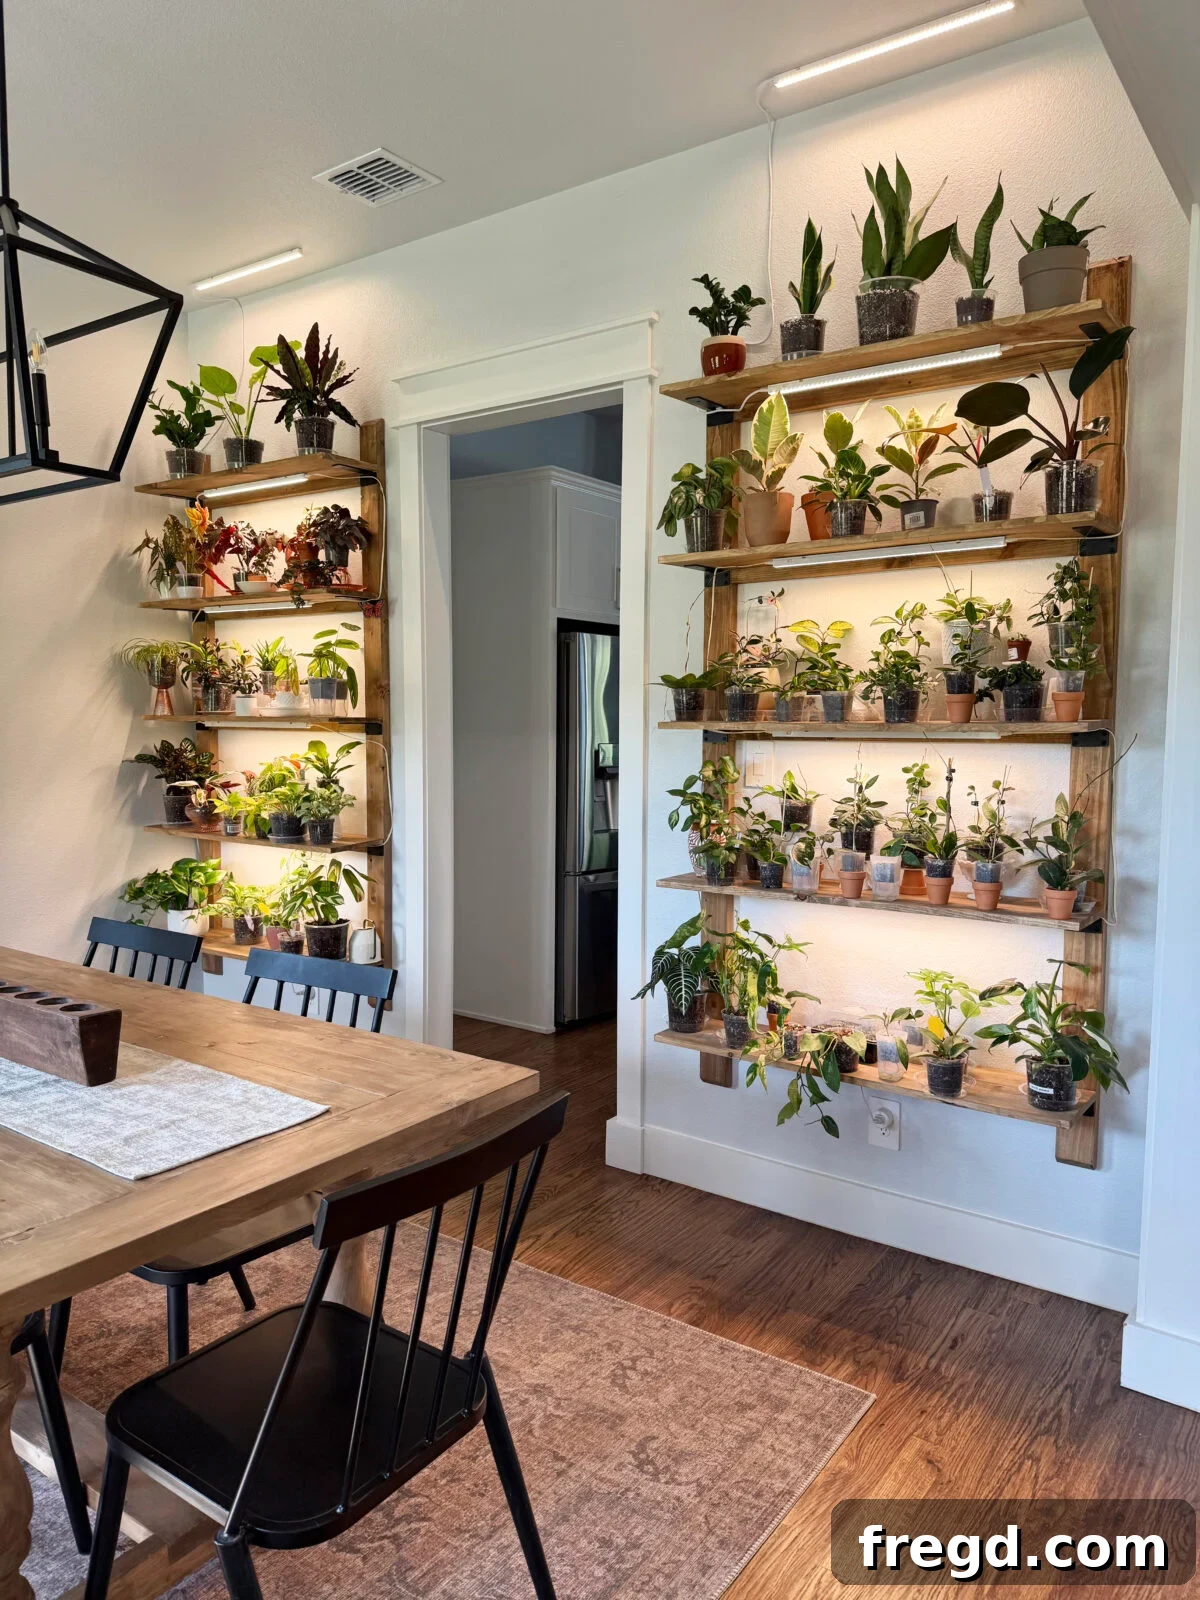
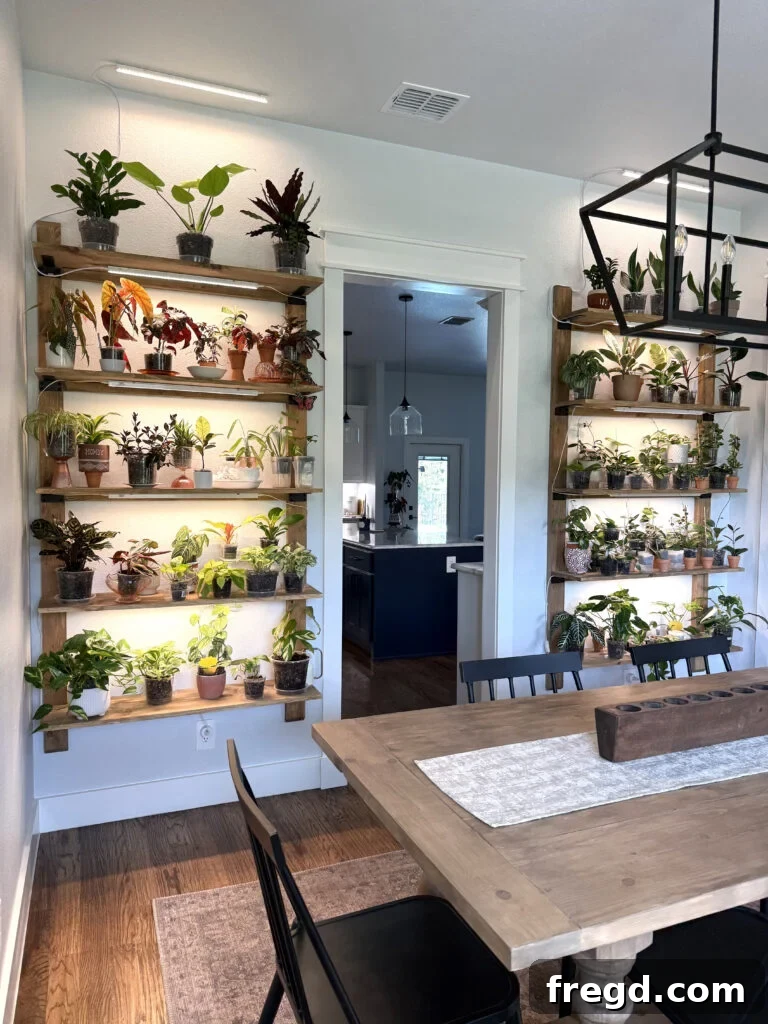
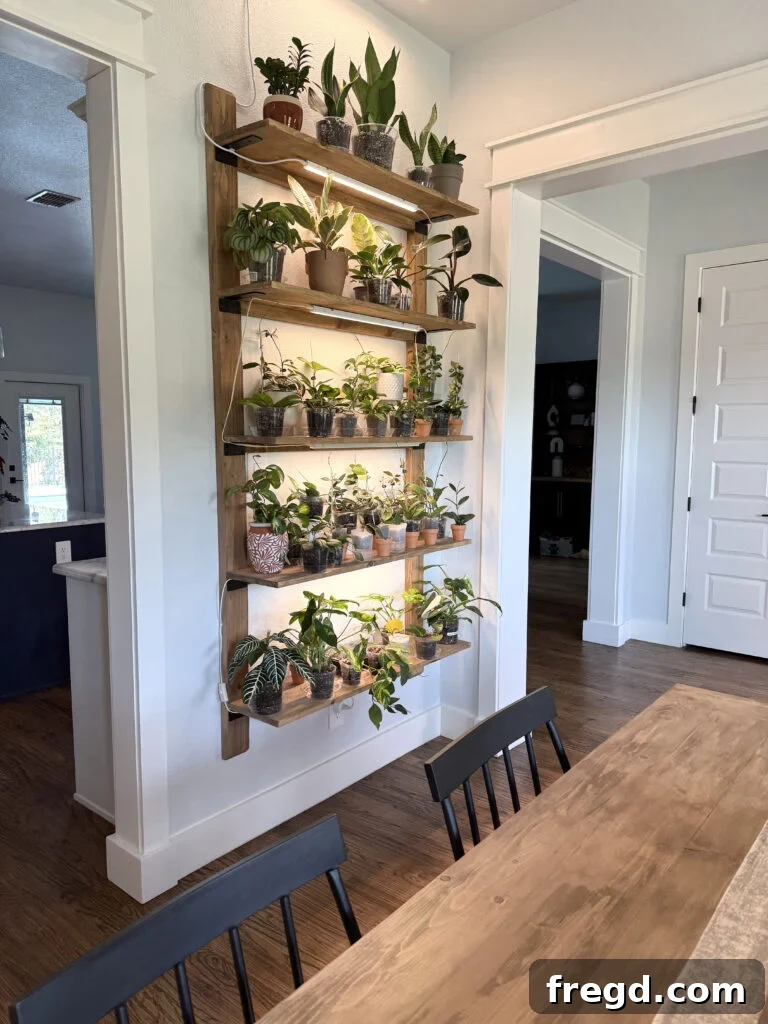
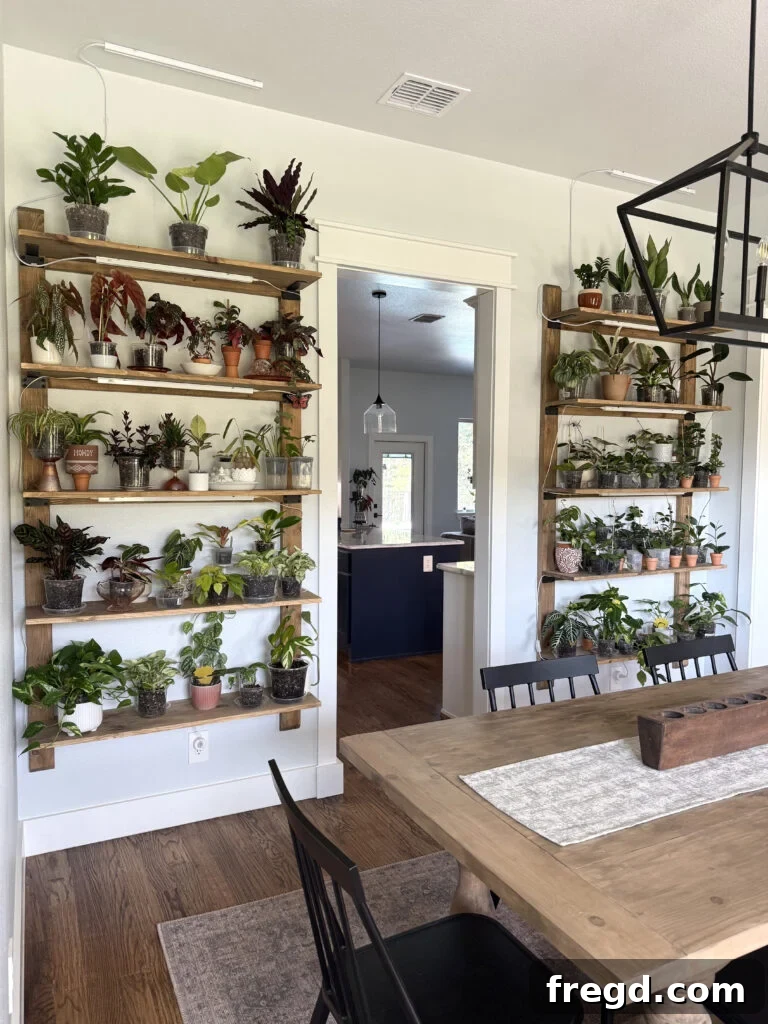
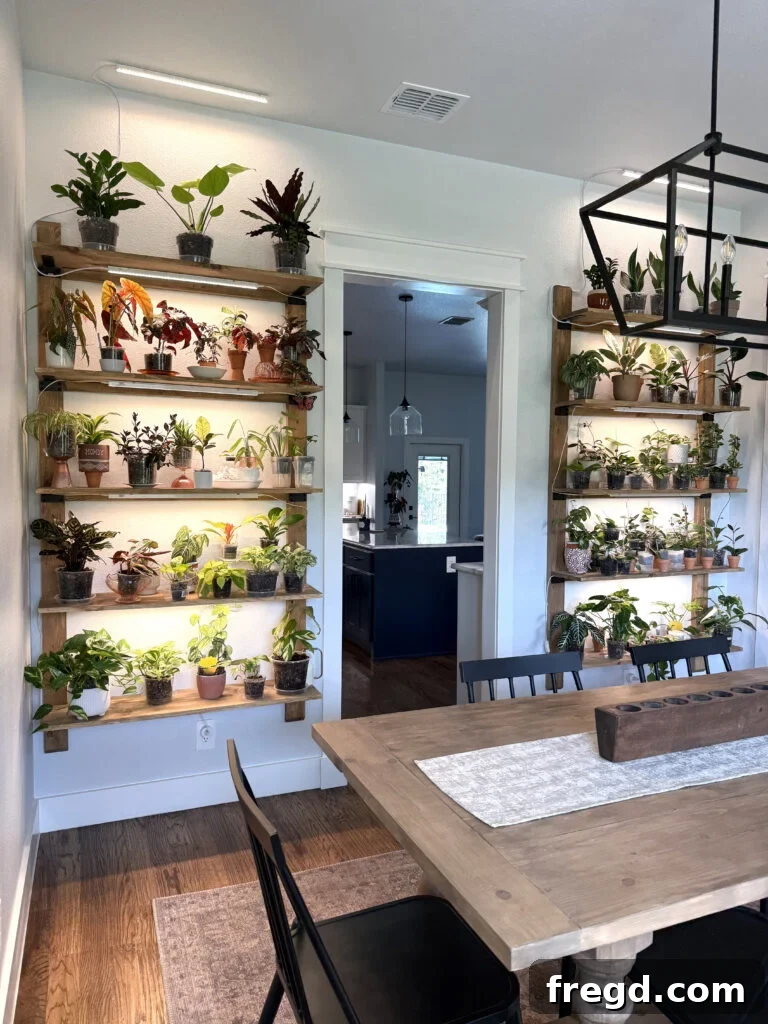
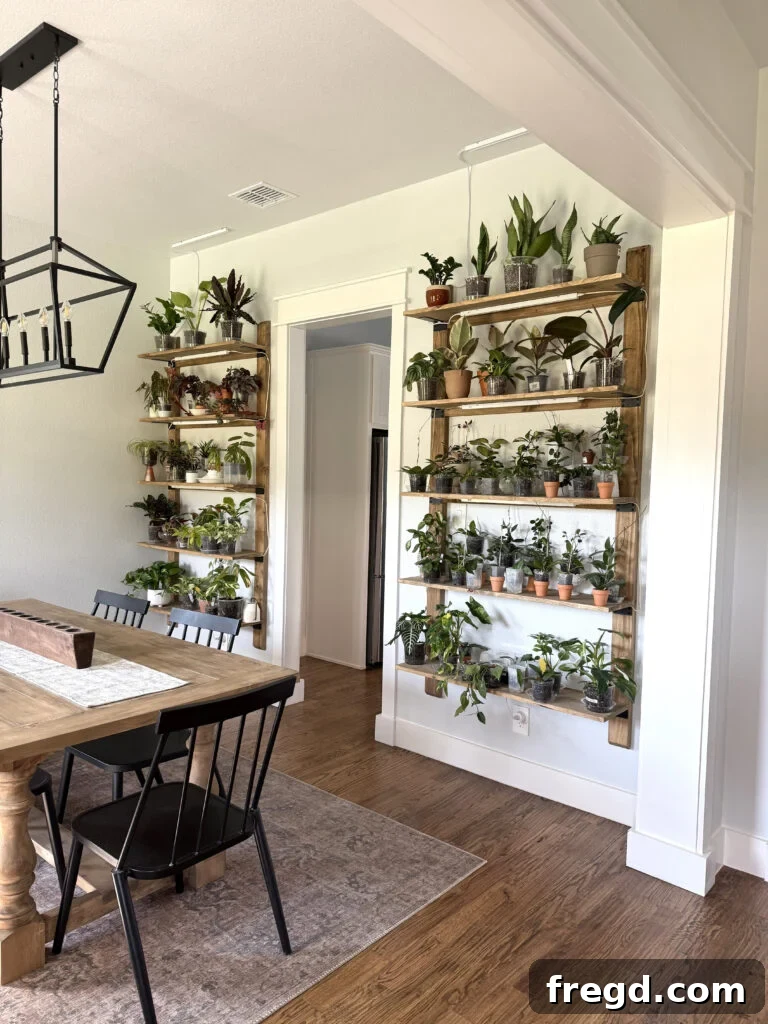
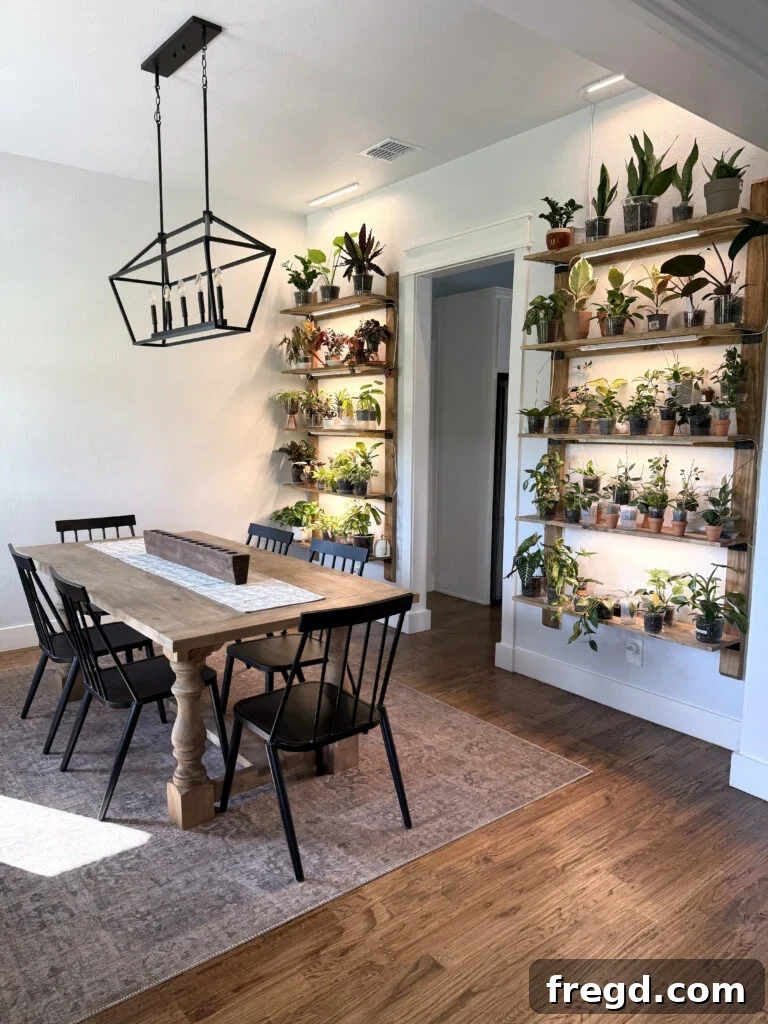
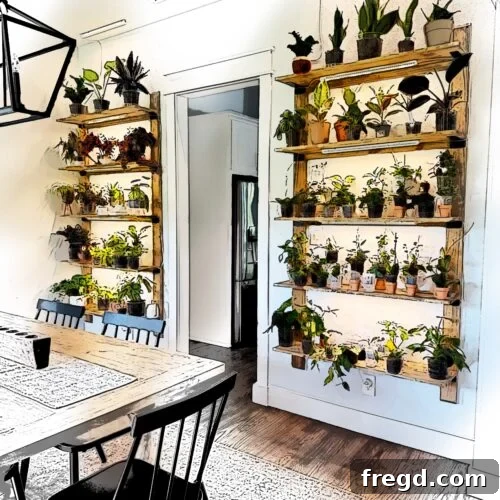
I started collecting houseplants about five months ago, and my collection quickly outgrew the few spots I had available. I needed a place to display them, so I built two matching DIY plant shelf units for each side of my dining room wall.
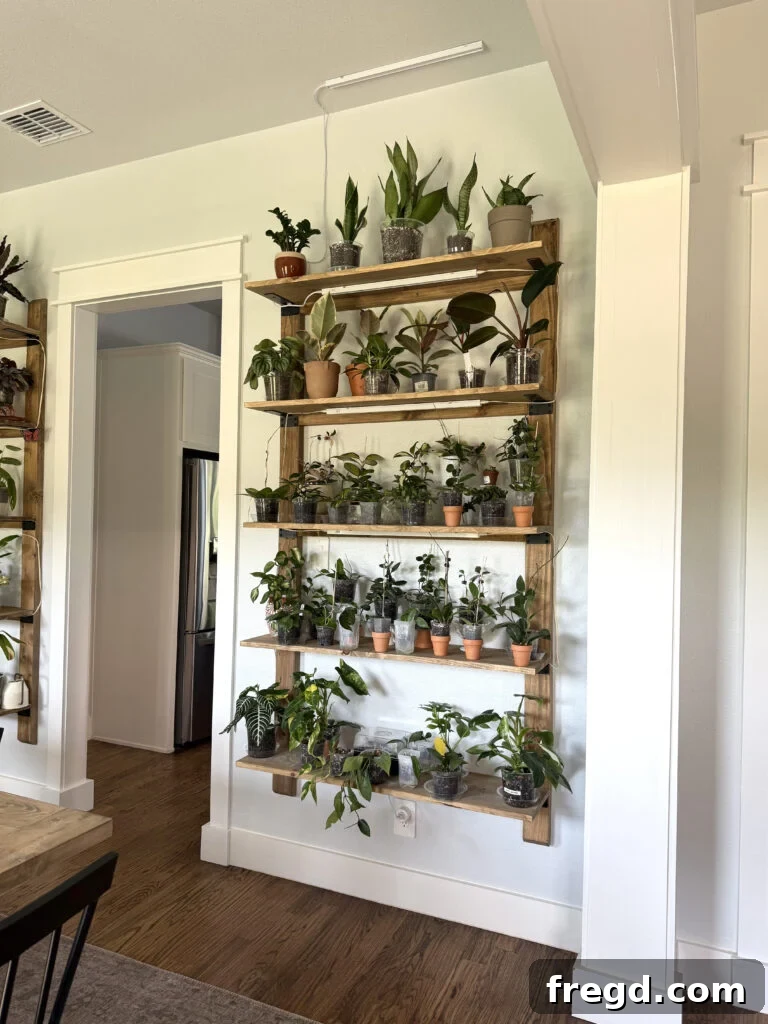
Each unit measures 43 inches long and includes five shelves, giving plenty of room for my growing plant collection. I love how these shelves fill the wall while adding storage and character to the room.
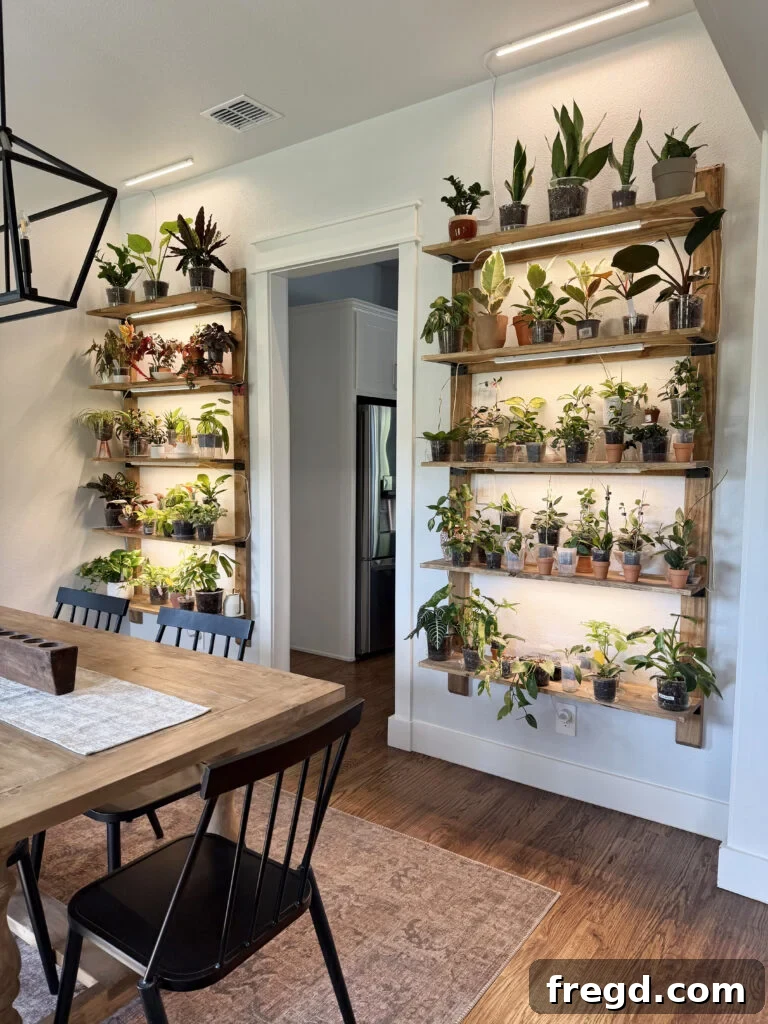
Table of Contents
DIY Wall-Mounted Plant Shelf
These plant shelves are designed to use vertical wall space so you don’t lose any floor area. I built two matching units for balance along my dining room wall, but you can easily build a single unit for a smaller space. The finished units work well for plants, books, plates, framed photos, or other decorative items.
A single five-shelf unit takes about $150 in materials to build, though prices vary by region. The design is straightforward and can be customized with different finishes to match your décor.
Why I Love This Plant Shelf
These shelves solved my display problem while adding a custom feature to the dining room. Key features include:
- Each shelving unit is 43 inches long.
- Five shelves provide ample room for many pots.
- Wall-mounted design keeps the floor clear.
- One complete unit costs around $150 to build.
- The finish is easily customized to suit your room.
- Shelves can hold plants, books, dishes, or decor.
- Optional grow lights can be installed under the shelves for extra light.
I built two matching units to balance the wall, but the design is flexible. Use one unit for a smaller wall, or build multiple units to cover a larger area.
Lumber and Supplies
To build one 43-inch, five-shelf unit you will need the following materials. Quantities below are for a single unit:
- 3 pieces of 2x6x8 framing boards
- 3 pieces of 1x12x8 common boards
- 5 shelf brackets (or 10 if you prefer extra support)
- 2 1/2″ pocket-hole screws
- 3″ wood screws for mounting to studs
- Wood glue
- 2″ brad nails (optional, for temporary holding)
- Stain, paint, or another wood finish
Lumber and hardware costs differ by location, so plan accordingly. If you want two matching units like mine, double these quantities. I used the 2×6 boards for the rails and cleats and the 1×12 boards to create wide, roomy shelves.
Tools
- Kreg pocket-hole jig (or similar)
- Drill
- Miter saw
- Jigsaw
- Sander
- Kreg project blocks or similar supports (optional)
- Brad nailer (optional)
- Stud finder
- Tape measure
- Level
- Table saw (optional)
I used a table saw to remove the factory-rounded edge from the 2×6 boards for cleaner, square rails and cleats, but that step is optional. You can build the shelves using the boards as-is if you don’t have a table saw.
How to Build a DIY Plant Shelf
Below is an overview of the build process. The printable plans and cut list accompany this post if you want a step-by-step reference.
Click here to jump to the free printable plans.
Step 1: Cut the Rails
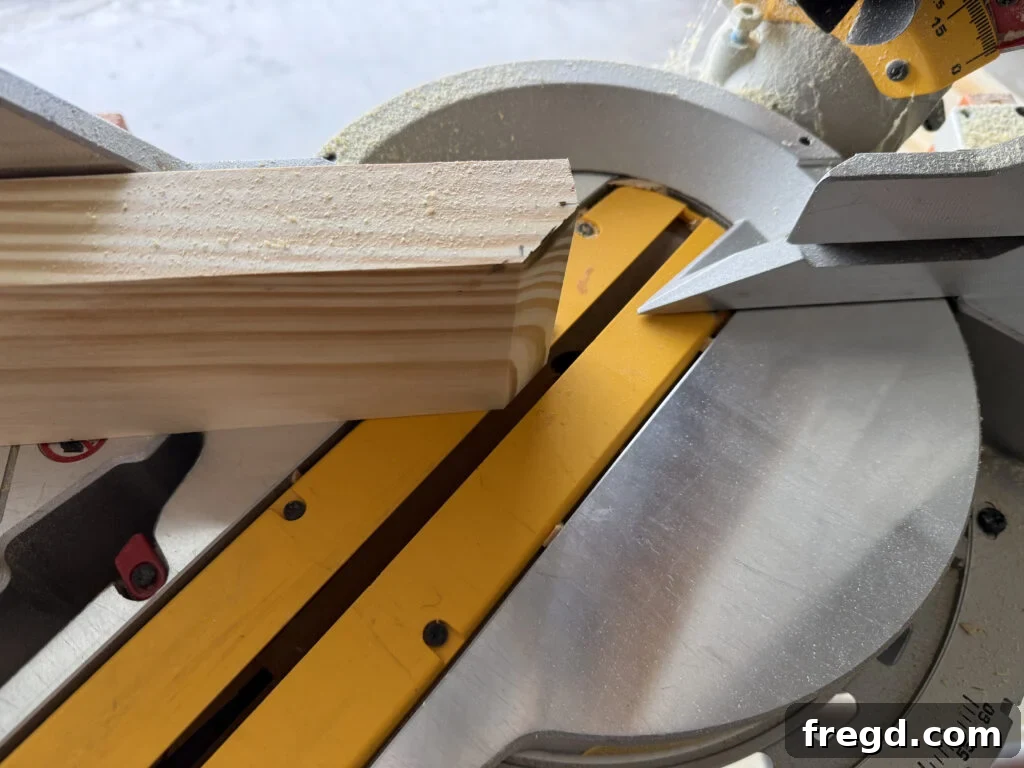
Cut the rails to the dimensions in the plans. Use a miter saw to add a decorative 45° cut across the top corner at each rail end. These angled cuts are for appearance only and do not affect strength. Make sure the decorative cuts align the same way on both rails so the final unit matches on each side.
Step 2: Prepare the Cleats
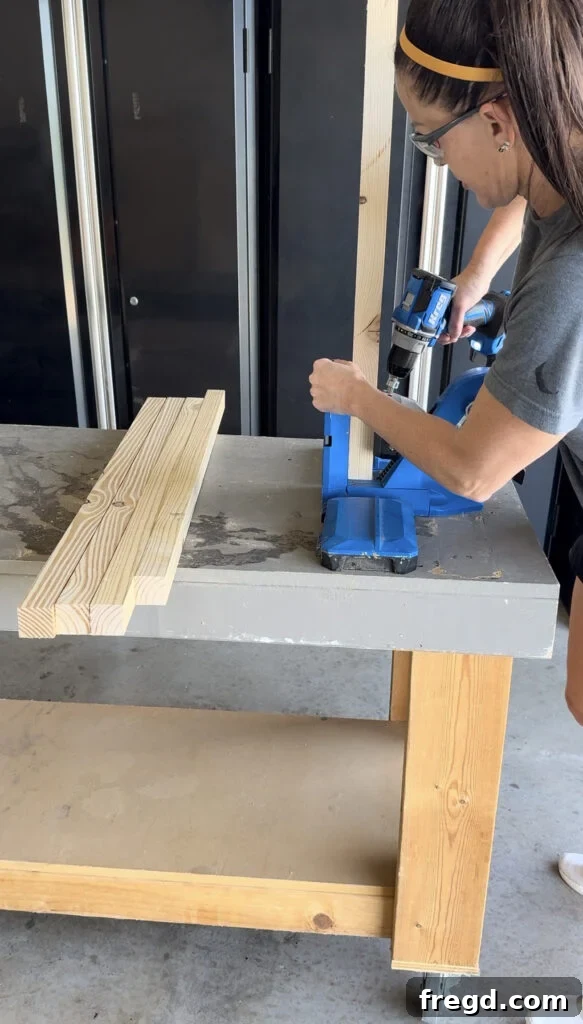
Cut the cleats to size as shown on the cut list. Set your pocket-hole jig for 1 1/2-inch material and drill pocket holes at both ends of each cleat. Position the pocket holes so they will face the back of the finished unit for a clean look.
Step 3: Assemble the Rails and Cleats
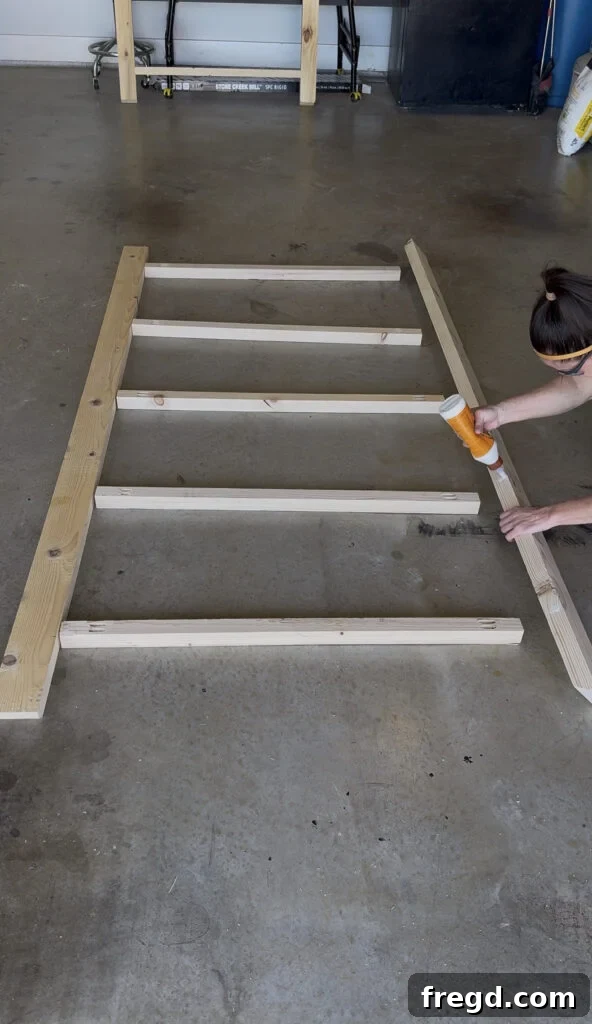
Lay the rails flat with the decorative 45° cuts facing down and the pocket holes facing up. Apply wood glue to both ends of each cleat, position them between the rails, and drive 2 1/2″ pocket-hole screws through the cleats into the rails. Check for square as you assemble; small adjustments are easier before all screws are fully tightened.
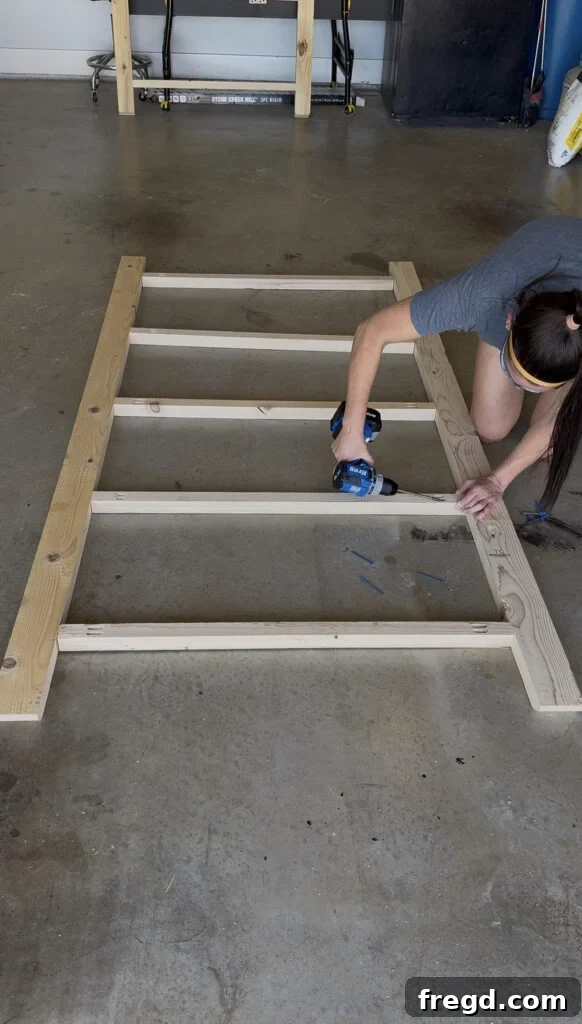
If you’re building two matching units, repeat the assembly steps for the second unit.
Step 4: Cut and Fit the Shelf Boards
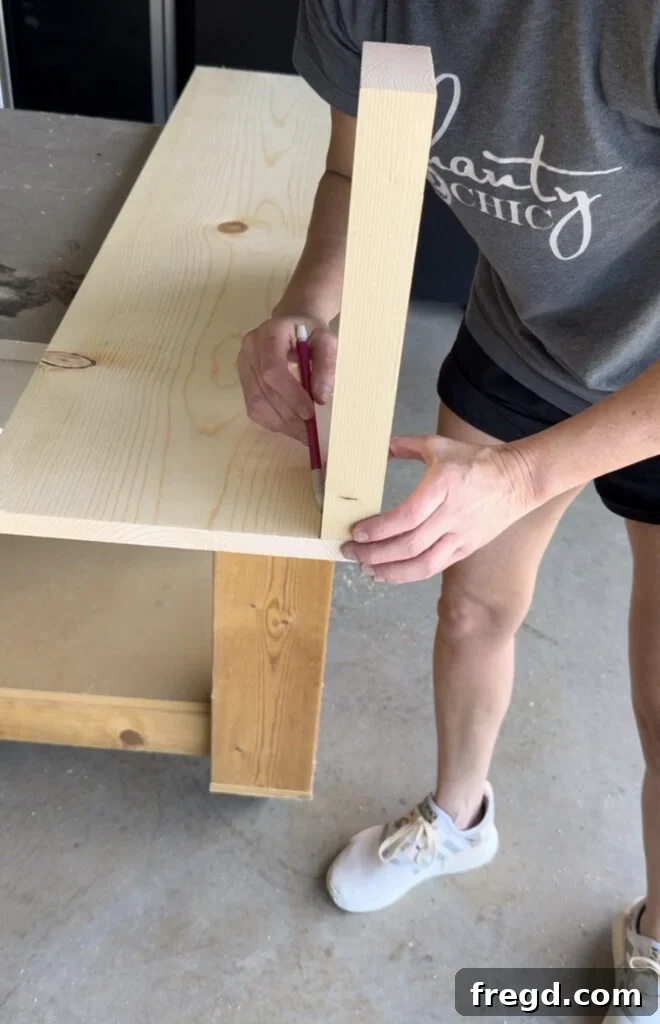
Cut five shelf boards from the 1×12 common boards. Before cutting all pieces, test-fit the first shelf against the assembled frame because actual lumber widths can vary slightly. Mark the back corners of each shelf where they will notch around the rails; a small scrap from a rail works well as a template.
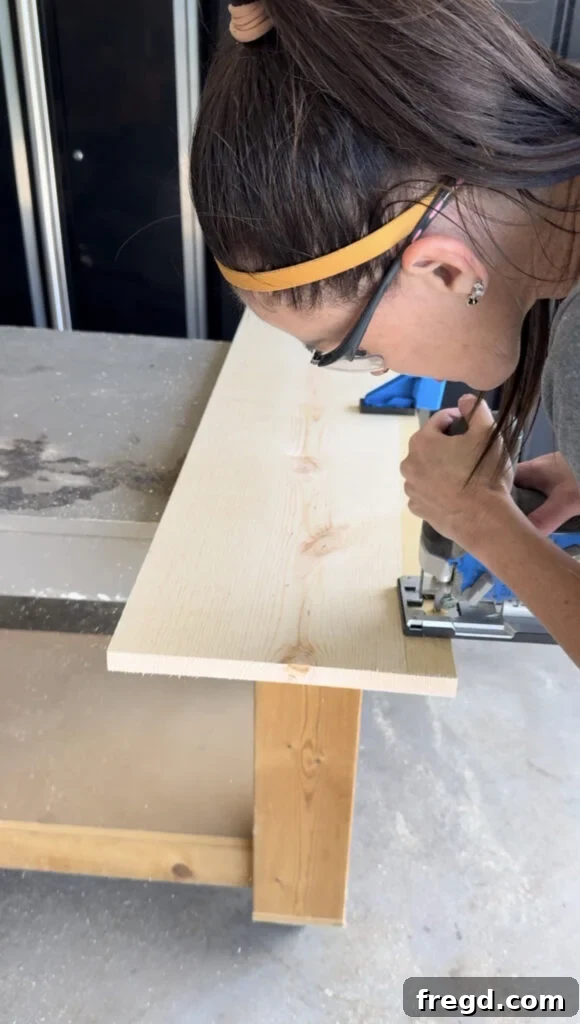
Use a jigsaw to notch both back corners on each shelf. Test-fit and trim as needed; remove small amounts at a time for a precise fit. Each shelf should sit flat on the cleats and fit cleanly around the rails.
Step 5: Sand and Finish the Wood
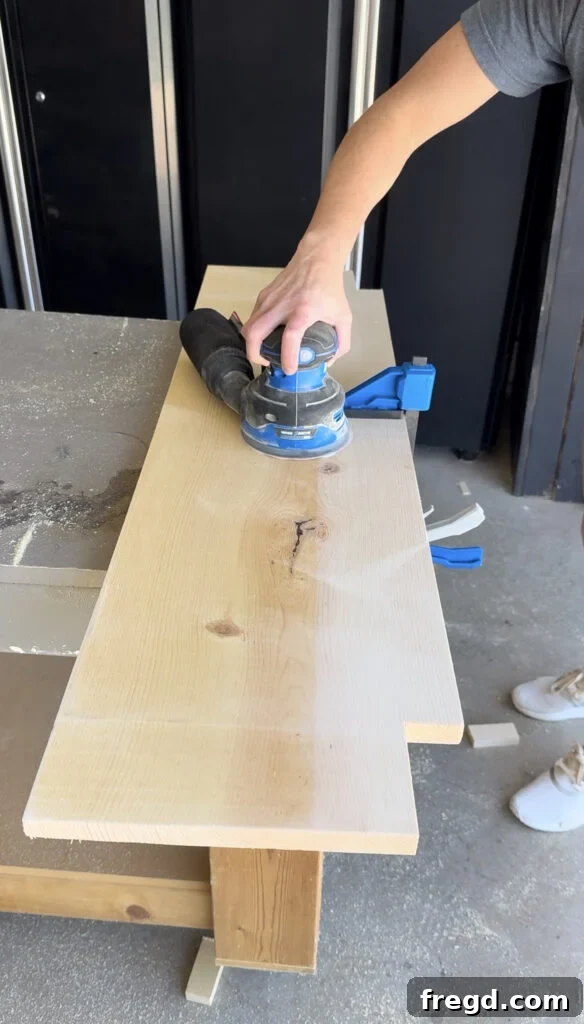
Sand the rails, cleats, and shelf boards before mounting. Remove all sanding dust, then apply the stain, paint, or finish you prefer. Finishing the pieces now makes it easier to reach inside edges, undersides of the shelves, and areas around the cleats for a professional-looking result.

Use blocks or supports to keep the assembly off the ground while finishing. Allow the finish to dry completely before mounting.
Step 6: Mount the Frame to the Wall
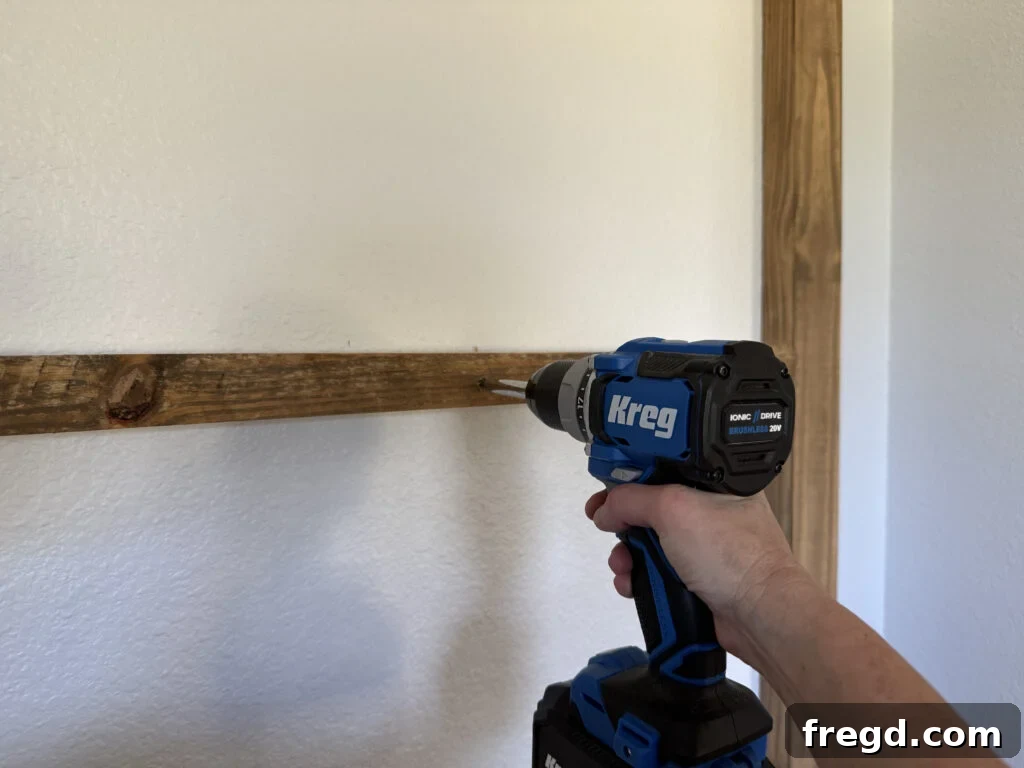
Locate studs with a stud finder and mark their positions. Secure the rail-and-cleat assembly to the wall with 3″ wood screws into studs; I hit two studs on every cleat for solid support. Confirm the assembly is level before tightening all fasteners. Choose mounting hardware appropriate for your wall type and the weight you plan to display. An extra pair of hands makes this step much easier.
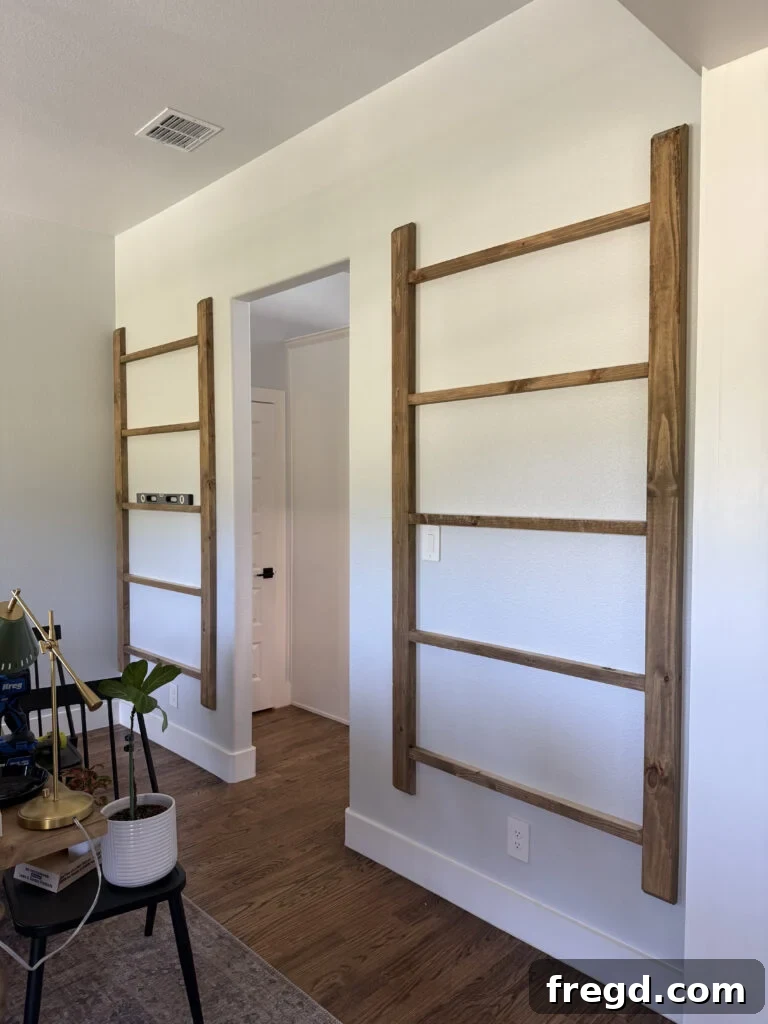
Step 7: Attach the Shelves and Brackets
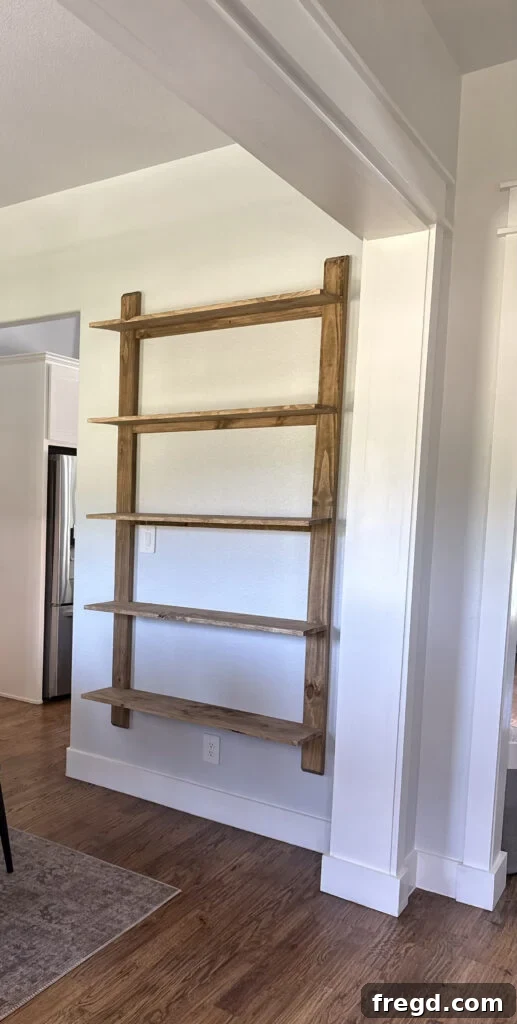
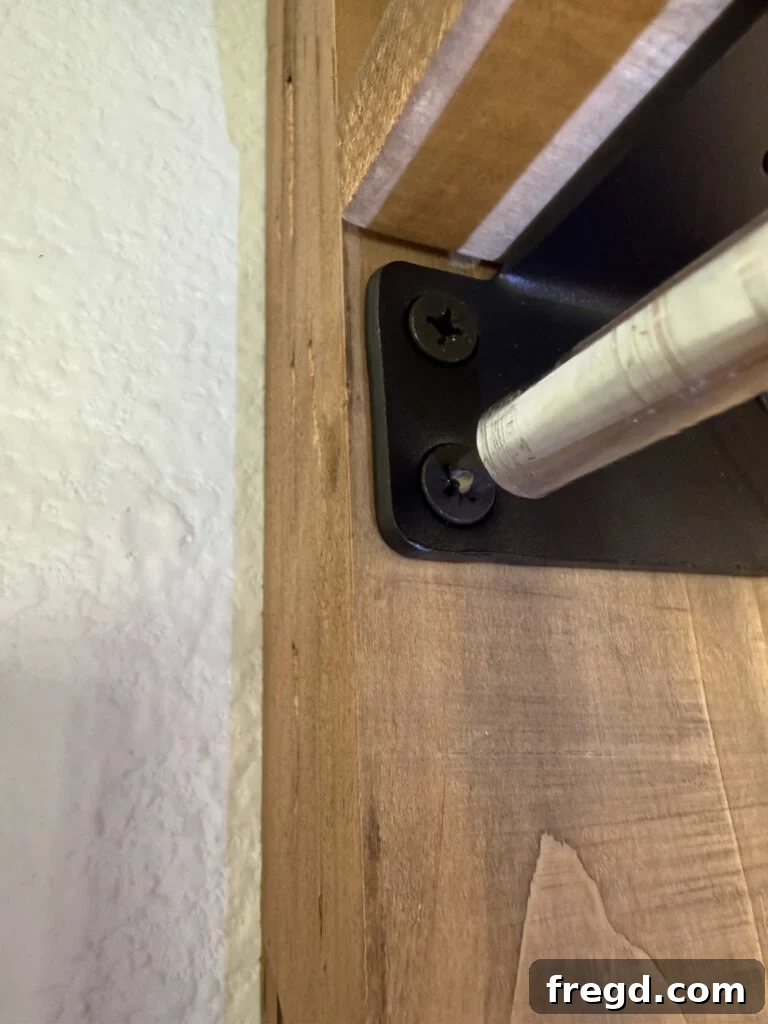
Place each shelf board on its cleats, confirm the fit and level, and temporarily secure the shelves with 2″ brad nails if desired. The brad nails are only temporary; the main support comes from shelf brackets. Install a bracket under each end of every shelf and follow the bracket manufacturer’s instructions for secure attachment.
Optional Plant Grow Lights
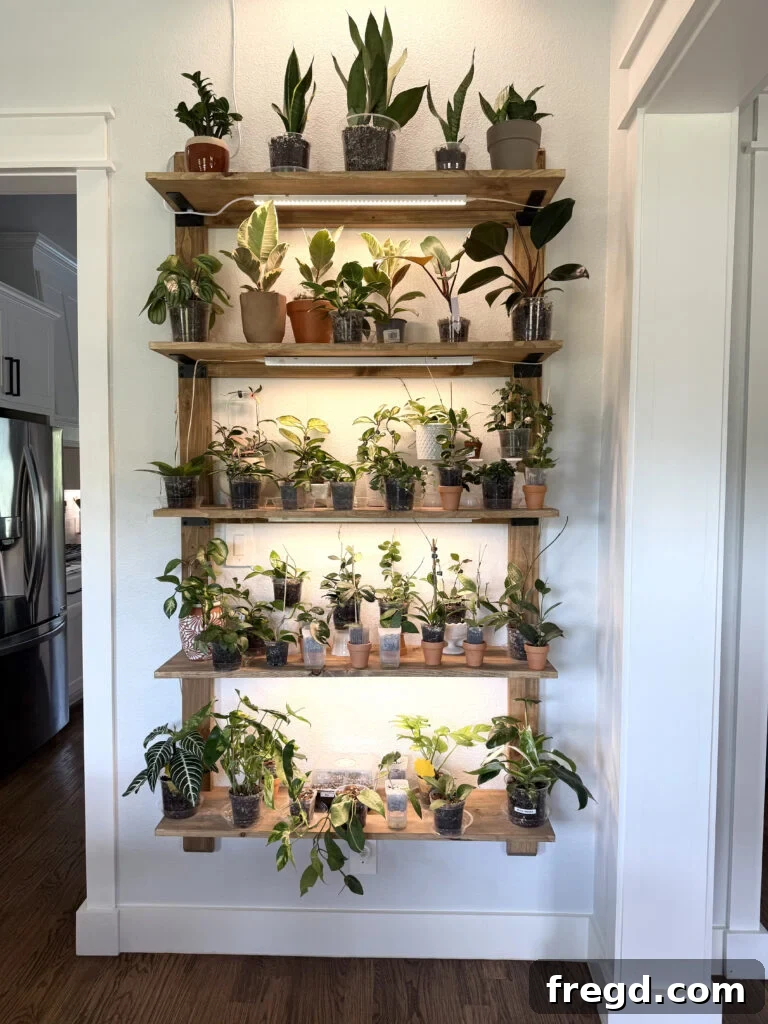
For additional light, I added slim T5 grow lights beneath the shelves. These tuck neatly under each shelf and provide supplemental light for plants that need it. Clip and route cords along the wood to keep them tidy. Installation and placement should follow the grow light manufacturer’s guidelines, and the amount of light needed depends on the plants you display.
Once complete, fill the shelves with your favorite houseplants and enjoy watching them thrive.
Other Ways to Use These Shelves
Although I built these shelves for plants, the design is versatile. Other uses include:
- Wall-mounted bookshelves for a reading nook
- A plate rack in a kitchen or dining area
- Displaying framed photos and decorative objects
- Adding baskets for small items and organization
- Styling with a mix of books, plants, and décor for visual interest
If you change dimensions, shelf spacing, or shelf count, be sure to adjust the cut list, cleat spacing, and mounting hardware to maintain proper support and safety.
DIY Plant Shelf FAQs
How big is each plant shelf unit?
Each shelving unit measures 43 inches long and includes five shelves.
How much does one plant shelf unit cost to build?
I spent about $150 on materials for one five-shelf unit. Costs vary by local lumber prices, finishes, and mounting hardware.
Do I need a table saw?
No. A table saw was useful for removing rounded factory edges from the 2×6 boards, but it is optional. You can build the shelves with the boards in their original condition.
Can I paint the shelves instead of staining them?
Yes. Paint or stain works fine. Apply the finish before mounting the frame and installing the shelves so all surfaces are easy to reach.
Can I build only one shelving unit?
Yes. One unit works well as a stand-alone display on a smaller wall or in another room.
Can these shelves be used for books or decor?
Yes. They can support books, plates, framed pictures, baskets, and other decor. Make sure the unit is mounted appropriately for the items you plan to display.
Can I change the size?
Dimensions can be customized, but changing width, spacing, or number of shelves requires updating the cut list, supports, and wall-mounting hardware for safety.
Do I have to install grow lights?
No. Grow lights are optional and helpful only if your plants require extra light.
More DIY Shelf and Wall Projects
If you like this project, consider exploring other shelf and wall projects for more ideas on adding storage and display space to empty walls. These shelves provide both form and function, and they can be restyled easily with books or décor whenever you want a fresh look.
If you build your own, share a photo and tag @shanty2chic on Instagram or use #shanty2chic so the creator can see your version. Leave questions in the comments of the original post if you need clarification, and enjoy the build.
Happy building! – Ashley
DIY Plant Shelf
Tools
- Kreg Jig
- Miter Saw
- Drill
- Jigsaw
- Sander
- Brad Nailer (optional)
- Table Saw (optional)
- Kreg Project Blocks (optional)
- Kreg Stud Finder (optional)
- Tape Measure
Supplies
- 3 × 2x6x8
- 3 × 1x12x8
- 5 × Shelf Brackets
- 2 1/2″ Pocket Hole Screws
- Wood Glue
- 2″ Brad Nails (optional)
- Stain, paint, or another wood finish
- 3″ Wood Screws for Drywall Mounting
Instructions
Cut List
- Refer to the printable plans for the full cut list and dimensions. Test-fit boards before cutting all identical pieces to account for variations in lumber width.
Building the Frame
- Cut rails to size and add a 45° decorative cut at each top corner. This is cosmetic and not structural.
- Cut cleats to size, drill 1 1/2″ pocket holes at both ends, glue, and attach them to the rails with 2 1/2″ pocket-hole screws. Ensure the assembly is square as you work.
Shelf Assembly and Mounting
- Cut shelf pieces to size, mark and notch the rear corners with a jigsaw so each shelf fits around the rails, and test-fit each shelf on the frame.
- Sand and finish all pieces, allow the finish to dry, and then mount the rail-and-cleat assembly to wall studs using appropriate screws. Confirm the unit is level before final fastening.
Installing the Brackets
- Place each shelf on its cleats, temporarily secure with brad nails if needed, then install a shelf bracket under each end following the manufacturer’s instructions for the brackets you choose.
The Finish
- Style the shelves with plants, books, or décor. Share your finished project on social media if you’d like—it’s always fun to see variations on the design.