
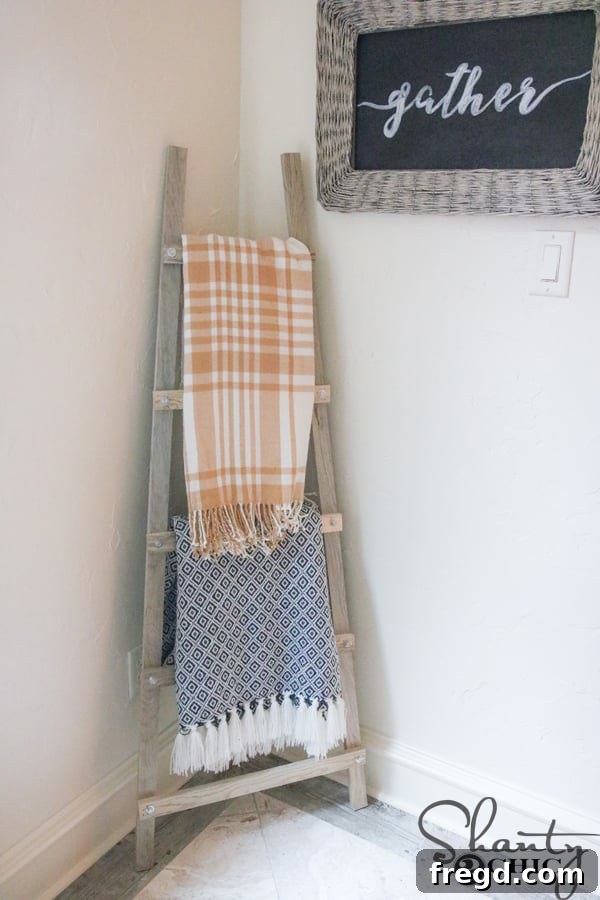
Transform your living space and bring order to scattered blankets with this incredibly simple and stylish DIY Blanket Ladder! Perfect for beginners, this project requires minimal tools and can be built for around $10 in lumber. Say goodbye to messy throws and hello to a chic, functional piece of home decor you’ll be proud to display.
This tutorial is designed to guide you through every step, ensuring a smooth and rewarding building experience. Even if you’re new to woodworking, you’ll find this project approachable and fun. We’ll show you how to construct a beautiful blanket ladder using just three essential tools, making it an ideal starter project for anyone looking to dip their toes into DIY furniture building.
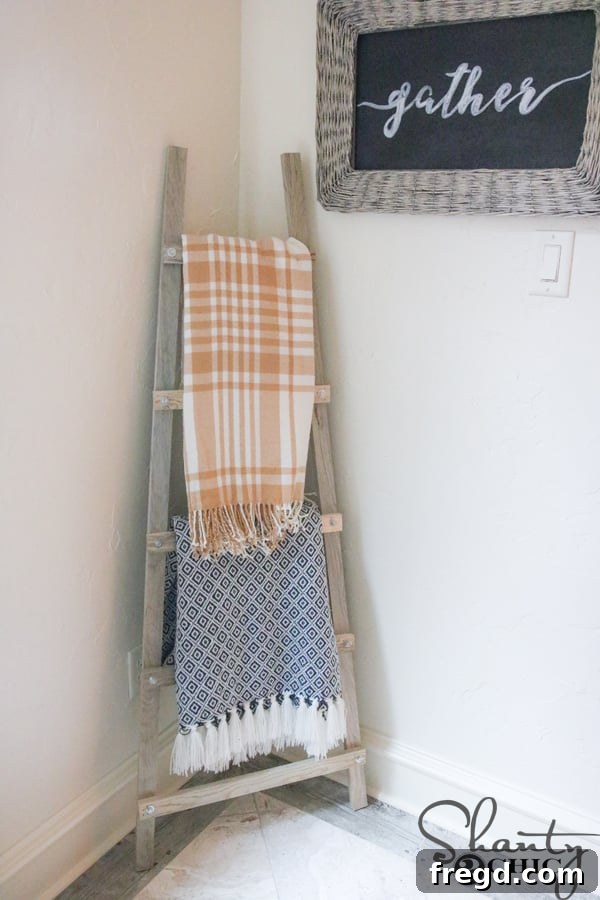
No more throw blankets and quilts cluttering your sofas or floors! This DIY blanket ladder offers an elegant solution for organizing your textiles while adding a touch of rustic or modern charm to any room. It’s not just practical; it’s a statement piece that enhances your home’s aesthetic. Follow along with our detailed instructions and accompanying video to see just how straightforward it is to build your own!
Isn’t it amazing how simple this project is? To ensure you have all the necessary details, you can download the free plans HERE. These comprehensive plans will provide specific measurements and additional guidance to help you along. Once you have your plans, join us in the step-by-step guide below to bring your DIY blanket ladder to life!
How to Build a DIY Blanket Ladder: An Easy Guide for Beginners
Table of Contents
Why Build Your Own Blanket Ladder?
Beyond the satisfaction of a DIY project, creating your own blanket ladder offers numerous advantages. Firstly, it’s incredibly cost-effective. Compared to purchasing a ready-made ladder from a retail store, which can easily cost upwards of $50-$100, building one yourself for just $10 in lumber is a significant saving. Secondly, it allows for complete customization. You can choose the exact type of wood, dimensions, and finish that perfectly matches your home’s decor, whether you’re aiming for a rustic farmhouse look, a sleek modern vibe, or something in between.
Functionally, a blanket ladder is a brilliant solution for keeping throw blankets, quilts, and even towels or magazines neatly organized and off the floor. It prevents clutter while ensuring your favorite cozies are always within reach. Aesthetically, it serves as a beautiful decorative element, adding warmth, texture, and visual interest to any room, be it your living room, bedroom, or even a guest room.
Essential Tools for Your DIY Project
One of the best aspects of this project is its minimal tool requirement. You only need three core tools, making it accessible even for those with a modest workshop. These tools are the foundation for many beginner-friendly woodworking projects, so investing in them can open up a world of DIY possibilities.
- 18-Volt Miter Saw: This is our primary tool for making precise, straight cuts on your lumber. It ensures that your ladder pieces are accurately sized and perfectly square, which is crucial for a professional-looking finish. If you don’t own a miter saw, a circular saw can be used as an alternative, though it might require a bit more attention to achieve perfectly straight cuts. Always prioritize safety when operating power saws, wearing appropriate eye and ear protection.
- 18-Volt Brad Nailer: This tool significantly speeds up the assembly process, securely fastening the ladder rungs to the side rails with small, discreet nails. It creates strong joints quickly and efficiently. For those without a brad nailer, a drill with wood screws can serve as an excellent substitute, providing robust connections.
- 18-Volt Drill: Essential for pre-drilling pilot holes (especially if using screws or optional hardware) and driving fasteners. Paired with the right drill bits and attachments, it’s a versatile tool for any DIY enthusiast.
Having these three tools will equip you to tackle not just this blanket ladder, but many other simple home projects with confidence.
Materials You’ll Need
Gathering your materials beforehand ensures a smooth building process. Here’s a general list of what you’ll need, keeping in mind the exact dimensions will be specified in the free plans:
- Lumber: Typically, two long pieces for the side rails (e.g., 2×3 or 2×4 boards) and several shorter pieces for the rungs (e.g., 1×3 or 1×4 boards). The total cost for this lumber can be as low as $10, depending on wood type and local prices.
- Wood Glue: A strong adhesive crucial for reinforcing the joints between the rungs and side rails.
- Brad Nails: If using a brad nailer, 1 1/4-inch brad nails are ideal for securing the rungs.
- Wood Screws: If using a drill instead of a brad nailer, choose appropriate length wood screws (e.g., 1 1/2 to 2 inches) to ensure a strong hold.
- Sandpaper: Various grits (e.g., 120-grit, 220-grit) for smoothing the wood before finishing.
- Optional Finishing Supplies: Wood stain, paint, or a protective topcoat (like polyurethane or wax) to achieve your desired look.
- Optional Hardware: 10 hex screws and 10 washers (refer to later steps for details), along with a hex drill bit or a 3/4-inch nut driver.
Step 1: Making Precise Cuts
The first and most critical step in building your blanket ladder is making accurate cuts. Precision here will ensure your ladder stands straight and looks professional. Begin by carefully marking your lumber according to the dimensions provided in the free plans. You’ll typically need two longer pieces for the vertical side rails and several shorter pieces for the horizontal rungs.
Using your 18-Volt Miter Saw, make all the necessary cuts. A miter saw allows for quick and extremely accurate crosscuts, ensuring that each piece is cut perfectly square. If you’re using a circular saw, take extra care to measure twice and cut once, using a speed square or a straight edge guide to maintain accuracy. Make sure all edges are clean and free of splinters. This initial step of precise cutting lays the foundation for a sturdy and aesthetically pleasing blanket ladder.
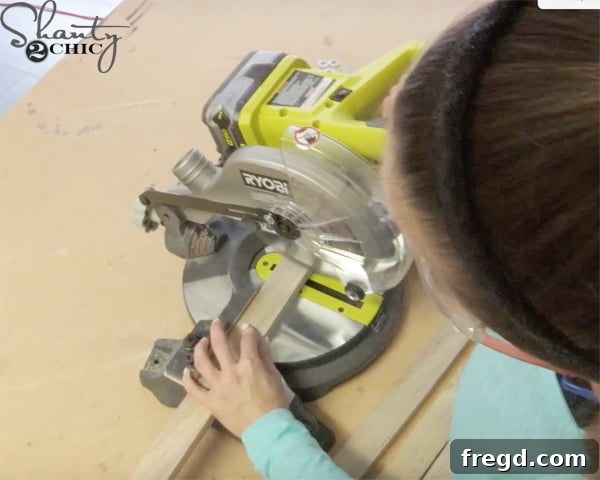
Step 2: Applying Wood Glue for Strength
Once all your lumber pieces are cut, the next step involves preparing the rungs for attachment to the side rails. Wood glue is an indispensable component in woodworking, as it significantly enhances the strength and durability of your joints. Even when using nails or screws, glue provides a long-lasting bond that prevents the wood from shifting or loosening over time.
Apply a thin, even bead of wood glue to each end of the rungs where they will meet the side rails. Don’t overdo it, as excessive glue can squeeze out and create a mess that’s difficult to clean up, especially before staining. The goal is to create a complete surface contact with the glue. This simple step is vital for the overall stability and longevity of your DIY blanket ladder.
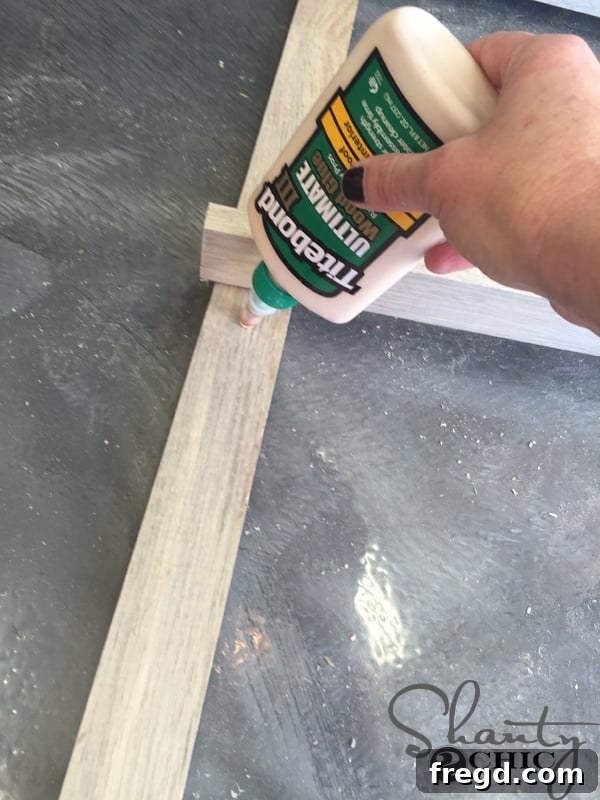
Step 3: Assembling the Ladder Frame
With the wood glue applied, it’s time to assemble the main structure of your blanket ladder. This step involves attaching the rungs to the side rails, which you’ll do using your 18-Volt Brad Nailer. Refer to your free plans for the precise placement of each rung along the side rails. Consistent spacing is key for both aesthetics and functionality.
When attaching the rungs, you’ll notice a subtle design detail: a slight overhang on the top edge of the rungs relative to the side rails. This intentional design choice makes the ladder slightly narrower towards the top, giving it a sleek, modern, and visually appealing profile. Use 1 1/4-inch brad nails, driving them securely through the side rails into the ends of the rungs. If you’re opting for wood screws instead of a brad nailer, make sure to pre-drill pilot holes to prevent the wood from splitting, then drive your wood screws into place. Work methodically from top to bottom, ensuring each rung is level and securely fastened before moving to the next. Clamps can be incredibly helpful here to hold the pieces in place while you fasten them.
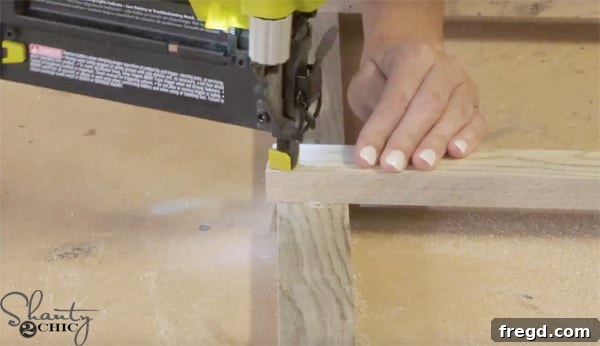
At this point, your ladder’s main structure is complete. We chose to leave our ladder with its natural look, appreciating the unique character of the blue beetle pine boards. However, this is the perfect stage to apply your chosen finish if you desire. Whether you prefer a rich wood stain, a vibrant paint color, or a distressed look, now is the time to prepare and apply it.
Step 4: The Finishing Touch: Sanding and Sealing
Before any final decorative hardware, ensure your ladder is ready for its prime. Sanding is a crucial step that smooths out any rough edges, removes pencil marks, and prepares the wood surface for an even finish. Start with a medium-grit sandpaper (like 120-grit) to smooth out saw marks and imperfections, then move to a finer grit (like 220-grit) for a silky-smooth feel. Always sand with the grain of the wood.
After sanding, wipe down the entire ladder with a tack cloth to remove all dust. Now you can apply your chosen finish. If you’re staining, follow the product instructions for application and drying times, wiping off any excess for an even color. If painting, apply thin, even coats, allowing sufficient drying time between each. Finally, consider applying a protective topcoat like polyurethane or a clear wax. This will seal the wood, protect it from wear and tear, and make it easier to clean. A well-finished ladder not only looks better but will also last longer and prevent snagging your precious blankets.
Optional Hardware for Enhanced Style
While the blanket ladder is functional and beautiful on its own, adding hardware can elevate its character and create a more robust, industrial, or farmhouse aesthetic. This step is entirely optional but adds a charming detail with minimal extra cost. For this enhancement, you will need 10 hex screws and 10 corresponding washers.
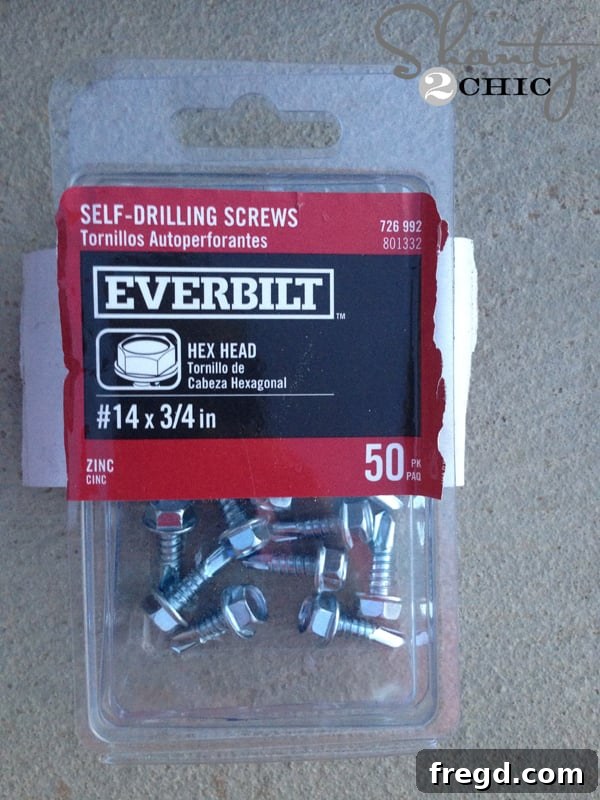
These hardware pieces can typically be found at your local hardware store. The hex screws add a decorative touch that mimics robust fasteners, enhancing the overall sturdy appearance of the ladder. Make sure to select hex screws that are proportionate to the size of your ladder.
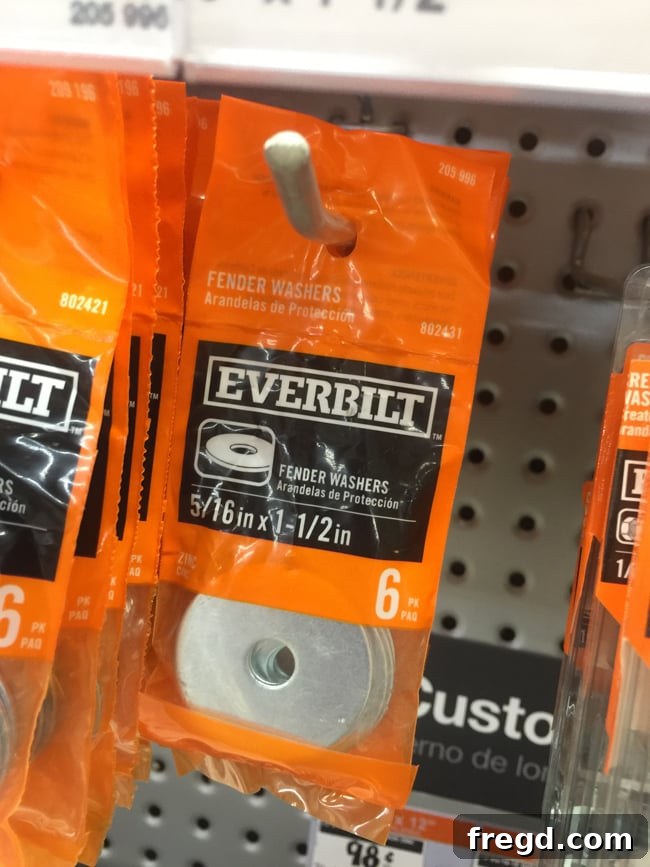
Don’t forget the washers! These small but important components sit beneath the head of the hex screw, protecting the wood surface and providing a larger bearing surface for the screw, which can also enhance the visual appeal of the hardware.
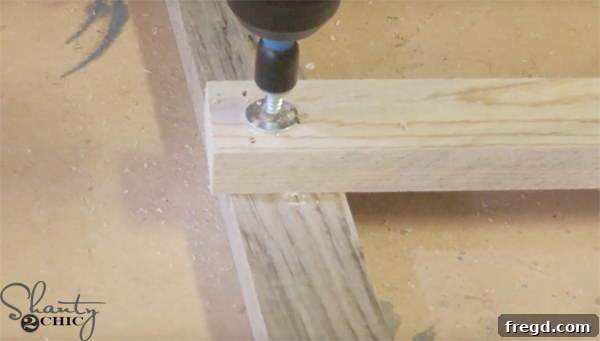
Your final step for adding hardware is to attach a washer and hex screw to the end of each rung, where they connect to the side rails. This creates a visually strong “fastened” look. Before driving the hex screws, it’s crucial to pre-drill pilot holes using your 18-Volt drill with an appropriate drill bit. Pre-drilling prevents the wood from splitting and ensures the screws go in straight and securely. Then, use your drill equipped with a 3/4-inch nut driver to drive the hex screws firmly into place, ensuring a snug fit. This detail adds a professional and intentional finish to your DIY blanket ladder.
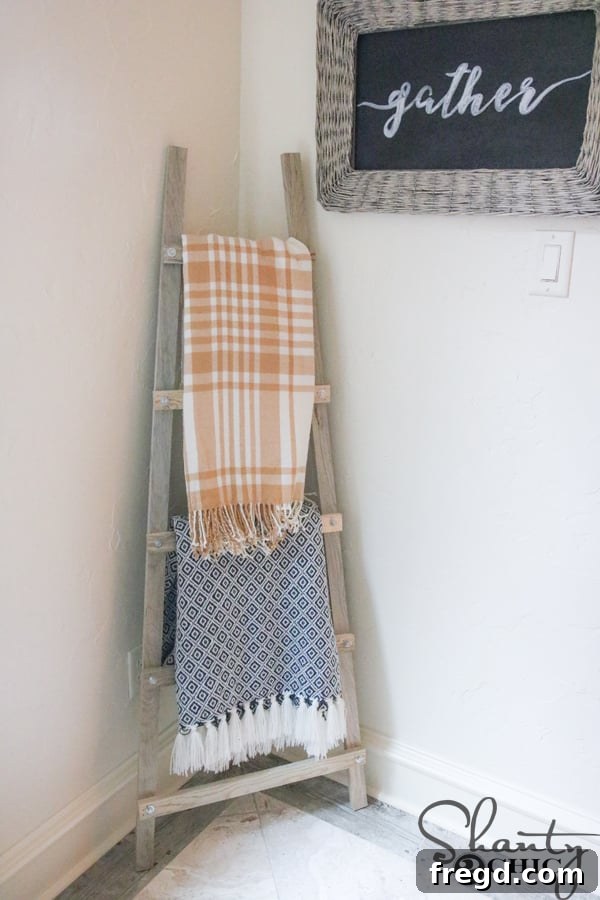
Decorating Your New Blanket Ladder
With your blanket ladder built and finished, it’s time for the fun part: styling it! We added a couple of cute blankets for decor, and just like that, the room felt more inviting and organized. Blanket ladders are truly fantastic because they offer both functional storage and significant decorative value. They’re a brilliant way to introduce texture, color, and a sense of warmth to any living space, be it a cozy corner in the living room, a bedroom, or even a large bathroom for towel storage.

Beyond blankets, consider draping lightweight throws, decorative quilts, or even using it to display magazines, scarves, or small, air-purifying plants in hanging planters. The possibilities for styling are endless, allowing you to easily update your decor with the seasons. It’s also, quite simply, an excellent way to keep those beloved throws off the floor and beautifully displayed.
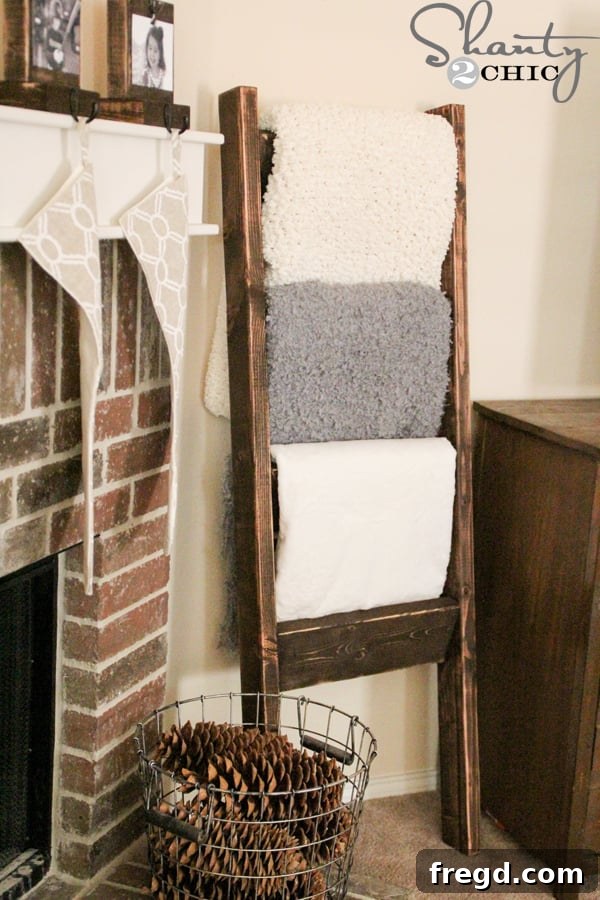
As you can see, the ladder looks fantastic with or without the optional hardware – it simply depends on the aesthetic you’re aiming for. If you’re interested in seeing our very first DIY Blanket Ladder design, you can find it here for more inspiration!
For those eager to expand their woodworking skills, remember to check out our comprehensive 3-Tool eBook. It features 5 complete project plans, all designed to be built using only these three essential tools: the 18-Volt Miter Saw, the 18-Volt Brad Nailer, and the 18-Volt Drill. Each plan comes with printable shopping lists and easy-to-follow, step-by-step instructions. It’s the perfect resource to continue your DIY journey and create more beautiful and functional pieces for your home.
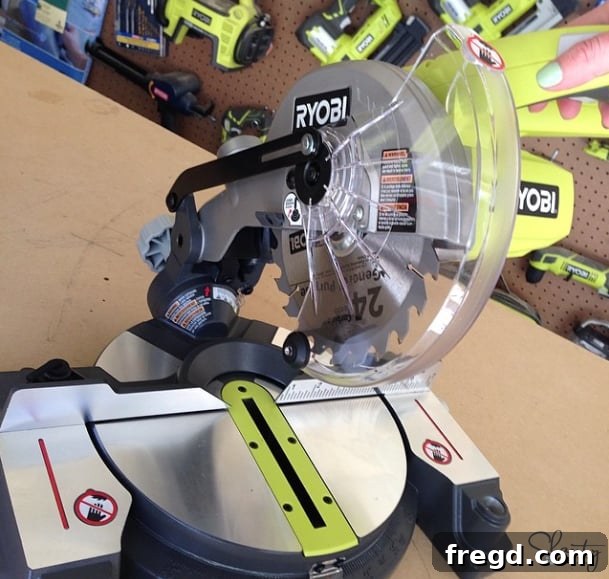
The 18-Volt Miter Saw is a workhorse for precise cuts.
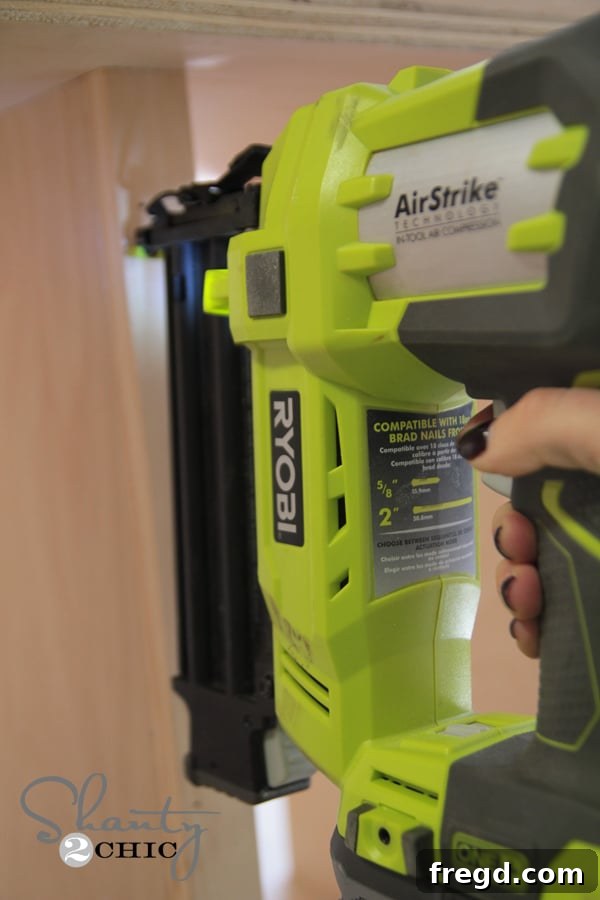
The 18-Volt Brad Nailer makes assembly quick and secure.
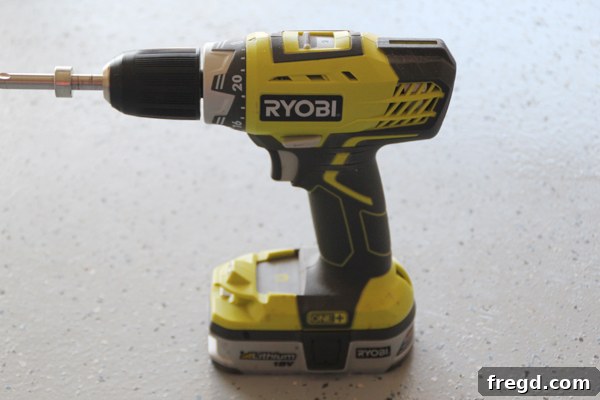
And the 18-Volt Drill is indispensable for drilling and driving!
With this foundational tool collection, you’ll be able to build all FIVE of our 3-Tool builds, transforming your home one project at a time. This eBook is available for purchase here for only $4.99, and it even includes a bonus Christmas printable as a thank you! Happy building!
Conclusion: Your New Favorite Home Accessory
Building your own DIY blanket ladder is a project that truly delivers on all fronts: affordability, simplicity, and style. In just a few easy steps, with minimal tools and a budget-friendly investment, you can create a beautiful and highly functional piece of furniture that enhances the organization and aesthetic appeal of any room. It’s an ideal project for beginners, providing a fantastic entry point into the rewarding world of woodworking and home improvement.
Whether you choose to leave the wood natural, stain it for a rich, warm tone, or paint it to match your decor, your custom blanket ladder will become a cherished item. It’s more than just storage; it’s a reflection of your creativity and a testament to the satisfaction of building something with your own hands. So, gather your tools, download the free plans, and get ready to enjoy the charm and utility of your very own DIY blanket ladder!